Intelligent gripping
This case uses the eye-to-hand mode, uses the camera, combines Python+OpenCV, performs attitude estimation through the ArUco marker in OpenCV, and frames the AR code that meets the situation, and calculates it through the relevant points The spatial coordinate position of the AR code relative to the robotic arm. Set a set of related actions for the robotic arm, and place them in different areas according to the recognized AR code. Grip according to the rotation angle of the AR code.
Supported end effectors: myCobot Pro Adaptive Gripper, myGripper F100 force-controlled gripper.
1 Camera Adjustment
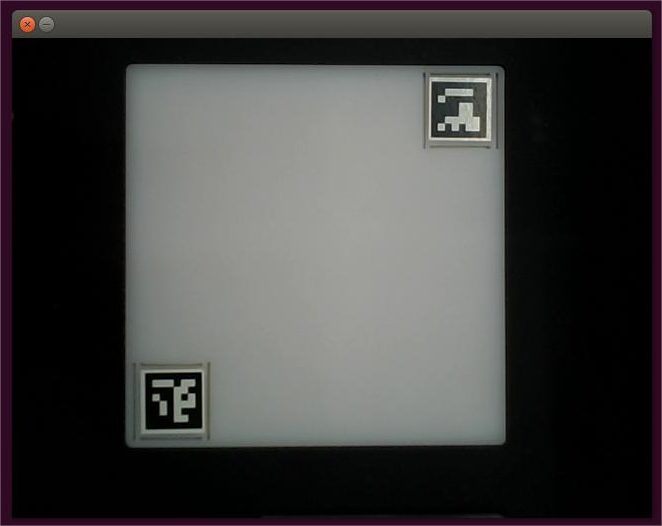
First, you need to use python to run OpenVideo.py under the aikit_V2 package. If the enabled camera is a computer camera, cap_num needs to be modified. For details, please refer to: Precautions. Make sure that the camera completely covers the entire recognition area, and the recognition area is square in the video, as shown in the figure below. If the recognition area does not meet the requirements in the video, the camera position needs to be adjusted.
M5 version:
- Open a command prompt terminal (shortcut Win+R, enter "cmd" to access the terminal). Switch to the directory path where "aikit_V2" is located, then enter the target folder.
cd Desktop/aikit_V2/AiKit_320M5/
- Enter the following command to open the camera for adjustment
python scripts/OpenVideo.py
Raspberry Pi version:
- Open a console terminal (shortcut key Ctrl+Alt+T), enter the target folder
cd ~/aikit_V2/AiKit_320PI/
- Enter the following command to open the camera for adjustment
python scripts/OpenVideo.py
2 Preparation of identification materials
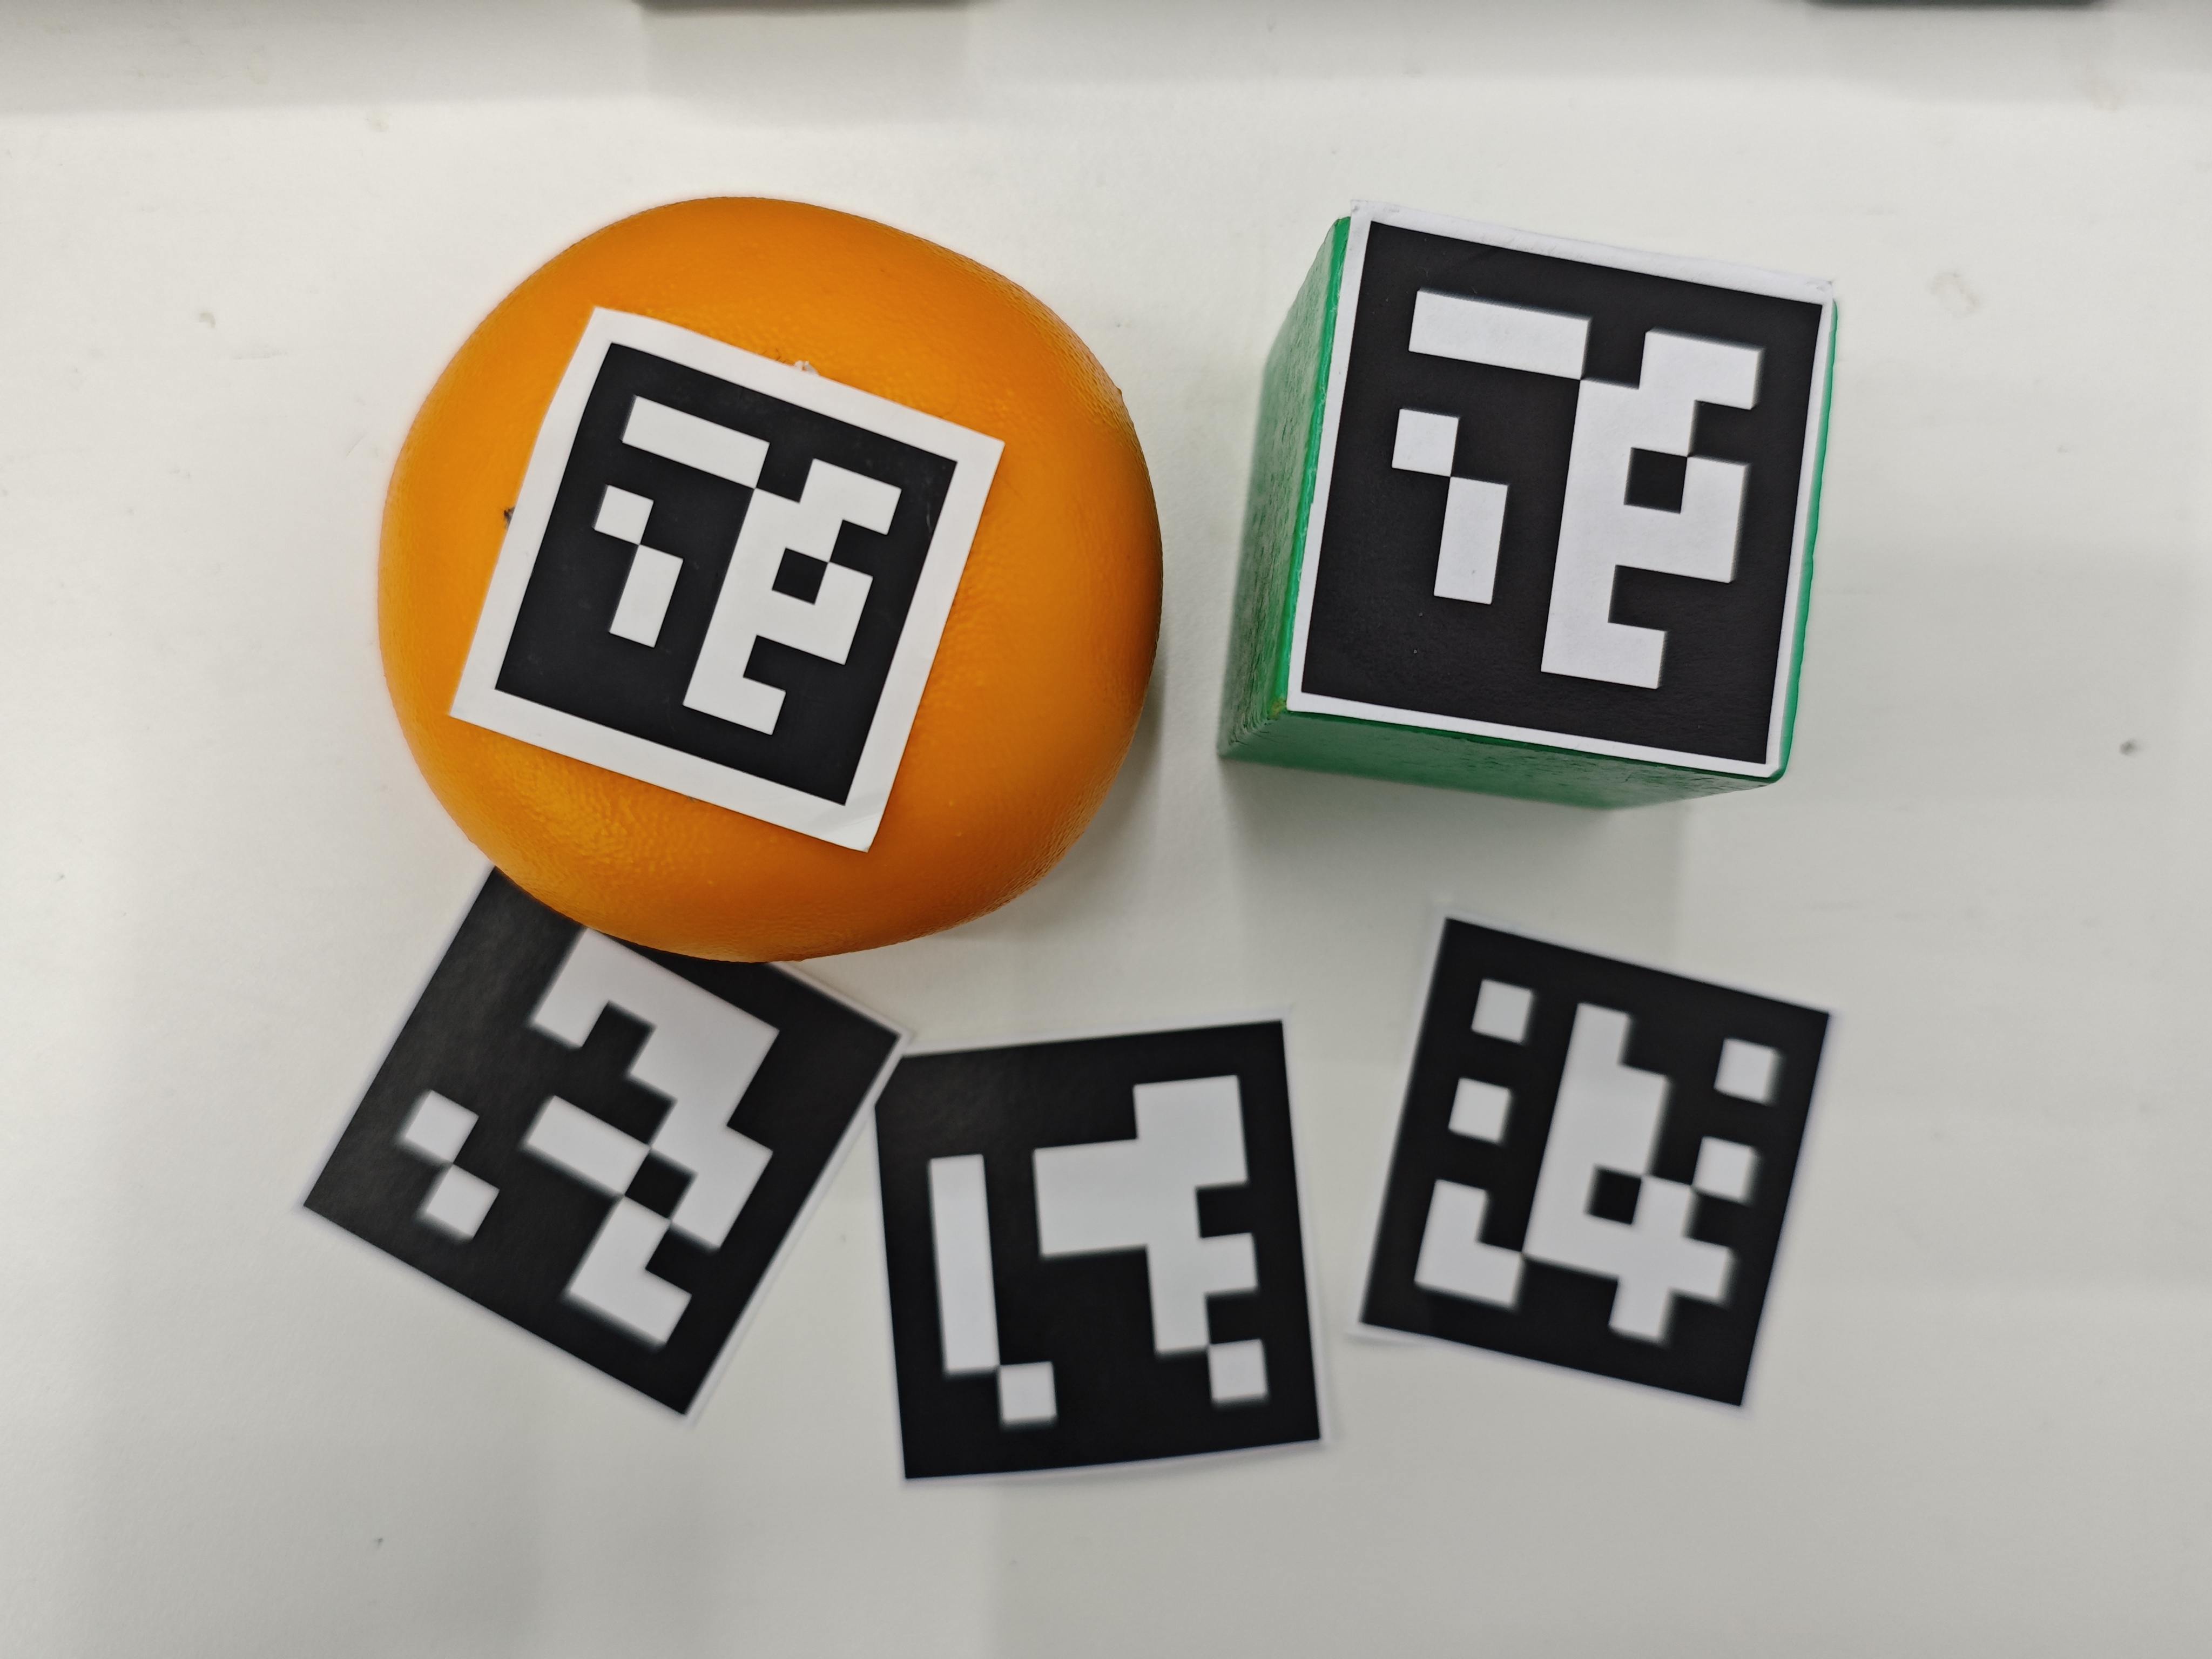
Put the AR code on the center point of the identifiable object. By default, 4 AR codes with different IDs are used for identification and positioning. The default size of each AR code is 5cm x 5cm. You can print it yourself.
AR code download link: Smart_gripping_AR_code_materials.pdf
3 Case Reproduction-Gripper Model
Prerequisites
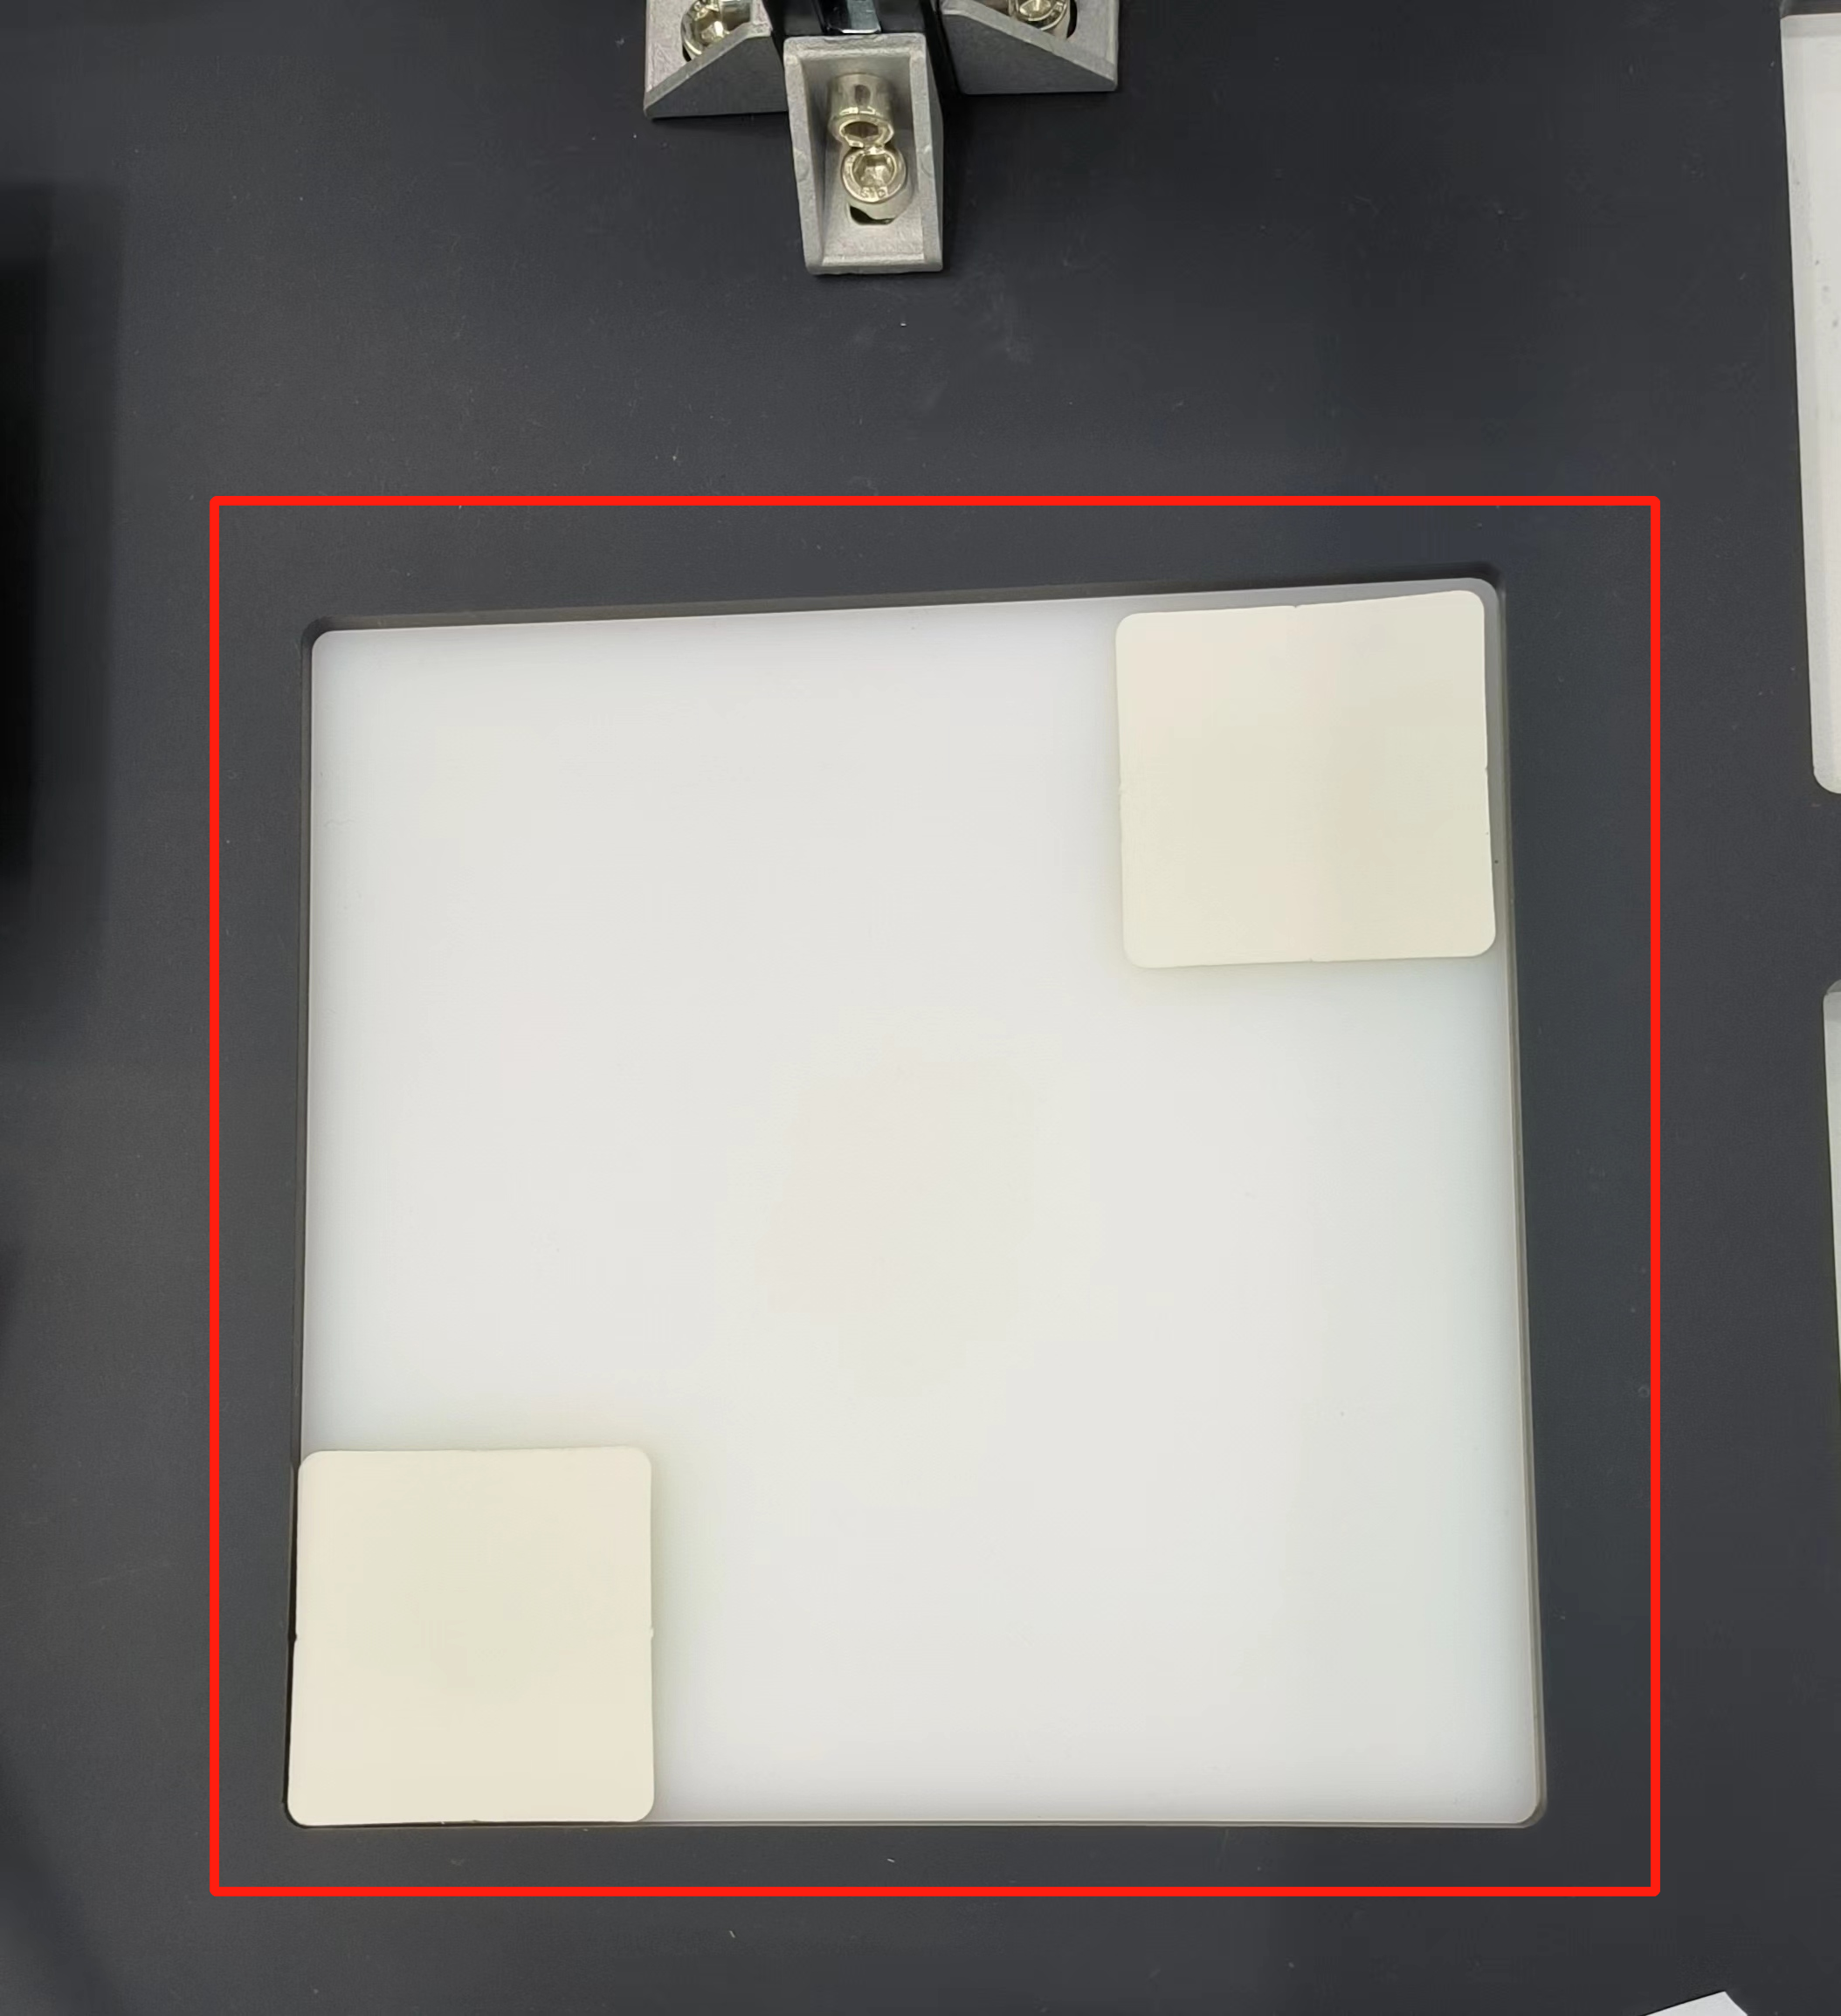
Flip the QR code board to the back and place it, or take two cards to cover the two QR codes on the board to prevent misidentification when starting the AR code program.
M5 version:
- Open a command prompt terminal (shortcut Win+R, enter "cmd" to access the terminal). Switch to the directory path where "aikit_V2" is located, then enter the target folder.
cd Desktop/aikit_V2/AiKit_320M5/
- End assembly Pro adaptive gripper, can be run:
python scripts/aikit_gripper_encode.py
- End assembly myGripper F100 force control gripper, can be run:
python scripts/aikit_smart_force_gripper_encode.py
Raspberry Pi version:
- Open a console terminal (shortcut key Ctrl+Alt+T), enter the following command to enter the target folder:
cd ~/aikit_V2/AiKit_320PI
- End assembly Pro adaptive gripper, can be run:
python scripts/aikit_gripper_encode.py
- End assembly myGripper F100 force control gripper, can be run:
python scripts/aikit_smart_force_gripper_encode.py
- When the command terminal shows
okand the camera window can be opened normally, it means that the program runs successfully. At this time, the identifiable objects can be placed in the recognition area for recognition and capture.
Effect demonstration:
Precautions
- Since the sixth joint of myCobot 320 has a limit position, the rotation angle range of the object should be: -180 ~ +180.
- Make sure the camera is parallel to the QR code on the object to minimize the distortion of the view. If the QR code on the object is not completely flat (there is a tilt), the change in the view angle will distort the shape of the QR code in the image, affecting recognition.
- Make sure that the light on the surface of the object and the QR code area is uniform to avoid shadows or strong light reflections. If the surface of the object is smooth and reflective, it will interfere with the camera and destroy the edge detection of the QR code.