Environment Setup
pymycobot is a Python package for serial communication with myArm, supporting Python2, Python3.5, and later versions.
Before using pymycobot to control the robotic arm, you need to set up the Python environment. The following section provides detailed instructions on how to download and install Python.
1. Python Download and Installation
Currently, Python has two versions: 2.x and 3.x. These two versions are incompatible with each other. This section uses version 3.x as an example, as it is becoming increasingly popular.
1.1 Install Python
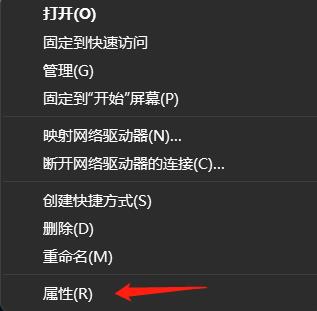
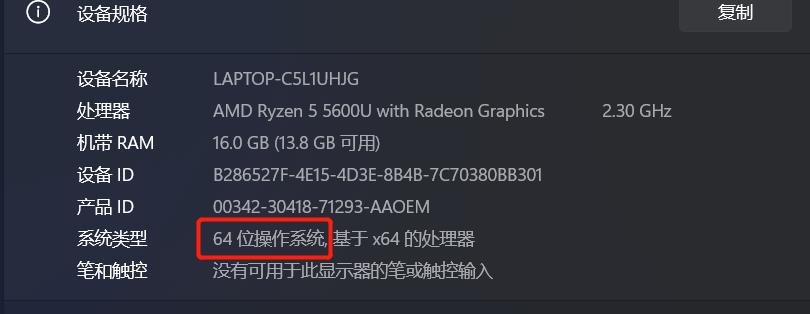
Note: Before installation, please confirm whether your computer is 64-bit or 32-bit. Right-click
My Computer, selectProperties. As shown in the image below, it is a 64-bit operating system, so choose the 64-bit Python installation package.
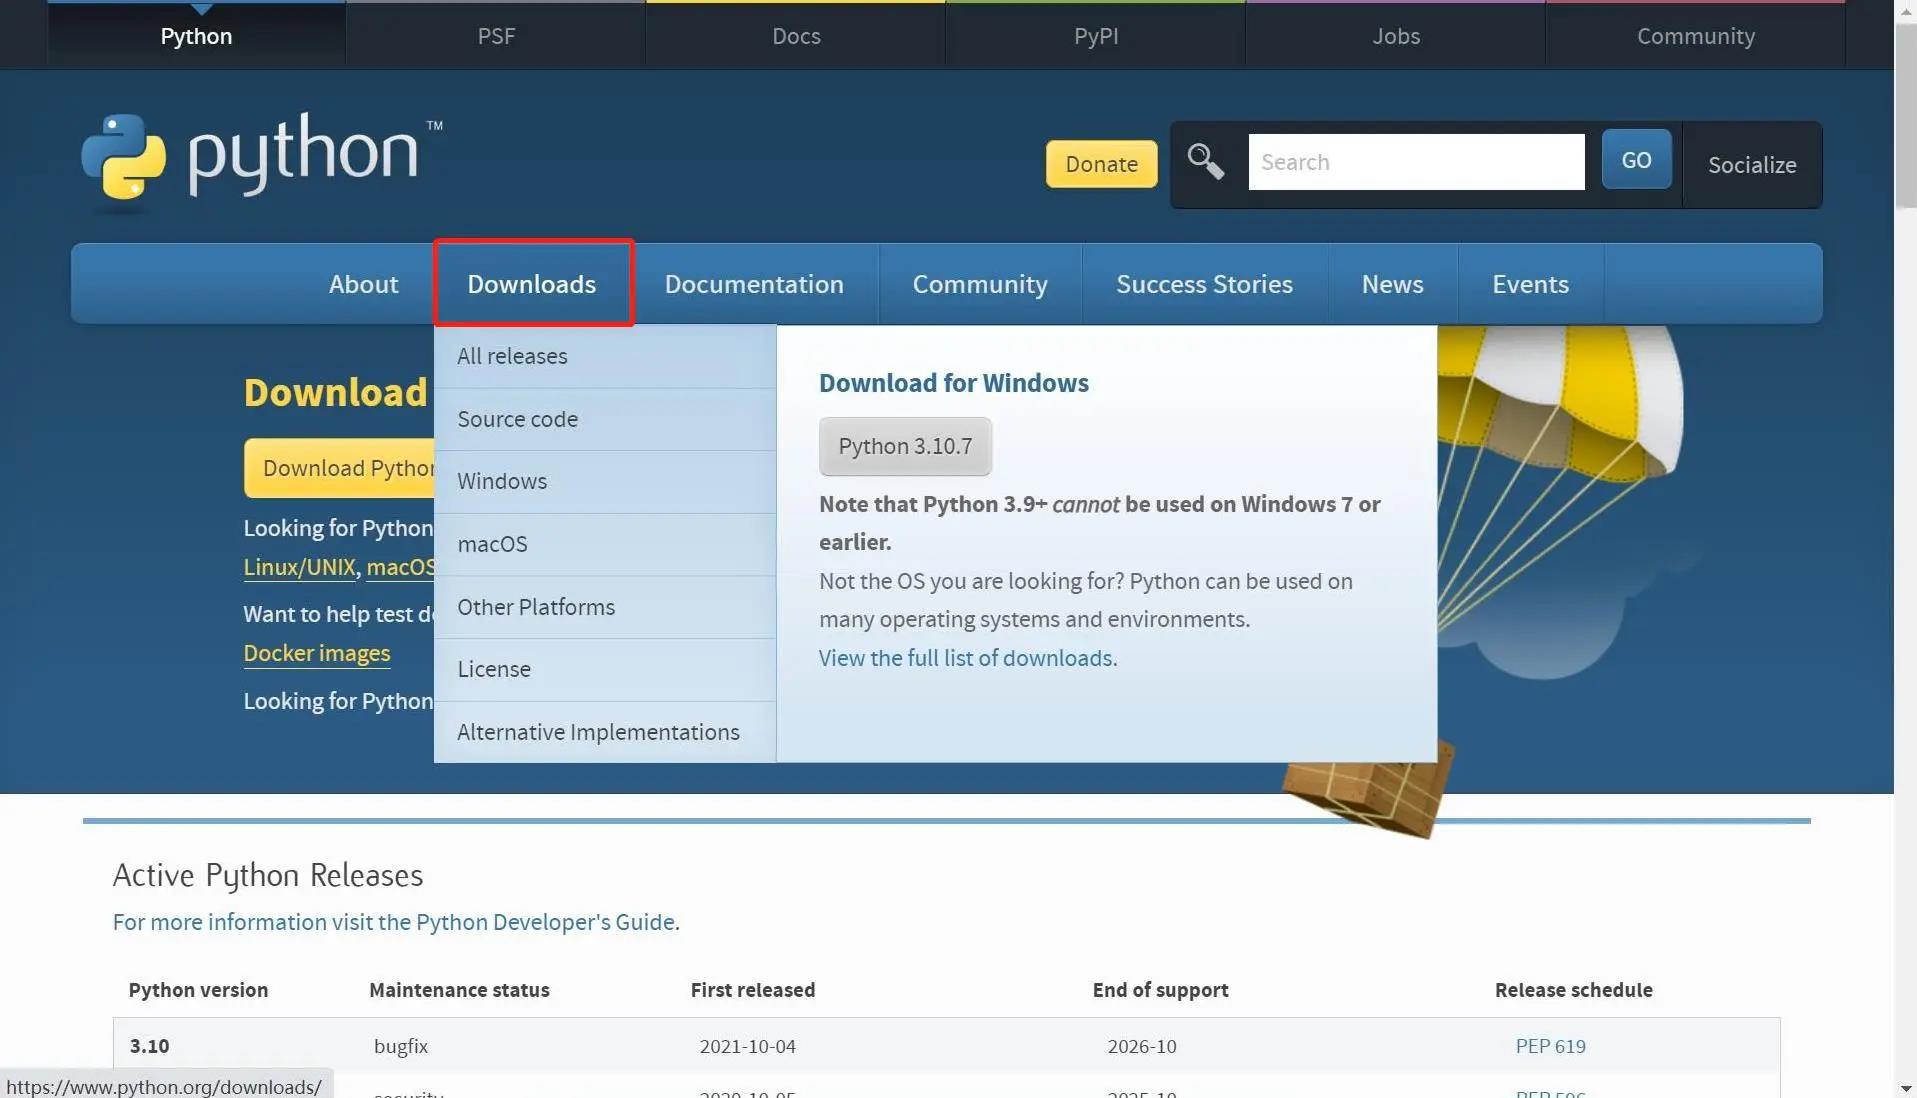
- Official Python download site: http://www.python.org/download/
- Click the
Downloadsoption to start downloading Python, then clickAdd Python 3.10 to PATH, and clickInstall Nowto begin the installation of Python.

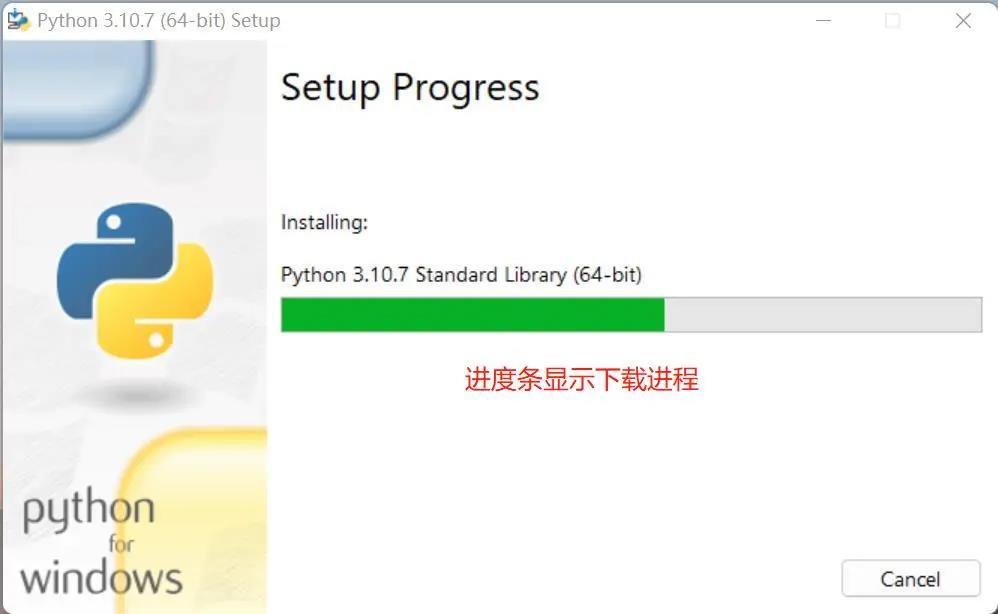
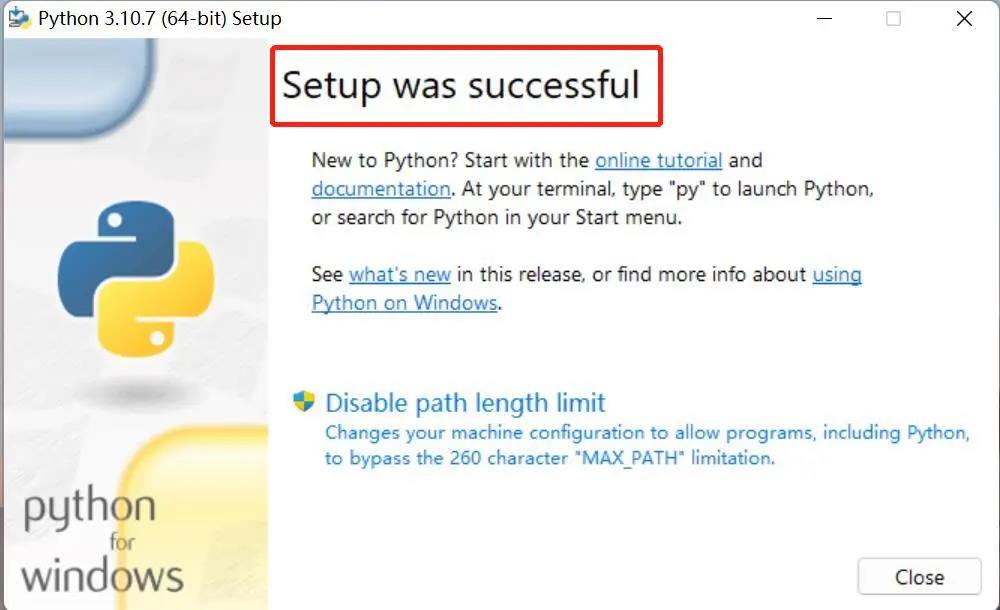
- Once the “Setup was successful” message appears, the installation is complete.
1.2 Run Python
After installation is successful, open the Command Prompt window (Win+R, type cmd and press Enter), then type python. Two scenarios may occur.
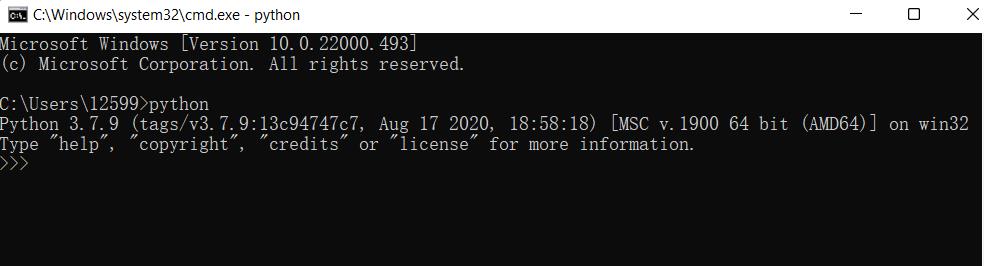
Scenario 1:

The message displayed on the screen indicates that Python has been successfully installed. The prompt >>> indicates the Python interactive environment. You can input Python code, and the execution result will appear immediately.
Scenario 2:
If you input an incorrect command (e.g., pythonn), you will see an error message:
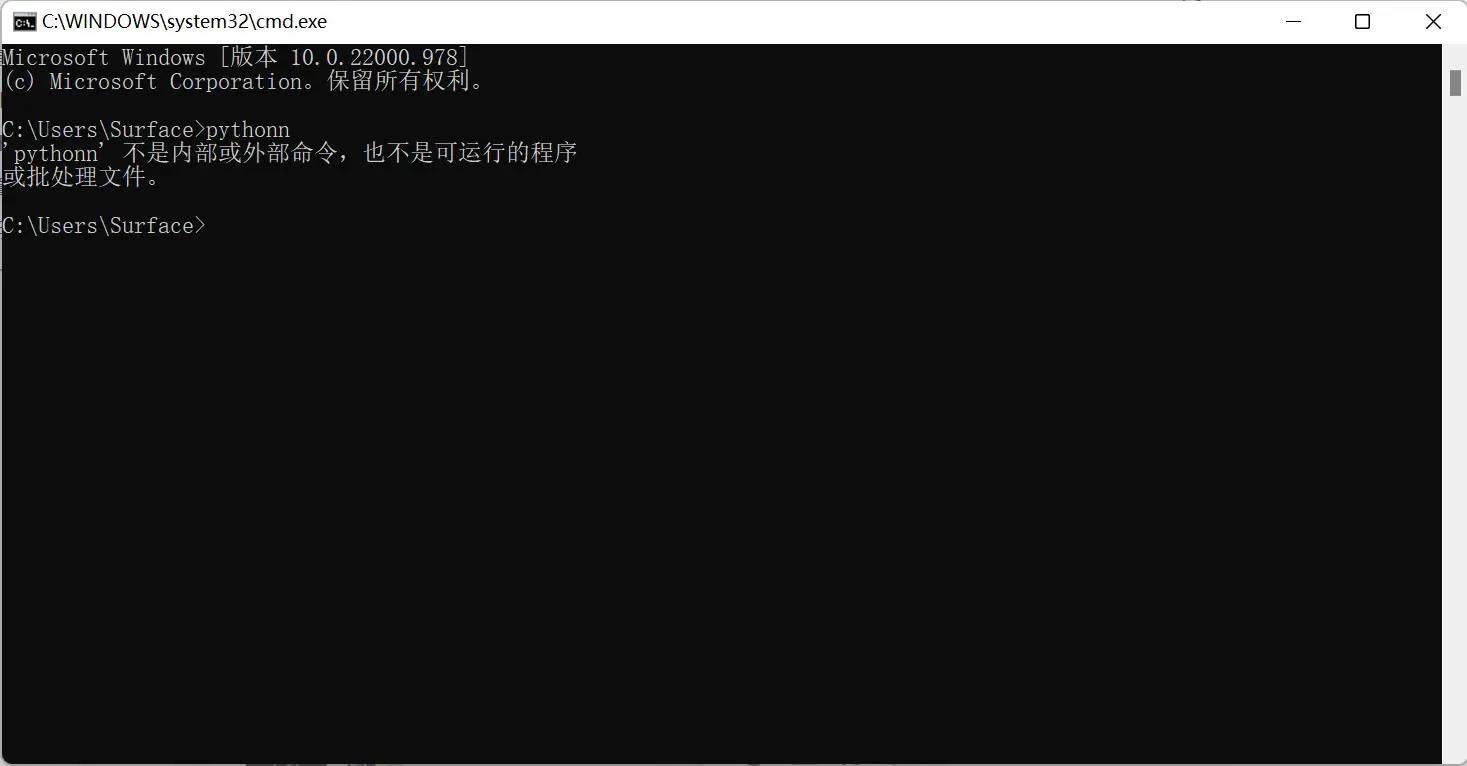
Note: The error message generally means that the environment variable is not configured properly. You can refer to section 1.3 to configure the environment variable.
1.3 Configure Environment Variables
Since Windows uses the Path environment variable to locate python.exe, if it is not found, an error will occur. If you missed selecting Add Python 3.10 to PATH during installation, you need to manually add the path of python.exe to the Path variable, or reinstall Python and make sure to select Add Python 3.10 to PATH.
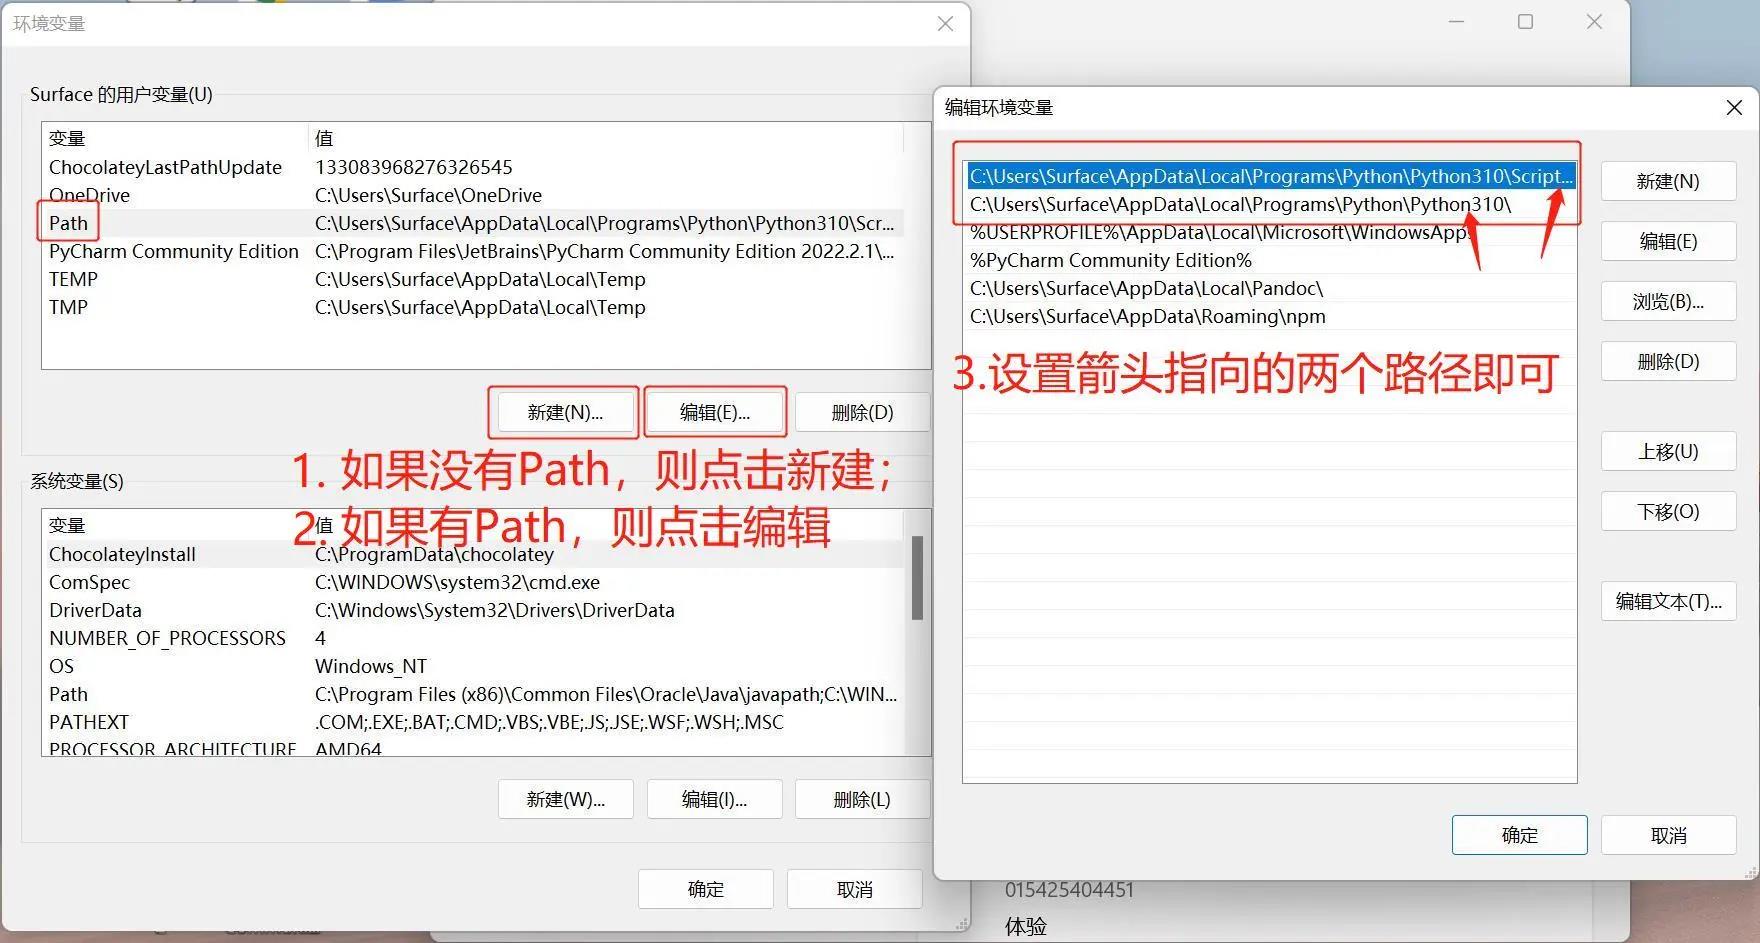
Here are the steps to manually add the path of python.exe:
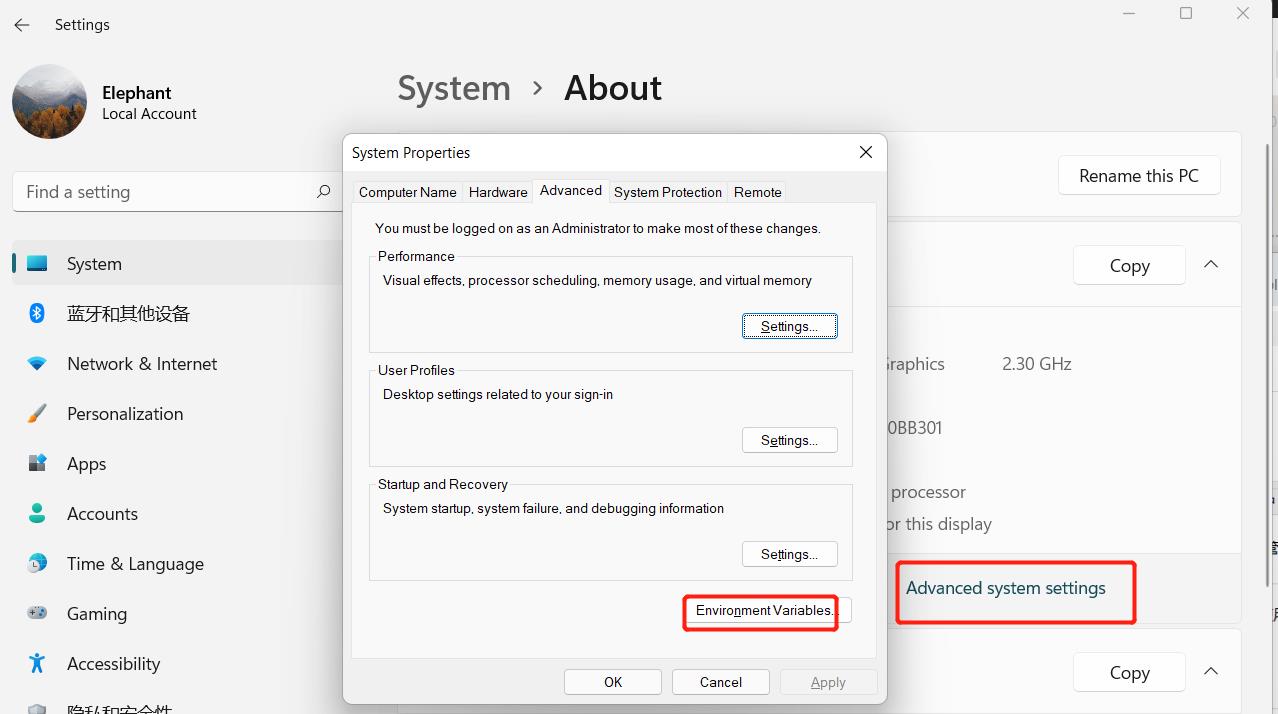
- Right-click
My Computer→ selectProperties→ selectAdvanced System Settings→ click theEnvironment Variablesbutton at the bottom right:
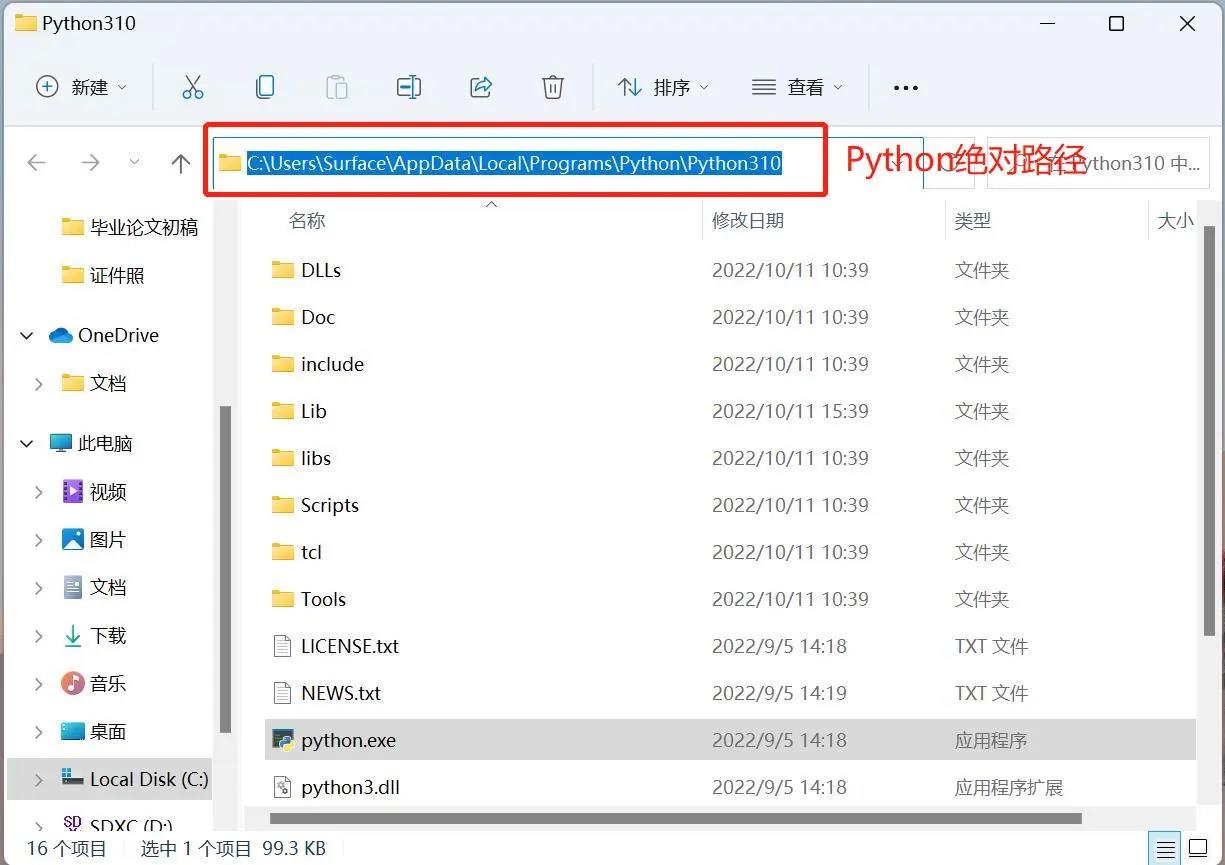
- Environment variables include user variables and system variables. For user variables, you can use the downloaded program via the
cmdcommand. Write the absolute path of the target program into the user variables.
- After completing the above steps, open the Command Prompt window (
Win+R, typecmd, press Enter), typepython, and if the following message appears, it means the setup was successful:
2 PyCharm Installation and Usage
PyCharm is a powerful Python editor with cross-platform support. This section introduces the installation steps of PyCharm on Windows.
Download Link: PyCharm
2.1 Download and Installation
Download Link: PyCharm Download Page
- PyCharm offers two versions: Professional and Community. It is recommended to install the free Community version.
Installation Process:
- After downloading, run the installer.
- Click
Nextto continue. - Select the options according to your preferences, then click
Next. - Click
Installto begin the installation. - After the installation is complete, click
Finishto end the process.
2.2 Create a Project
Launching PyCharm:
- Double-click the PyCharm icon on the desktop to open PyCharm.
- Click
New Projectto create a new project.
Setting up Python Interpreter:
- When creating the project, you need to configure the Python interpreter.
- Click
Add Interpreter, selectNew, locate thepython.exein the Python installation directory, and check theInherit global site-packageoption.
Setting the Project Location:
- Choose a location to store the PyCharm project in the
Locationfield.
- Choose a location to store the PyCharm project in the
Create a Python File:
- In PyCharm, right-click the document icon in the project, select
New, and then choosePython File. Enter the file name and create it.
- In PyCharm, right-click the document icon in the project, select
Write Code:
- After creating the file, the code editor will open, and you can start writing your Python code.
3 Preparation Work
Firmware Programming: The firmware is the system's control program for driving the robot. MyStudio.
- The
Basicmodule of the exoskeleton requires theminirobotfirmware to be flashed. Additionally, theAtommodule located at the end of the exoskeleton should be flashed with the latest version ofatomMain; however, as this is pre-flashed at the factory, manual flashing is not required.
- The
Installing pymycobot: Open a console terminal (shortcut
Win+R, typecmdto open the terminal), and enter the following command:pip install pymycobot --upgrade --user
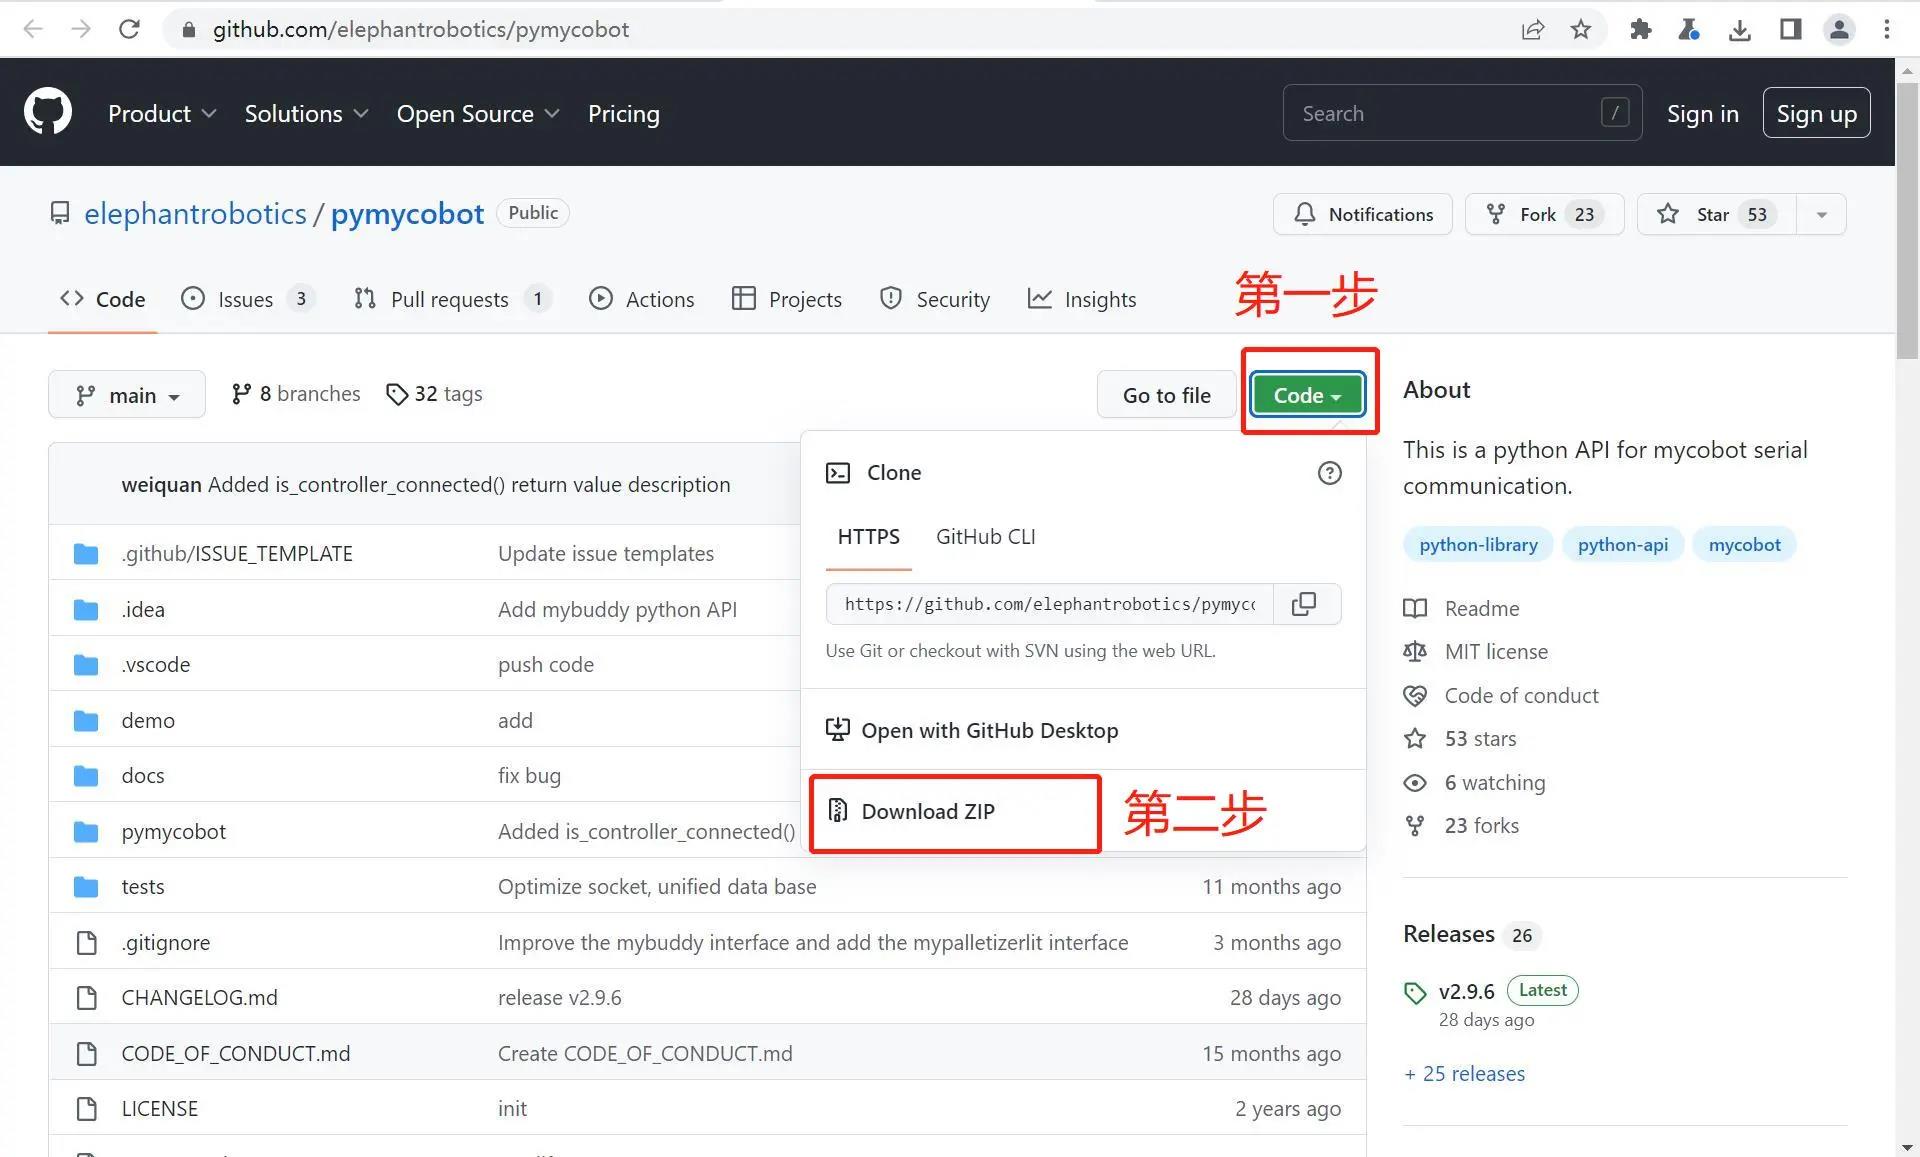
Source code installation. Open a console terminal (shortcut key 'Win+R', enter 'cmd' to enter the terminal) and enter the following command to install:
git clone https://github.com/elephantrobotics/pymycobot.git <your-path>
# Where <your-path> fill in your installation address, do not fill in the default in the current path

cd <your-path>/pymycobot
# Go to the pymycobot folder in the download package

# Run one of the following commands based on your version of python
# Install
 python2 setup.py install
# or
 python3 setup.py install
Update pymycobot
pip install pymycobot --upgrade
4 Import pymycobot
After the above preparatory work is completed, the robot arm is controlled through Python code. The myArm Master 750 version is used as an example.
- Enter the following code to import our library:
from pymycobot import MyArmM
Note:
- If the red wavy line does not appear at the bottom of the code, the pymycobot installation was successful.
- If there is a red wavy lines, please visit https://github.com/elephantrobotics/pymycobot manually download pymycobot and put it in python library.