Development Environment Construction
1 How to Build the Environment
1 Arduino IDE Download
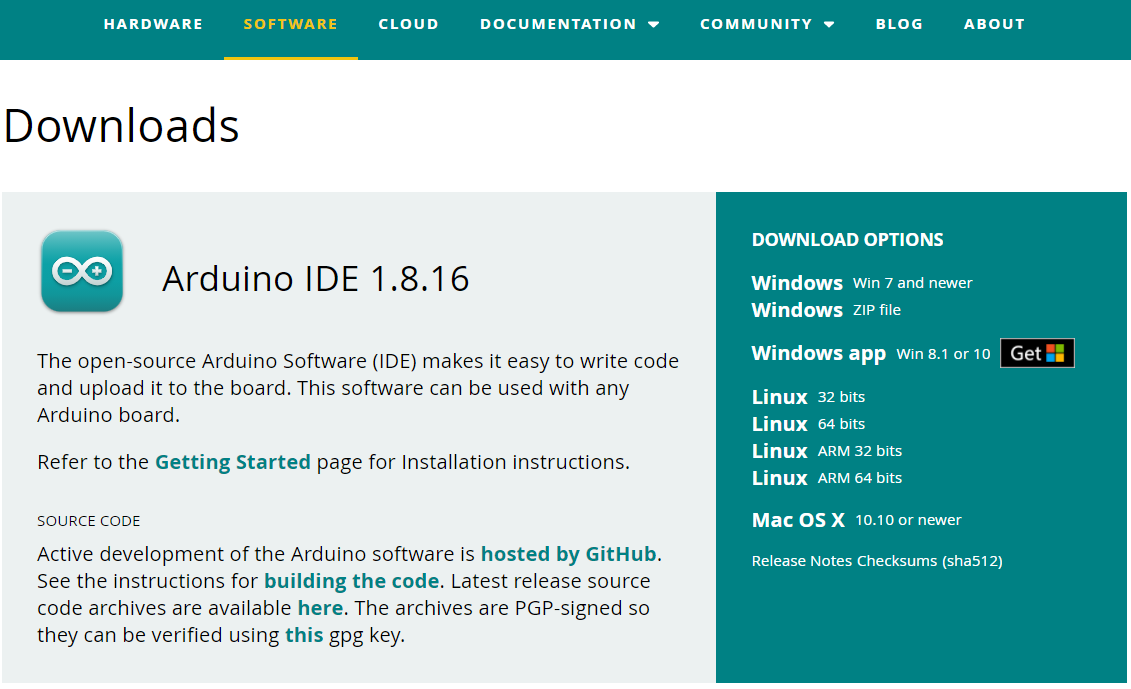
Arduino IDE Download Address
2 Installed Drivers
Before burning the program, M5Core host (including M5Stack-basic/GRAY/M5GO/FIRE/FACES) / According to the operating system you use, for the device user's microcontroller type, please download the corresponding driver package. After unzipping the package, select the installation package for the corresponding OPERATION system bit.
For Mac OS, make sure the system settings are correct Preferences --> Security and Privacy --> General and allow users to obtain from the App Store or approved developers.
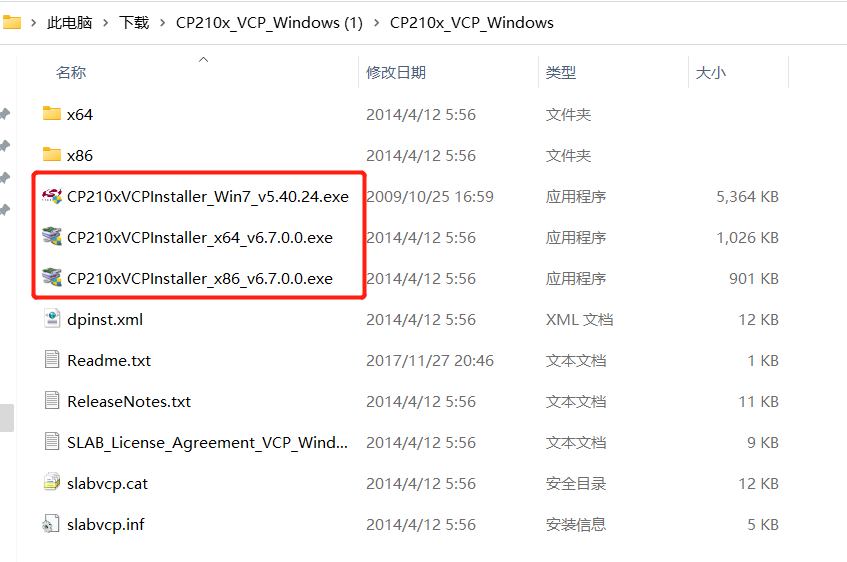
Download M5Stack-basic serial port driver CP210X or CP34X
CP210X
After unzipping the zip package, select the corresponding installation package to be installed according to the operating system of the computer (select x64 or x86 for win10 and win11 for installation).
CP34X
3 Add board
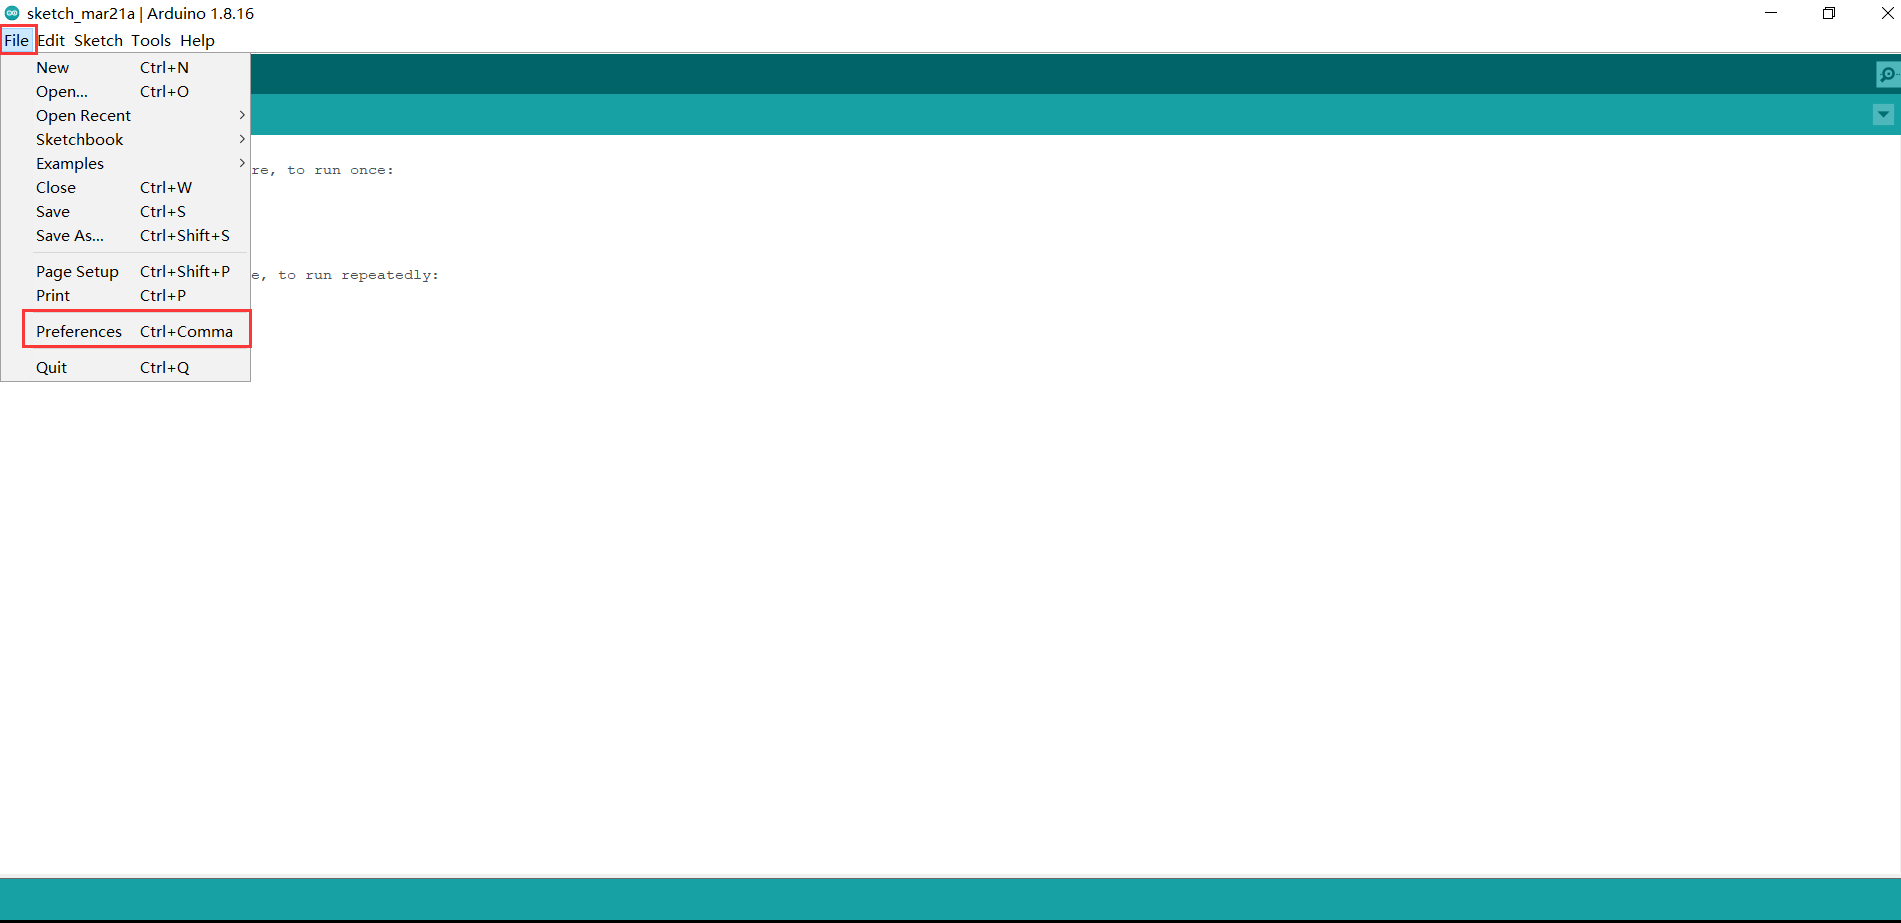
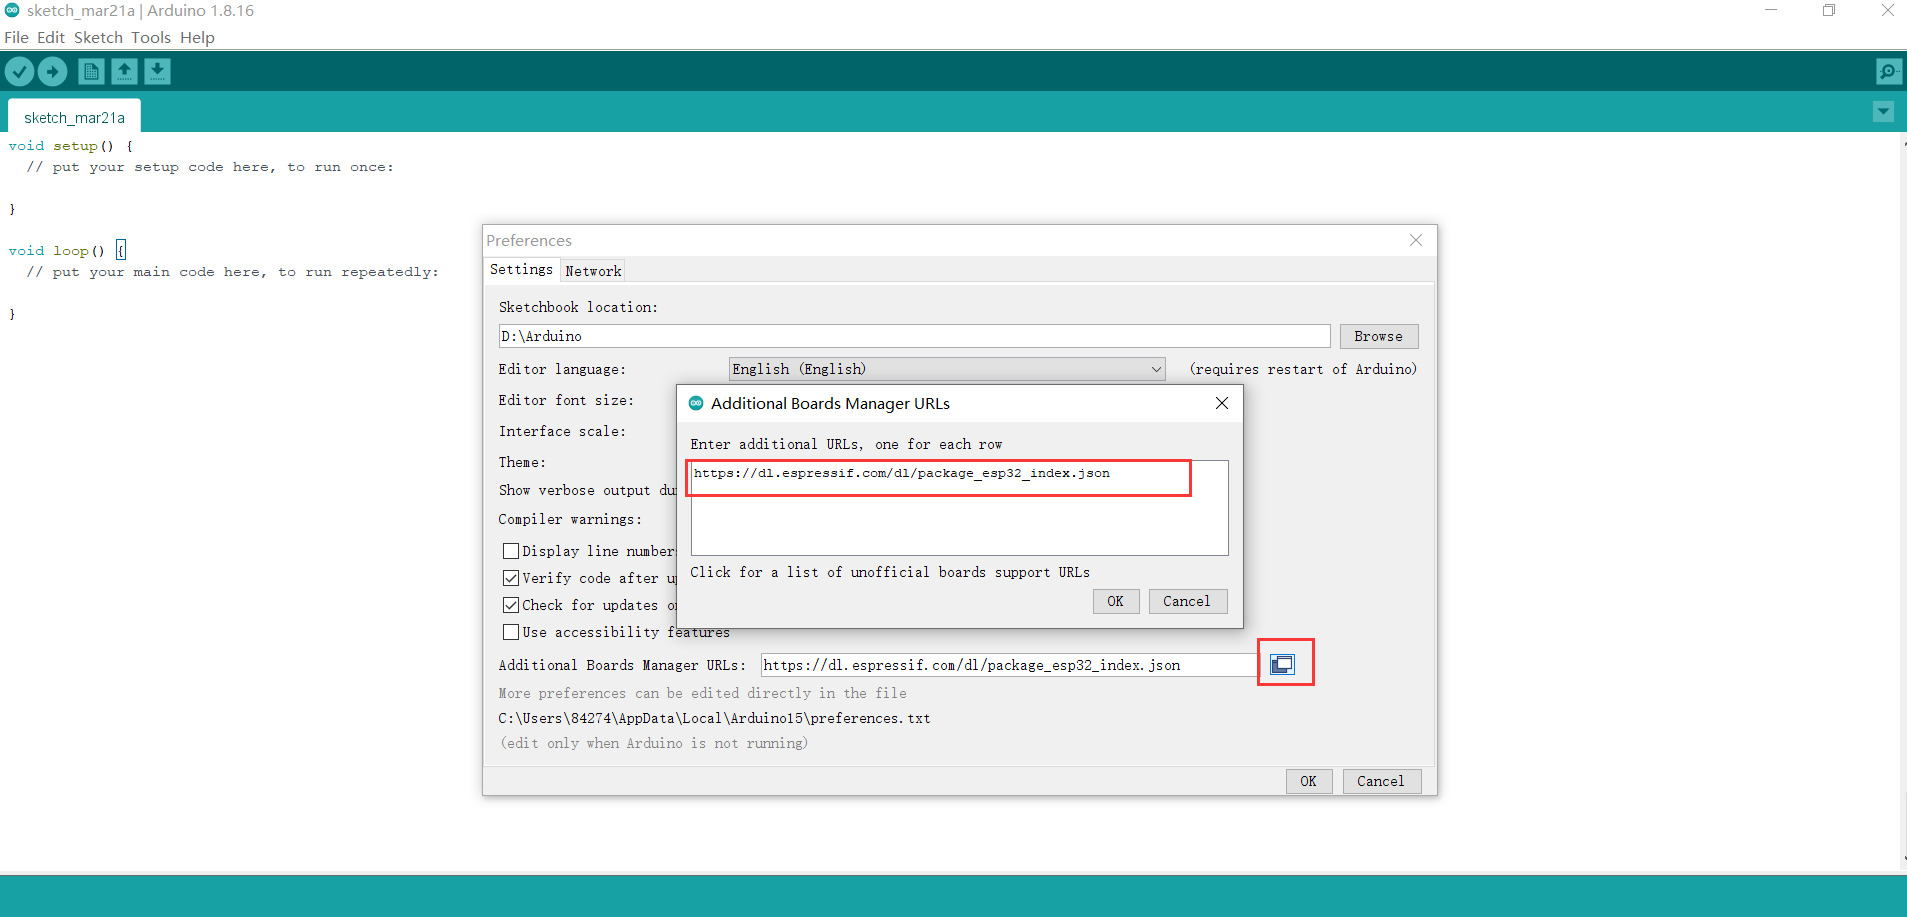
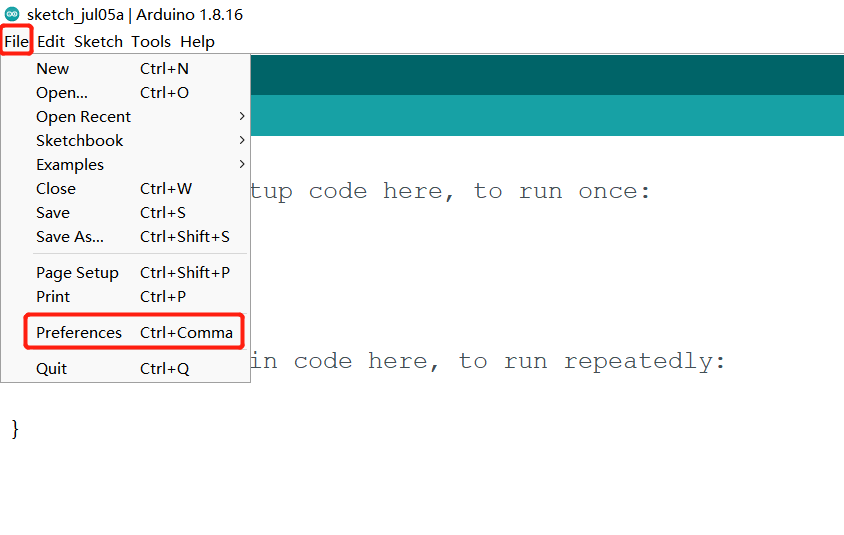
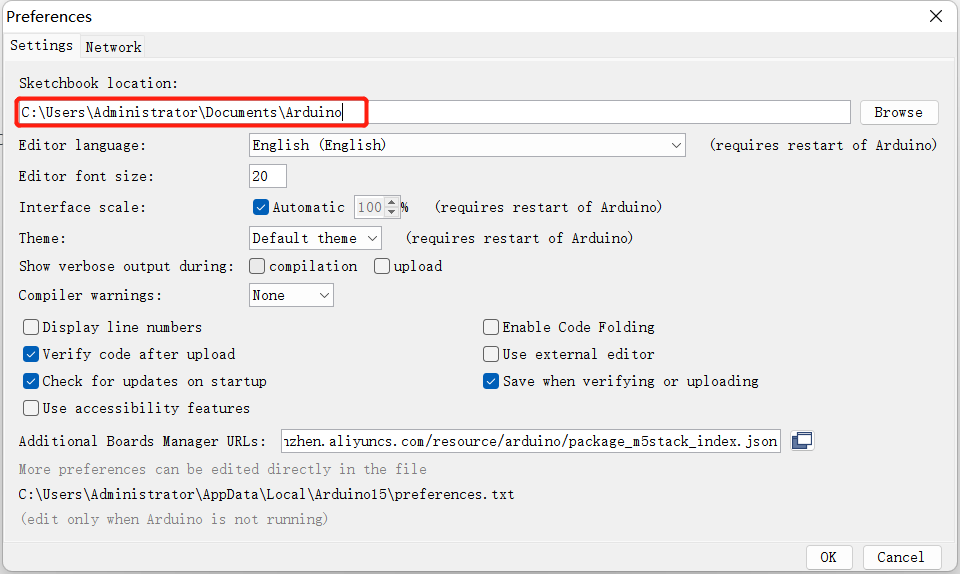
- Open Arduino IDE and select File --> Preferences --> Settings to add the following url to the additional board manager:
https://m5stack.oss-cn-shenzhen.aliyuncs.com/resource/arduino/package_m5stack_index.json
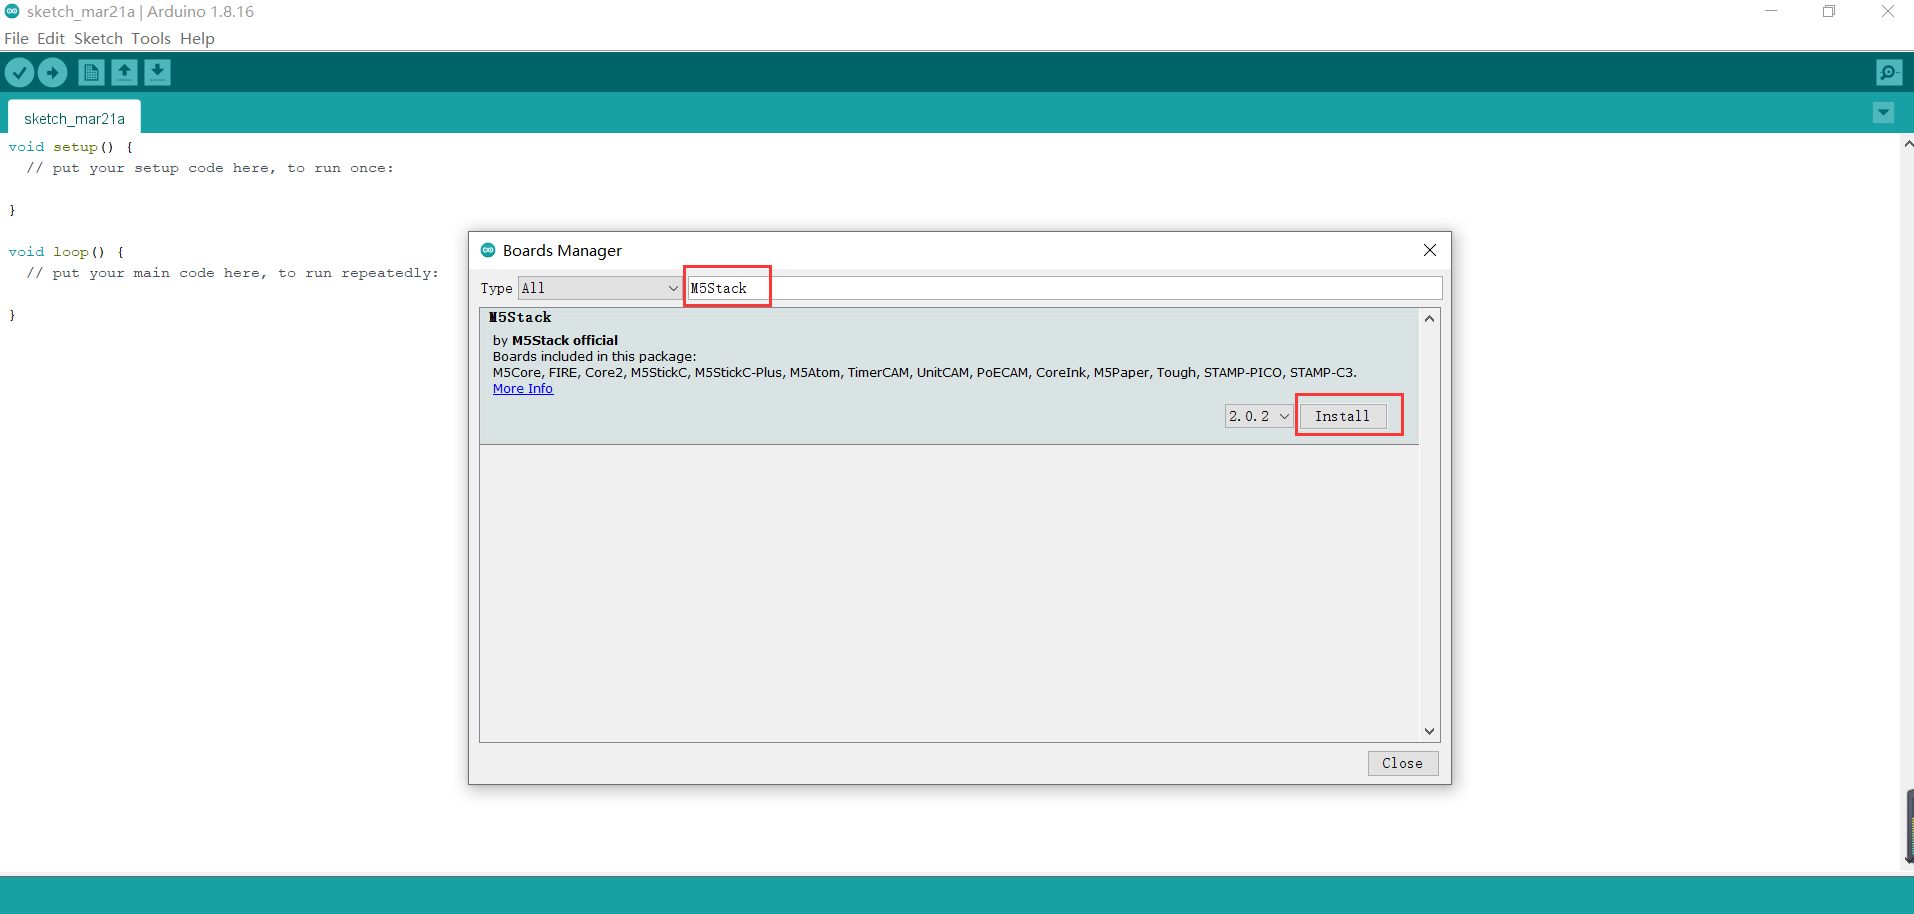
- After adding, click Tools --> Board --> Boards Manager, in the new pop-up dialog box, Enter and search for M5Stack, click "Install" (if the search fails, you can try to restart the Arduino program), as shown below:
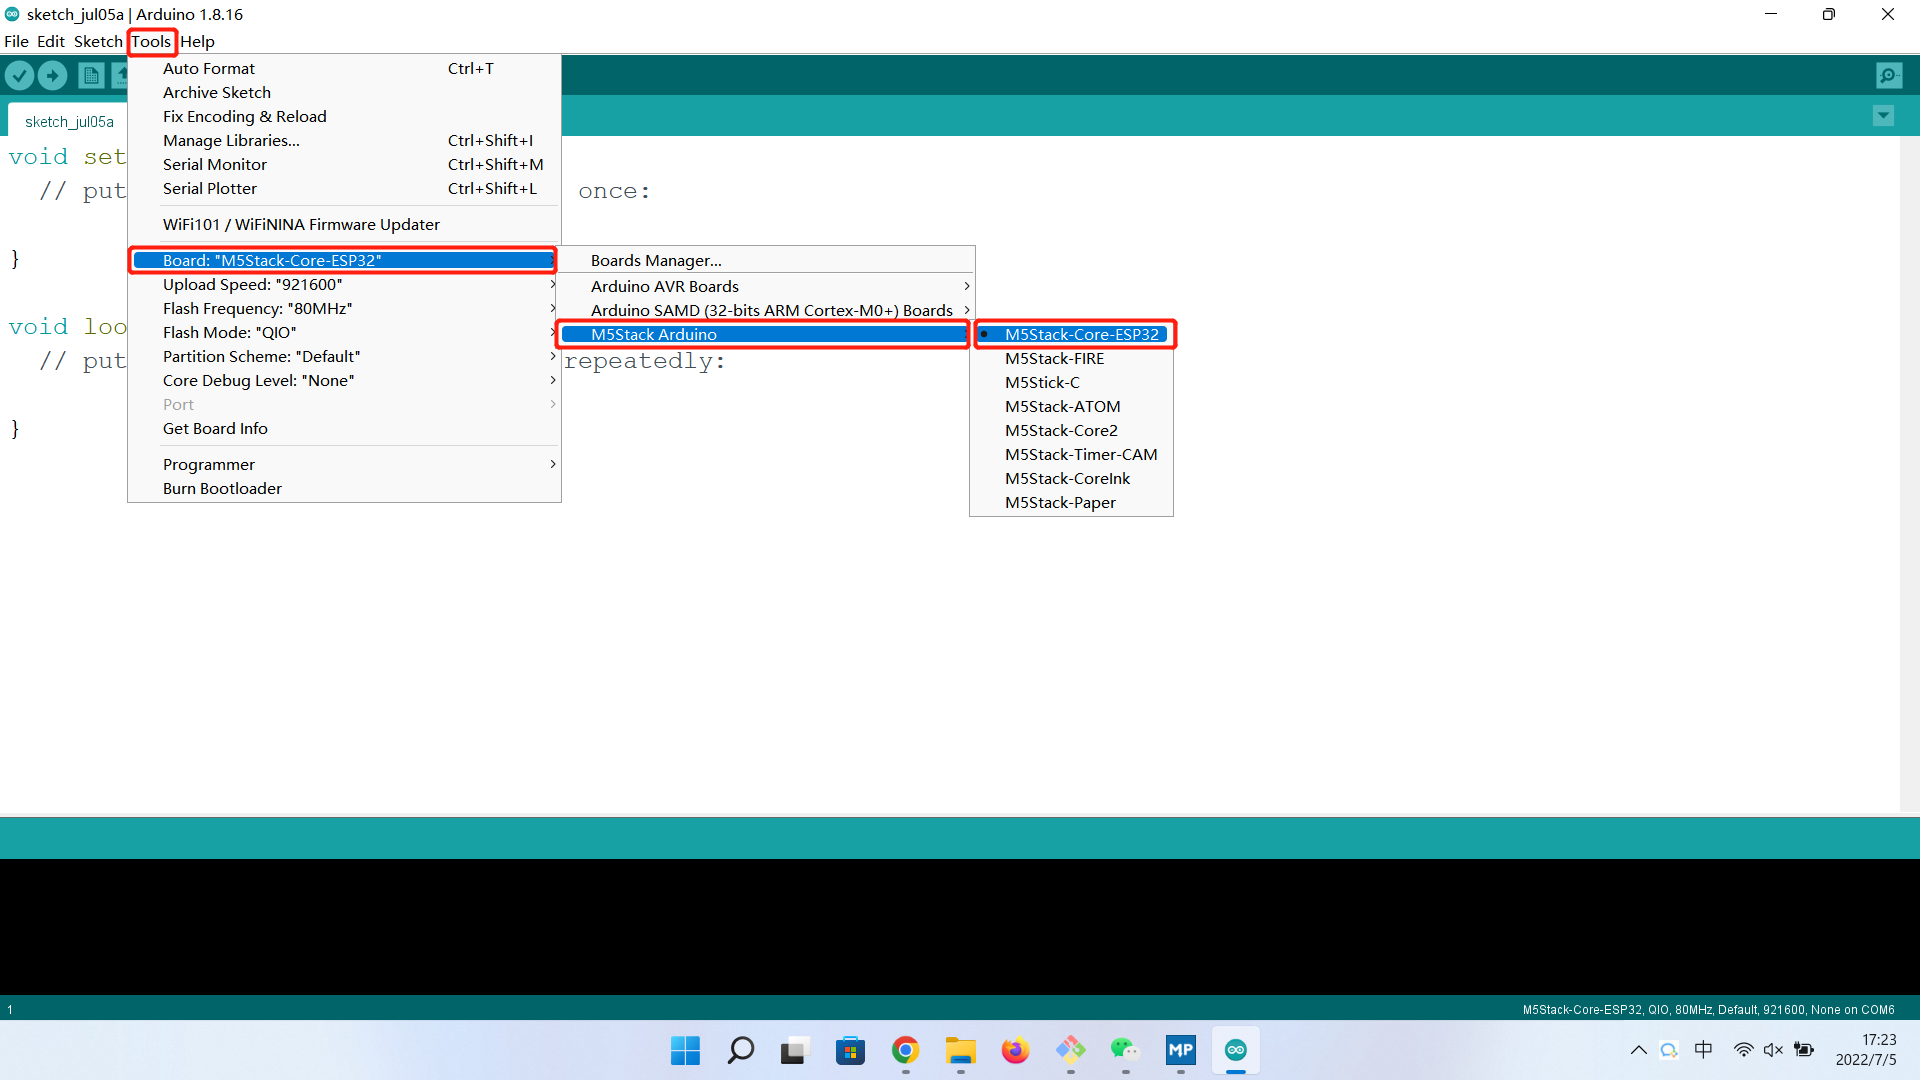
- After adding, click Tools --> Board, check if it is successful, as shown below:
4 Add related libraries
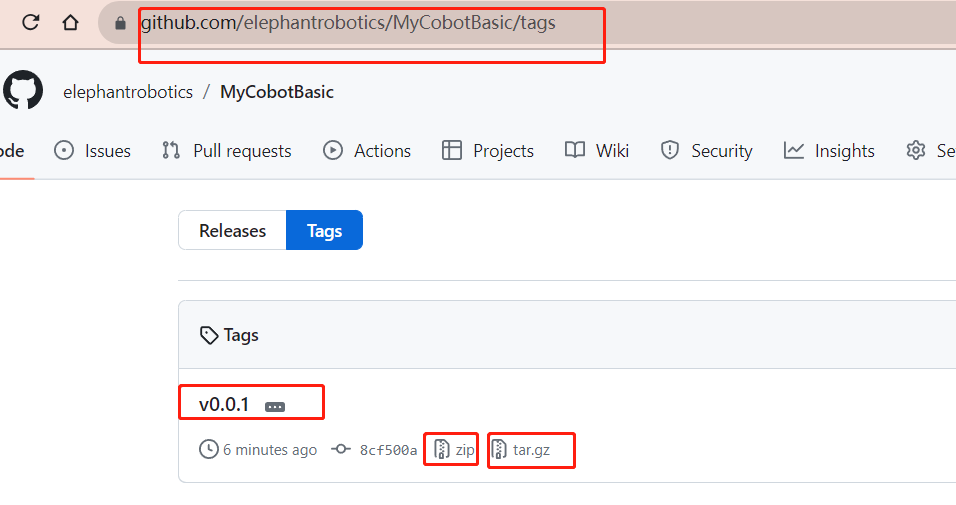
Note: Please download the latest library, the first version is v0.0.1.
- Click to download related dependent libraries
-MycobotBasic(After importing the Mycobot280-Arduino model, you can refer to the arduino_use section for use). Please see the following figure for details. .zip is for Windows system, and .tar.gz is for Linux system:
- Library installation instructions
First check the location of the Arduino project folder by clicking File --> Preferences (you can copy the path to your hard drive to find the library folder)
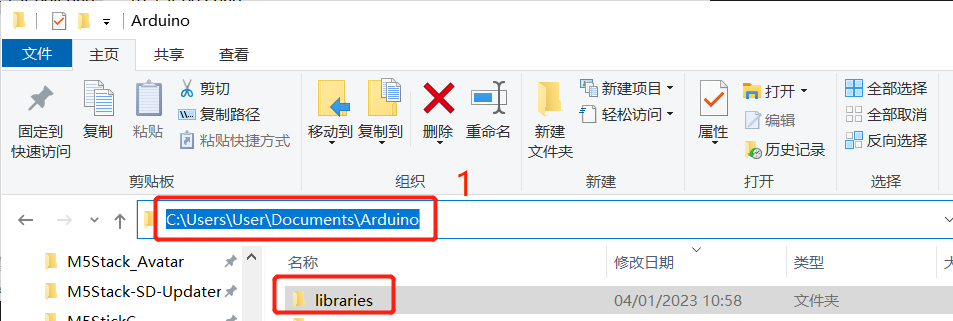
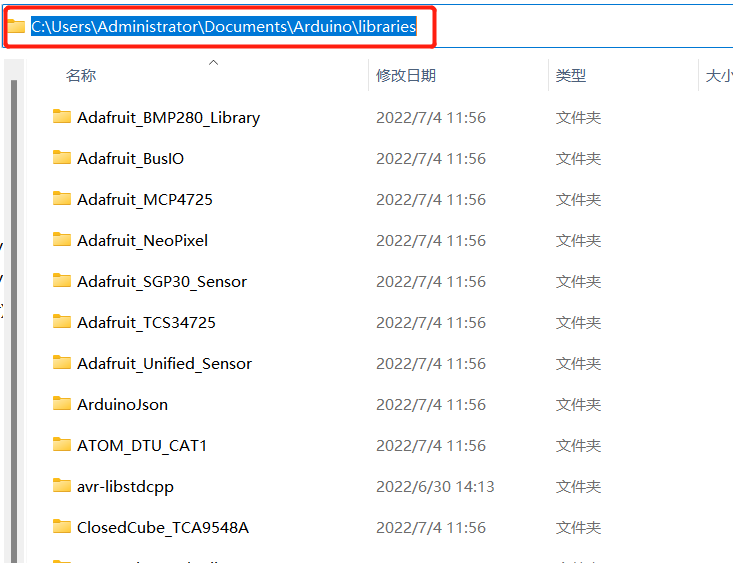
1 Copy the path here and press enter to find the library folder
Unzip it to the appropriate folder in the library directory. If you are using Arduino, do not overwrite it, just add to the existing library.
Congratulations, you have built an Arduino related development environment.
Note: Arduino environment configuration and case compilation can be seen in our B station video (https://www.bilibili.com/video/BV1Vi4y1c7DQ/).
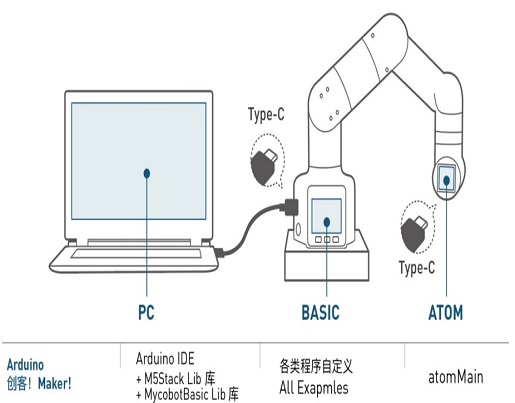
2 Development and use based on Arduino
Arduino is an easy-to-use, easy-to-use open source electronic prototyping platform, including hardware (various development boards that meet Arduino specifications) and software (Arduino IDE and related development packages). The hardware part (or development board) consists of a microcontroller (MCU), flash memory, and a set of general input/output interfaces (GPIO). You can think of it as a microcomputer motherboard. The software part mainly consists of the Arduino IDE on the PC side, the related board support package (BSP), and a rich third-party function library. Users can easily download the BSP and required function libraries related to the development board you have through the Arduino IDE to write your program. We have an open source library MyCobotBasic, which is an open source robot control library developed by our company. It can only be used with robots developed by our company. Using this library, you can control our robot through Bluetooth, WiFi, serial port, etc., and it also supports external sensors, IIC communication, LED lights and other functions. You can DIY different application scenarios according to your needs, or refer to the MiniRobot sample code or angle, coordinate, gripper and other control cases we provide. The MiniRobot sample code contains control-related content such as Bluetooth, WiFi, drag teaching, and distance sensors. After the user installs the Arduino environment, you can directly view the simple use of Arduino and related interfaces. For details, please refer to the Arduino Development Guide section.
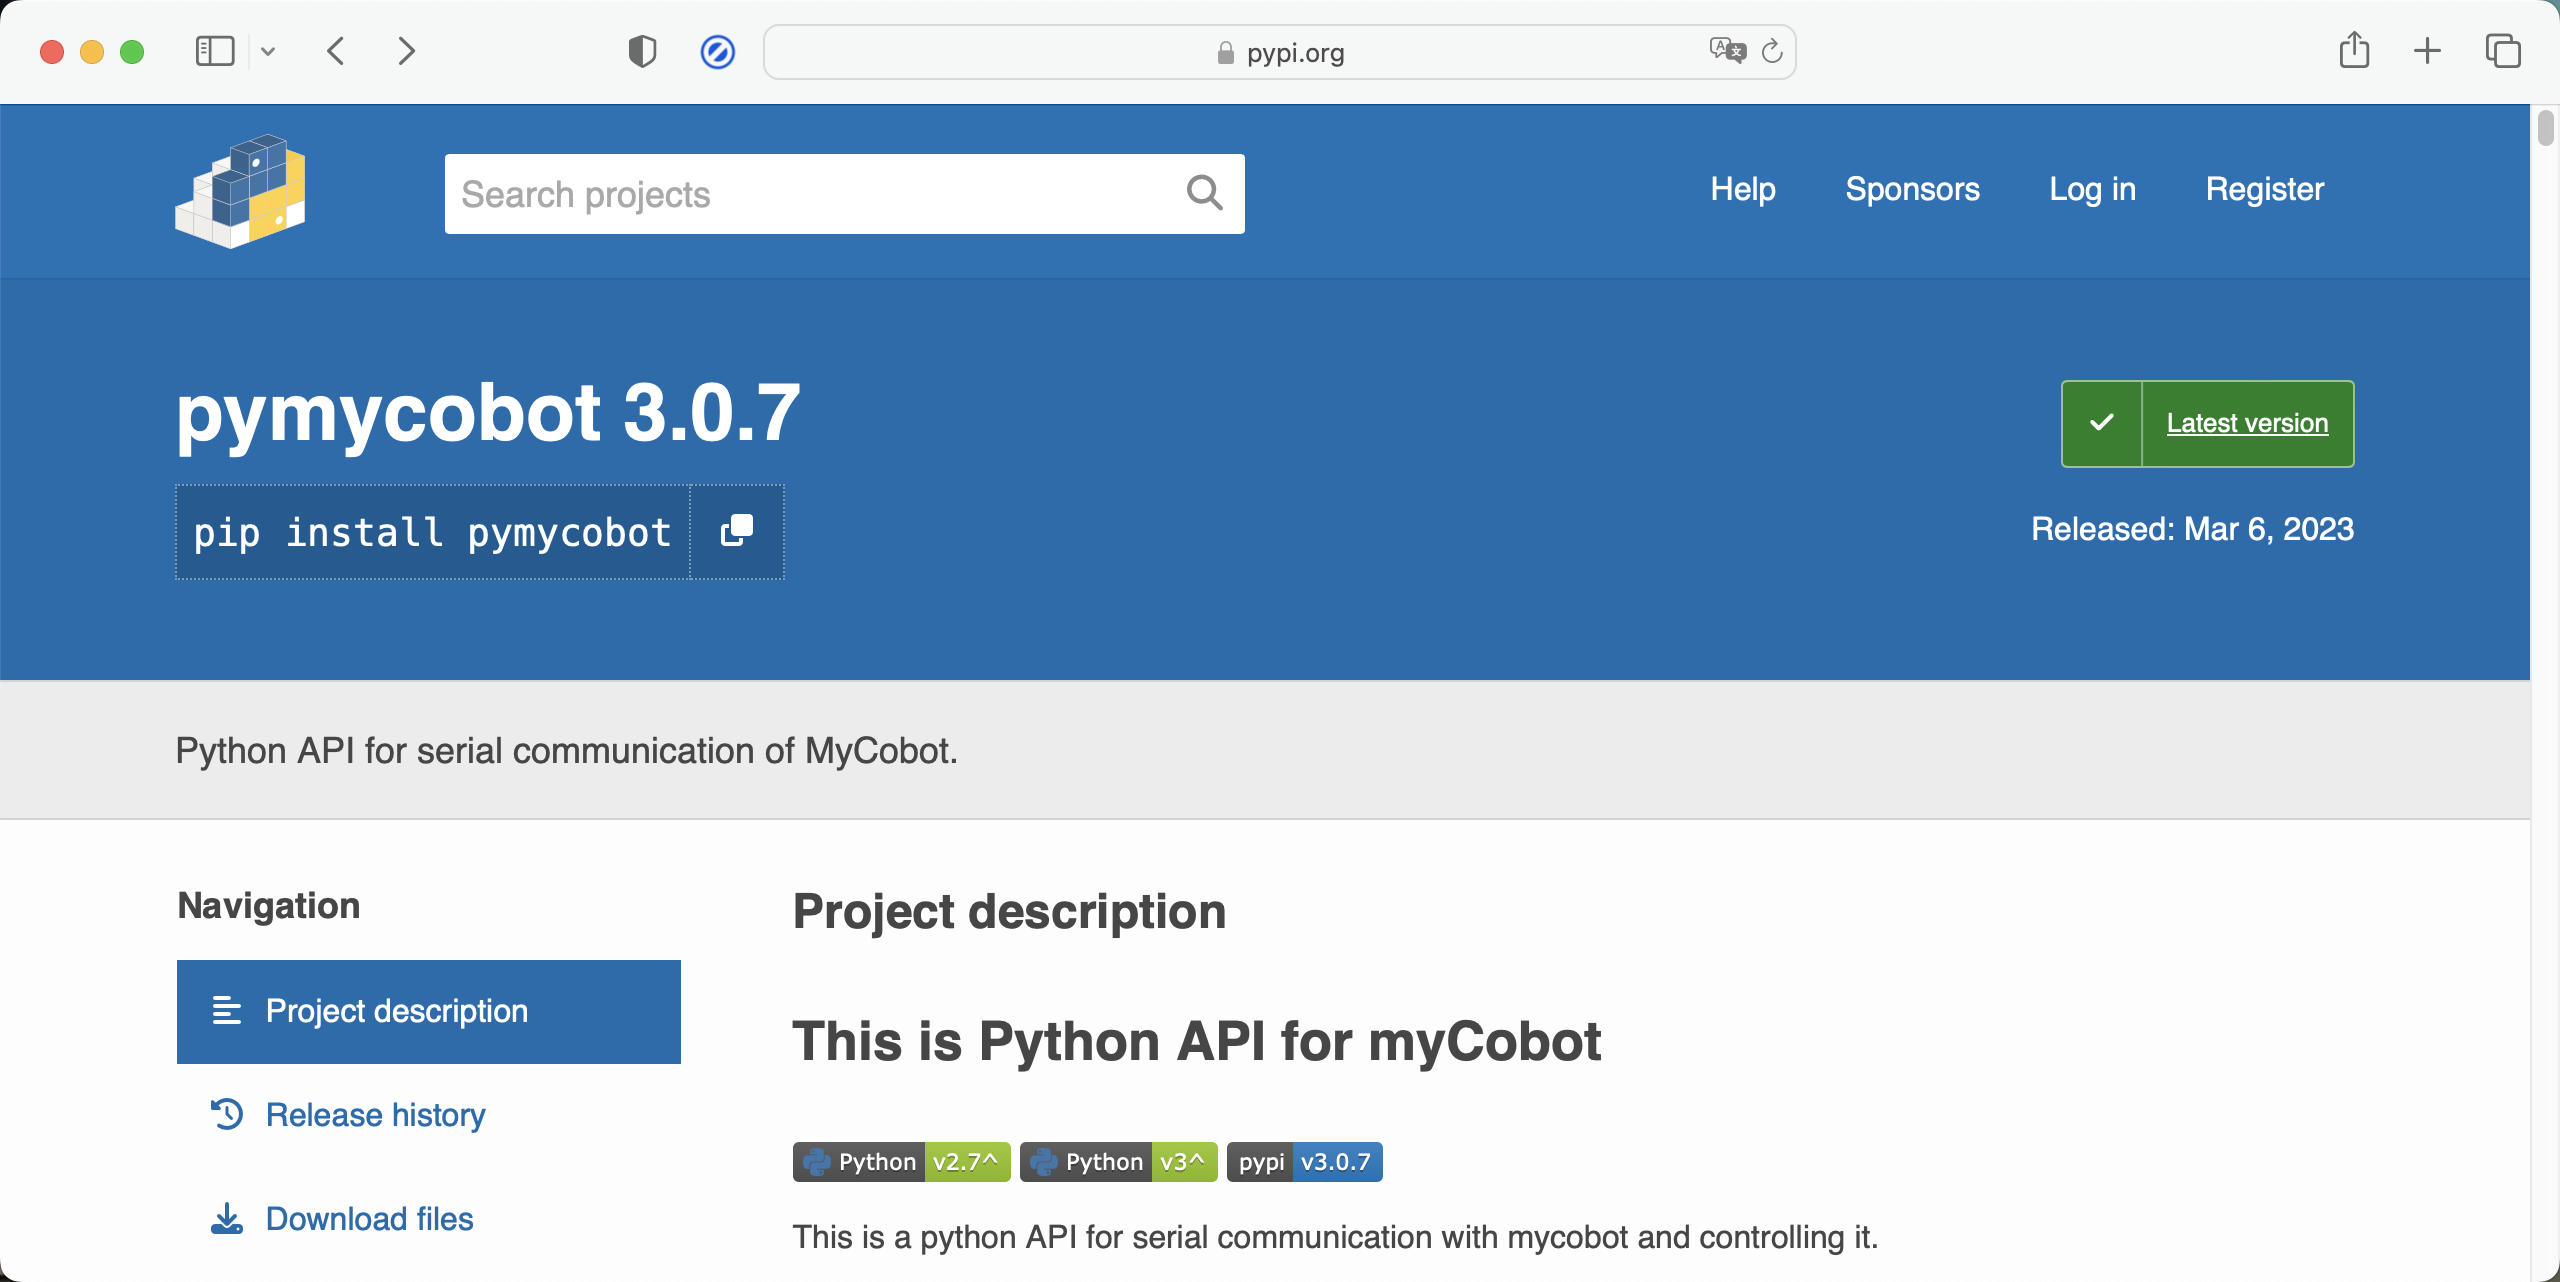
3 Development and use based on Python
Our robots support Python, and the development of Python API libraries is becoming more and more complete. You can control the robot's joint angles, coordinates, grippers, etc. through Python. Refer to python development related chapters for more information.
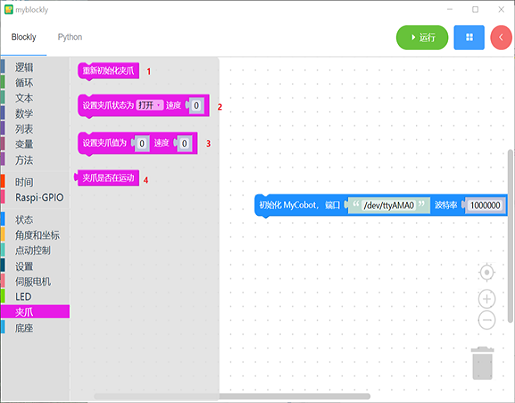
4 Development and use based on Blockly
myBlockly is a fully visual modular programming software, which belongs to a graphical programming language. For details, please refer to the relevant chapters based on myBlockly development.
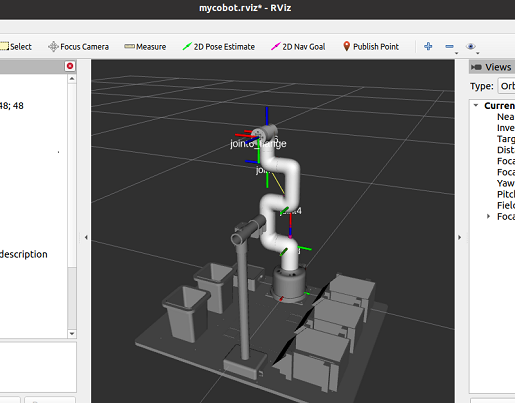
5 Development based on ROS
ROS is open source and is a post-operating system, or secondary operating system, for robot control. Through ROS, we can achieve simulation control of the robot arm in a virtual environment. We will use the rviz platform to visualize the robot arm and use a variety of methods to operate our robot arm; use the moveit platform to plan and execute the robot arm's motion path to achieve free control of the robotThe effect of the arm.
The emergence of ROS solved the communication problem of various parts of the robot. Later, more and more robot algorithms were integrated into ROS. ROS2 inherited ROS and is more powerful and better than ROS.
Compared with ROS, which only supports Linux systems, ROS2 also supports windows, mac, and even RTOS platforms. For more details about ROS and ROS2 development, please refer to the relevant chapters.