Windows Environment Build
First of all, it's important to clarify that all the experimental cases are implemented based on Python + OpenCV + pymycobot. Therefore, when using the M5 robotic arm, you need to burn the ATOM firmware and M5Stack-basic firmware respectively onto the robotic arm's head and base using Mystudio.
Environment Required: Windows 10 or Windows 11、Python3.9.10+OpenCV+pymycobot、PyQt6、Git、Deeyea Camera、RealSense Camera
Applicable devices: mechArm 270 M5、myCobot 280 M5、myCobot 280 PI
Notice: RealSense camera requires USB3.2 Type-C data cable + computer device USB3.0 port
Note: MyCobot 280 for Pi device connects to PC via Socket communication. Therefore, the network connected to the Pi device must be in the same network segment as the PC. Please run the server script on the Pi device to start the server first, and then start the AiKit_3D_UI program on the PC as a client to connect. For how to start the server script, see the TCP & IP Communication section.
1 Install Python+pymycobot
pymycobot is a Python package that communicates with myCobot through serial communication, supporting Python 2, Python 3.5, and later versions.
Before using pymycobot to control the robotic arm, you need to set up the Python environment. For specific installation instructions, please refer to the documentation or instructions provided at the following link: Pyhton + PyCharm Environment build 章节。
Note: The Python version should be installed as 3.9.10.
2 Install OpenCV
OpenCV-Python is a Python-based library designed to solve computer vision problems. Before installation, make sure that the Python environment has been set up.
Open a console terminal (shortcut key Win+R, enter cmd to enter the terminal), enter the following command:
# The version numbers of the two need to be consistent, and version 4.6.0.66 is installed here
pip install opencv-python==4.6.0.66
pip install opencv-contrib-python==4.6.0.66


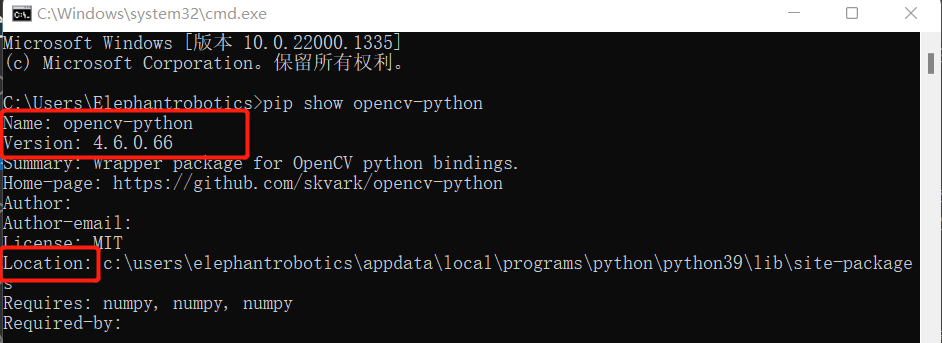
After successful installation, you can use the following command to view the specific installed version and installation location:
# You can also view other python libraries format: pip show library name
pip show opencv-python
pip show opencv-contrib-python

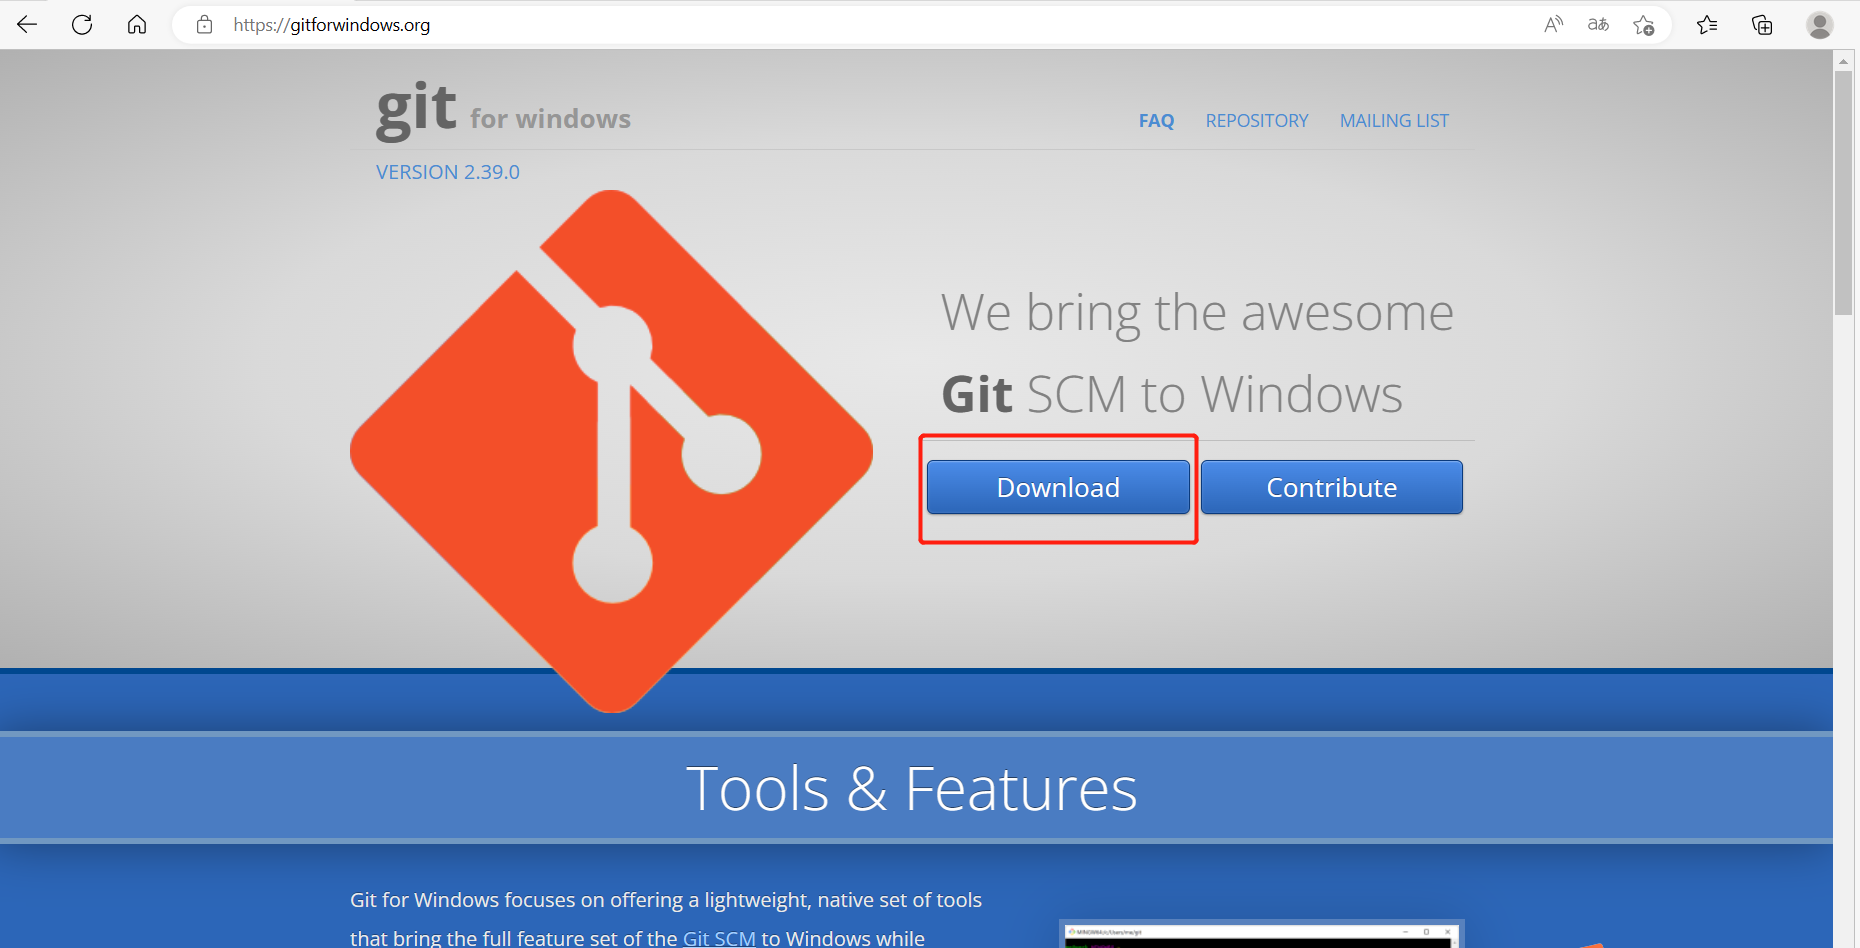
3 Install Git
Git is an open source distributed version control system for effective and high-speed processing of project version management from small to very large.
Git official download address: https://gitforwindows.org/
Click the
Downloadoption to start downloading Git
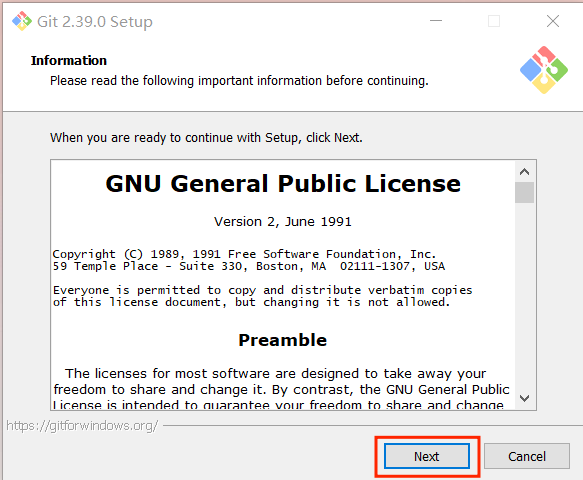
- Double-click the downloaded exe file to install
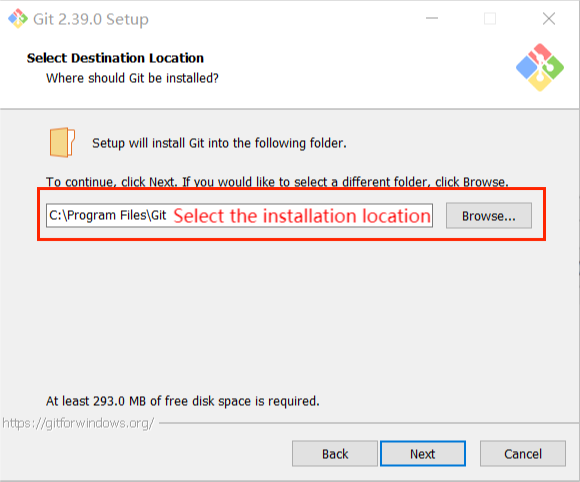
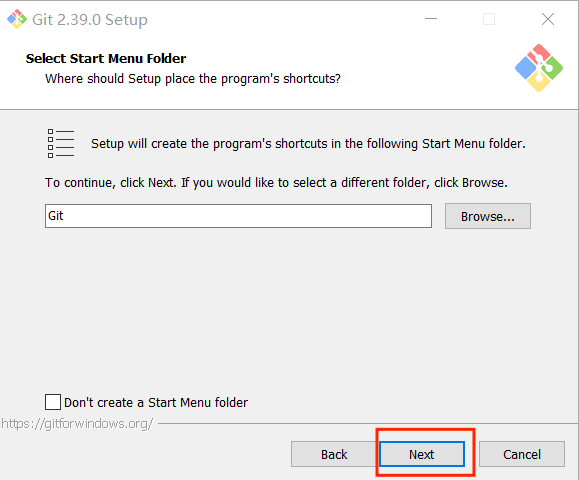
- Select the installation location, the default is under the C drive, if you don’t want to put it under the C drive, you can change the location. After selecting the installation location, click next.
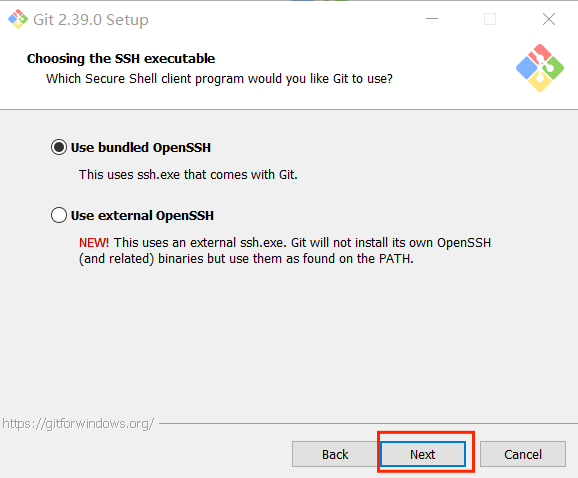
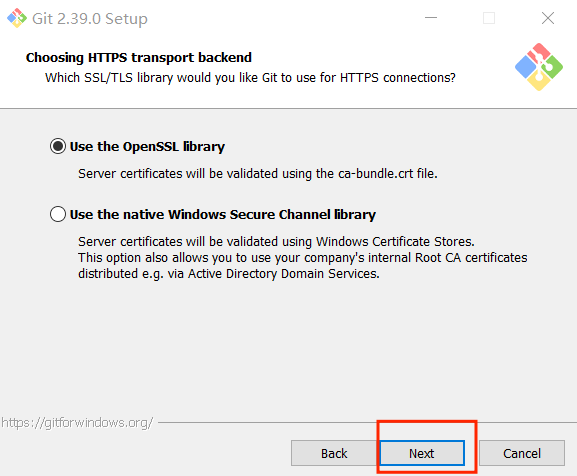
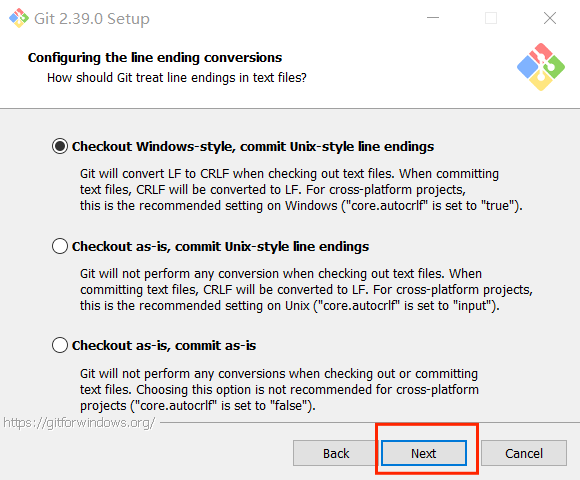
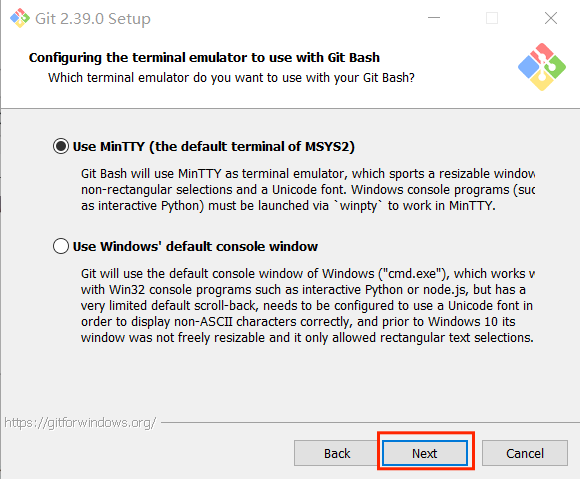
- By default, no icon will be created on the desktop, and a new feature has been added, adding GItBash to the Windows terminal, it is recommended to check it.

- The next step is the default, just select Next.
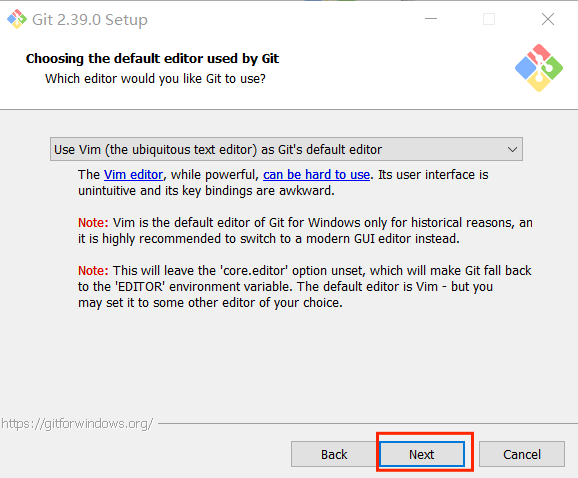
- Choose a default editor, the default is Vim (Linux), and there is Notepad inside, I choose to use Vim
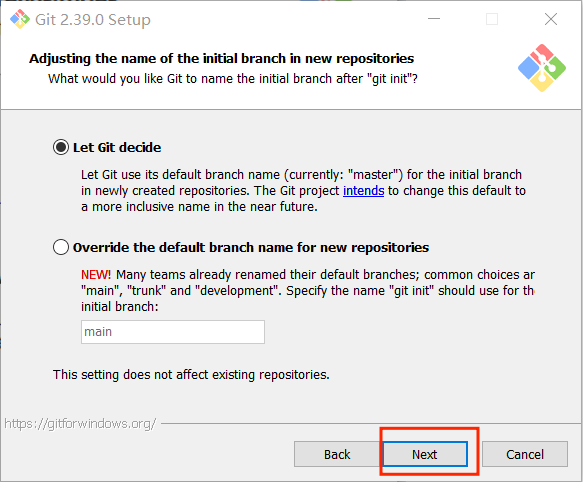
- The default name (master) after Git creates a branch. If there is no special default setting, click next.
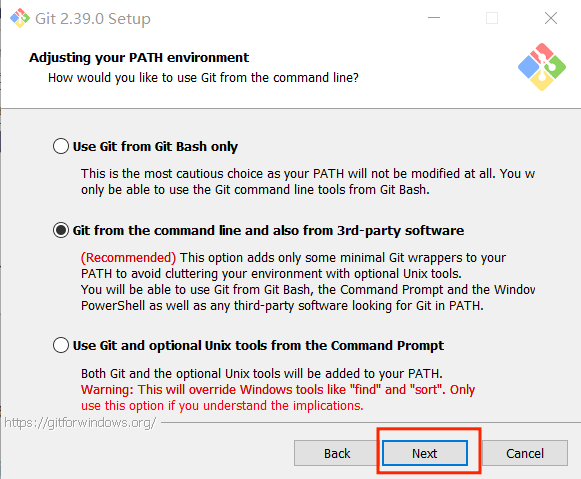
- The next step is the default, just select Next.
- The next step is the default, just select Next.
- The next step is the default, just select Next.
- The next step is the default, just select Next.
- The next step is the default, just select Next.
- The next step is the default, just select Next.
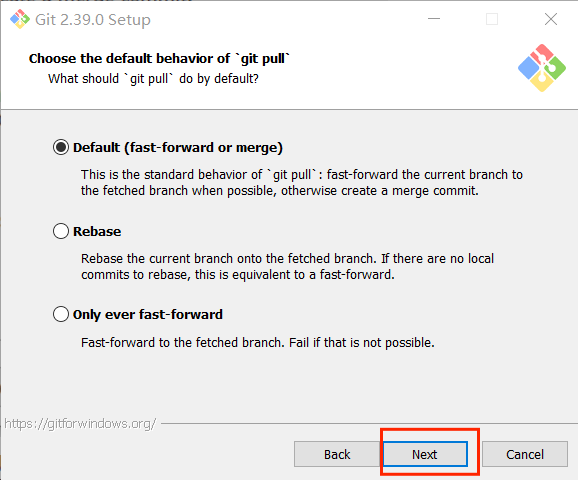
- The next step is the default, just select Next.
- The next step is the default, just select Next.
- Additional configuration options are not selected by default, you can check these two boxes, support (node, python although there are still bugs) and then choose install.
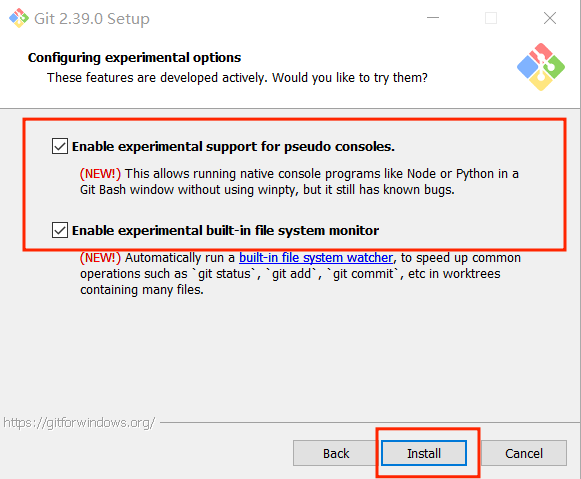
- After the installation is complete, click FInish to complete the installation.

checking
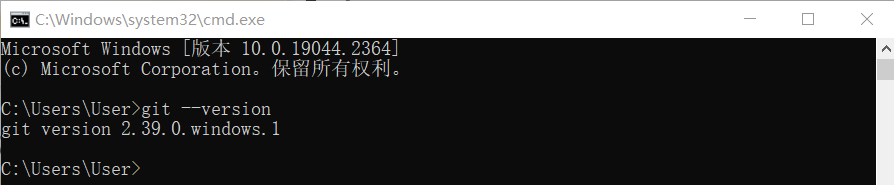
Open a console terminal (shortcut key Win+R, enter cmd to enter the terminal), and enter the following command to view the Git version information:
git --version
You need to use git to download the aikit_V2 package in the future. For the use of git, please refer to the link below:
4 Use of Orbbec Deeyea camera
- Prerequisites for usage: Python version 3.9, numpy version 1.21.0 or higher, and opencv-python version 4.6.0.66.
4.1 Download and Install the Driver
Click to download and install: SensorDriver_V4.3.0.22.zip
4.2 Download OrbbecViewer tool
OrbbecViewer is a sample tool developed based on Orbbec SDK to help developers quickly use Orbbec's 3D sensor products. It implements the features of Orbbec 3D sensor products, including reading serial numbers, obtaining device types, camera parameters, and control functions.
Download link: OrbbecViewer_v1.10.18_202501032218_win_x64_release.zip
Usage tutorial: OrbbecViewer Usage Tutorial
OrbbecViewer for OpenNI2 Demo Platform:Windows x64

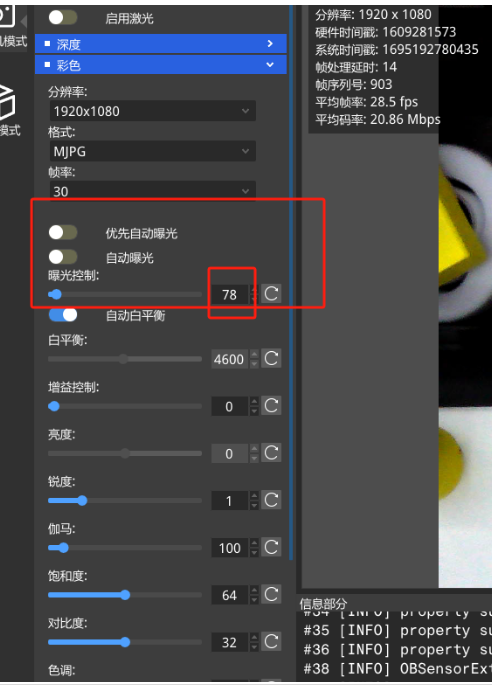
4.3 Deeyea Camera Parameter Adjustment
After connecting the computer to the 3D camera, open the OrbbecViewer tool, adjust certain parameters of the color image, turn off the priority automatic exposure and automatic exposure modes, set the exposure control value to 78, and some computers set it to 156.
Noetic: After hot-plugging the camera, you need to readjust the parameters to avoid exposure.
5 RealSense camera usage
-Prerequisites for use: Python version is 3.9, numpy version 1.21.0 and above, opencv-python version is 4.6.0.66, USB3.2 Type-C data cable + computer equipment USB3.0 port
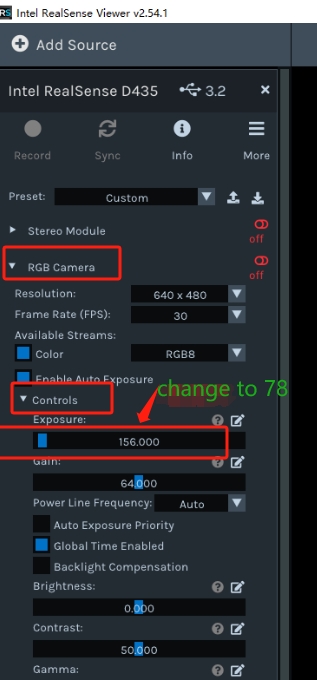
5.1 RealSense Visualization Tool
RelalSense Camera Visualizer Download Link:Intel.RealSense.Viewer.exe
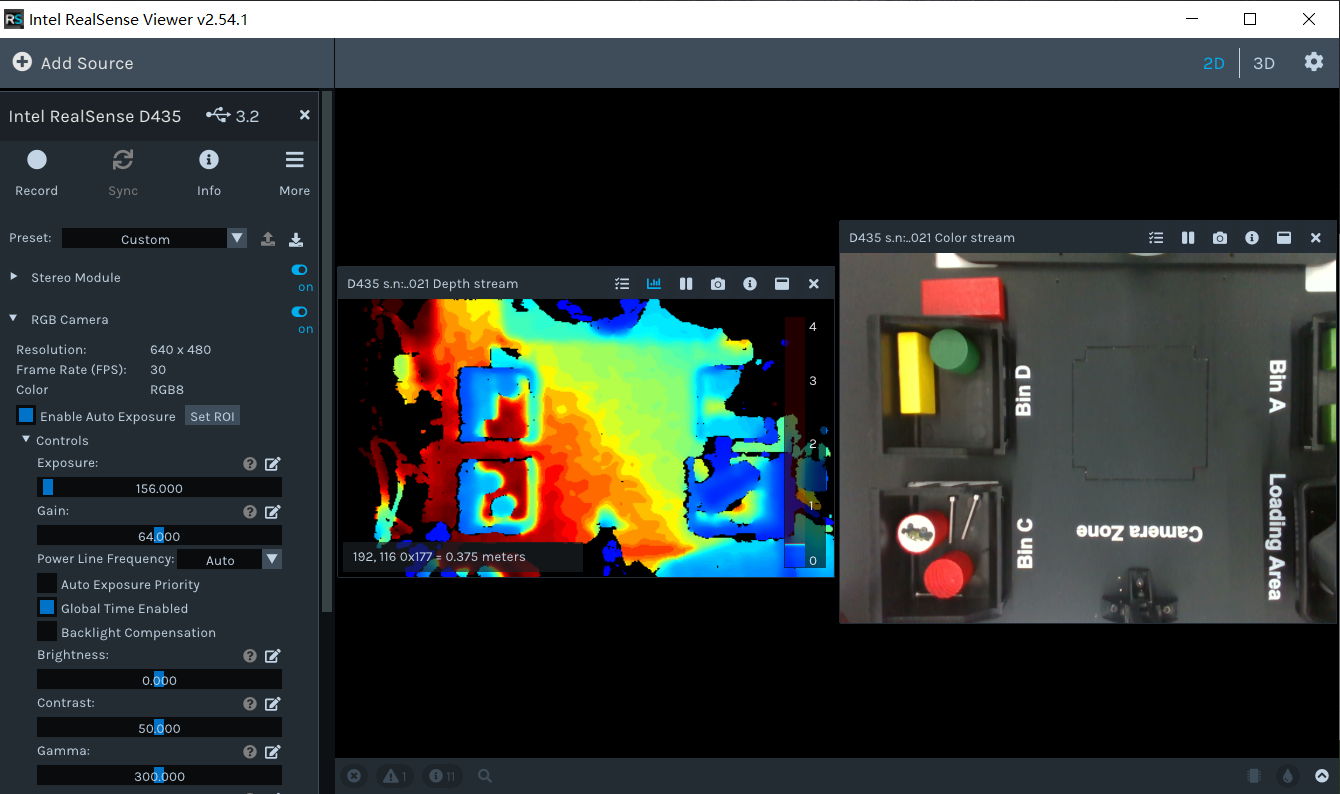
5.2 RealSense Camera Parameter Adjustment
借助RealSense相机可视化工具,调整彩色画面的某些参数,将曝光控制的值设置为78,部分电脑可能是改为156
6 Install Aikit_3D_UI
Aikit_3D_UI is launched by ElephantRobotics, which is an artificial intelligence kit 3D package adapted to its desktop robotic arm.
project address:https://github.com/elephantrobotics/Aikit_3D
6.1 Using Git to clone
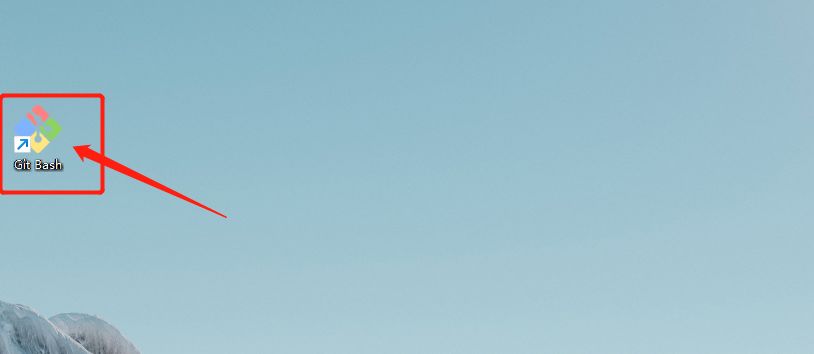
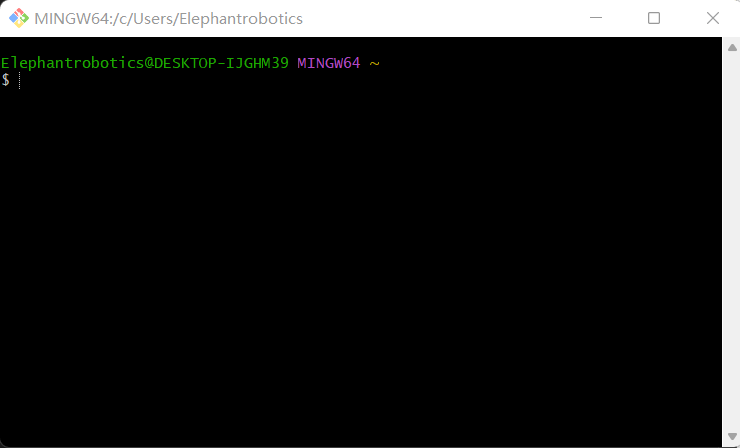
Double-click the Git Bash icon on the desktop to enter the Git terminal.
6.2 Choose different commands according to the model and device
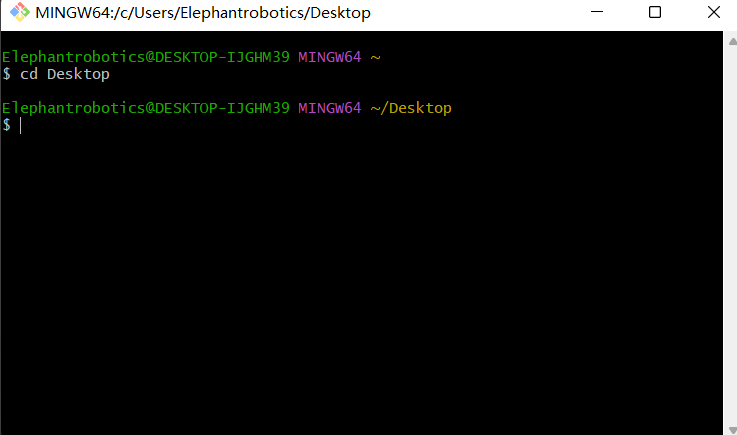
After switching to the desktop in the Git terminal, enter the following command:
- mechArm 270 M5
cd Desktop
# If you use the Obbec Deeyea camera, execute this command
git clone https://github.com/elephantrobotics/AiKit_3D_UI.git
# If using RealSense camera, execute this command
git clone -b realsense_UI https://github.com/elephantrobotics/AiKit_3D_UI.git
- myCobot 280 M5
cd Desktop
# If you use the Obbec Deeyea camera, execute this command
git clone -b Deeyea_280_M5 https://github.com/elephantrobotics/AiKit_3D_UI.git
# If using RealSense camera, execute this command
git clone -b Realsense_280_M5 https://github.com/elephantrobotics/AiKit_3D_UI.git
- myCobot 280 PI
cd Desktop
# Only supports Obbec Deeyea cameras
git clone -b Deeyea_280_PI https://github.com/elephantrobotics/AiKit_3D_UI.git
Then the AiKit_3D_UI folder will appear on the desktop.

6.3 Open project file
Use PyCharm to open the AiKit_3D_UI project folder
6.4 Create Virtual Environment
There are different ways to create a virtual environment. Here are two methods.
6.4.1 Created with PyCharm
To create a virtual environment for the AiKit_3D_UI project folder in PyCharm.
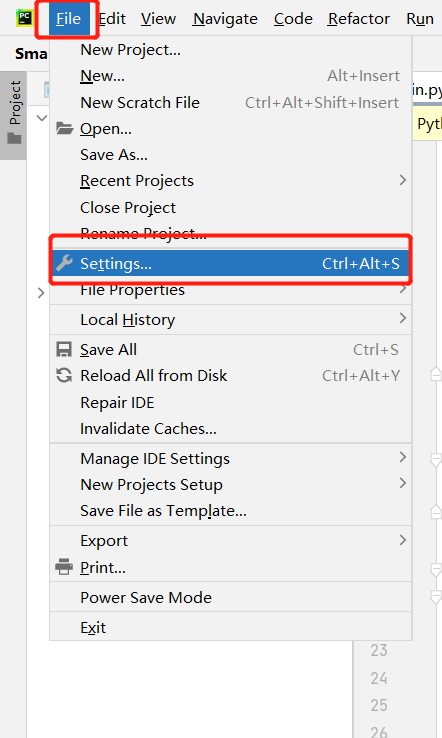
Open PyCharm and navigate to the folder containing the AiKit_3D_UI project.
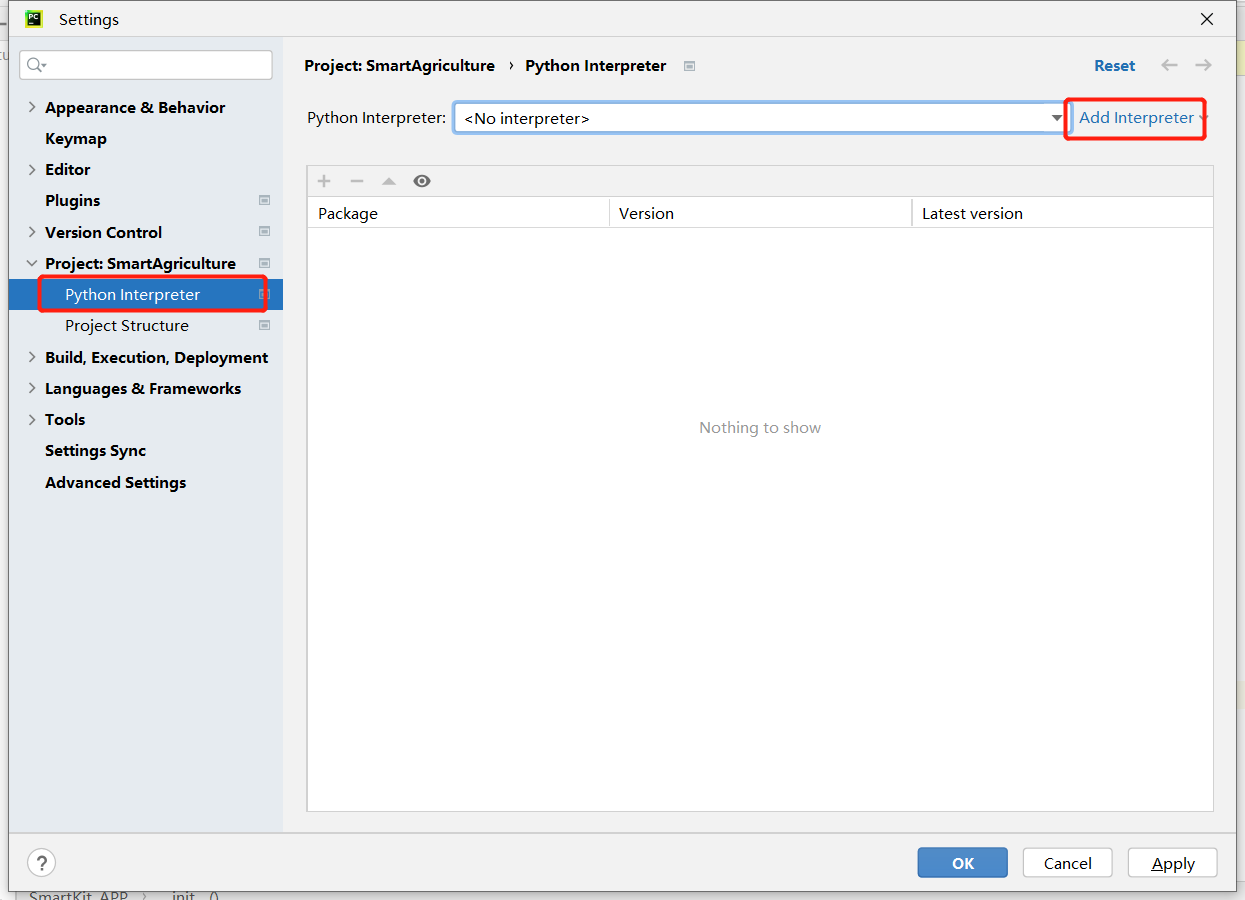
Click on the "File" menu, then select "Settings."
In the Settings dialog, choose "Project: AiKit_3D_UI," and click on "Python Interpreter."
In the top-right corner of the Python Interpreter page, click on the dropdown menu and select "Show All..."
In the popup window, click the "+" button in the top-left corner and choose "Add."
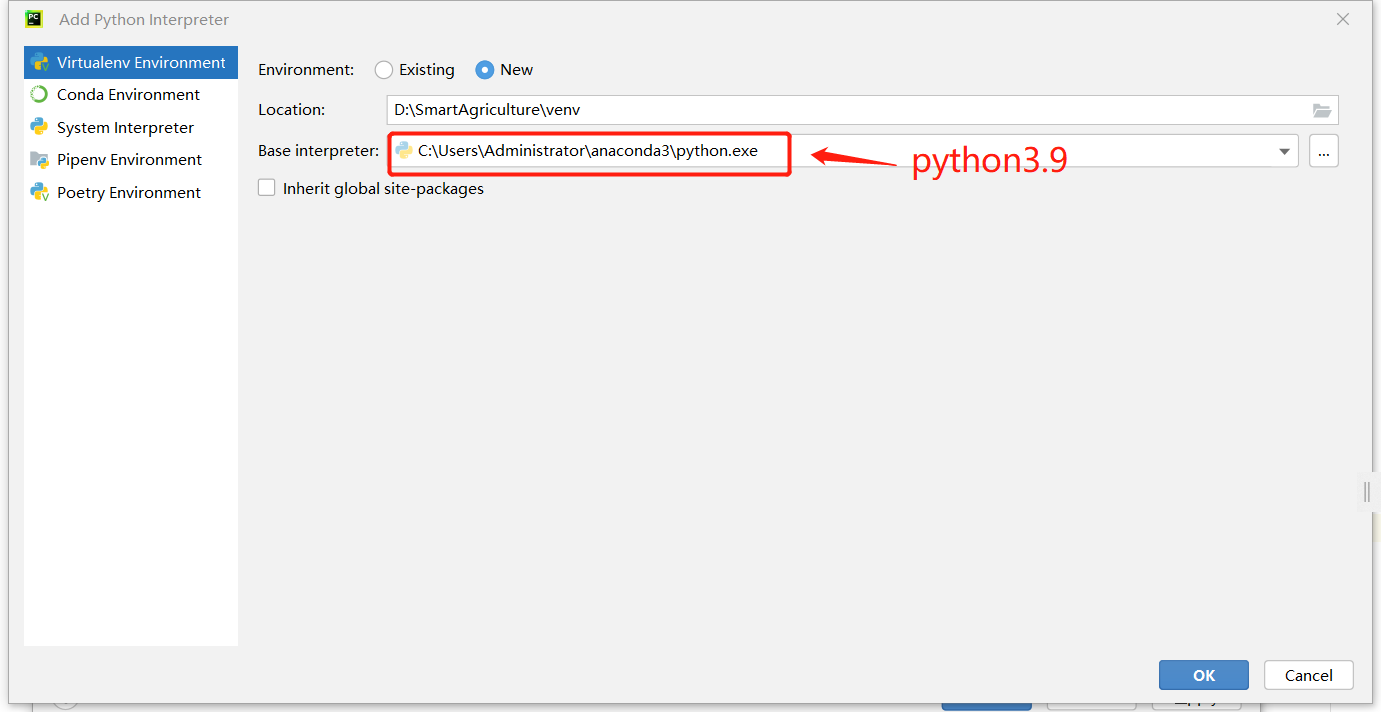
In the "Add Python Interpreter" window, you can either create a new virtual environment or use an existing interpreter.
6.4.2 Use terminal commands
Created through terminal command, where virtual_name is the custom virtual environment name:
# Create
python -m venv virtual_name

# Activate virtual environment and enter
cd virtual_name/Scripts
activate
6.5 Download and install related dependency packages
Under the
AiKit_3D_UIfolder, open the terminal (prerequisite: make sure the terminal has entered the virtual environment) and enter:pip install -r requirements.txtPrerequisite: The creation of the virtual environment has been completed, and the terminal has entered the virtual environment.
Note: The
requirements.txtfile is located in the~/Desktop/AiKit_3D_UIfolder.
At this point, the Windows environment is built.
7 Notes
MyCobot 280 for Pi device connects to PC via Socket communication. Therefore, the network connected to Pi device must be in the same network segment as PC. Please run the server script on Pi device to start the server first, and then start AiKit_3D_UI program on PC as client to connect. For the method of starting the server script, please refer to TCP & IP Communication section.
AiKit_3D_UI project code has multiple branches, please select the corresponding branch code according to different models and devices.
After the Deeyea 3D camera is unplugged and replugged, you need to open the OrbbecViewer tool, adjust some parameters of the color image, turn off the priority automatic exposure and automatic exposure modes, set the exposure control value to 78, and some computers set it to 156.