Unboxing and Initial Setup
1. Unboxing
1.1 Items Included
As shown in the image, the product package includes the following items:

- myArm Robot
- Power Adapter
- Adapter Cable
- Adapter Cable Converter
- Dupont Wires
- Hex Wrench and M4 Screws
- HDMI Cable
- USB-C Cable
- LEGO Connectors
In addition to the above items, the package also contains a product certificate, product brochure, and desiccant.
1.2 Solutions to Unboxing Issues
Missing Items upon Delivery
- Check the List: Please verify if the items in the package match the purchase list or the shipping list.
- Inspect the Packaging: Sometimes, items might be concealed within the packaging. Ensure a thorough check.
- Contact Customer Service: If you find any missing items, contact the supplier or retailer's customer service immediately.
- Provide Proof: You may need to provide photos or videos as evidence, showing the package and its contents.
- Await Resolution: Once you've reported the issue, the supplier usually offers a solution, such as reshipment or refund.
Wrong Items Delivered
- Check the Items: Confirm that the items received do not match the items ordered.
- Retain Original Packaging: Do not open or use the incorrect items. Keep all original packaging intact.
- Contact Customer Service: Notify the supplier or retailer immediately about the wrong items received.
- Arrange for Return: The supplier might provide a return label or instructions for you to return the incorrect items free of charge.
- Reshipment: Once the mistake is confirmed, the supplier usually reships the correct items.
Items Damaged upon Receipt
- Take Photos or Videos: Capture clear images or videos of the damaged item as proof.
- Do Not Use Damaged Items: To prevent further issues or injury, refrain from using damaged items.
- Contact Customer Service: Inform the supplier or retailer that the received item is damaged.
- Provide Proof: Share the captured images or videos with the supplier as evidence of the damage.
- Resolution: The supplier might offer a refund, replacement, or other remedies.
Other Product Concerns
- Identify the Issue: Describe the problem in detail, using images or videos.
- Provide Relevant Information: Provide complete documentation and stop any corresponding operations.
- Contact Customer Service: Communicate promptly with your supplier or purchase platform's customer service.
- Await Resolution: Once customer service receives your feedback, they will contact you to address the issue.
2. Initial Setup
Before starting this process, ensure your device is in proper condition. Read and adhere to the Safety Instructions. Make sure your working environment is safe. After securing the robotic arm base, connect the external devices and prepare for startup.
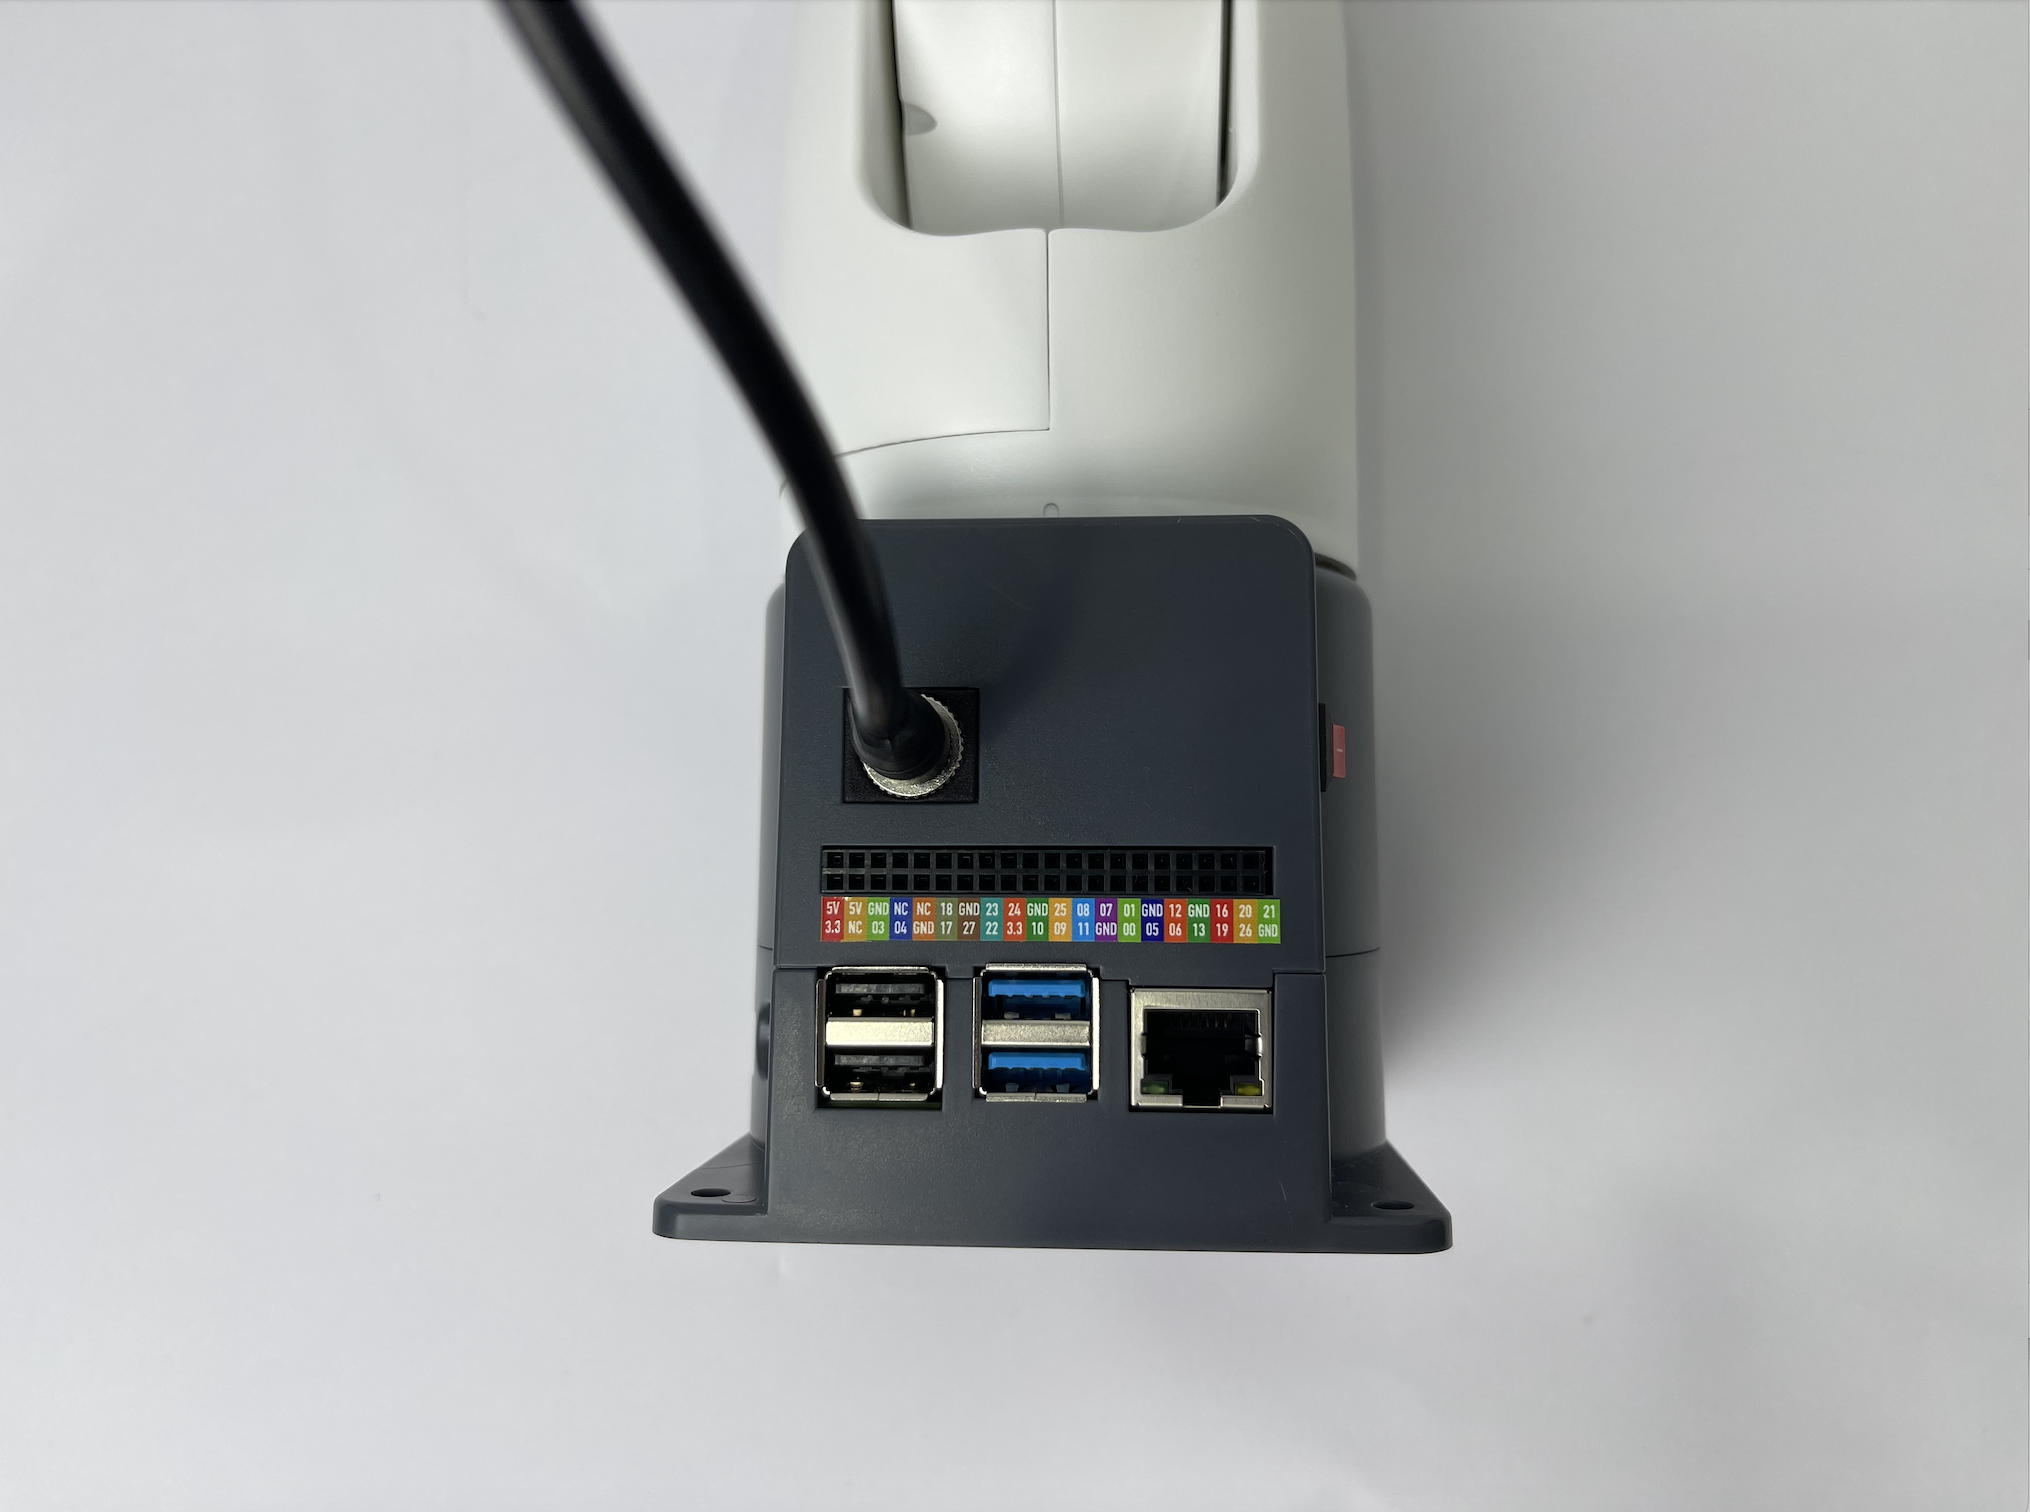
2.1 Connect External Devices
Connect to a Desktop Monitor
First, plug the HDMI cable into the monitor's HDMI port.

Next, insert the other end into the Expansion Panel's lower left side HDMI port of the robotic arm. Ensure you check the orientation before inserting to prevent damaging the port.
Observe the port

Connect the cable

Connect Mouse, Keyboard, and Other Peripherals
The USB port can be used to connect devices that communicate via USB, including keyboards and mice.
- First, ensure that your device is recognized by the Ubuntu system before connecting it to the robot.
- Some devices might require driver installations based on manufacturer instructions. For details, consult your device supplier.
- If there's a recognition or driver issue, test on another Ubuntu system for confirmation.
- Note: The robot cannot communicate directly with another computer or a higher-level machine's USB port.
The RJ45 port can be used for ethernet connections, allowing the robot to connect to a master or slave device.
2.2 Connect to Power
The robot requires an external power source. Its specifications are:
Rated voltage: DC 12V5A
Plug Type: DC 5.5mm x 2.1mm
The connection is shown in the image below:
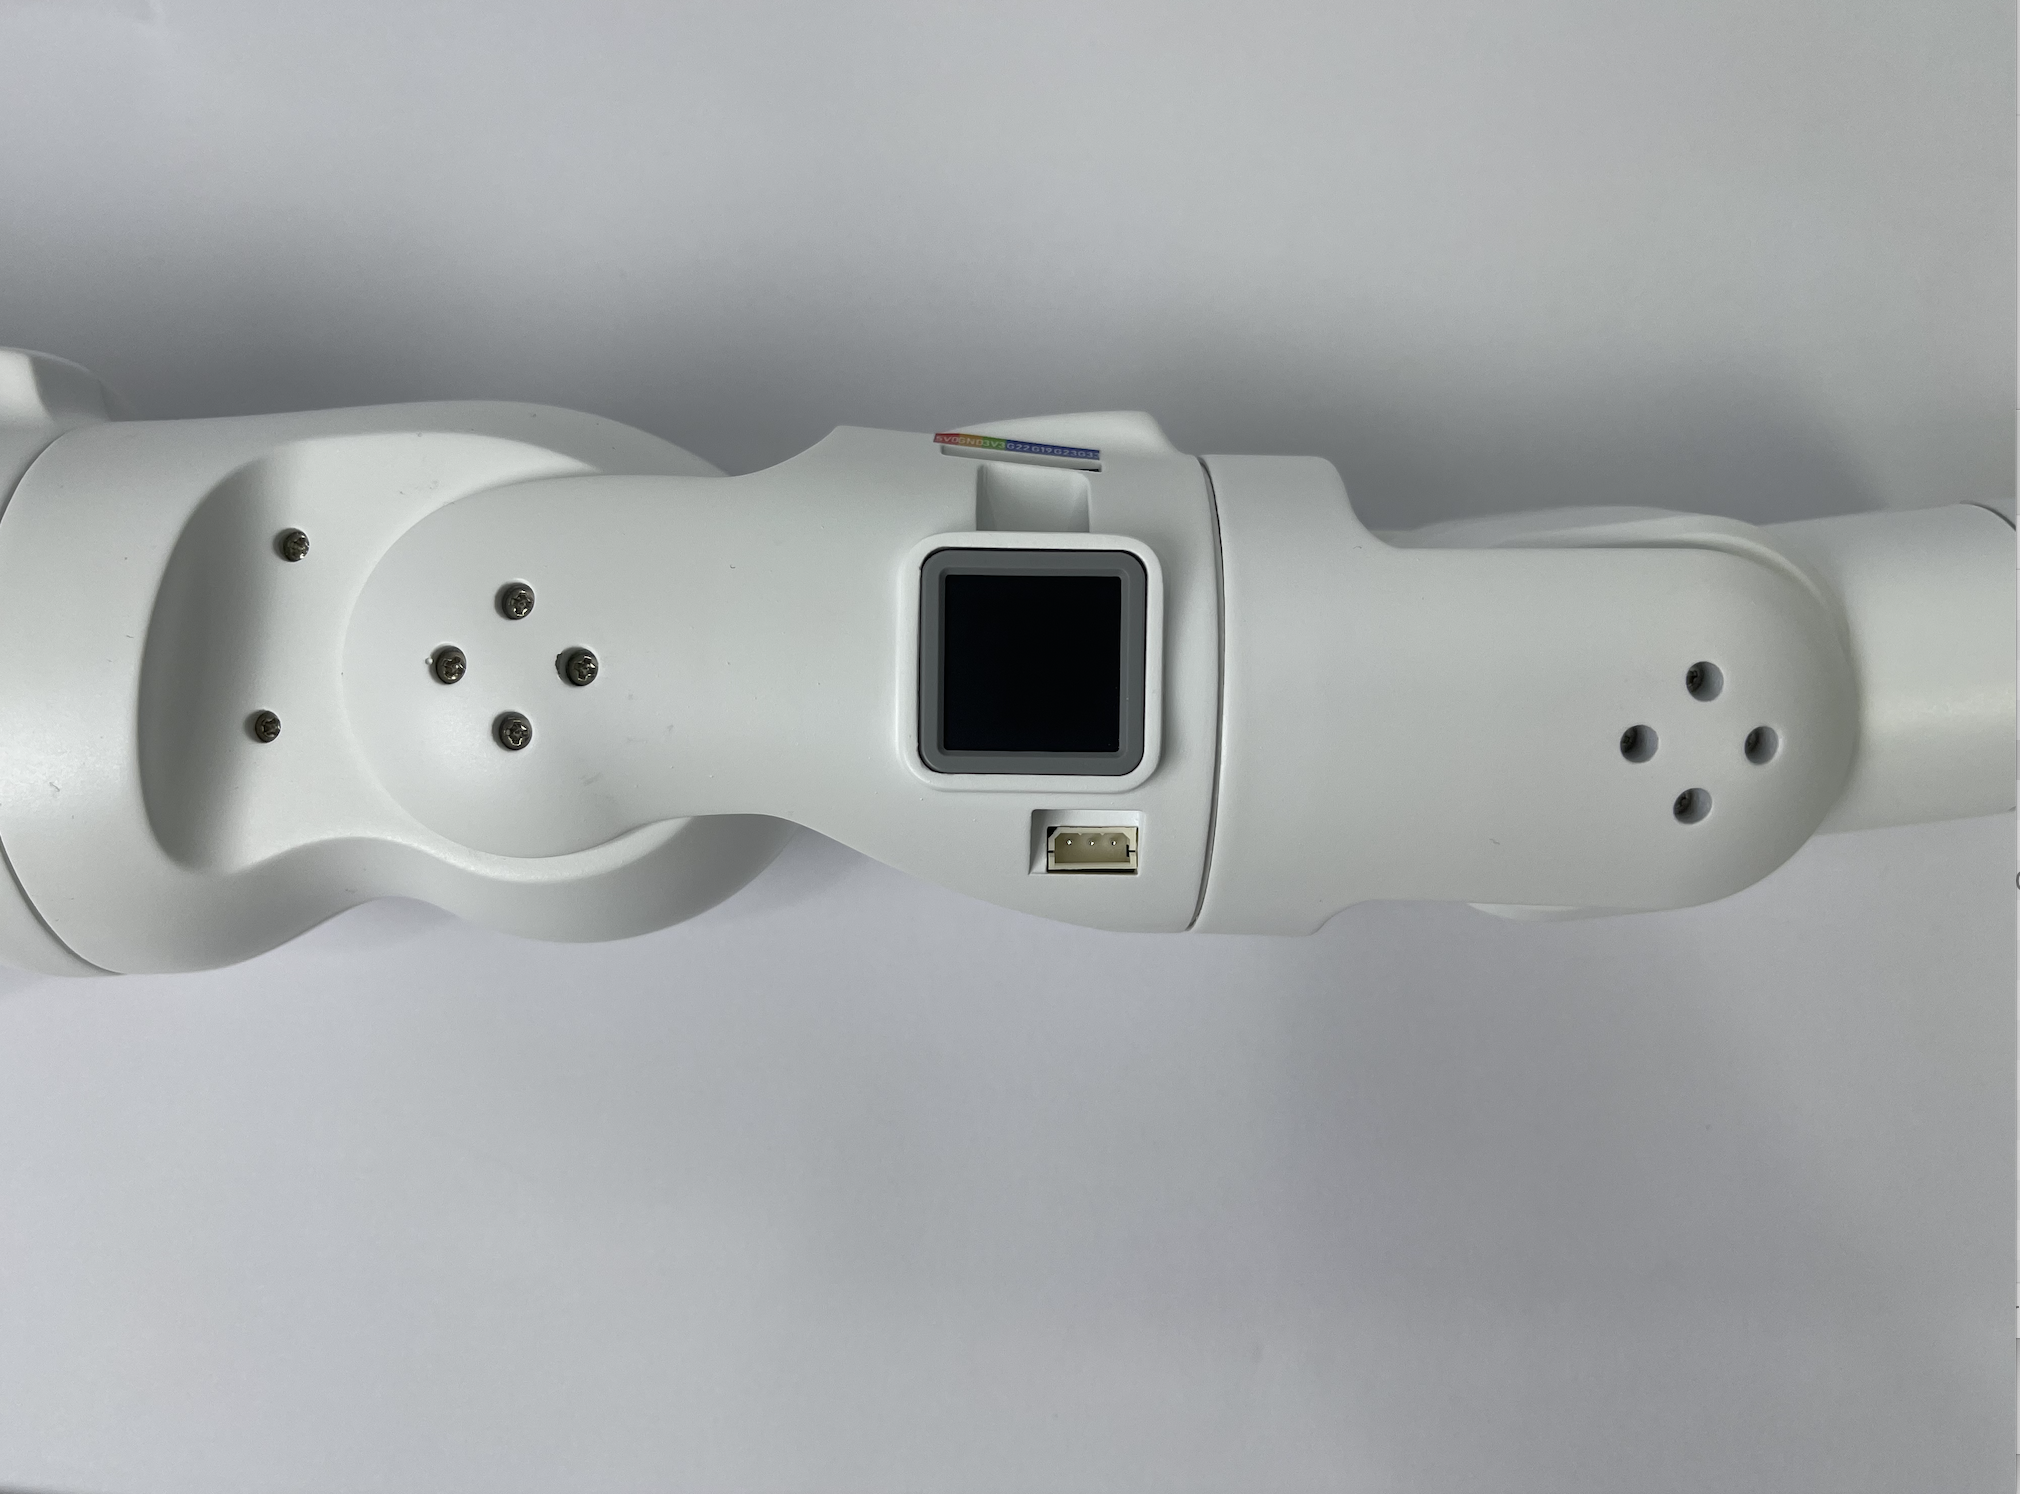
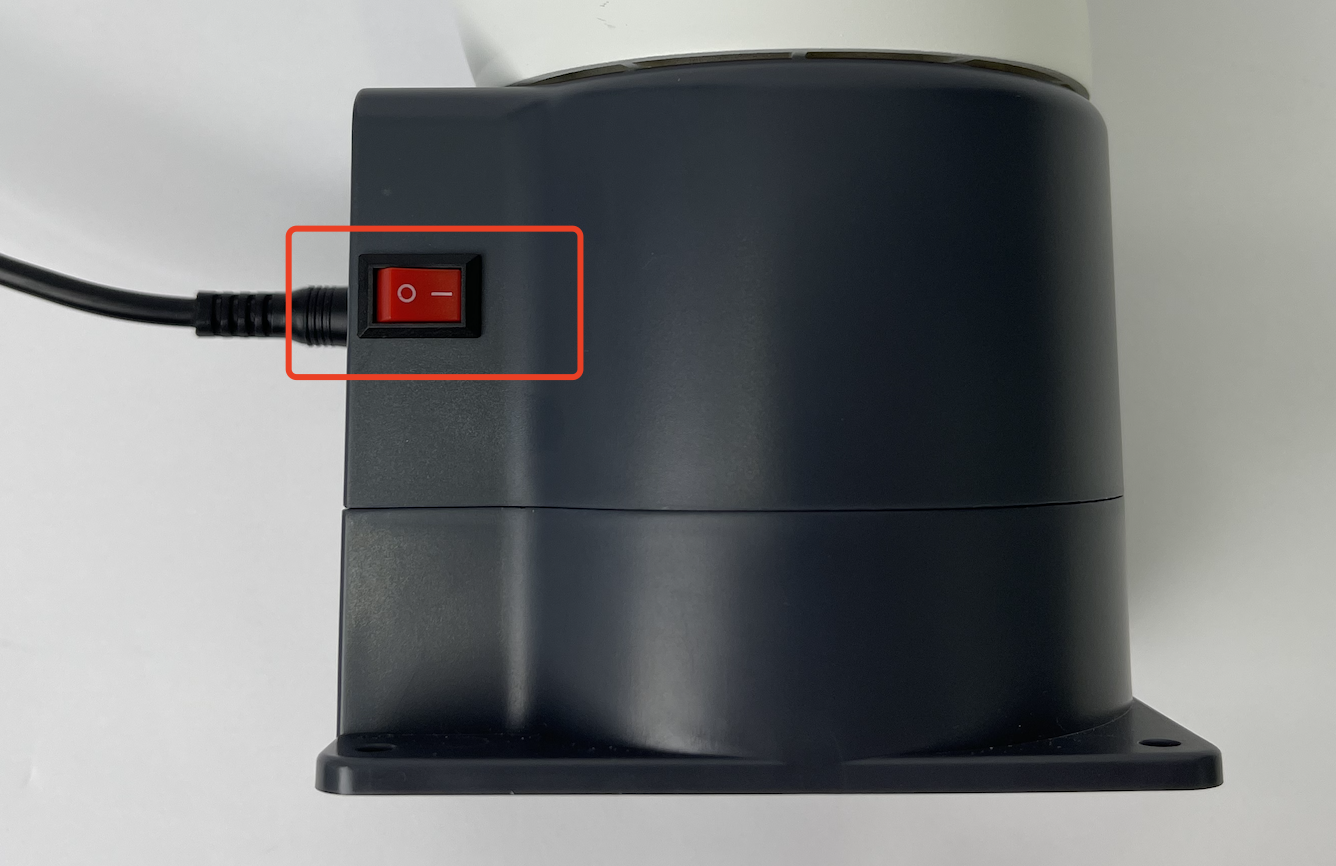
2.3 Power On
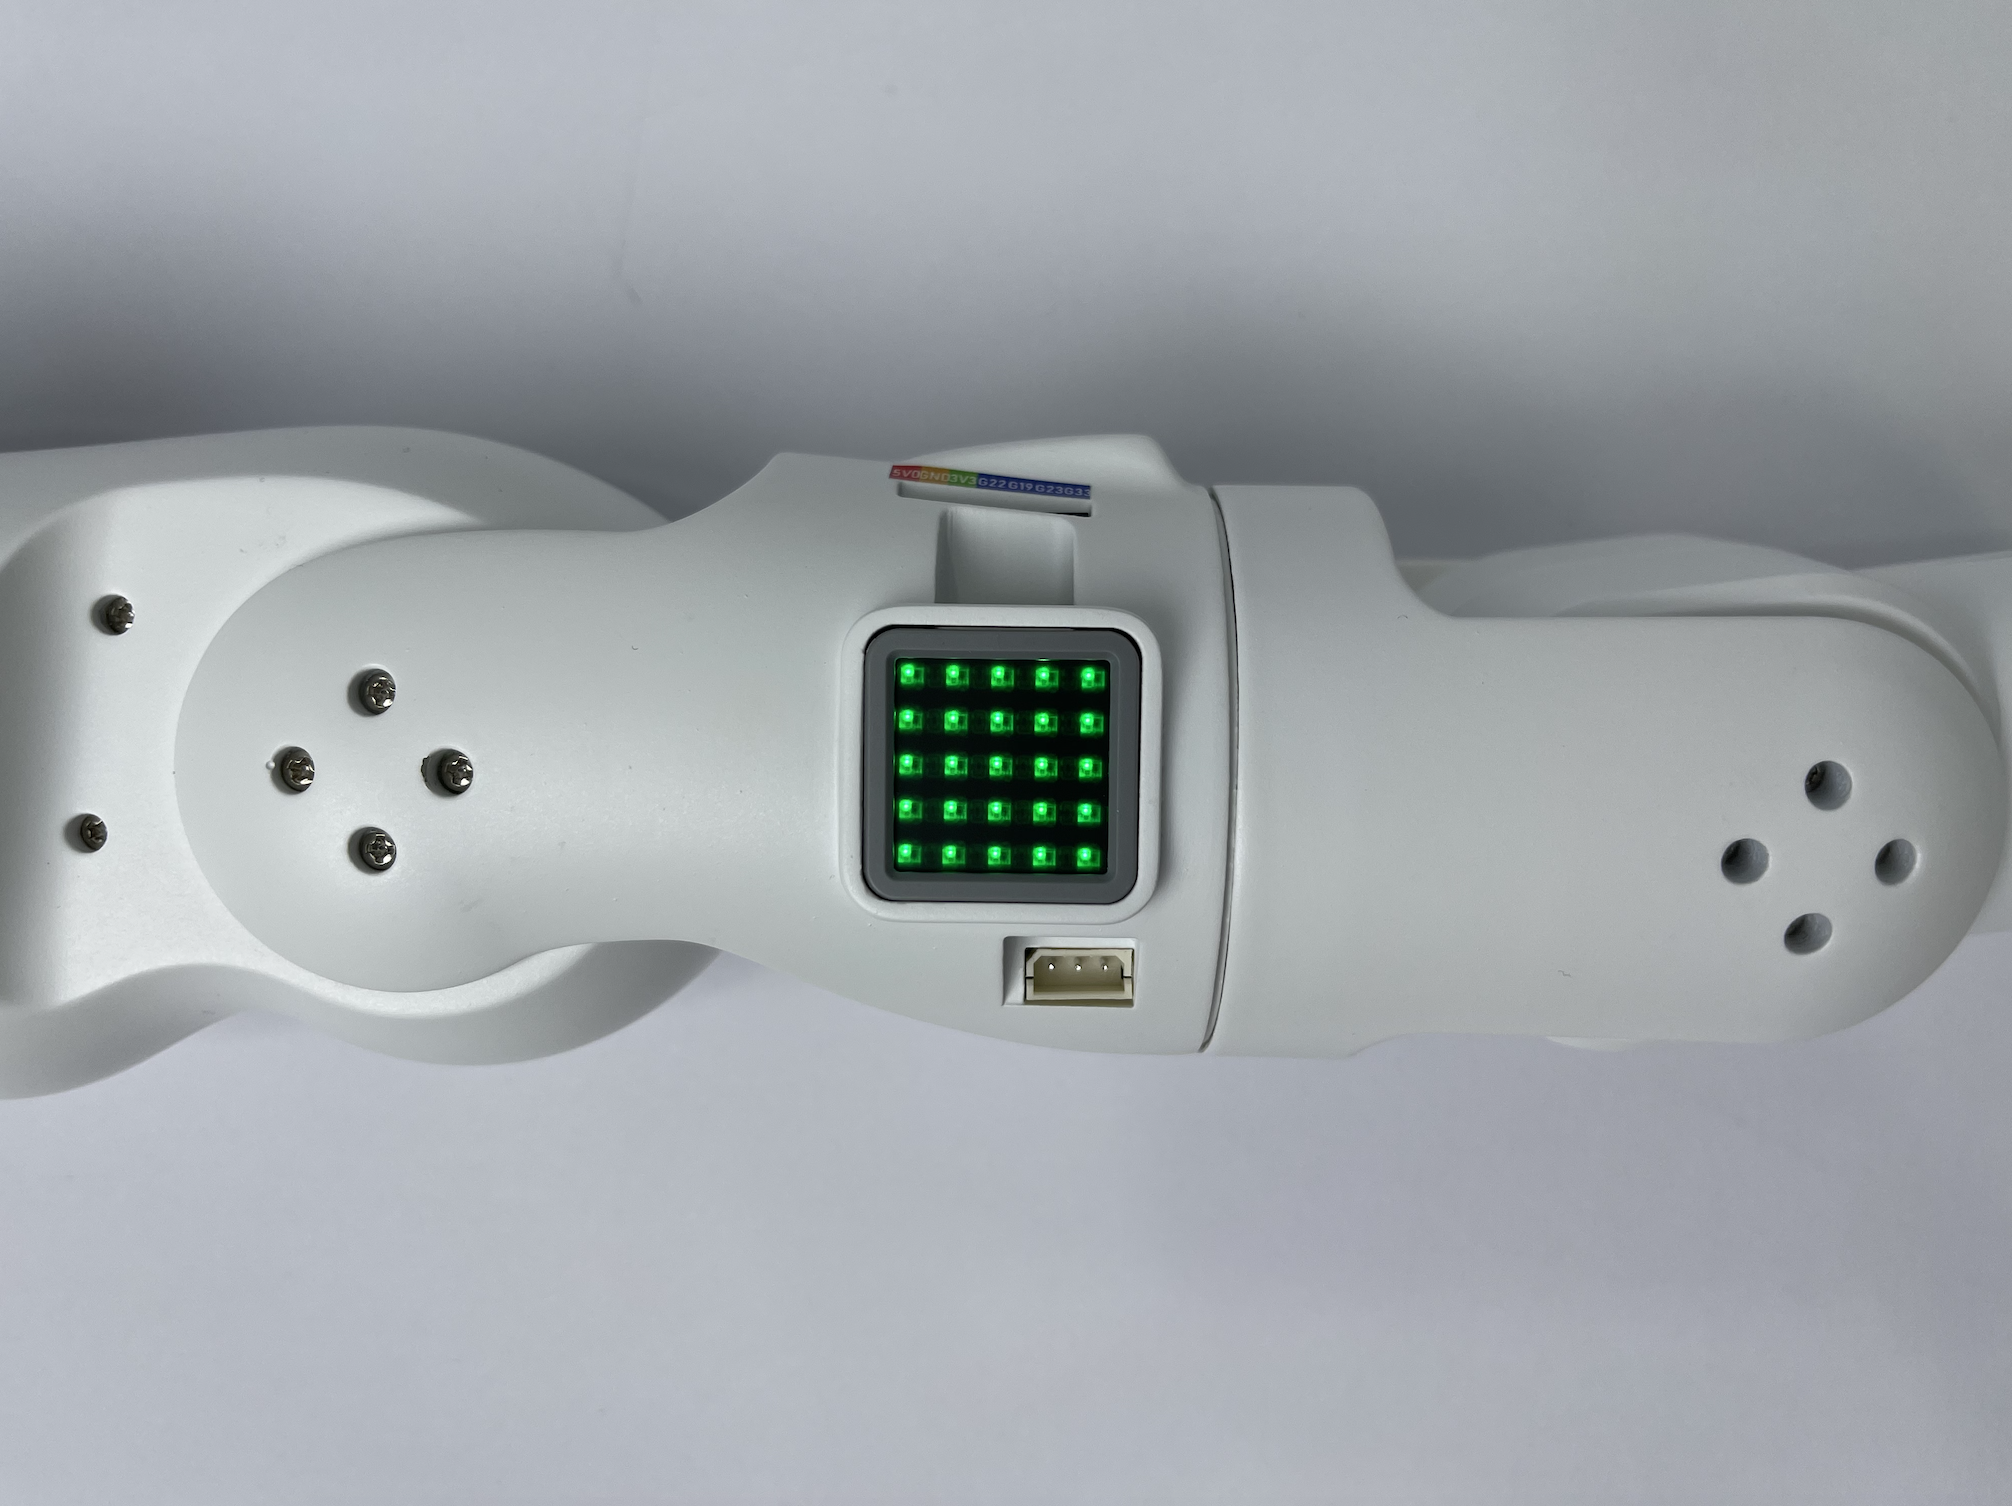
After connecting the necessary external devices and the robot's power source, press the red power button to turn on the robot. Once pressed, the ATOM LED on the robot's arm will light up in green. Here's what you can expect:
When the robot is off, the AtomLED is off, and the robot joints don't exert torque. You can manually position the joints.
Gently press the power button to turn it on.
When the robot is on, the AtomLED is brightly lit, and the robot joints exert torque. You cannot manually position the joints.
2.4 Boot to System Interface
After powering on, the robot will perform a system self-check. If there are no malfunctions, it will boot to the system desktop, as shown below:
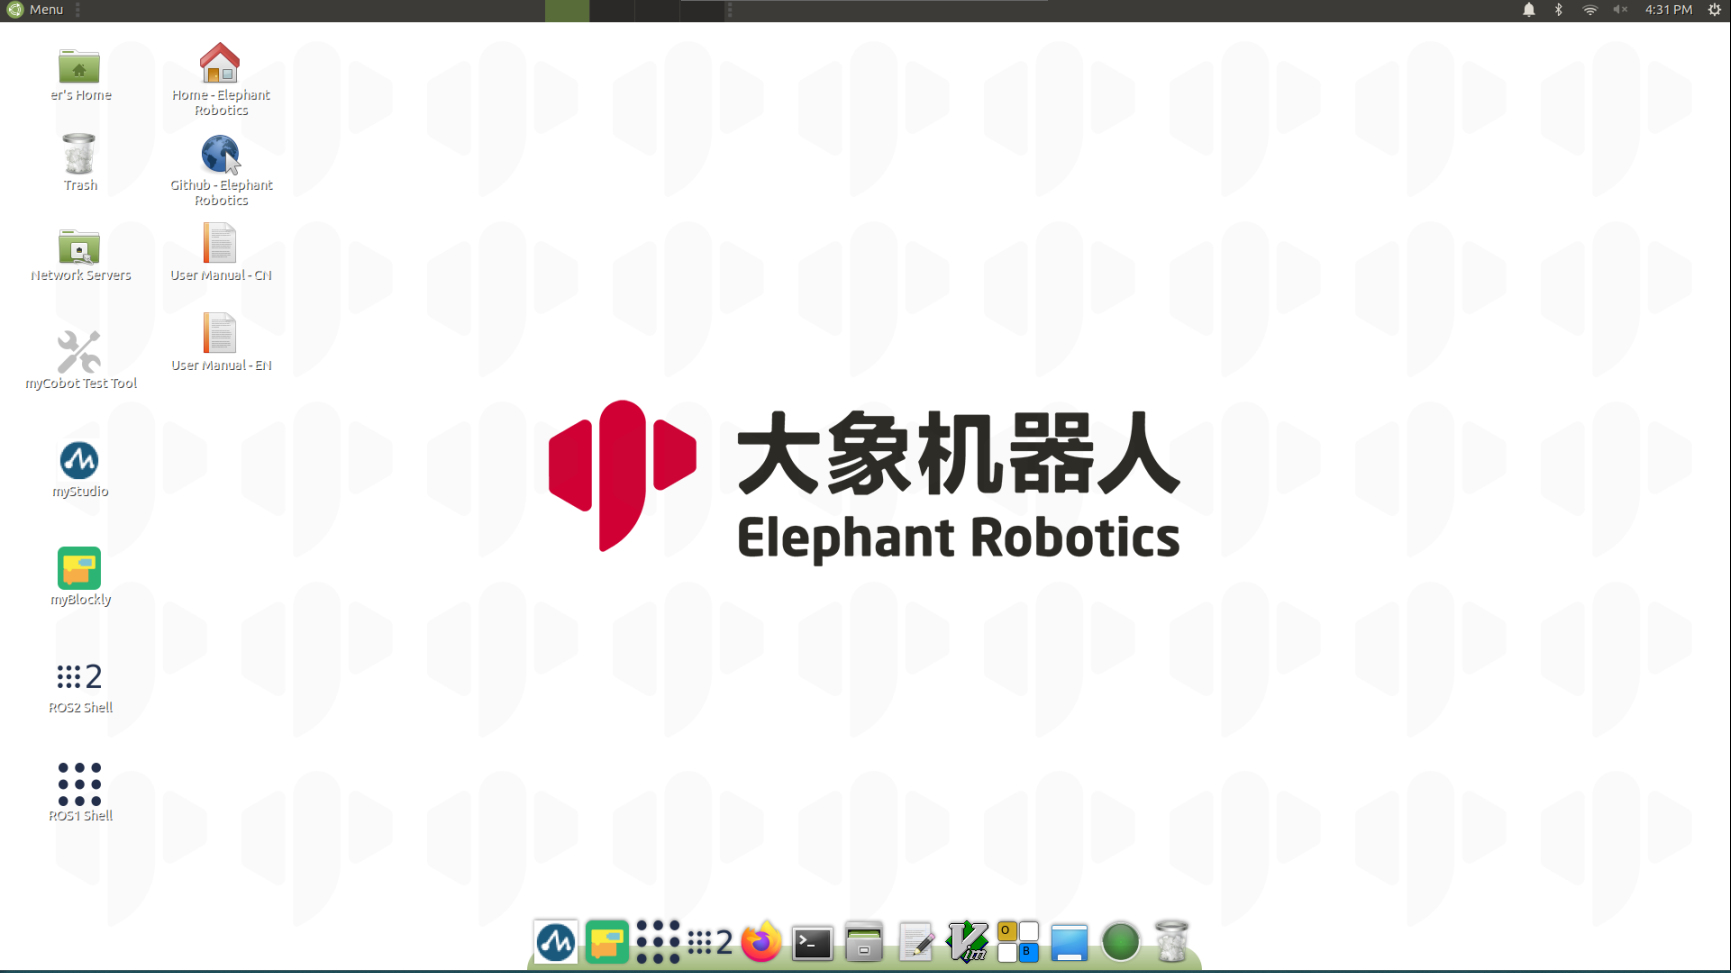
If your robot starts up successfully, congratulations! You have completed the robot's startup process. Continue by reading the robot's basic functionality and extended development application chapters to learn how to use the robot.