Environment setup
The mycobot 280 RDK X5 robot arm has a built-in python environment
You can check the python environment of the robot arm by the following method
Check the python package:
Open the terminal, enter
pip list
Then press the enter key to view all the packages currently installed in the python environment.
Enter
python --version
in the terminal to query the python version currently used by the robot arm.
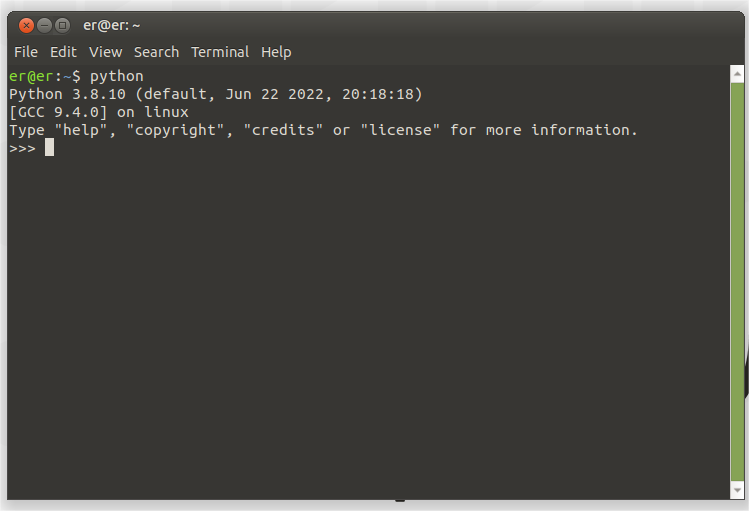
Enter python in the terminal, then press Enter. When >>> is displayed, it means that the python compilation environment has been entered, and you can use python to write code at this time.
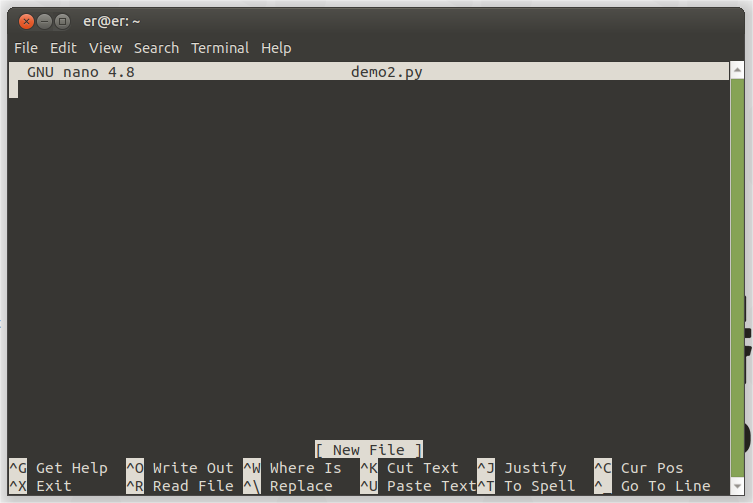
You can also use the nano command to create a python file. First open the terminal, enter
nano demo.py
Then press Enter to create a python file named demo. Here demo is the file name of the created python file, you can change it to any name here. After pressing Enter, you will enter the code editing page, where you can write python program code.
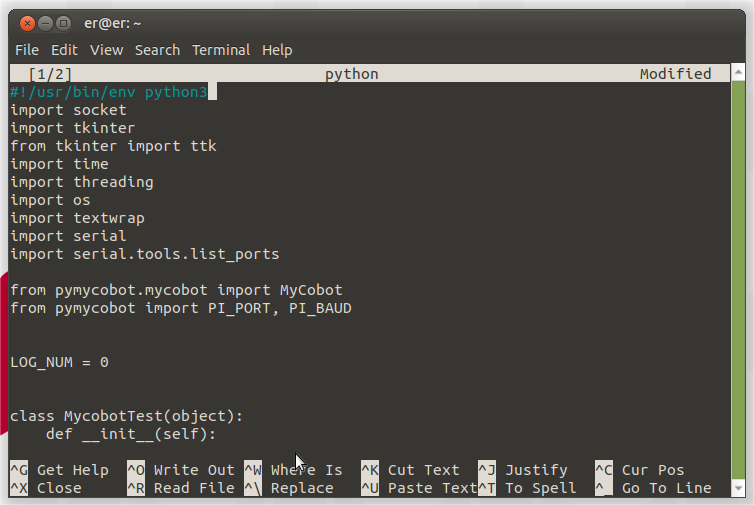
After writing the Python program, press ctrl+s to save the edited program, and then press ctrl+x to exit the editor.
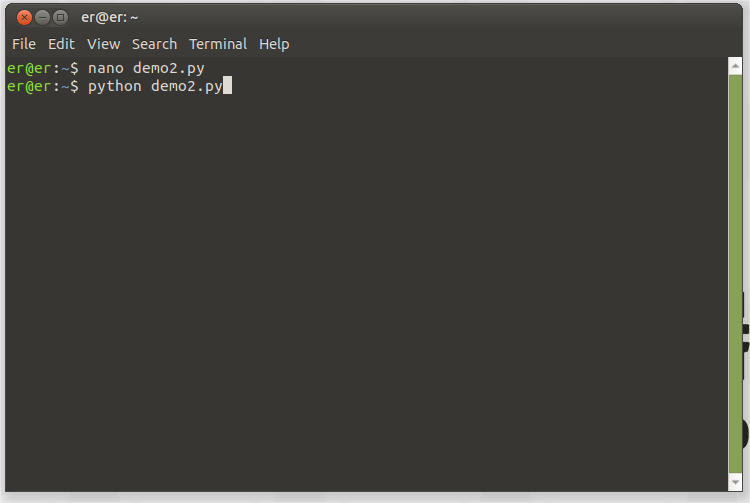
In the open terminal, enter
python demo.py
to run the Python program you just wrote.
Simple use of Python
After the above preparations are completed, start to control the robot arm through Python code. Here, the MyCobot 280 RDK X5 version is used as an example for demonstration.
First, open the PyCharm you installed, create a new Python file, enter the following code, and import our library:
from pymycobot import MyCobot280RDKX5
Note:
If you enter
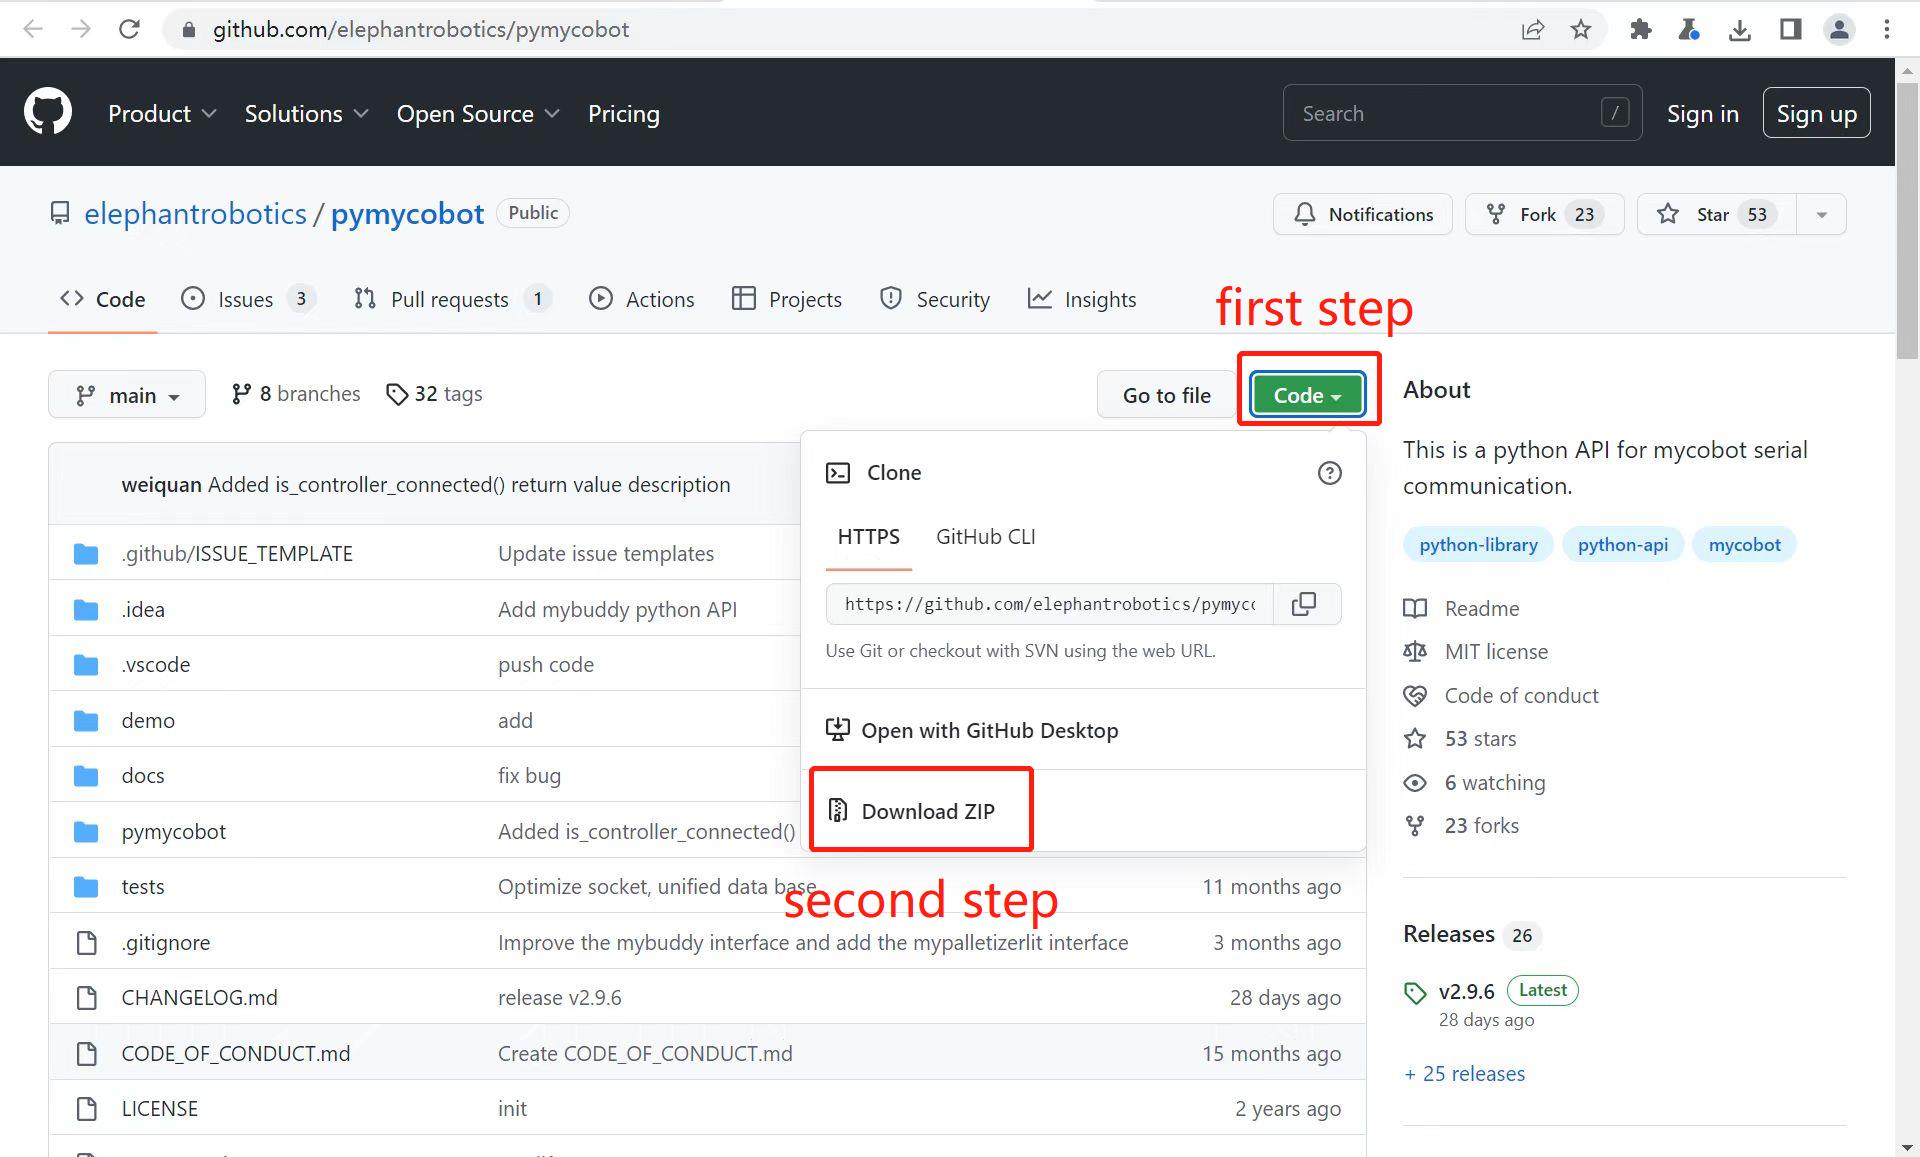
from pymycobot import MyCobot280RDKX5, there is no red wavy line under the font, which proves that it has been successfully installed and can be used. If a red wavy line appears, you can refer to How to install the API library , How to call the API library.If you do not want to install the API library through the above command, you can download the project to your local computer through the following github.
First, go to the project address: https://github.com/elephantrobotics/pymycobot. Then click the Code button on the right side of the webpage, and then click Download ZIP to download it locally. Put the pymycobot folder in the compressed package pymycobot file project into your python dependency library directory, and you can directly import and use it.
Simple Demonstration
Create a new Python file in PyCharm and enter the following code to execute the LED flashing.
Note: The corresponding baud rates of various devices are different. Please refer to the information to understand their baud rates when using them. The serial port number can be viewed through Calculator Device Manager or the serial port assistant.
The following are the corresponding codes.
from pymycobot import MyCobot280RDKX5
import time
#The above needs to be written at the beginning of the code, which means importing the project package

# MyCobot280 class initialization requires two parameters: serial port and baud rate
# The following is the object code for the Windows version
mc = MyCobot280RDKX5("/dev/ttyS1", 1000000)

i = 7
# Loop 7 times
  while i > 0:
  mc.set_color(0,0,255) #Blue light on
  time.sleep(2) #Wait 2 seconds
  mc.set_color(255,0,0) #Red light on
  time.sleep(2) #Wait 2 seconds
  mc.set_color(0,255,0) #Green light on
  time.sleep(2) #Wait 2 seconds
  i -= 1