2 Burning and Updating Firmwares
Tutorial Video: https://www.bilibili.com/video/BV1Qr4y1N7B5/
2.1 Burning M5Stack-basic Firmwares
Notice: PI version is not required to burn M5Stack-basic firmwares
Step 1: Connect M5Stack-basic with PC with USB.
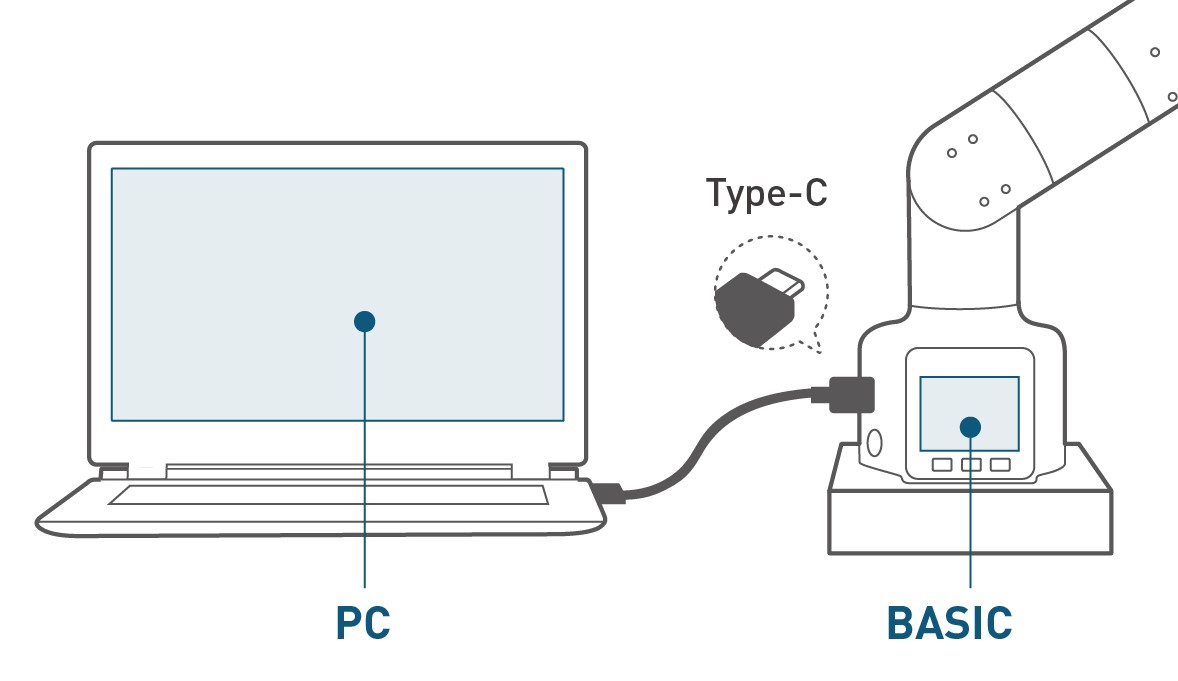
Step 2: Select USB Port. After connecting with PC, USB Port shows M5Stack-basic. The figure below takes myPalletizer 260 M5 as an example.
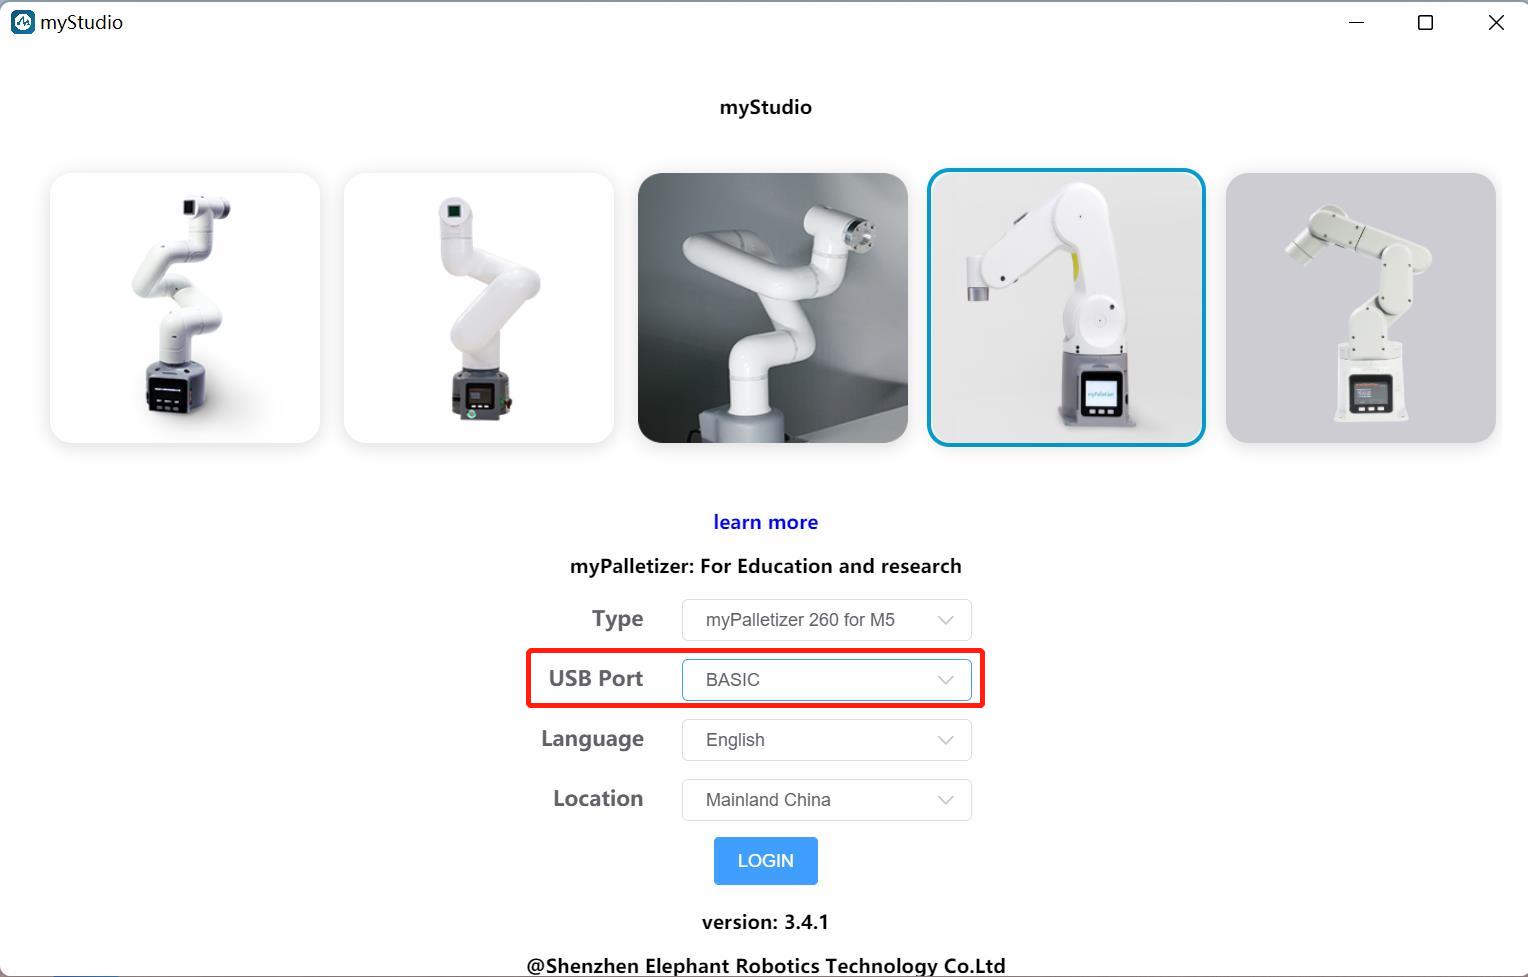
- Click on
LOGIN->M5Stack-basic, and then you can burn firmwares.
Notice: As 280 PI/Jetson nano/Arduino versions do not have M5Stack-basic, the
USB Portcannot show anything after connection.
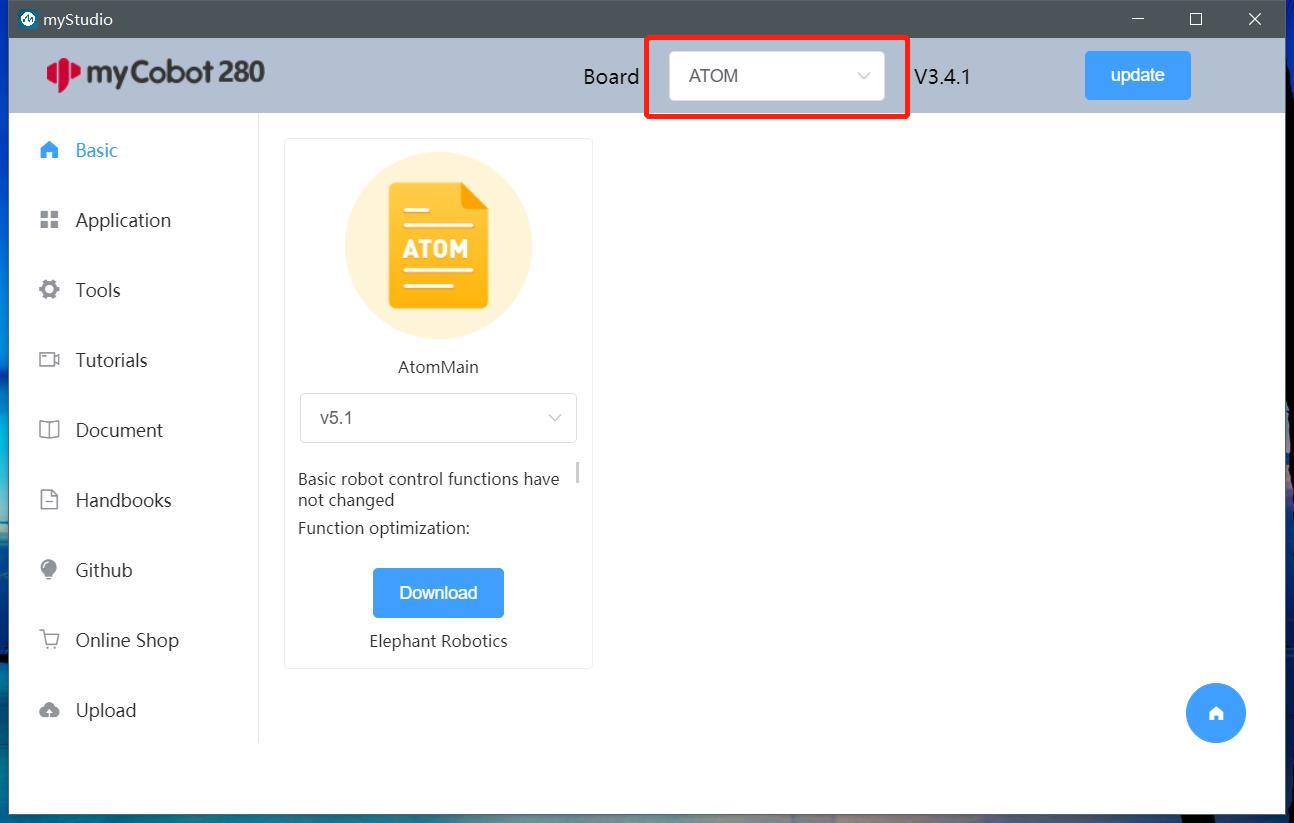
2.2 Burning Atom Firmware
Step 1: Connect Atom with PC with USB.
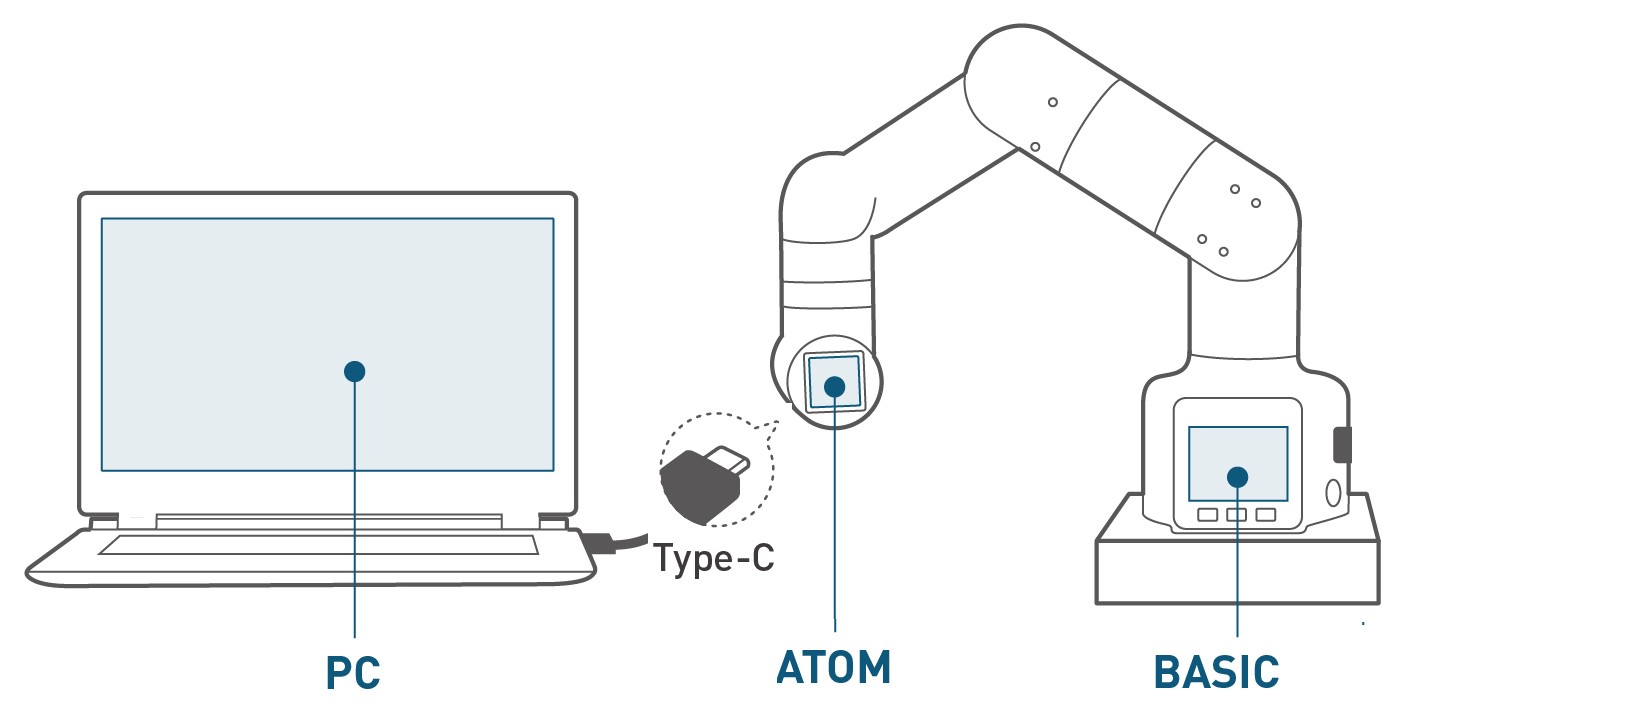
Step 2: Select ATOM at Board, and then burn AtomMain. The picture below takes myCobot 320 as an example.
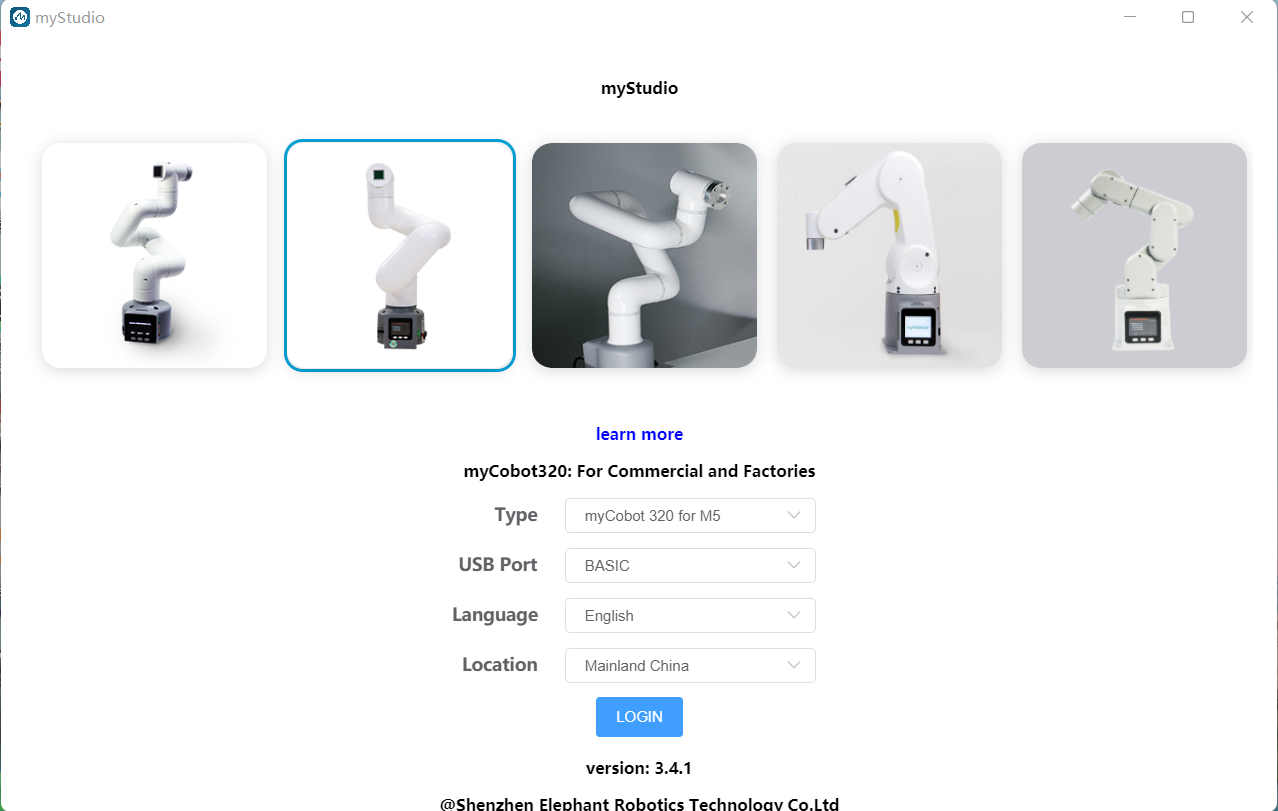
2.3 Firmware Burning for myCobot 320 series
M5Stack-basic and picoMain are required to be burnt on myCobot 320 series. It should be noted that the two firmwares are burnt by different type-c interfaces.
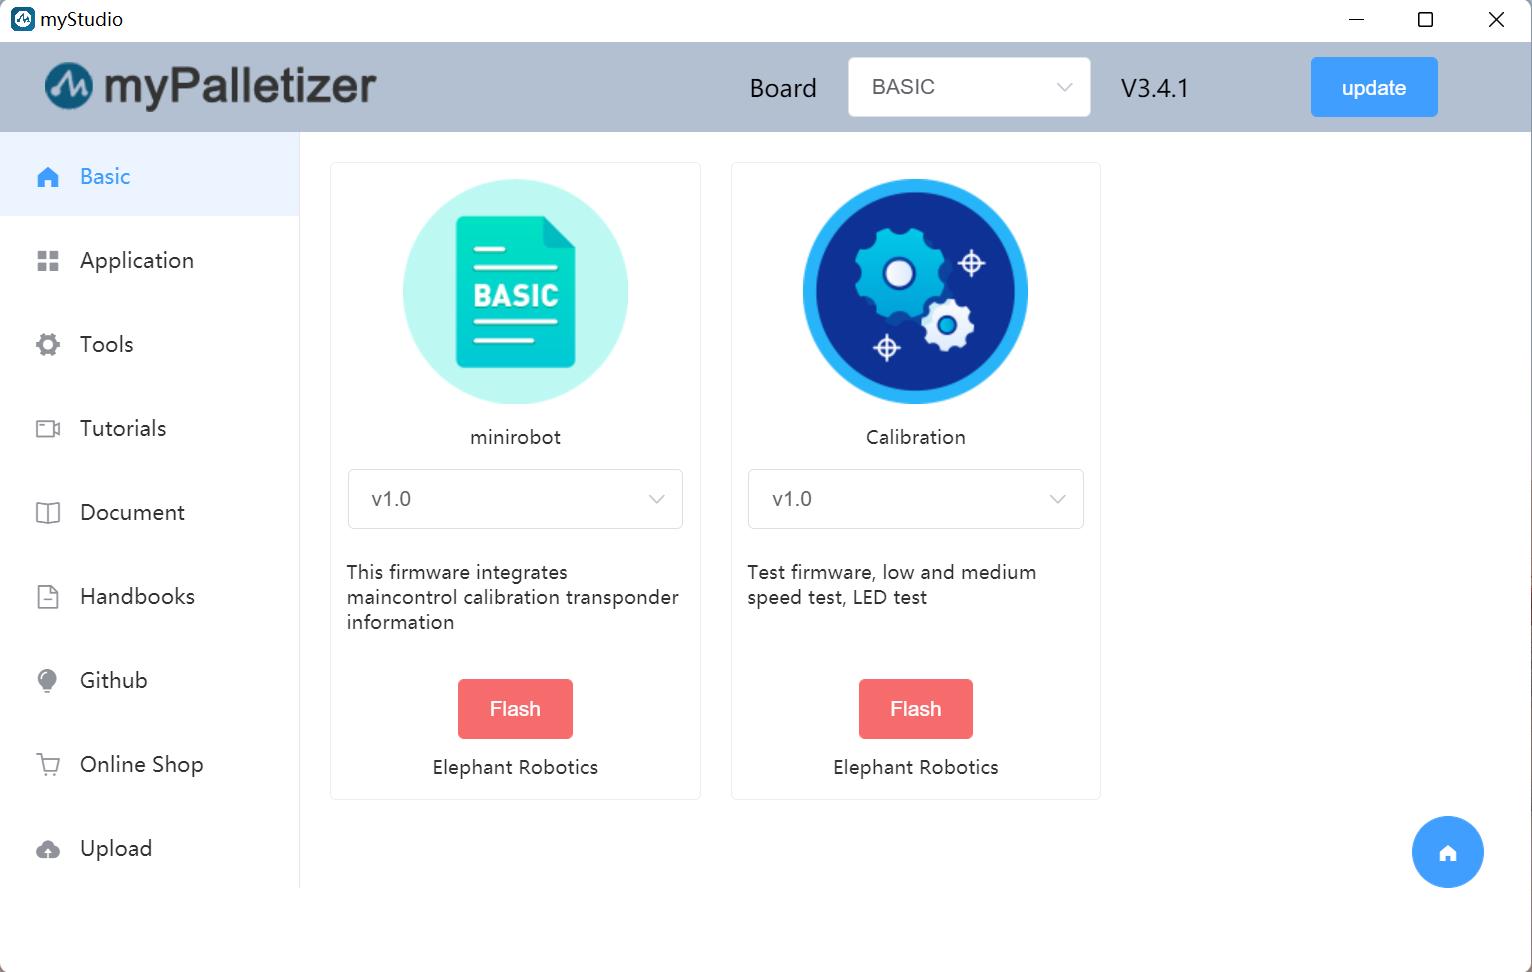
1.Burning M5Stack-basic: miniRobot
Step 1: Connect M5Stack-basic and PC.
Step 2: Select the 320 series, language and region, and then click on LOGIN.
Step 3: Click on Basic, and select minirobot to burn.
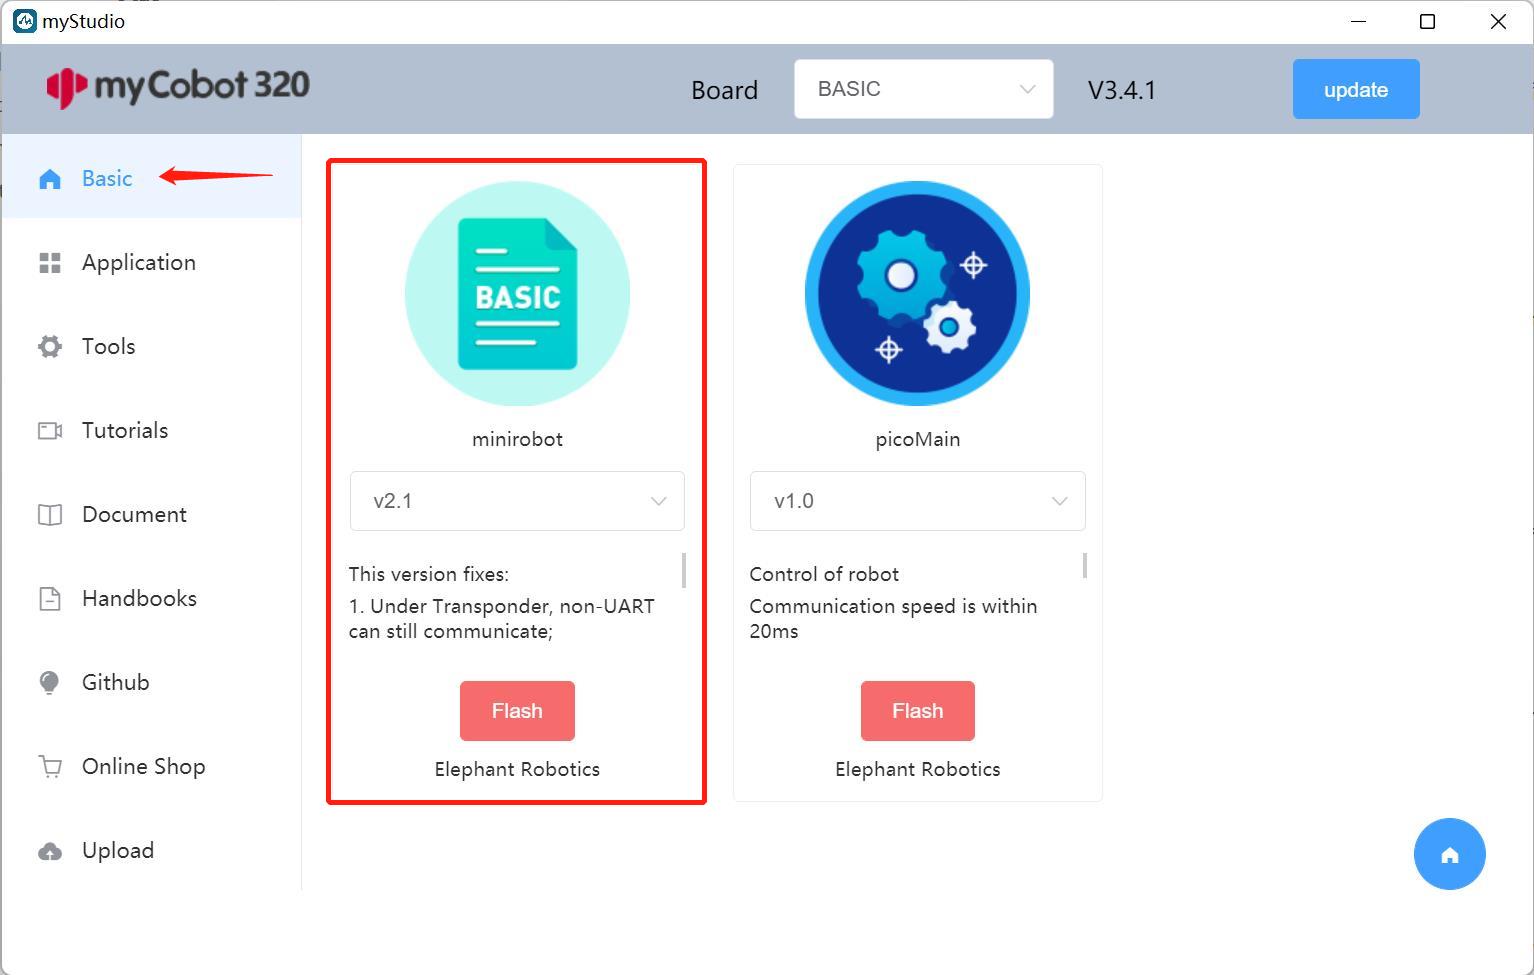
2.Burning Pico Firmware: picoMain
Step 1: Connect M5Stack-basic with PC.
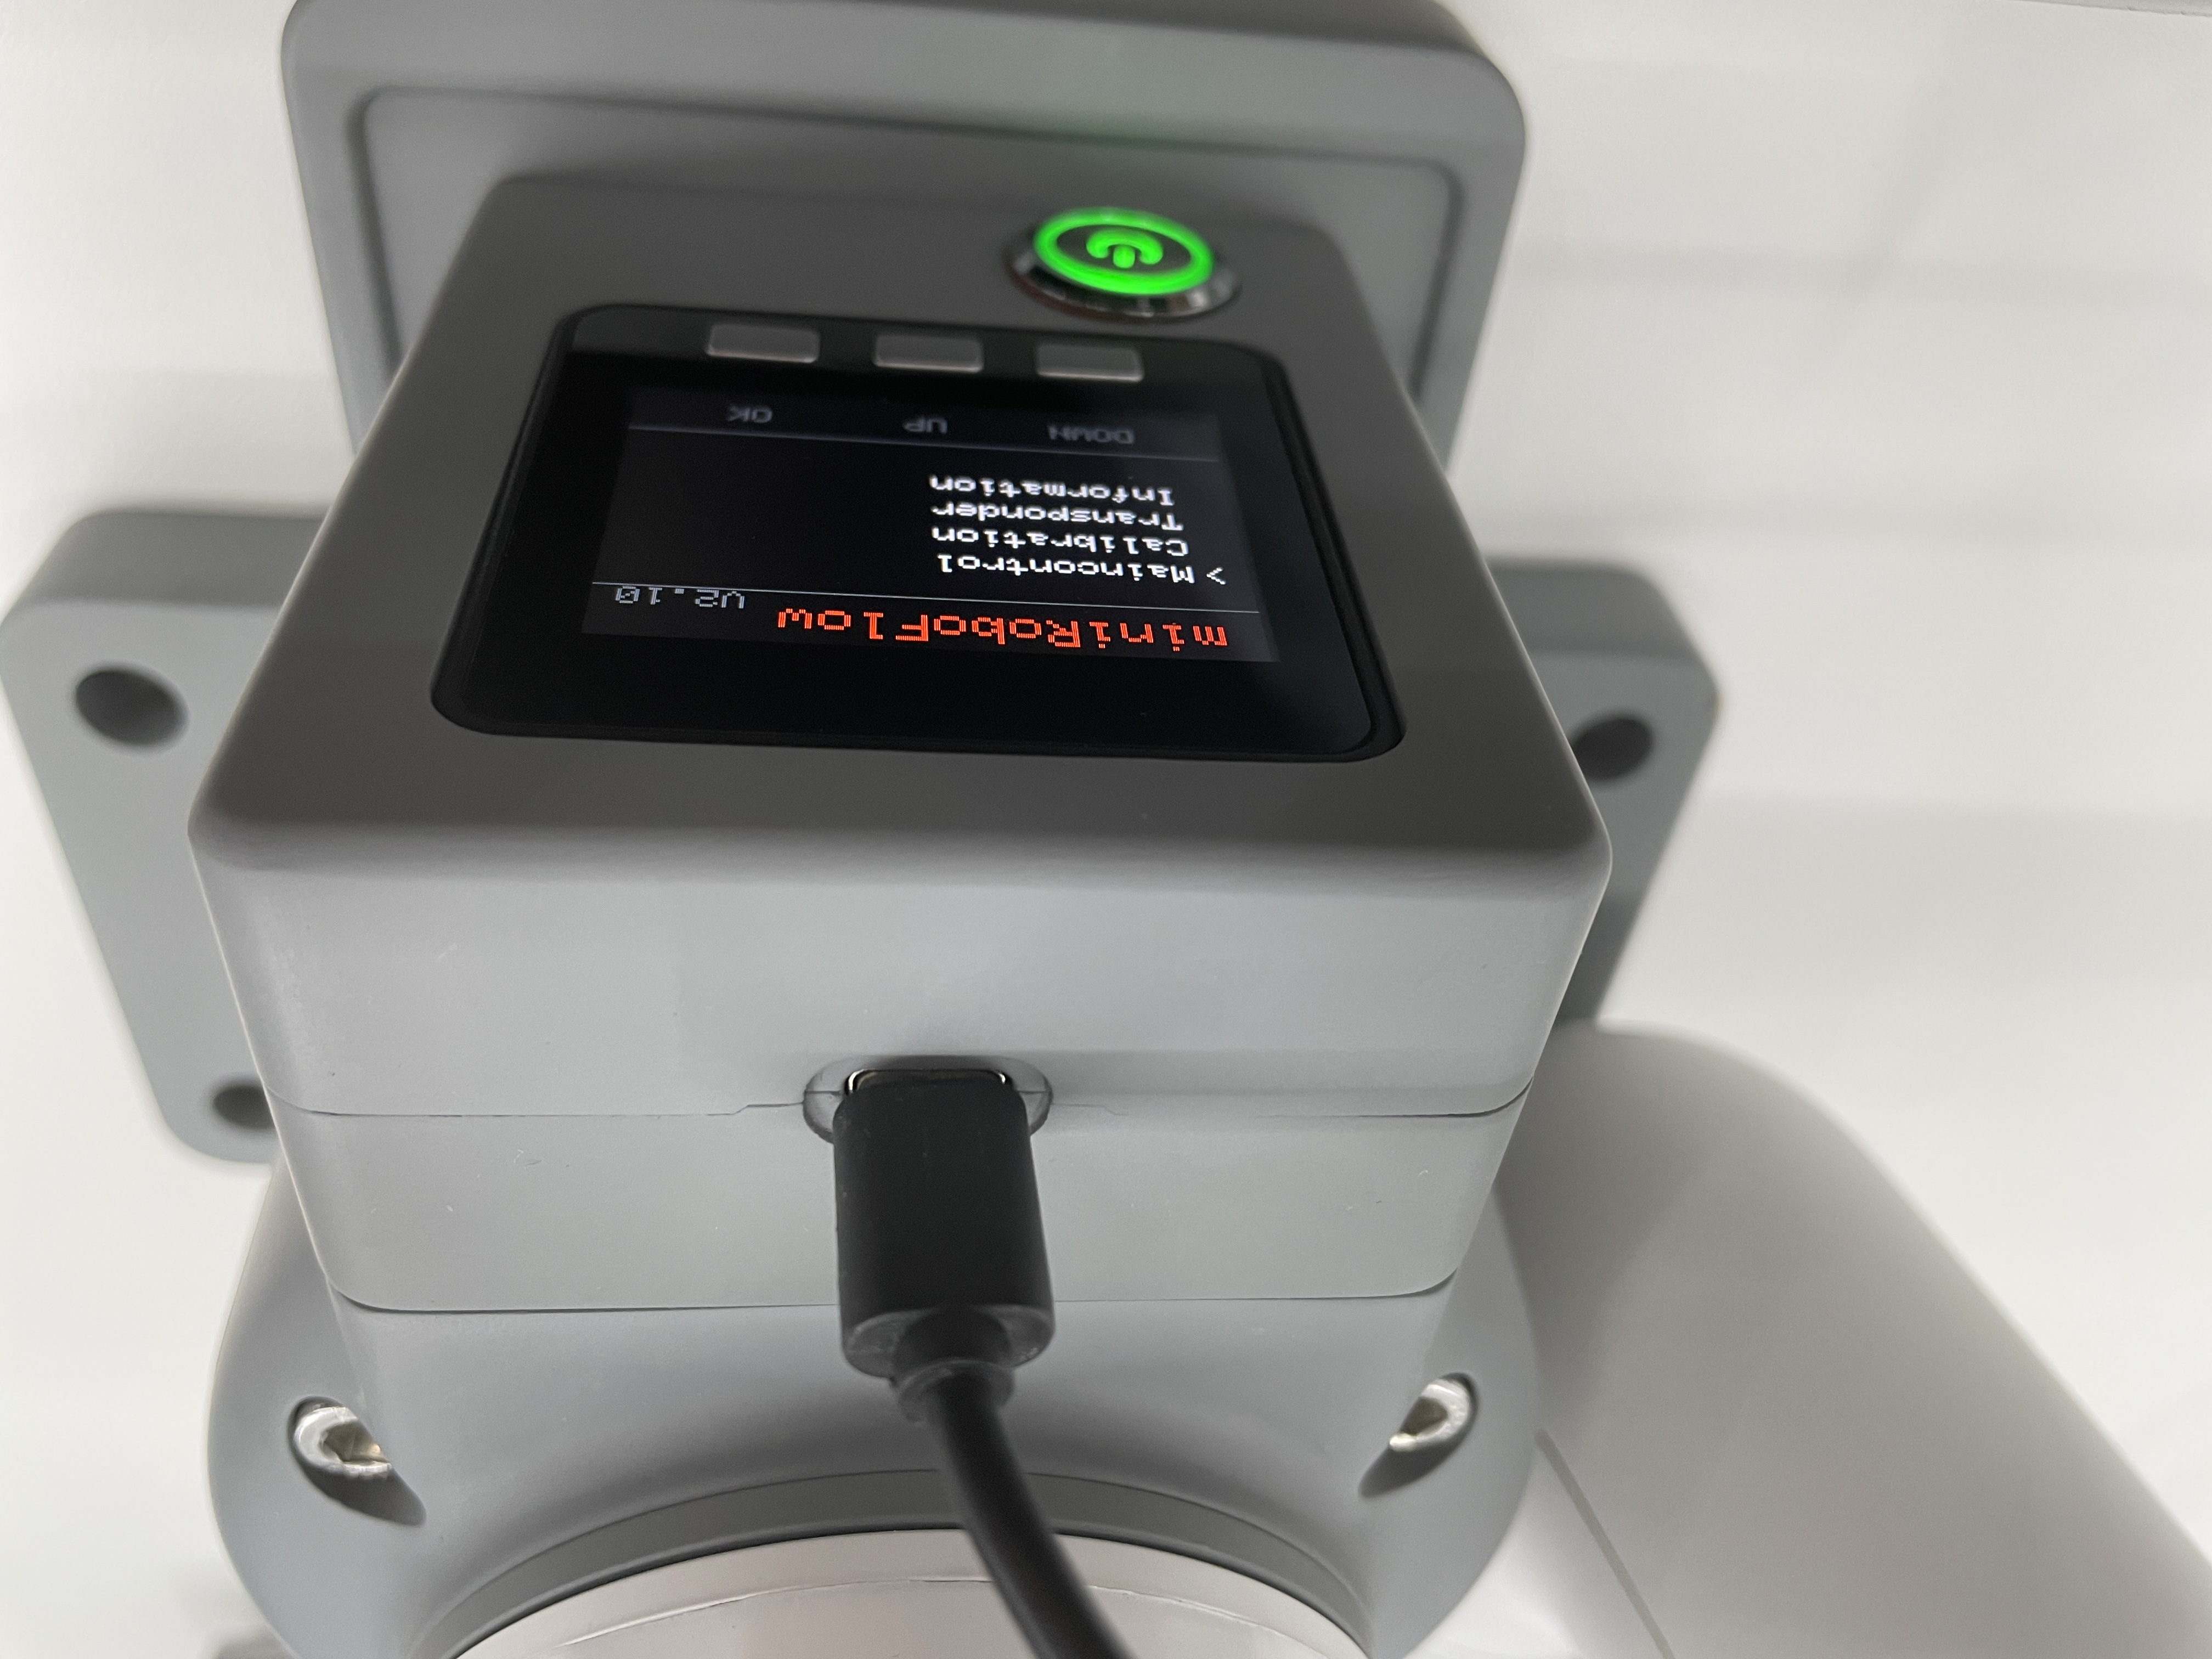
Step 2: Select Flash (press UP once or DOWN four times), and then the screen goes dark for approximately 30 seconds.
Step 3: select picoMain to burn via myStudio.
Notice: picoMain is required to be burnt during the sleep period of
Flashmode. Otherwise it may fail to burn picoMain.
2.4 myAGV Firmware burning
1.Burning Pico Firmware: picoMain
Step 1: Turn on the computer and connect the screen.
For detailed tutorials, please refer to:2.5.1 First-time Use · GitBook (elephantrobotics.com)
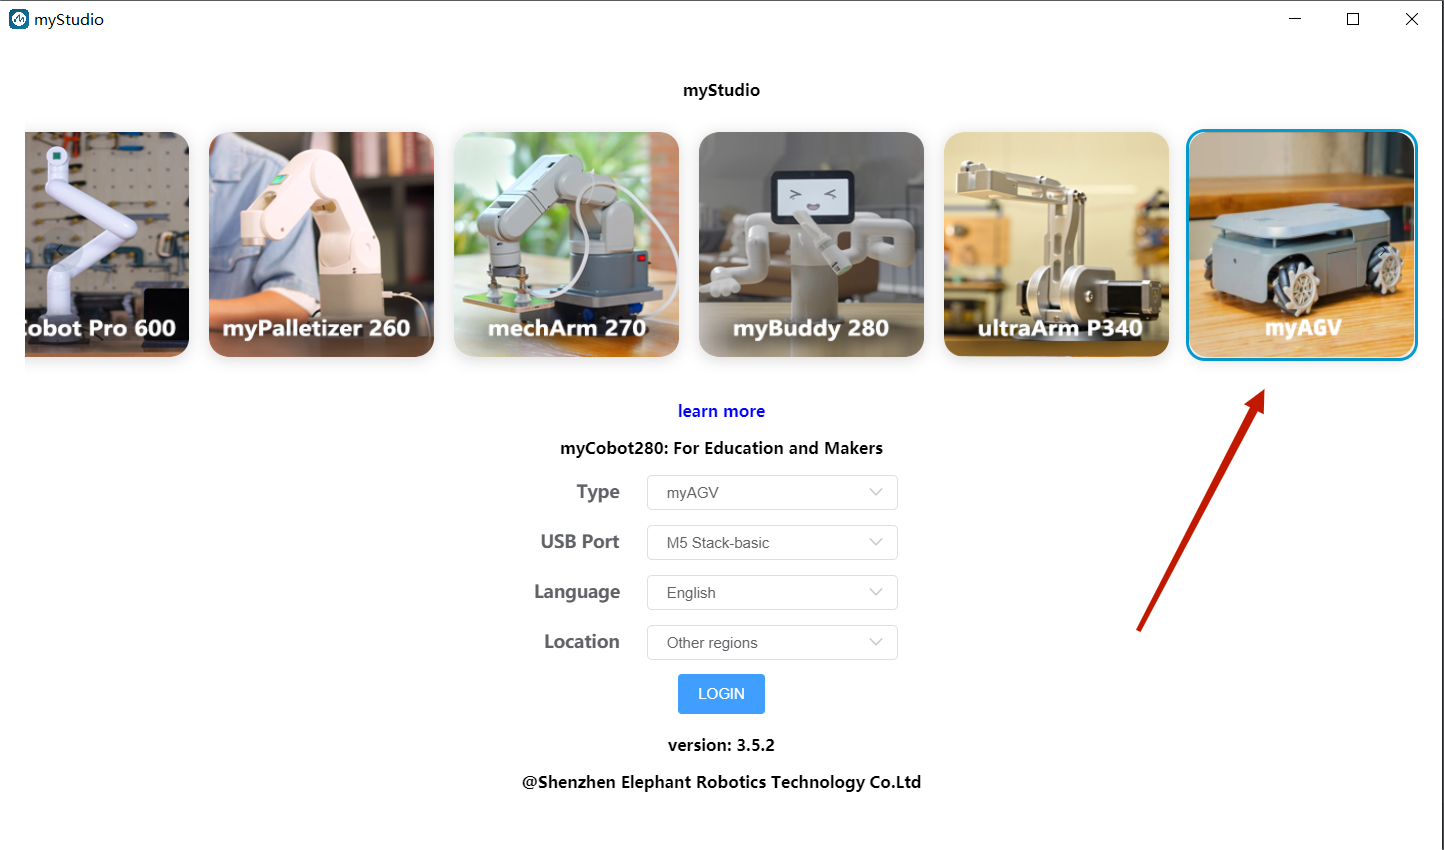
Step 2: Select the myAGV image, select the model language and region, and click to log in.
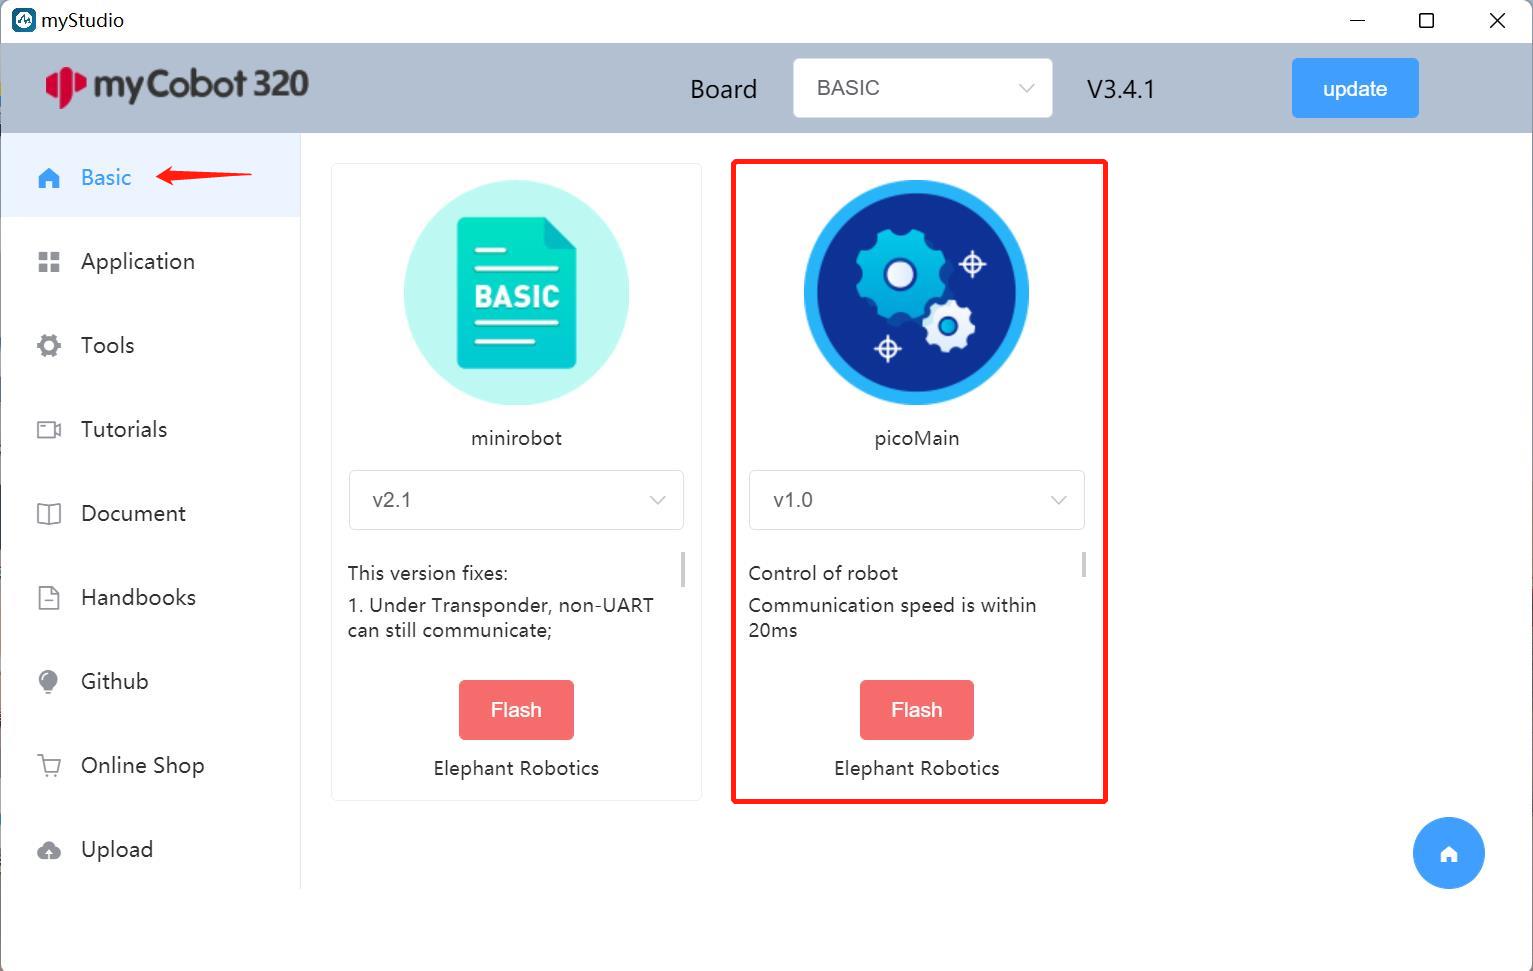
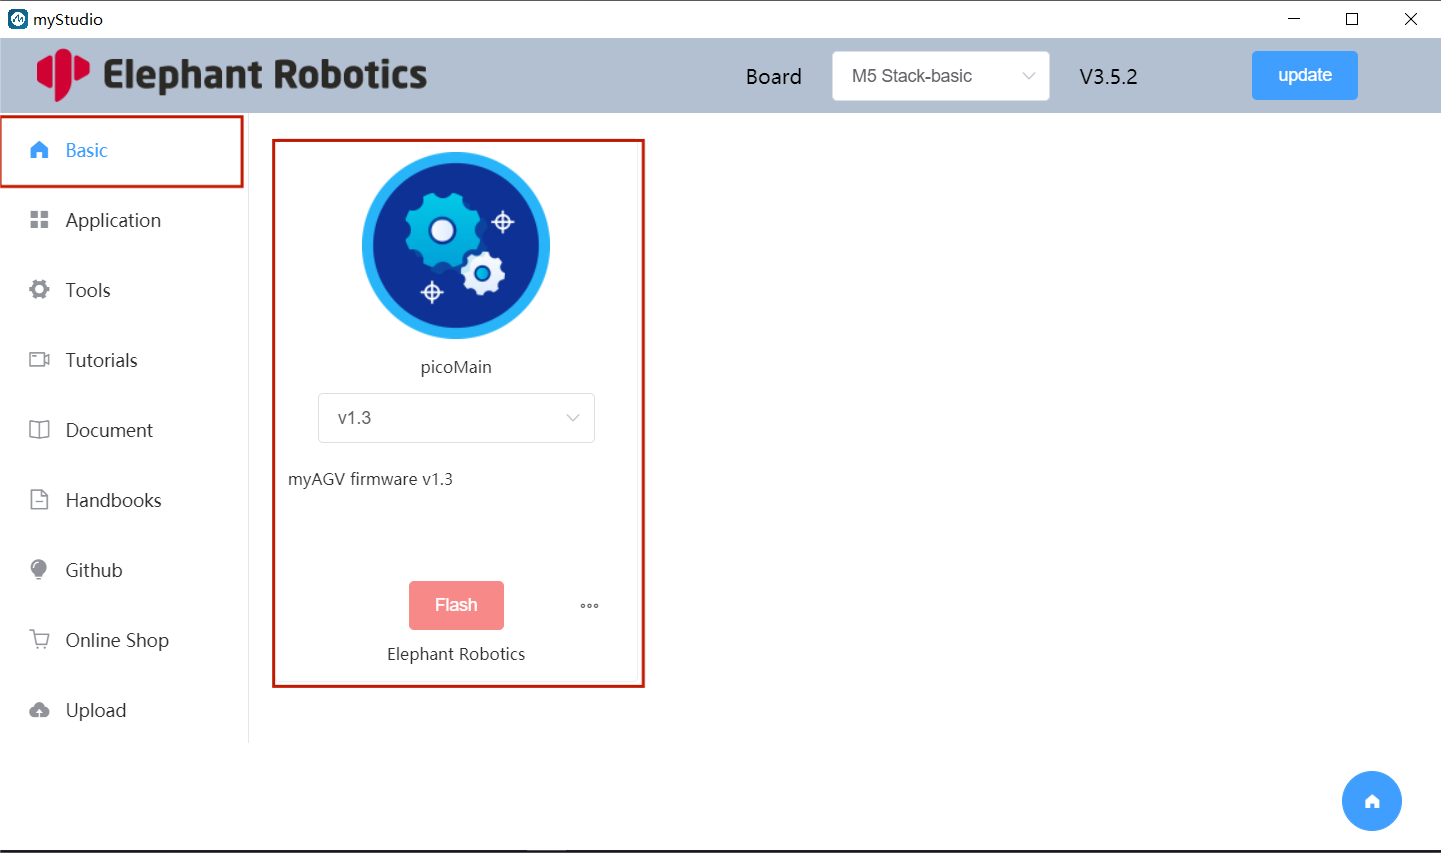
Step 3: After logging in, click 'Basic' and select picoMain to burn.
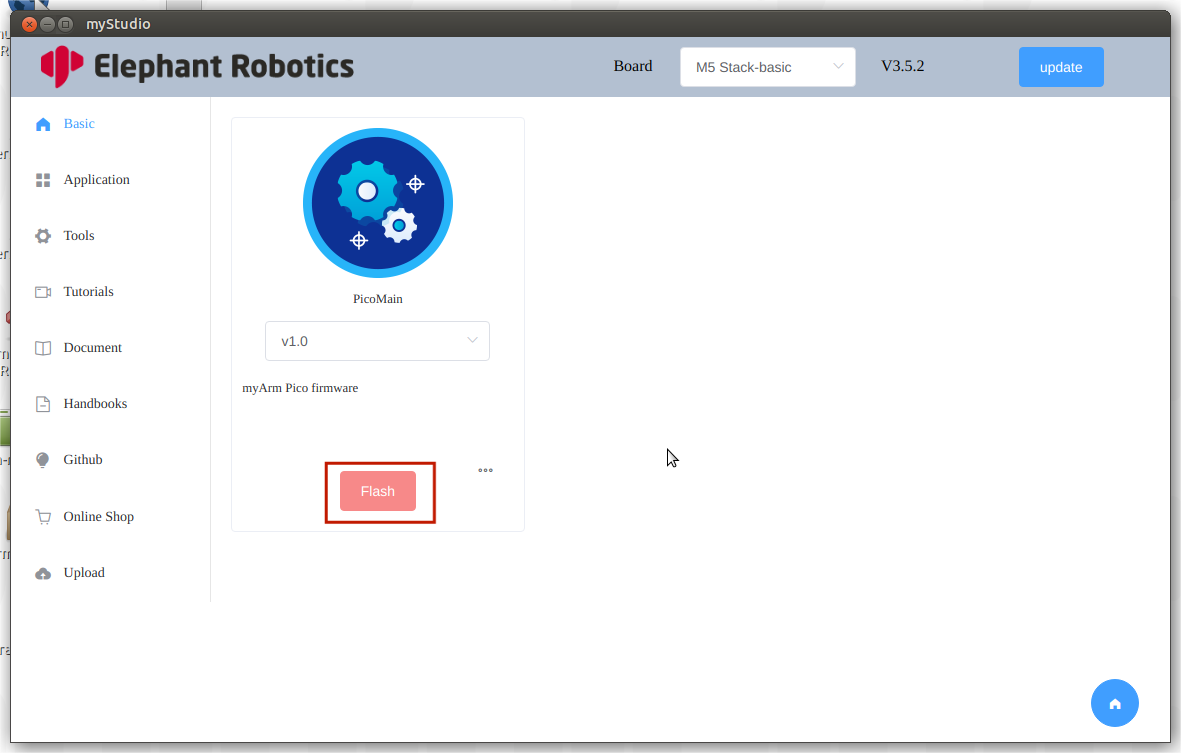
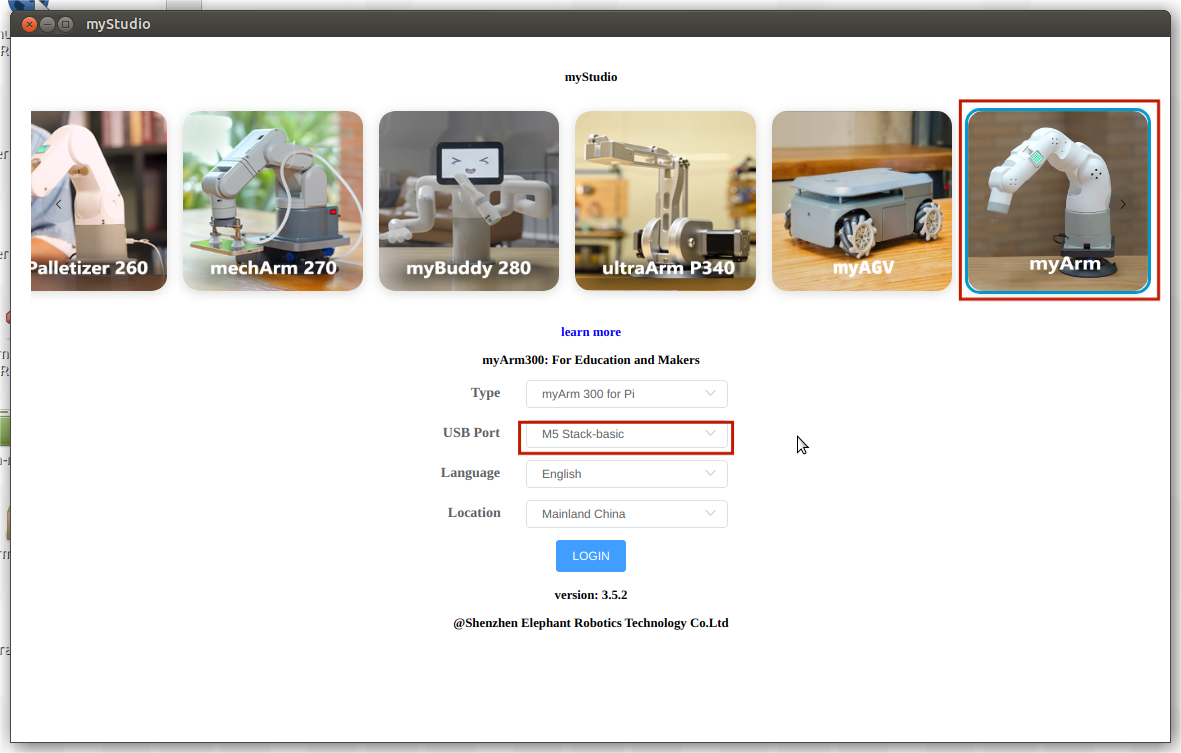
2.5 myArm Firmware burning
1.Burning Atom Firmware
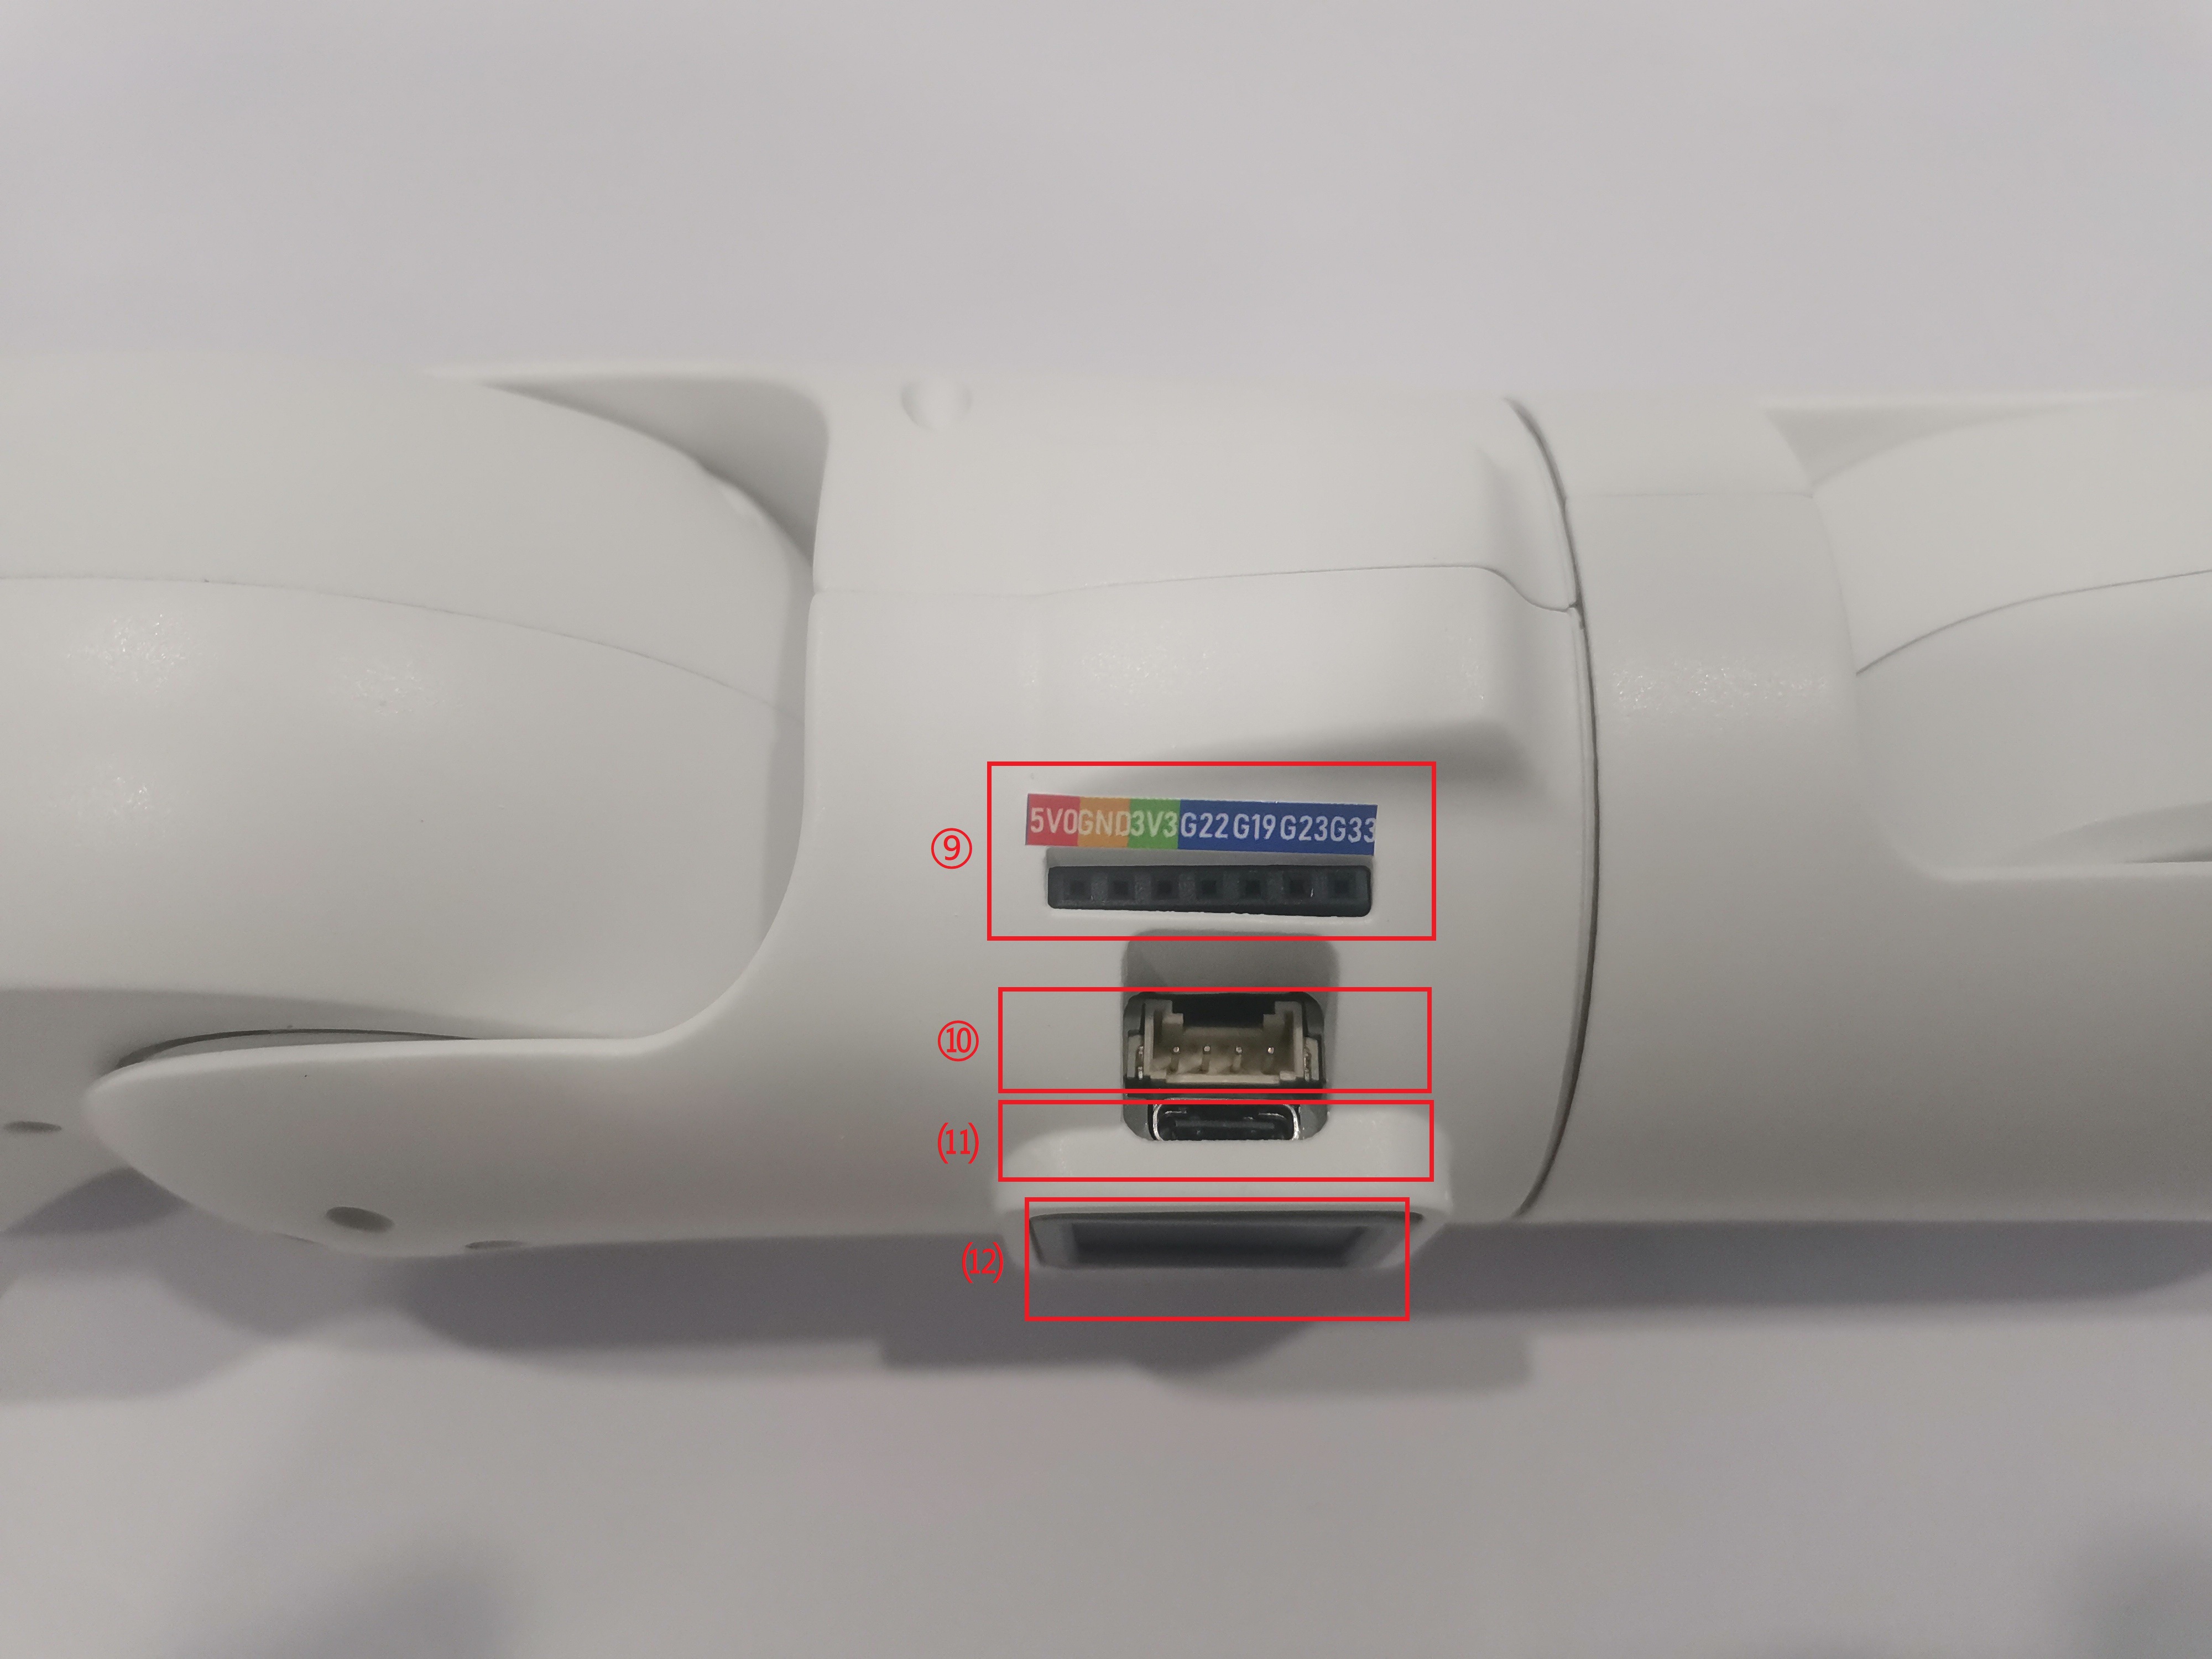
Step 1: Connects to a PC. Use USB to connect the Atom interface (labeled 11 as Atom Type C interface).
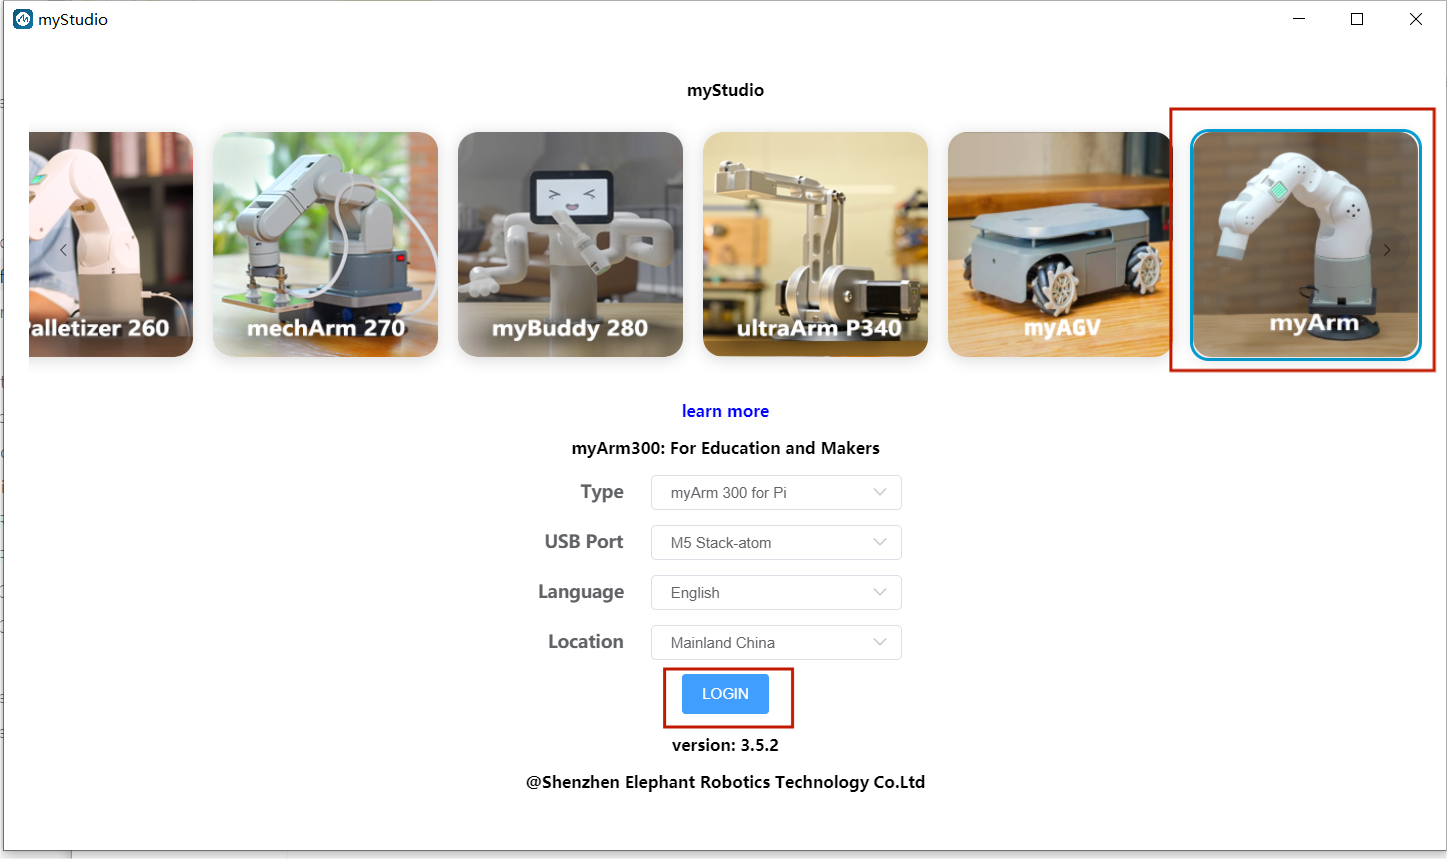
Step 2: Select the myArm image, select the model language and region, and click to login.
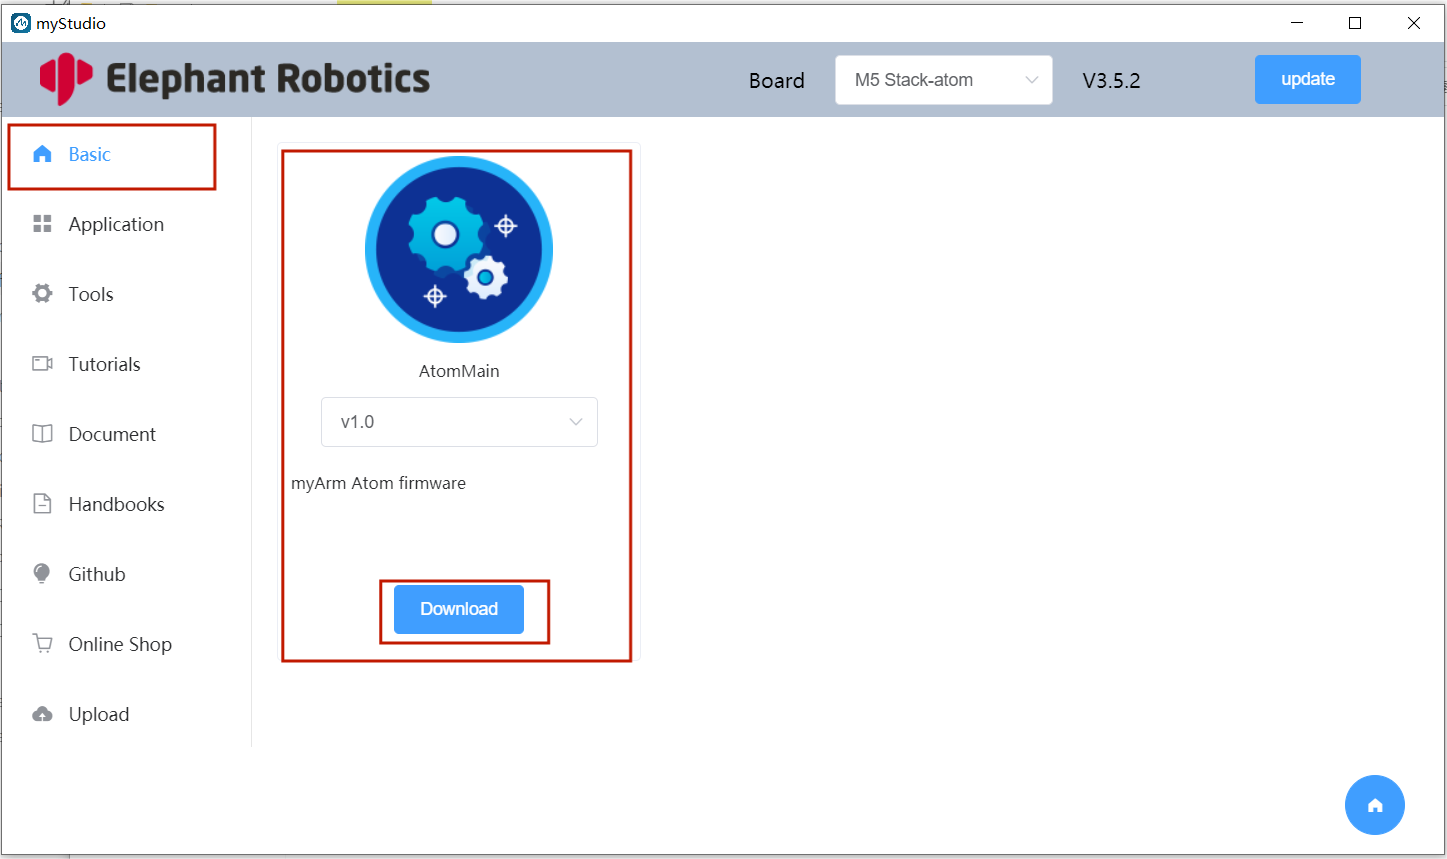
Step 3: After login, click 'Basic', select AtomMain, click download, and then click the burn button to burn.
2.Burning Pico Firmware: picoMain
Step 1: Turn on the computer and connect the screen.
For detailed tutorials, please refer to:initial-setup
Step 2: Select the myArm image, select the model language and region, and click to login.
Step 3: After login, click 'Basic', select picoMain, click download, and then click the burn button to burn.