Adaptive Gripper
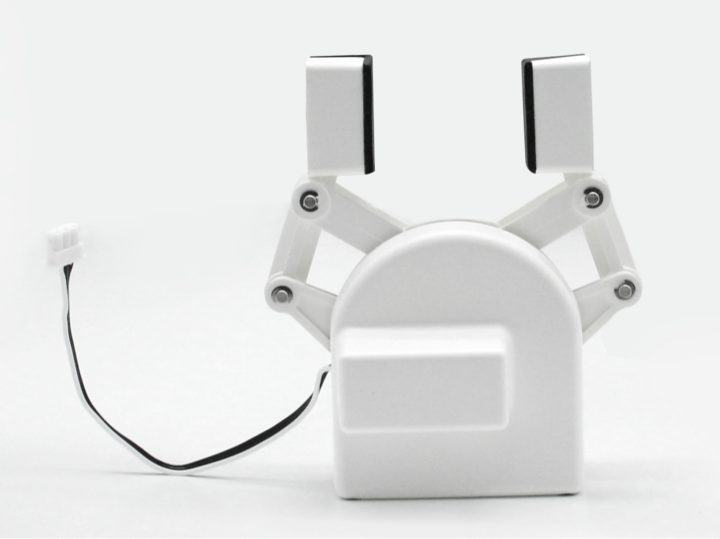
Product Image
Specifications:
| Name | myCobot Adaptive Gripper |
|---|---|
| Model | myCobot_gripperAg_white |
| Process | ABS Injection Molding |
| Color | White |
| Gripping Range | 20-45mm |
| Maximum Gripping Force | 150g |
| Repeatability | 1mm |
| Service Life | One Year |
| Drive Mode | Electric |
| Transmission Mode | Gear + Connecting Rod |
| Dimensions | 112 × 94 × 50mm |
| Weight | 110g |
| Mounting Method | LEGO Connector |
| Operating Environment | Normal Temperature and Pressure |
| Control Interface | Serial Control |
| Applicable Devices | ER myCobot 280 Series, ER myPalletizer 260 Series, ER mechArm 270 Series, ER myBuddy 280 Series |
Adaptive Gripper: For gripping objects
Introduction
- A gripper is a robotic component that performs functions similar to a human hand. Its complex structure offers advantages such as a secure grip, resistance to drops, and ease of operation. The gripper kit includes the gripper components and LEGO technology. A programmable system controls the robotic arm's end effector, enabling functions such as gripping and multi-point positioning. The gripper can be used in all development environments, including ROS, Arduino, and Roboflow.
Operating Principle
- Driven by a motor, the gripper's finger surface moves in a linear reciprocating motion to open and close. The electric gripper's acceleration and deceleration are controllable, minimizing impact on the workpiece. The positioning point and gripping position are controllable.
Applicable Objects
- Small cubes
- Small balls
- Long objects
Installation and Usage
Check that the accessories package contains the following: LEGO connector, gripper with cable, and extension cable.
Gripper Installation:
Structural Installation:
- Insert the LEGO connector into the pre-installed socket on the gripper. You can choose to install it in two different orientations depending on your needs:
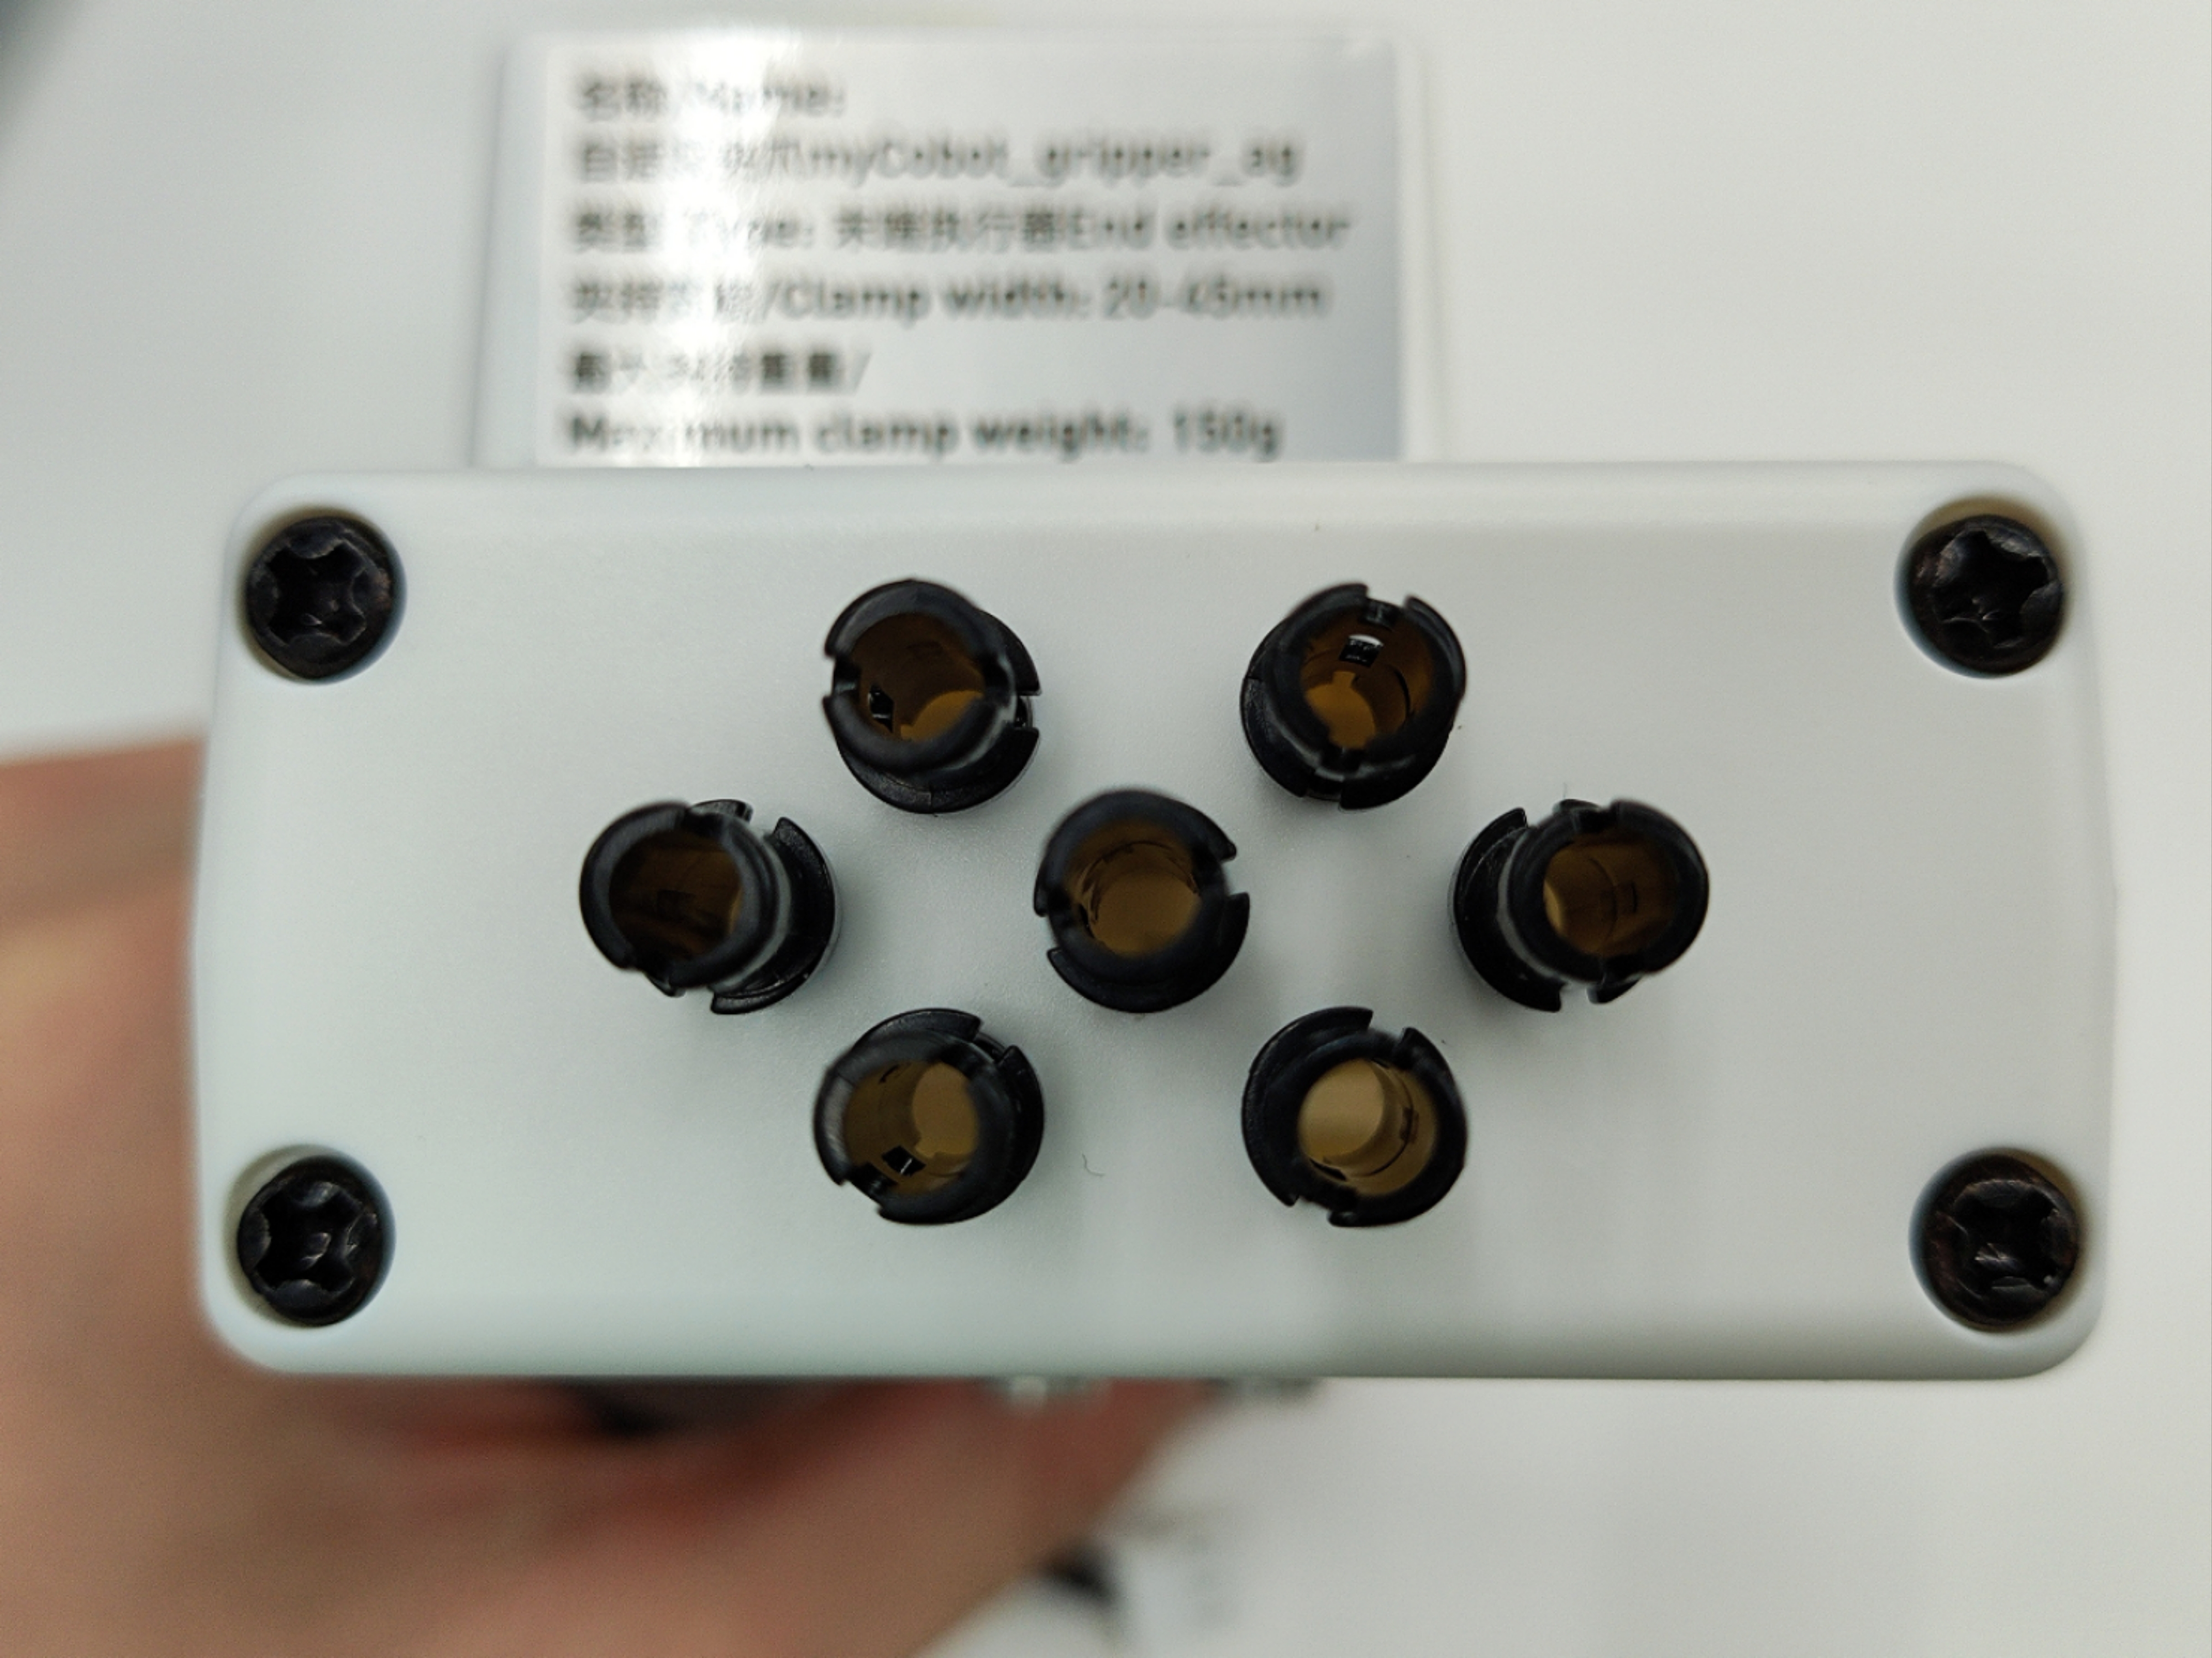
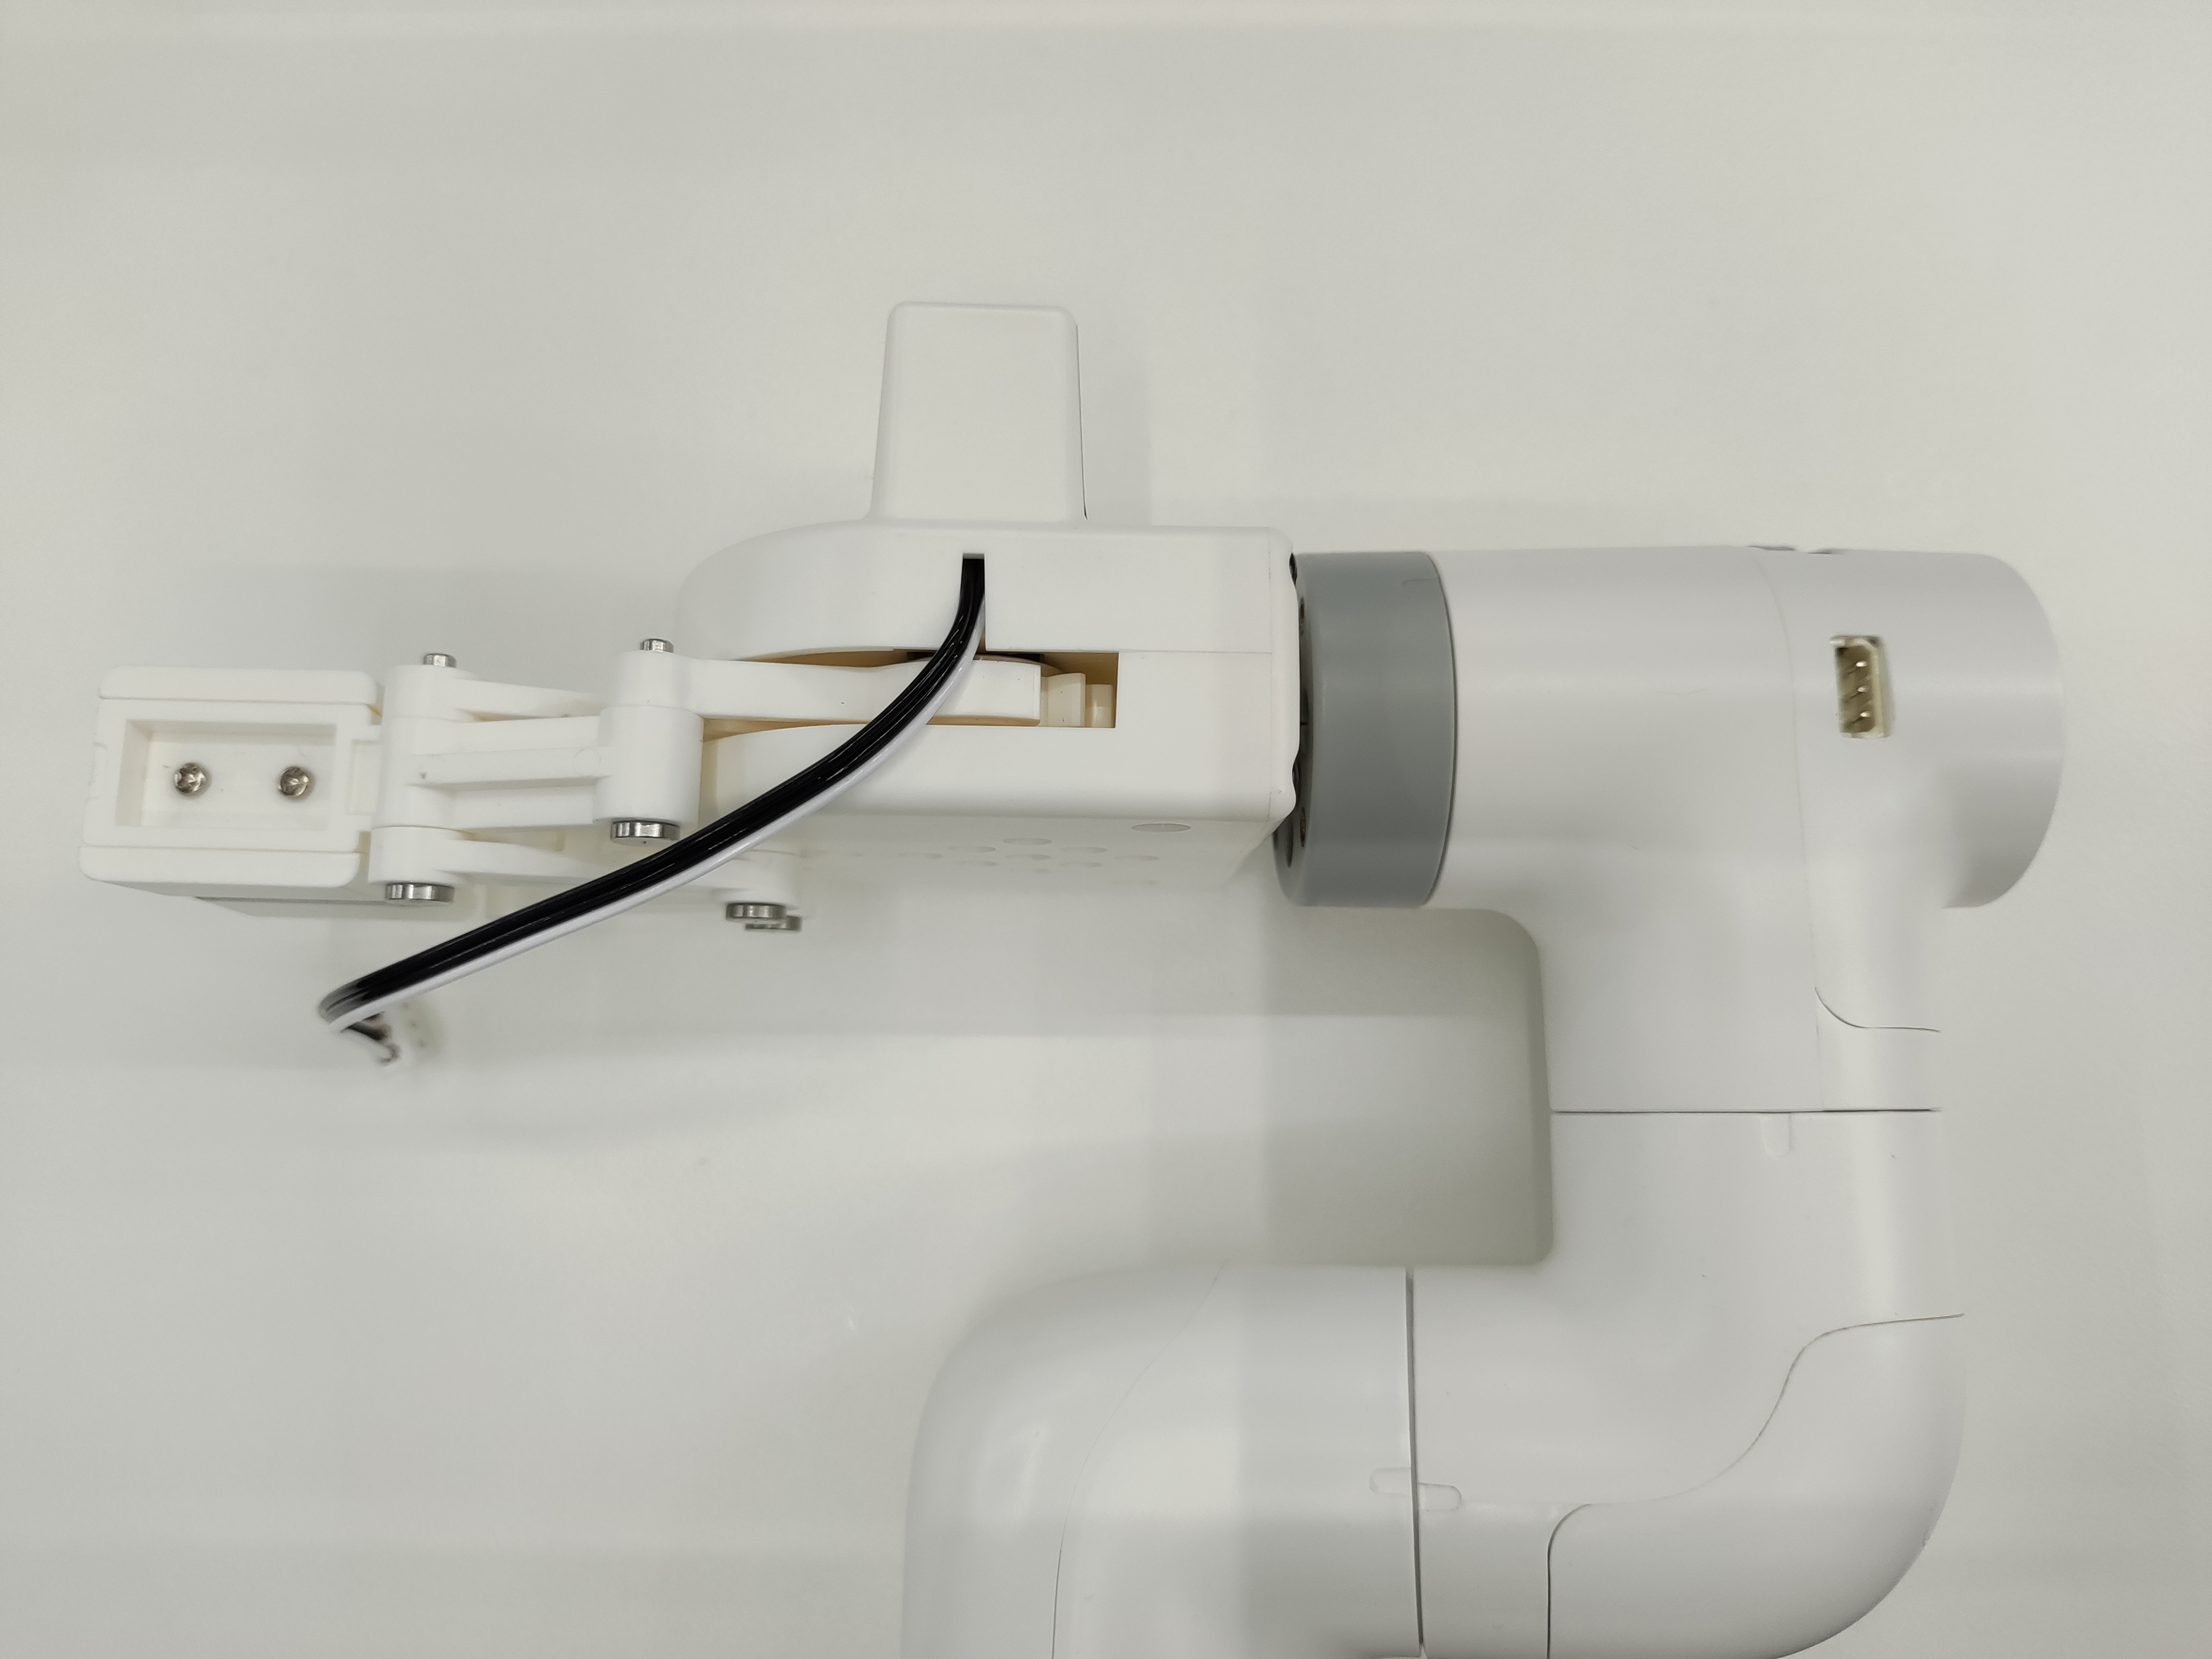
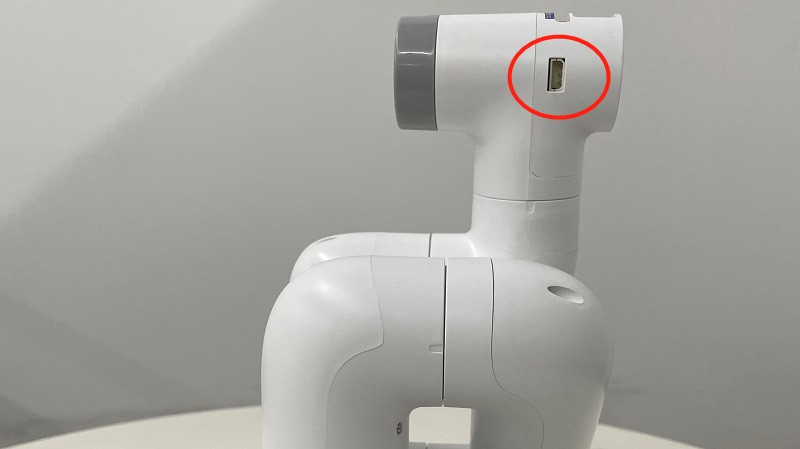
- Align the gripper with the connector inserted into the socket on the end of the robot arm and insert it:
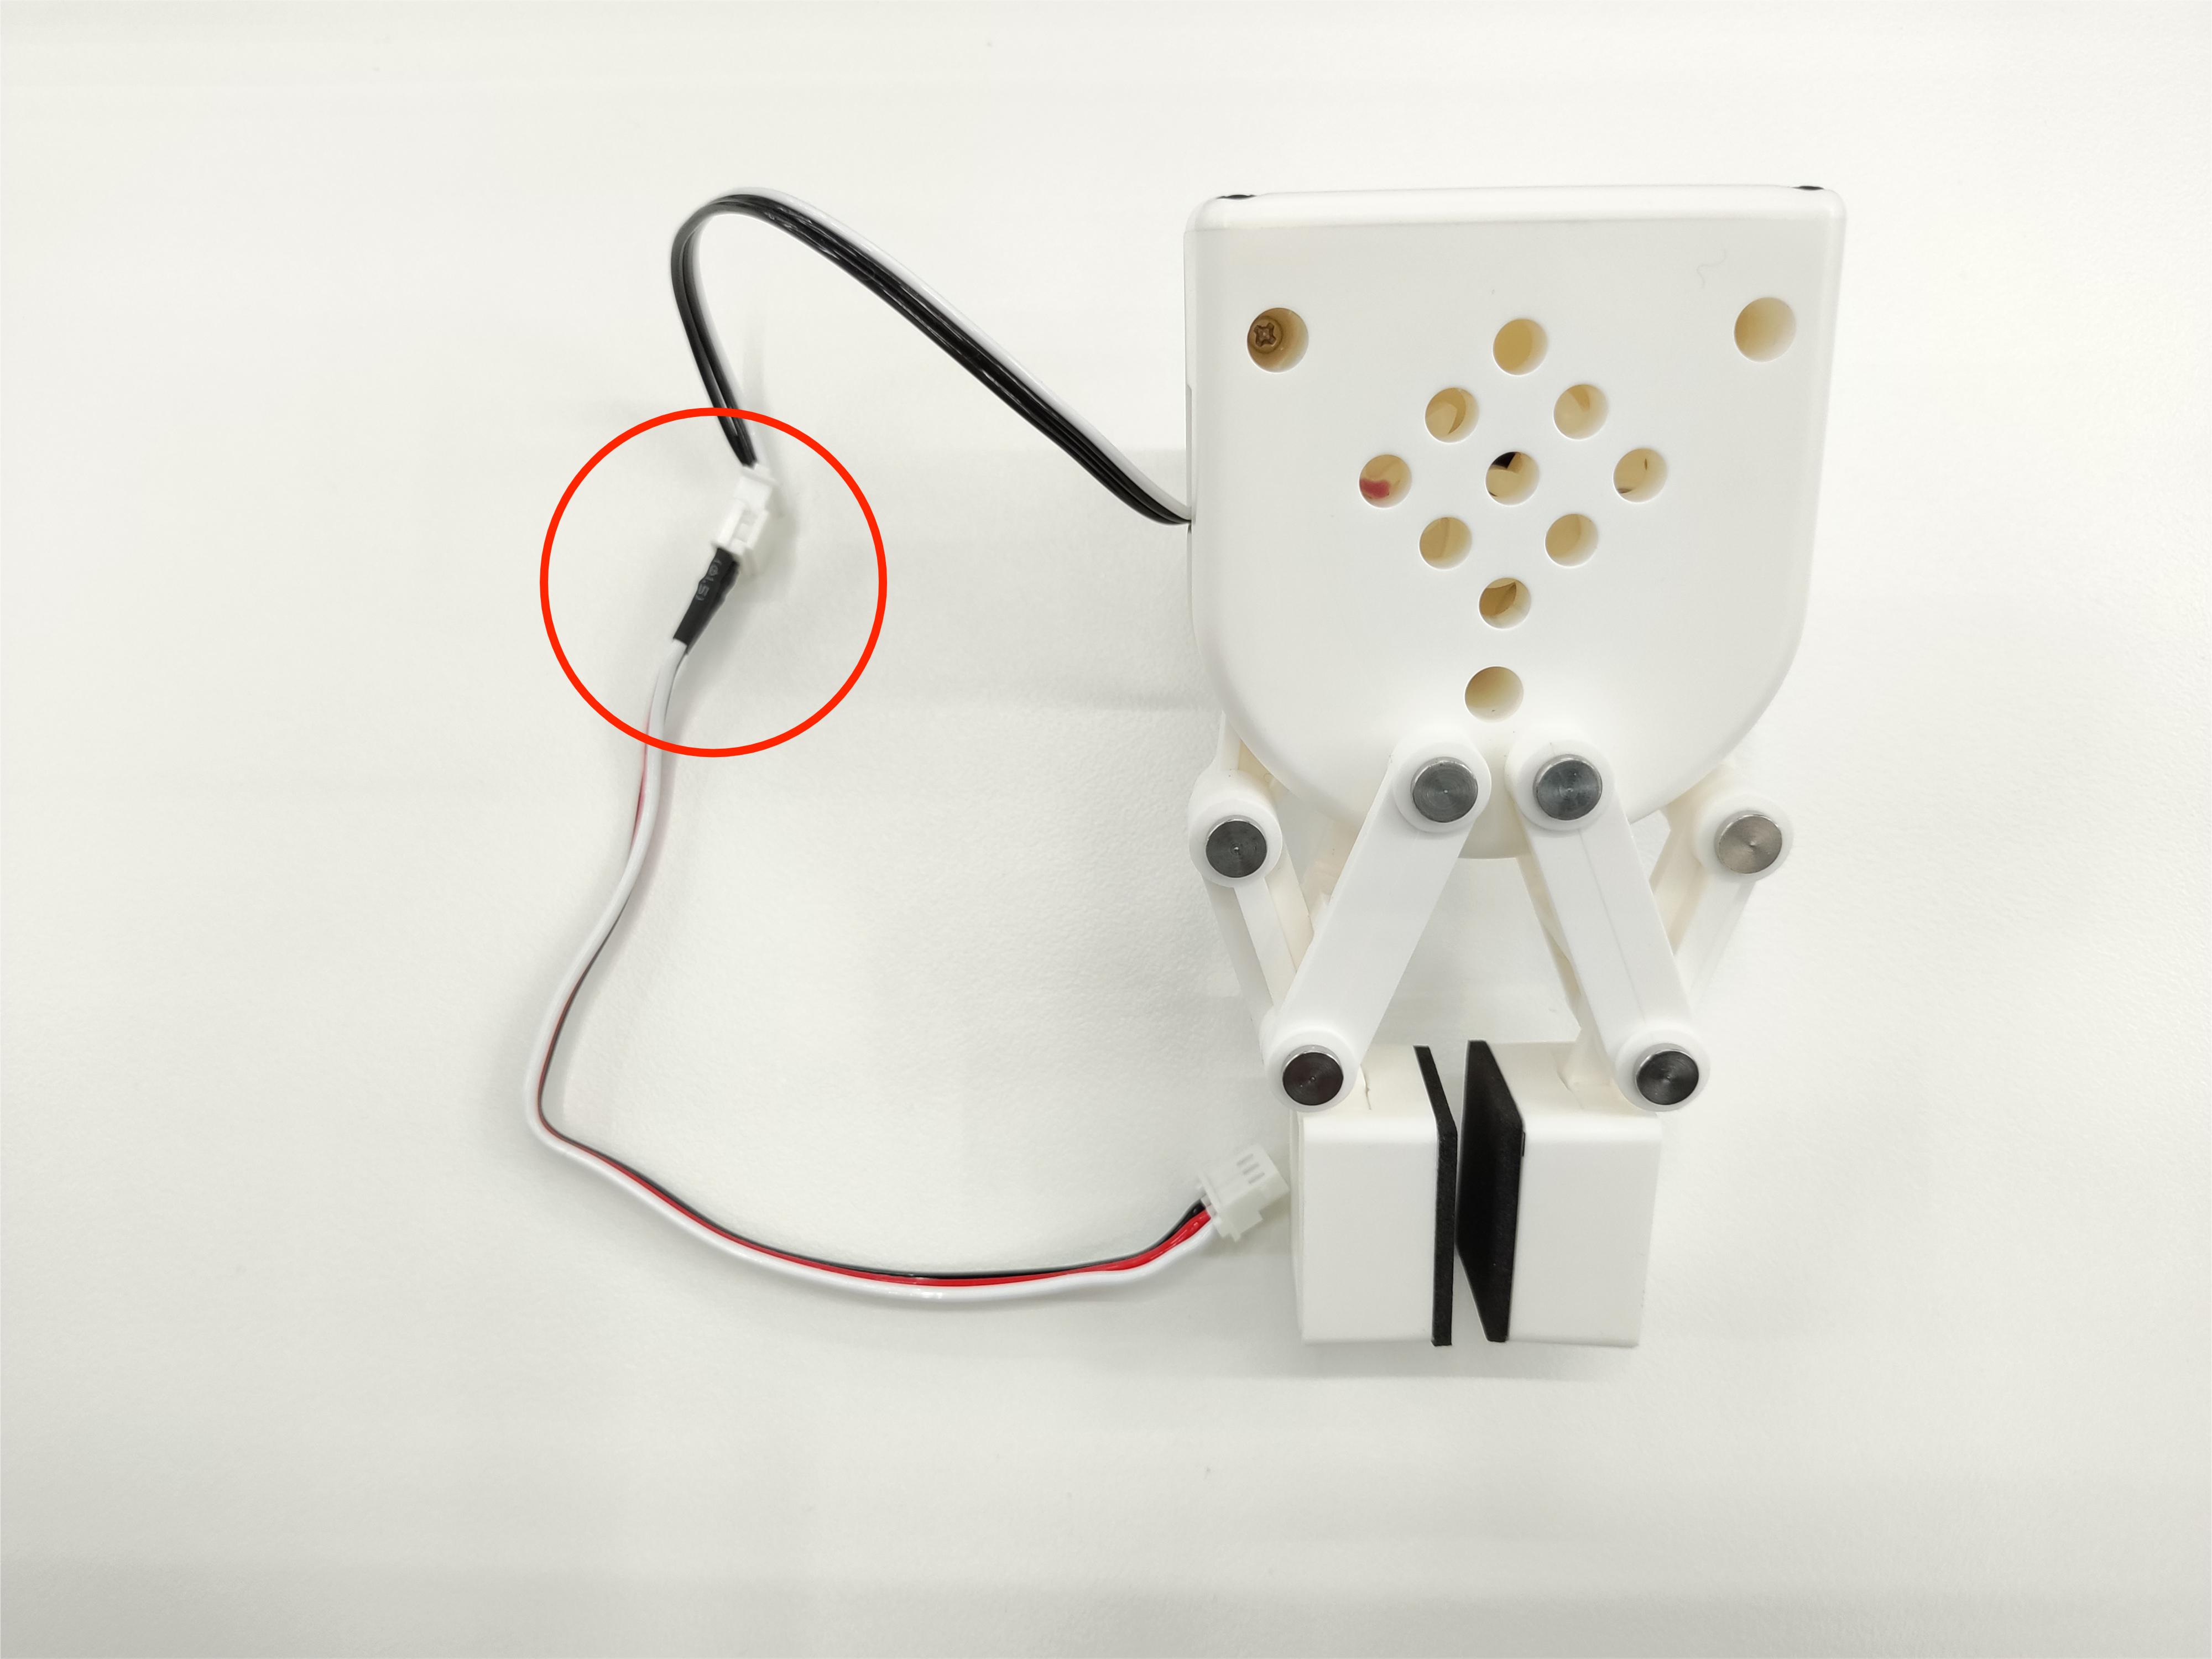
Electrical Connections:
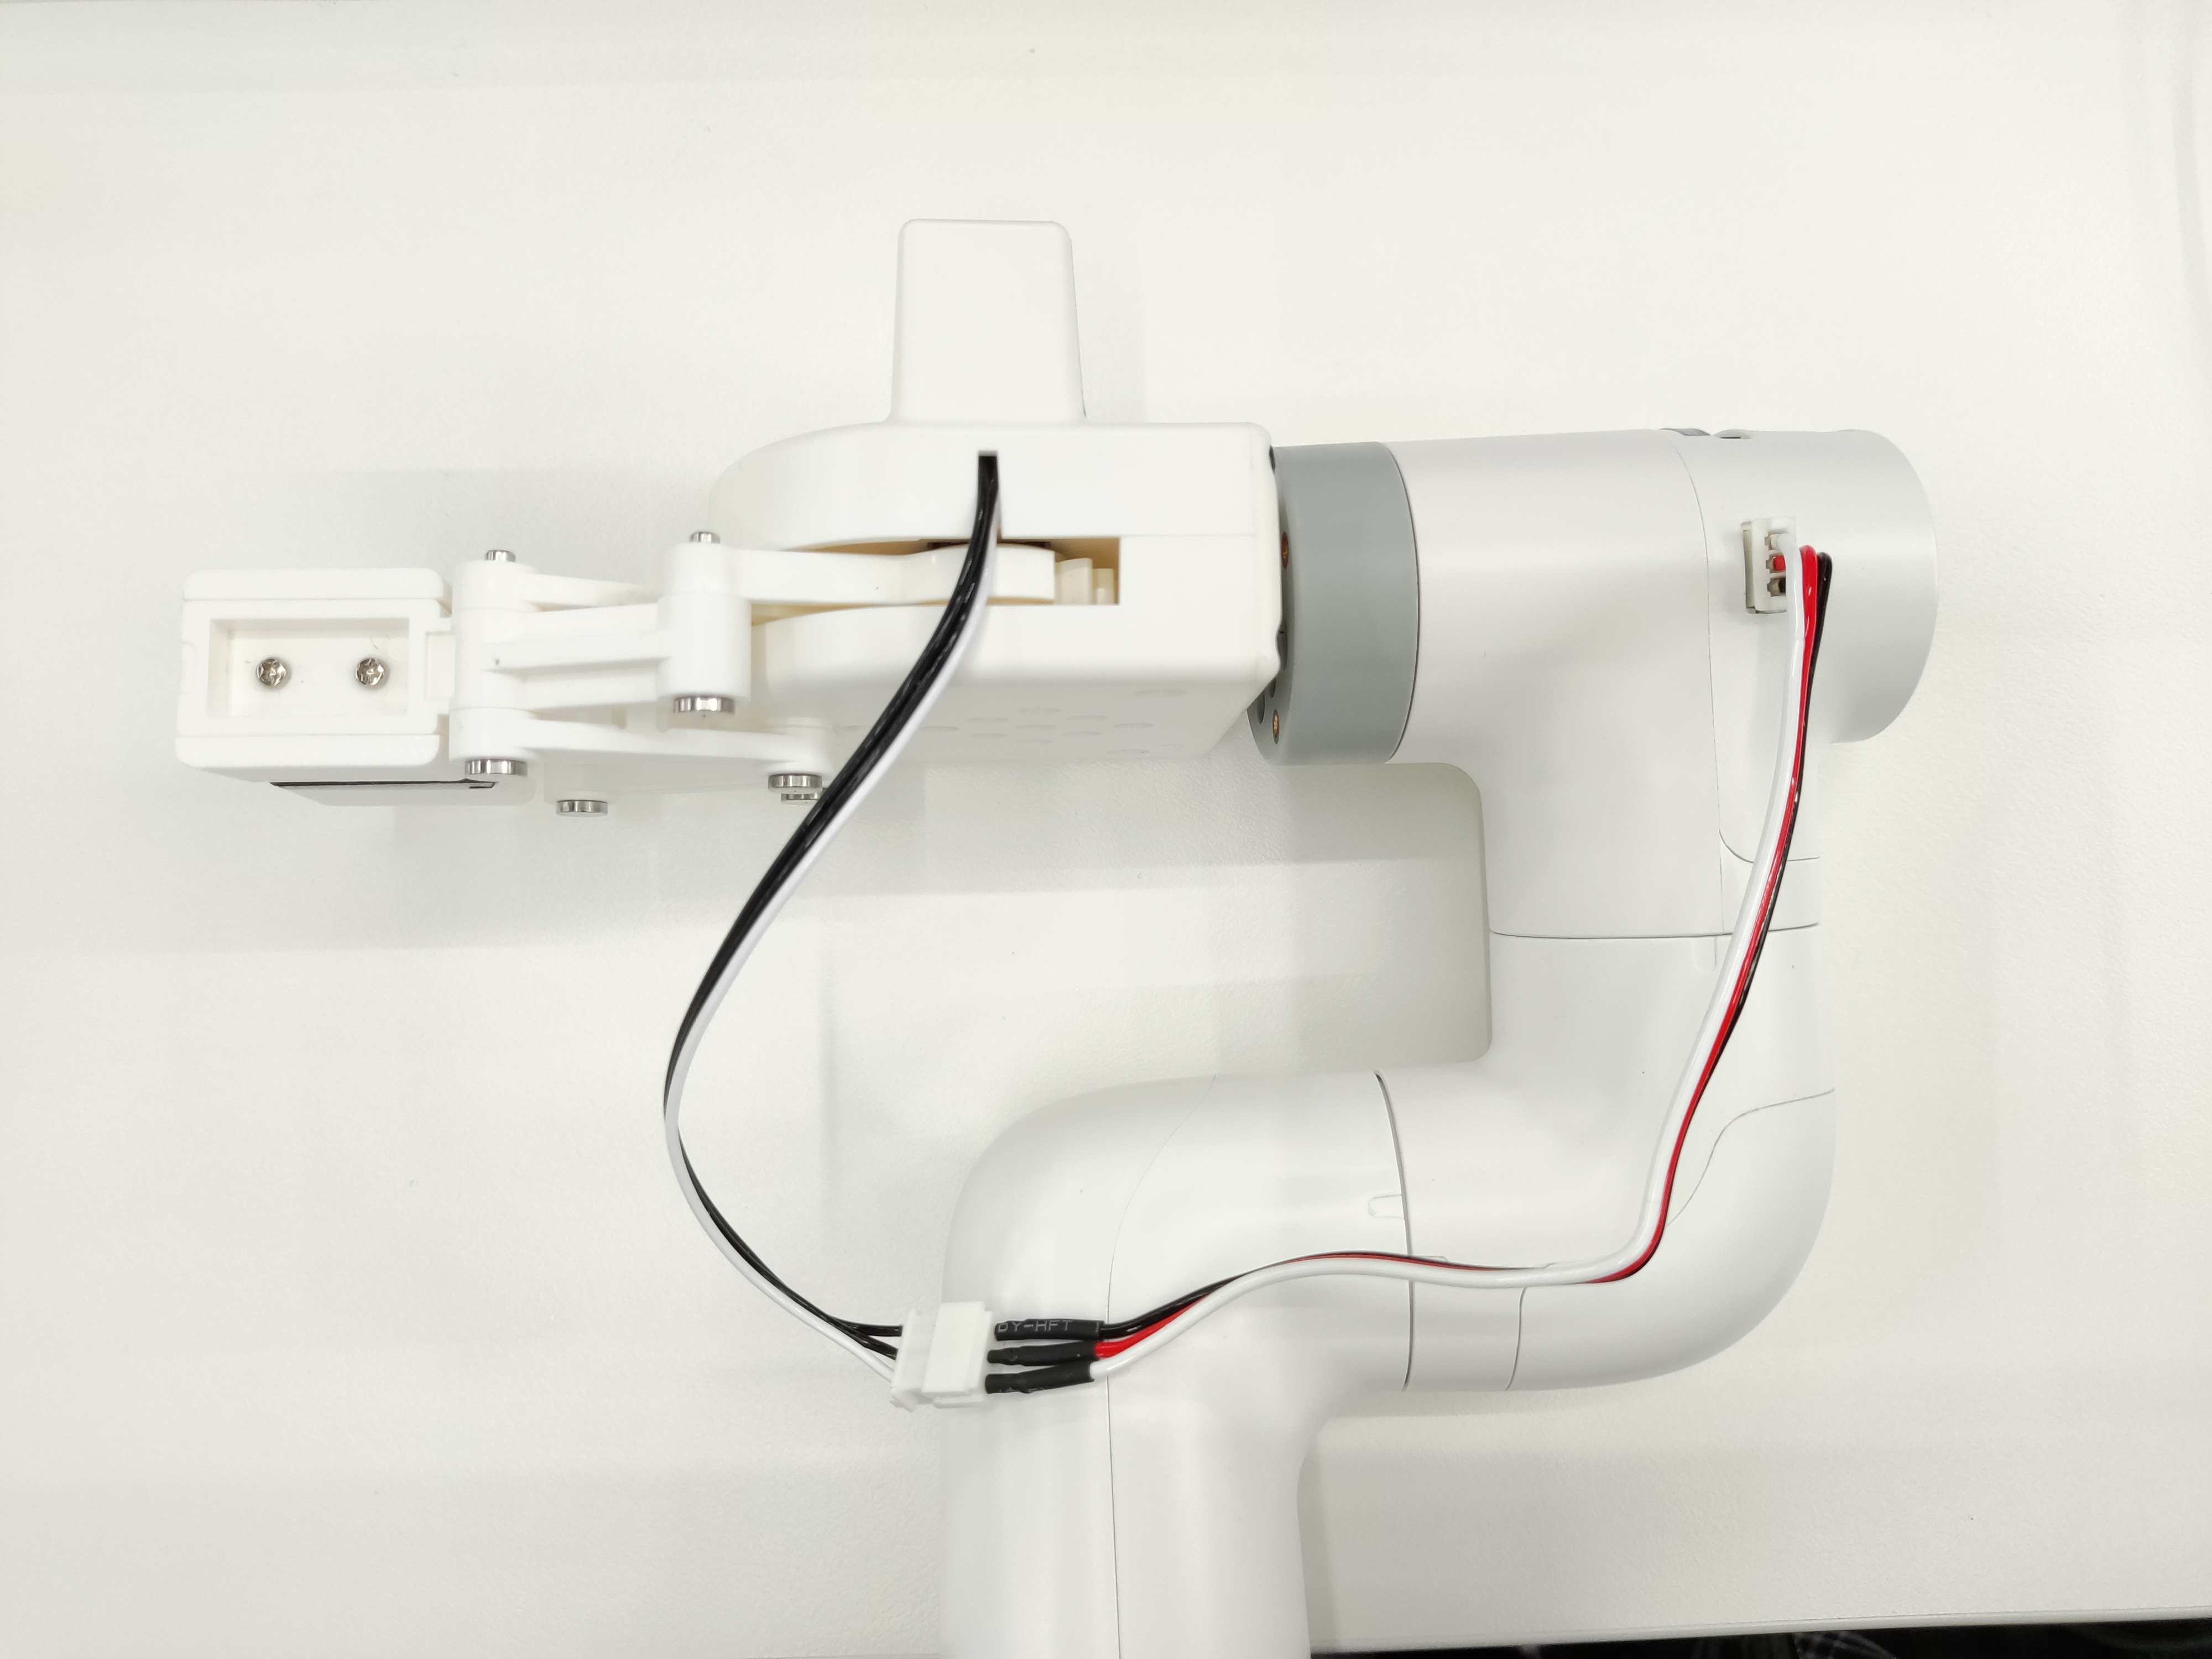
- Connect the extension cable to the gripper:
- Inserting the Robot Arm Control Interface:
Programming Development:
Using Python to Program the Gripper
M5 Version:
 from pymycobot import MyCobot280
 import time

 # Initialize a MyCobot280 object
 mc = MyCobot280("COM3", 115200)

 # The following three methods can all control the gripper's open-close-open state.
 # Method 1:
 mc.set_gripper_state(0, 80)
 time.sleep(3)
 mc.set_gripper_state(1, 80)
 time.sleep(3)
 mc.set_gripper_state(0, 80)
 time.sleep(3)

 # Method 2:
 # mc.set_gripper_value(100, 80)
 # time.sleep(3)
 # mc.set_gripper_value(0, 80)
 # time.sleep(3)
 # mc.set_gripper_value(100, 80)
 # time.sleep(3)

 # Method 3:
 # mc.set_encoder(7, 2048)
 # time.sleep(3)
 # mc.set_encoder(7, 1500)
 # time.sleep(3)
 # mc.set_encoder(7, 2048)
 # time.sleep(3)
280-Pi version:
from pymycobot import MyCobot280
from pymycobot import PI_PORT, PI_BAUD  # When using the Raspberry Pi version of mycobot, you can reference these two variables to initialize MyCobot280
import time

# Initialize a MyCobot280 object
mc = MyCobot280(PI_PORT, PI_BAUD)

# The following three methods can all control the gripper's open-close-open state.
# Method 1:
mc.set_gripper_state(0, 80)
time.sleep(3)
mc.set_gripper_state(1, 80)
time.sleep(3)
mc.set_gripper_state(0, 80)
time.sleep(3)

# Method 2:
# mc.set_gripper_value(100, 80)
# time.sleep(3)
# mc.set_gripper_value(0, 80)
# time.sleep(3)
# mc.set_gripper_value(100, 80)
# time.sleep(3)

# Method 3:
# mc.set_encoder(7, 2048)
# time.sleep(3)
# mc.set_encoder(7, 1500)
# time.sleep(3)
# mc.set_encoder(7, 2048)
# time.sleep(3)
Save the file and close it, then return to the command line terminal and enter:
python grip.pyYou can see the jaws open-close-open