2 Burning and Updating the Firmware
2.1 Burning the M5Stack-Basic Firmware
Note: Pi series robotic arms do not require burning the M5Stack-Basic firmware.
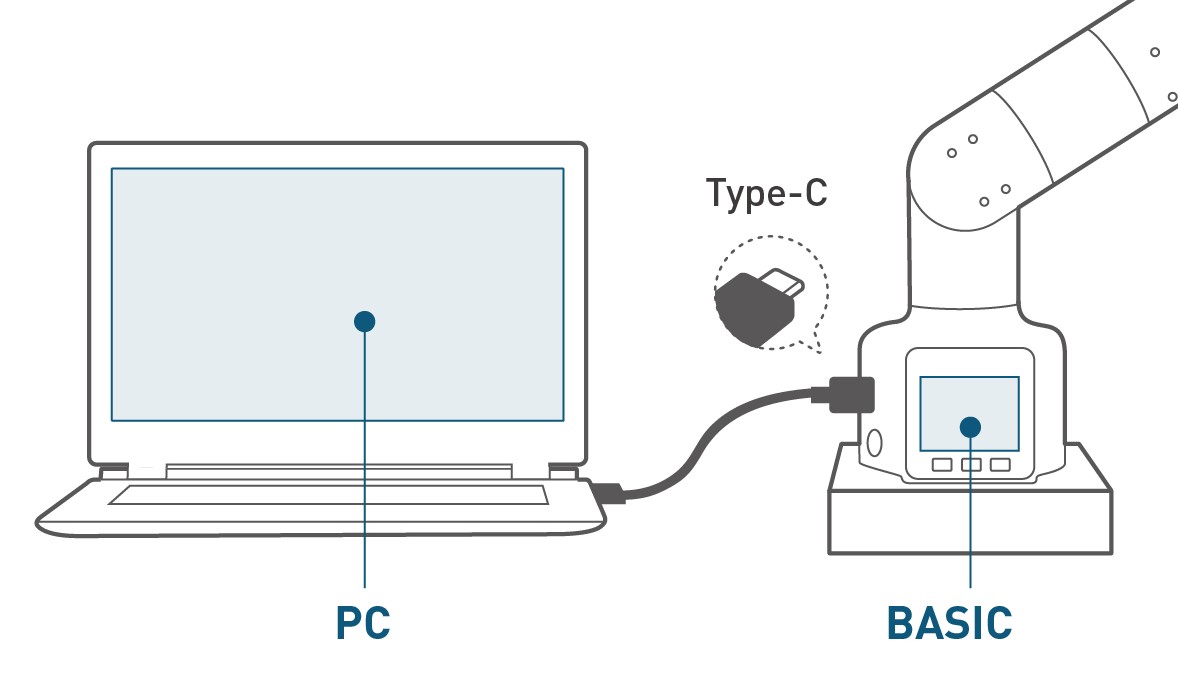
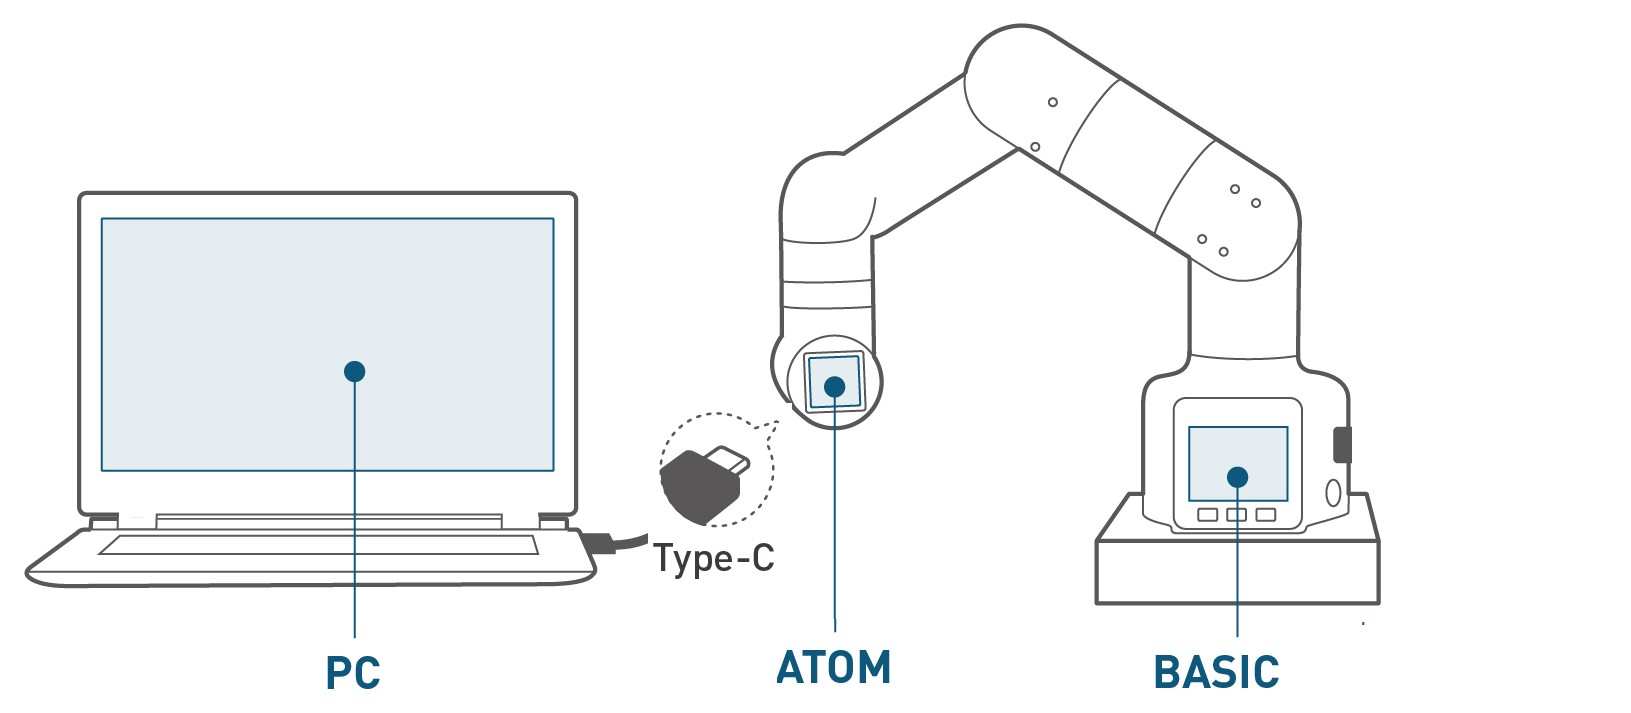
Step 1: Connect to the PC. The M5Stack-Basic and PC connection diagram is shown below:
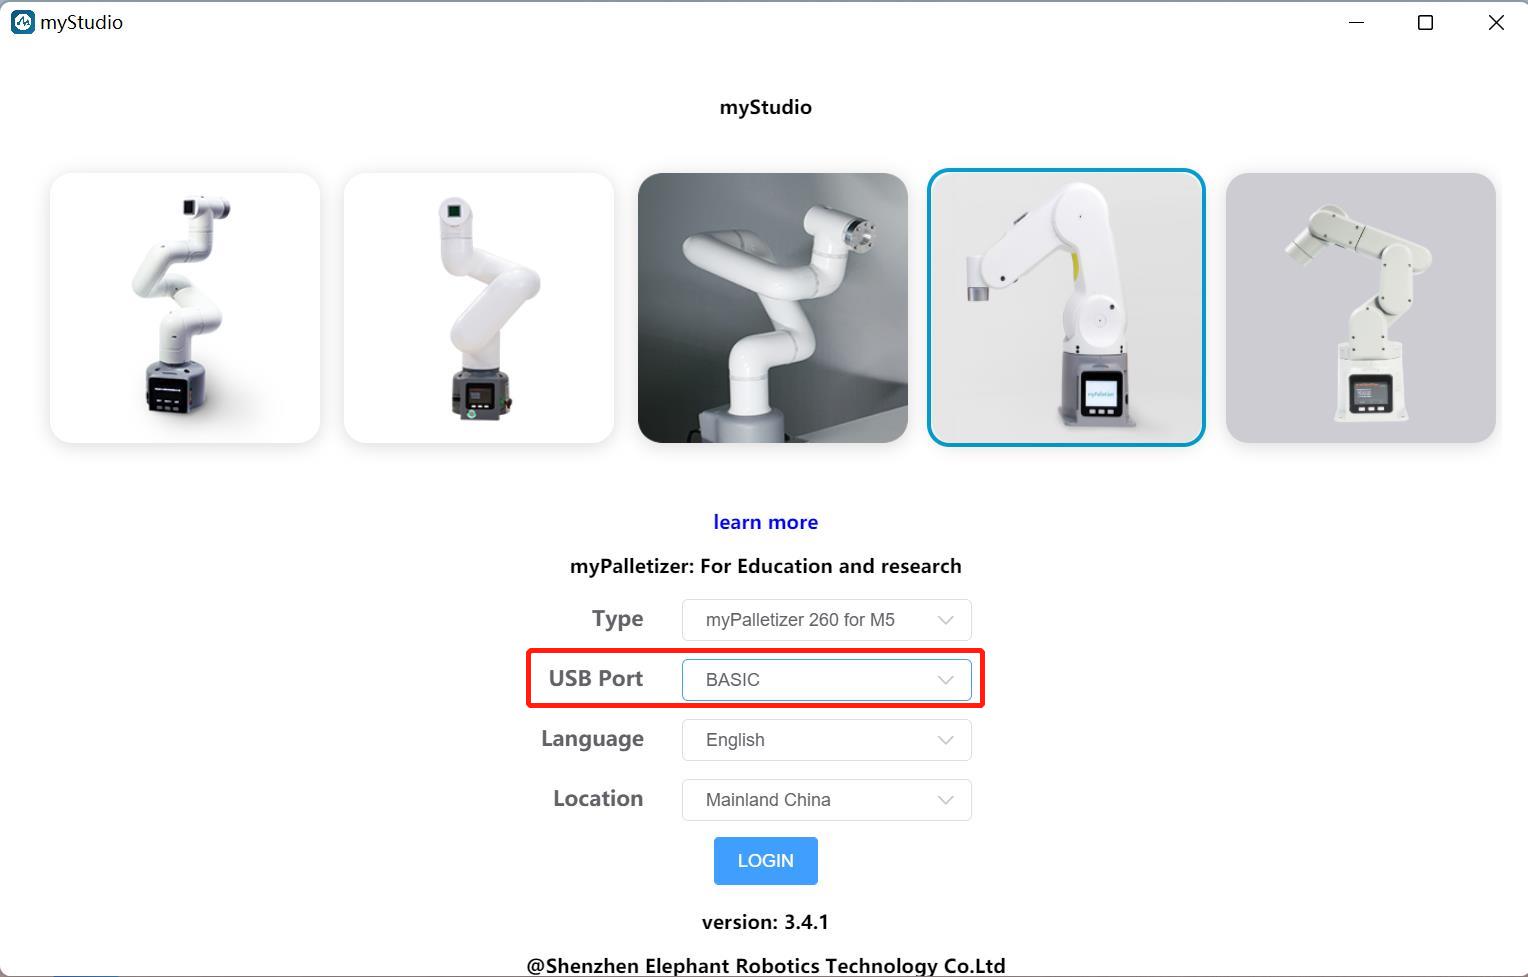
Step 2: Select the port. After connecting, the connected development board will be displayed under the USB Port section in myStudio's Connection window (this example uses the myPalletizer 260M5 version):
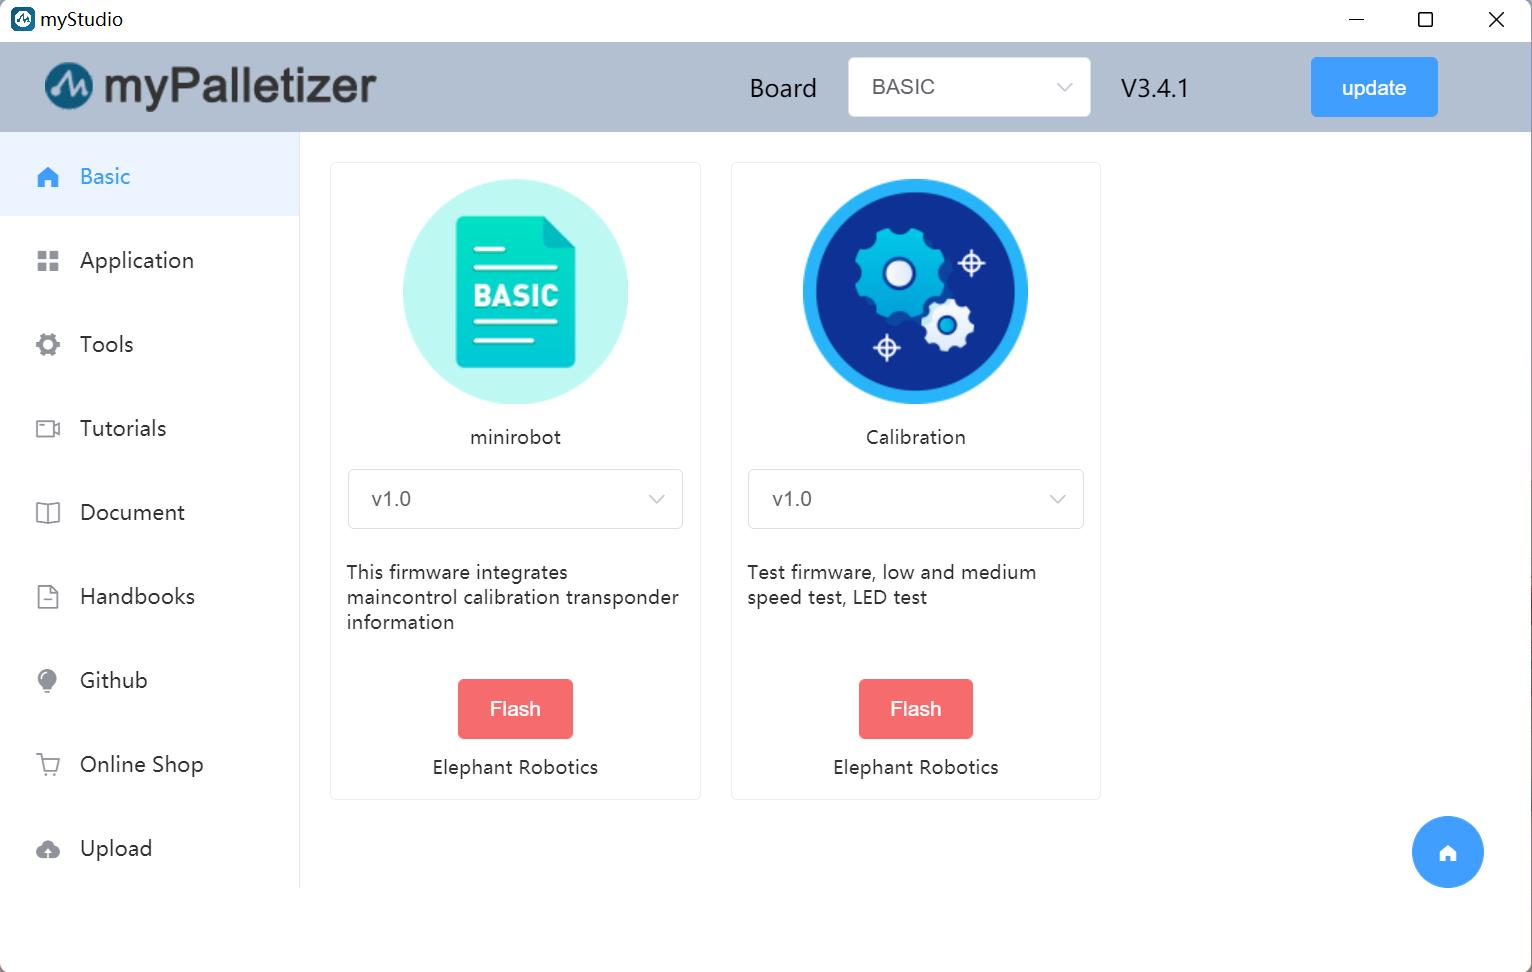
Step 3: Click Login -> M5Stack-basic to flash the required firmware:
Note: The 280 PI/Jetson nano/Arduino version does not include M5Stack-basic, so "No Data" will be displayed after connecting to myStudio.
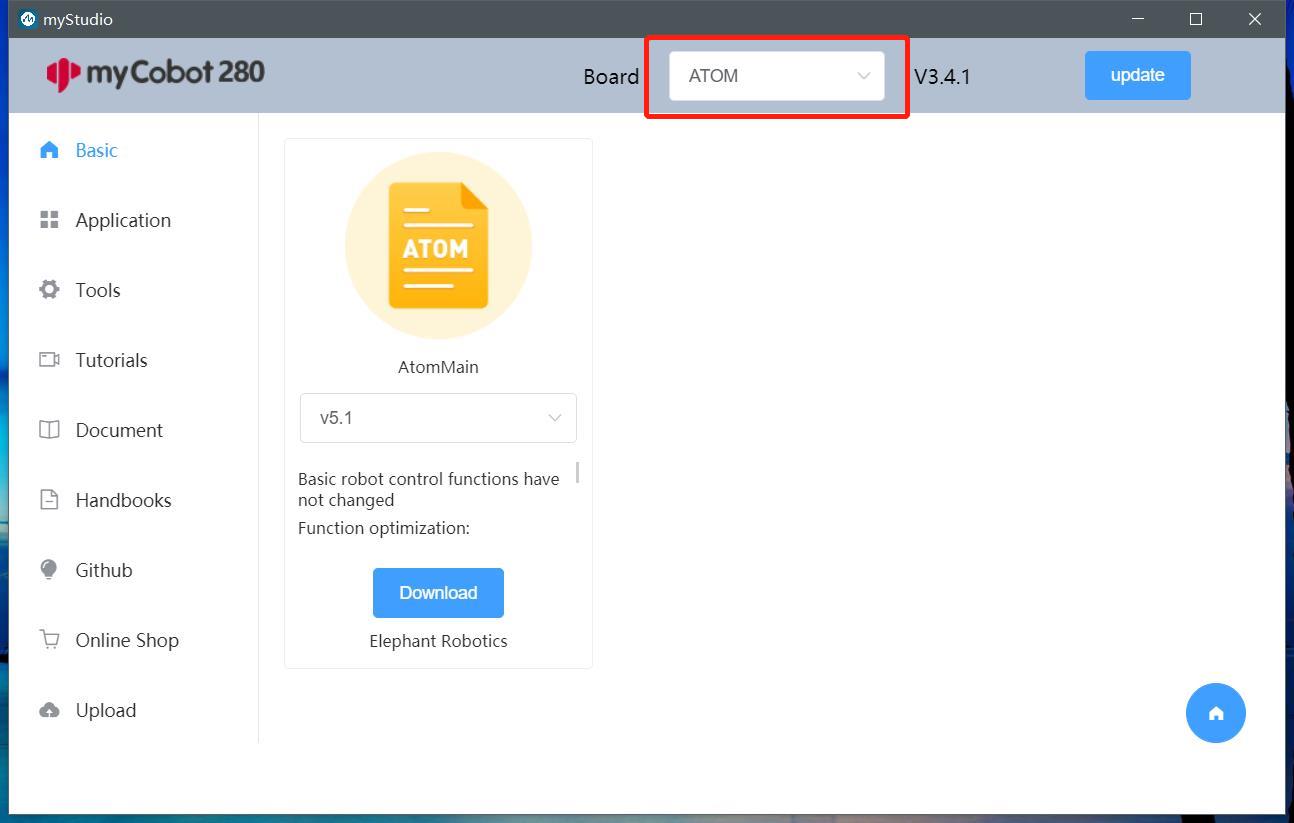
2.2 Flashing the Atom Firmware
Step 1: Connect to your PC. Connect the Atom to the USB port.
Step 2: Select ATOM in the Board column. The Atom firmware will appear in the Basic section of the sidebar. There is only one firmware for the Atom; click to flash it (the image below uses myCobot 280 as an example).