TCP/IP
TCP/IP, or Transmission Control Protocol/Internet Protocol, is one of the most fundemental communicative protocol on Internet, which stipulates the standard and methods of the Internet communication. Users can control robotic arms remotely through connecting with IP address instead of the USB port.
In this chapter, myCobot 280 M5 is used as an example for explanation.
Make sure that M5Stack-basic and Atom are both burnt before using.
MechArm
1.Connection
1.1 Create a default network
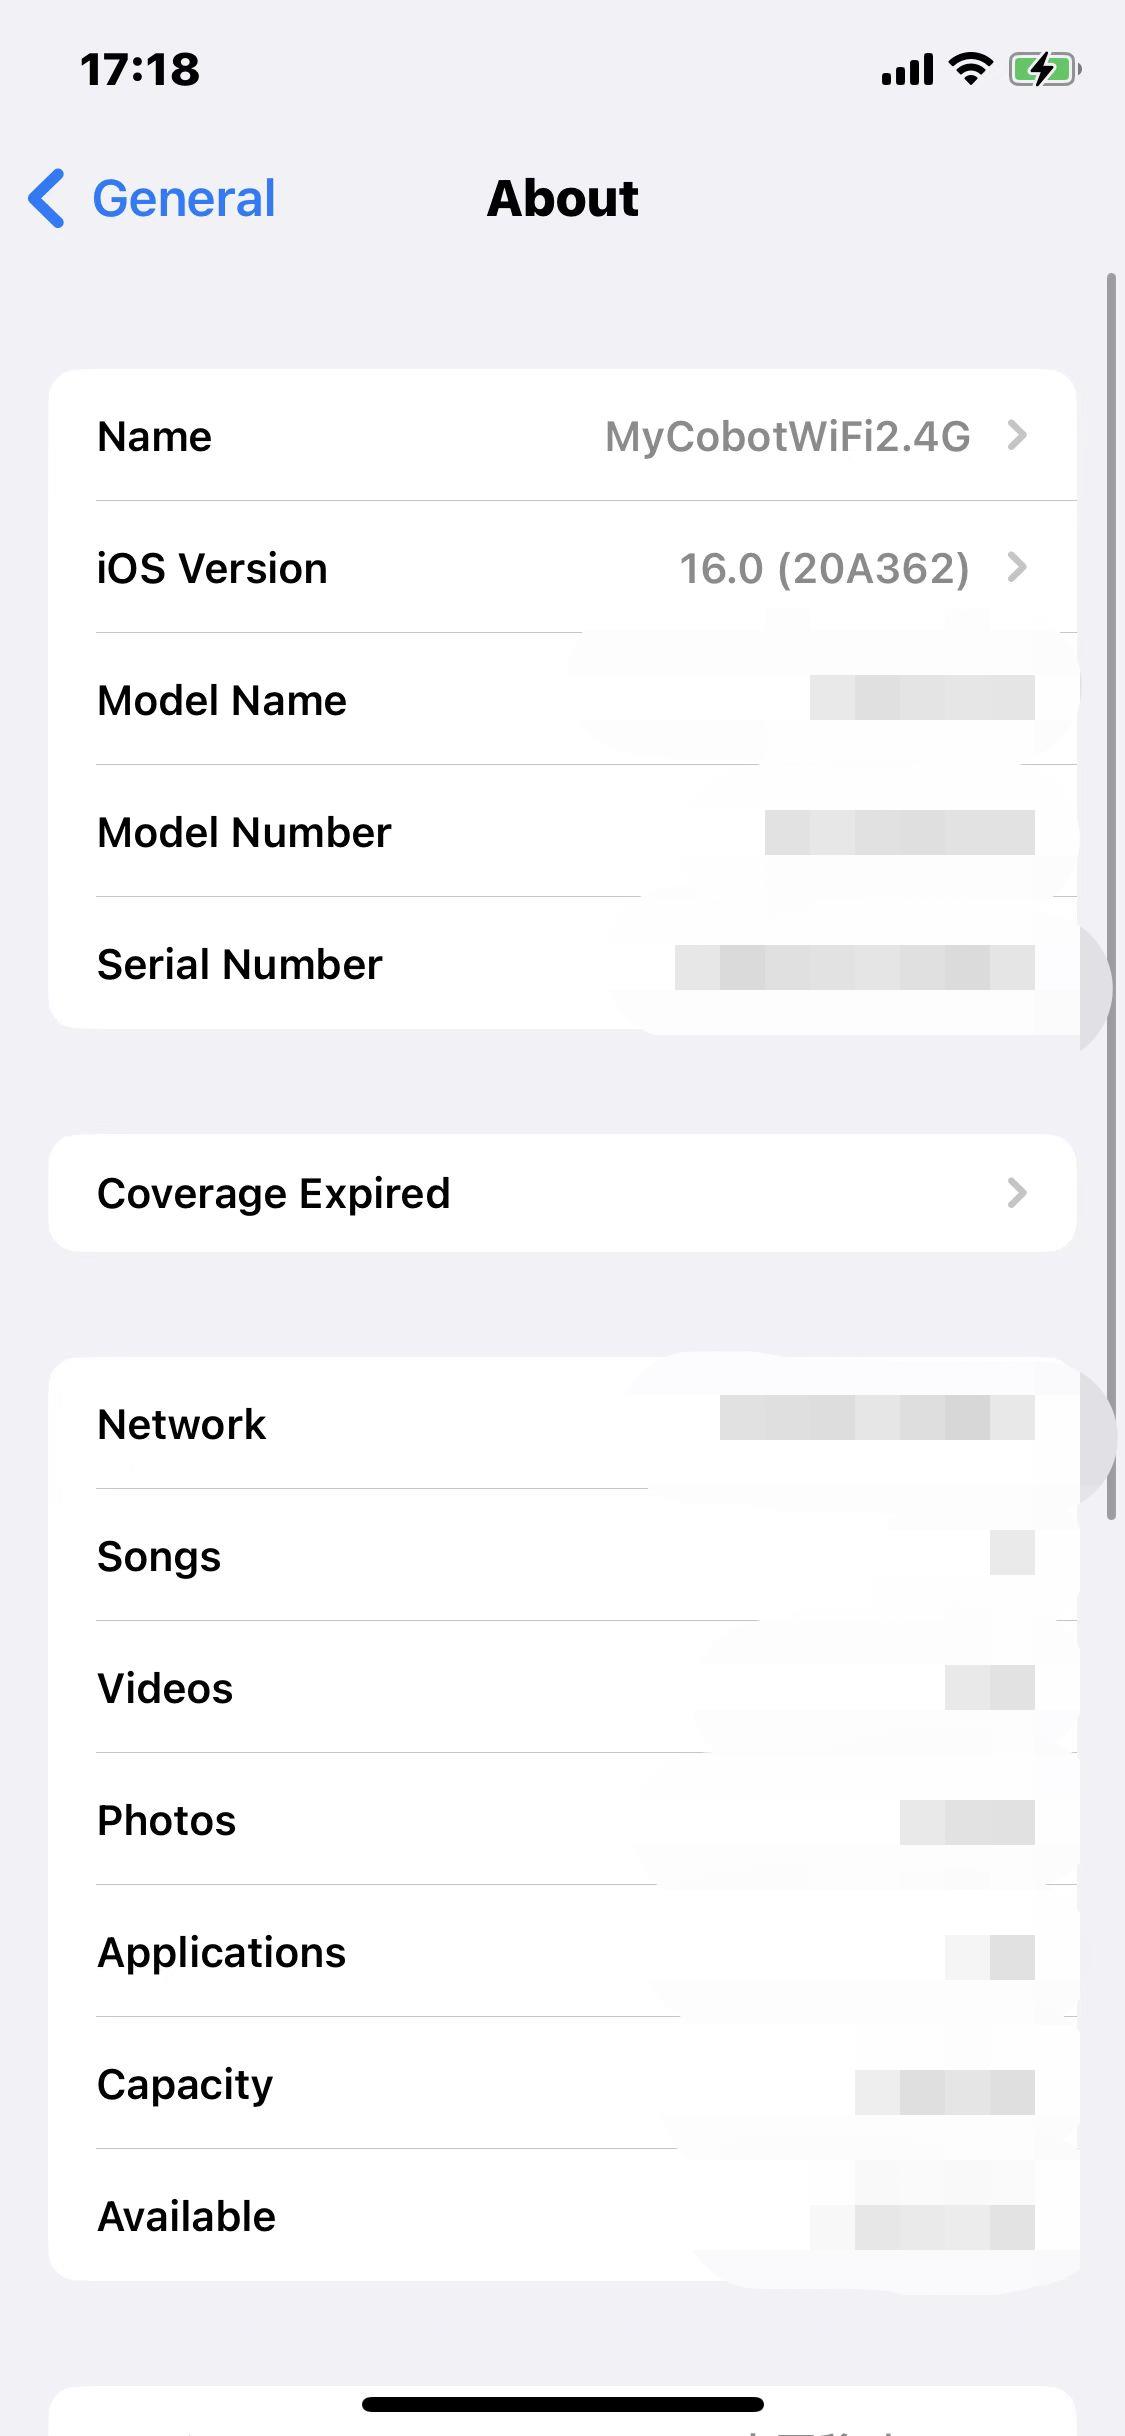
When using TCP/IP with the myCobot 280 m5 , it connects to a "MyCobotWiFi2.4G" network using the default password "mycobot123".
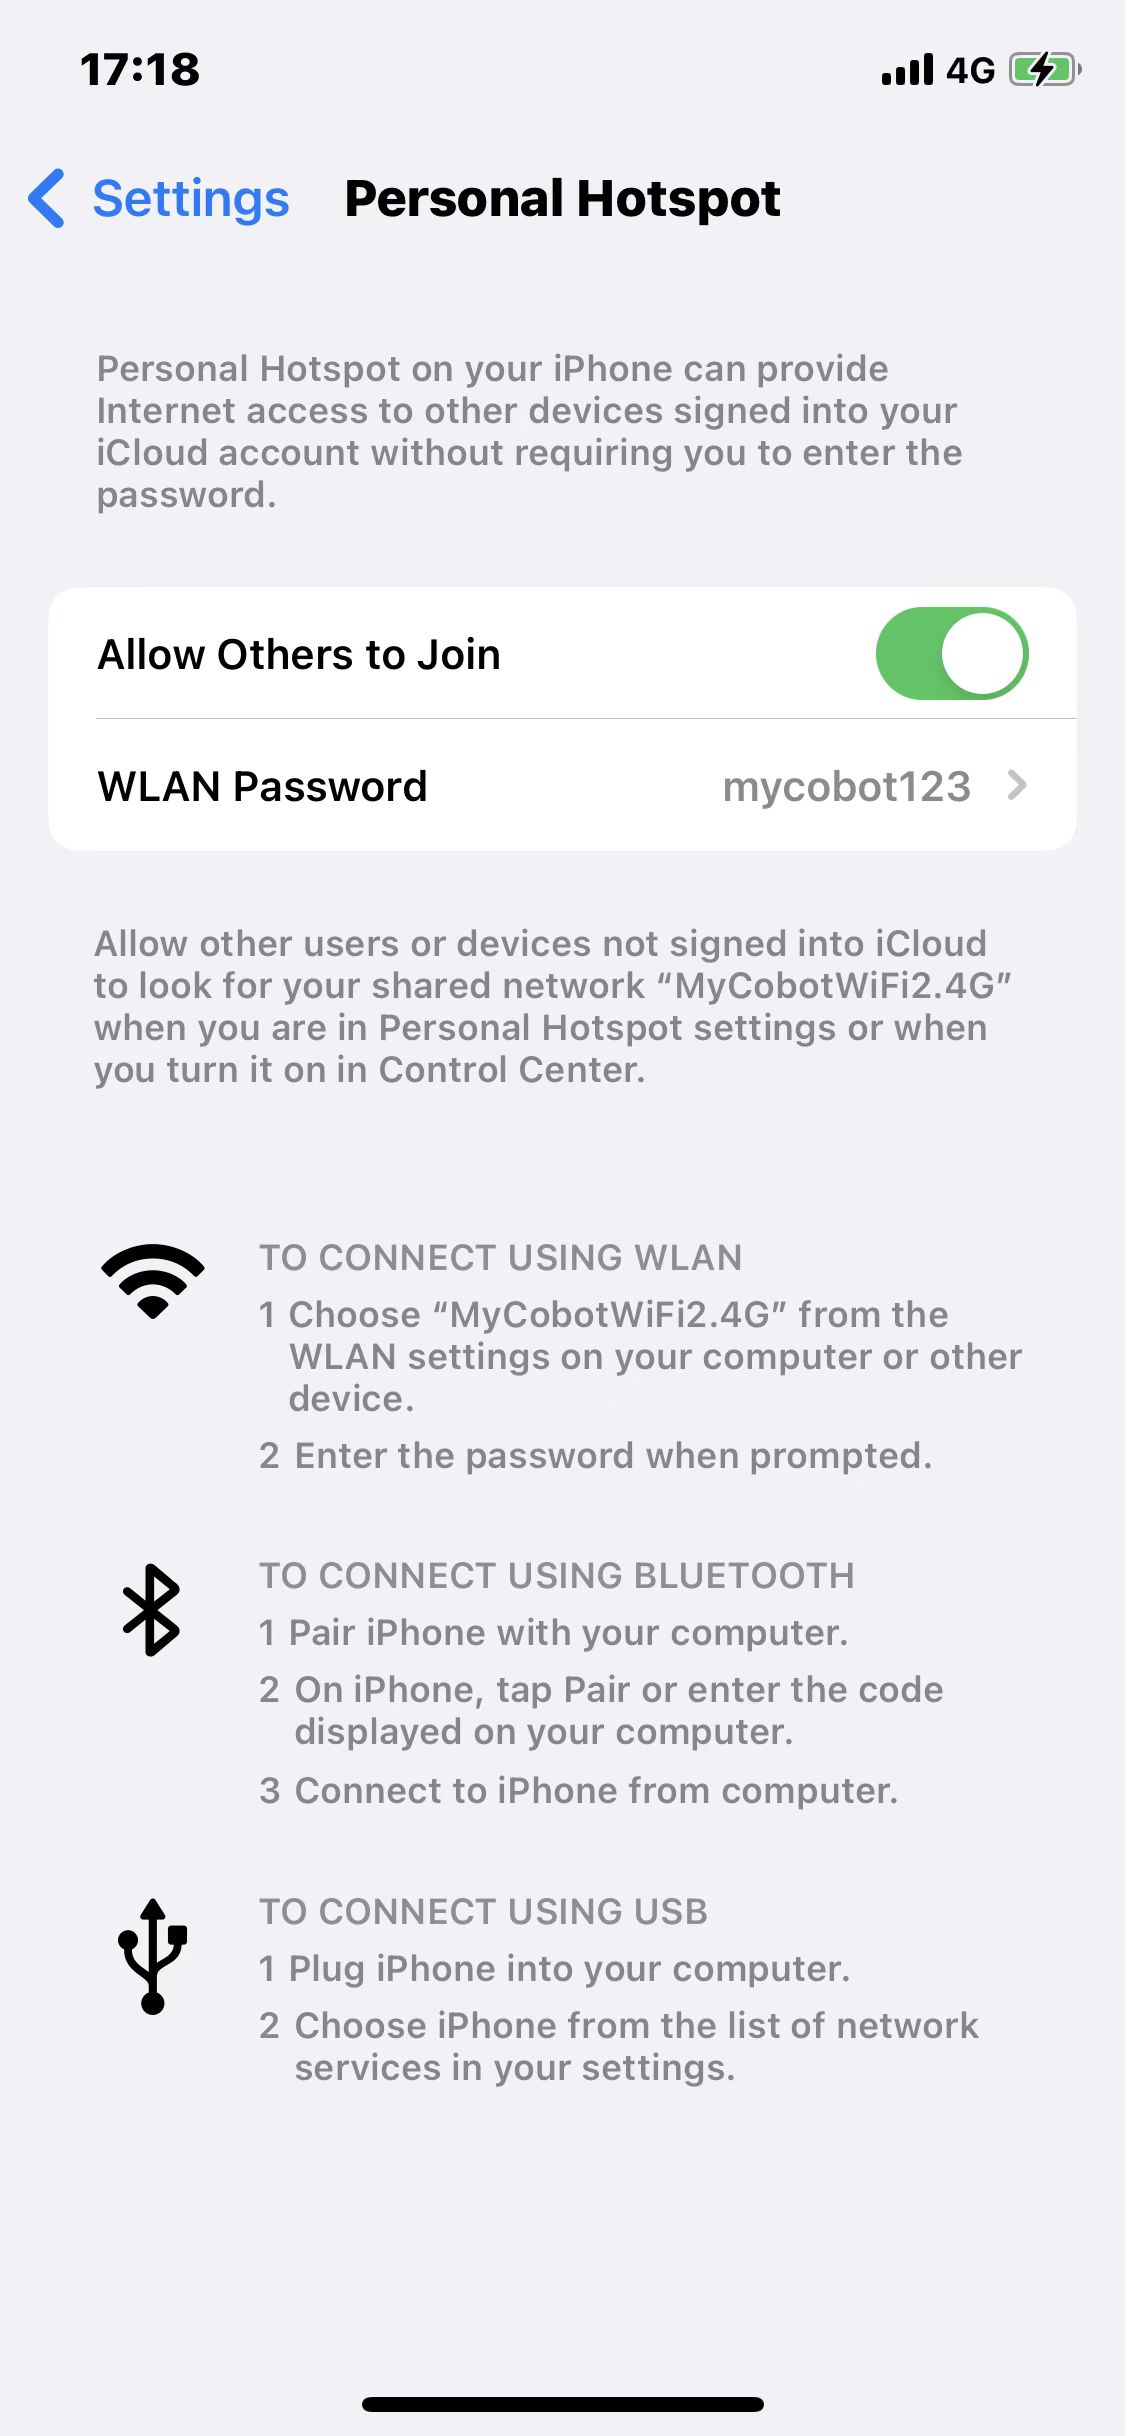
At this point, we can create a hotspot with a mobile phone, rename the hotspot network to "MyCobotWiFi2.4G", and set the password to "mycobot123". After enabling the hotspot, the robotic arm will automatically connect to the mobile phone hotspot using the TCP/IP function. Subsequently, as long as the devices are on the same local area network, they can communicate with each other over the network.
Similarly, you can set up a router by configuring the network name and password. Once the router is set up, and the robotic arm's TCP/IP function is enabled, it will connect to the router.
One important point to note is that the myCobot 280 m5 only supports the 2.4 GHz network band and does not support the 5 GHz network band. The following example uses a mobile phone hotspot.
1.2 Enabled the TCP/IP function
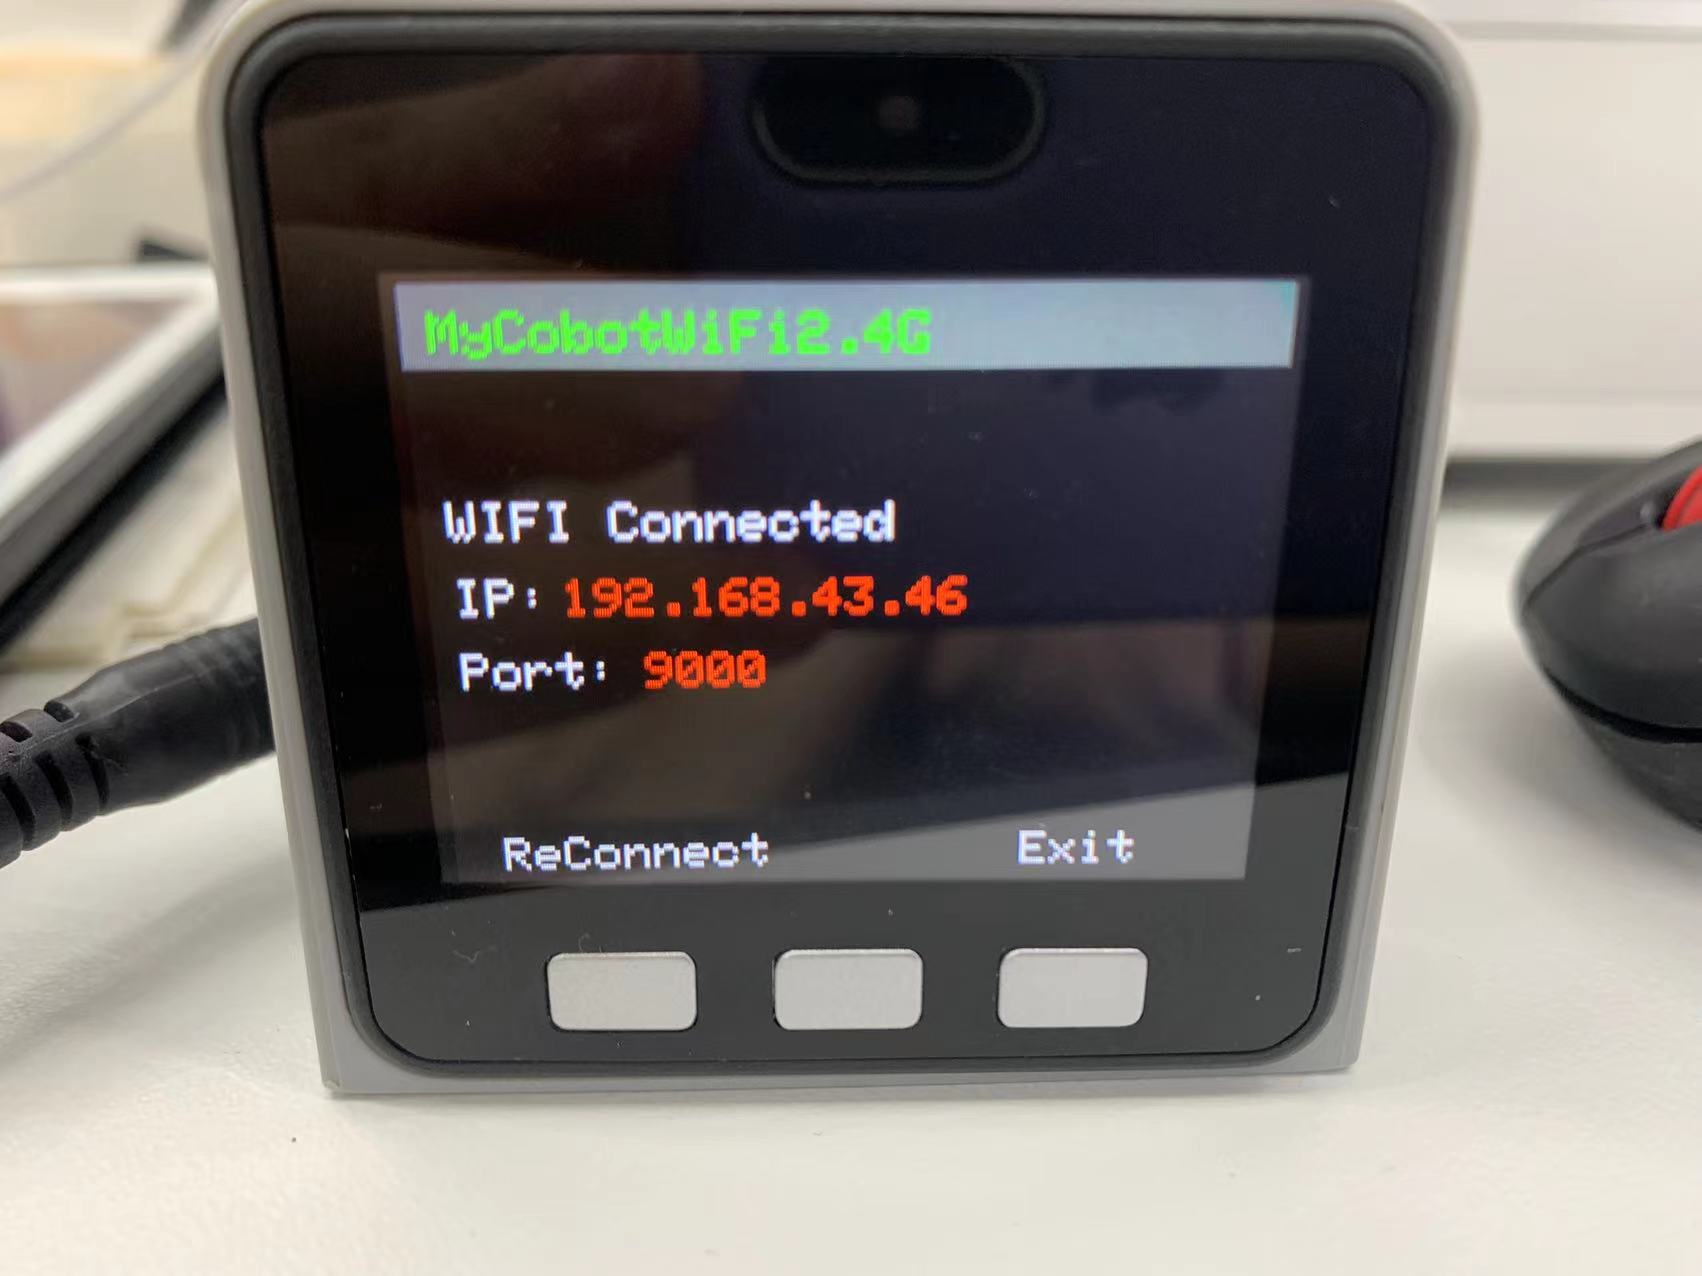
As shown in the figure, the robotic arm connects by pressing the button and selecting Transponder->WLAN Server. If the connection is successful, it will display the IP address and port number. If the connection fails, please check if the network name and password are set correctly.
![]()
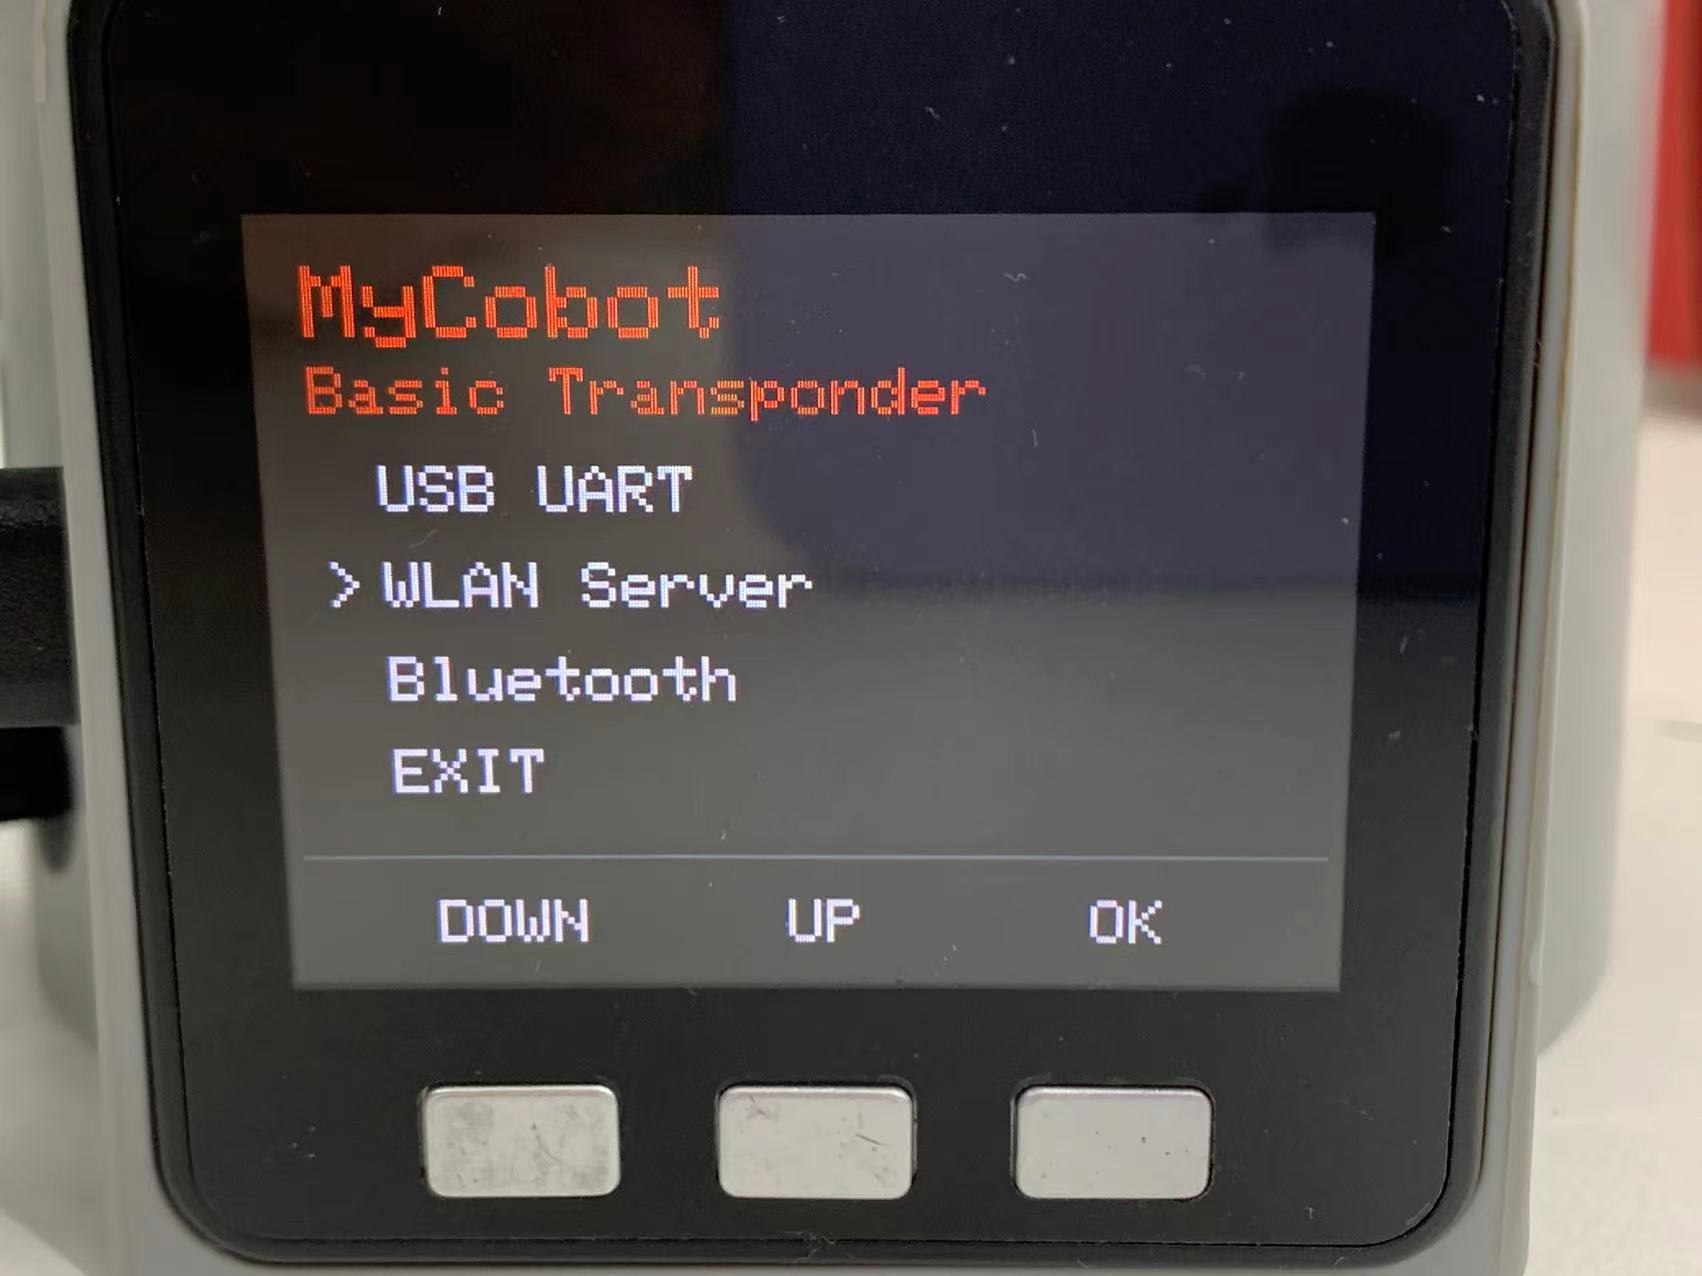
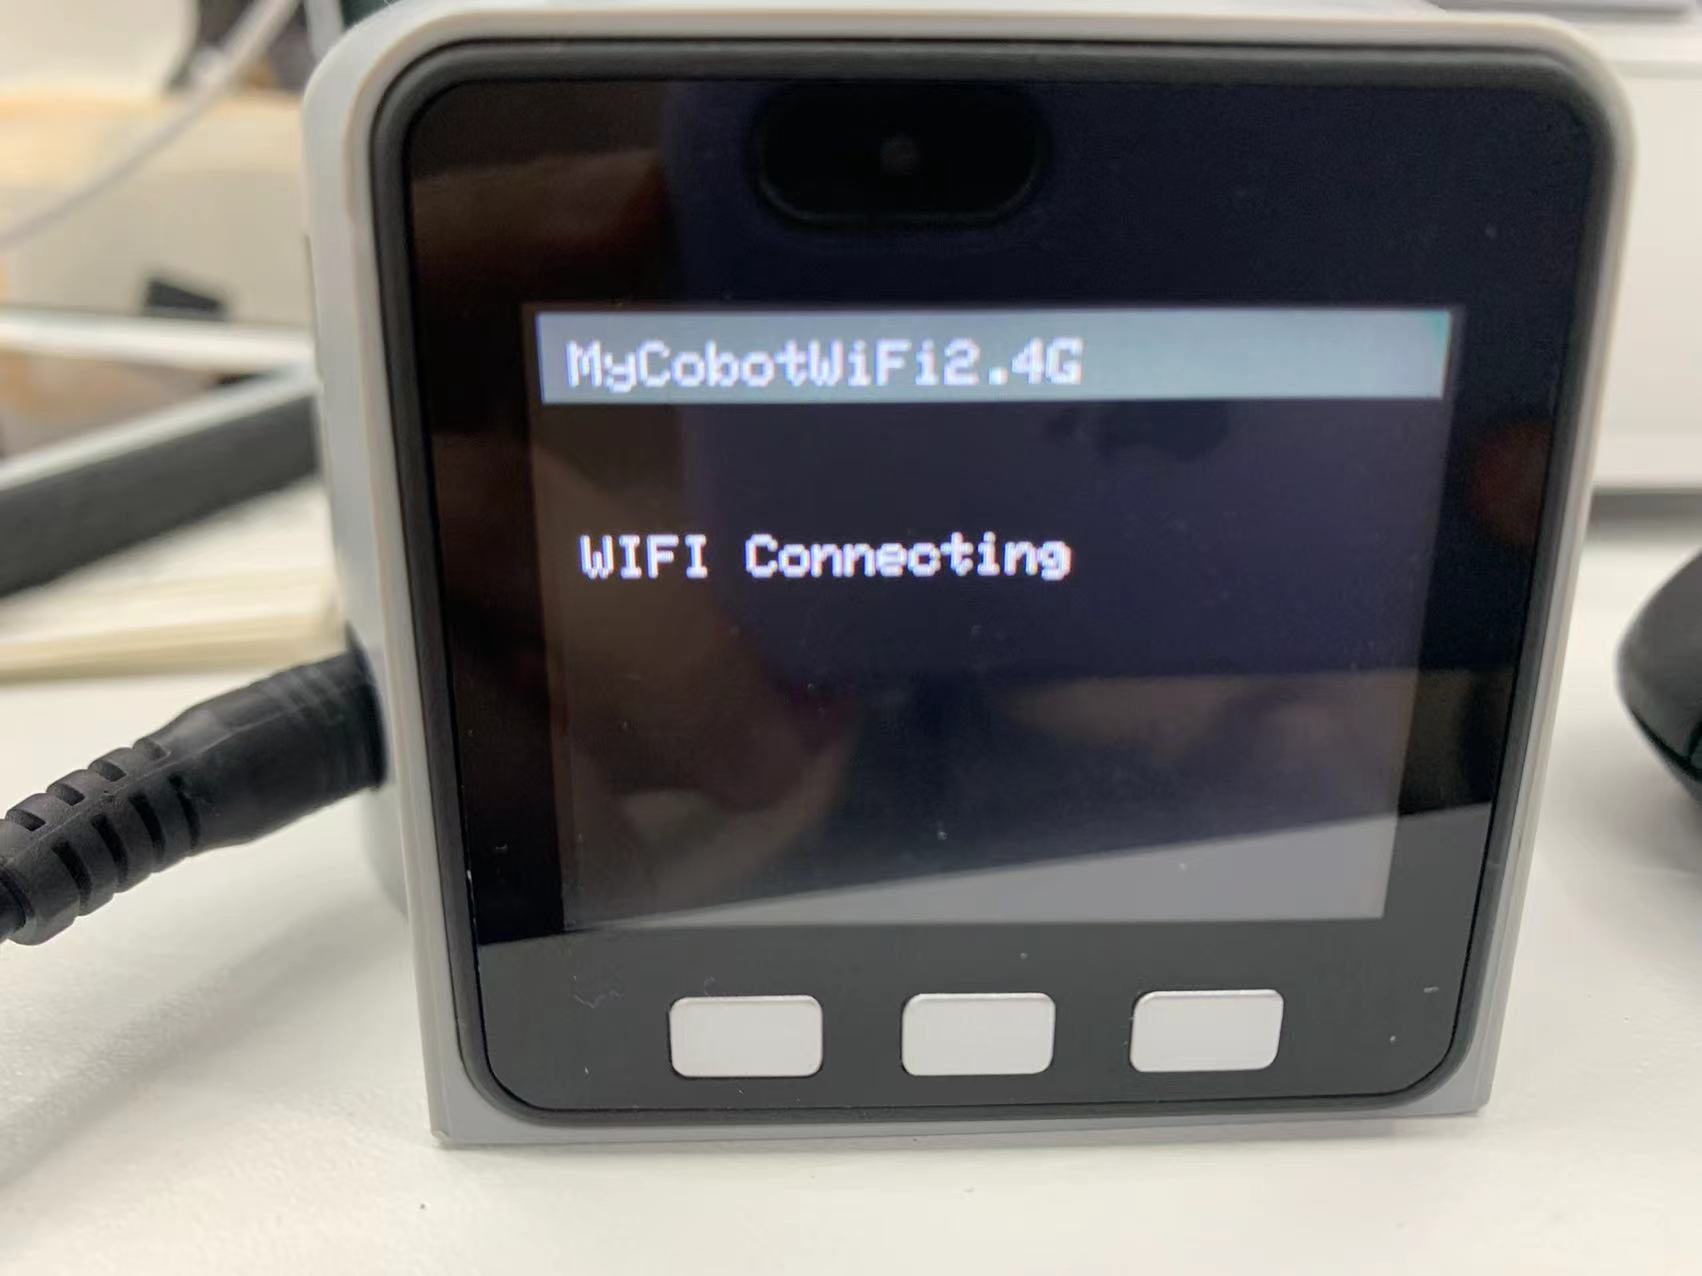
If the screen shows WIFI Connected, IP and Port, it means that robotic arm is successfully connected with WIFI.
1.3 Connect to another network
If you need to connect to another network, you can use the myBlockly software to configure the new network settings.
Note: The myCobot 280 m5 cannot save the connected Wi-Fi account and password when powered off. After a power cycle, it will reconnect to the default Wi-Fi account "MyCobotWiFi2.4G" with the password "mycobot123". To connect to a different network, you will need to reconfigure the Wi-Fi account and password.
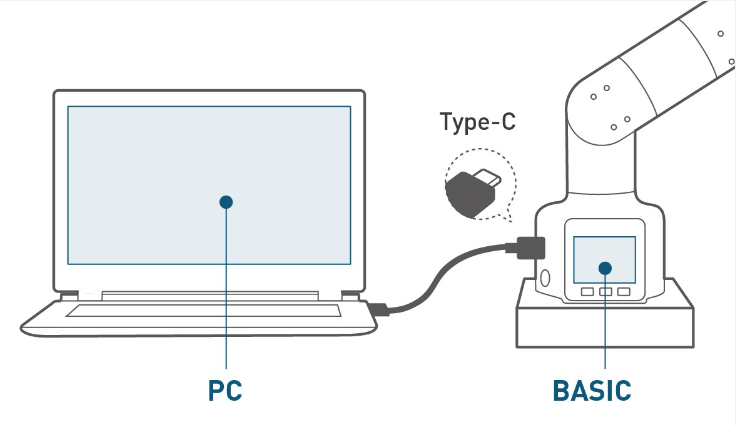
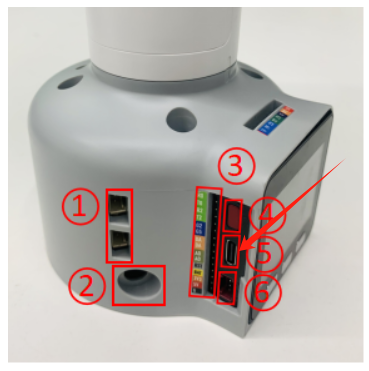
Step 1: Connect the PC to the myCobot 280 m5
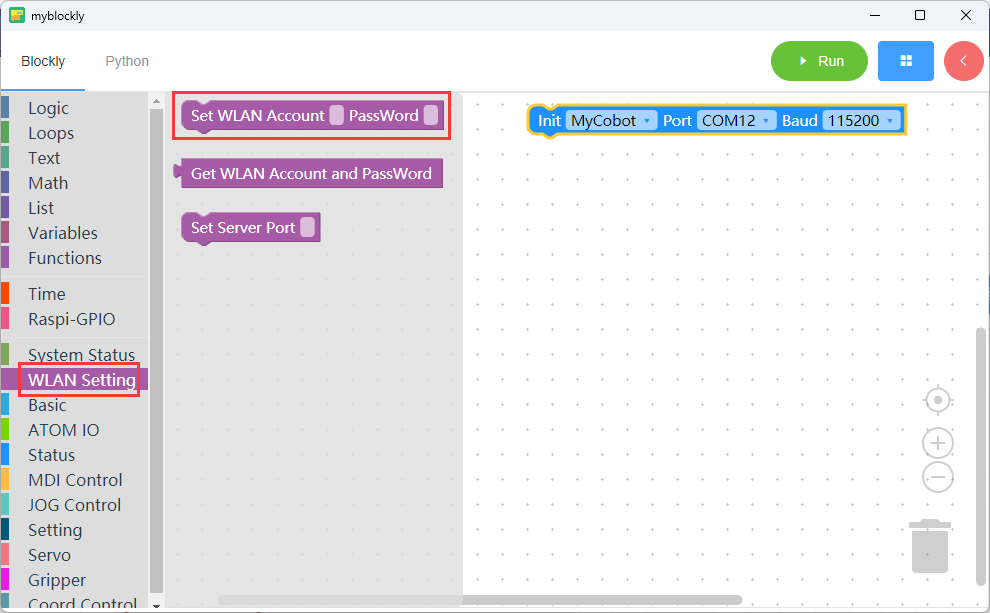
Step 2: Configure the myCobot 280 m5 Wi-Fi Settings Using myBlockly
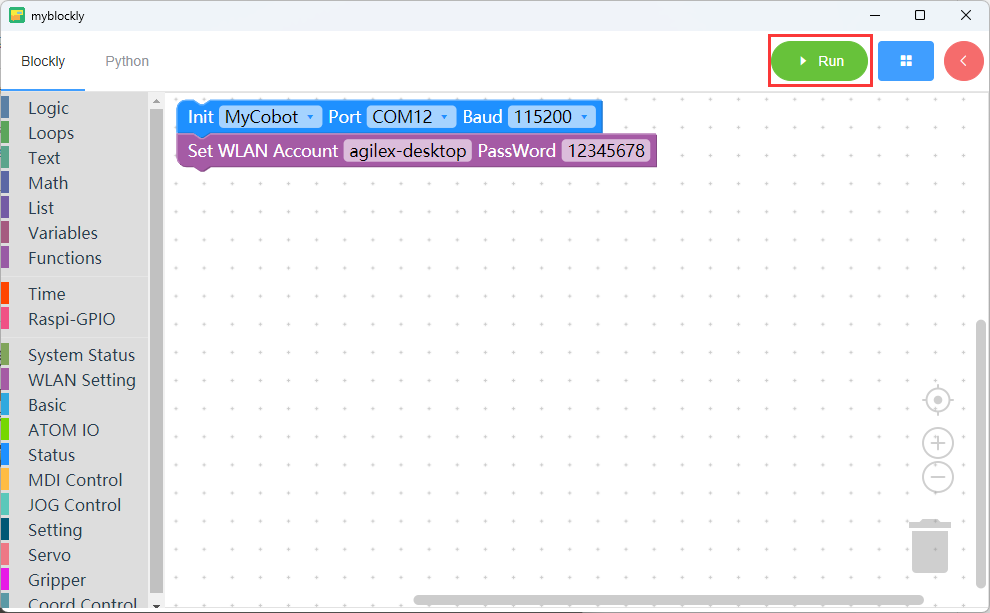
Step 3: By following these steps, the myCobot 280 m5 will connect to the "agilex-desktop" network.
1.4 myCobot Raspberry Pi Connections
- When using Raspberry Pi for remote connection, you need to pay attention to the following points
- The Raspberry Pi and the control end need to be on the same network
- The server file needs to be executed first in the Raspberry Pi (For specific operations, see the gif operation diagram)
- After the server file is executed, the prompt "Binding succeeded and waiting connect" indicates that the opening is successful, and the control terminal can refer to 2 Simple Demo
specific operation is:
clone our project library:git clone https://github.com/elephantrobotics/pymycobot.git
find the Server.py file in the demo folder and execute it with python
1.4 MechArm Raspberry Pi Connections
- When using Raspberry Pi for remote connection, you need to pay attention to the following points
- The Raspberry Pi and the control end need to be on the same network
- The server file (change to Server_270.py)needs to be executed first in the Raspberry Pi (For specific operations, see the gif operation diagram)
- After the server file is executed, the prompt "Binding succeeded and waiting connect" indicates that the opening is successful, and the control terminal can refer to Simple Demo
specific operation is:
clone our project library:git clone https://github.com/elephantrobotics/pymycobot.git
find the Server_270.py file in the demo folder and execute it with python
Instructions for use:
Please update pymycobot to the latest version before use.
pip install pymycobot --upgrade
- myPalletizer260
Please change the parameters passed in the last line of the Server_260.py file, MycobotServer, based on your model.
The default model is the 260PI.
The default parameters are:

    serial_num: /dev/ttyAMA0

    baud: 1000000
- MechArm 270
Please change the parameters passed in the last line of the Server_270.py file, MechArmSocket, based on your model.
The default model is the 270PI.
The default parameters are:

    serial_num: /dev/ttyAMA0

    baud: 1000000
Simple Demo
When the robotic arm successfully activates the TCP/IP function under the mobile hotspot, it will display the IP address and port. Be sure to remember this IP and port.
Connect your PC to the same mobile hotspot as the robotic arm. By using the Python driver library, you can connect to the robotic arm via its IP address, allowing for remote operation without needing to connect through a USB port.
- myPalletizer260
from pymycobot import MyPalletizerSocket
# Use port 9000 by default
# Where "192.168.43.46" is the IP of the robot arm
mc = MyPalletizerSocket("192.168.43.46",9000)

#After the connections is normal, the robot arm can be controlled.
res = mc.get_angles()
print(res)
mc.send_angles([0,0,0,0],20)
...
- MechArm 270
from pymycobot import MechArmSocket
# Use port 9000 by default
# Where "192.168.43.46" is the IP of the robot arm
mc = MechArmSocket("192.168.43.46",9000)

#After the connections is normal, the robot arm can be controlled.
res = mc.get_angles()
print(res)
mc.send_angles([0,0,0,0,0,0],20)
...
myArm
Simple Demo
from pymycobot import MyArmSocket
# Use port 9000 by default
# Where "192.168.10.22" is the IP of the robot arm
mc = MyArmSocket("192.168.11.15",9000)

#After the connections is normal, the robot arm can be controlled.
mc.send_angles([0,0,0,0,0,0,0],20)
res = mc.get_angles()
print(res)

...
mybuddy
Note: This function must be used under the same network
start the server
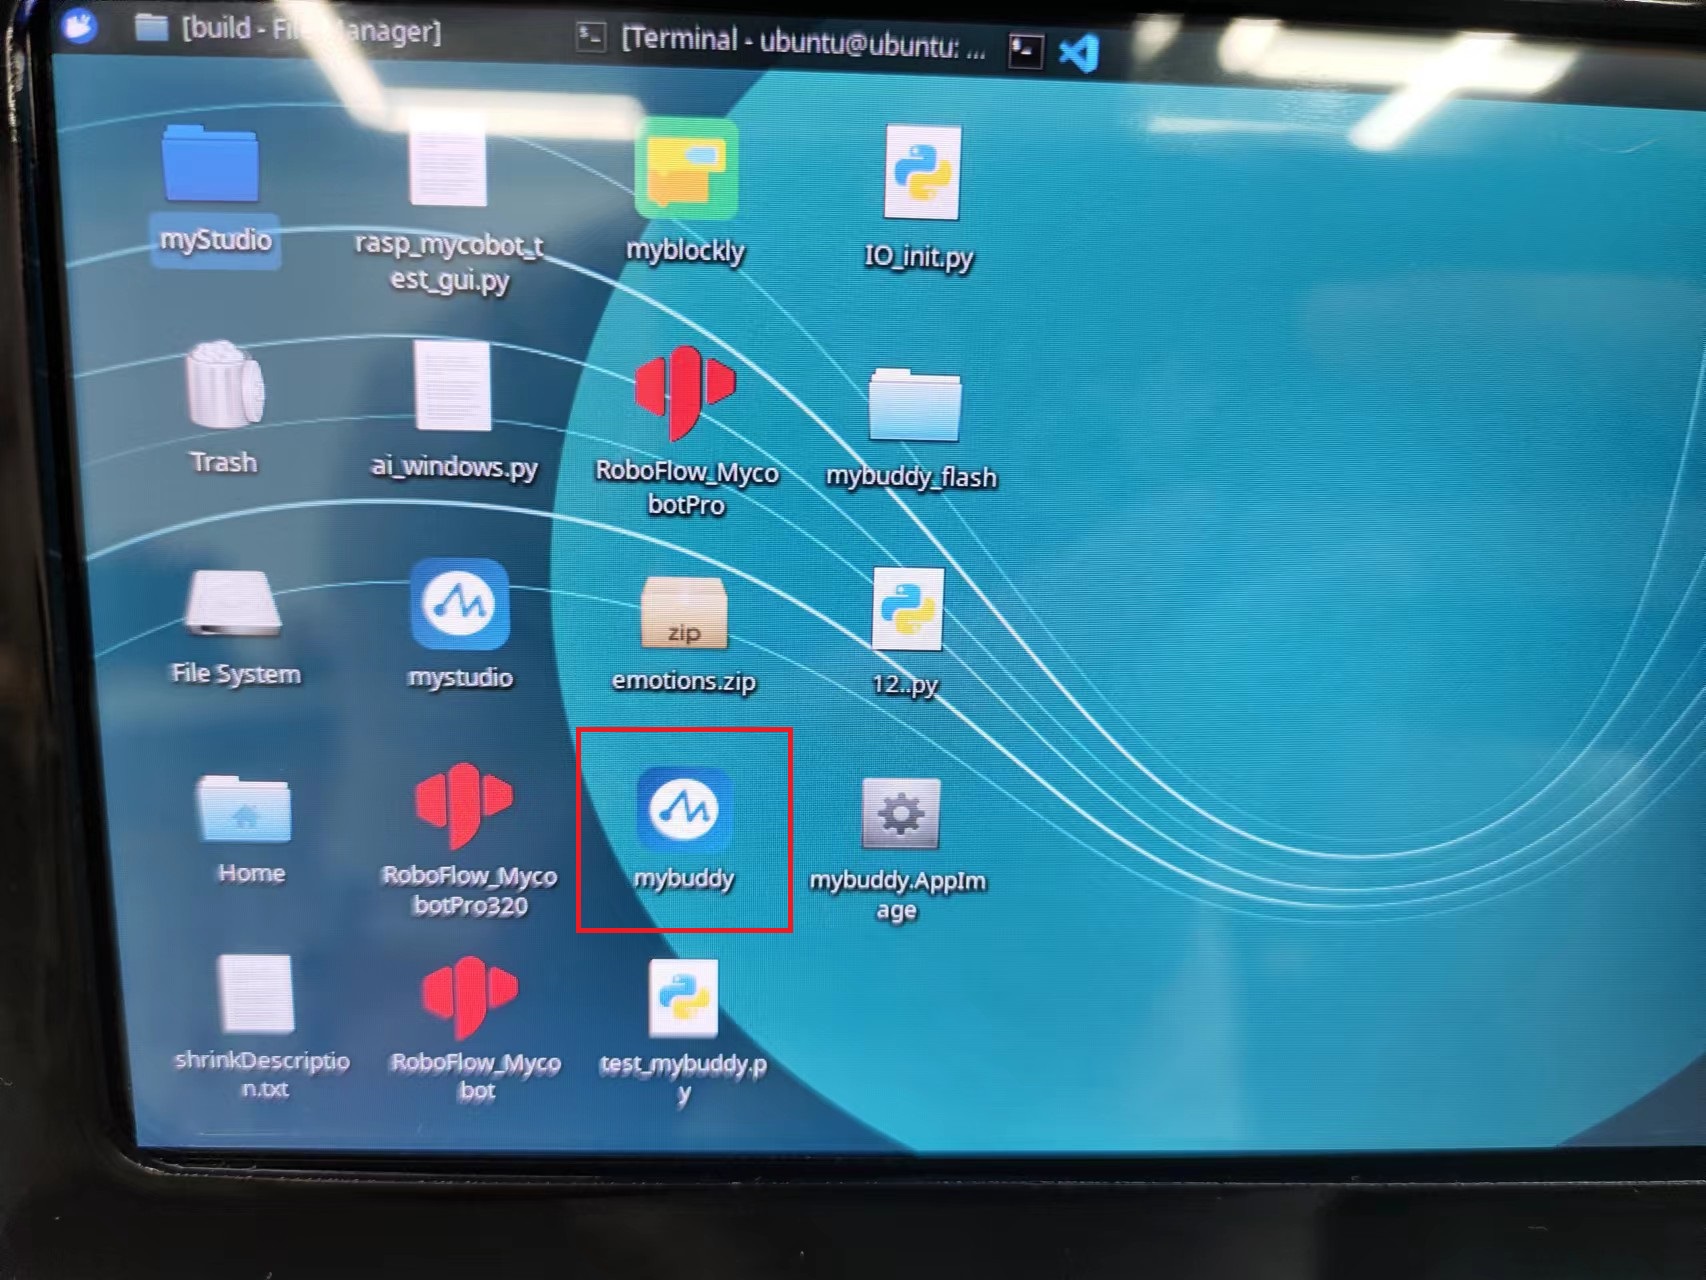
1.Double click to open this software on the desktop
2.Select Transponder, the port is /dev/ttyACM0, click Connect

3.Select "Wlan Socket"
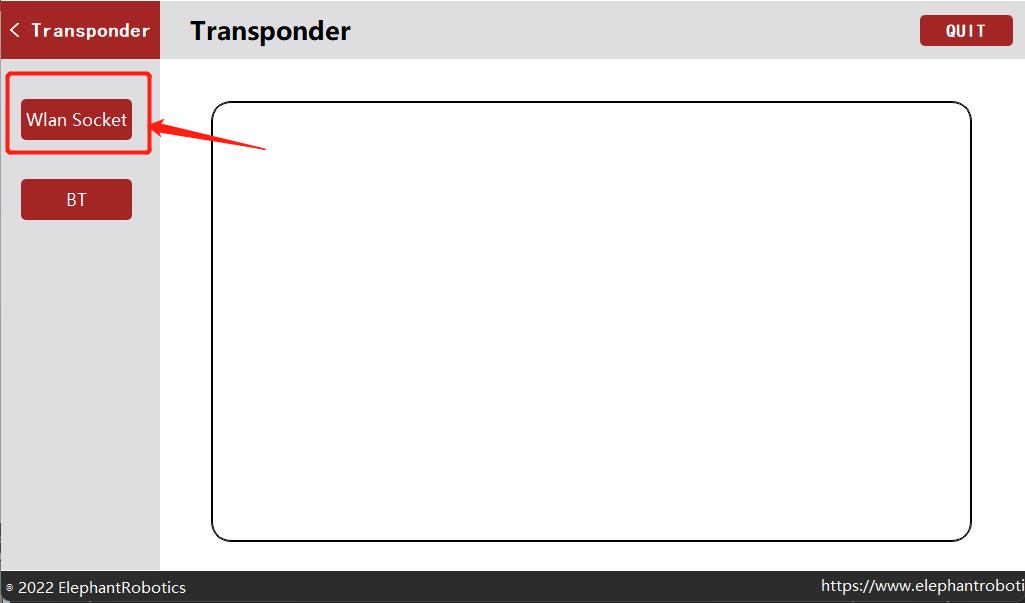
4.Click "OPEN" to open the server
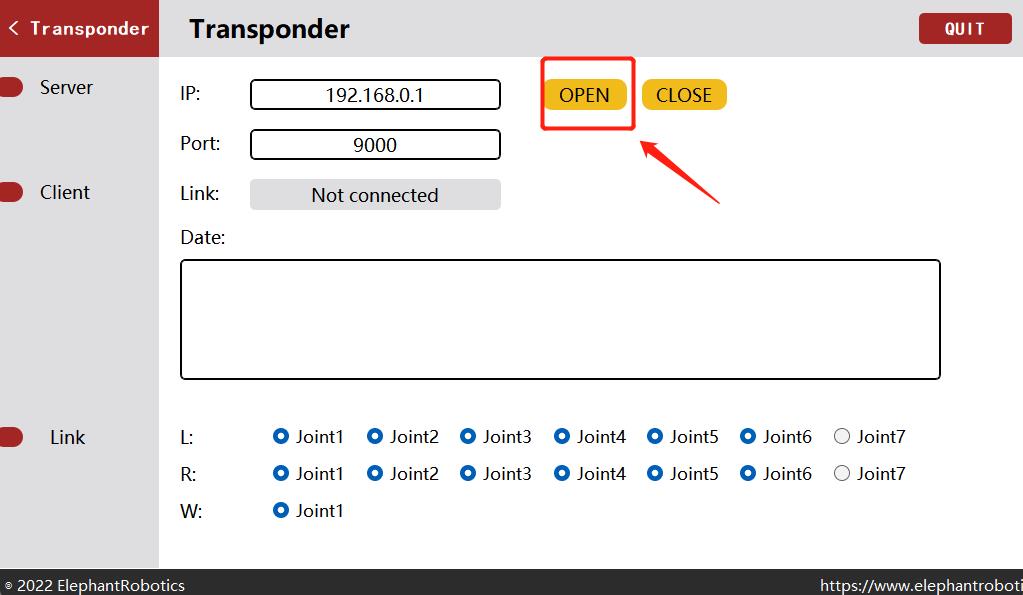
Client connection
from pymycobot import MyBuddySocket

mst = MyBuddySocket("192.168.0.1", 9000)
mst.connect("/dev/ttyACM0", "115200")

print(mst.get_angles(1))