Gazebo Introduction and Usage
Gazebo is a 3D visualization platform in ROS. On one hand, it can display external information graphically; on the other hand, it can publish control information to objects through RViz to monitor and control robots. It supports simulating a real physical world and can be used in conjunction with MoveIt.
Local Setup
1. Operation Process
1.1 Prerequisites
To use this package, you need to install the Python API library first.
pip install pymycobot --user

# Environment:
ros1 noetic
gazebo 11
pymycobot 4.0.3
1.2 Package Download and Installation
Download the package to your ROS workspace:
$ cd ~/catkin_ws/src
$ git clone https://github.com/elephantrobotics/mycobot_ros.git
$ cd ~/catkin_ws
$ catkin_make
$ source devel/setup.bash
MyCobot_320_m5-Gazebo Usage Guide
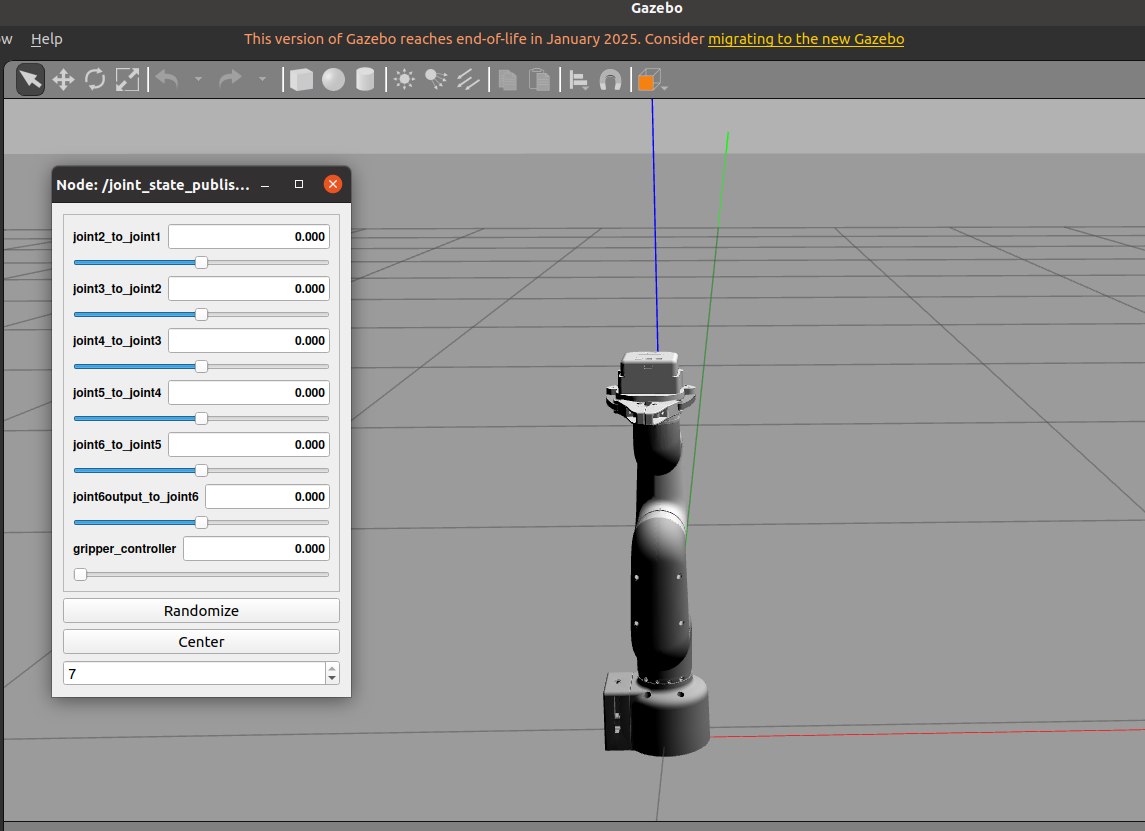
1. Slider Control
Slider control through joint_state_publisher_gui is now implemented to control the robot arm model pose in Gazebo.
After connecting the real robot arm to the computer, check the port the robot arm is connected to:
ls /dev/tty*
# /dev/ttyACM0 or /dev/ttyUSB0
You will get output similar to:
/dev/tty    /dev/tty26  /dev/tty44  /dev/tty62      /dev/ttyS20
/dev/tty0   /dev/tty27  /dev/tty45  /dev/tty63      /dev/ttyS21
/dev/tty1   /dev/tty28  /dev/tty46  /dev/tty7       /dev/ttyS22
/dev/tty10  /dev/tty29  /dev/tty47  /dev/tty8       /dev/ttyS23
/dev/tty11  /dev/tty3   /dev/tty48  /dev/tty9       /dev/ttyS24
/dev/tty12  /dev/tty30  /dev/tty49  /dev/ttyACM0    /dev/ttyUSB0
/dev/tty13  /dev/tty31  /dev/tty5   /dev/ttyprintk  /dev/ttyS26
/dev/tty14  /dev/tty32  /dev/tty50  /dev/ttyS0      /dev/ttyS27
/dev/tty15  /dev/tty33  /dev/tty51  /dev/ttyS1      /dev/ttyS28
/dev/tty16  /dev/tty34  /dev/tty52  /dev/ttyS10     /dev/ttyS29
/dev/tty17  /dev/tty35  /dev/tty53  /dev/ttyS11     /dev/ttyS3
/dev/tty18  /dev/tty36  /dev/tty54  /dev/ttyS12     /dev/ttyS30
/dev/tty19  /dev/tty37  /dev/tty55  /dev/ttyS13     /dev/ttyS31
/dev/tty2   /dev/tty38  /dev/tty56  /dev/ttyS14     /dev/ttyS4
/dev/tty20  /dev/tty39  /dev/tty57  /dev/ttyS15     /dev/ttyS5
/dev/tty21  /dev/tty4   /dev/tty58  /dev/ttyS16     /dev/ttyS6
/dev/tty22  /dev/tty40  /dev/tty59  /dev/ttyS17     /dev/ttyS7
/dev/tty23  /dev/tty41  /dev/tty6   /dev/ttyS18     /dev/ttyS8
/dev/tty24  /dev/tty42  /dev/tty60  /dev/ttyS19     /dev/ttyS9
/dev/tty25  /dev/tty43  /dev/tty61  /dev/ttyS2
Enable communication and add execution permissions to the scripts:
sudo chmod -R 777 /dev/ttyACM0  # or sudo chmod -R 777 /dev/ttyUSB0
sudo chmod -R 777 mycobot_320m5_gazebo/mycobot_320m5_gripper_gazebo/scripts/follow_display_gazebo.py
sudo chmod -R 777 mycobot_320m5_gazebo/mycobot_320m5_gripper_gazebo/scripts/slider_control_gazebo.py
sudo chmod -R 777 mycobot_320m5_gazebo/mycobot_320m5_gripper_gazebo/scripts/teleop_keyboard_gazebo.py
roscore
After confirming the port, open a terminal in the workspace and enter the following command (remember to change the port to the value found in the previous step):
source devel/setup.bash
roslaunch mycobot_320m5_gripper_gazebo slider.launch _port:=/dev/ttyACM0 _baud:=115200
Then open another terminal in the workspace and enter:
source devel/setup.bash
rosrun mycobot_320m5_gripper_gazebo slider_control_gazebo.py _port:=/dev/ttyACM0 _baud:=115200
Remember to modify the port number to the one found in the previous step. If successful, you will see the following terminal prompt:
('/dev/ttyACM0', 115200)
spin ...
Now you can control the robot arm model pose in Gazebo by manipulating the joint_state_publisher_gui sliders.
2. Gazebo Model Following
The following commands allow the Gazebo model to follow the actual robot arm's movements. First, run the launch file:
source devel/setup.bash
roslaunch mycobot_320m5_gripper_gazebo follower.launch _port:=/dev/ttyACM0
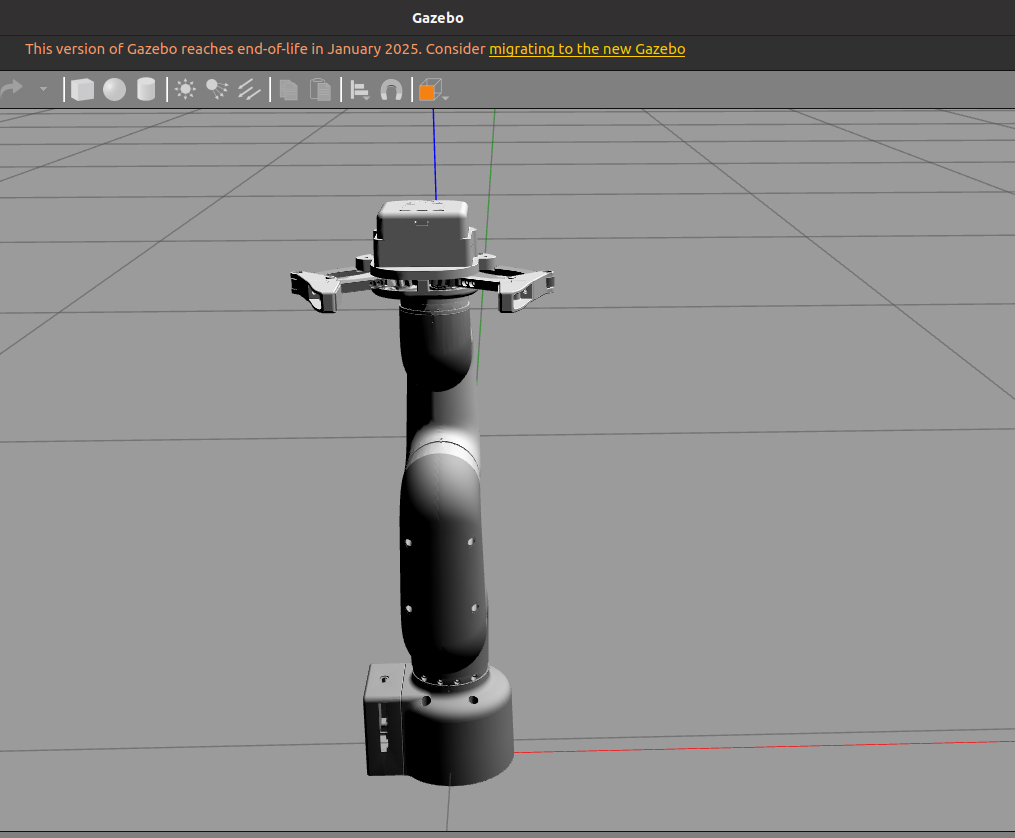
If the program runs successfully, the Gazebo interface will load the robot arm model with all joints at their original pose, i.e., [0,0,0,0,0,0]. Then open a second terminal and run:
source devel/setup.bash
rosrun mycobot_320m5_gripper_gazebo follow_display_gazebo.py _port:=/dev/ttyACM0 _baud:=115200
Now when you manipulate the actual robot arm's pose, you can see the robot arm in Gazebo moving to the same pose.
3. Keyboard Control
You can also use keyboard input to control both the Gazebo robot arm model and the actual robot arm simultaneously. First, open a terminal and enter:
source devel/setup.bash
roslaunch mycobot_320m5_gripper_gazebo follower.launch _port:=/dev/ttyACM0 _baud:=115200
As in the previous section, you will see the robot arm model loaded in Gazebo with all joints at their initial pose. Then open another terminal and enter:
source devel/setup.bash
rosrun mycobot_320m5_gripper_gazebo teleop_keyboard_gazebo.py _port:=/dev/ttyACM0 _baud:=115200
If successful, you will see the following output in the terminal:
Mycobot_320m5_gripper_gazebo Teleop Keyboard Controller
---------------------------
Moving options (control the angle of each joint):

w: joint2_to_joint1++   s: joint2_to_joint1--
e: joint3_to_joint2++   d: joint3_to_joint2--
r: joint4_to_joint3++   f: joint4_to_joint3--
t: joint5_to_joint4++   g: joint5_to_joint4--
y: joint6_to_joint5++   h: joint6_to_joint5--
u: joint6output_to_joint6++ j: joint6output_to_joint6--

o: open gripper          p: close gripper

Other:
1 - Go to home pose
q - Quit

Based on the prompts above, you can learn how to control the robot arm. Each key press moves the robot arm and the Gazebo model by 1 degree. You can try holding down one of the keys to reach a certain pose.