Flexible gripper
Applicable models: myCobot 320, myCobot Pro 600, myCobot Pro 630
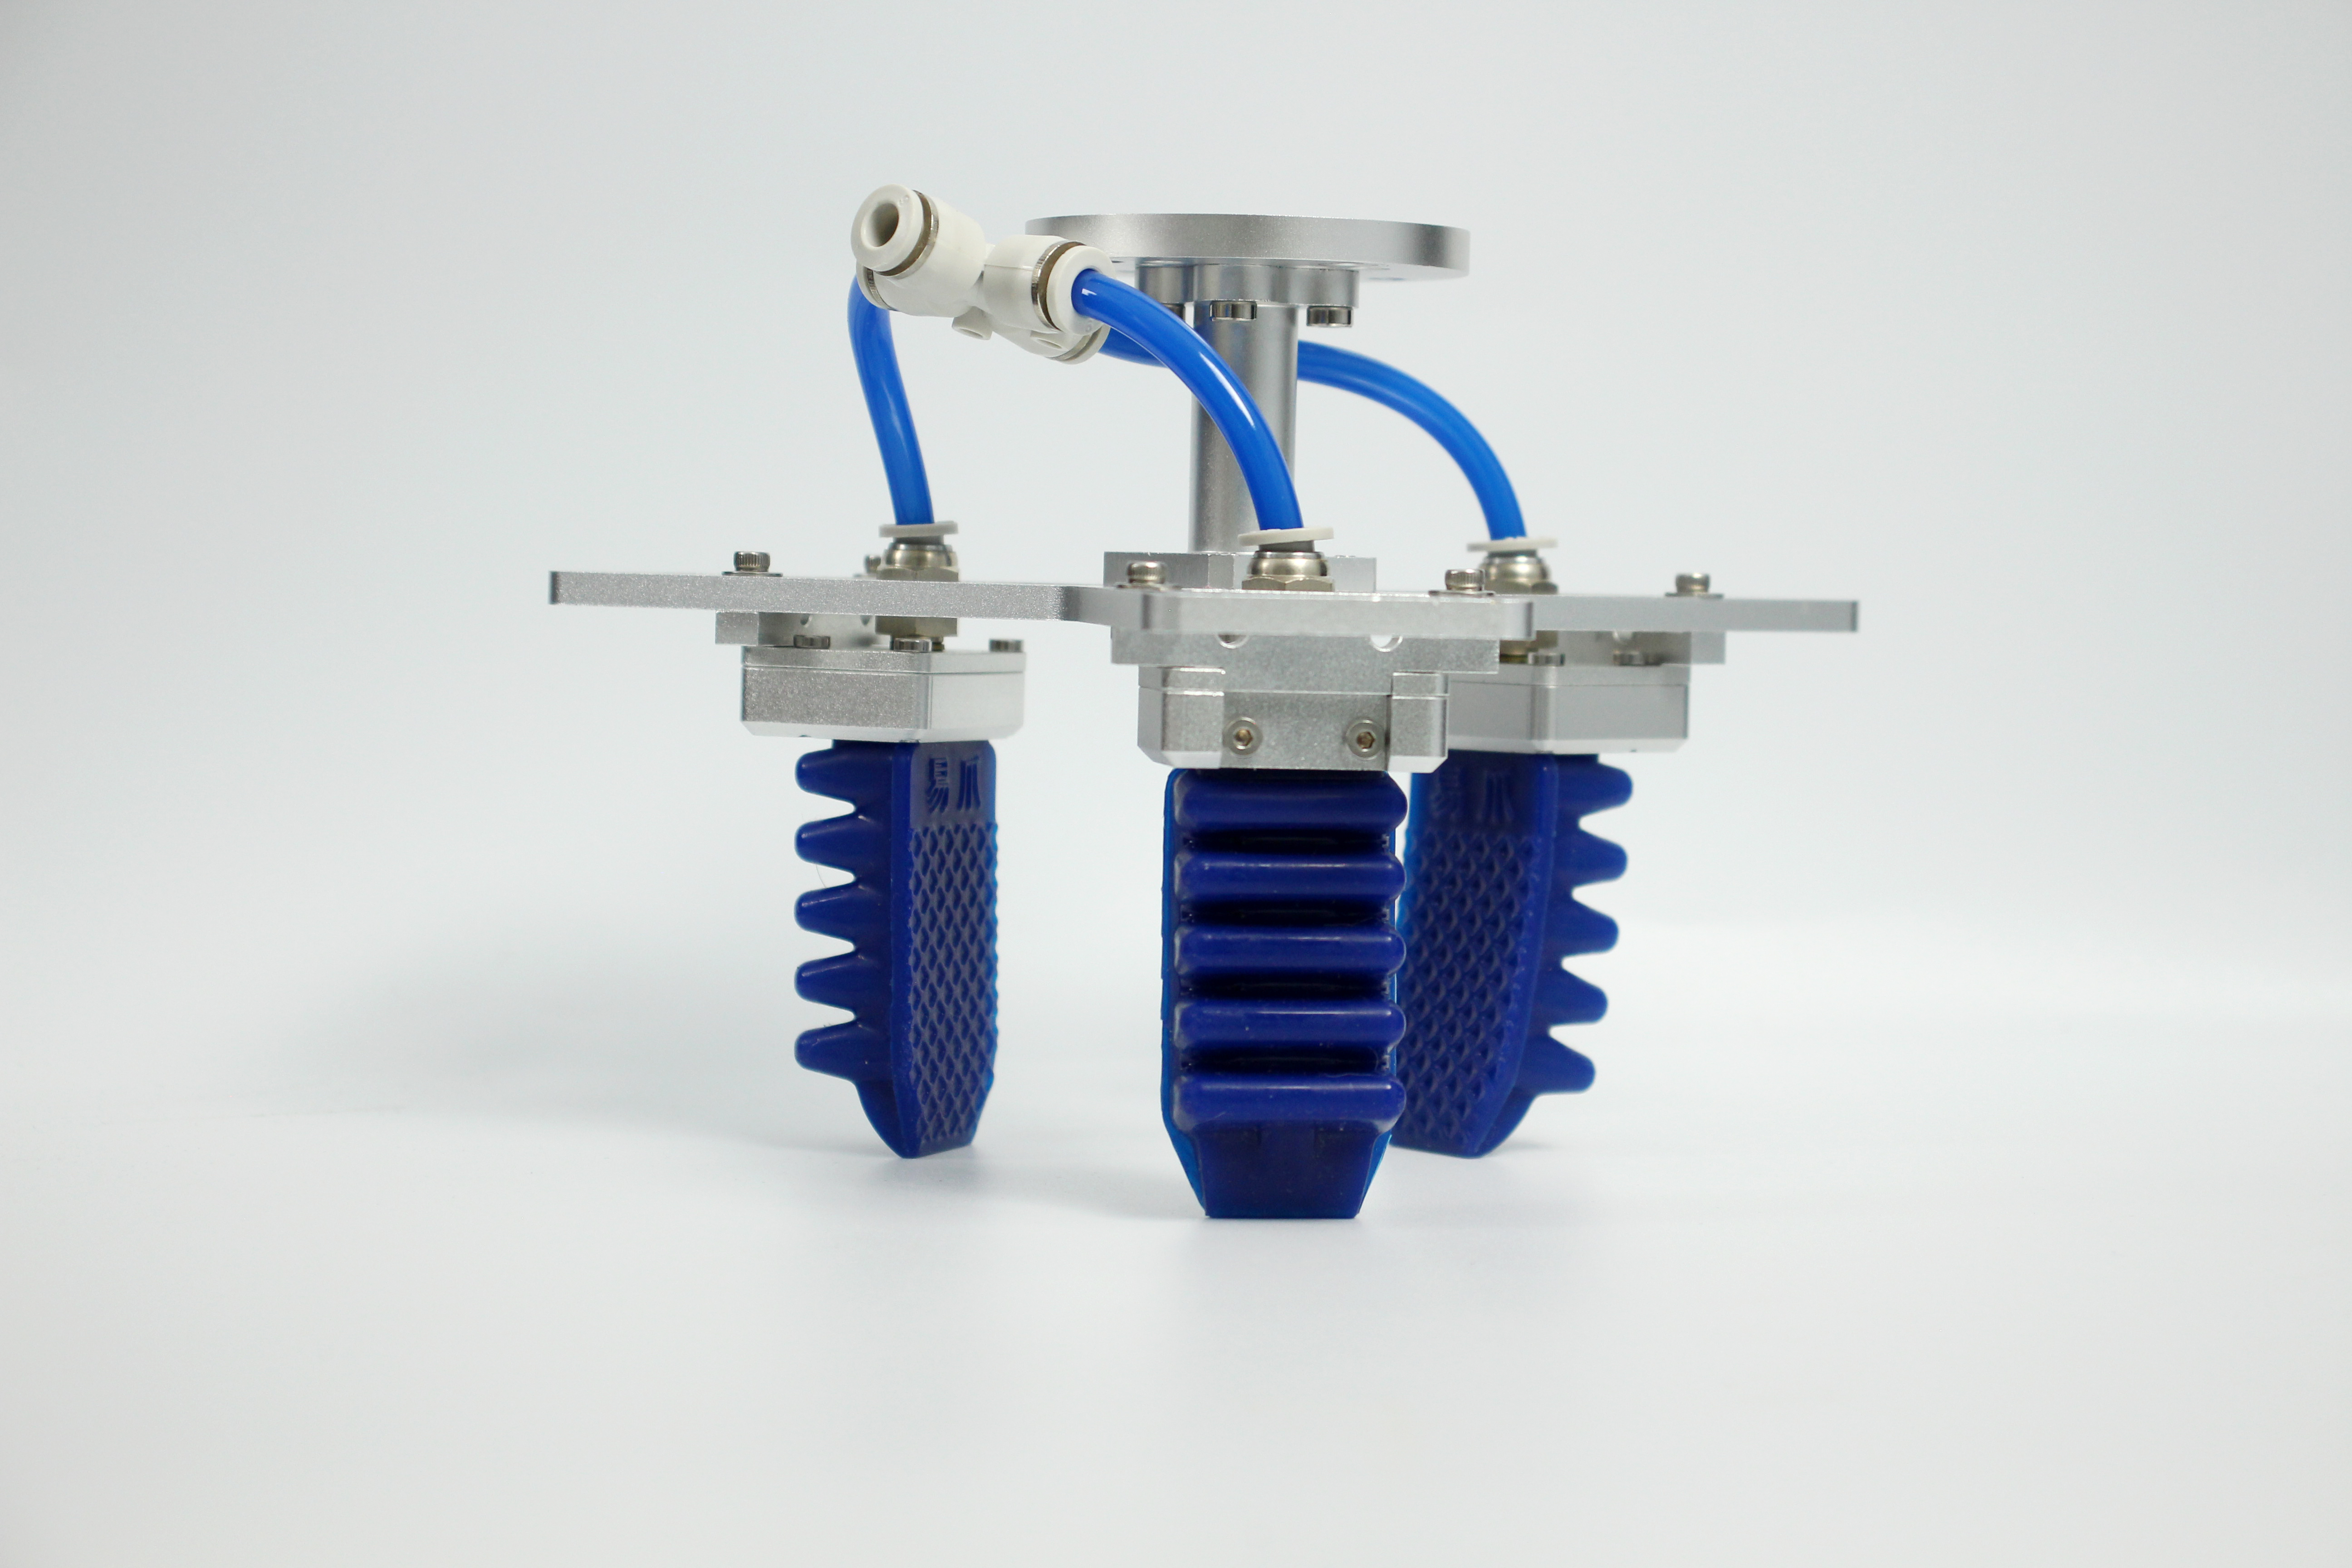
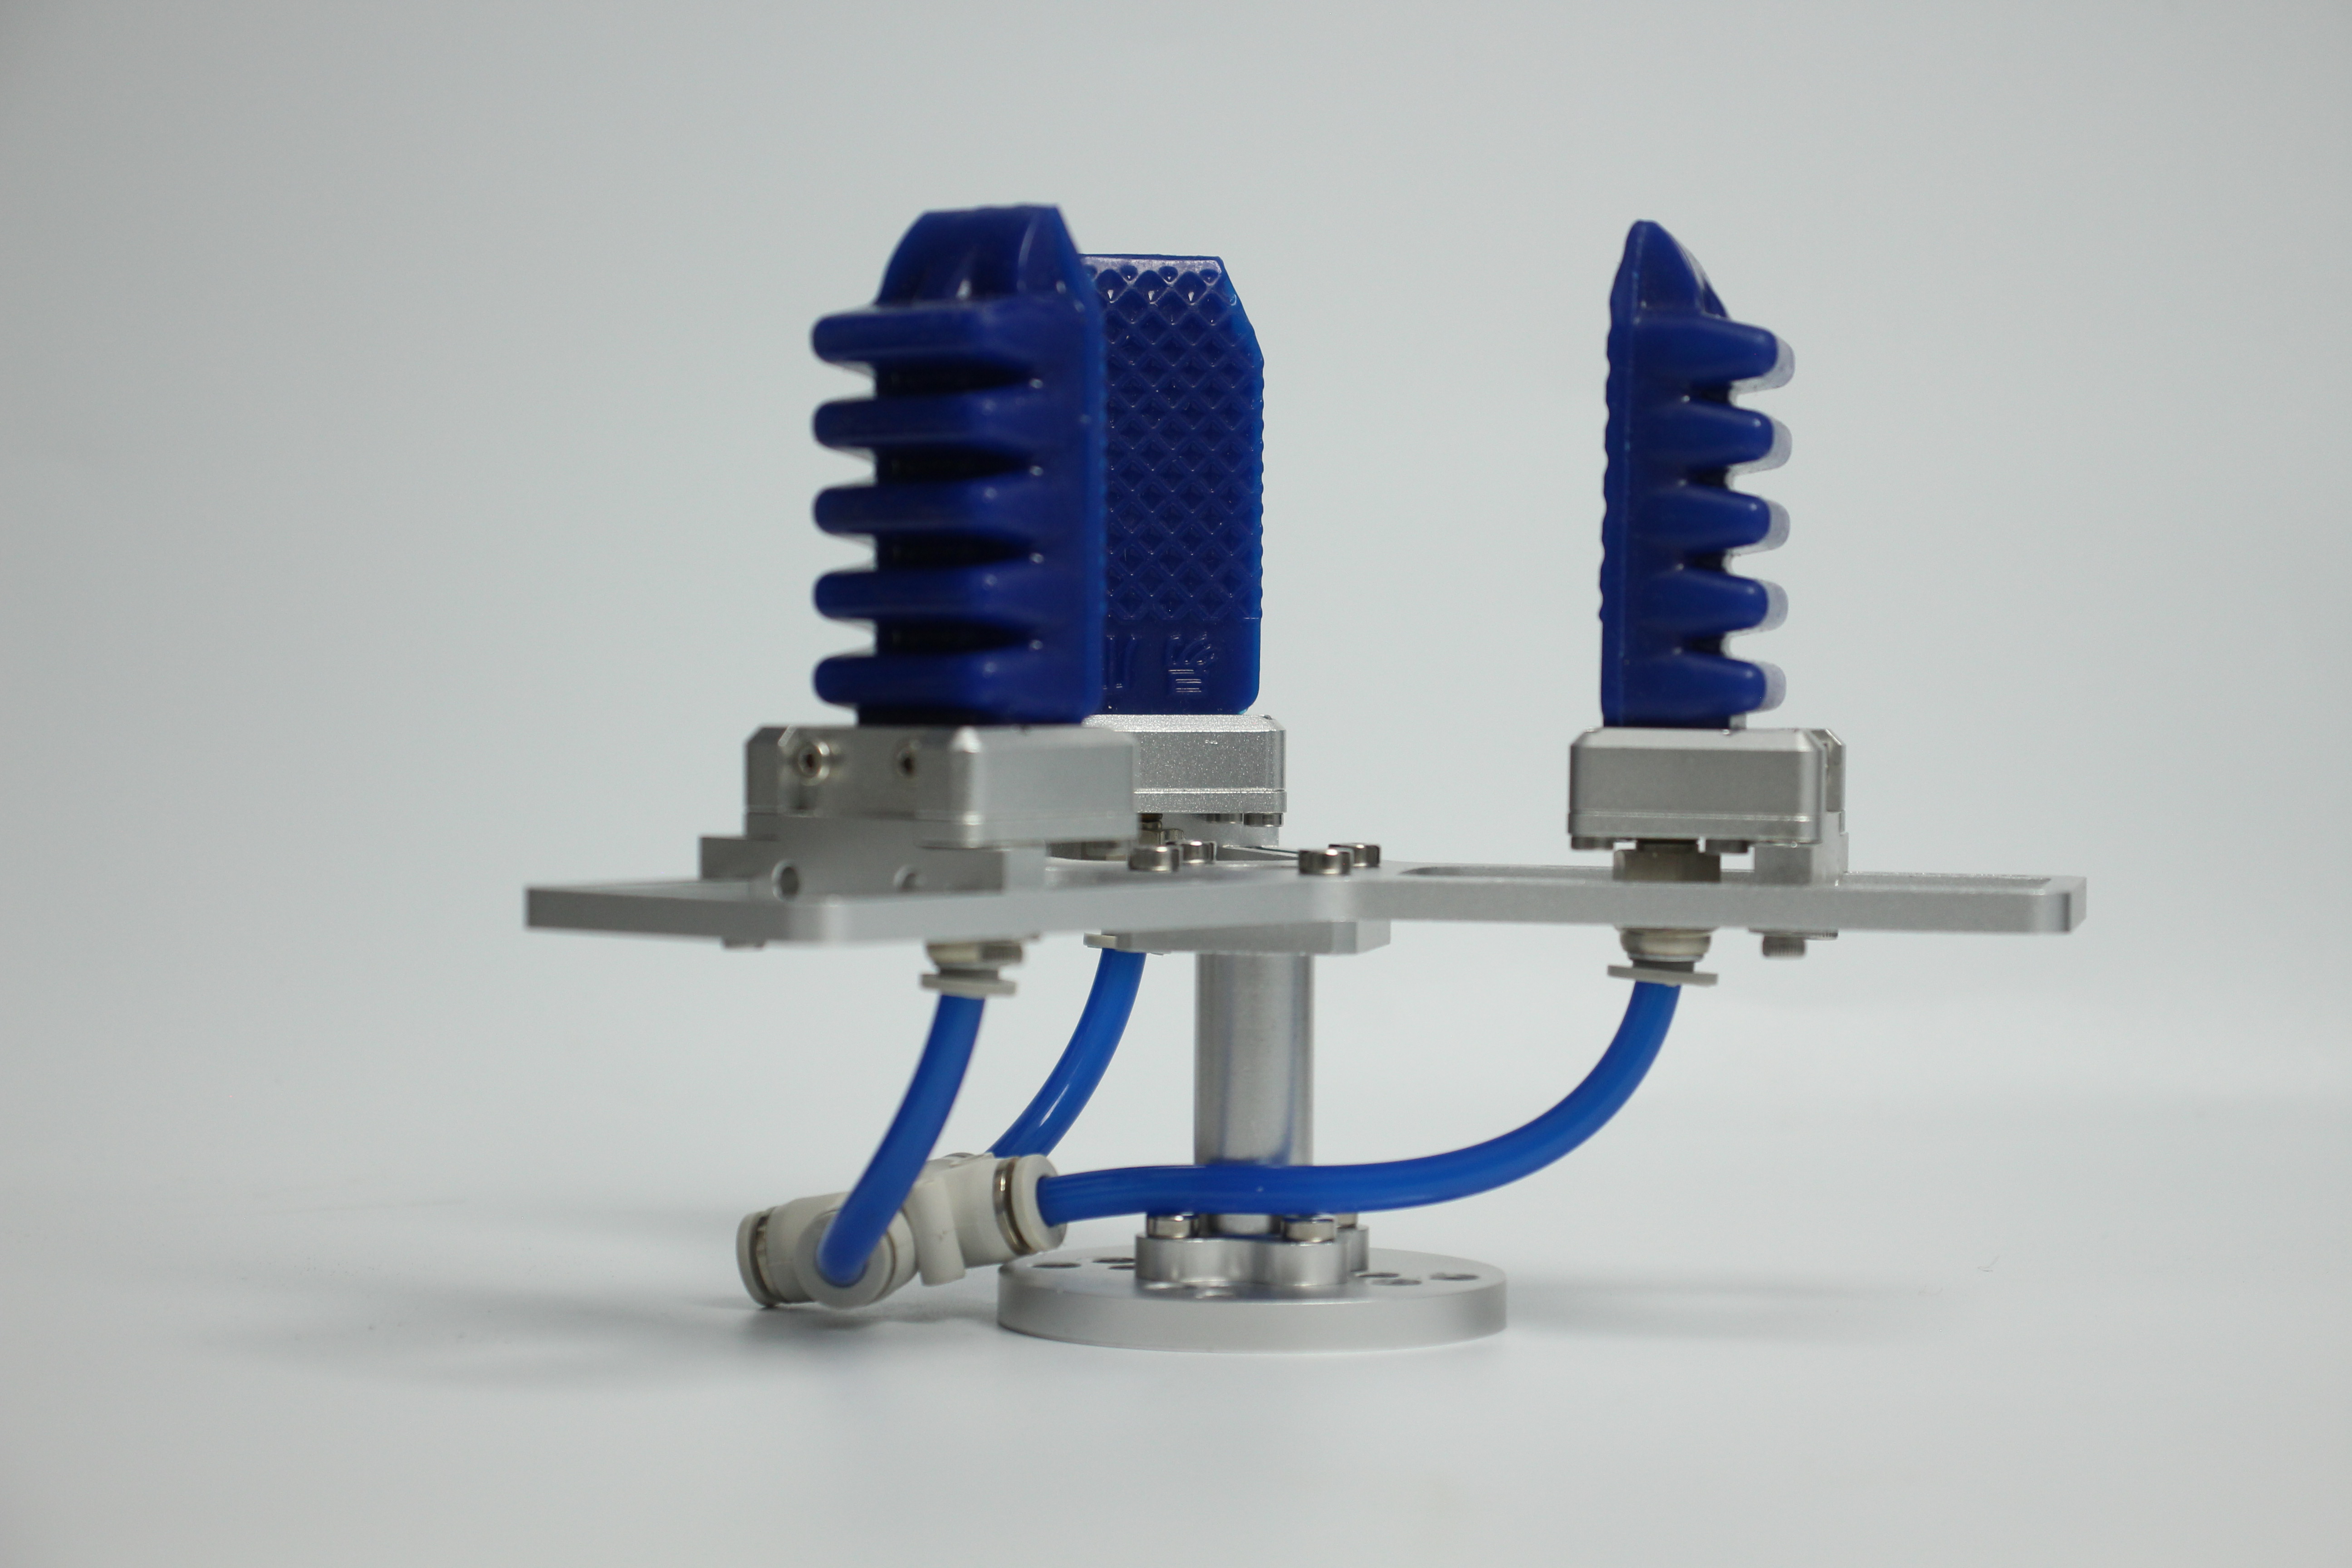
Product image
Specifications:
| Name name | myCobotPro flexible gripper |
|---|---|
| Material | Metal |
| Clamping range clamp size | 36-136 mm |
| Maximum clamping force clamp force | Vertical 600 g Wrapped 1080 g |
| Drive mode drive | Pneumatic |
| Transmission mode transmission | Deformation |
| Size | 170x128x195mm |
| Weight | 365g |
| Fixing method | Screw fixing |
| Environment requirements | Normal temperature and pressure |
| Control interface | IO control |
| Applicable equipment | myCobot 320, myCobot Pro 600, myCobot Pro 630 |
Flexible gripper: Used to grip objects
Introduction
- Traditional industrial suction cups need to suck the flat surface of the material. In more and more working conditions, the suction surface is easy to damage the panel or components. The soft-touch gripper grabs the edge and easily moves the panel without marks or damage, ensuring that the product surface is flawless and improving the yield rate.
- The modular design of the soft-touch gripper is light in weight and can be freely arranged and combined according to the panel size.
- The clamping force of traditional cylinders is generally large and difficult to control. The edge of the clamping panel is easy to be clamped and warped. The single-finger clamping force of the flexible gripper is precisely controllable and will not clamp fragile workpieces.
Working Principle
- The flexible gripper is an innovative bionic flexible gripper developed by researchers imitating the shape of the starfish's arms and legs. The "fingers" of the soft gripper are made of polymer silicone flexible material. They are bent and deformed by inflation. They can adaptively cover the target object like a starfish, and can complete the flexible and non-destructive grasping of special-shaped and fragile objects.
Applicable objects
- Any object of any shape within a reasonable size
Installation and use
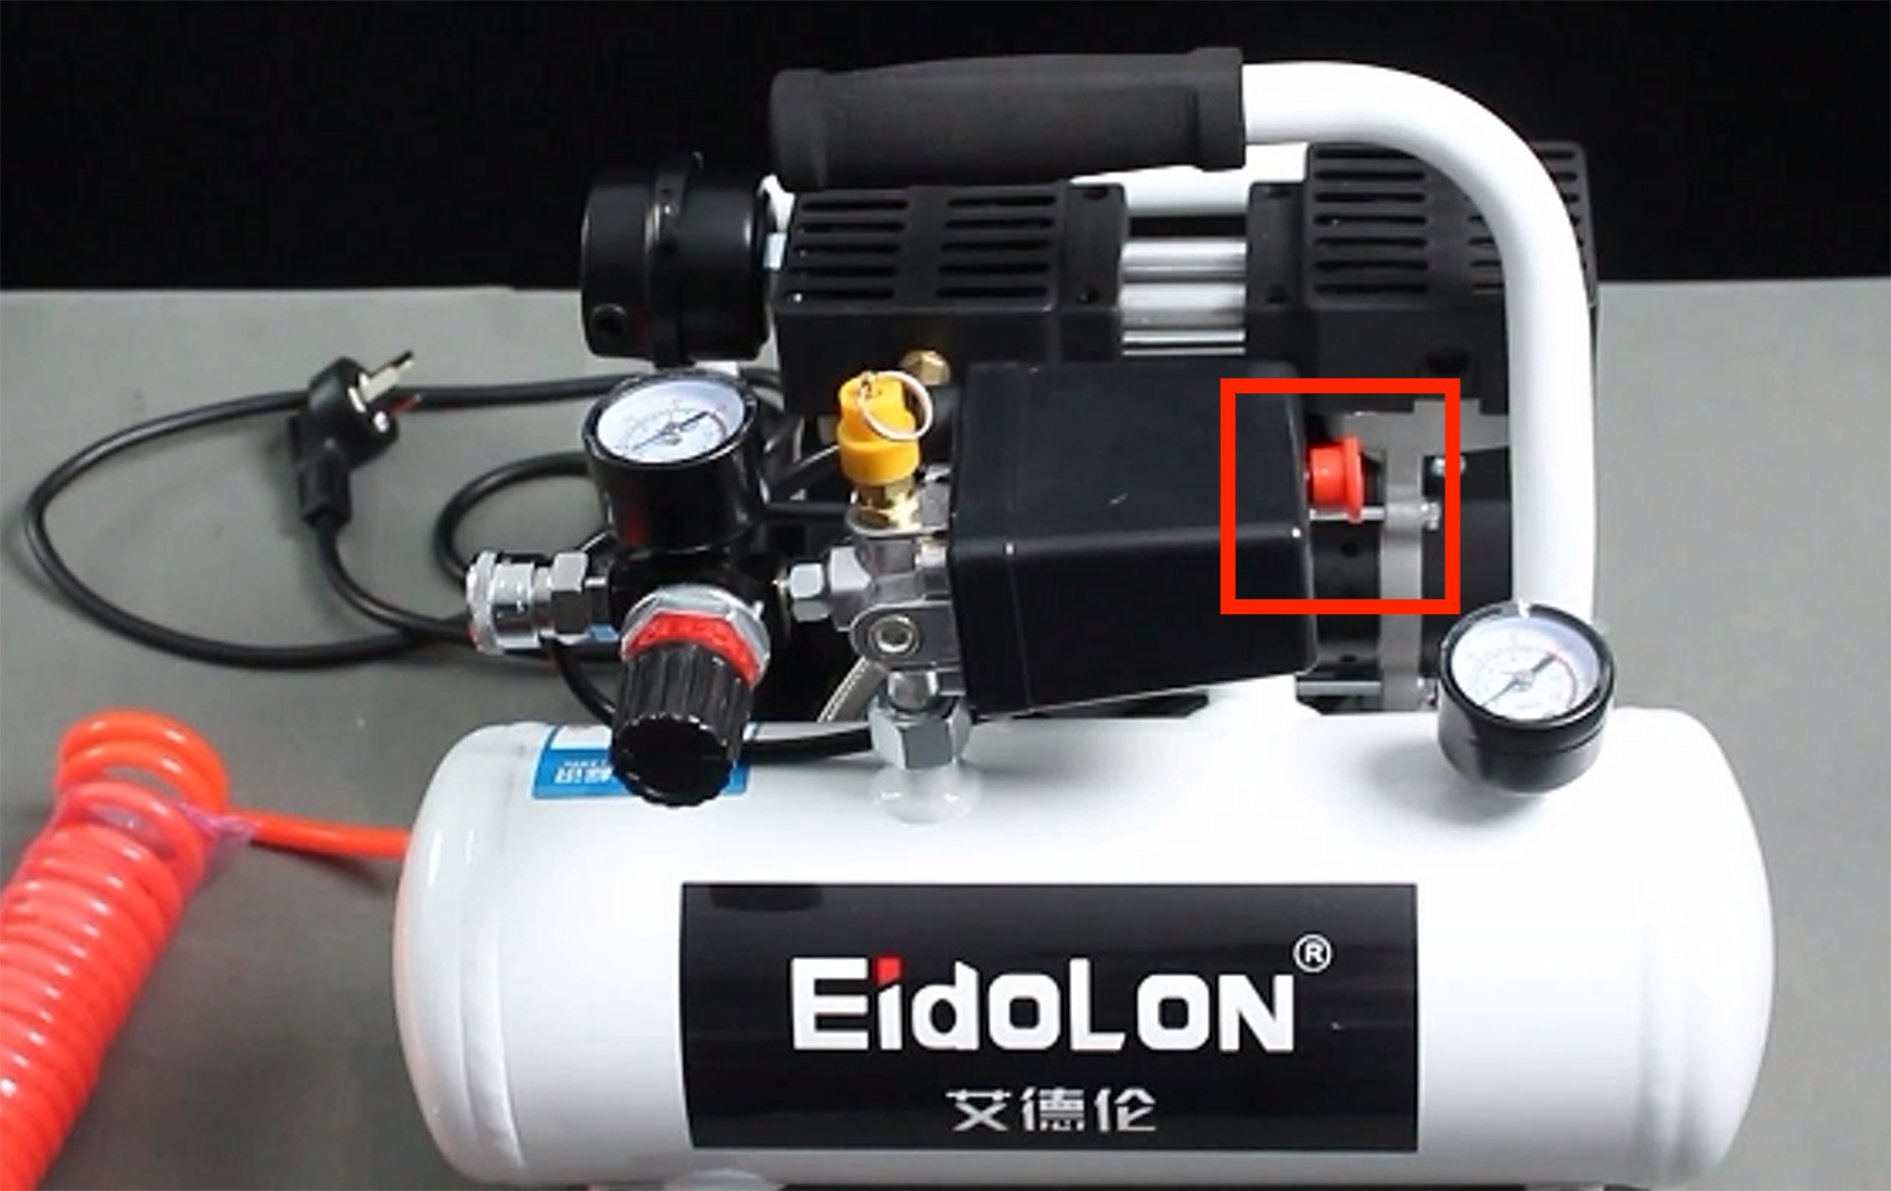
Need to be used with an air compressor:
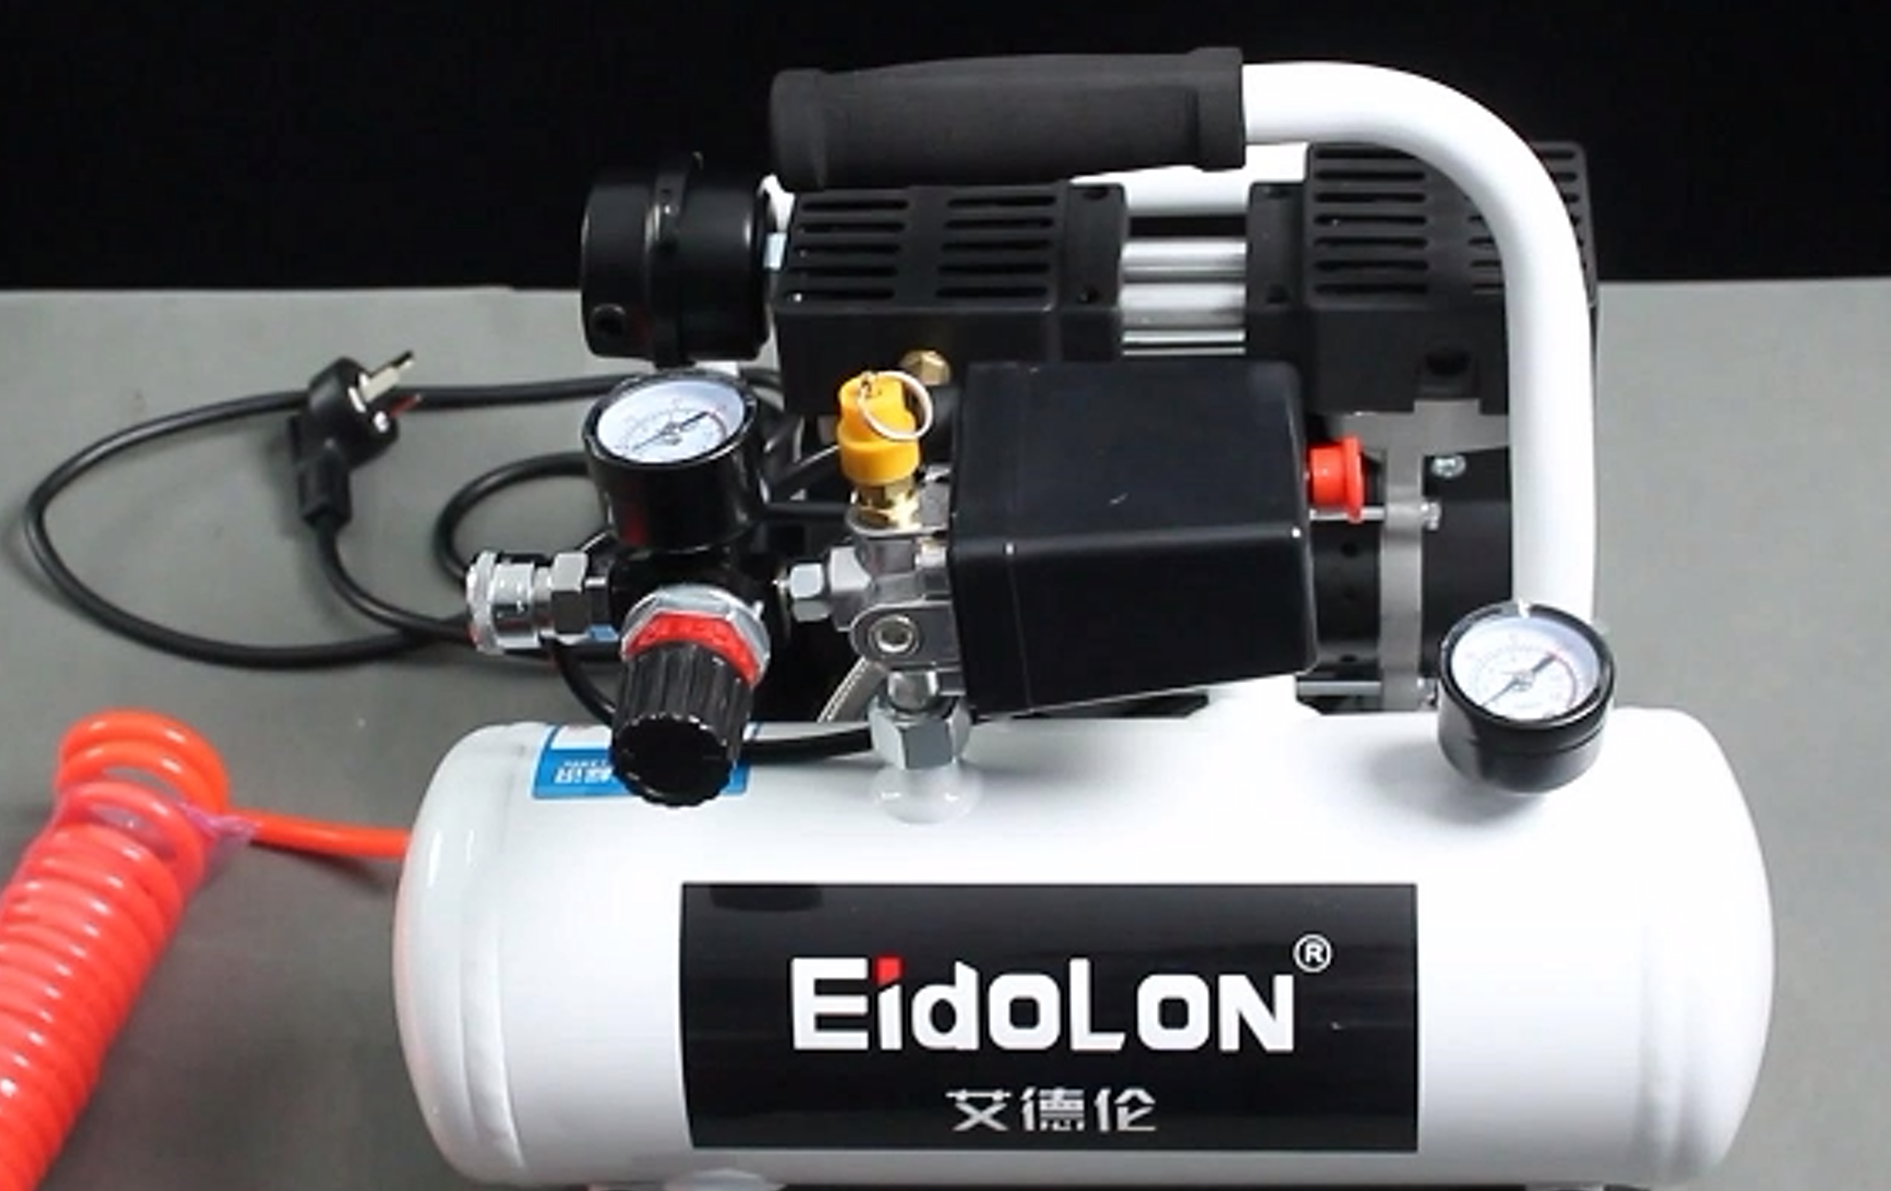
Insert the black plug into the power strip;
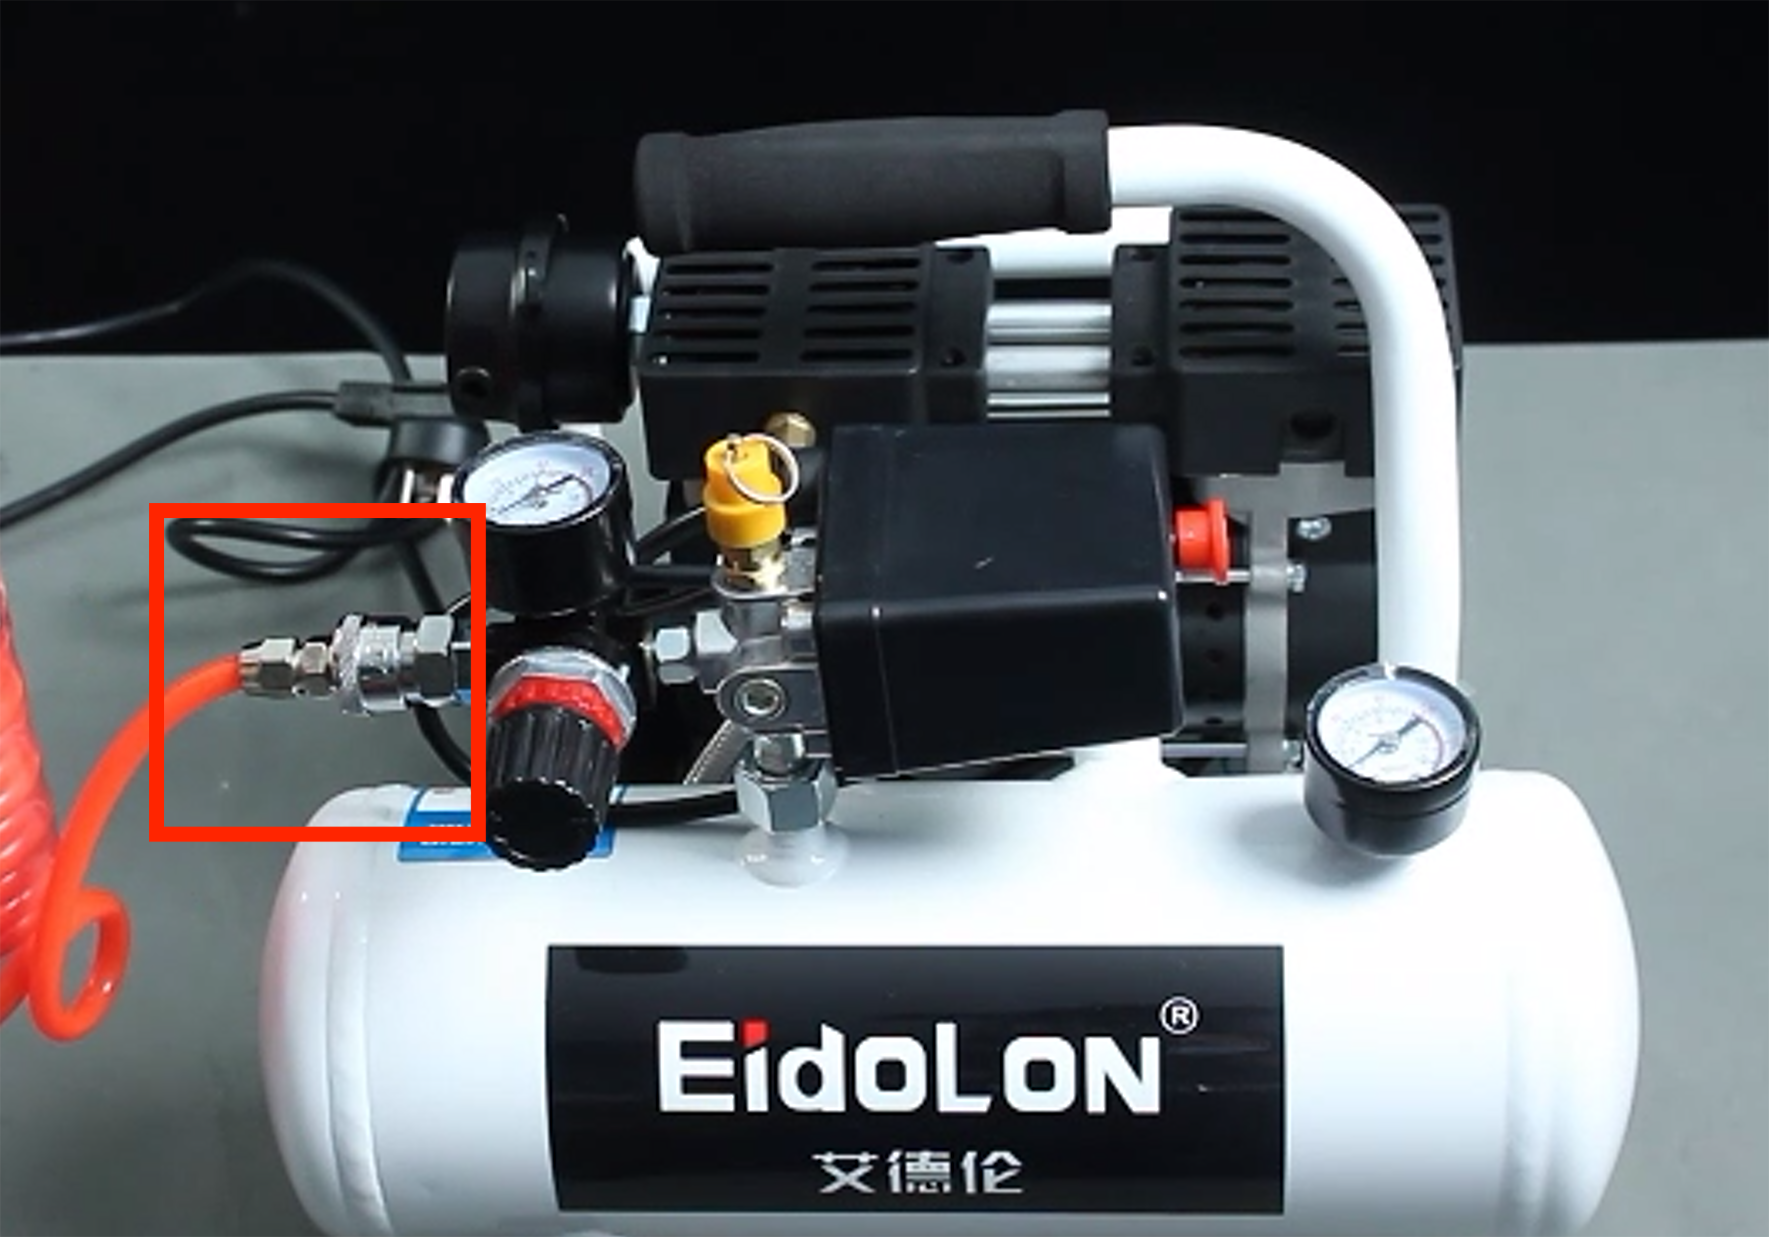
Insert the matching red hose into the interface on the machine:
The red button is a switch. Pull it out to turn it on, and press it back to turn it off:
Gripper installation:
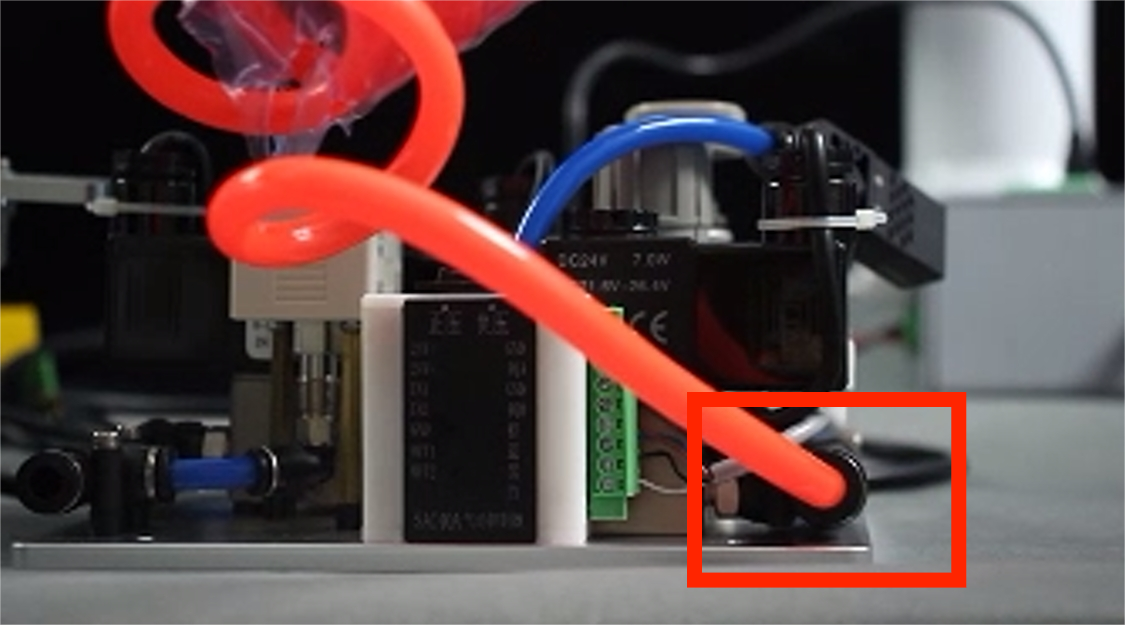
Connect the other end of the red hose of the air compressor to the interface of the pneumatic controller:
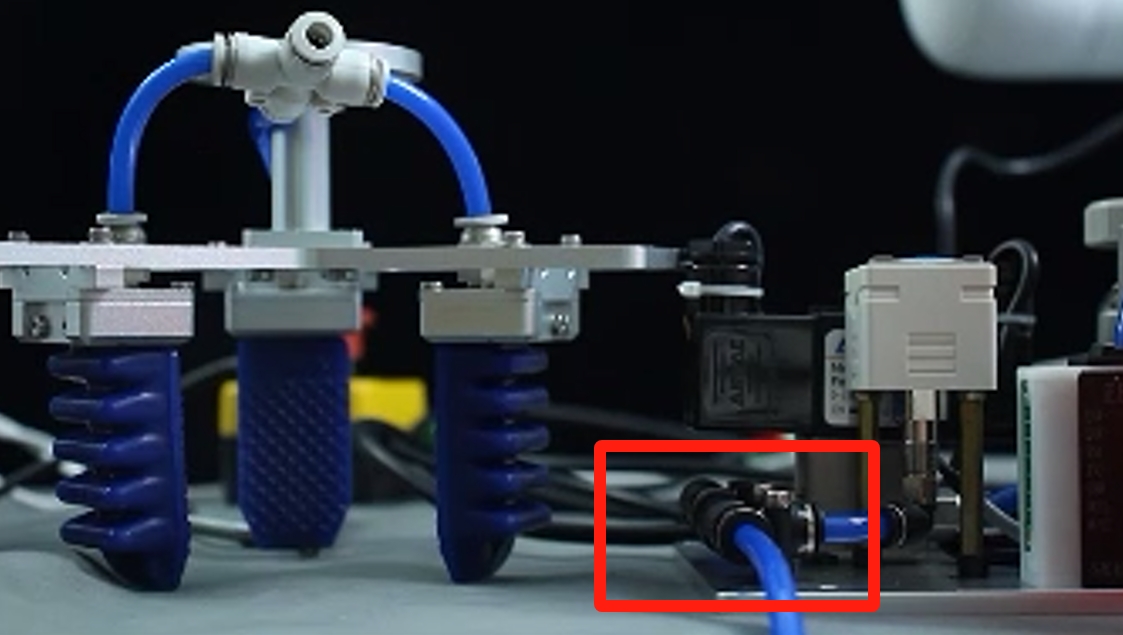
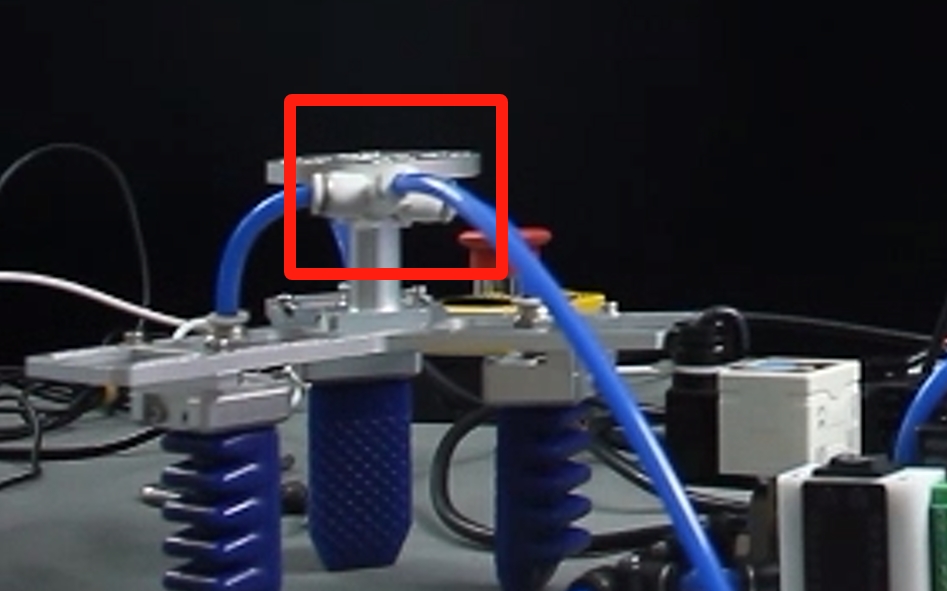
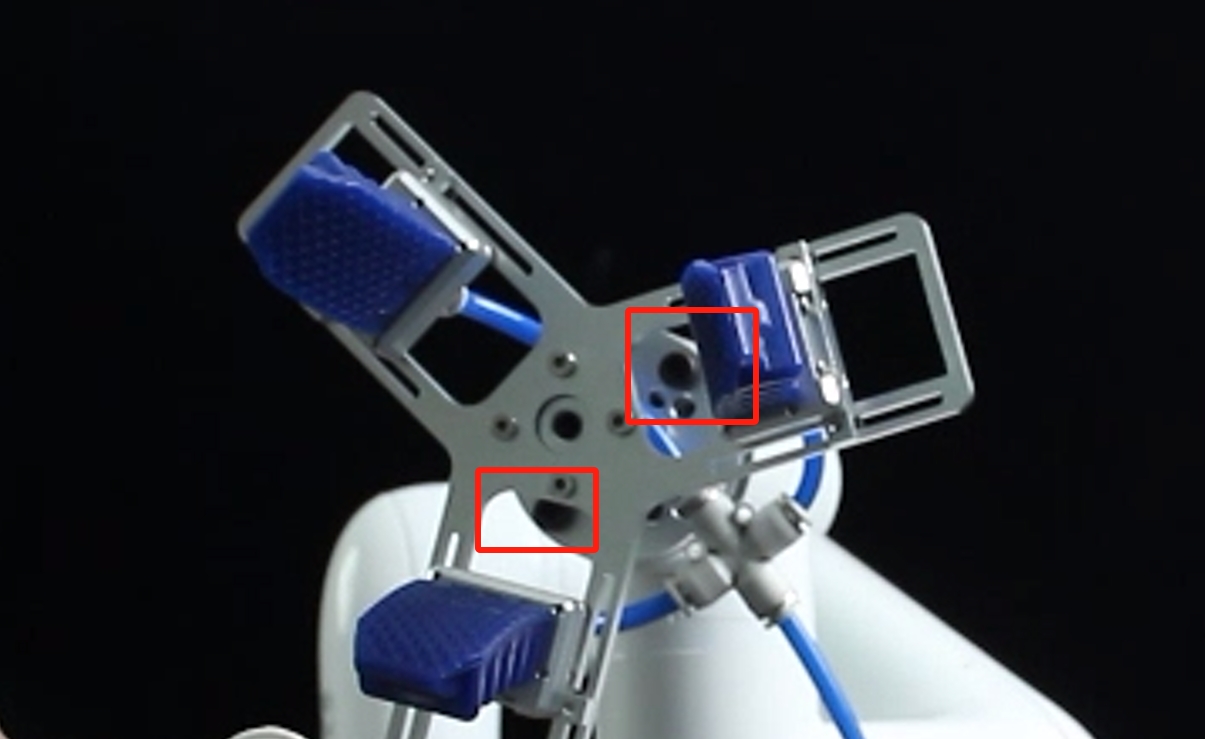
- Use the blue hose that comes with the flexible gripper to connect the interfaces of the gripper and the pneumatic controller respectively:
Fix the flexible gripper to the end of the robot arm with the matching screws:
Electrical connection:
Two connecting wires are provided, one for power supply and one for control.
At the base of the robot arm, the red wire for power supply is connected to the 24V interface, and the black wire is connected to the GND interface. For the wire used for control, the red wire is connected to OUT1 and the black wire is connected to OUT2:

- At the pneumatic controller end, the red wire for power supply is connected to the pneumatic controller 24V, and the black wire is connected to the pneumatic controller's GND. The red control line is connected to IN1, and the black control line is connected to IN2:
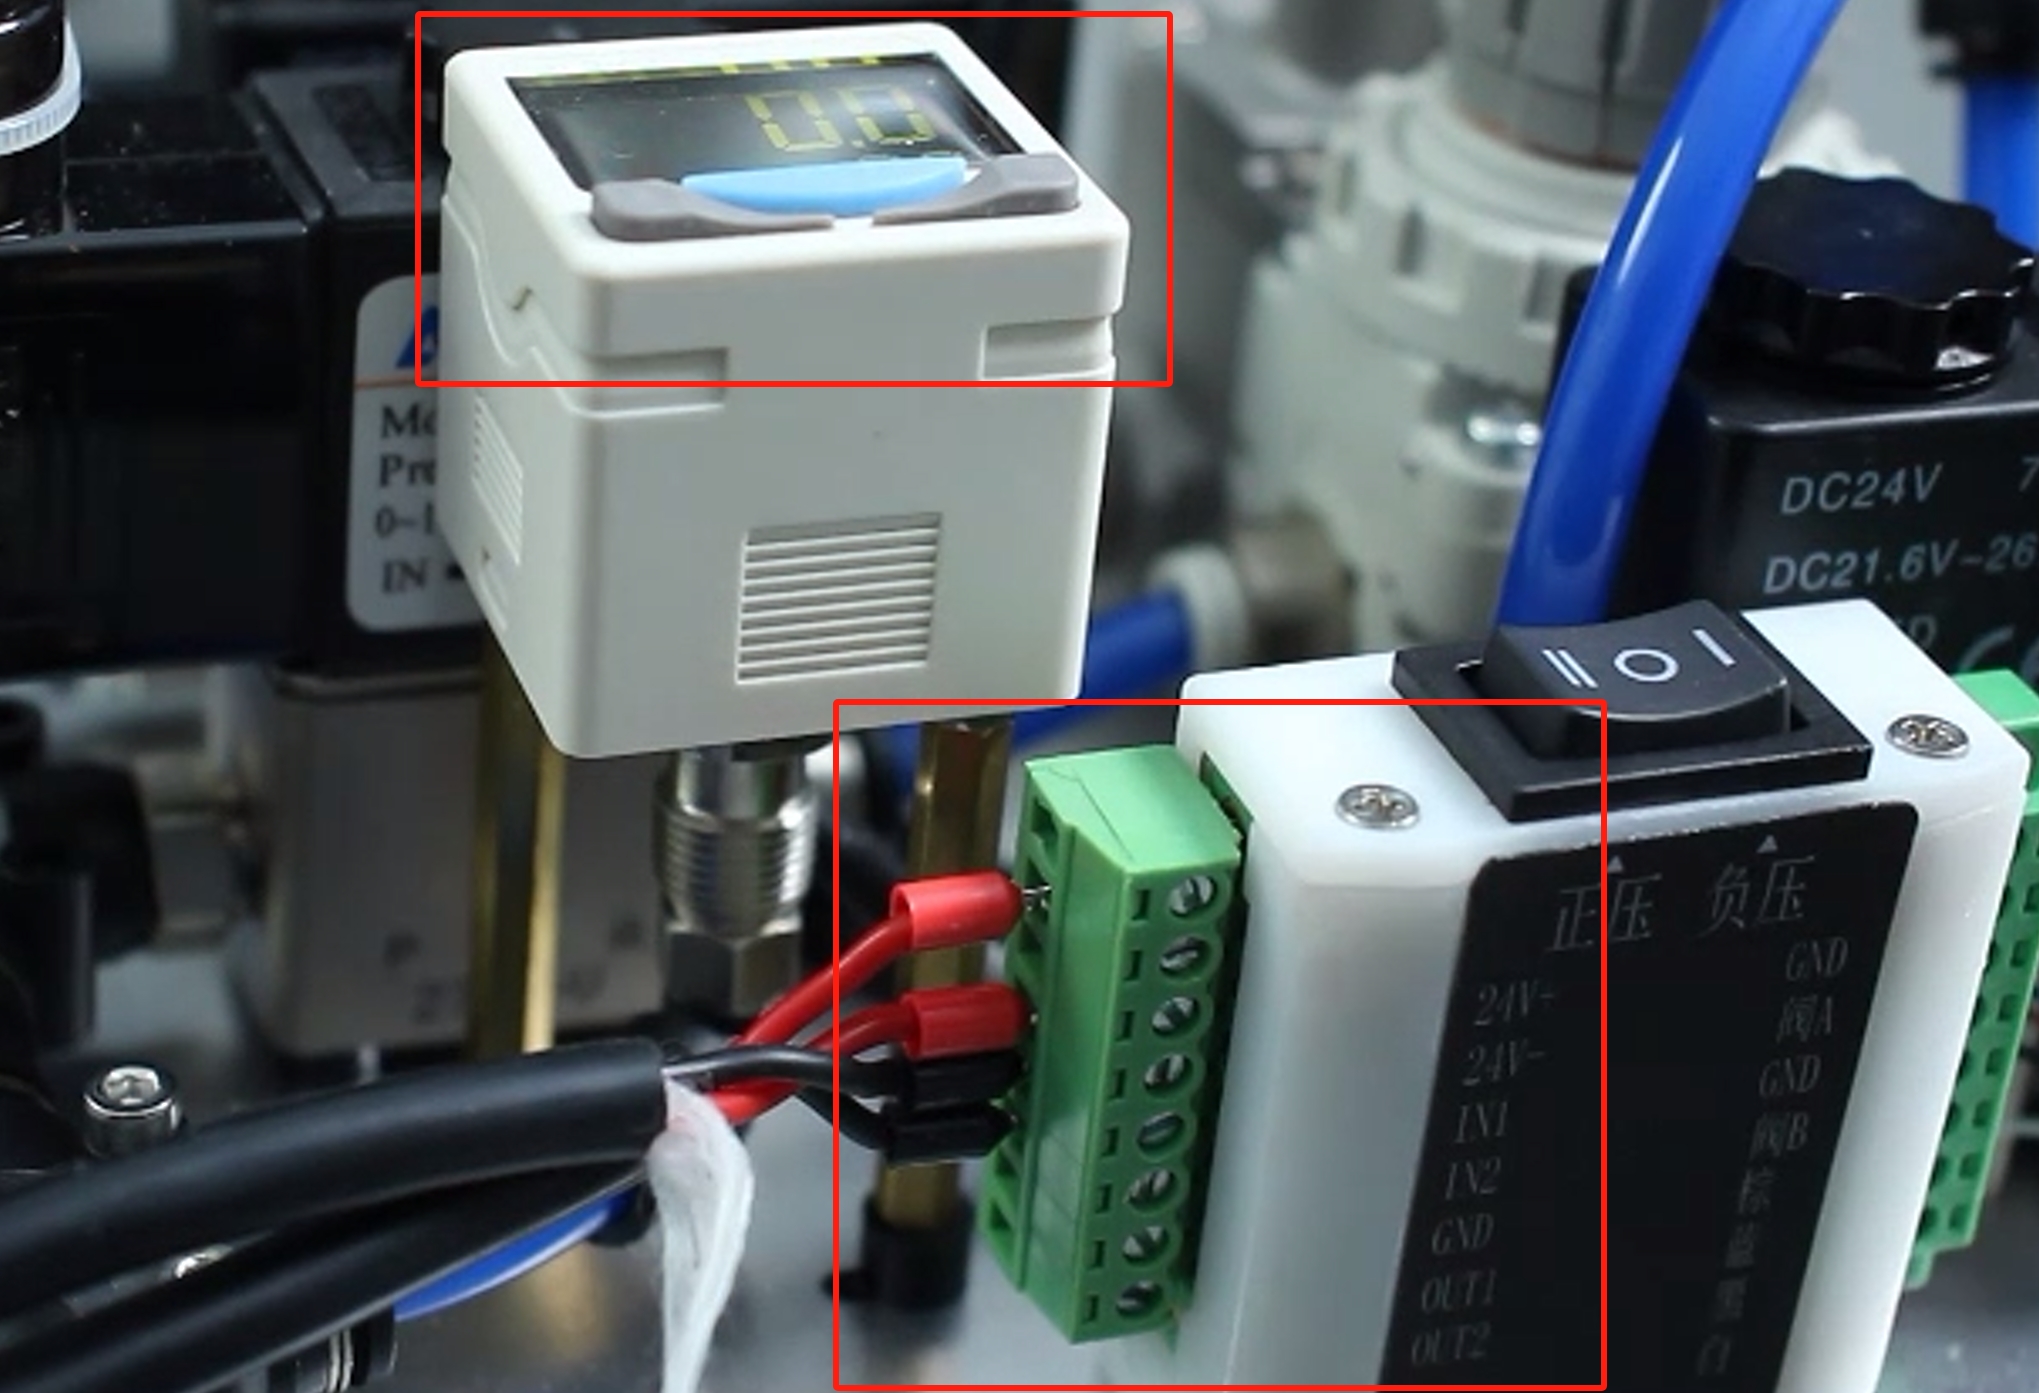
Note that it is connected to the "positive pressure" side. If the power supply is successful, the display will light up. You can manually test whether the connection is normal. Turn on the air compressor and press the button of the pneumatic controller. Pressing it to the left (positive pressure) will shrink the gripper, and pressing it to the right (negative pressure) will open the gripper.When using IO control, make sure to set the above three -gear switch to the middle position.
3 Control via Python
Confirm the IP address of the robot: Enter ifconfig in the terminal to obtain
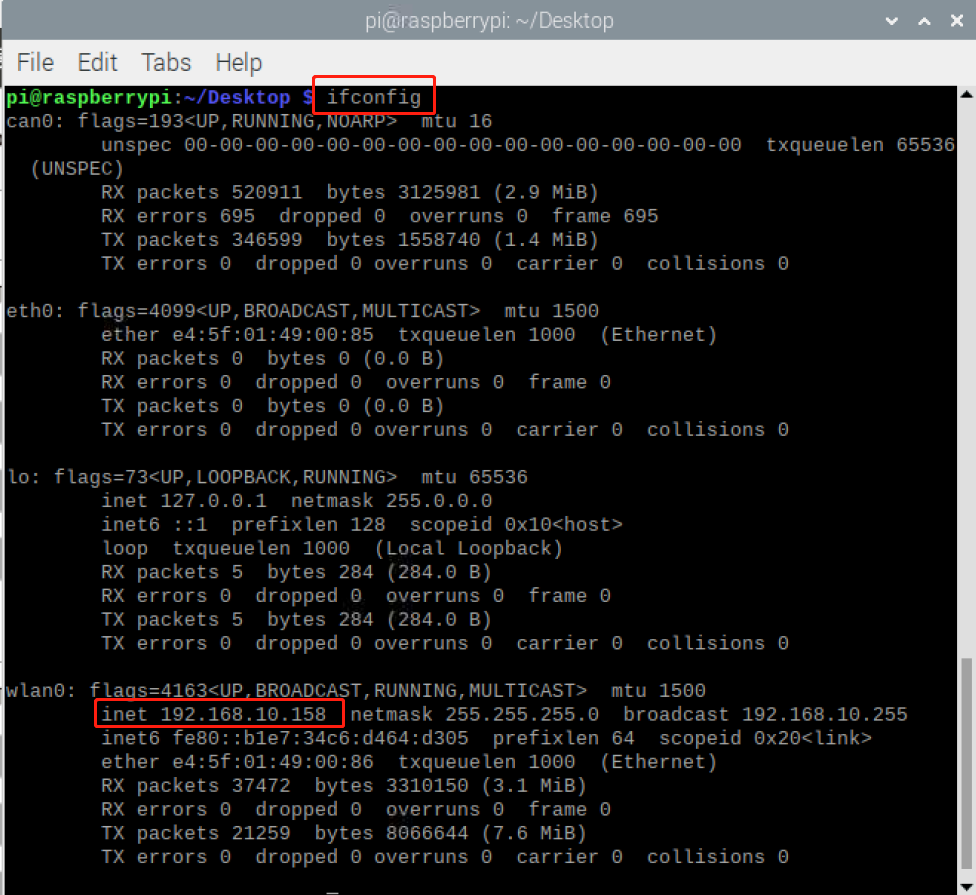
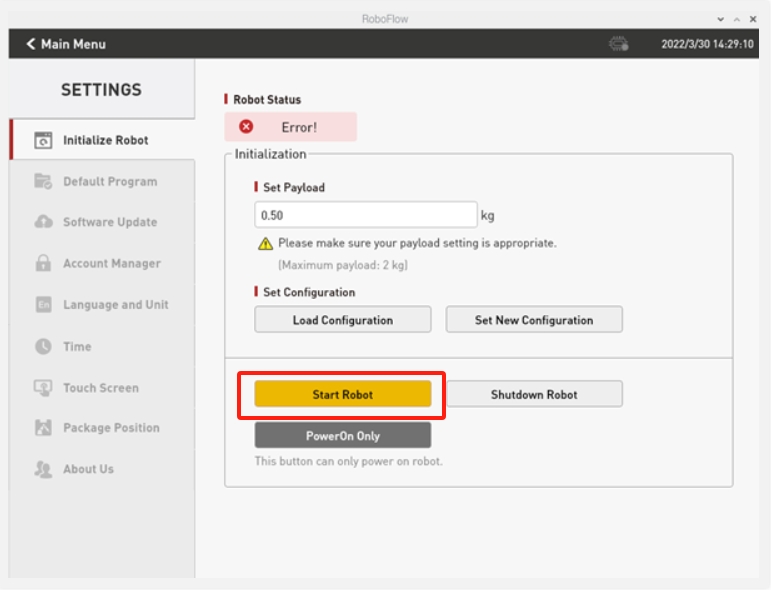
The robot system needs to be started before use
from pymycobot import ElephantRobot
import time

# Change the IP address to the real IP address of the P600 Raspberry Pi

elephant_client = ElephantRobot("192.168.1.137", 5001)

# Necessary instructions to start the robot

elephant_client.start_client()

time.sleep(1)

elephant_client.set_digital_out(0,0)

time.sleep(2)

elephant_client.set_digital_out(1,0)

time.sleep(2)

elephant_client.set_digital_out(0,1)
time.sleep(2)

elephant_client.set_digital_out(1,0)
time.sleep(2)

elephant_client.set_digital_out(0,0)
time.sleep(2)

elephant_client.set_digital_out(1,1)
time.sleep(2)

elephant_client.set_digital_out(0,0)
time.sleep(2)

elephant_client.set_digital_out(1,0)
time.sleep(2)