myCobotPro adaptive gripper
Applicable models: myCobot 320, myCobot Pro 600, myCobot Pro 630
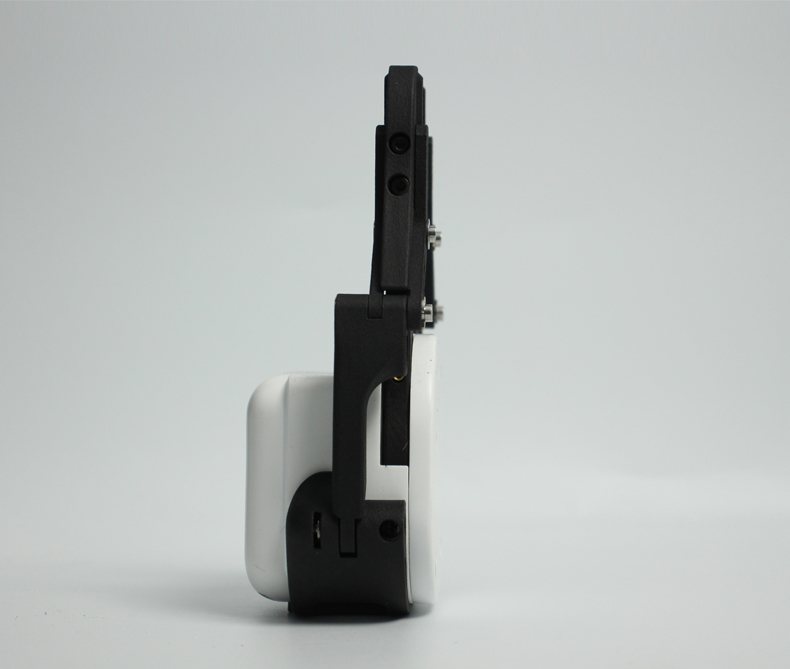
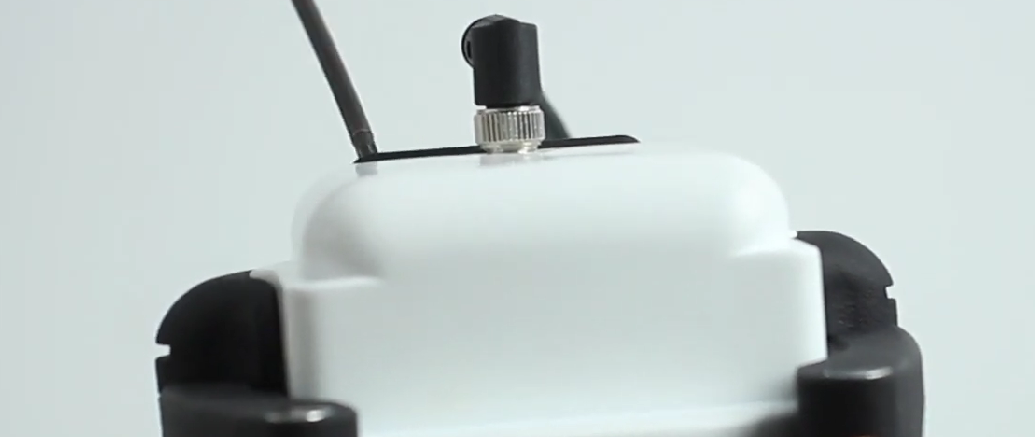
Product image


Specifications:
| Name name | myCobotPro adaptive gripper black and white |
|---|---|
| Material | Photosensitive resin + nylon |
| Technology | 3D printing |
| Clamping range clamp size | 0-90 mm |
| Maximum clamping force clamp force | 1000 g |
| drive | electric |
| transmission | gear + connecting rod |
| size | 158x105x55mm |
| weight | 350 g |
| fixed | screw fixation |
| operating environment requirements | normal temperature and pressure |
| control interface control | serial port/IO control |
| applicable equipment | myCobot 320, myCobot Pro 600, myCobot Pro 630 |
Adaptive gripper: Used for gripping objects
Introduction
The gripper is a robot component that can realize functions similar to human hands. It has the advantages of complex structure, firm gripping of objects, not easy to fall, and easy operation.
The gripper kit includes gripper connection wire and flange, and the end effector of the robot arm is controlled by a programmable system to realize functions such as object grabbing and multi-point positioning. The gripper can be used in all development environments, such as ROS, Arduino, Roboflow, etc.
Working Principle
- Driven by a motor, the gripper's finger surface makes linear reciprocating motion to achieve opening or closing action. The acceleration and deceleration of the electric gripper can be controlled, the impact on the workpiece can be minimized, the positioning point can be controlled, and the clamping can be controlled.
Applicable objects
- Small cubes
- Small balls
- Long objects
1 Installation and use
Gripper installation:
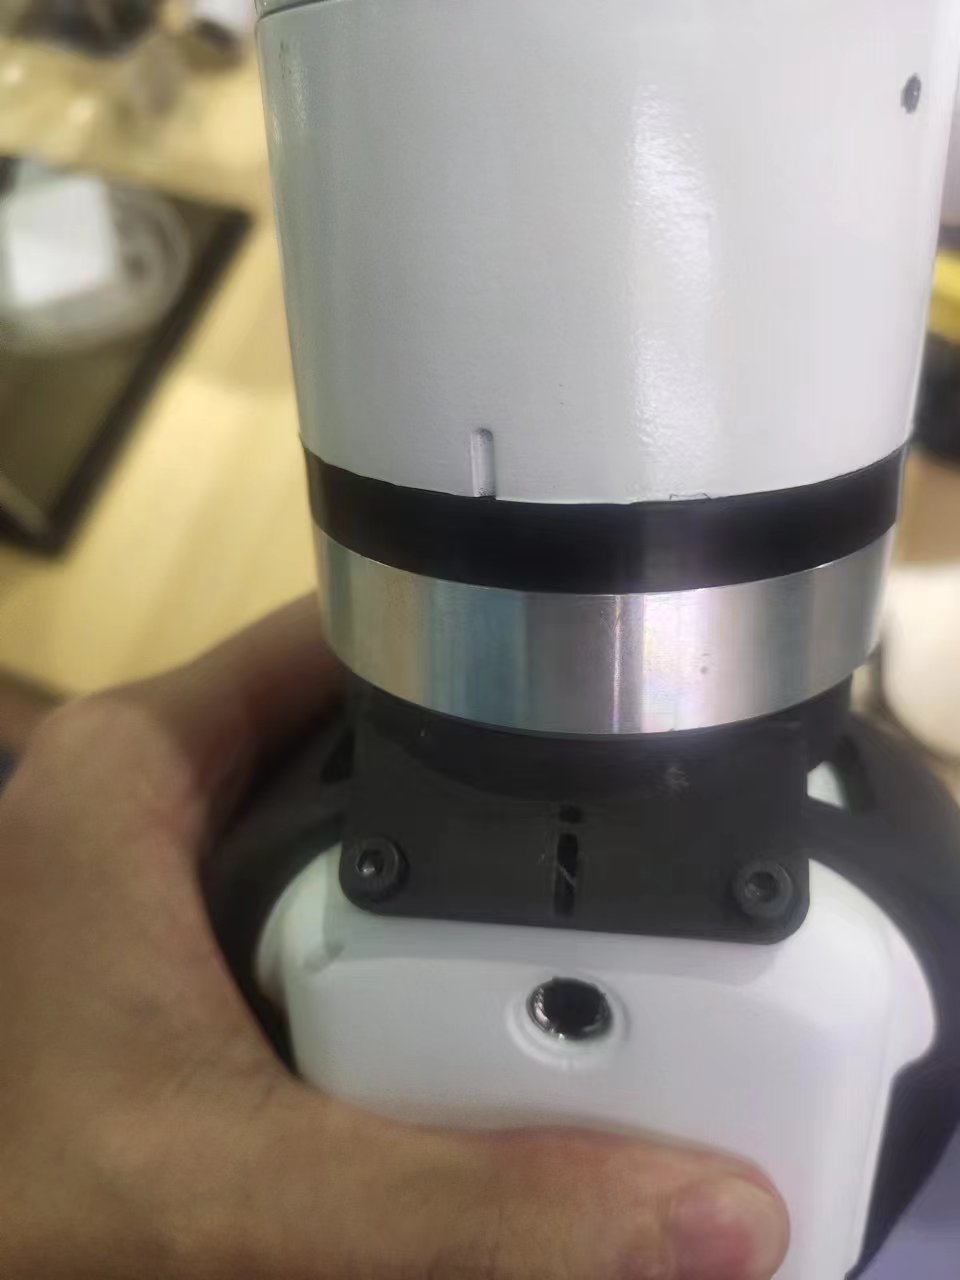
Structural installation:
Align the gasket with the hole at the end of the robot arm and tighten it with the screws:
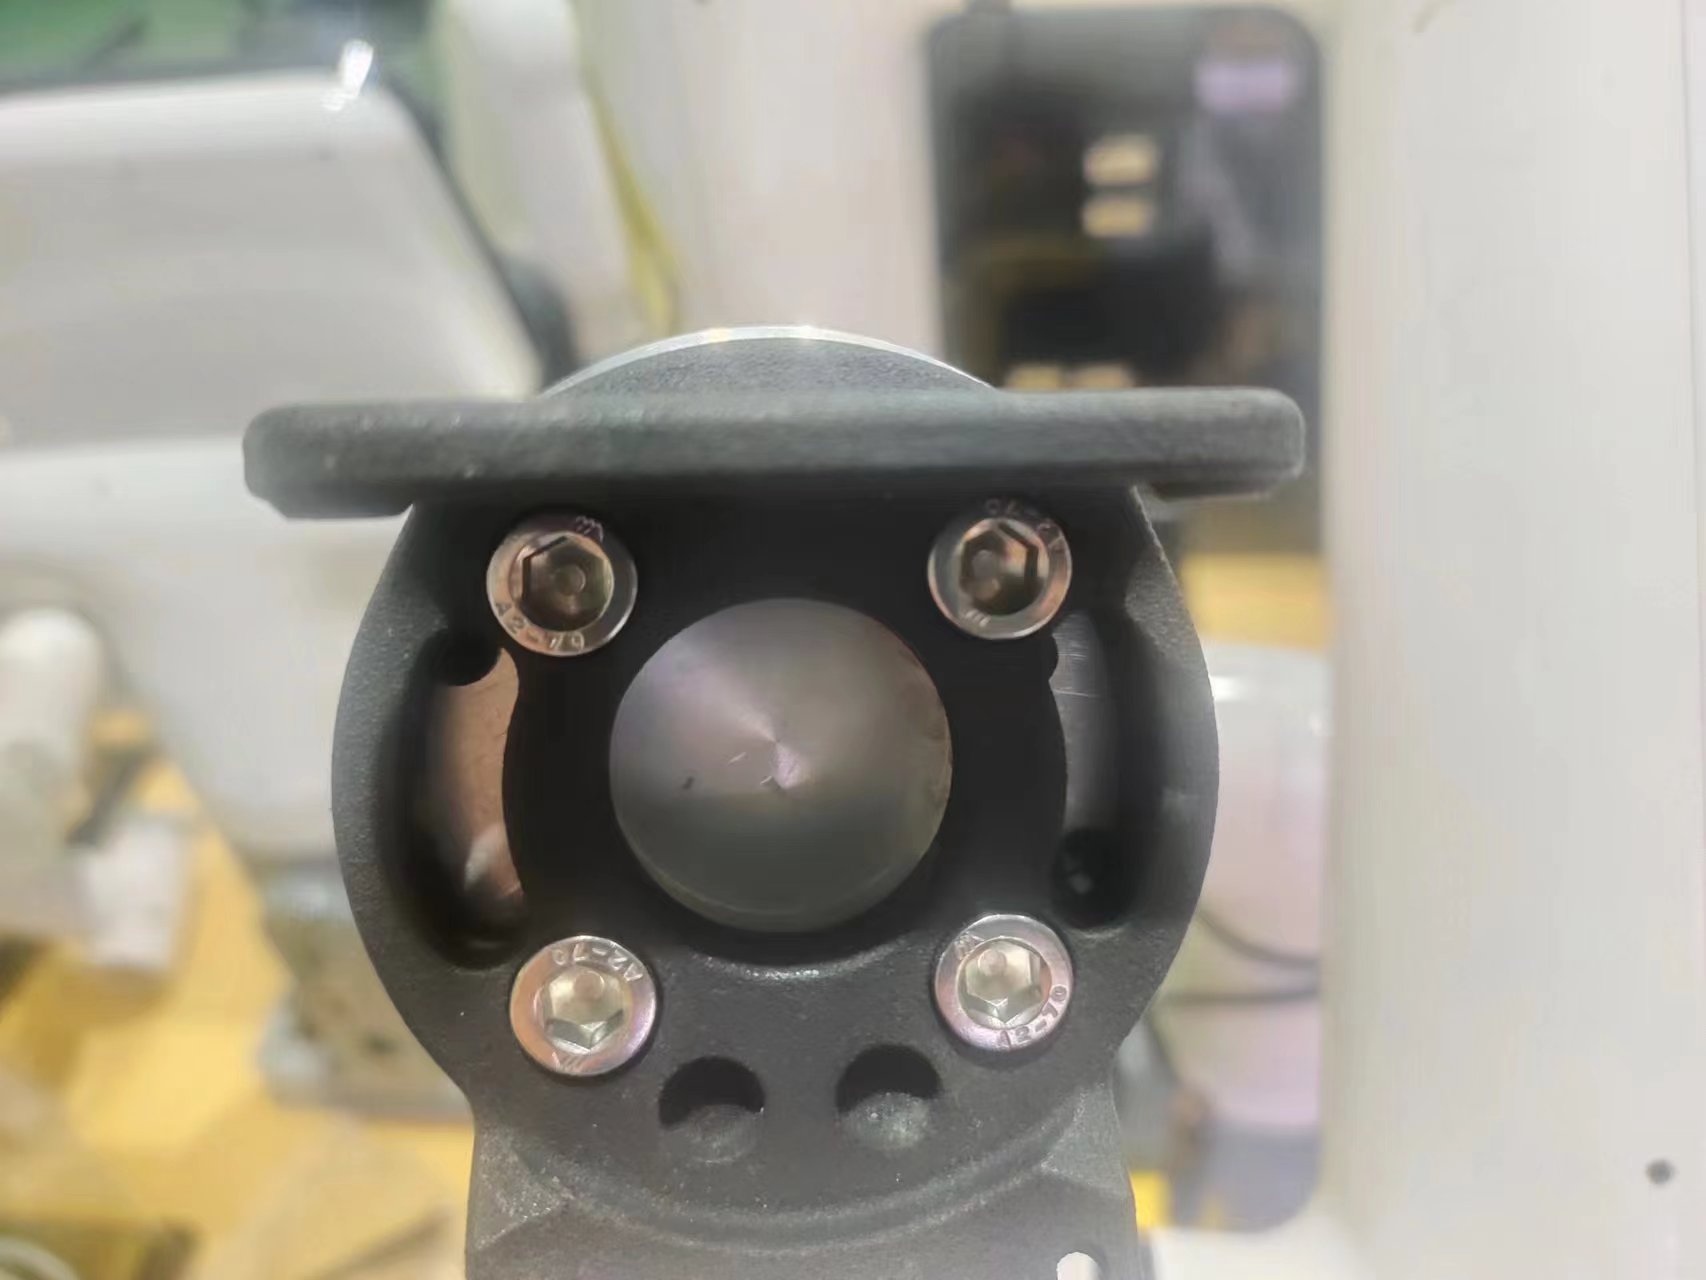
Align the screw holes of the gripper with the holes around the gasket and tighten them with the fine screws:

- Electrical connection: Mycobot pro600 does not support hot-swap. The robot arm must be powered off, that is, when the end light is off, to connect the gripper. If it is powered on, there is a risk of damaging the gripper
- Align the m8 line with the interface of the robot arm. Note that there is a notch at the interface and the corresponding protrusion of the connecting line. After confirming the direction, insert it and tighten it:
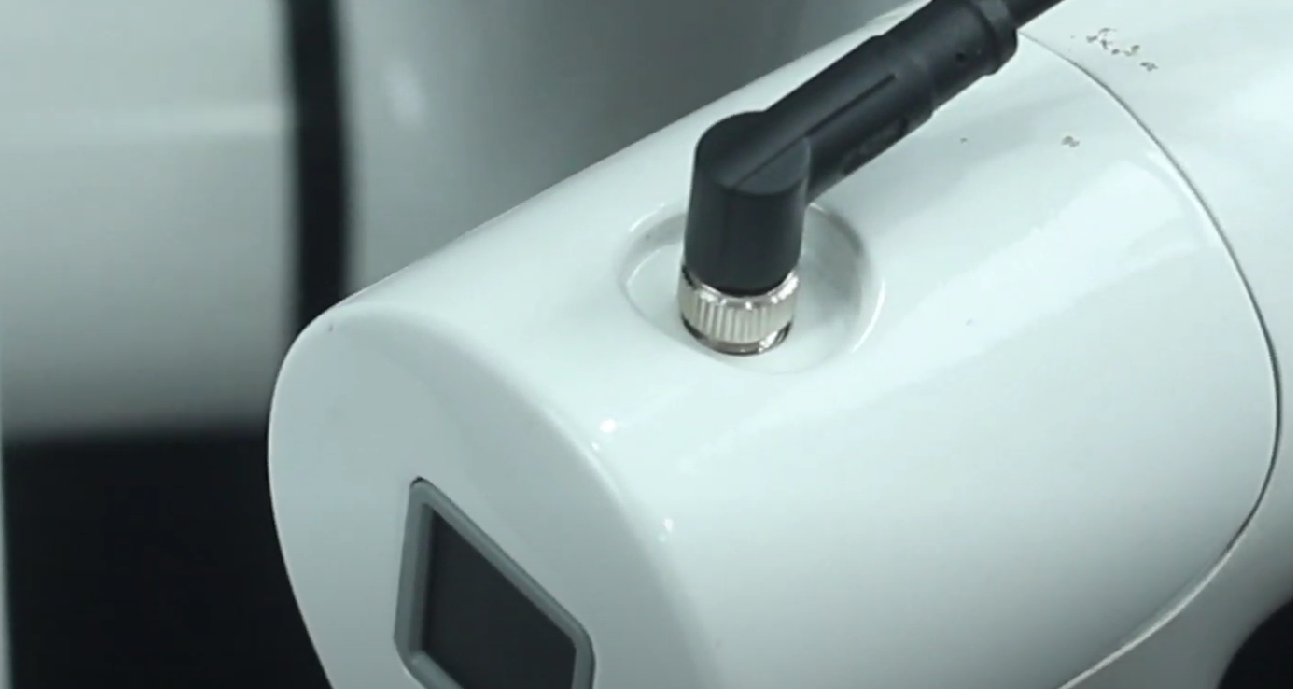
- Insert the gripper control interface, and also pay attention to the direction of the notch:
2 Control via Roboflow
Run RoboFlow, enter the program editing interface, and select (how to enter the program editing interface, please see 6.2 Simple Use of RoboFlow)
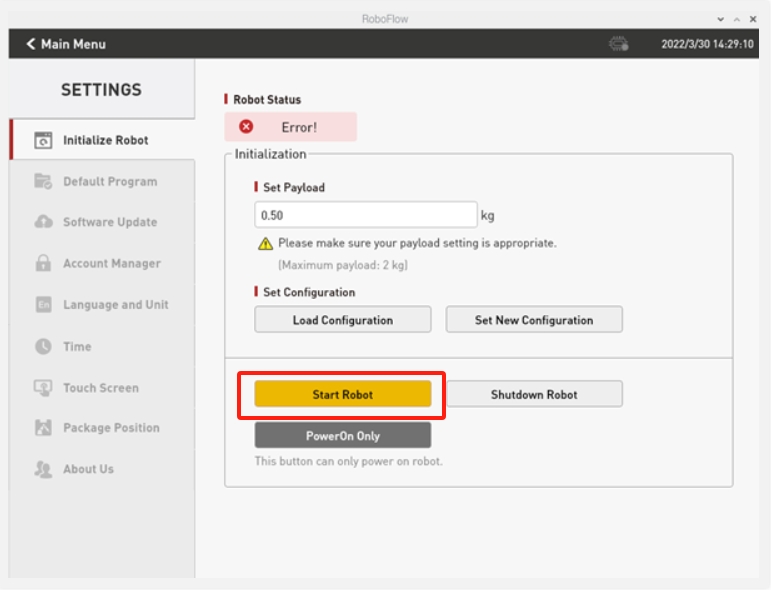
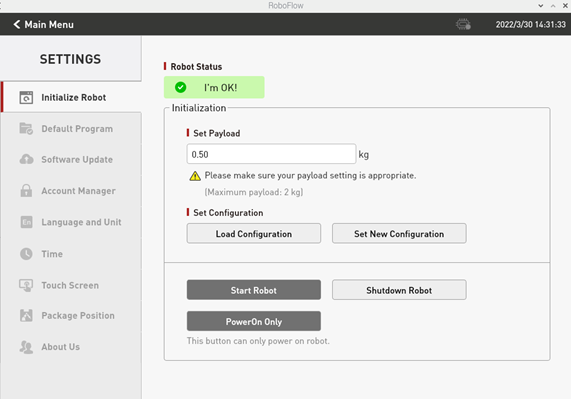
The robot system needs to be started before use
2.1 IO mode
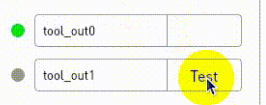
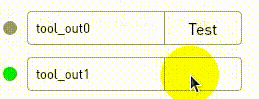
(Tool selects I/O, the overall steps are as shown in the figure):
IO controls the opening and closing of the gripper, the pin tool_out0 is closed, and the gripper is opened when tool_out1 is opened
IO controls the opening and closing of the gripper, the pin tool_out0 is closed, and the gripper is opened when tool_out1 is opened
2.2 Transparent mode
(Select open or close for Saved status, the overall steps are shown in the figure below):
Note: Before using the transparent mode, you need to set the gripper to transparent mode, that is, set_gripper_mode(0). For detailed interface usage, please refer to Socket API
- Click Define New Gripper, fill in the Gripper Name as "CAG-1" (must be this name), and then click Save;

3 Control via python
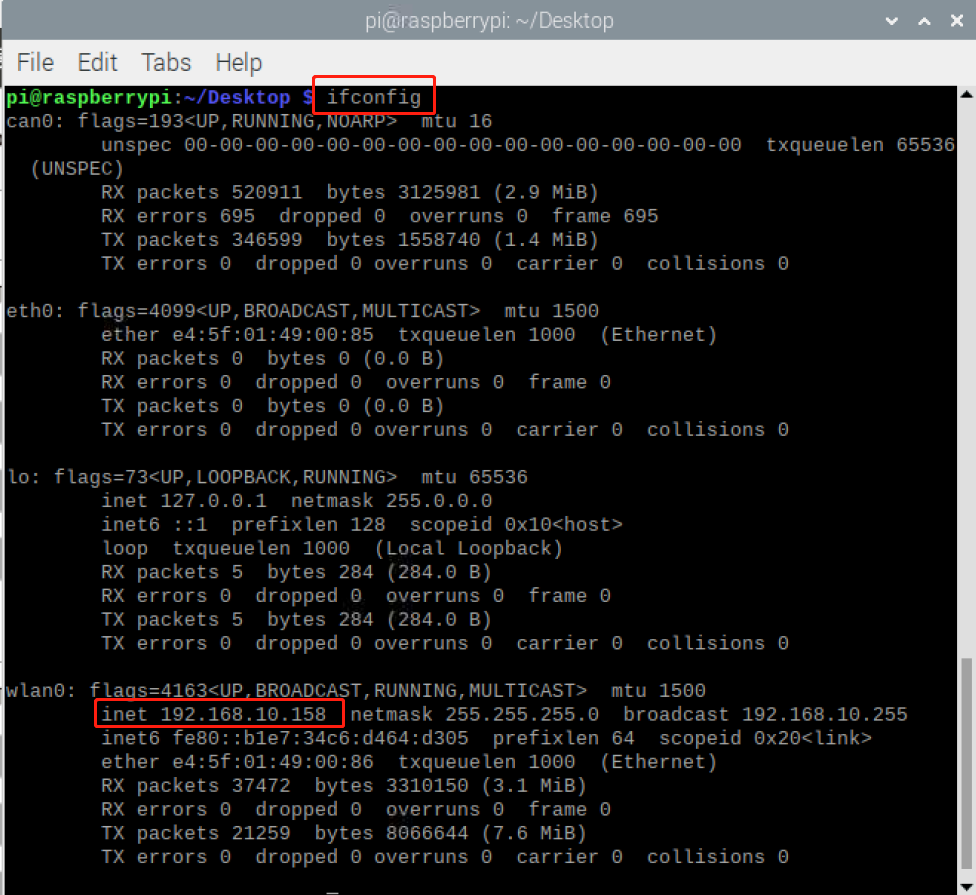
Confirm the IP address of the robot: Enter ifconfig in the terminal to obtain
3.1 IO control
from pymycobot import ElephantRobot
import time

# Change the IP address to the real IP address of the P600 Raspberry Pi

elephant_client = ElephantRobot("192.168.10.158", 5001)

# Necessary commands to start the robot
elephant_client.start_client()
time.sleep(1)
elephant_client.set_gripper_mode(1)
time.sleep(1)
#elephant_client.power_off()#When changing the IO mode from gripper to gripper, you need to shut down the machine and restart the robot. If you only use gripper to gripper mode, you do not need to shut down the robot
elephant_client.power_off()
time.sleep(3)
elephant_client.state_off()
time.sleep(3)
elephant_client.power_on()
time.sleep(3)
elephant_client.state_on()
time.sleep(3)
elephant_client.set_digital_out(16, 0) # IO restores low level
time.sleep(1)
elephant_client.set_digital_out(17, 0) # IO restores low level
time.sleep(1)

# IO mode
# Gripper full open and full closed control code. Note that when the gripper is transparently switched to IO mode, you need to shut down the machine and restart the robot once before switching back to the gripper IO mode
for i in range(3):

elephant_client.set_digital_out(16, 1) # Close the gripper
time.sleep(1)
elephant_client.set_digital_out(17, 0) # IO restores low level
time.sleep(1)
elephant_client.set_digital_out(16, 0) #IO restores low level
time.sleep(1)
elephant_client.set_digital_out(17, 1) # Open the gripper
time.sleep(1)

elephant_client.set_digital_out(16, 0) # IO restores low level
time.sleep(1)
elephant_client.set_digital_out(17, 0) # IO returns to low level
time.sleep(1)
3.2 Transparent mode
from pymycobot import ElephantRobot
import time

# Change the IP address to the real IP address of the P600 Raspberry Pi

elephant_client = ElephantRobot("192.168.10.158", 5001)

# Necessary commands to start the robot
elephant_client.start_client()
time.sleep(1)
elephant_client.set_gripper_mode(0)
time.sleep(1)
# elephant_client.power_off()#When changing the IO mode of the gripper through transmission, you need to shut down the machine and restart the robot once. If you only use the gripper through transmission mode, you do not need to shut down the robot
elephant_client.state_off()
time.sleep(3)
elephant_client.power_on()
time.sleep(3)
elephant_client.state_on()
time.sleep(3)

#Transparent transmission mode

for i in range(3):
elephant_client.set_gripper_value(26,20)
time.sleep(1)
elephant_client.set_gripper_value(86,20)
time.sleep(1)