Gripper control
Installing the gripper:
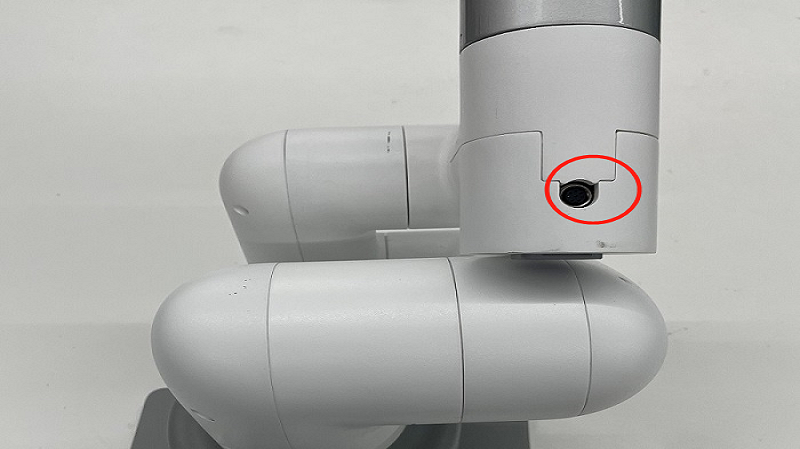
- For an adaptive gripper, insert it on the pin on the atom, as shown in the following figure:
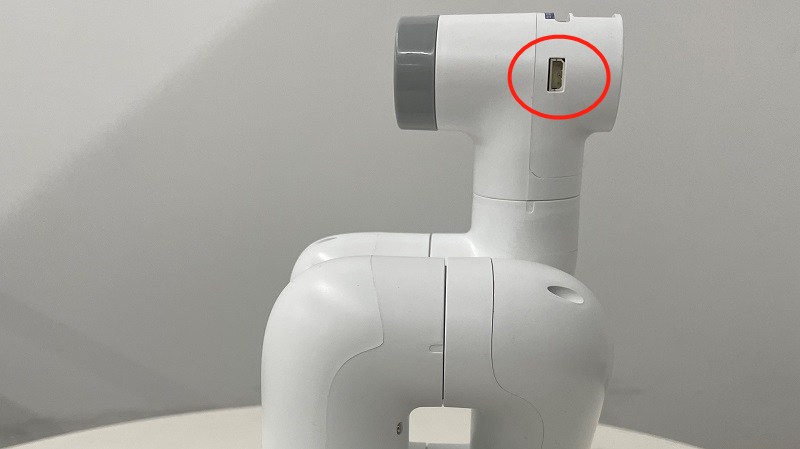
- For an electric gripper, insert it into the 485 interface on the top, as shown in the following figure:
1 The equipment that the adaptive gripper
supports: myCobot280, myCobot320,mycobot pro600 and myPalletizer 260.
Function description: - Run RoboFlow, enter the program editing interface, and select M5Stack-basic – Gripper (For the way to enter the program editing interface, see 6.2 Simple use of RoboFlow);
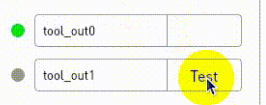
Mycobot Pro600 does not support hot-swap. The robot arm must be powered off, that is, when the end light is off, to connect the gripper. If it is powered on, there is a risk of damaging the gripper. IO mode (I/O is selected by the Tool, and the overall steps are shown in the figure)
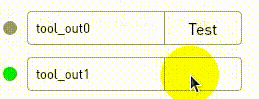
IO controls the jaw opening and closing, the pin tool_out0 is closed, and the jaw is opened when it tool_out1 is opened
IO controls the jaw opening and closing, the pin tool_out0 is closed, and the jaw is opened when it tool_out1 is opened
click Define New Gripper, fill in Gripper Name as " CAG-1 ” (must be this name), and then click Save;
select open or close for Saved status. The overall steps are shown in the following figure:
(Note: Before using the transparent transmission mode, you need to set the gripper to the transparent transmission mode, that is, set_cag_gripper_mode (0), please refer to Socket API) for detailed interface use.)
2 Electric gripper
It supports myCobot320. Function Description:
- Run RoboFlow and select M5Stack-basic – Gripper ;
- click Define New Gripper, fill in Gripper Name as "DH PGE 8” (must be this name), and then click Save;
- select open or close for Saved status. The overall steps are shown in the following figure:
