Small Case
Before You Begin
1. Ensure the robot is powered on
2. Ensure the robot server is running
3. Ensure the robot is at zero position
Let's write a small example to introduce the basics of 'Blockly'.
Example Description: Control a robotic arm to return to zero, then move a joint to a 20-degree position, and then return to zero.
Step 1: First, click the Pose button to open the Pose view, where you can see the current pose of the simulated robotic arm.
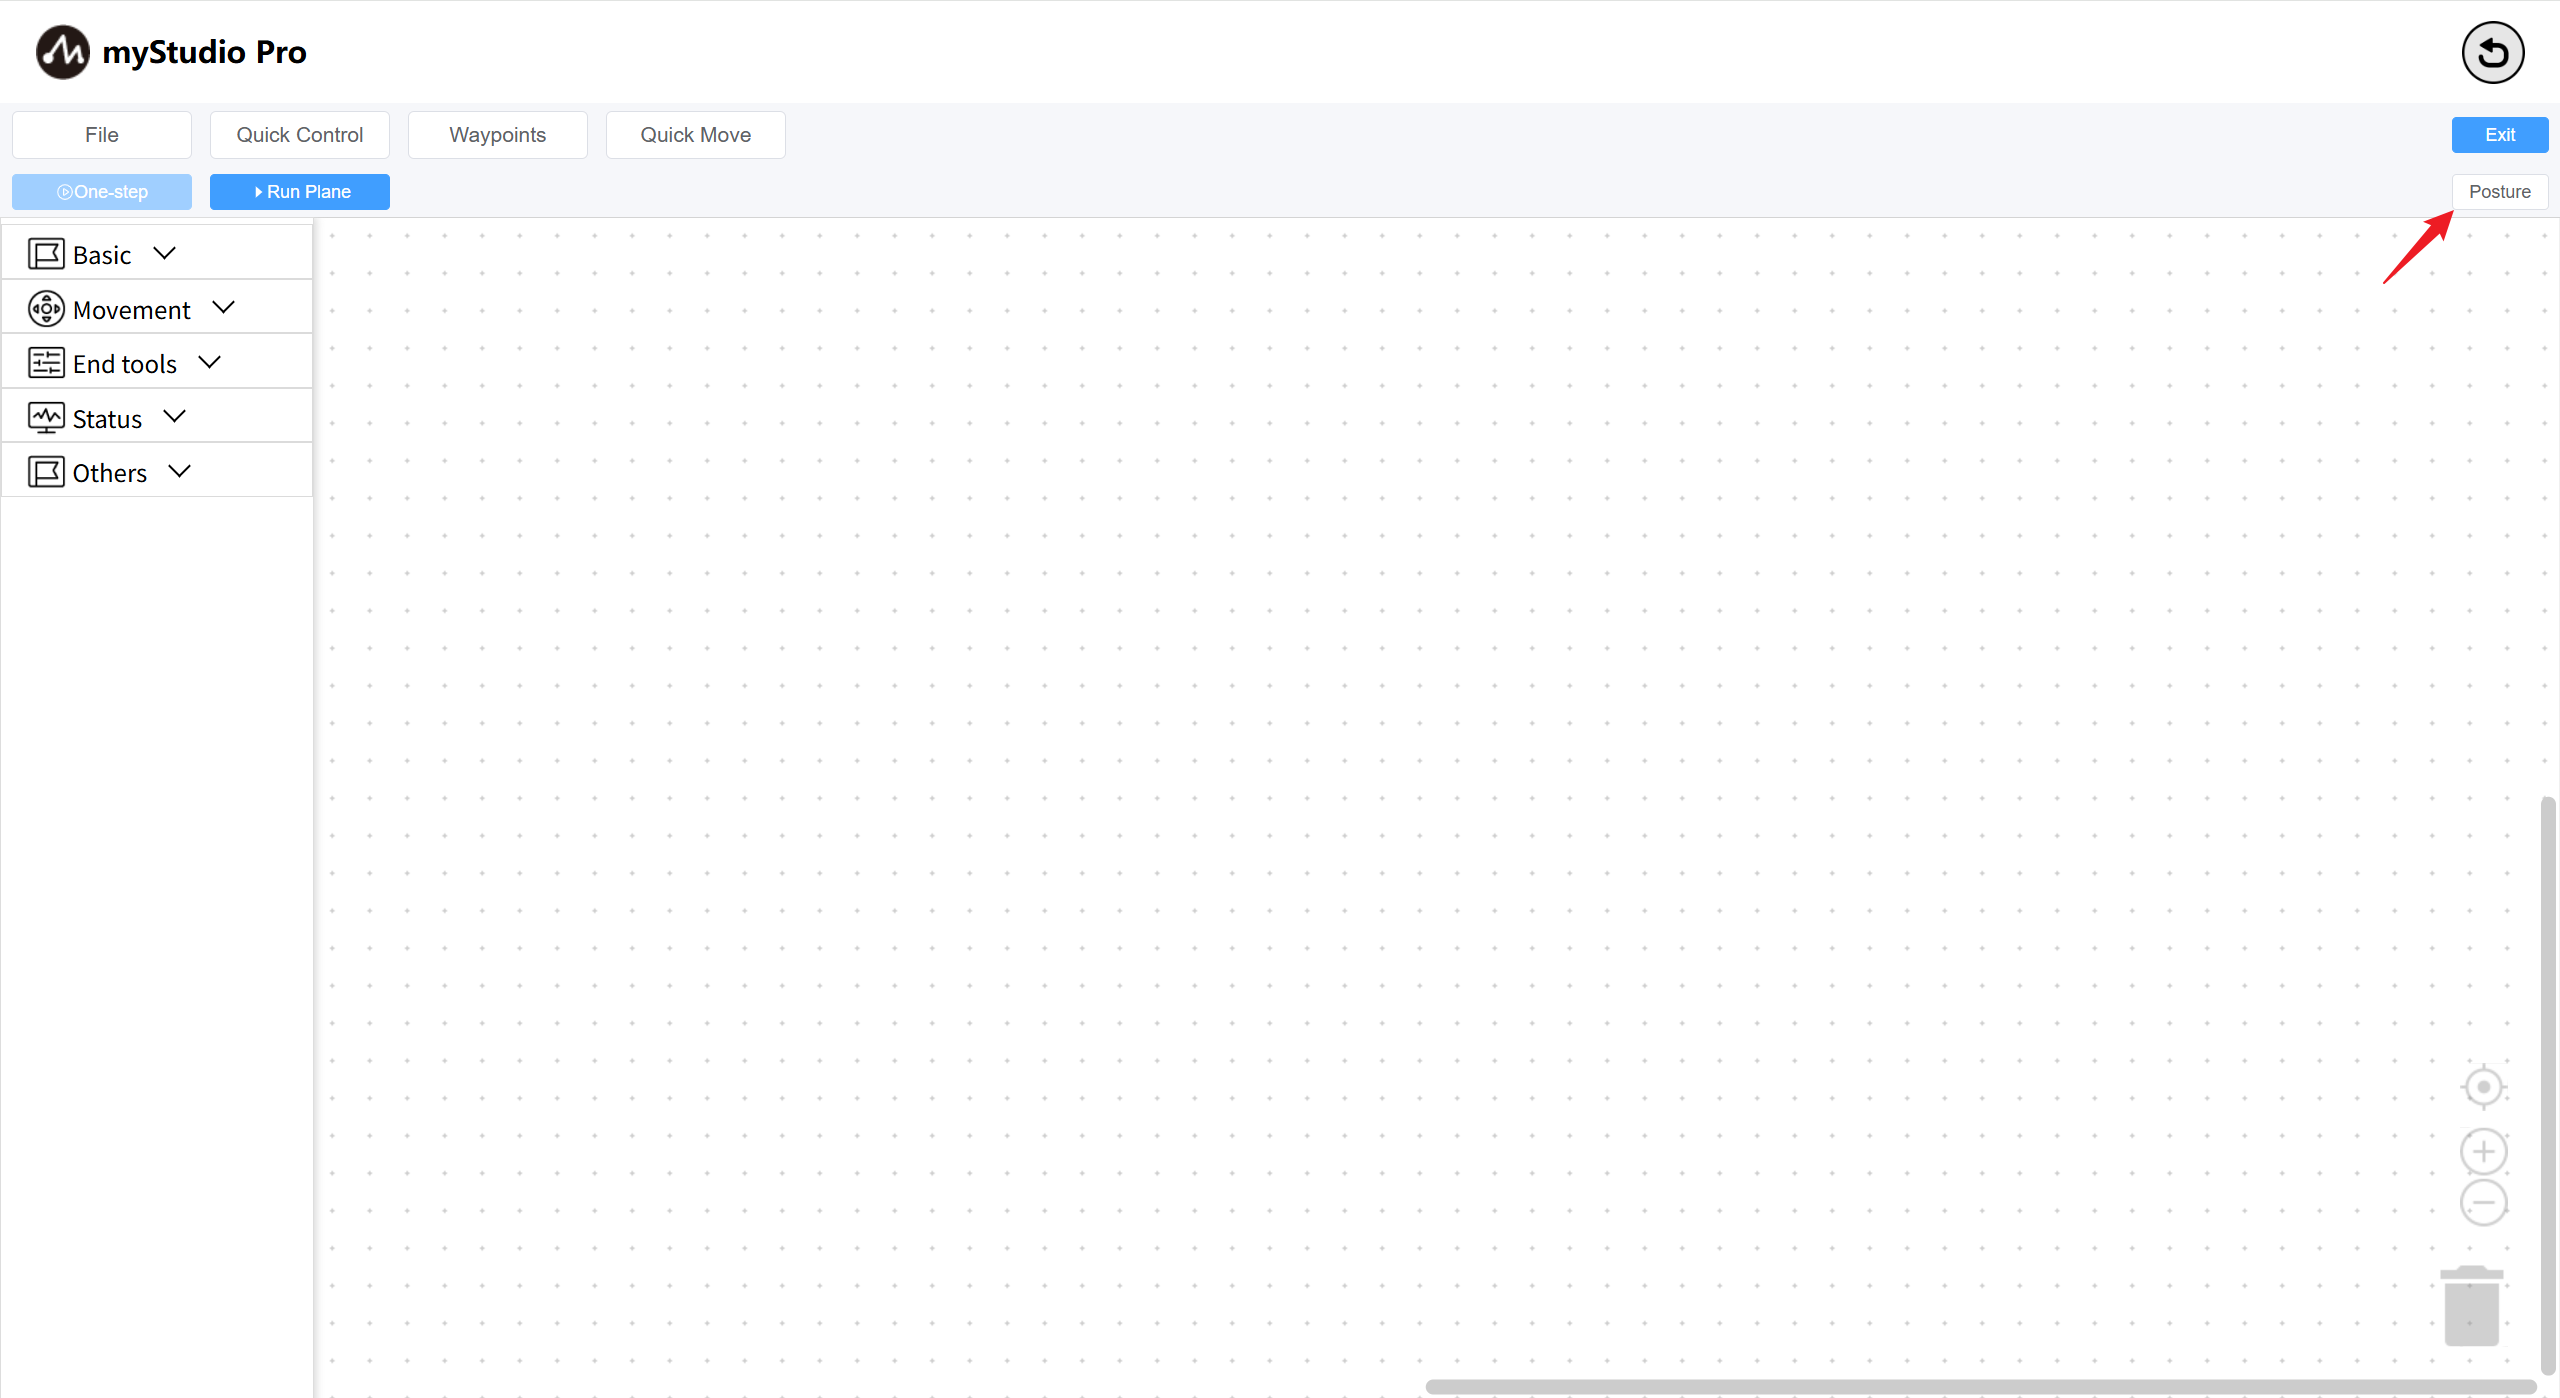
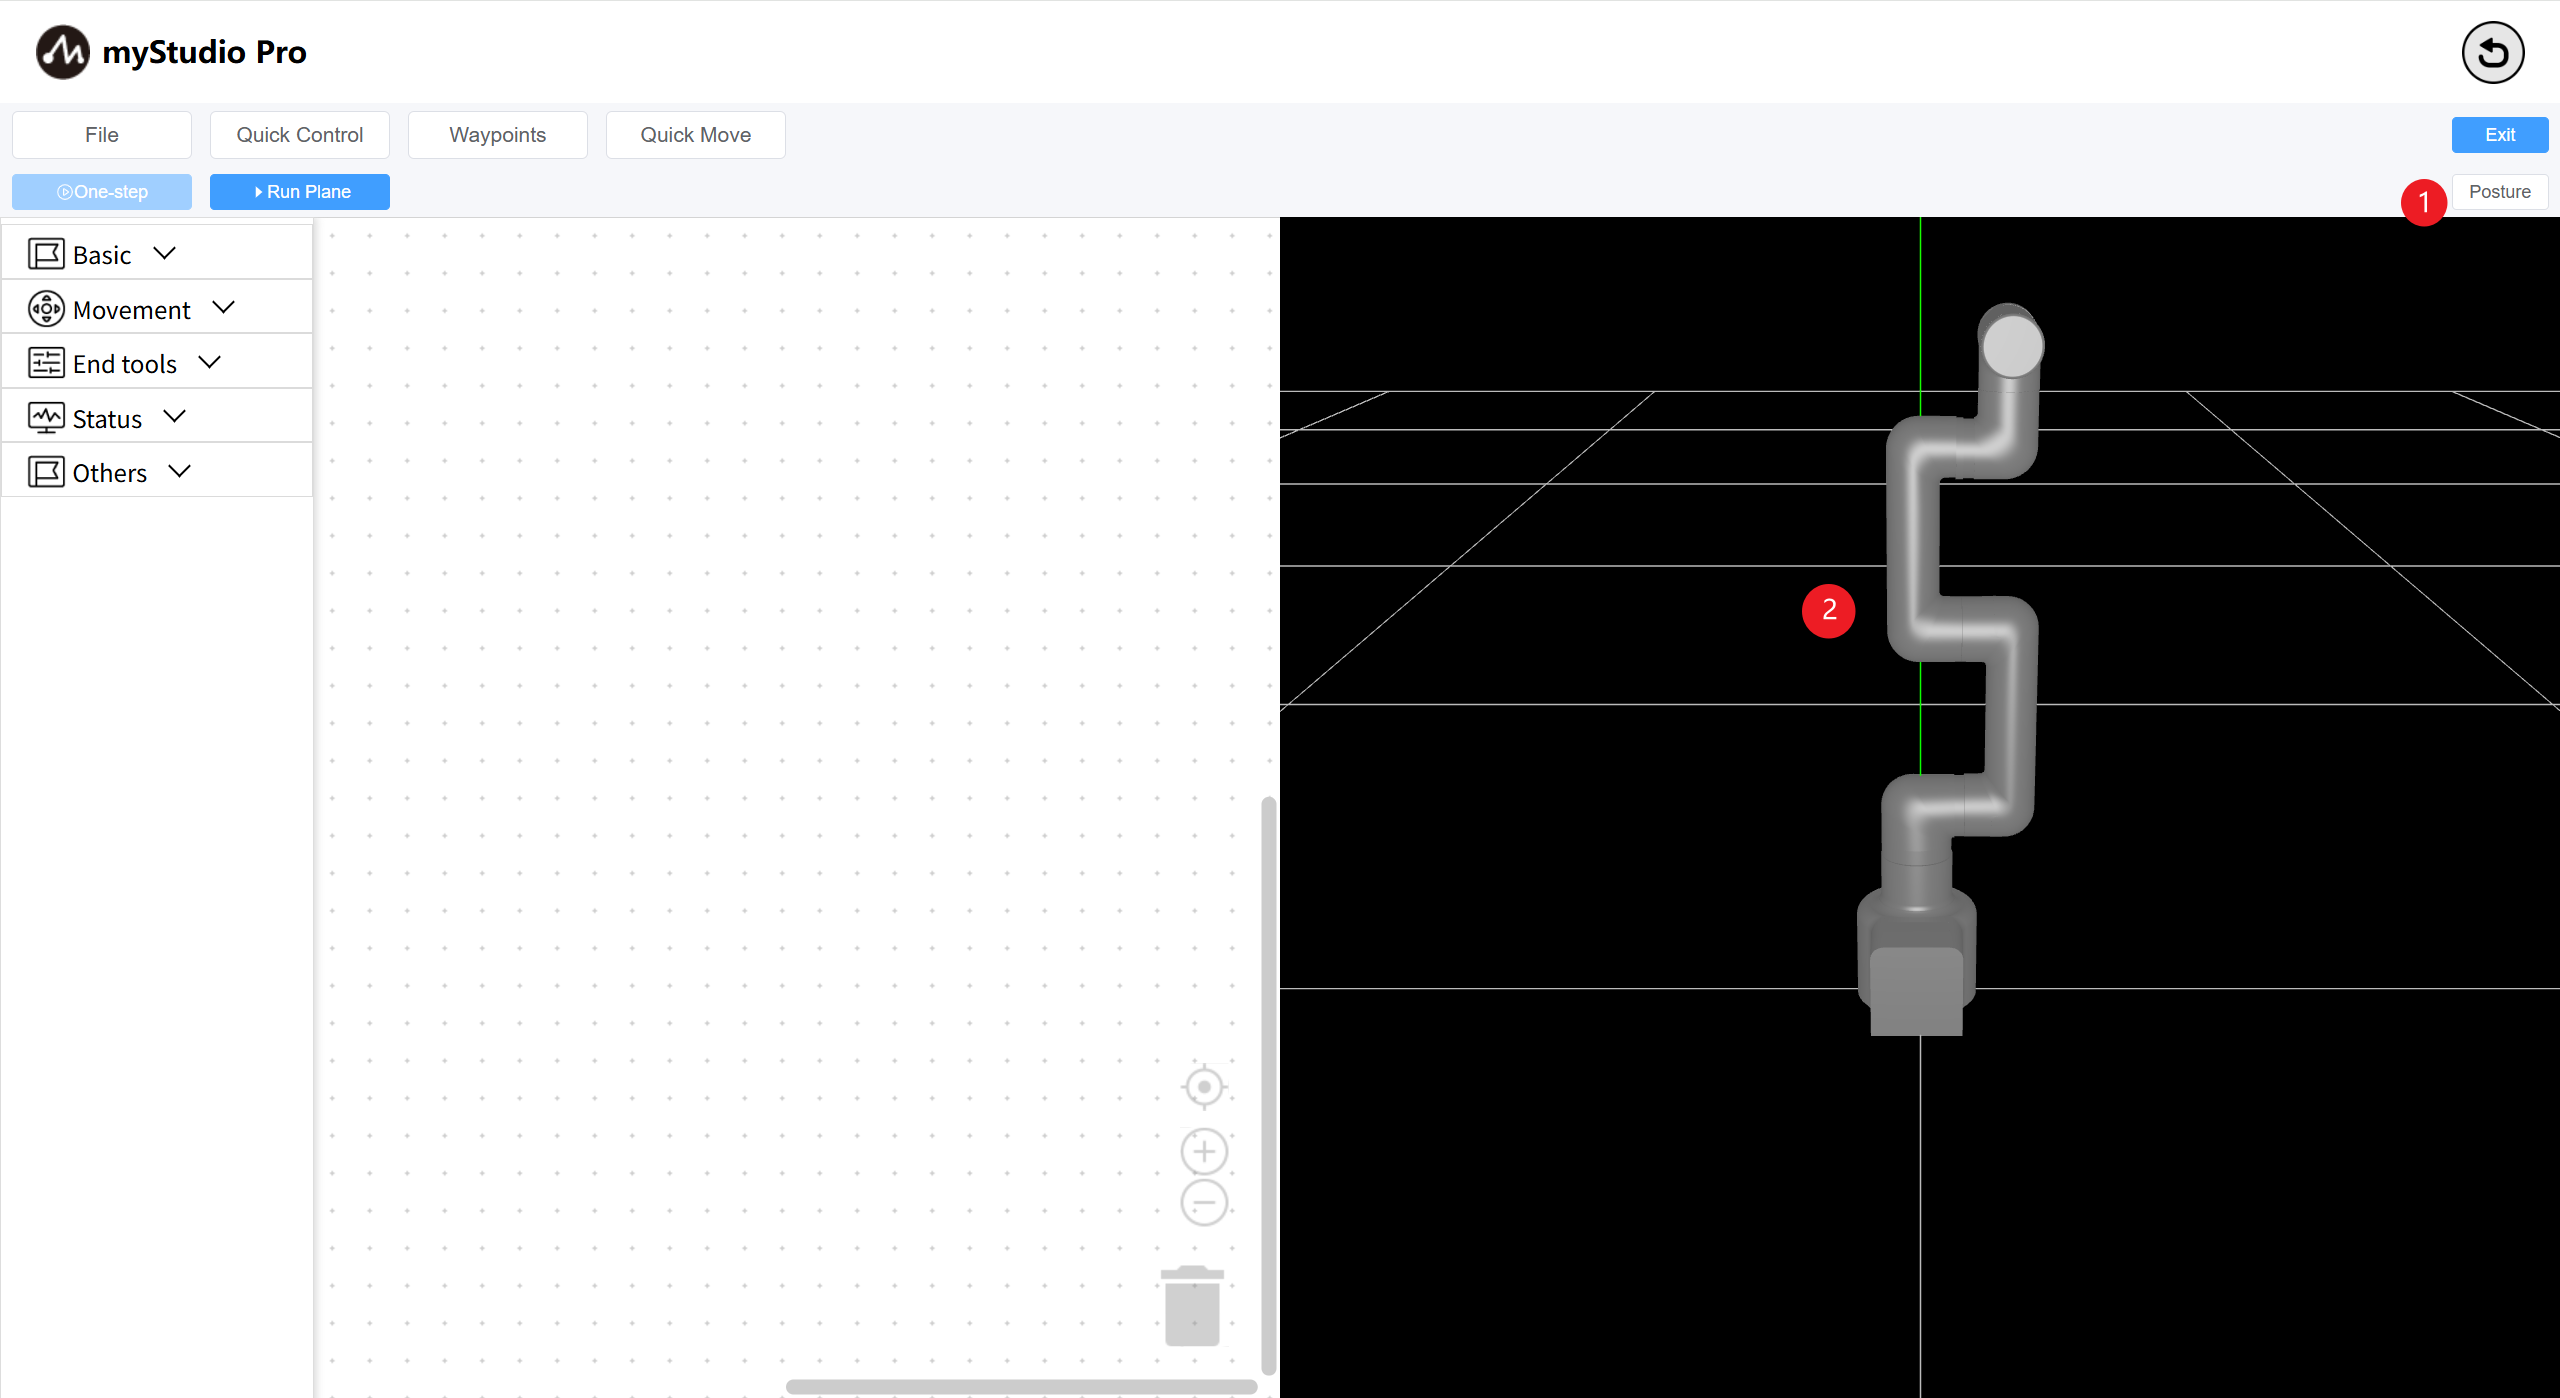
- 1: Toggle the Posture Panel: Click to display it if it's hidden, or to hide it if it's hidden.
- 2: The robotic arm simulation model simulates movement in real time based on the current real-world angle.
Step 2: Start programming
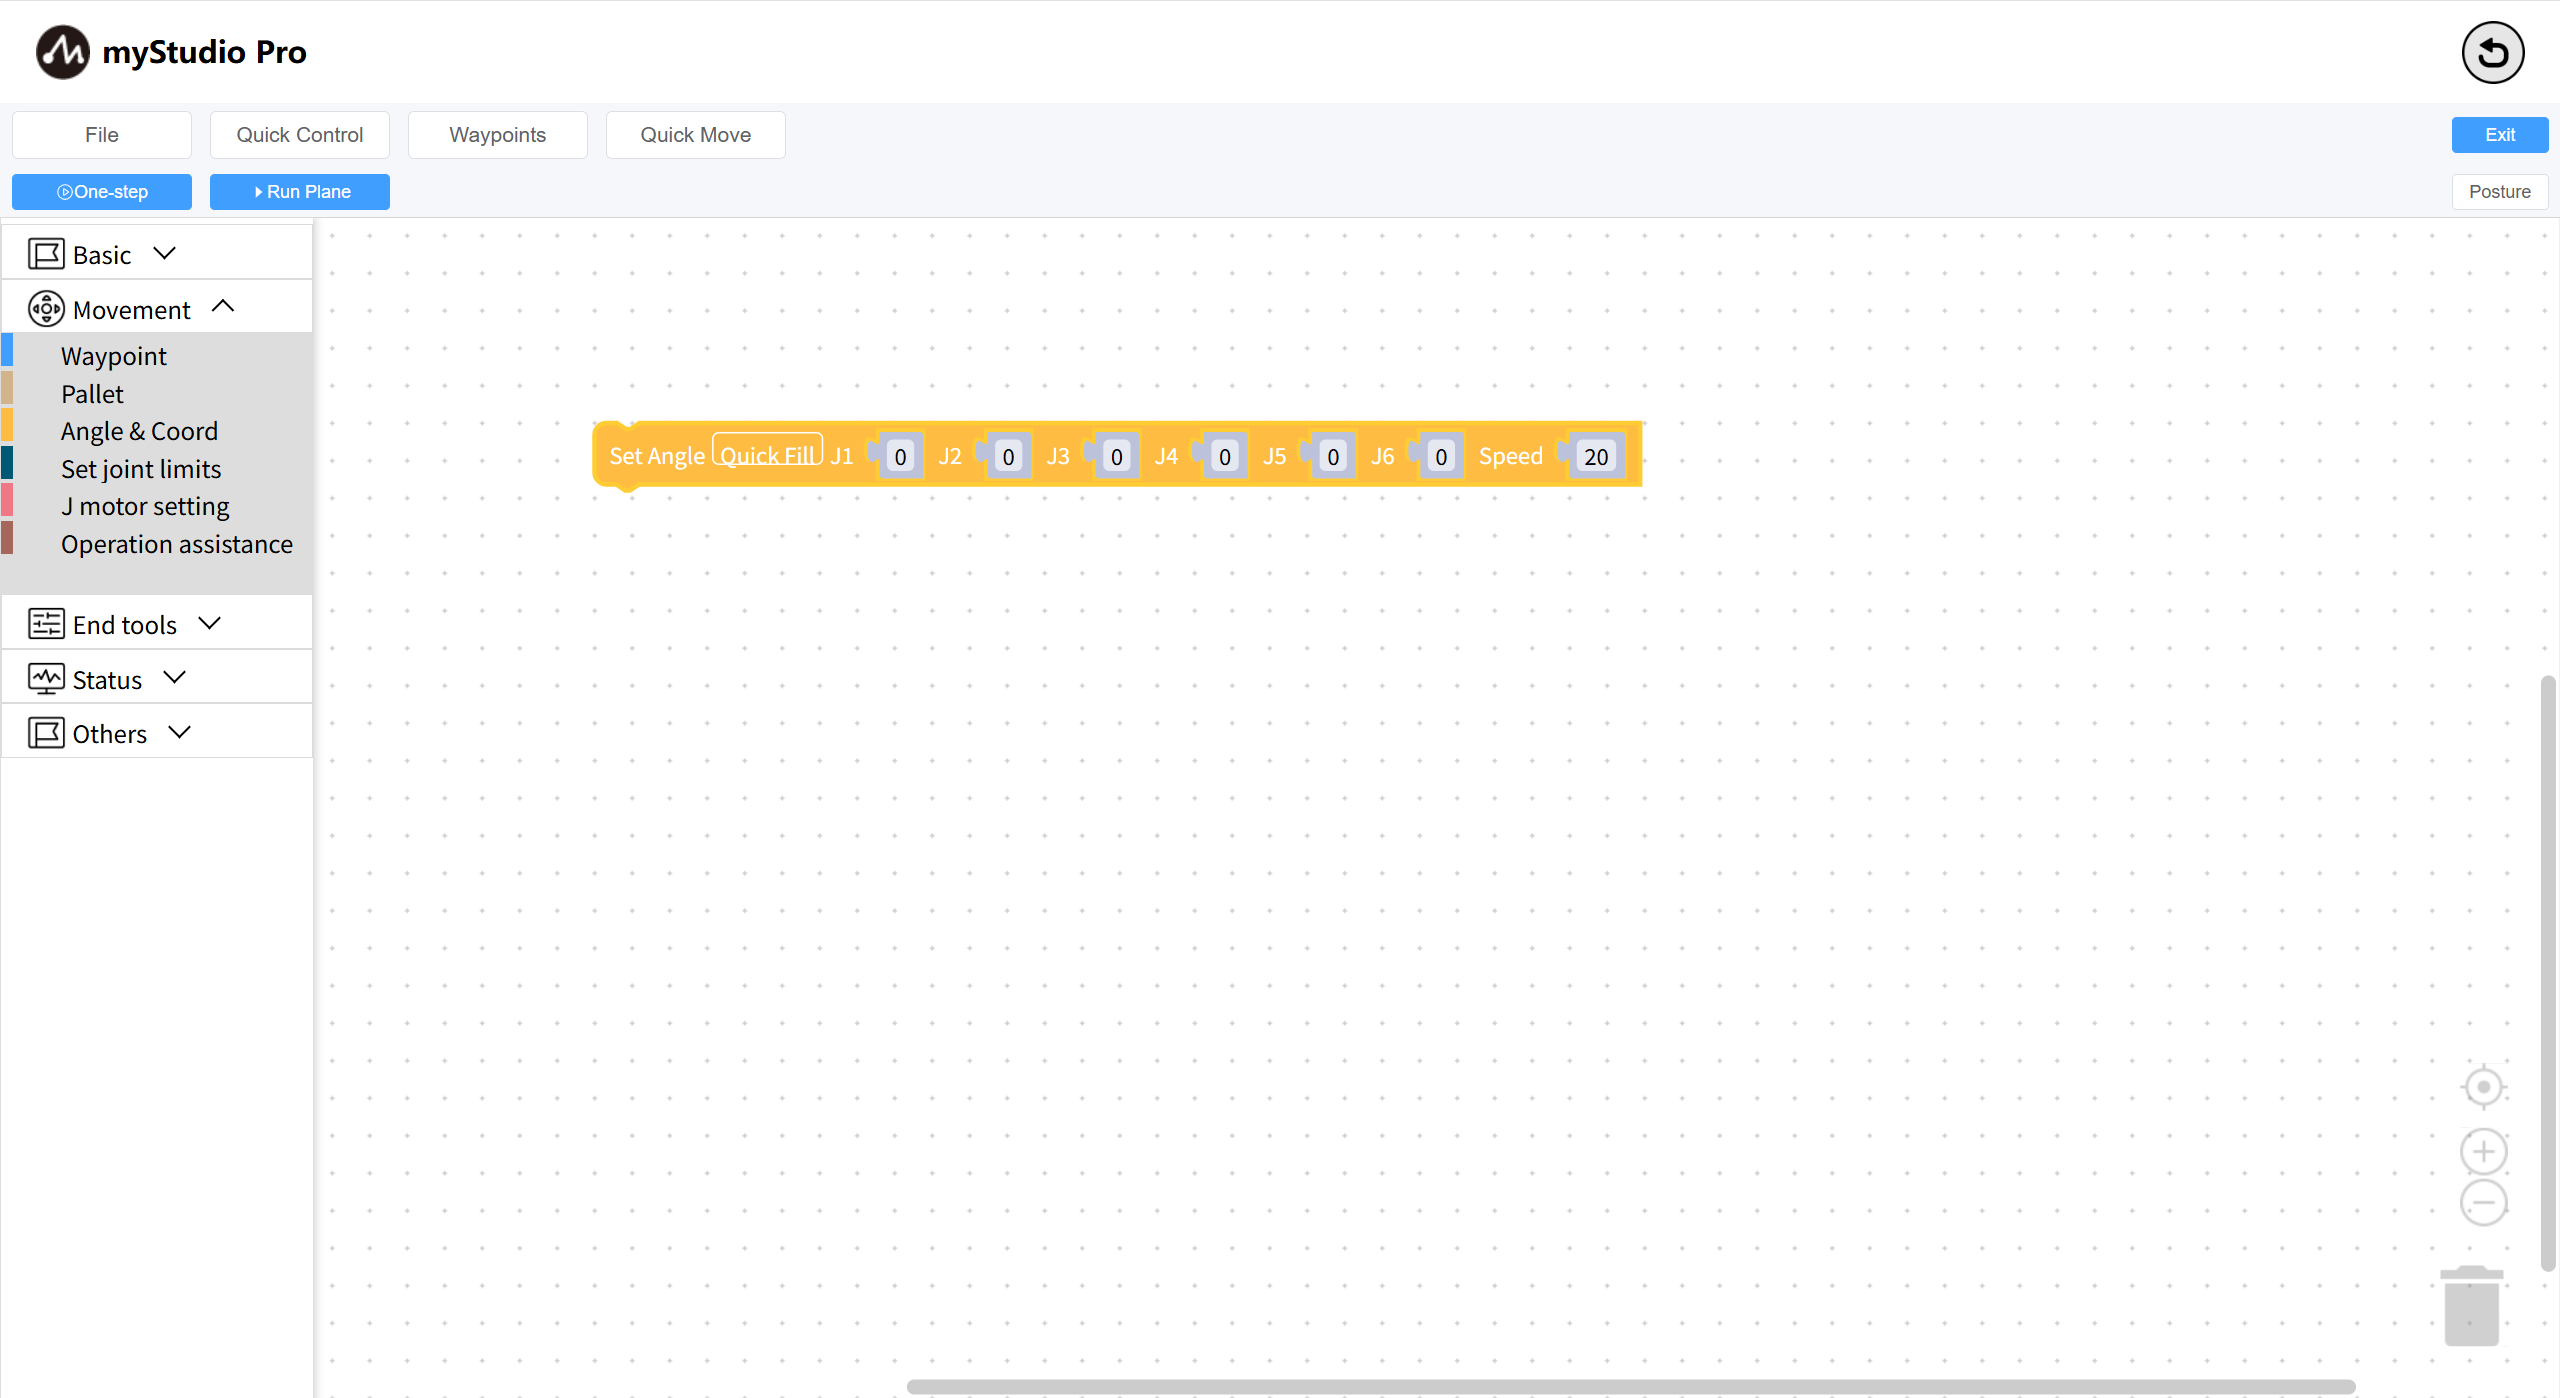
Open the toolbox's first-level category Motion Control, select the second-level category Angle & Coordinate, and drag the Set Full Angle block to the workspace.
This block is used to control the movement of each joint of the robotic arm to a given angle, and the default movement speed is 20.
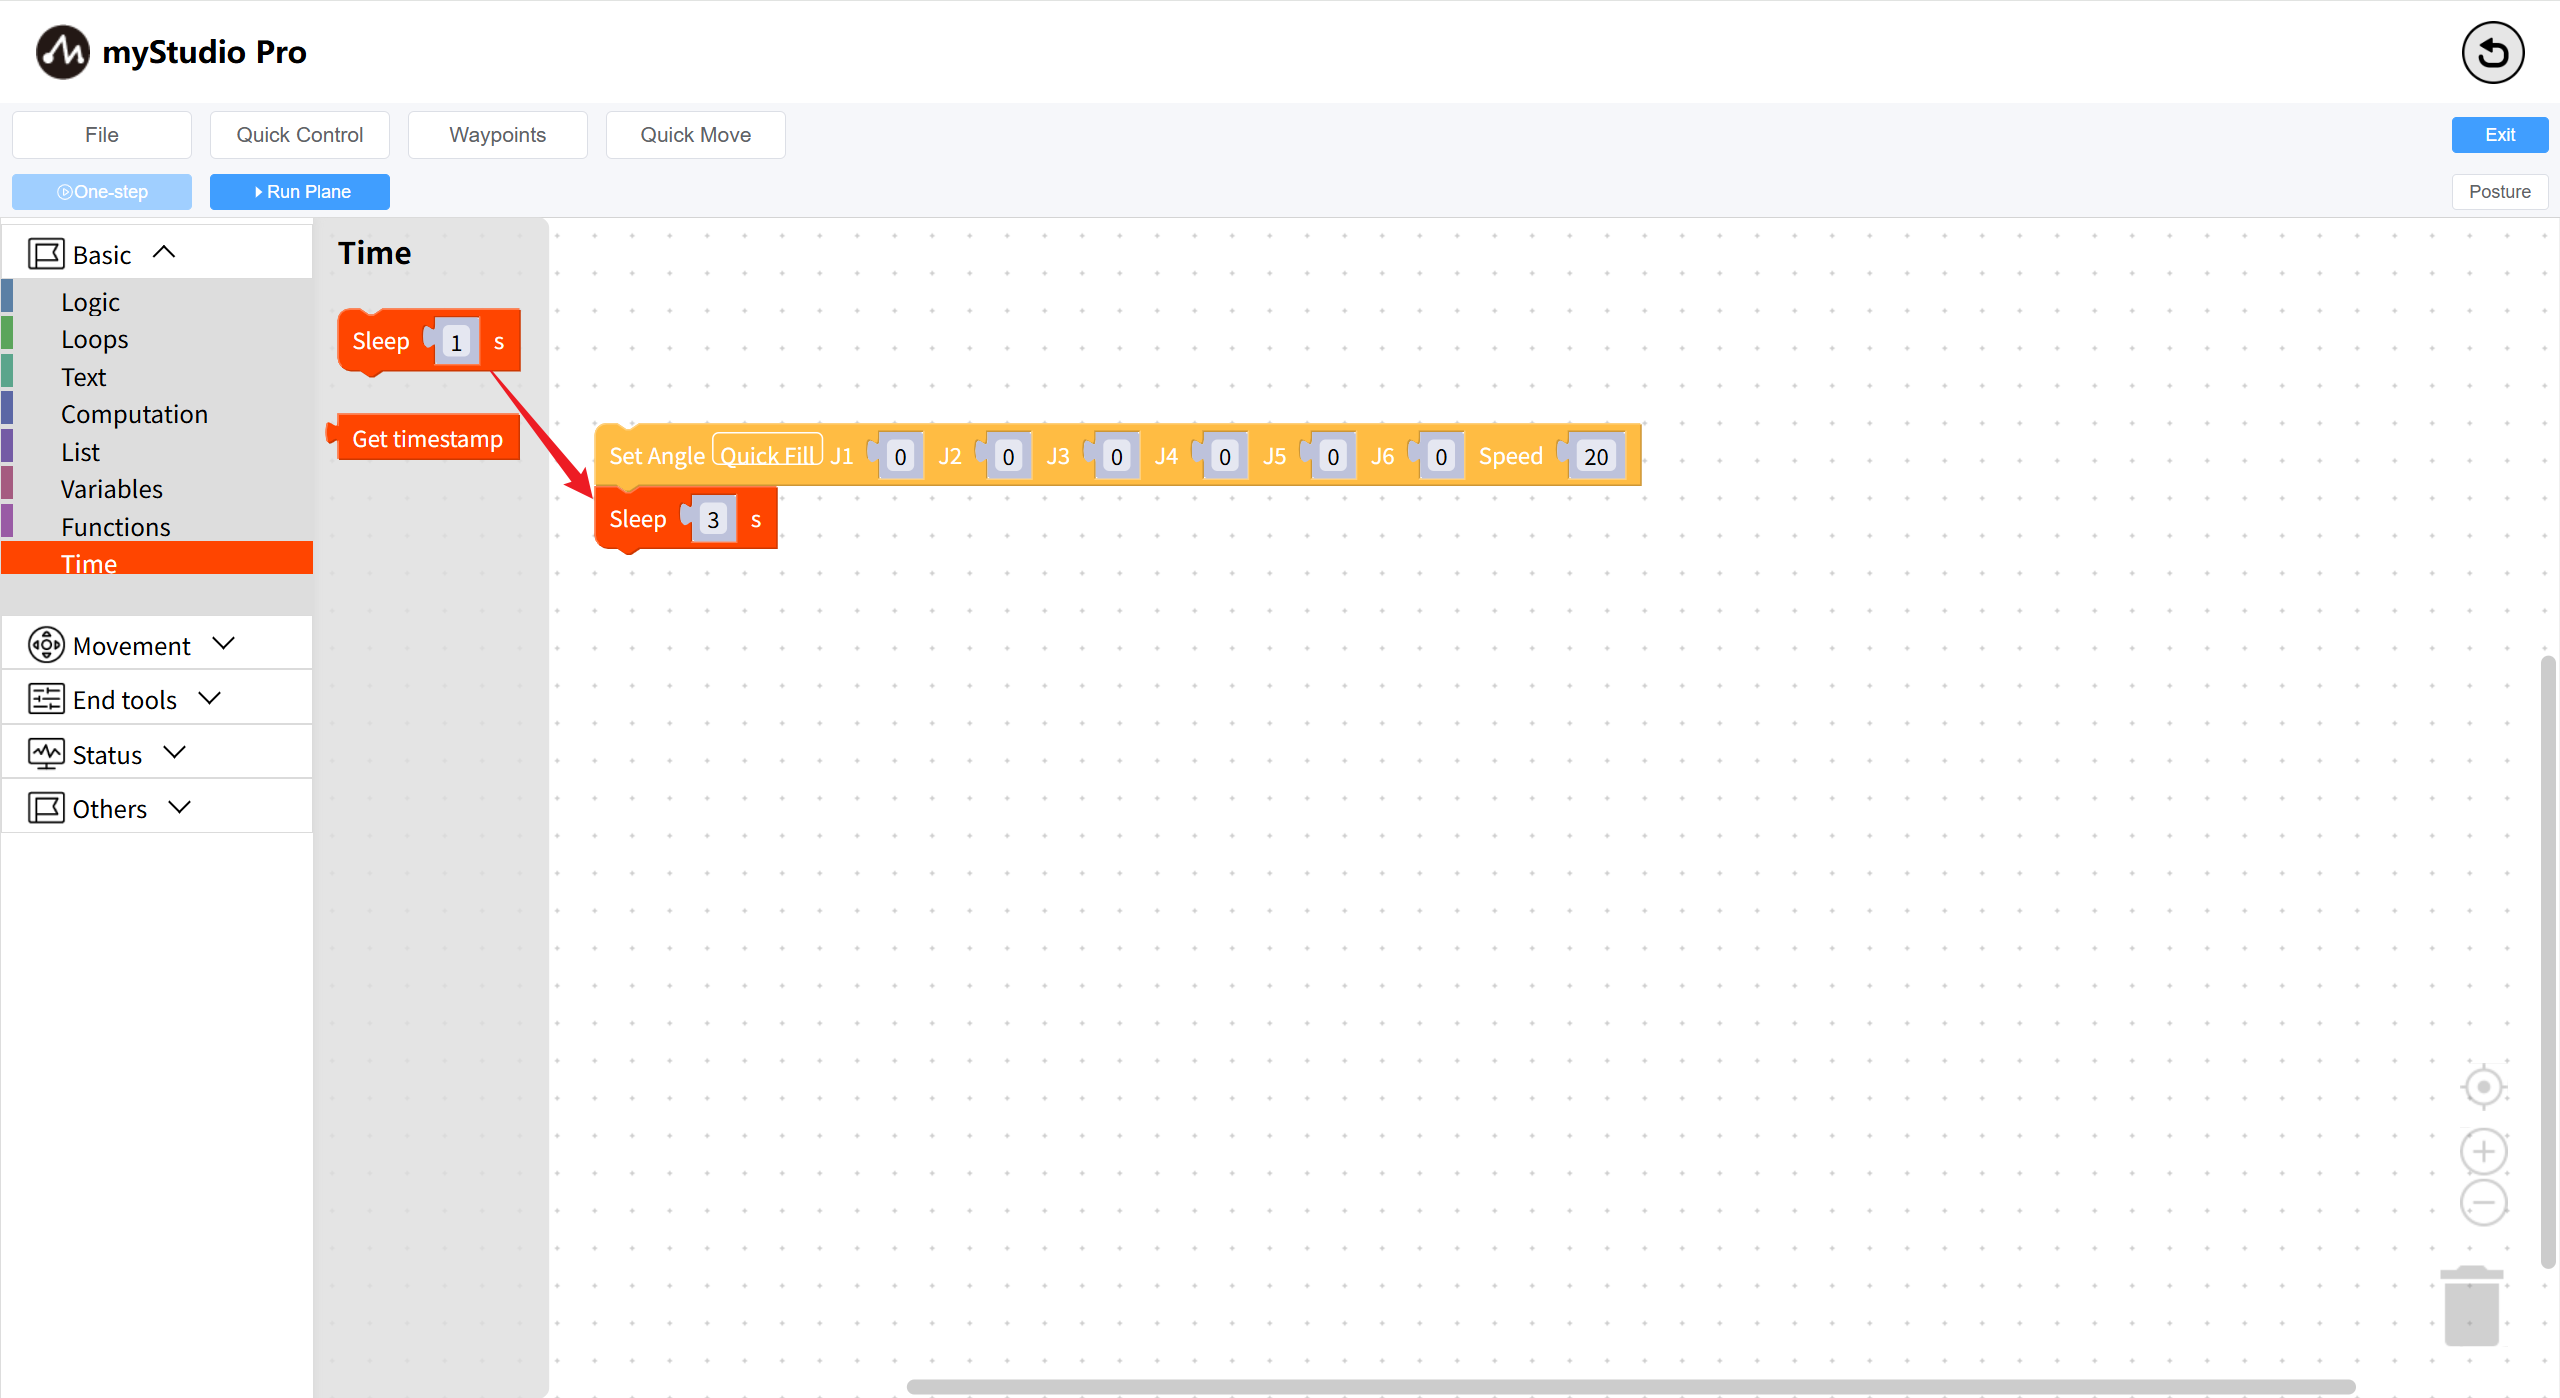
Open the toolbox's first-level category Basic Programming, select the second-level category Time, drag the Sleep block to the workspace, and set the sleep time to 3 seconds.
The 3-second sleep time means the program waits for 3 seconds before continuing. Why does it wait for 3 seconds? Because the team needs to ensure that the robot arm completes the first command action before executing subsequent actions.
Copy the Set Full Angle block and change the Joint 1 angle to 20 degrees:
- Click and select the
Set Full Angleblock in the workspace; - Press Ctrl + C on your keyboard to copy the
Set Full Angleblock; - Press Ctrl + V on your keyboard to paste the
Set Full Angleblock; - Change the
Joint 1value of the new block to 20 degrees; - Drag this block to connect it to the
Sleepblock;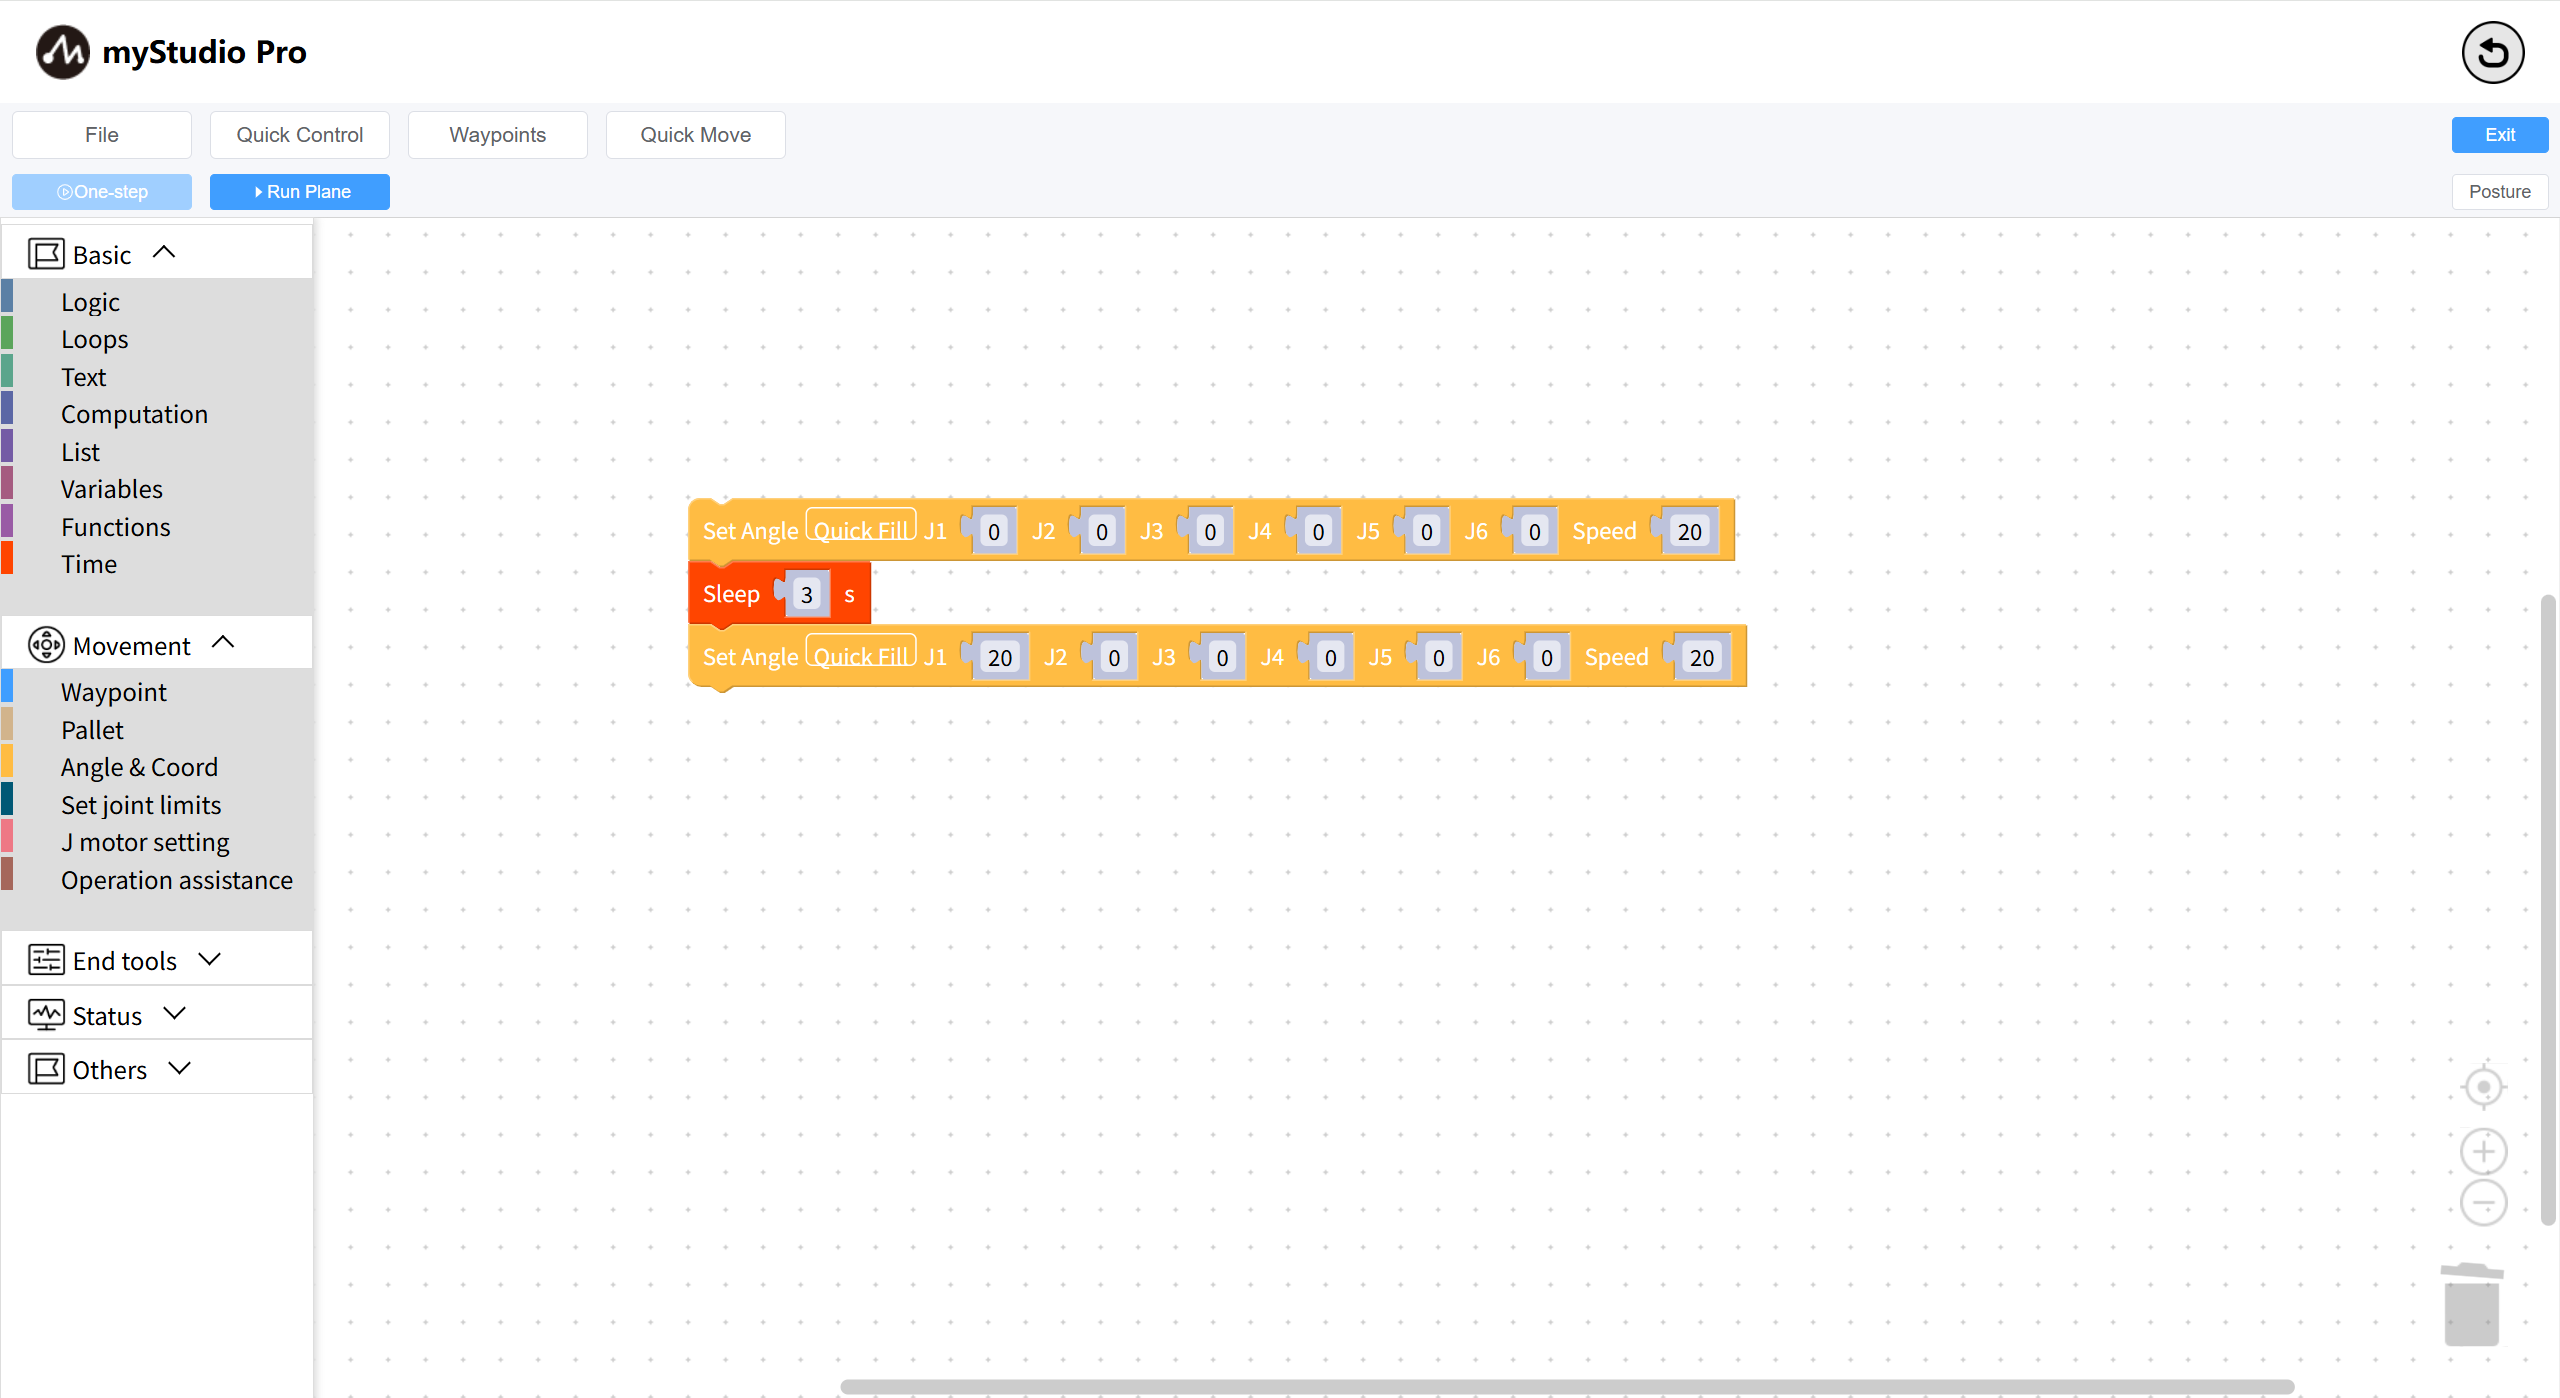
Similar to the above operation, copy the Sleep block and set the sleep time to 3 seconds;
Duplicate the first Set Full Angle block in the workspace again;
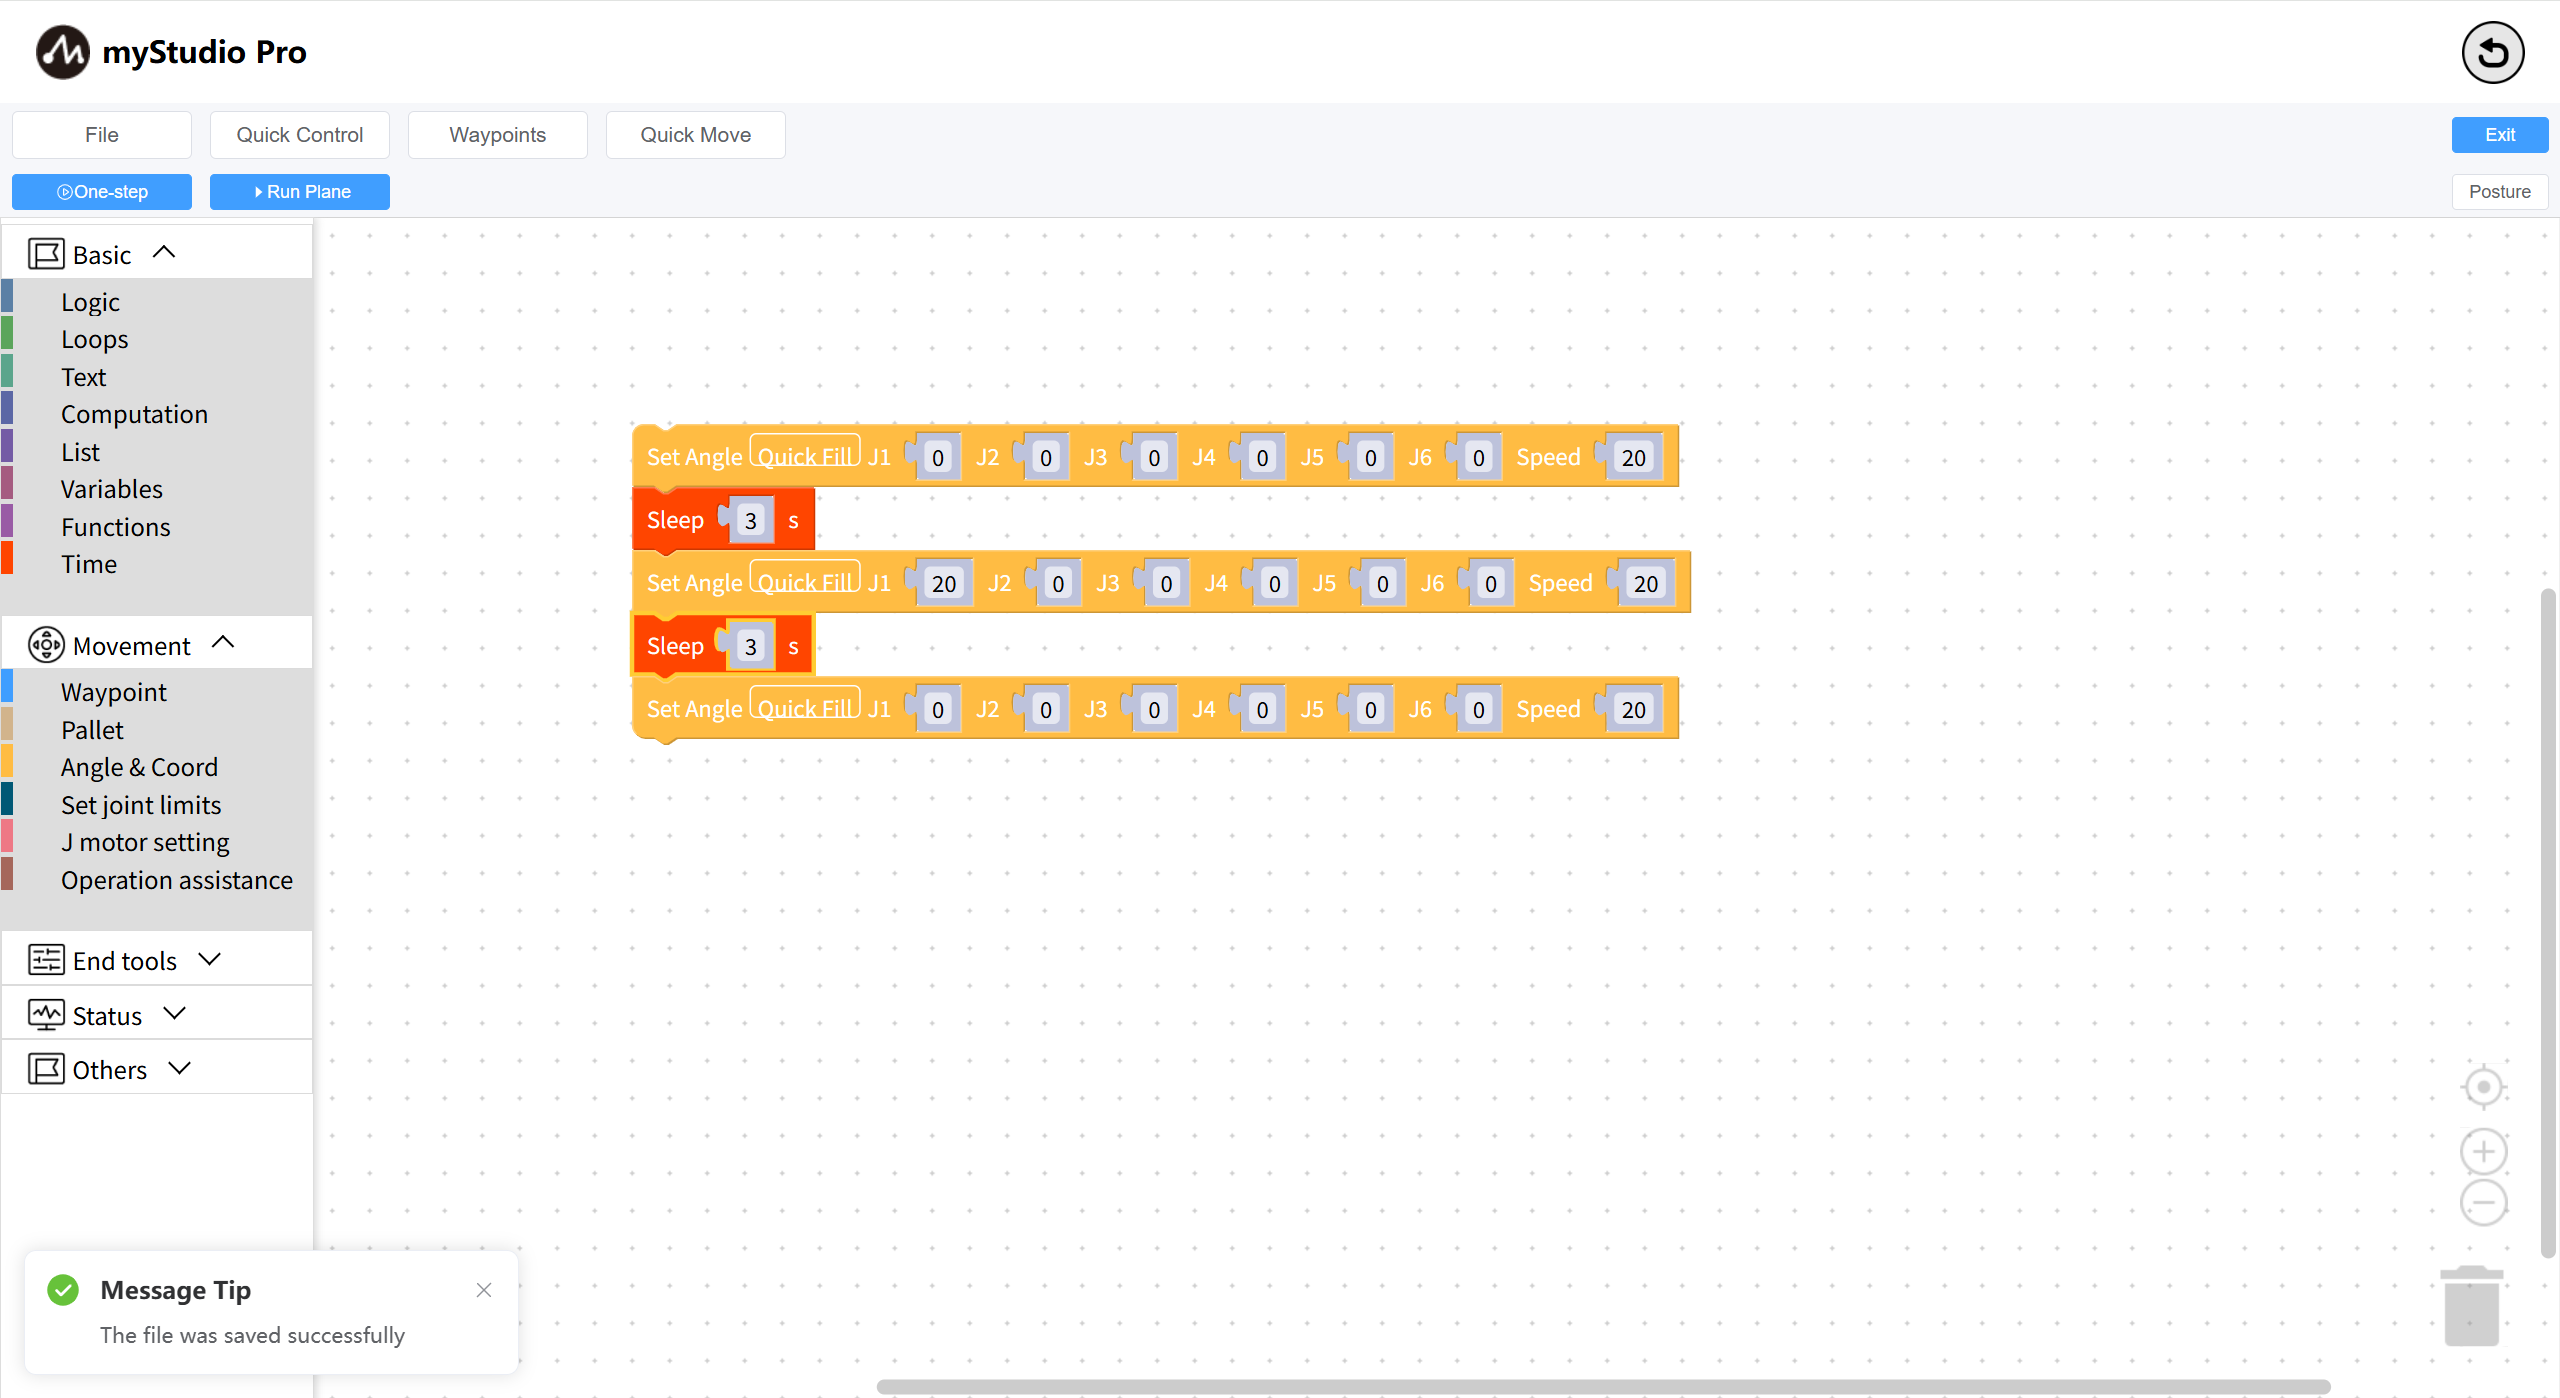
The complete code is as follows:
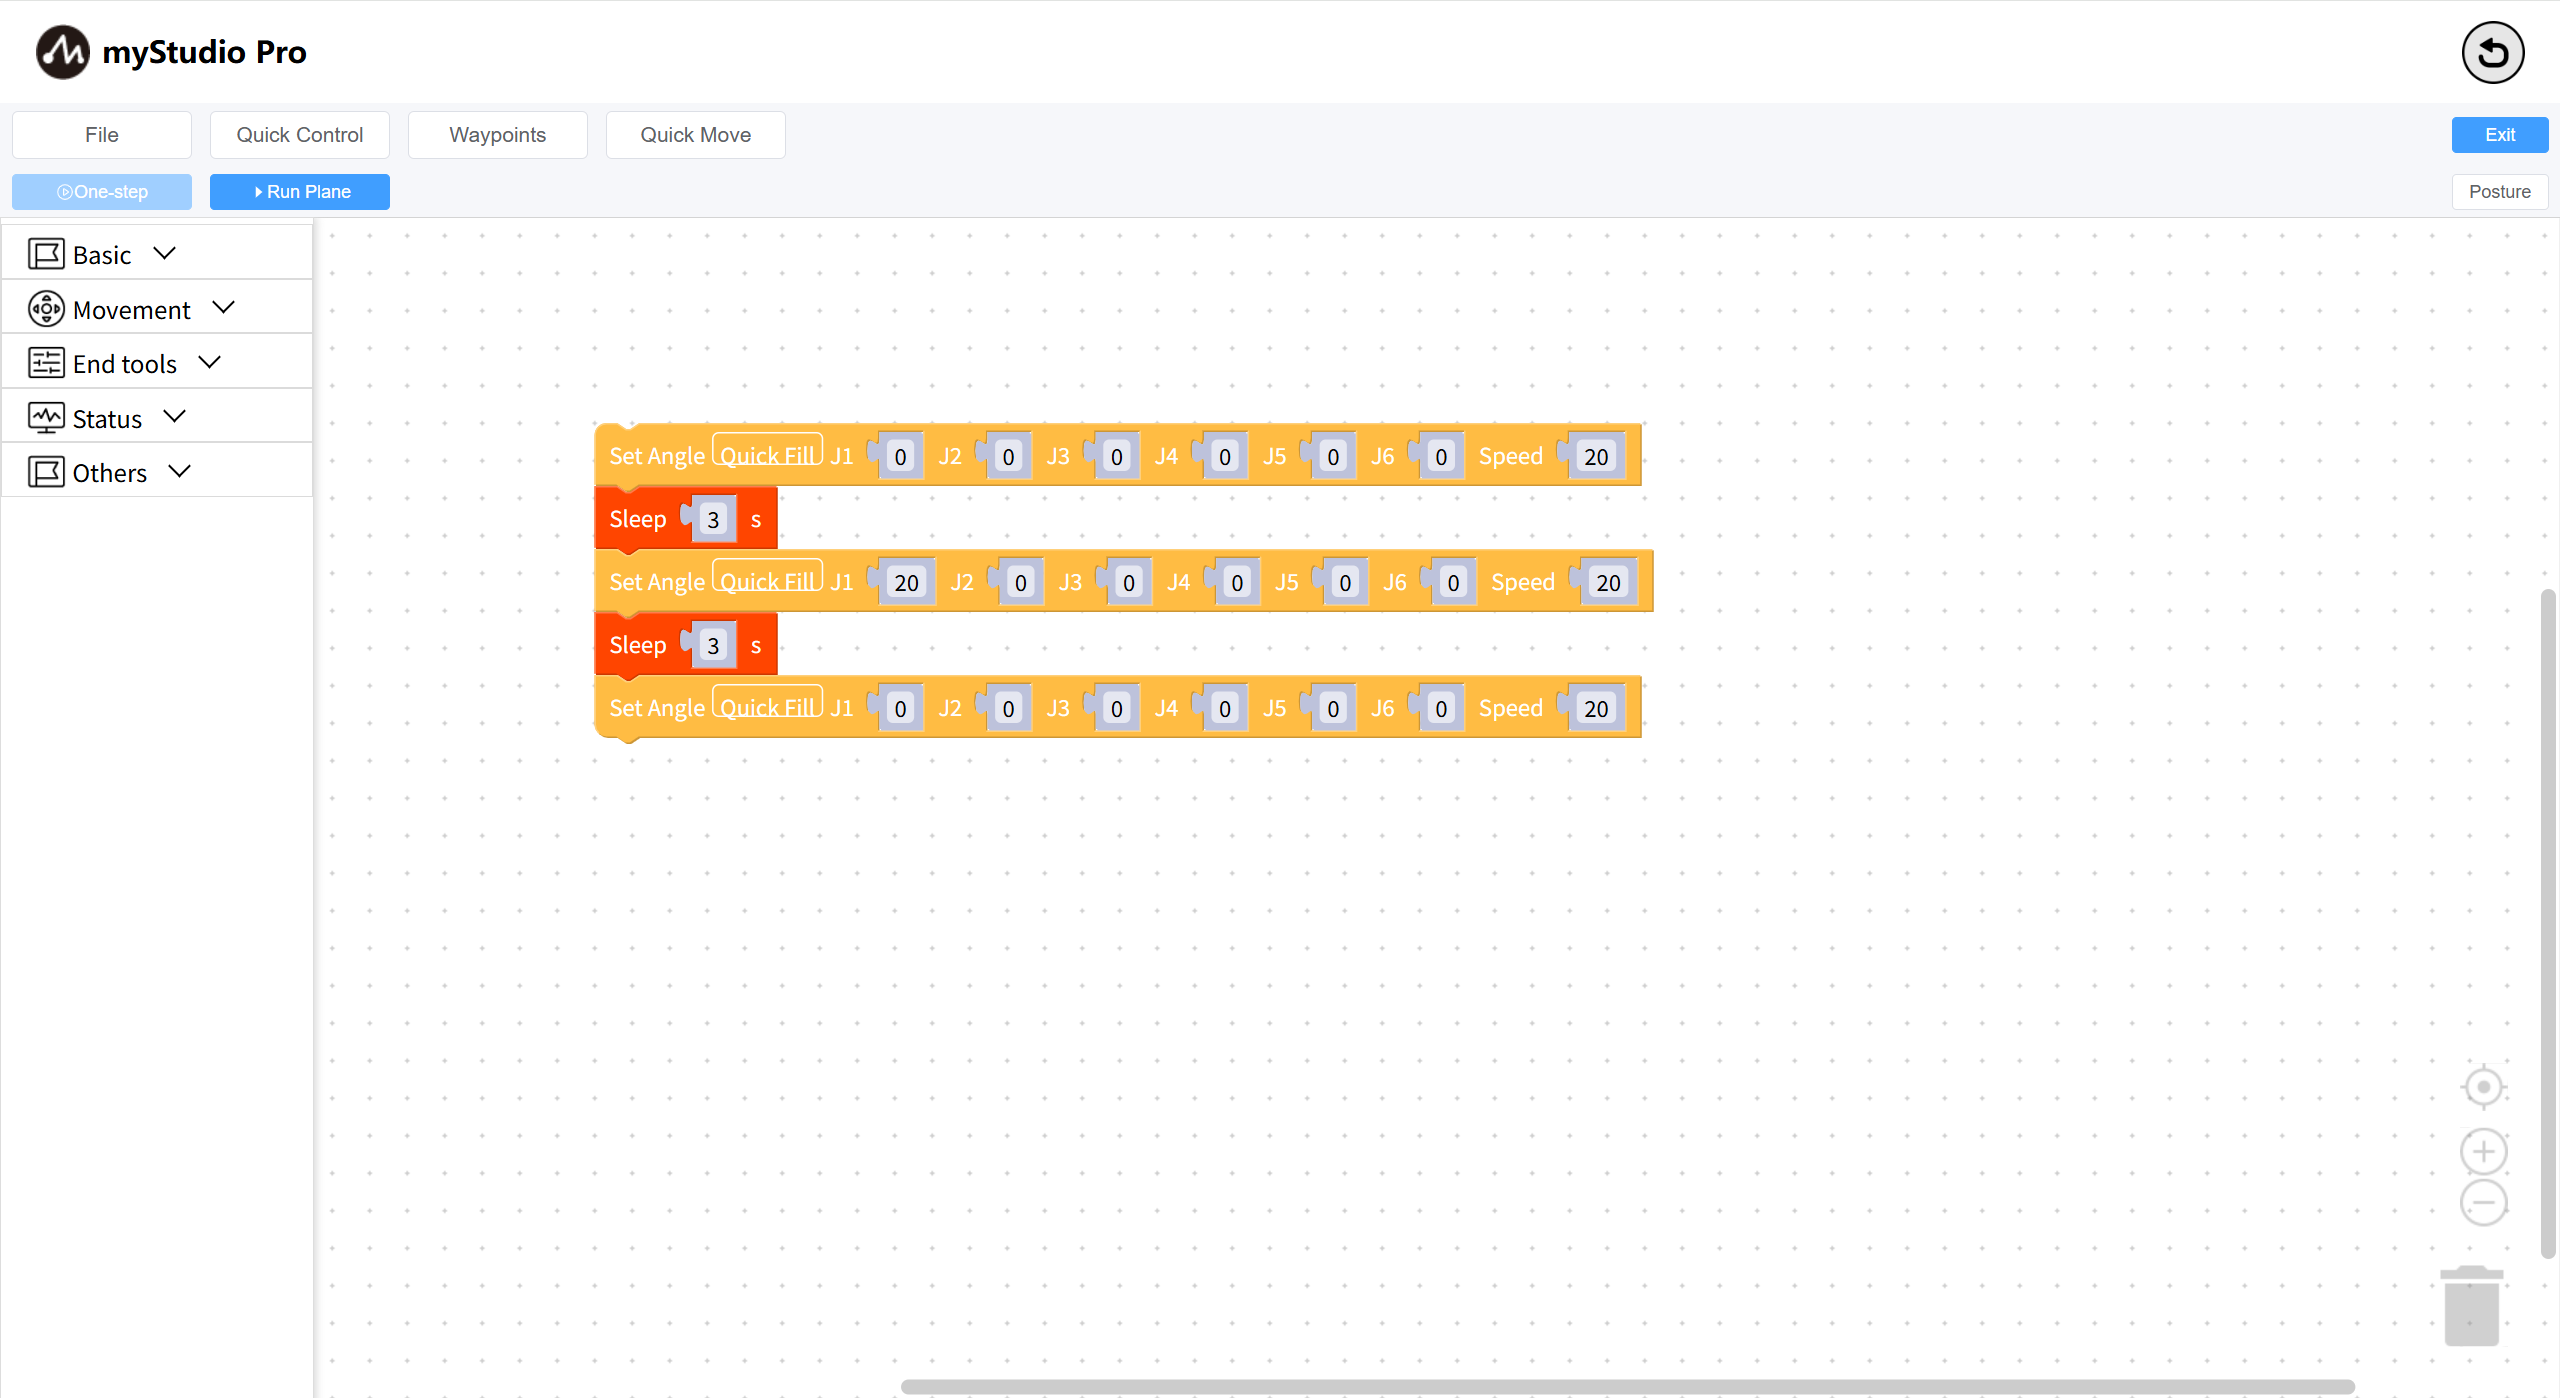
This code means:
- Control the robot arm to return to zero position
- Wait 3 seconds (for the machine to return to zero position)
- Move one joint (J1) to the 20-degree position
- Wait 3 seconds
- Control the robot arm to return to zero position
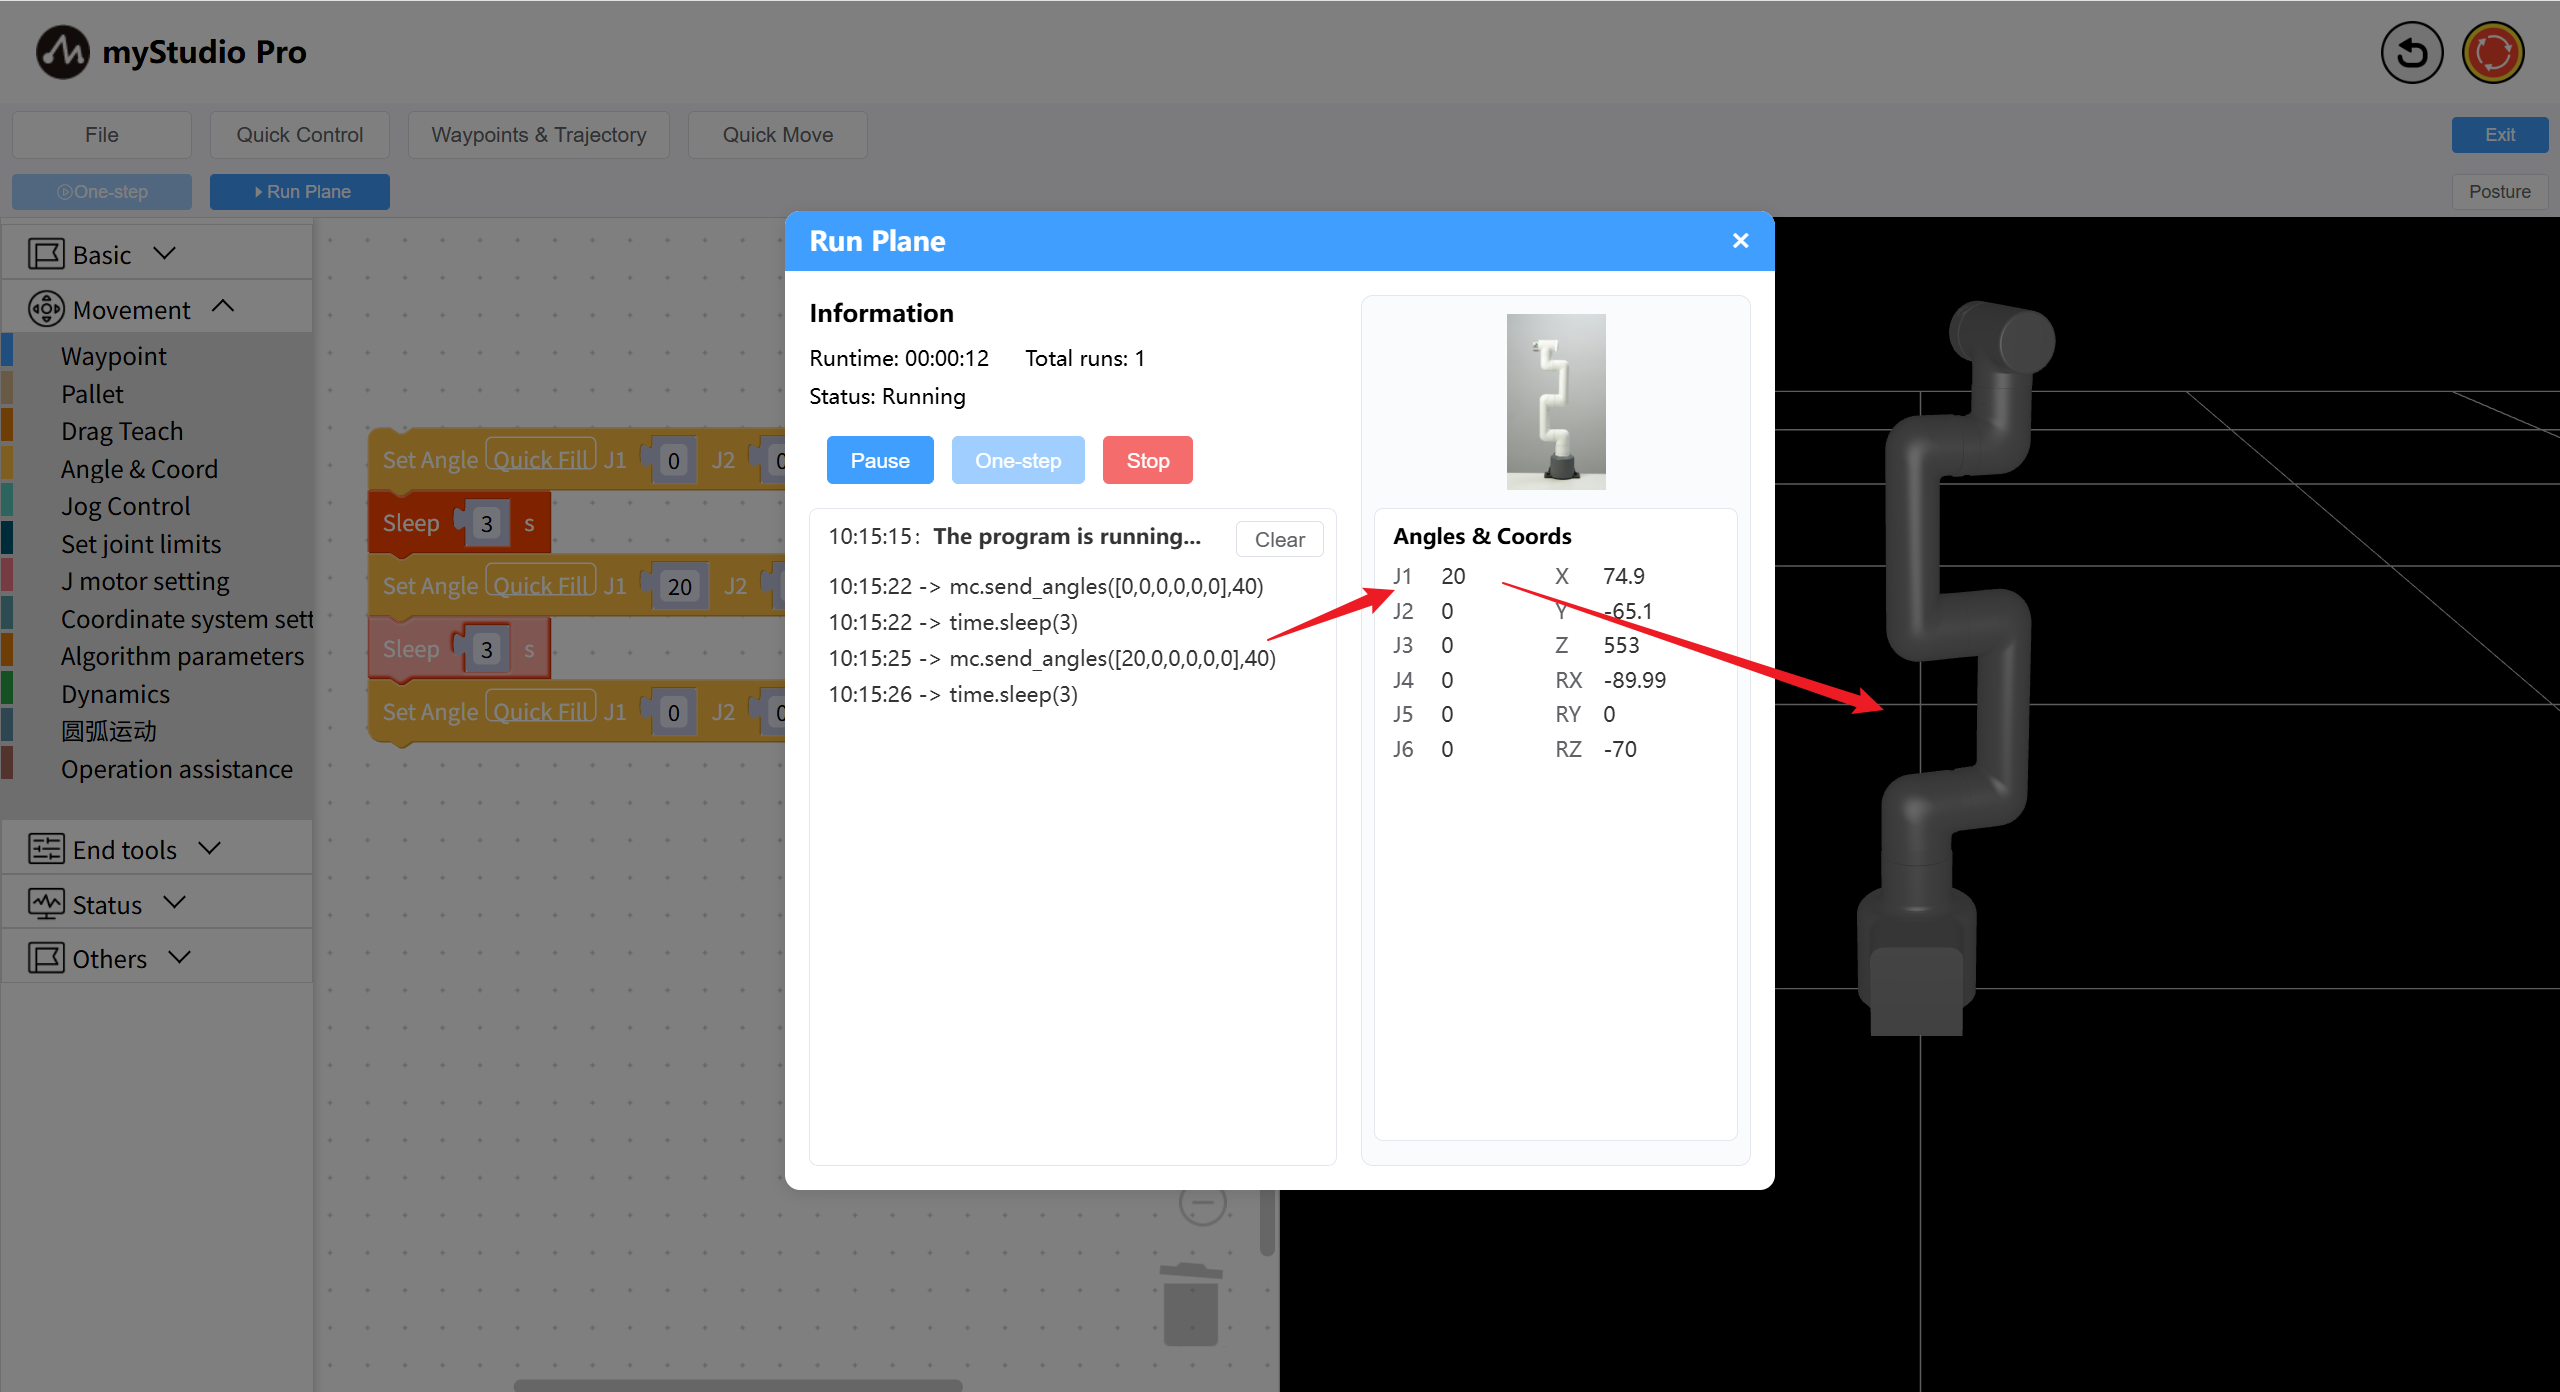
Finally, click the Run Panel button. After the panel opens, click the Run button to start executing the code.

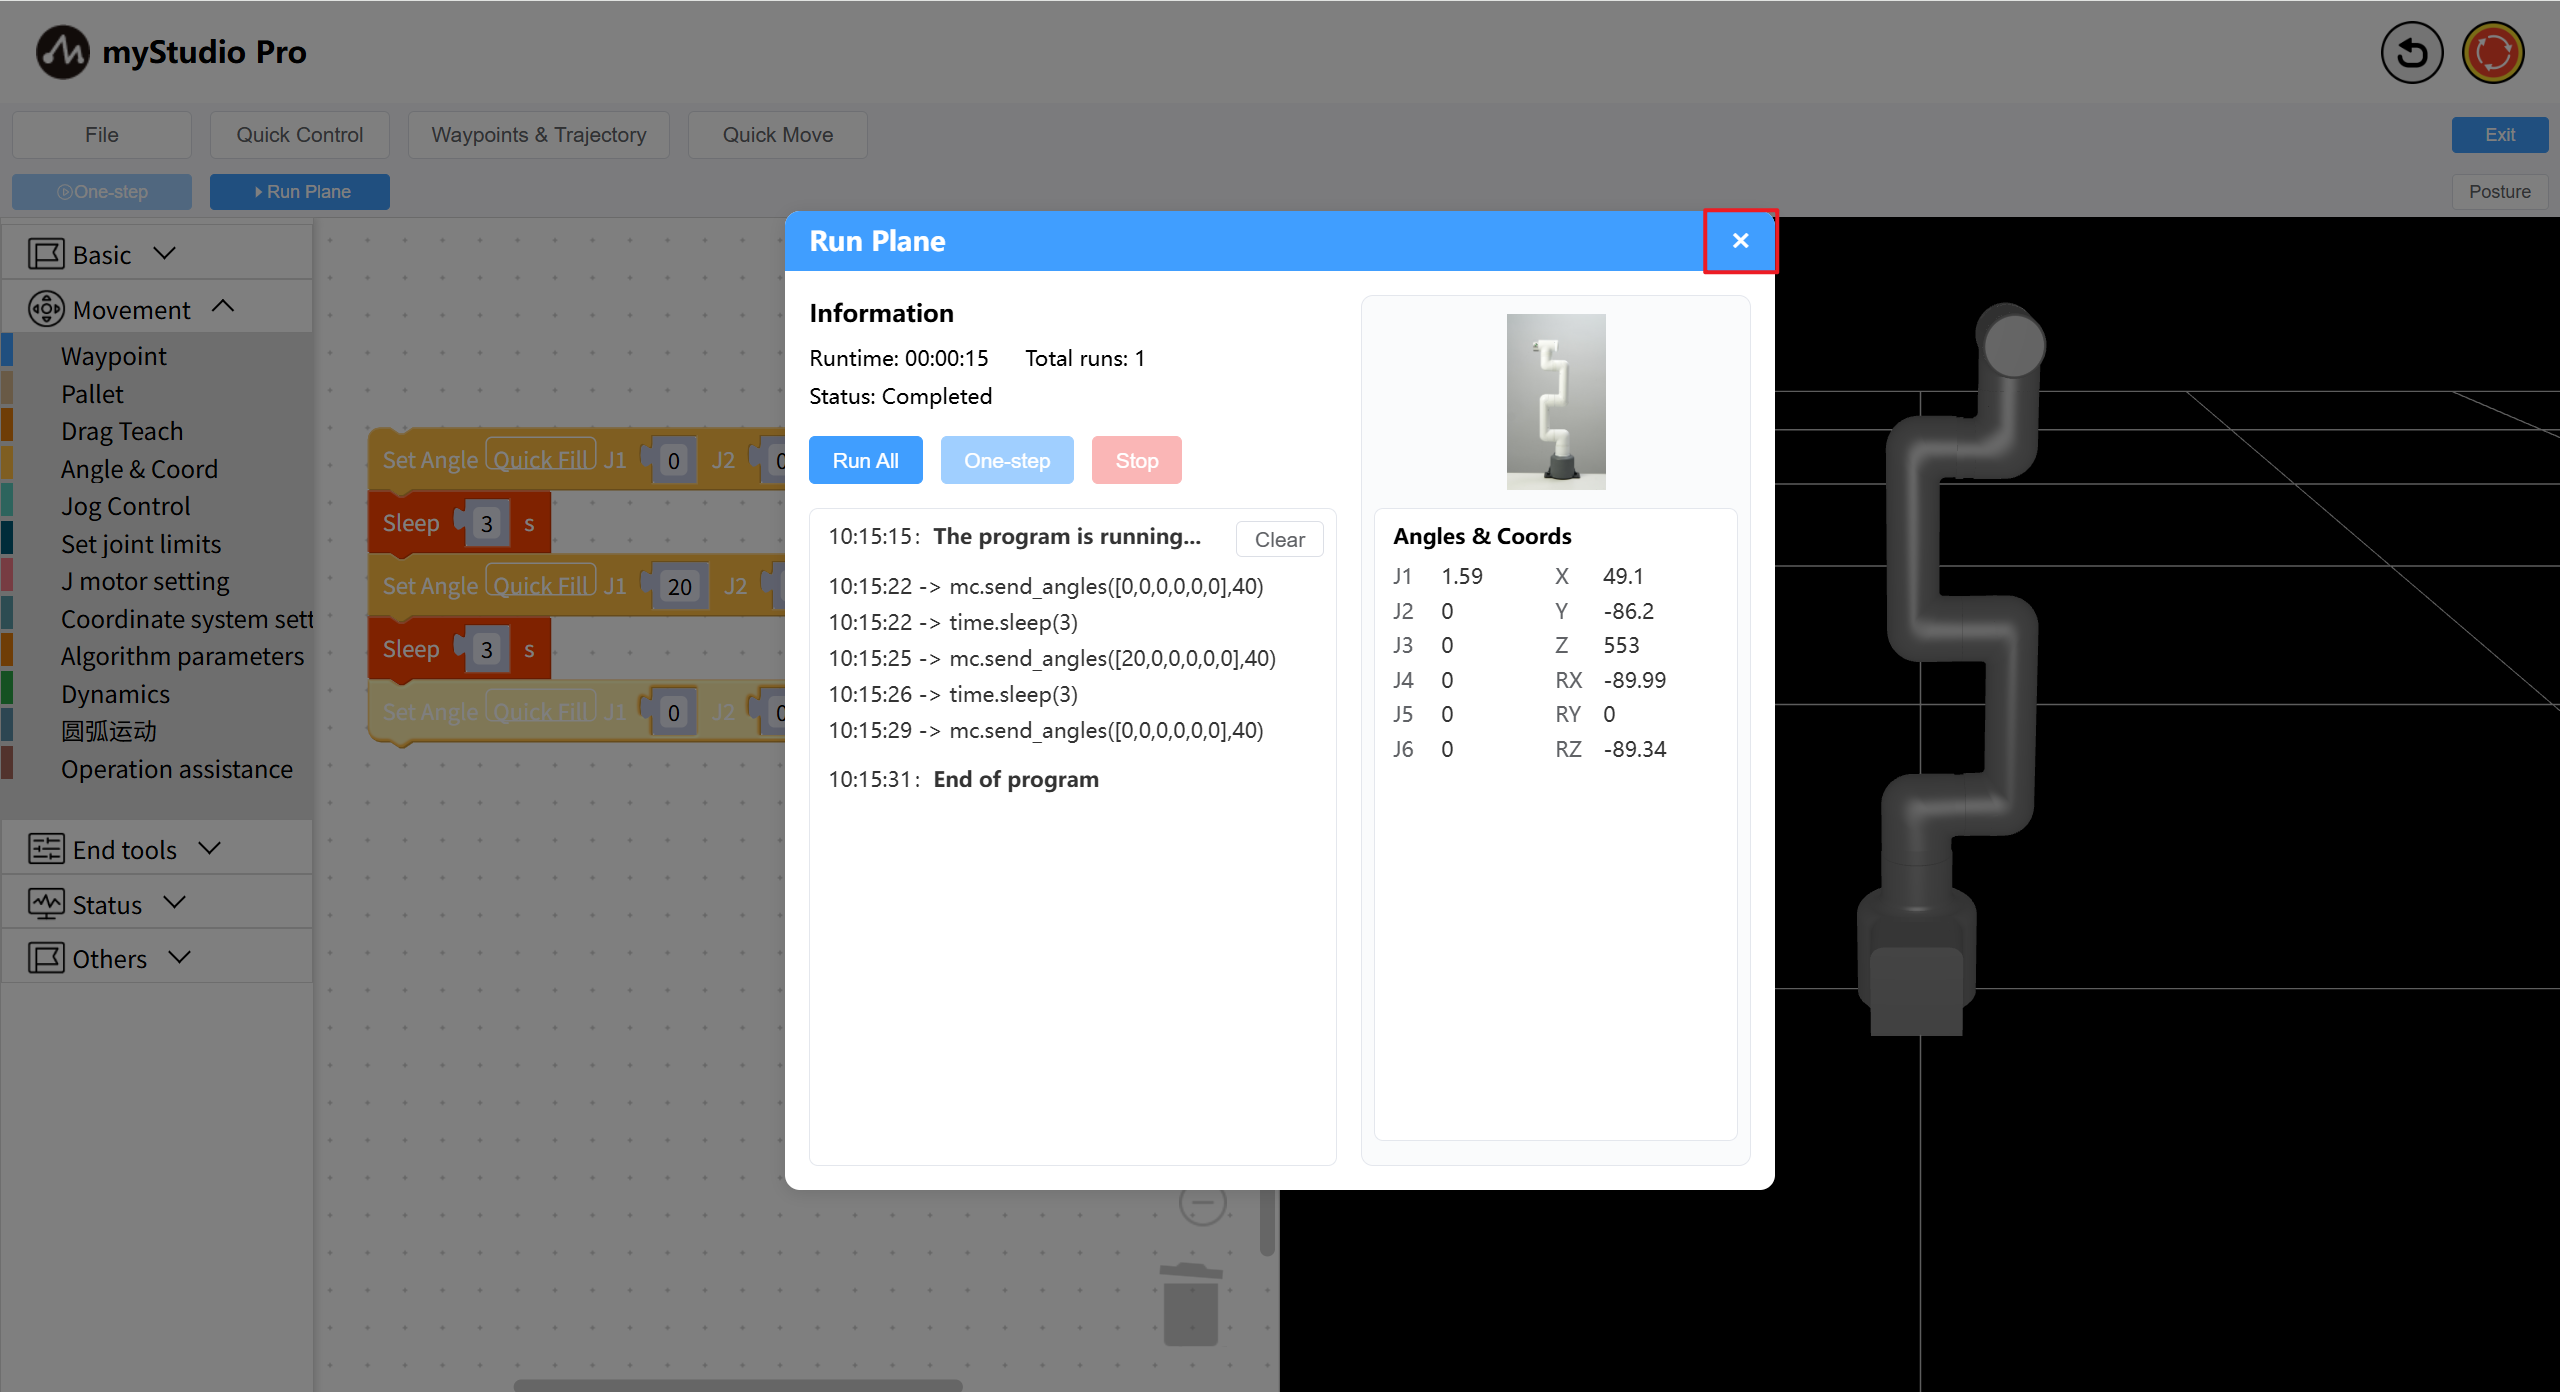
After the code is finished running, click the panel X to close the panel.
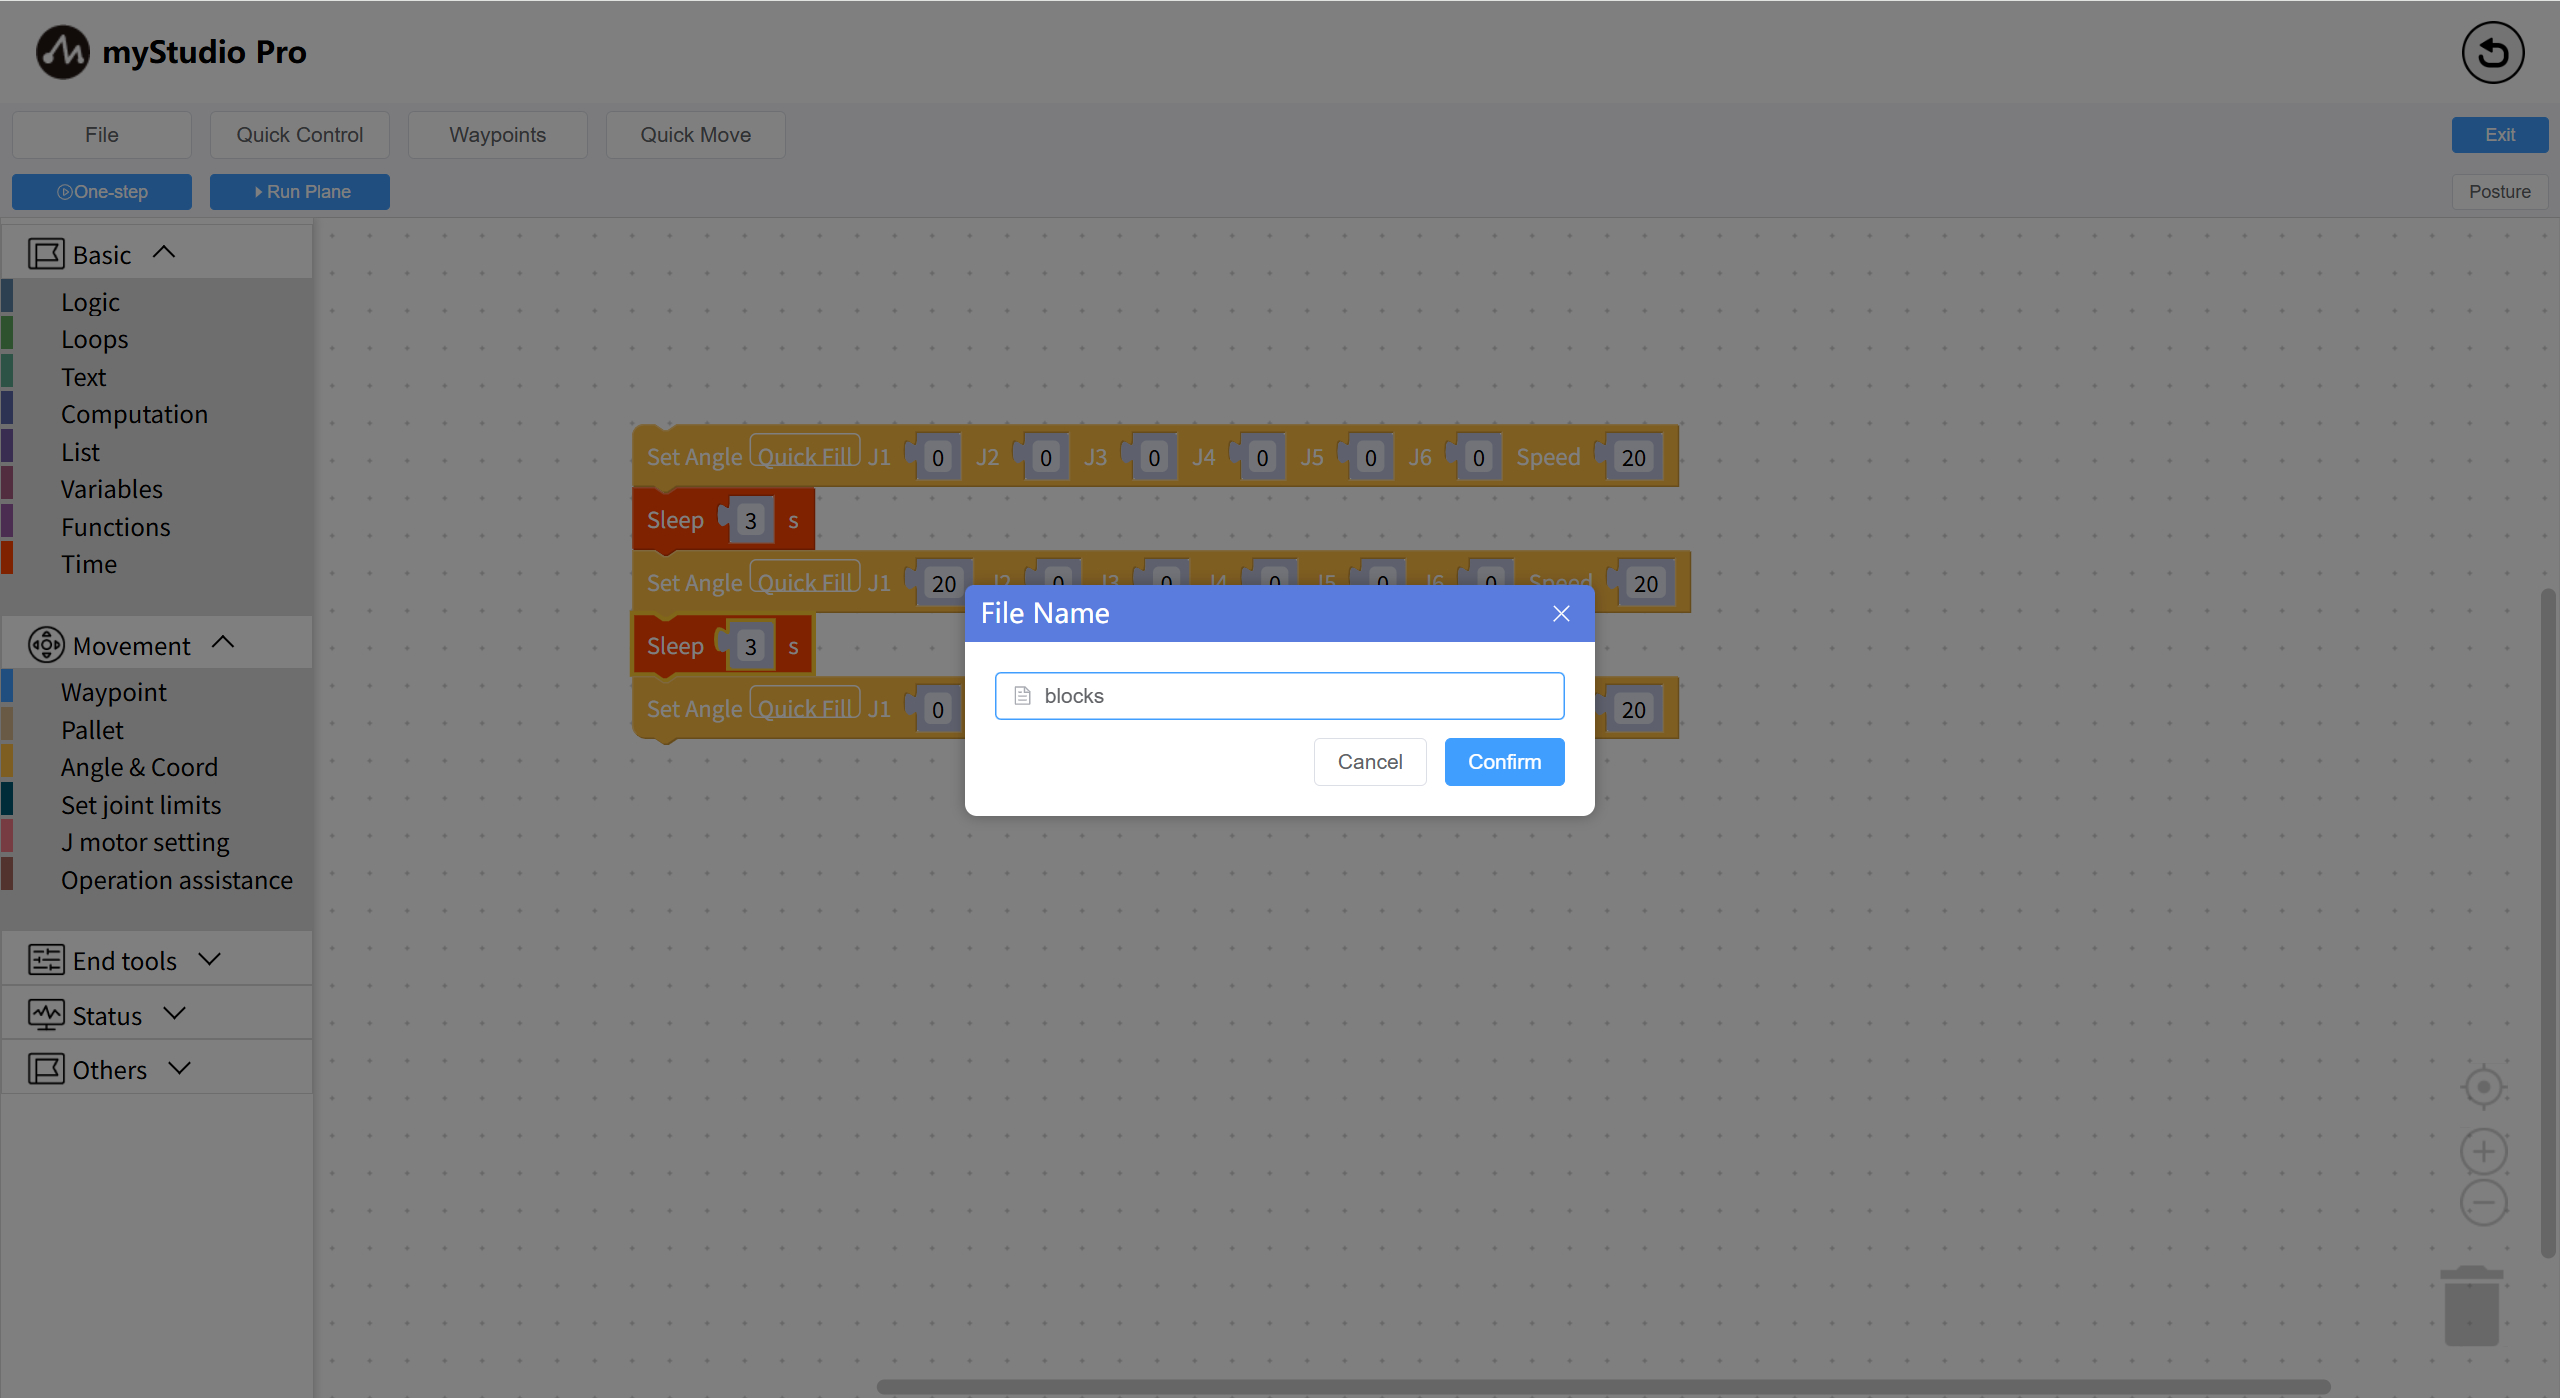
Step 3: Save and load files (or save and load workspaces)
blockly supports saving and loading of workspaces.
Click the File button, a drop-down menu will appear. Click the Save button, a file naming modal window will be displayed, enter a name and click OK to save. The saved result will be displayed as a message prompt in the lower left corner.
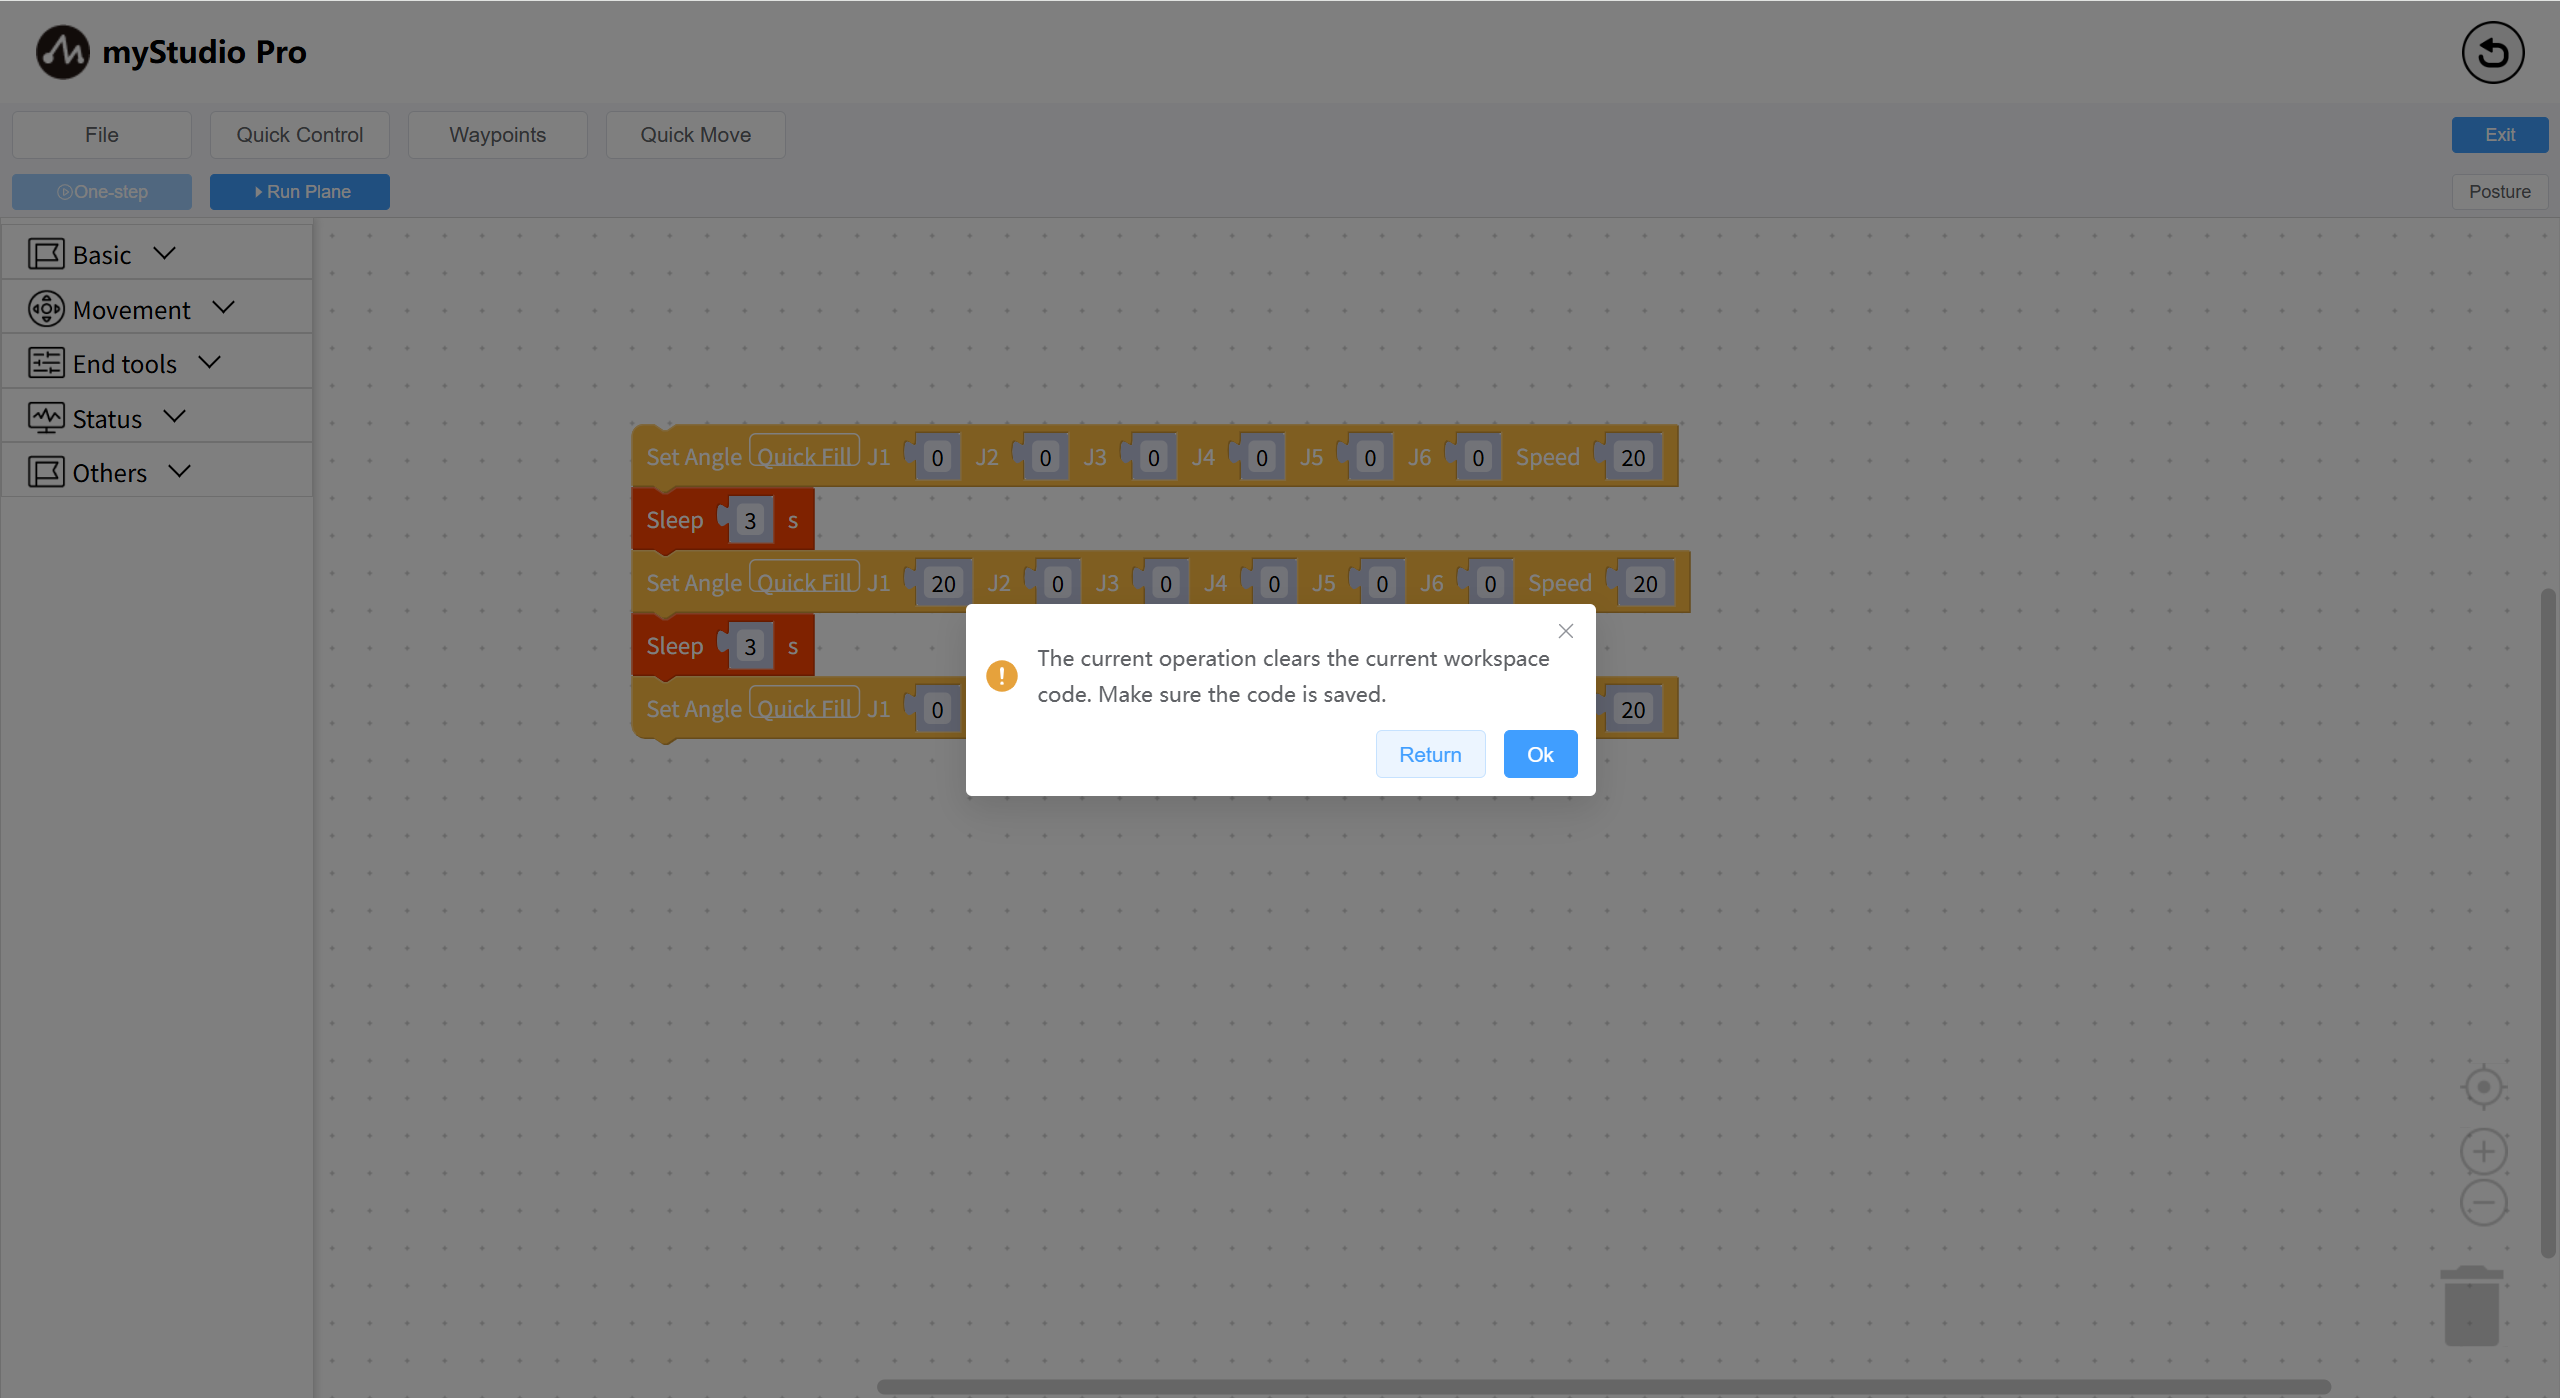
Step 4: Create a new workspace (this will clear all code in the workspace)
Click the File button. A drop-down menu will appear. Click the New Workspace button. A prompt will appear. Click the Confirm button.
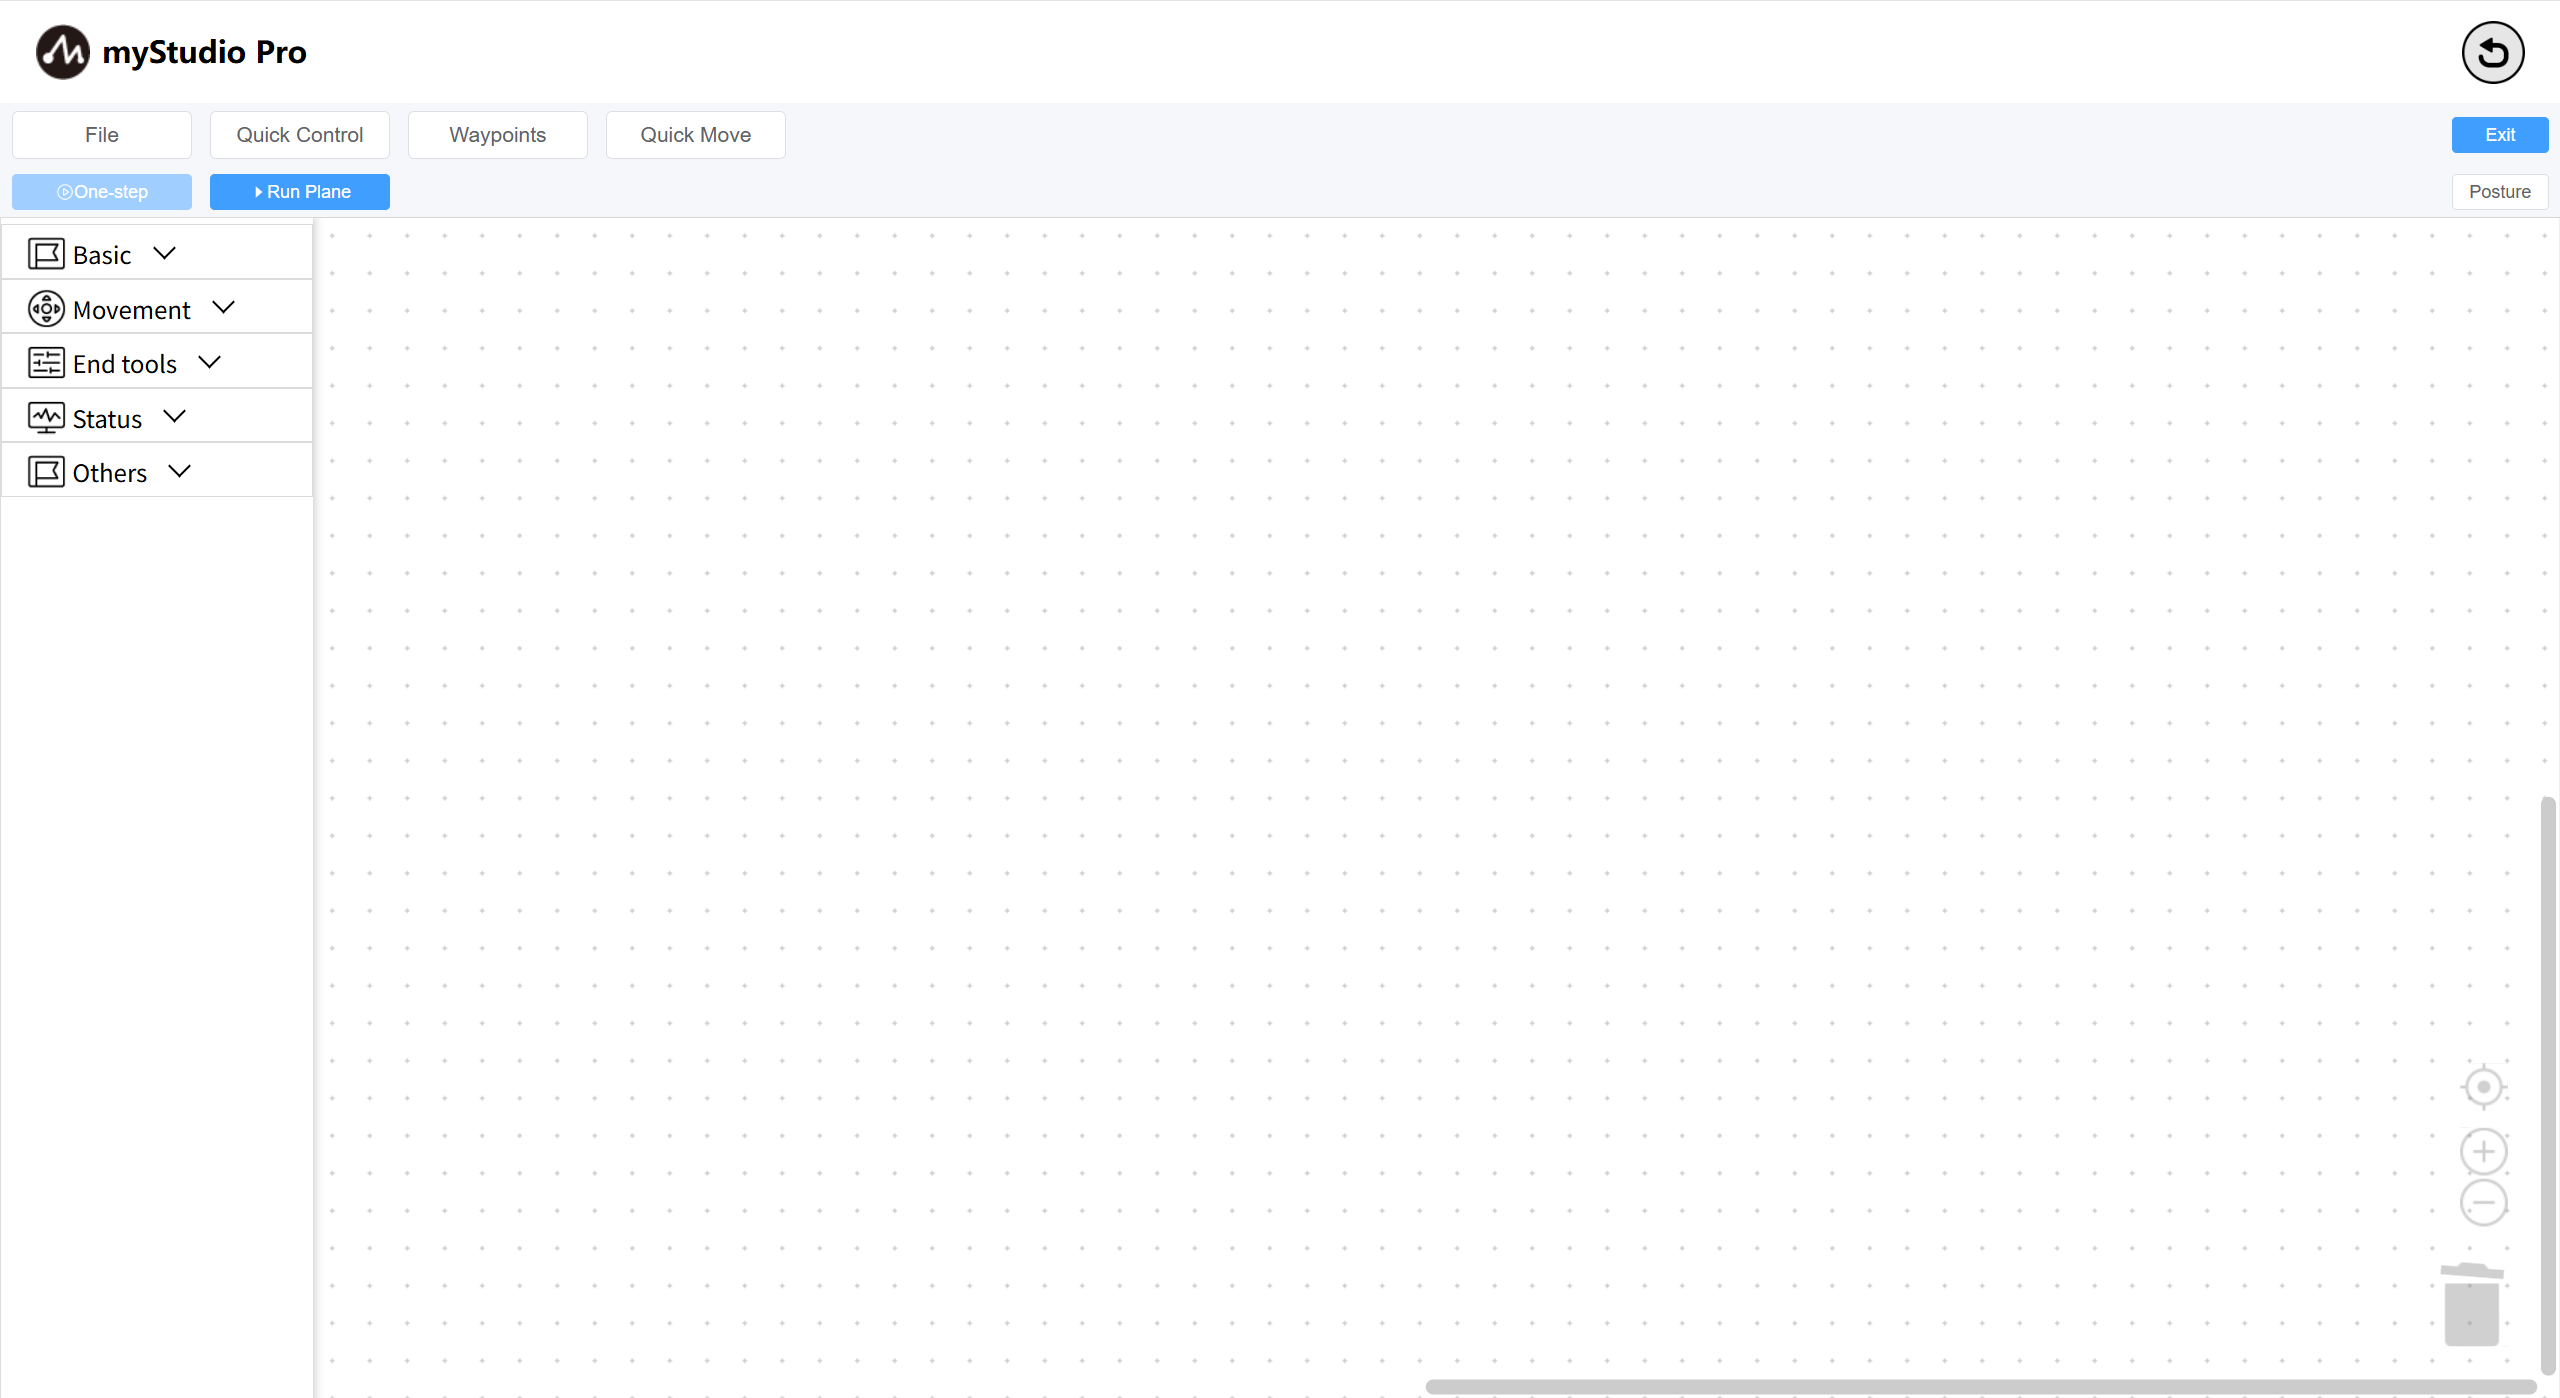
New workspace completed
Step 5: Load the workspace file we saved previously.
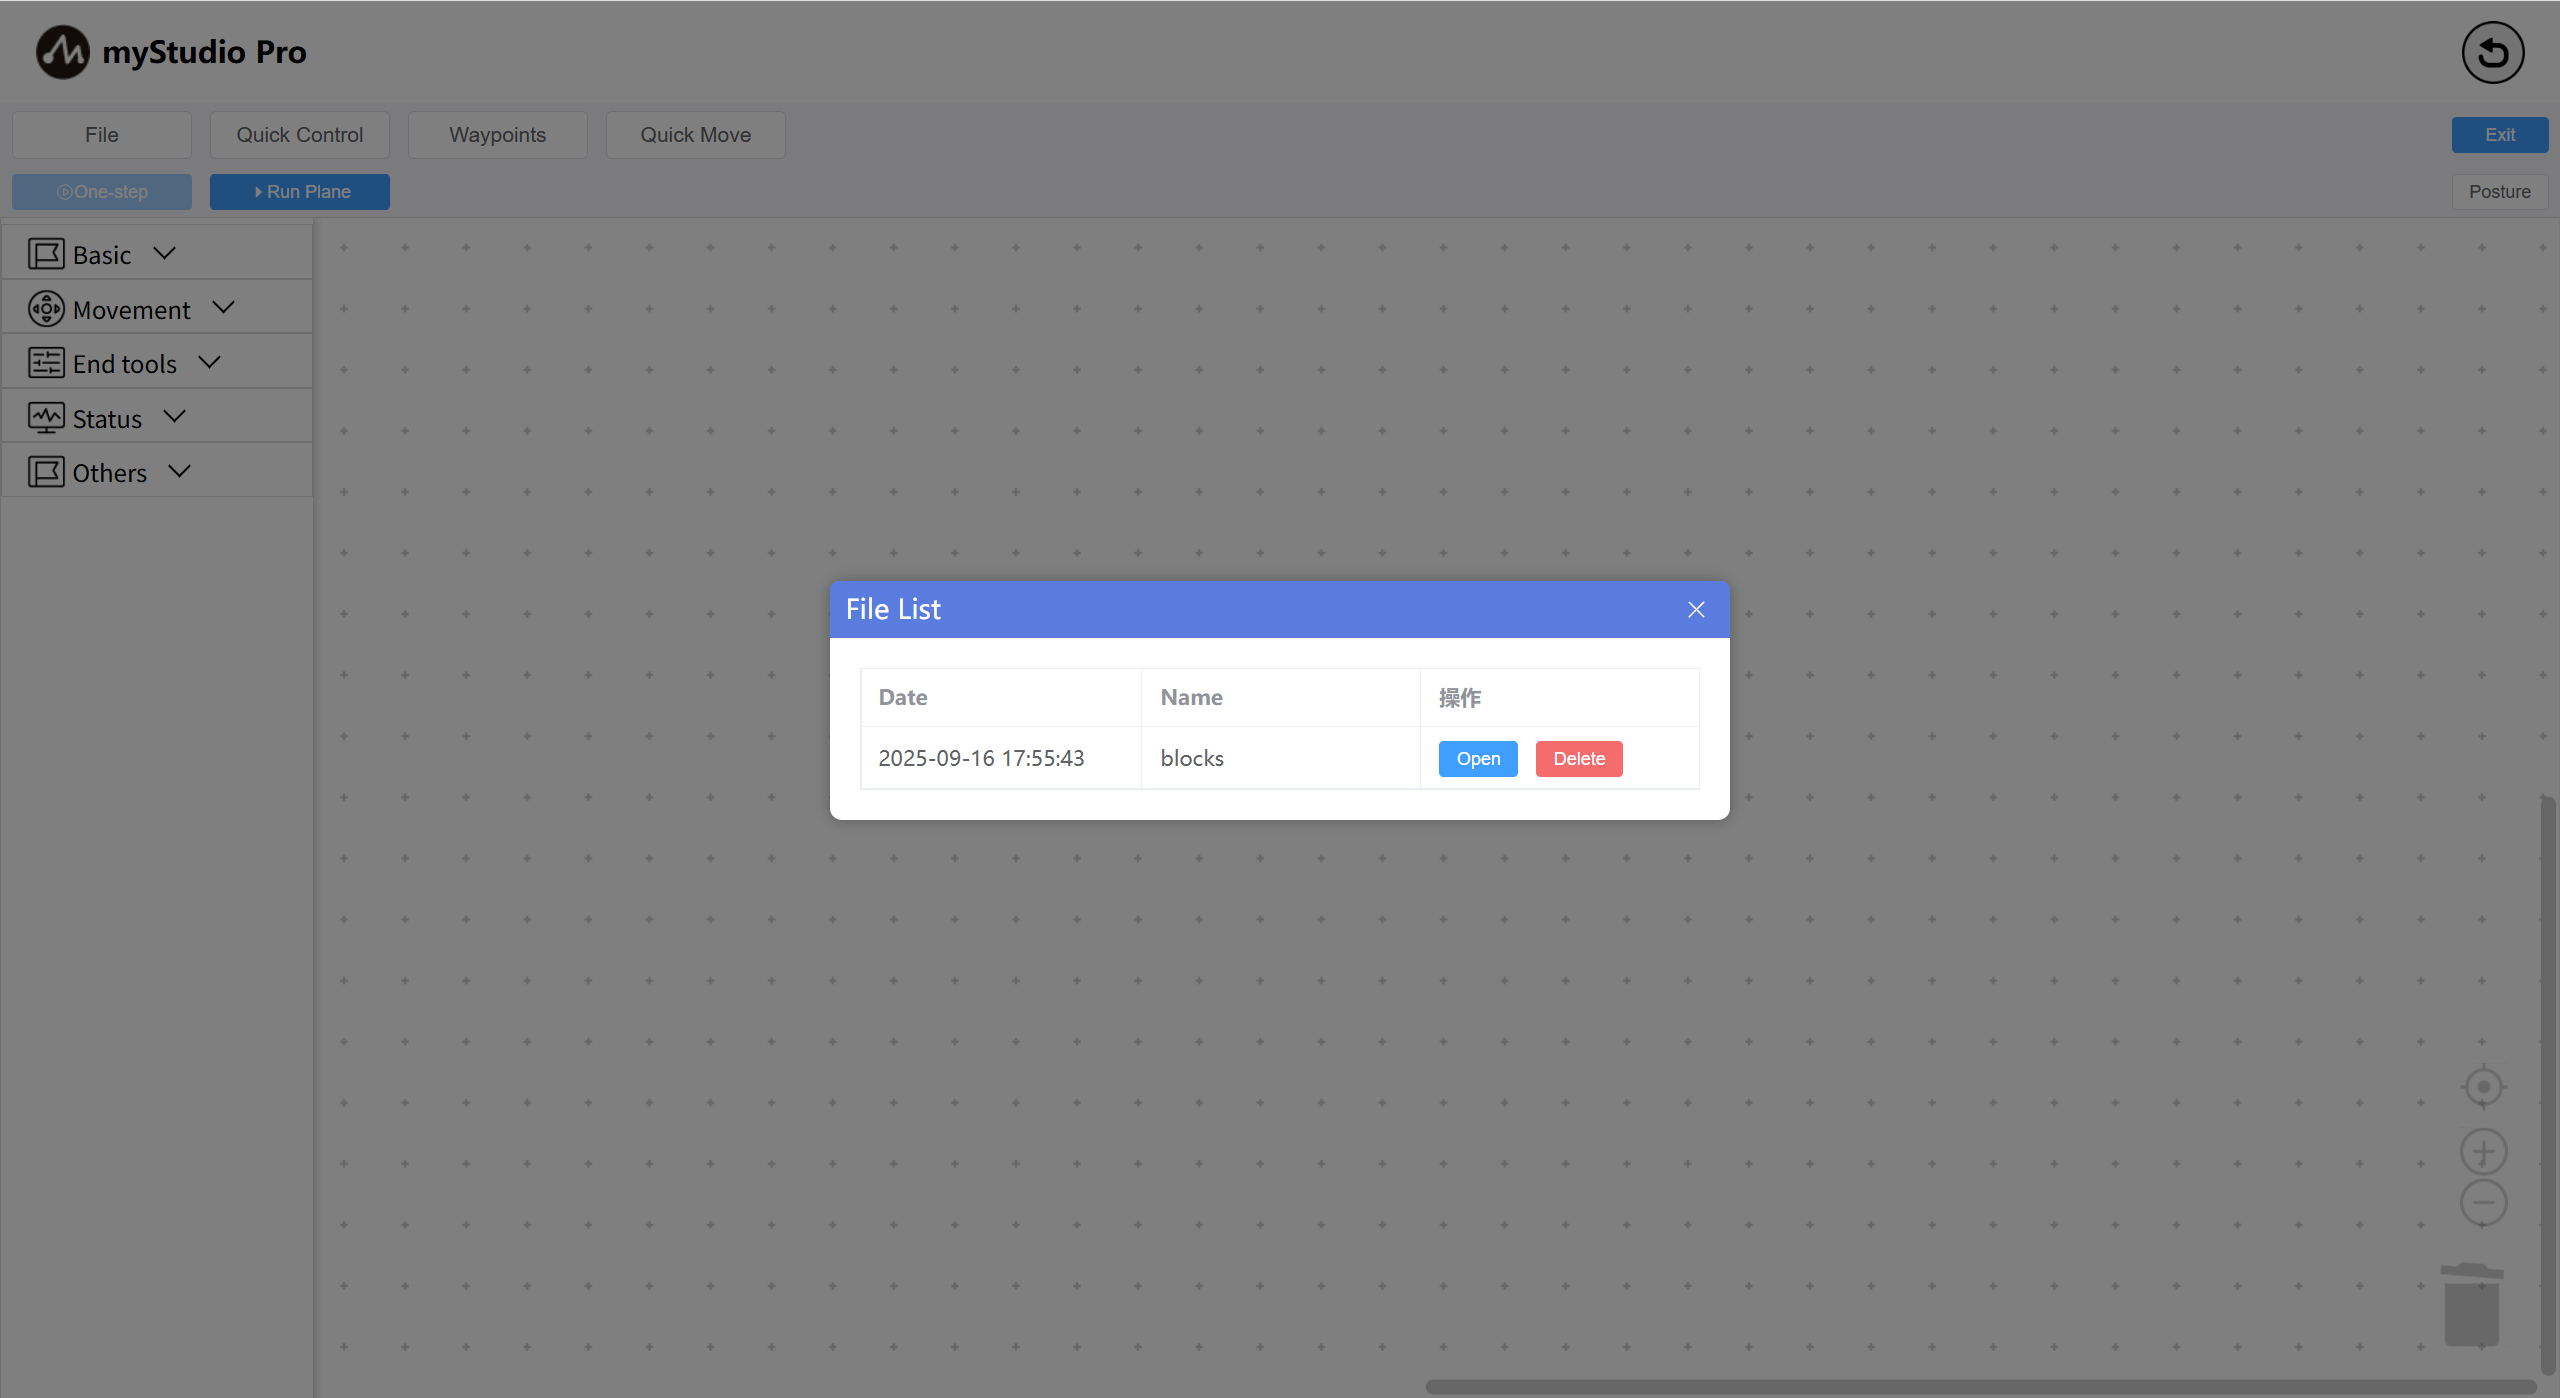
Click the File button to display a drop-down menu. Click the Open File button in this menu to display a list of saved files. Select the workspace file you want to load and click the Open button to load it. Click the Delete button to delete the file.
Loading completed