Videos and Codes for Display
Videos given below are for reference.
Notice: The baud rates are different depending on the type of device. Before using them, refer to the information related thereto. The serial port number can be viewed through calculator device manager or a serial helper.
Please make sure the robot power on.
1. Get the joint angle
1.1 Shake the firmware to read the angle
from pymycobot import MyArmM
import time

myarmm = MyArmM("COM3")

# Gets the current angle of all joints
angles = myarmm.get_joints_angle()
print(f"All current joint angles are: {angles}")

time.sleep(0.1)

# Get the angle of joint 1
angle = myarmm.get_joint_angle(1)
print(f"The current angle of joint 1 is {angle}")

# Get the angle of joint 2
angle = myarmm.get_joint_angle(2)
print(f"The current angle of joint 2 is {angle}")

# Get the angle of joint 3
angle = myarmm.get_joint_angle(3)
print(f"The current angle of joint 3 is {angle}")
1.2 Coordinate the firmware to read the angle
from pymycobot import MyArmMControl
import time

myarmm = MyArmMControl("COM3")

# Gets the current angle of all joints
angles = myarmm.get_angles()
print(f"All current joint angles are: {angles}")
2. Control the joint to move five points
2.1 Shake the firmware to control the joint to move five points
from pymycobot import MyArmM
import time
myarmm = MyArmM("COM3")
# Reset all joints at a speed of 40
myarmm.set_joints_angle([0, 0, 0, 0, 0, 0], 40)
#Wait for all joints to move to the specified position
time.sleep(3)
# Move all joints at the specified angle at a speed of 40
myarmm.set_joints_angle([90, 45, -90, 90, -90, 90], 40)
# Wait for all joints to move to the specified position
time.sleep(3)
# Reset all joints at a speed of 40
myarmm.set_joints_angle([0, 0, 0, 0, 0, 0], 40)
# Wait for all joints to move to the specified position
time.sleep(3)
# Move all joints at the specified angle at a speed of 40
myarmm.set_joints_angle([90, 45, -90, 90, -90, 90], 40)
# Wait for all joints to move to the specified position
time.sleep(3)
2.2 Coordinate the firmware to control the joint to move five points
from pymycobot import MyArmMControl
import time
myarmm = MyArmMControl("COM3")
# Reset all joints at a speed of 40
myarmm.write_angles([0, 0, 0, 0, 0, 0], 40)
#Wait for all joints to move to the specified position
time.sleep(3)
# Move all joints at the specified angle at a speed of 40
myarmm.write_angles([90, 45, -90, 90, -90, 90], 40)
# Wait for all joints to move to the specified position
time.sleep(3)
# Reset all joints at a speed of 40
myarmm.write_angles([0, 0, 0, 0, 0, 0], 40)
# Wait for all joints to move to the specified position
time.sleep(3)
# Move all joints at the specified angle at a speed of 40
myarmm.write_angles([90, 45, -90, 90, -90, 90], 40)
# Wait for all joints to move to the specified position
time.sleep(3)
3 The case for control procedures
Program address
https://github.com/elephantrobotics/pymycobot/tree/main/demo/myArm_M&C_demo
Install dependencies
pip install -r requirement.txt
Run the program
python main.py
Instructions for use of the program
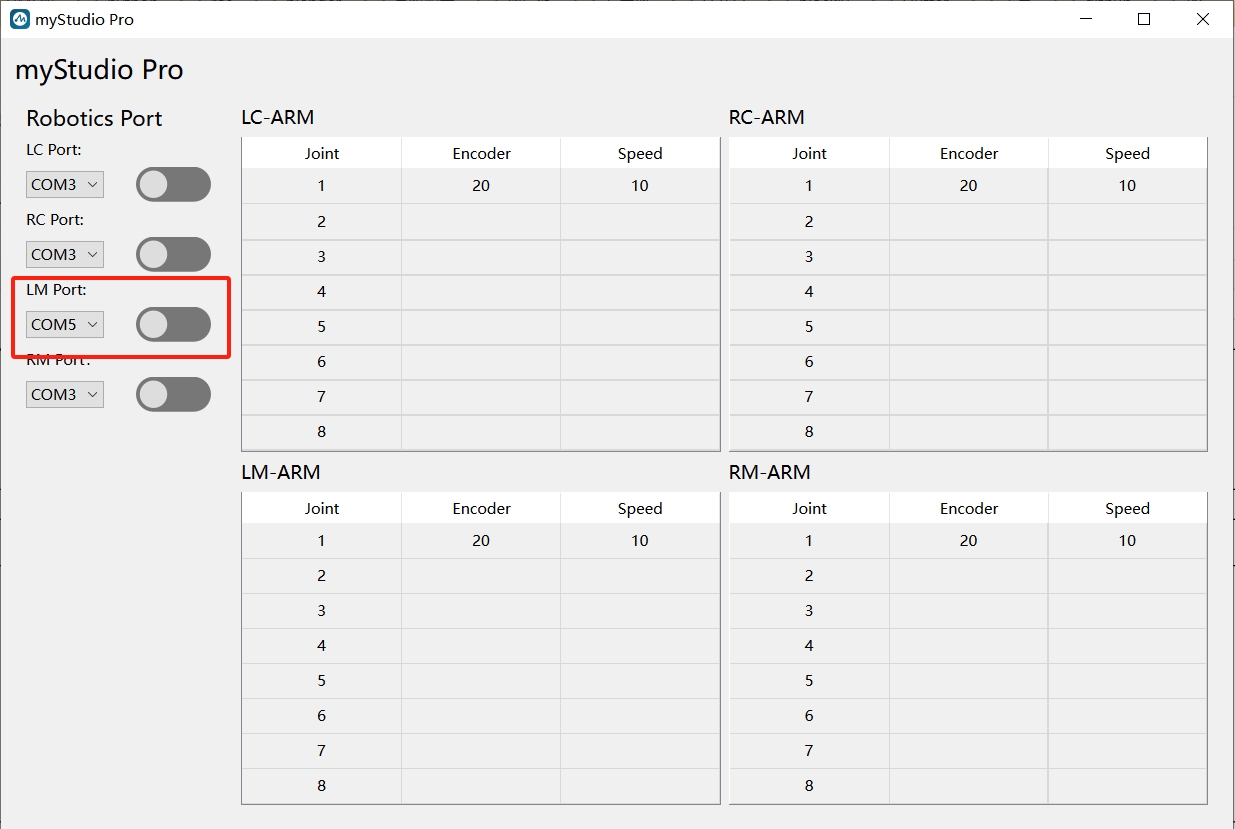
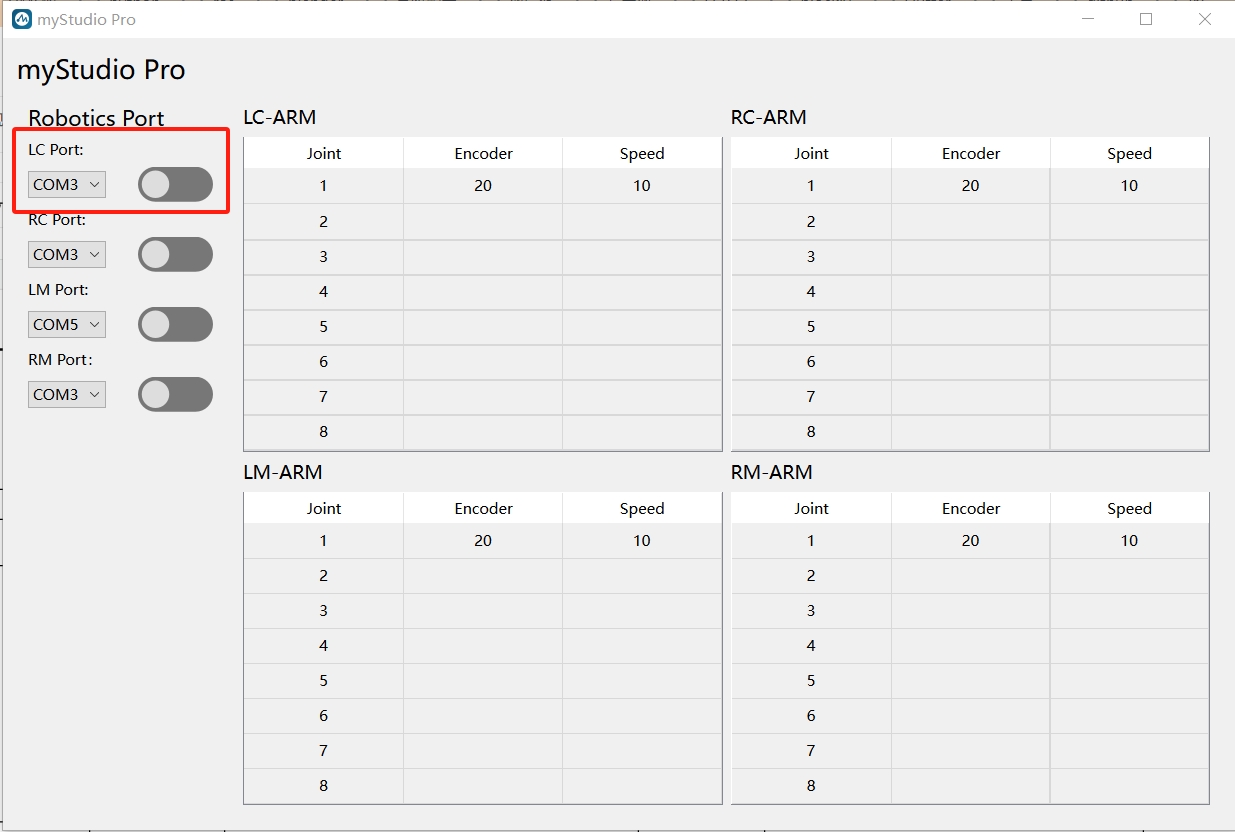
There are sequential requirements for the opening of the serial port: first open the serial port connection of myArmM, and then open the serial port connection of myArmC.


After both serial ports are turned on, you can control the
myArmMmovement by movingmyArmC.