myCobot 280 Jetson Nano
Tutorial on replacing TF card
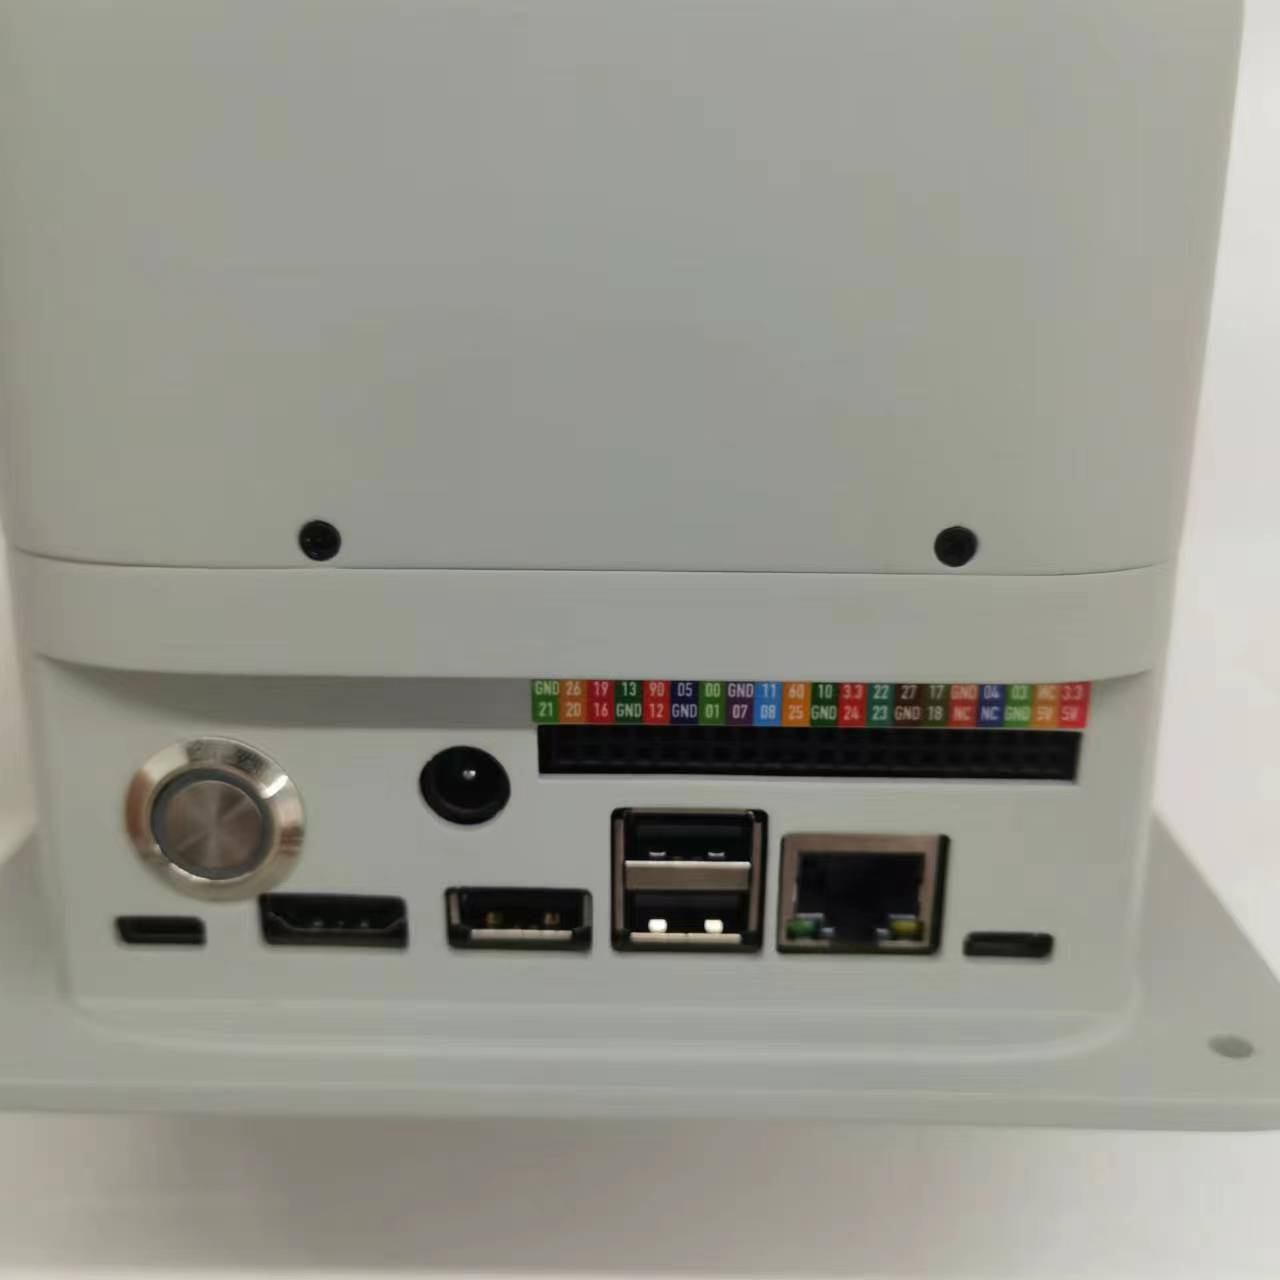
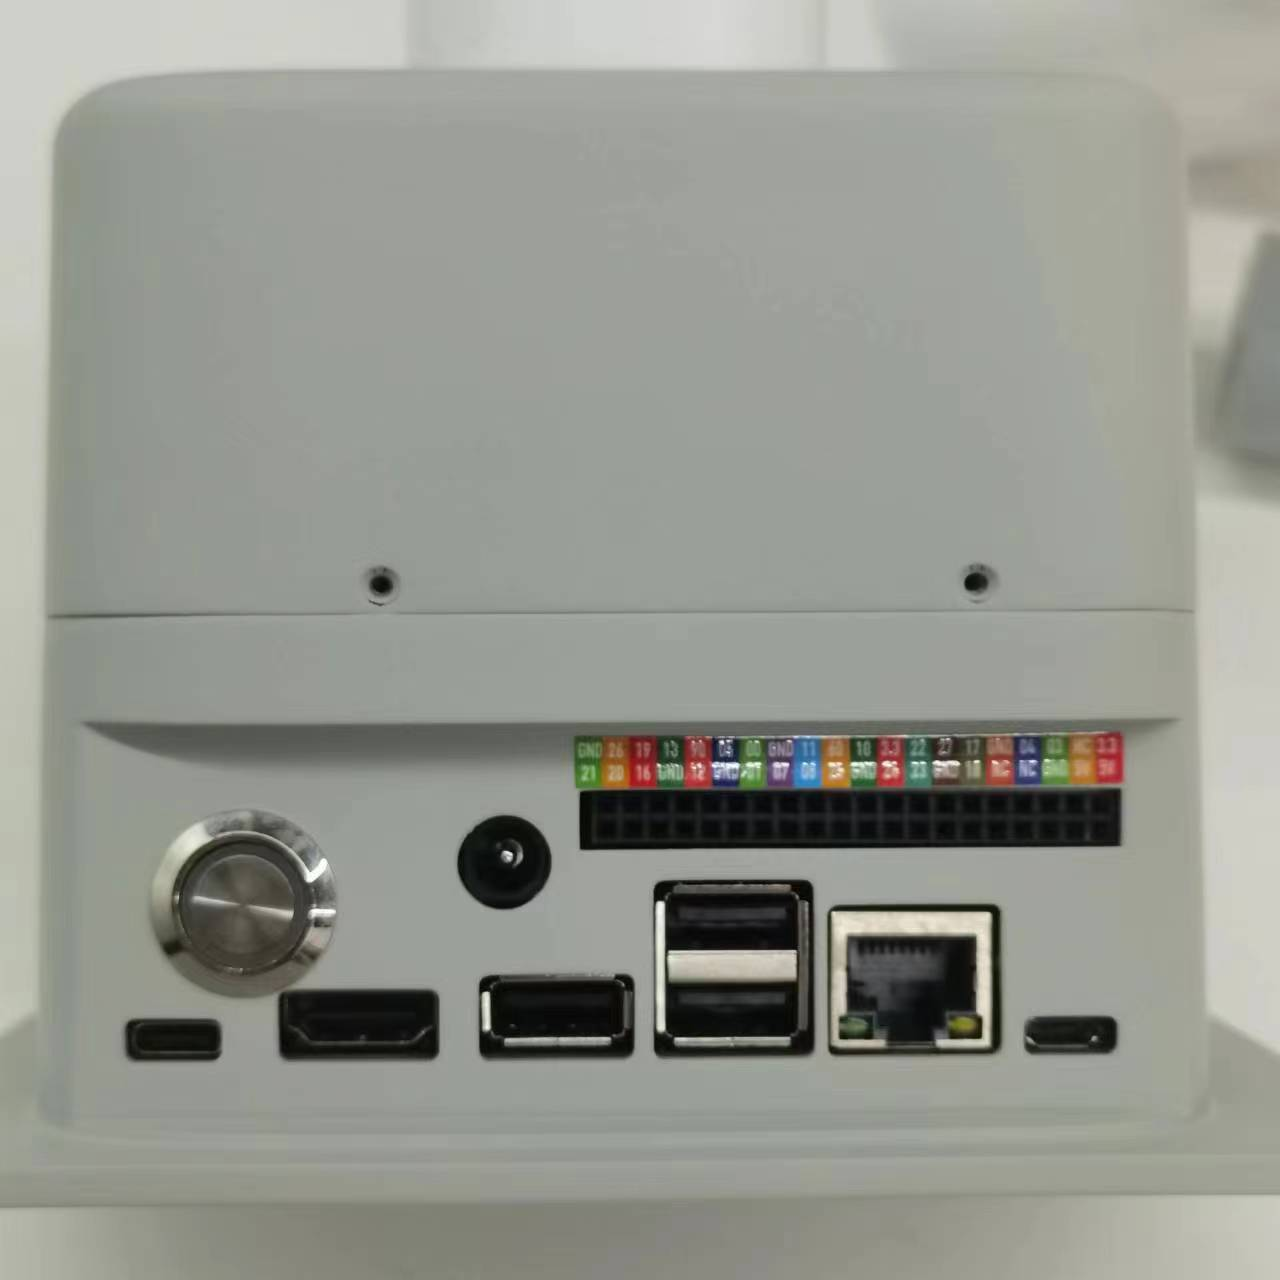
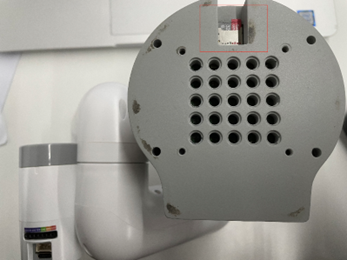
Front view of the device base
- Step 1: Check and confirm the position of the TF card slot. The TF card is inside the device. You need to remove the bottom cover of the base to replace it.
- Step 2: Remove the two fixing screws on the front, using a 1.5 Phillips screwdriver
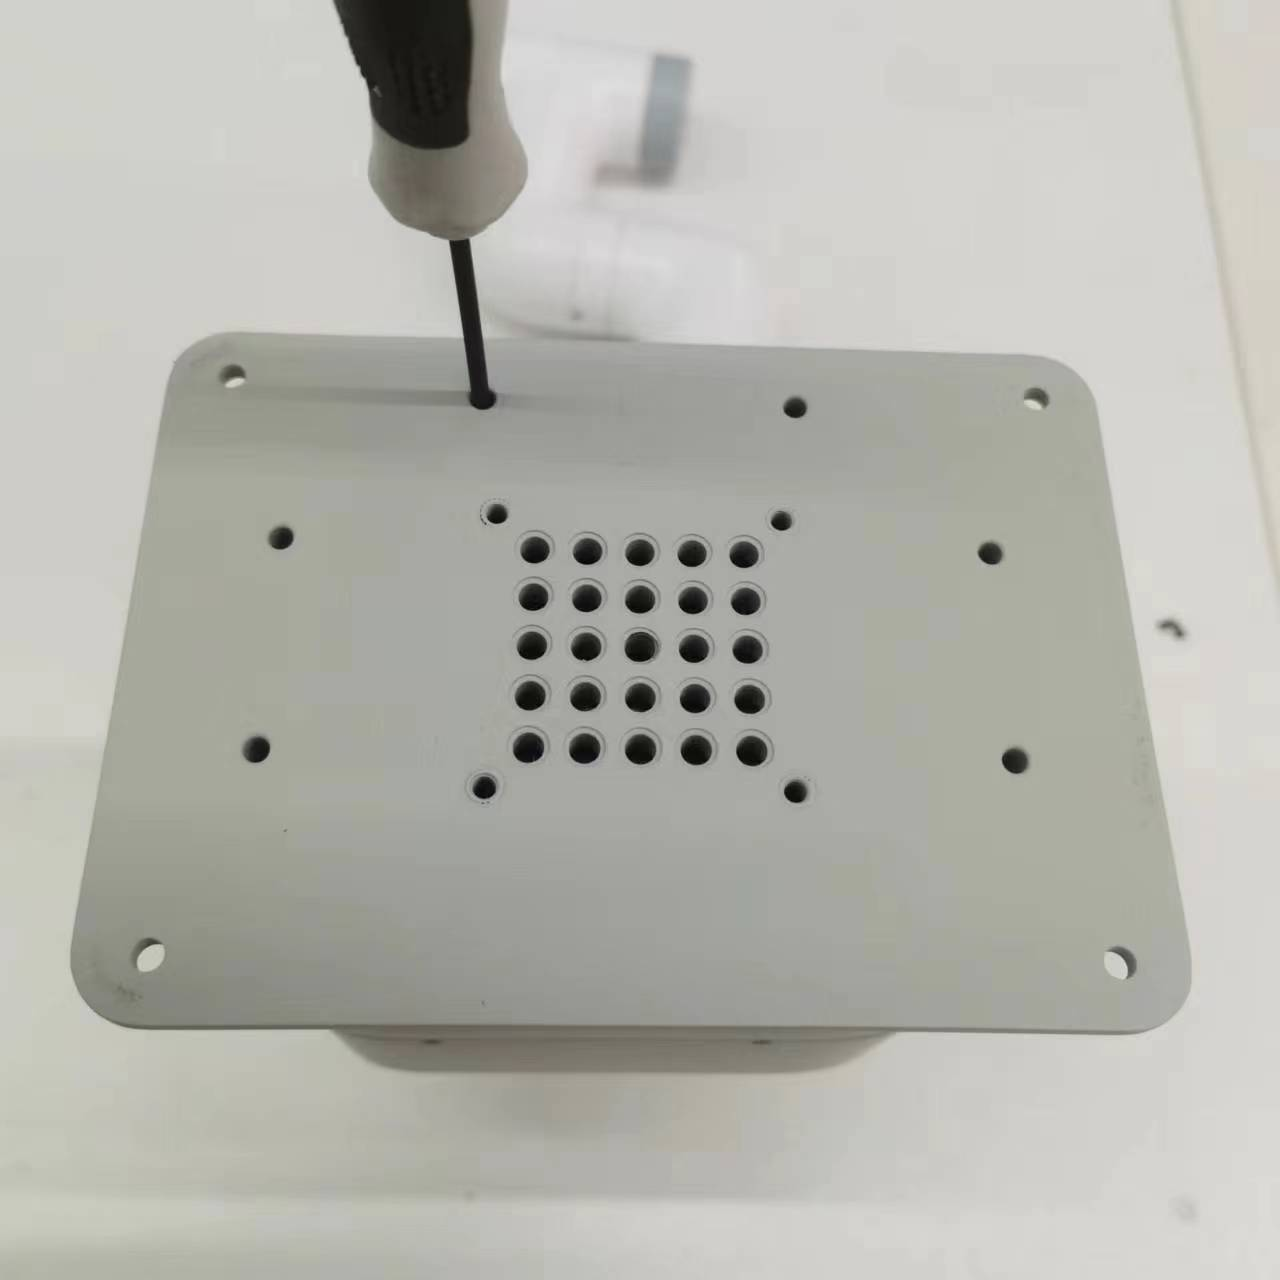
- Step 3: Remove the six 2*8 fixing screws on the bottom, using a 1.5MM Phillips screwdriver
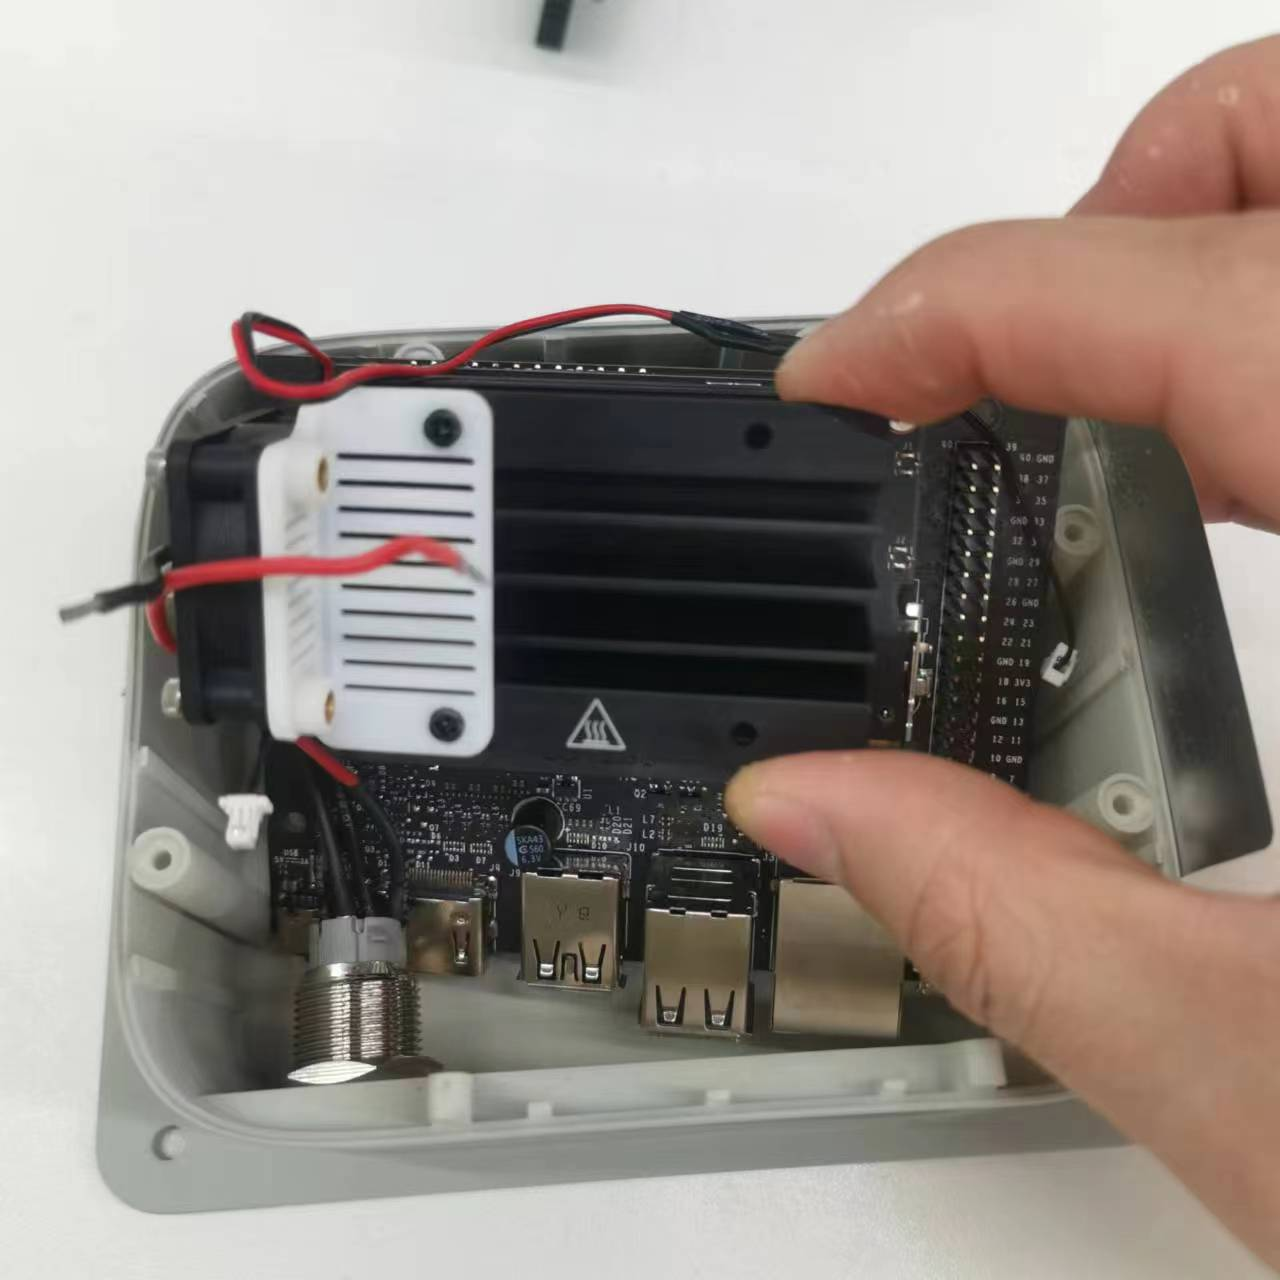
- Step 4: Unplug the servo (black, red, and white 3PIN) connection cable
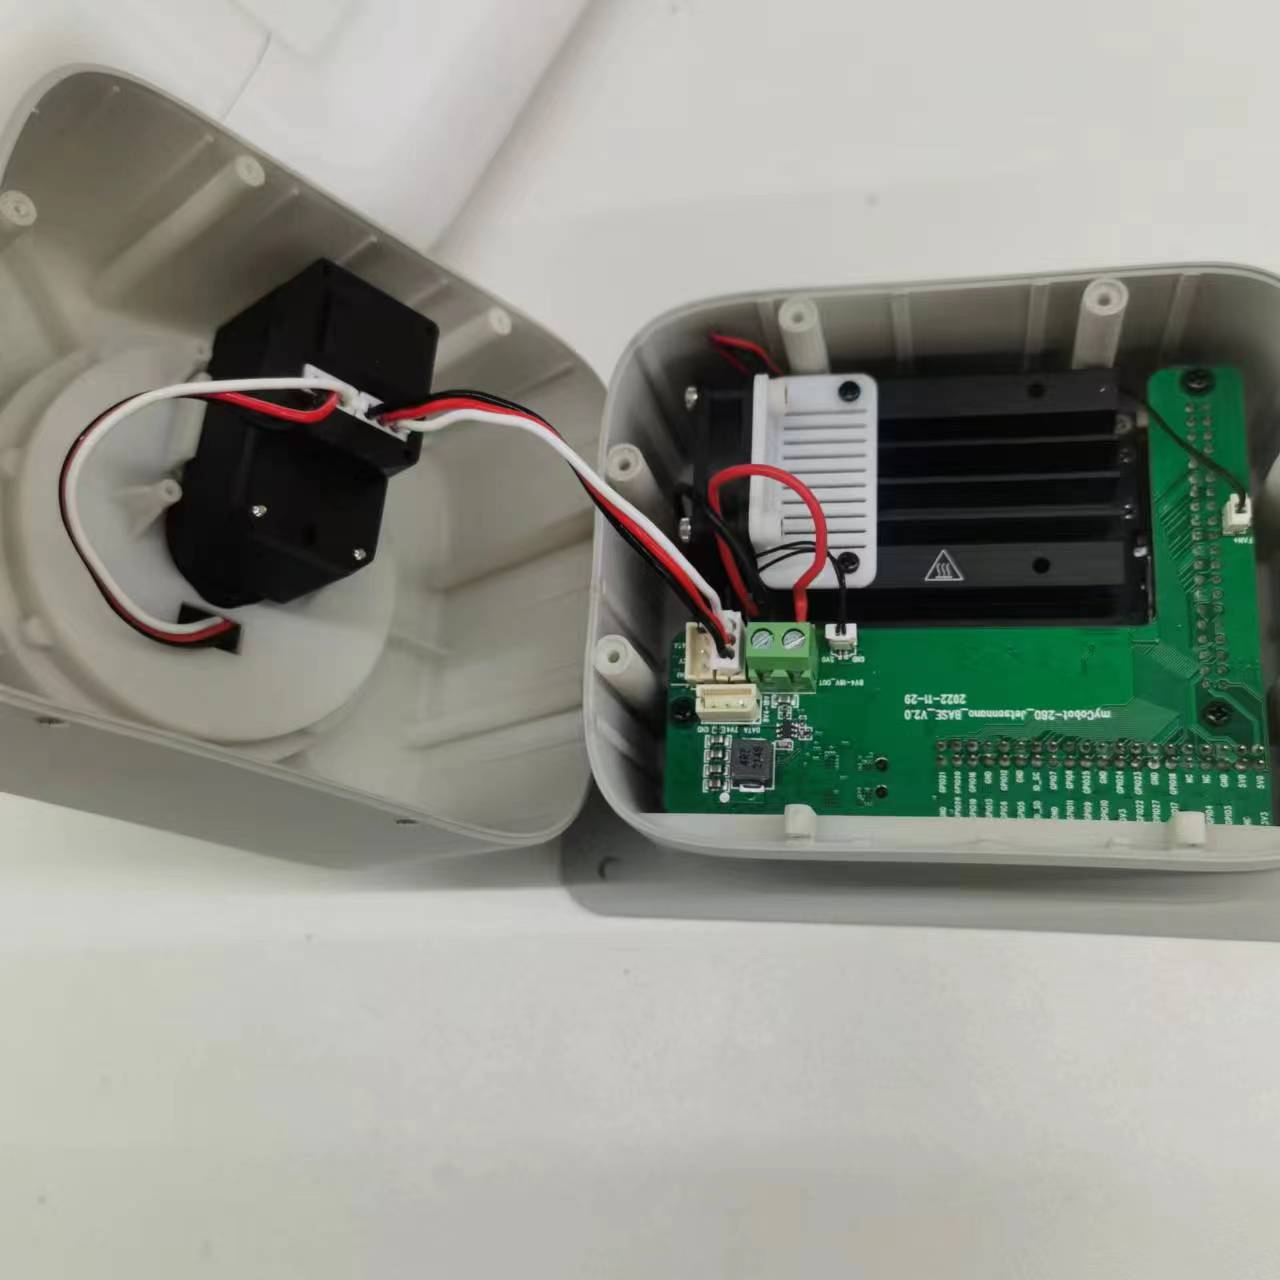
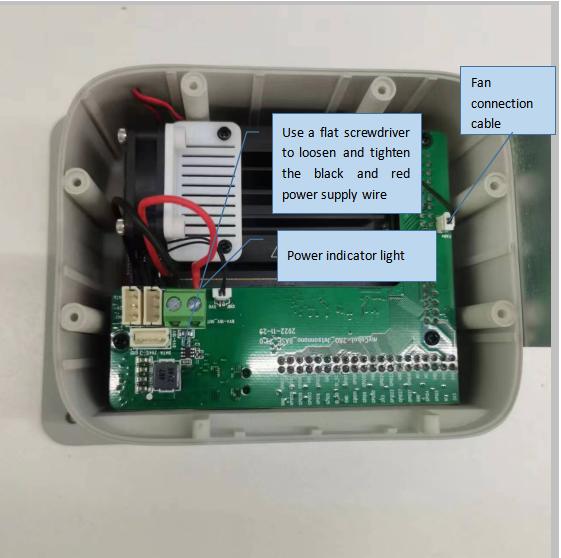
- Step 5: Unplug the fan connection cable, power indicator connection cable, and power black and red cable
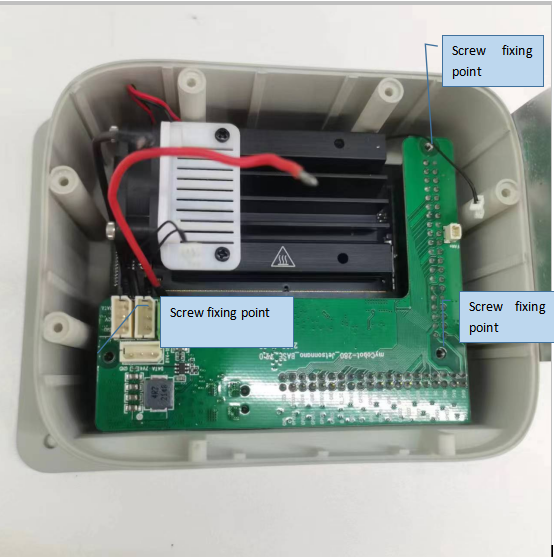
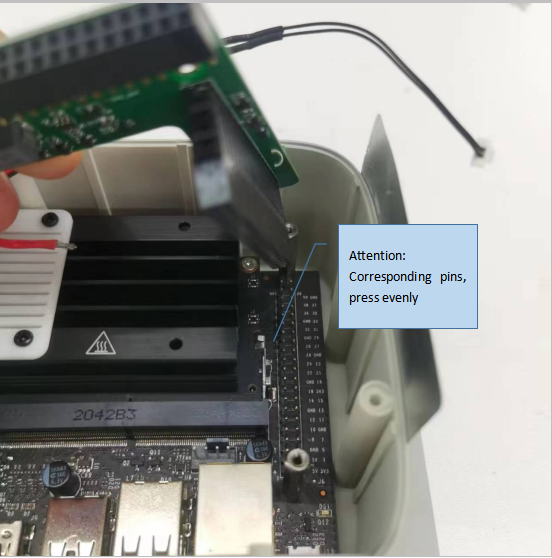
- Step 6: Remove the green PCBA board in the picture and the three fixing screws on the board
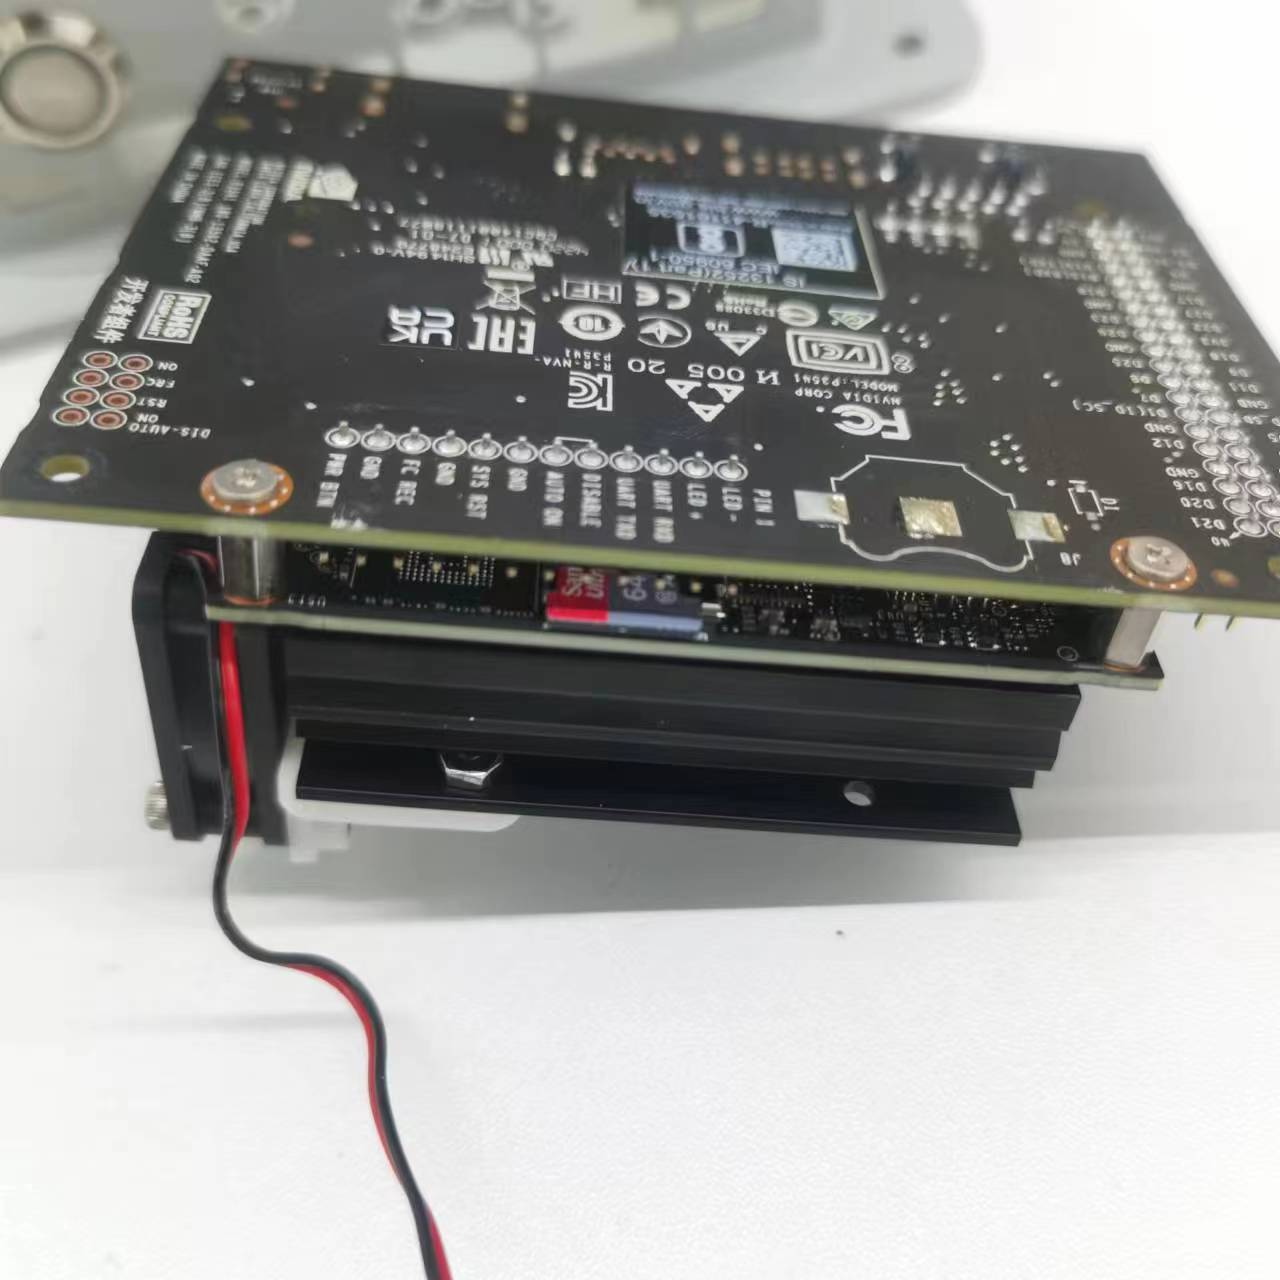
- Step 7: Remove the three hexagonal fixing columns

- Step 8: Remove the main control board (please pay attention to anti-static measures)
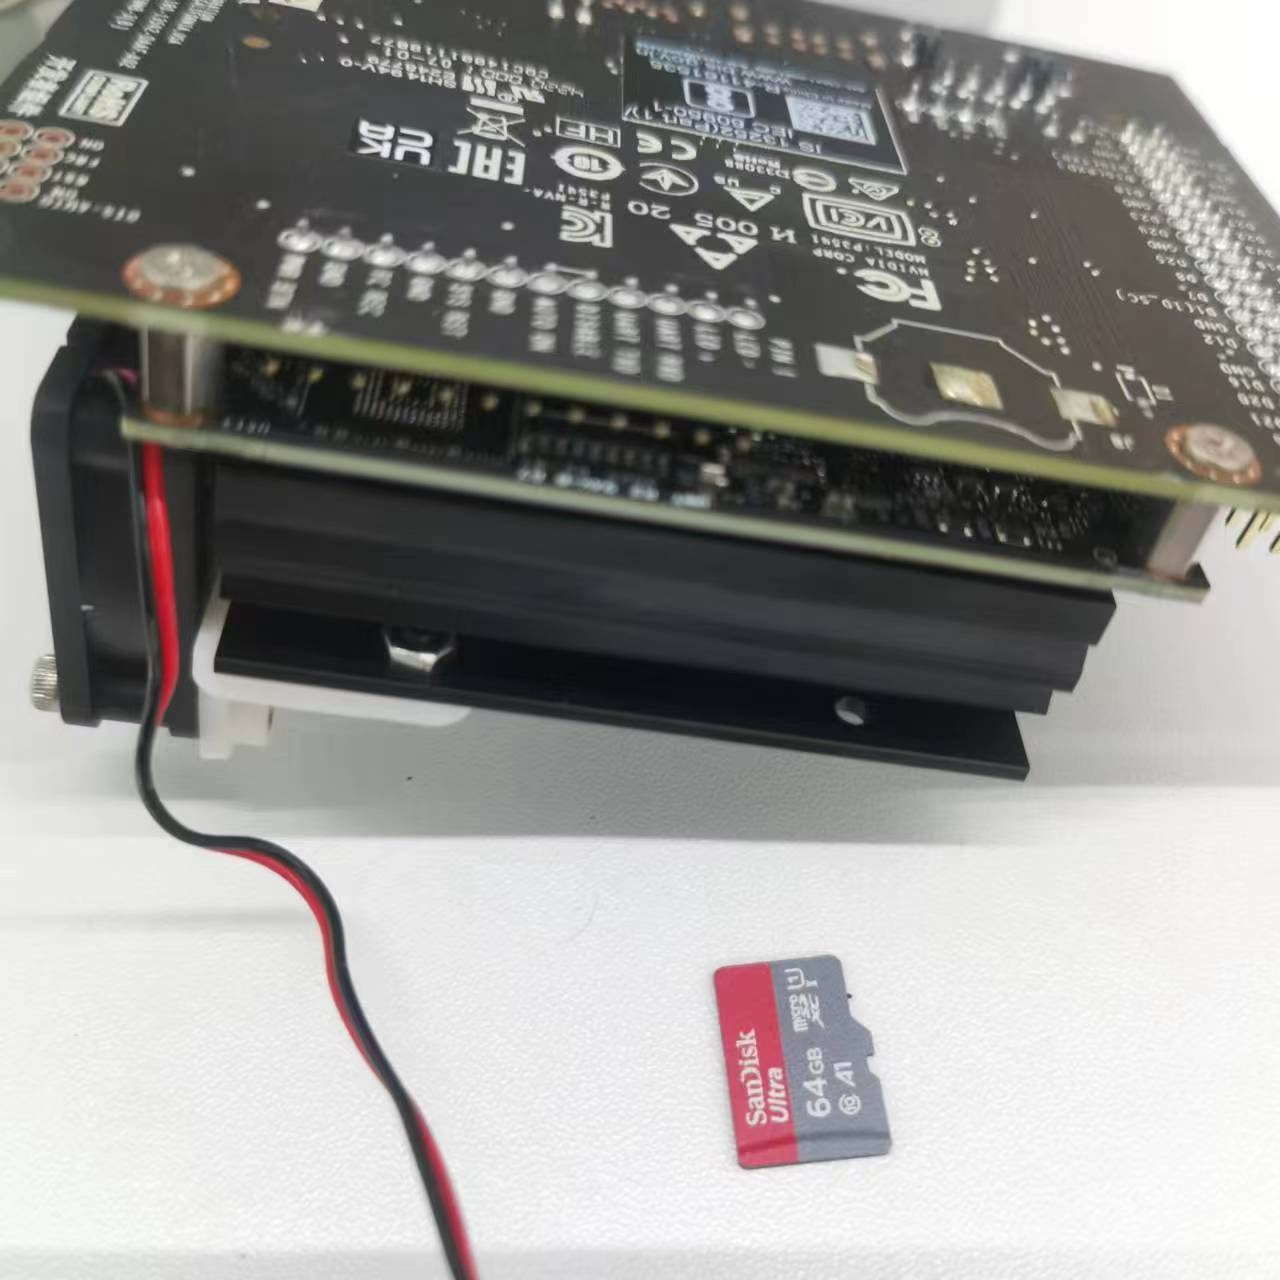
- Step 9: Remove the TF card or replace it. (Please pay attention to anti-static measures)
- Step 10: Reinstall the main control board
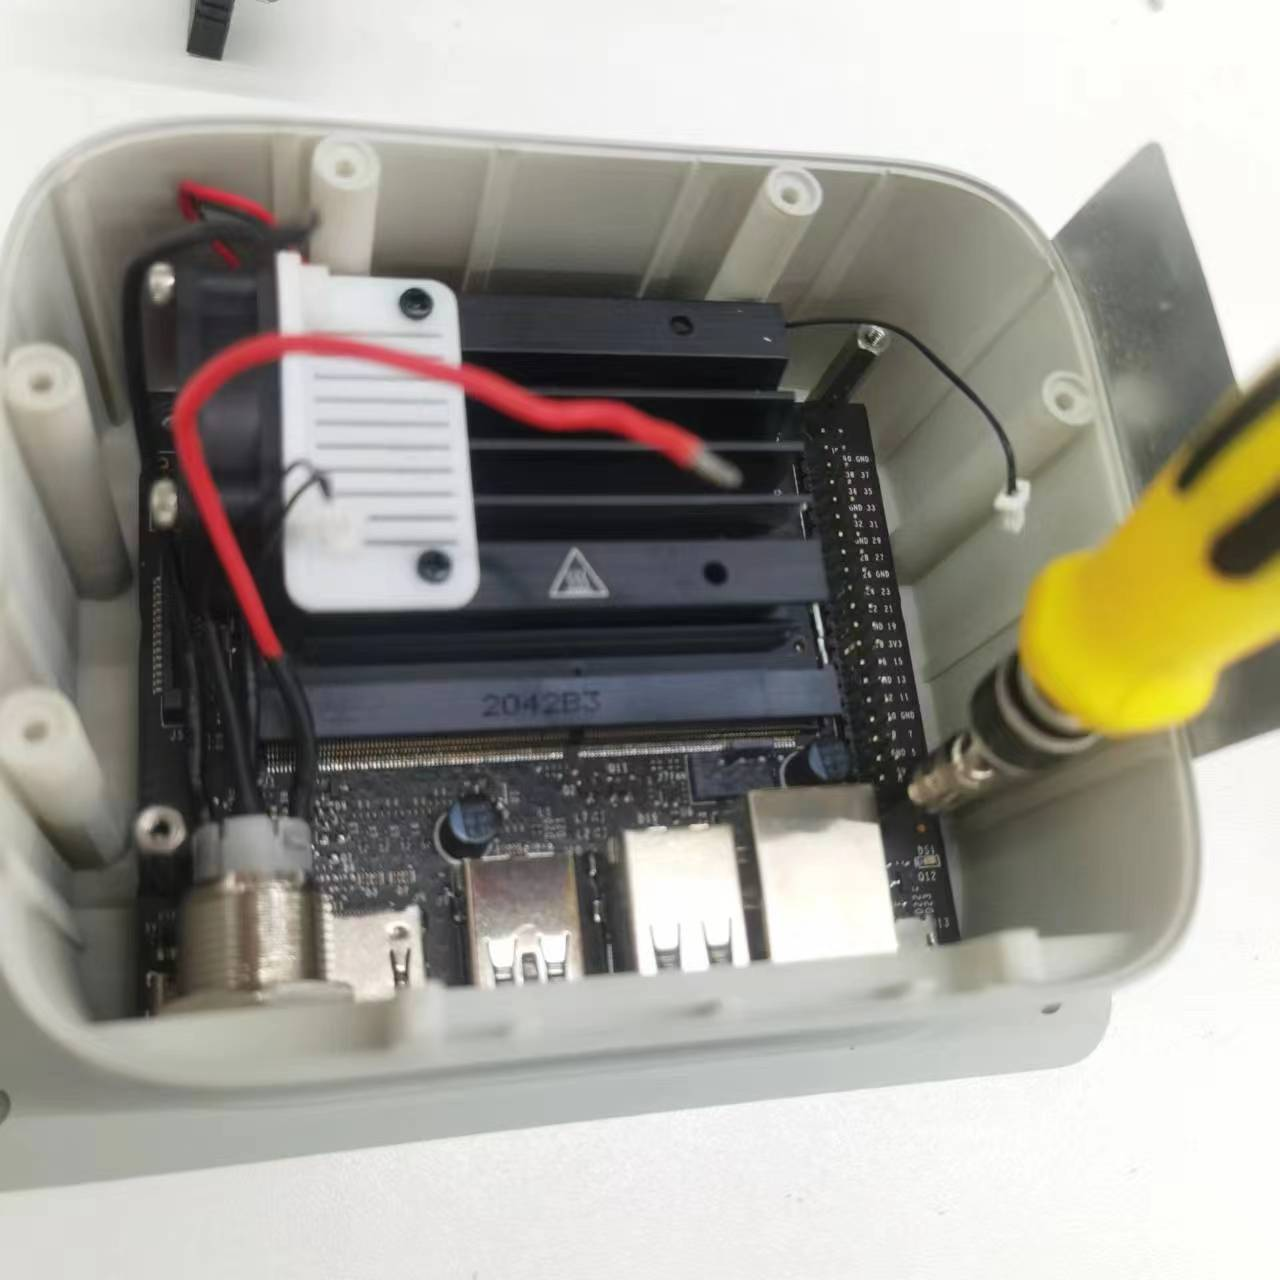
- Step 11: Assembly points
- Step 12: Assembly points
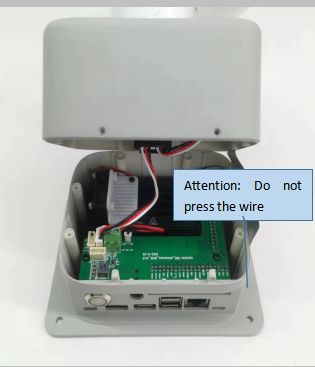
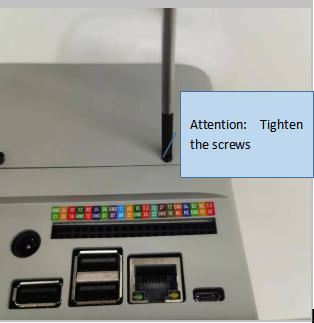
Image Burning
This chapter introduces the image download and burning steps. If you have downloaded the required image, you can directly view the burning steps
1.1 Download Link
| Product Name | System Version | Download Link | SHA256 Hash |
| myCobot 280 JetsonNano | ubuntu 18.04 | click to download | 2f1e40c1480b077bcc83abd3b79ac175f25d21e9cc344a014636167ee2eb087c |
1.2 Burning steps
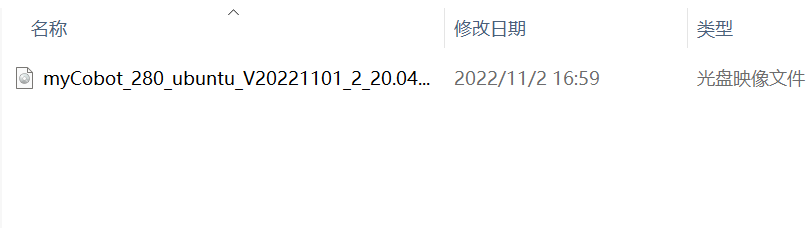
Step 1: After downloading the image, unzip the file and you will see a CD image file.
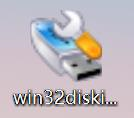
Step 2: Download Win32DiskImager software.
Download address: Win32DiskImager

Step 3: Remove the SD card at the bottom of the robot arm and insert the SD card into the computer using a card reader.
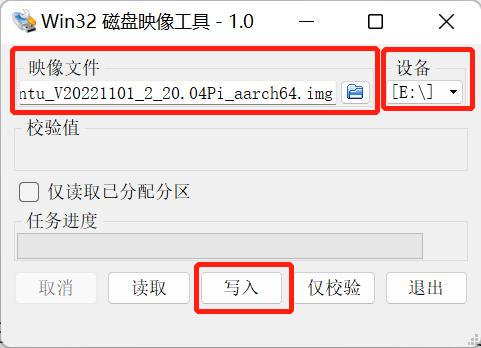
Step 4: Open Win32DiskImager burning software.
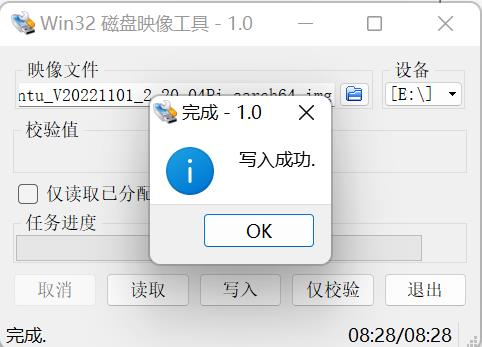
Step 5: Select the E drive and the CD image file, then click "Write" to start writing.

Step 6: There will be a prompt after writing successfully.