Parallel gripper
Applicable models: myCobot 280, myPalletizer 260, mechArm 270
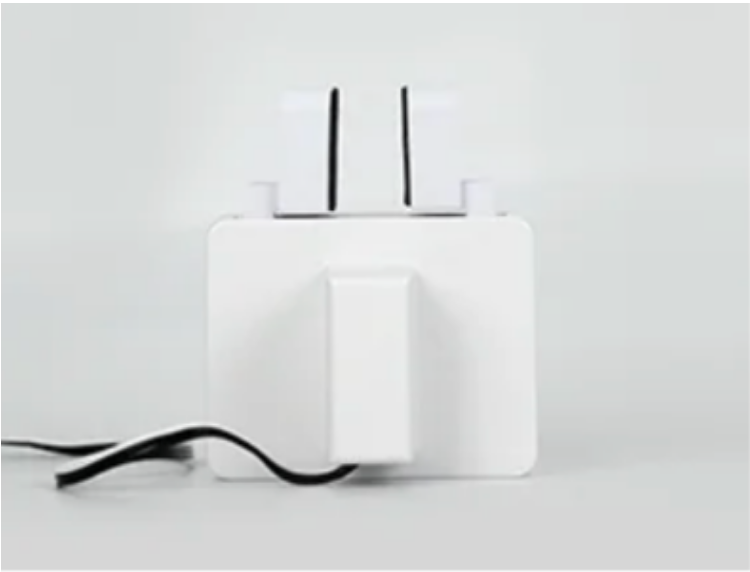
Product image
Specifications:
| Name | mycobot280 parallel gripper |
|---|---|
| Model model | myCobot_gripper_parallel |
| Process | ABS injection molding |
| Color | White |
| Gripping range | <20mm (effective 15mm) |
| Maximum gripping force | 150g |
| Repeatability | 1mm |
| Service life | One year |
| Drive mode | Electric |
| Transmission mode | Gear + connecting rod |
| Dimensions | 66×78×46mm |
| Weight | 84g |
| Fixing method | Lego connector |
| Environment requirements | Normal temperature and pressure |
| Control interface | Serial control |
| Applicable equipment | ER myCobot 280 series, ER myPalletizer 260 series, ER mechArm 270 series, ER myBuddy 280 series |
Parallel gripper: Used to grip objects
Introduction
- The gripper is a robot component that can achieve functions similar to human hands. It has the advantages of complex structure, firm gripping of objects, not easy to fall, and easy operation. The gripper kit includes gripper accessories and Lego technology parts. The end effector of the robot arm is controlled by a programmable system to realize functions such as object gripping and multi-point positioning. The gripper can be used in all development environments, such as ROS, Arduino, Roboflow, etc.
Working Principle
- Driven by a motor, the gripper's finger surface makes linear reciprocating motion to achieve opening or closing. The acceleration and deceleration of the electric gripper are controllable, the impact on the workpiece can be minimized, the positioning point is controllable, and the clamping is controllable.
Applicable objects
- Small cubes
- Small balls
- Long objects
Installation and use
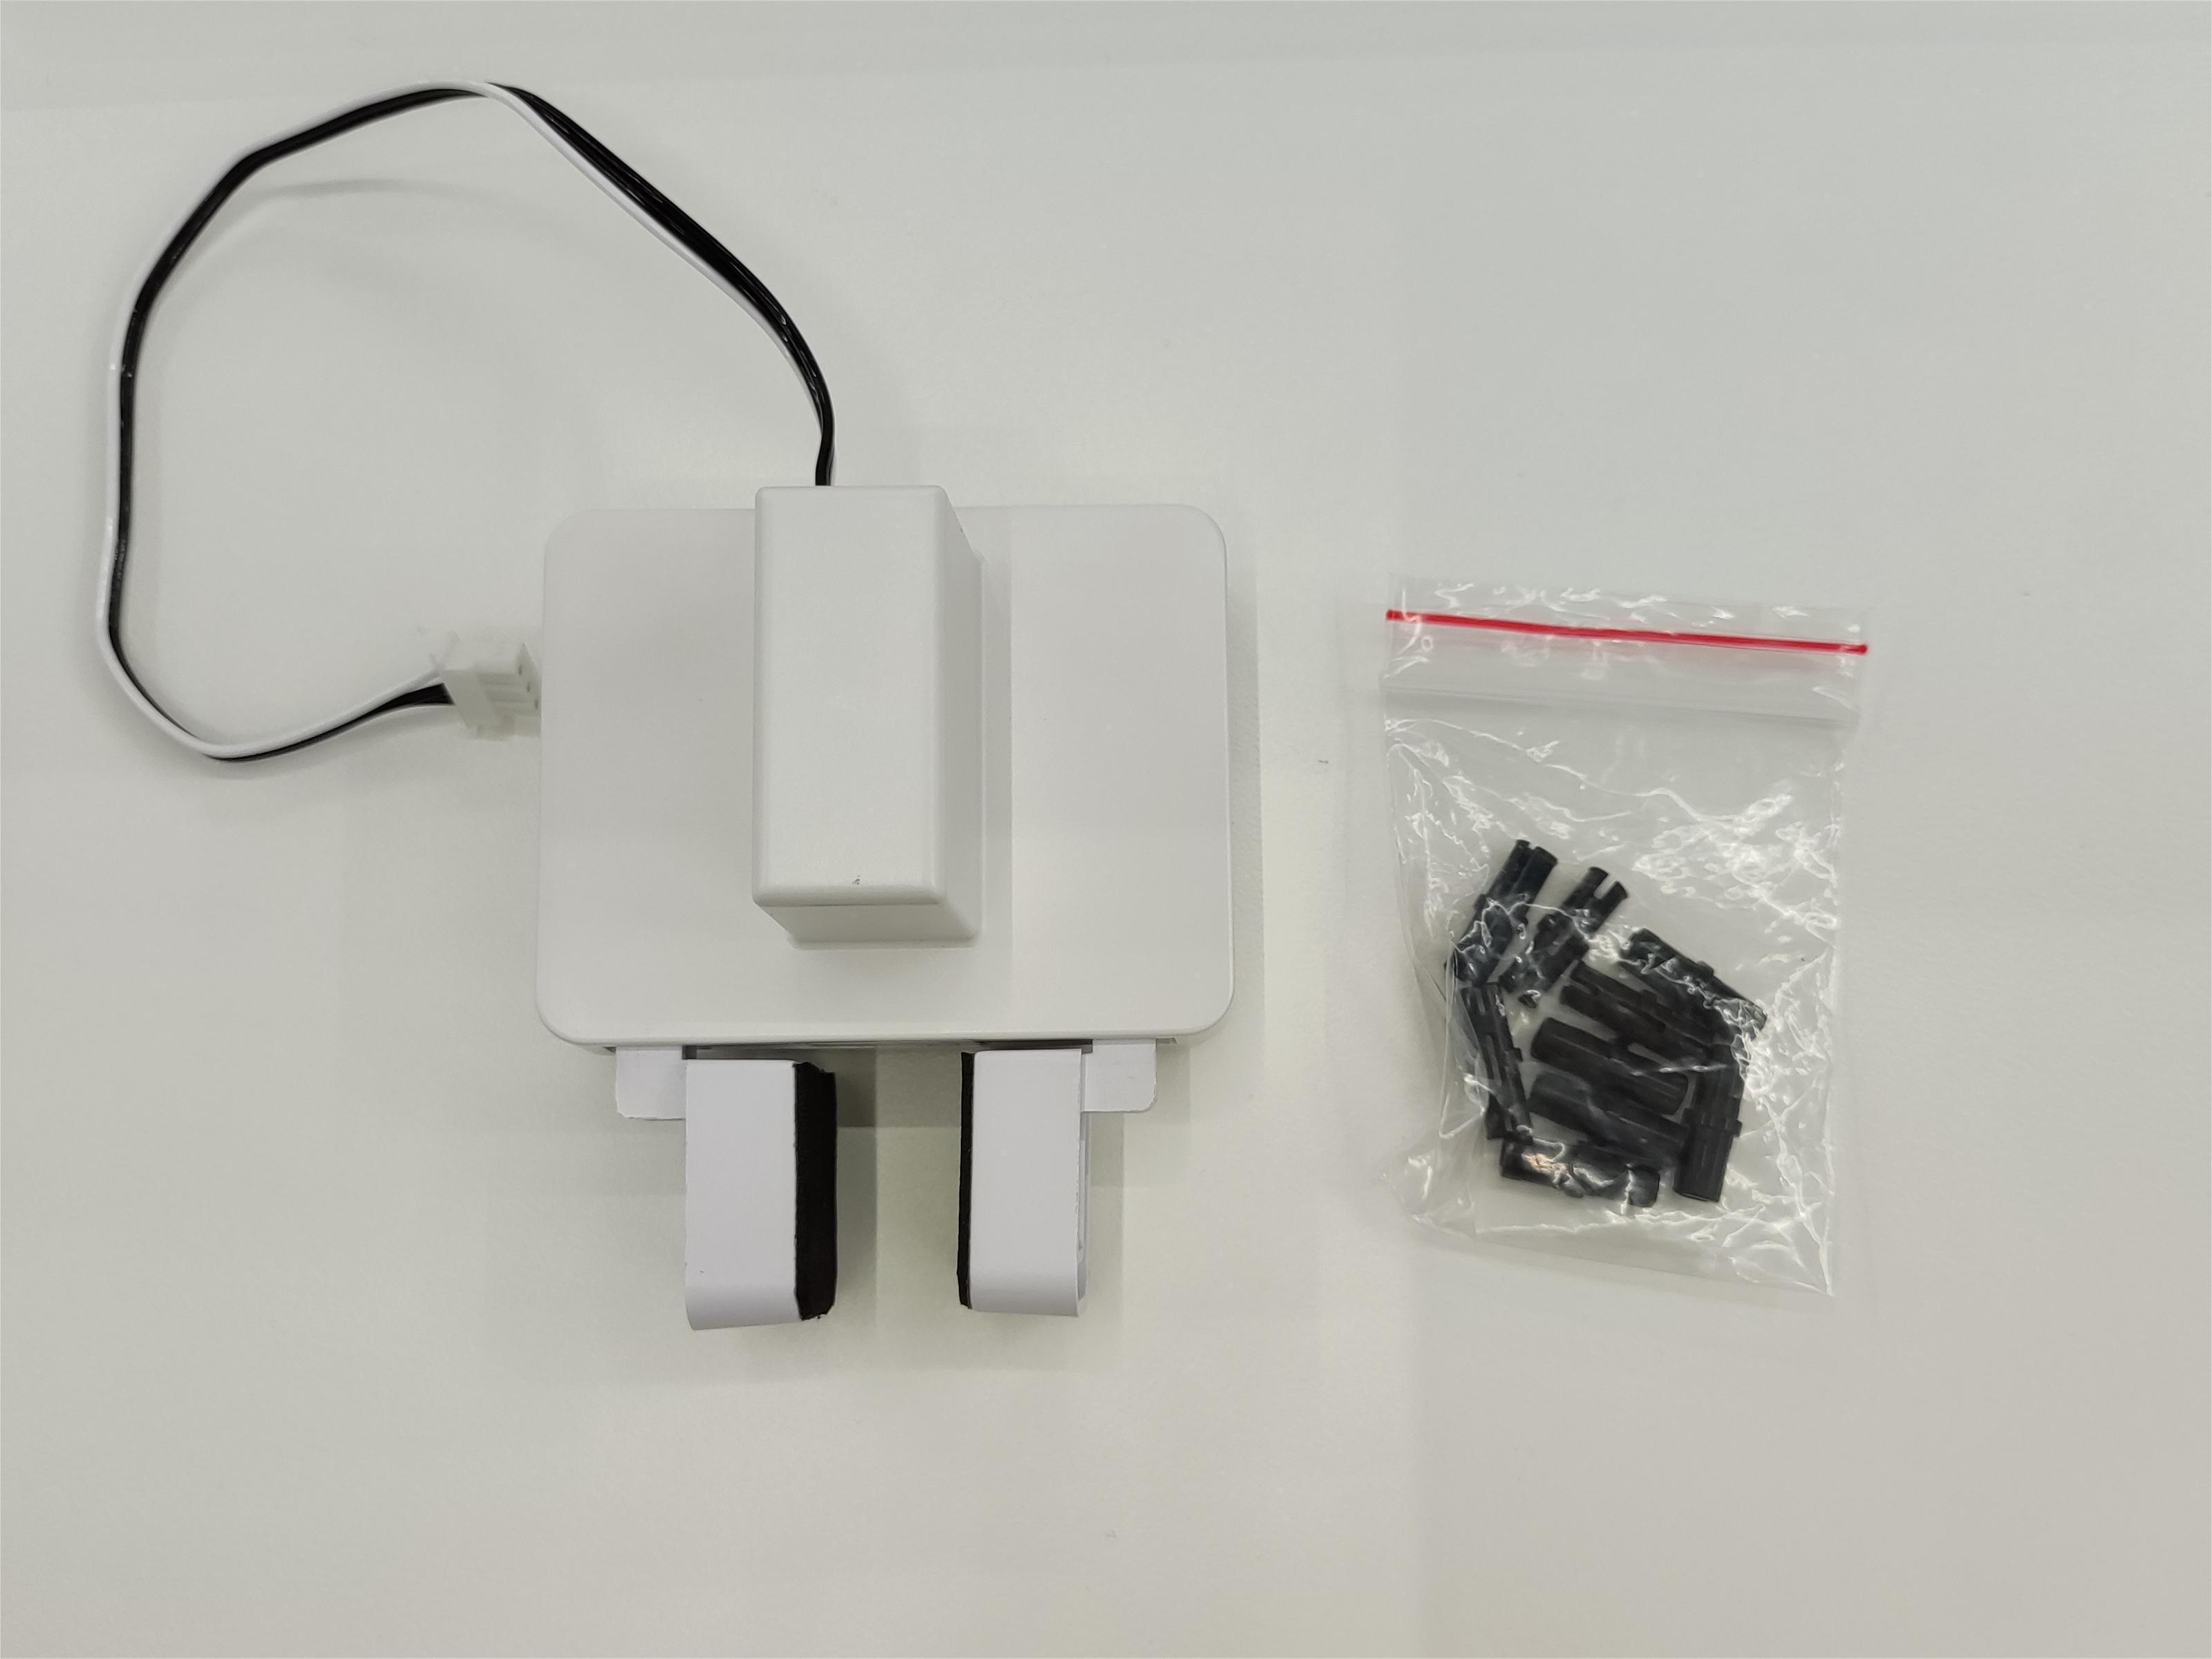
Check whether the accessories package is complete: Lego connectors, grippers with connecting wires
Gripper installation:
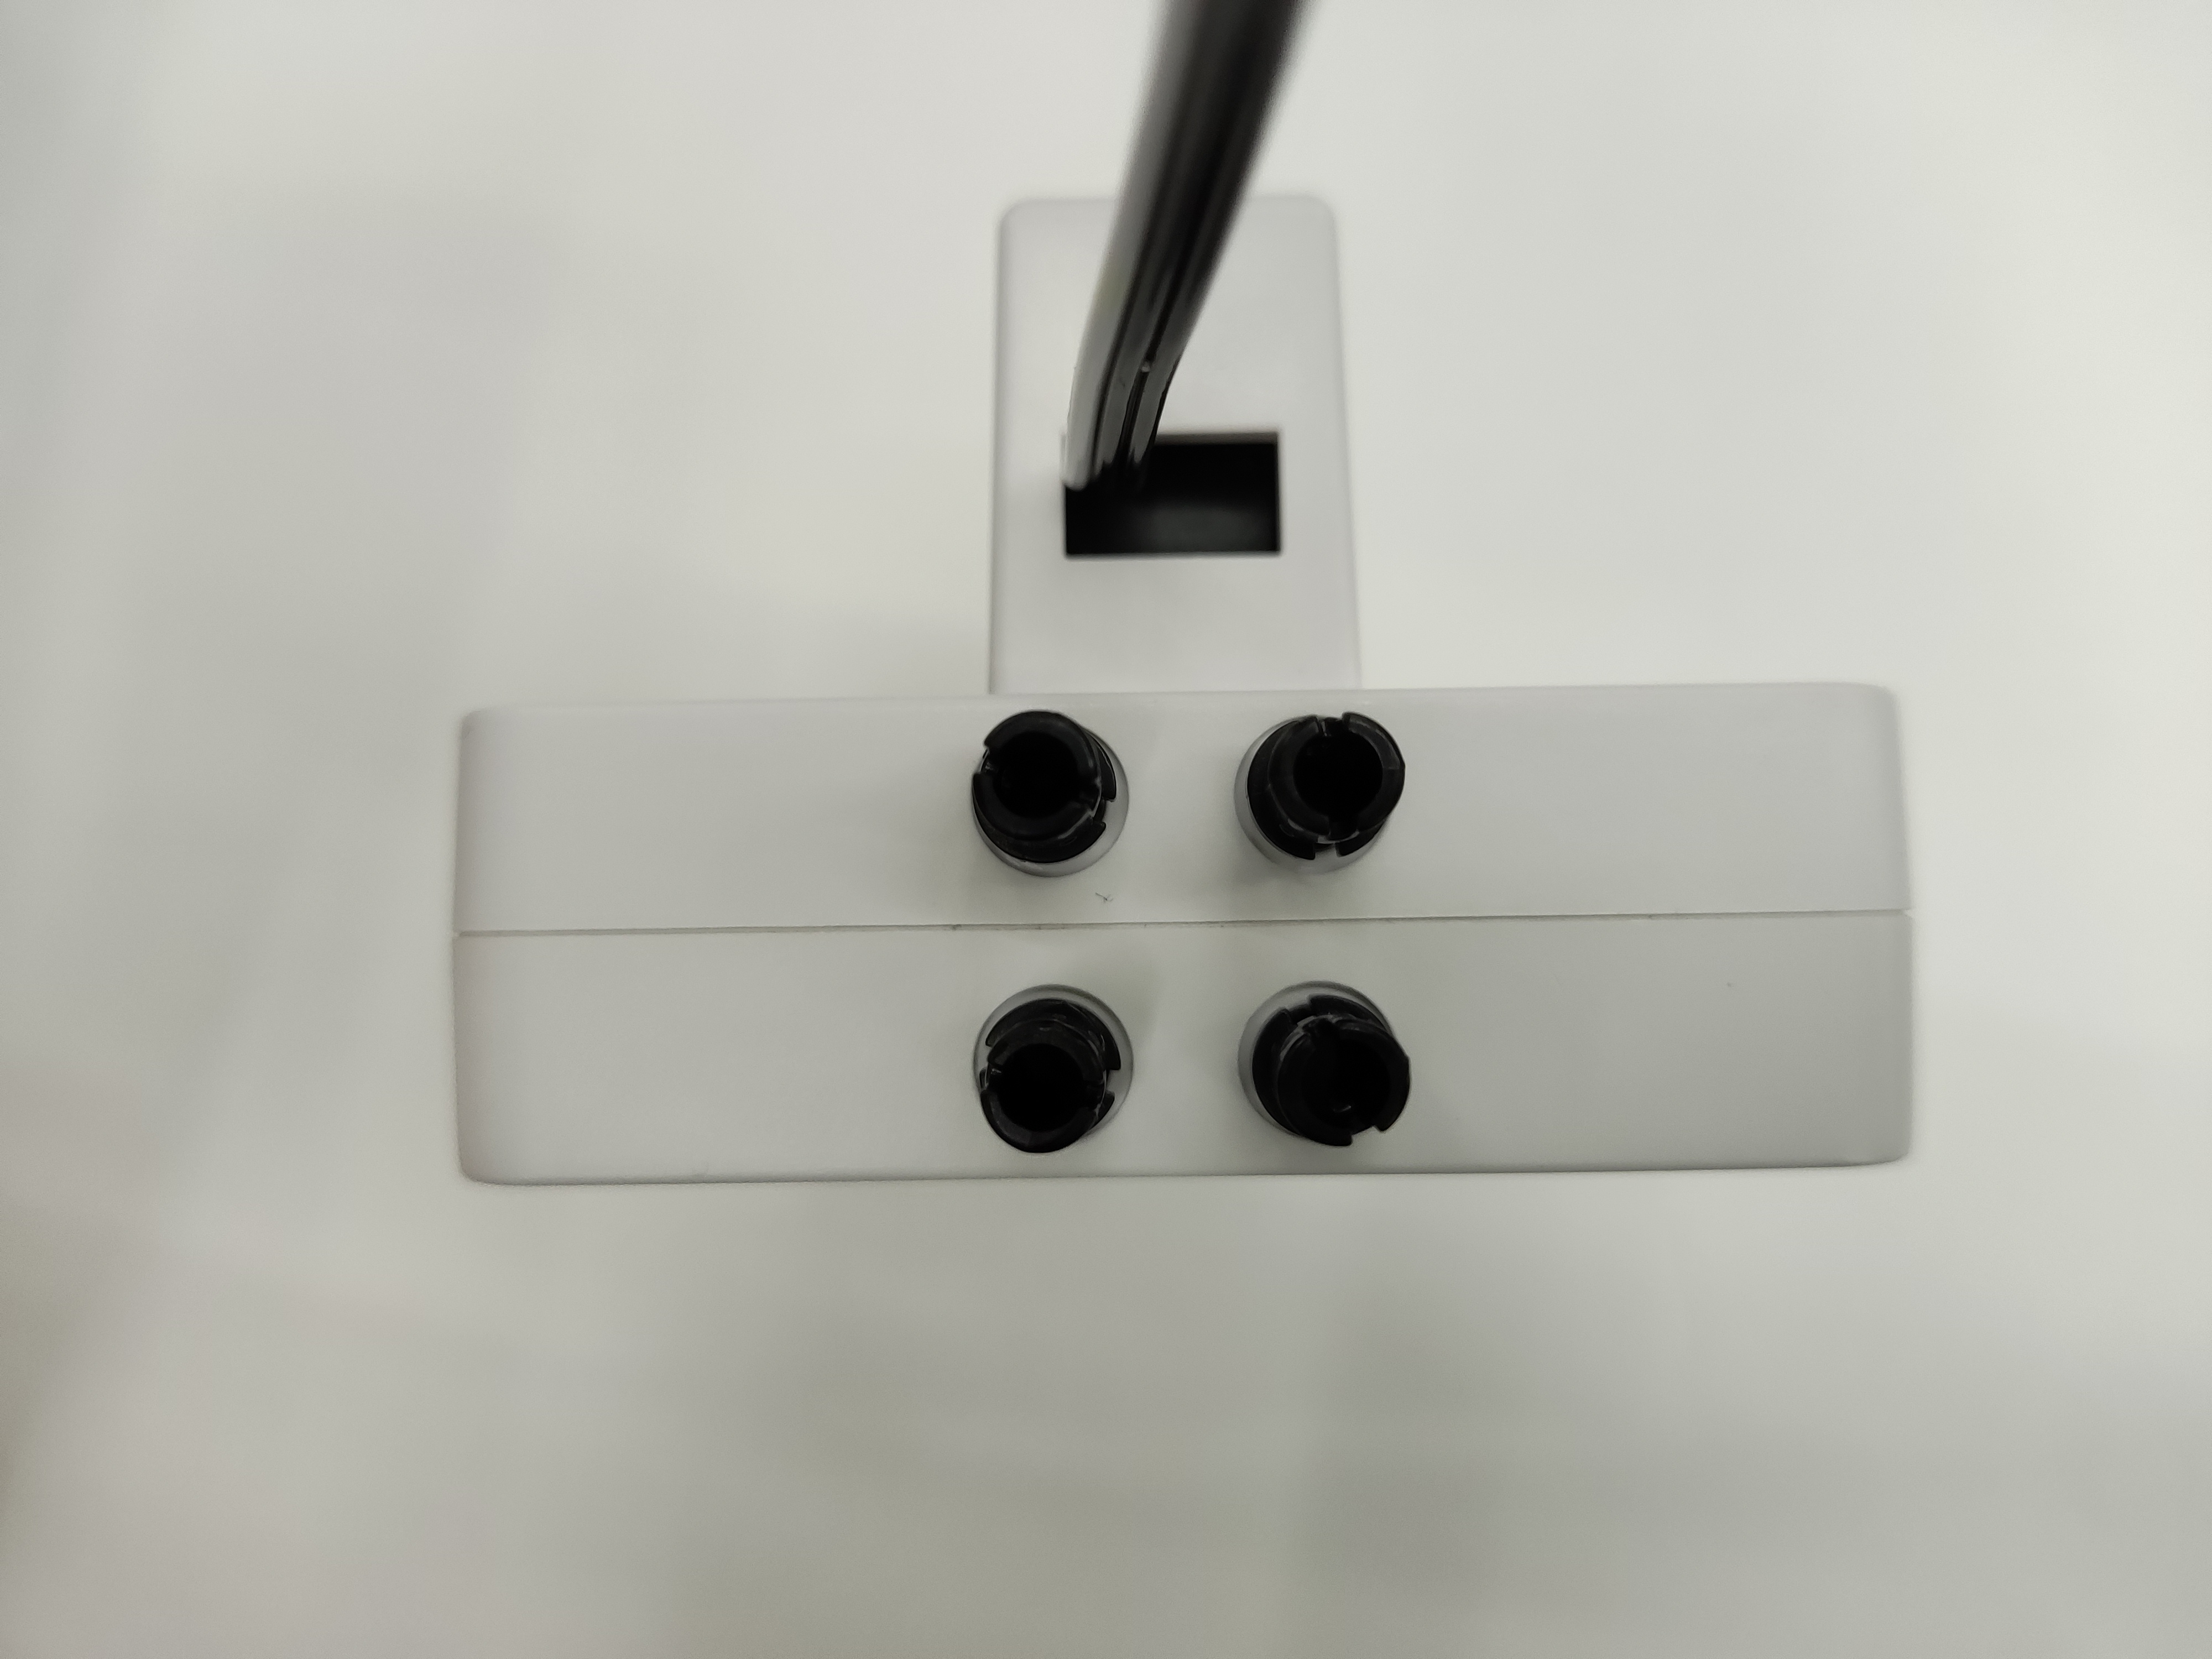
Structural installation:
Insert the Lego connector into the reserved socket of the gripper:
Align the gripper with the connector inserted into the socket at the end of the robot arm and insert it:

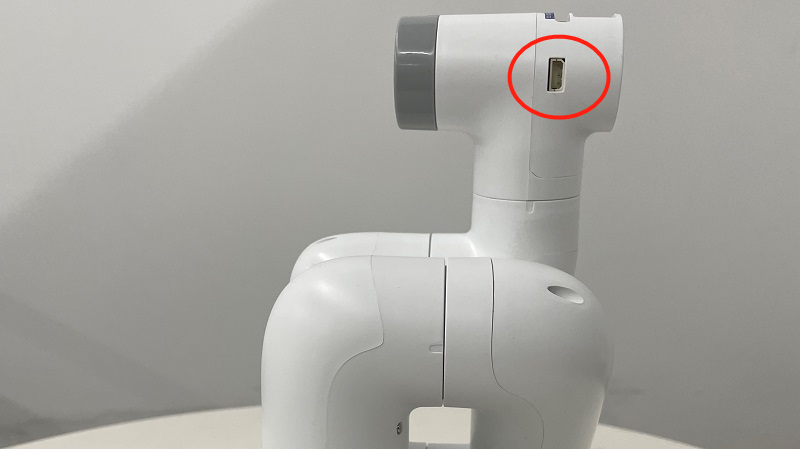
Electrical connection:
Insert the robot arm control interface:

Programming and development:
Use python to program the gripper
- M5 version:
from pymycobot.mycobot import MyCobot
import time

# Initialize a MyCobot object
mc = MyCobot("COM3", 115200)

# The following three methods can control the gripper to open-close-open
# Method 1:
mc.set_gripper_state(0, 80)
time.sleep(3)
mc.set_gripper_state(1, 80)
time.sleep(3)
mc.set_gripper_state(0, 80) time.sleep(3) # Method two: # mc.set_gripper_value(100, 80) # time.sleep(3) # mc.set_gripper_value(0, 80) # time.sleep(3) # mc.set_gripper_value(100, 80) # time.sleep(3) # Method three: # mc.set_encoder(7, 2048) # time.sleep(3) # mc.set_encoder(7, 1500) # time.sleep(3) # mc.set_encoder(7, 2048) # time.sleep(3) ```` - Pi version: ````python from pymycobot.mycobot import MyCobot from pymycobot import PI_PORT, PI_BAUD # When using the Raspberry Pi version of mycobot, you can reference these two variables to initialize MyCobot
import time

# Initialize a MyCobot object
mc = MyCobot(PI_PORT, PI_BAUD)

# The following three methods can control the gripper to open-close-open
# Method 1:
mc.set_gripper_state(0, 80)
time.sleep(3)
mc.set_gripper_state(1, 80)
time.sleep(3)
mc.set_gripper_state(0, 80)
time.sleep(3)

# Method 2:
# mc.set_gripper_value(100, 80)
# time.sleep(3)
# mc.set_gripper_value(0, 80)
# time.sleep(3)
# mc.set_gripper_value(100, 80)
# time.sleep(3)

# Method 3:
# mc.set_encoder(7, 2048)
# time.sleep(3)
# mc.set_encoder(7, 1500)
# time.sleep(3)
# mc.set_encoder(7, 2048)
# time.sleep(3)
Save the file and close it, return to the command line terminal, and enter:
python grip.py
You can see the gripper open-close-open