1、Emulation
We provide a number of static and dynamic simulations to interact with the MyarmC650.
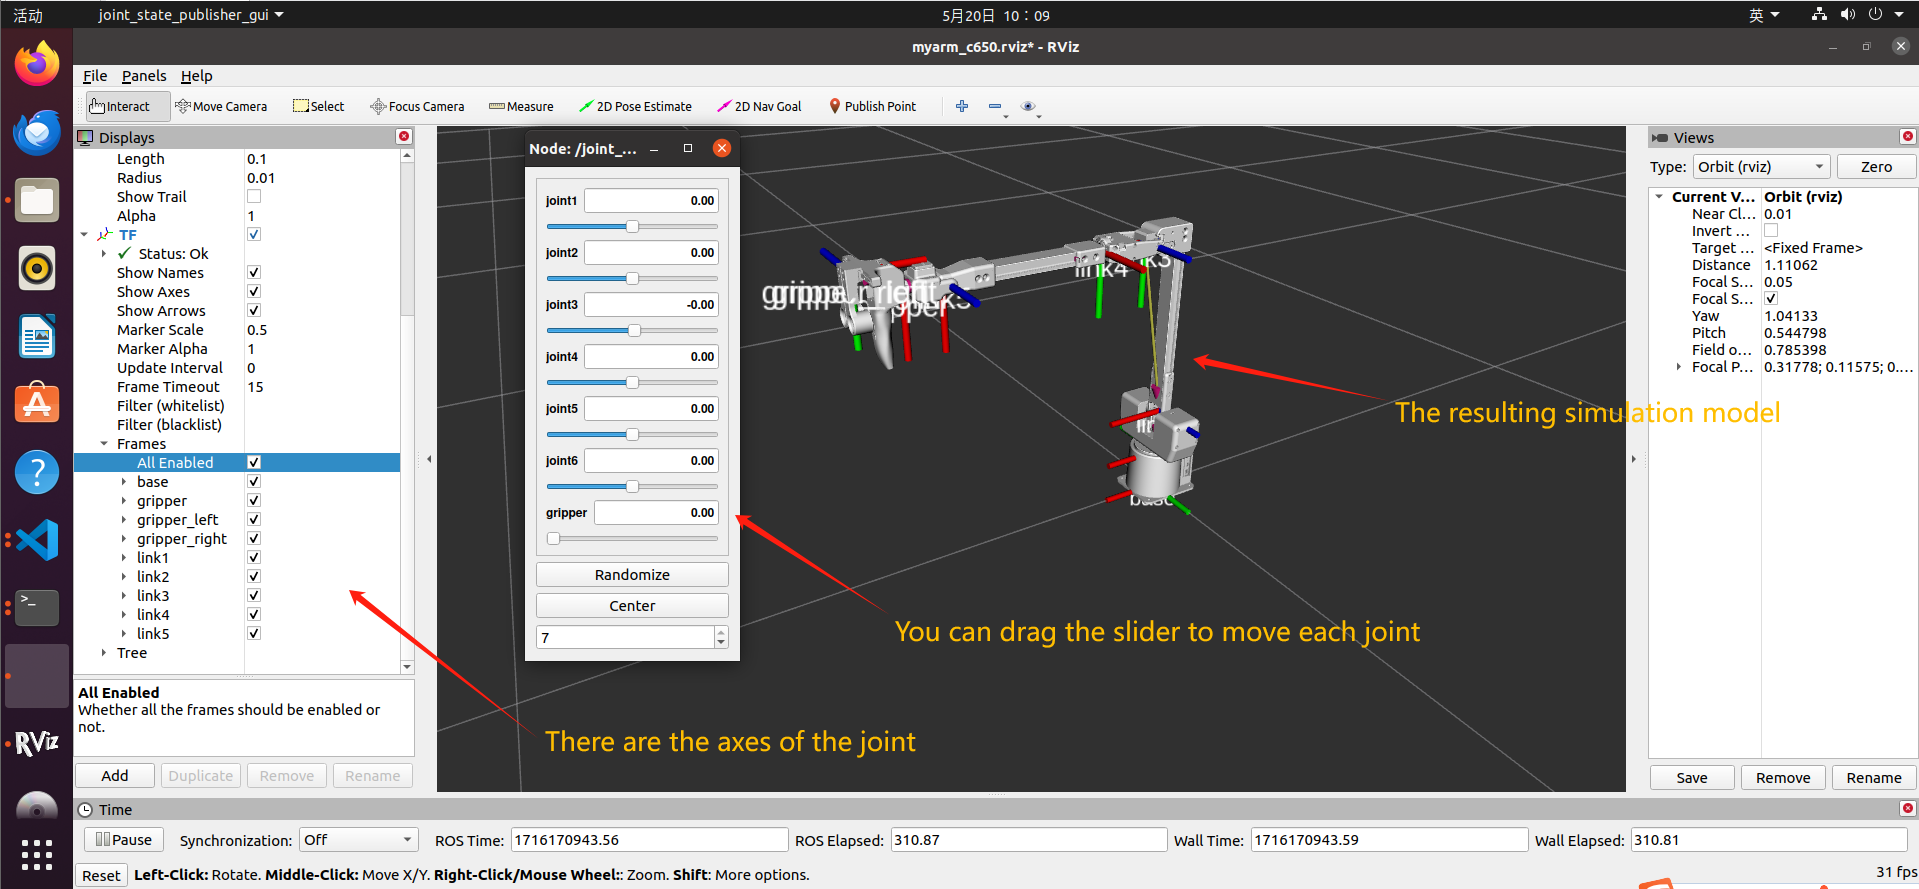
1.1 Static simulation
Static simulation here refers to the use of the sliding module in rviz to interact with the MyarmC650 in the simulation
In the Workspace Open Terminal command line, enter:
roscore
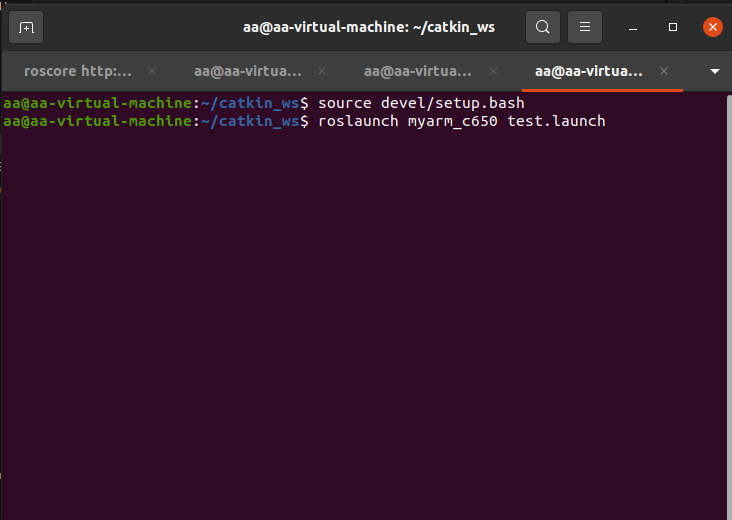
source devel/setup.bash
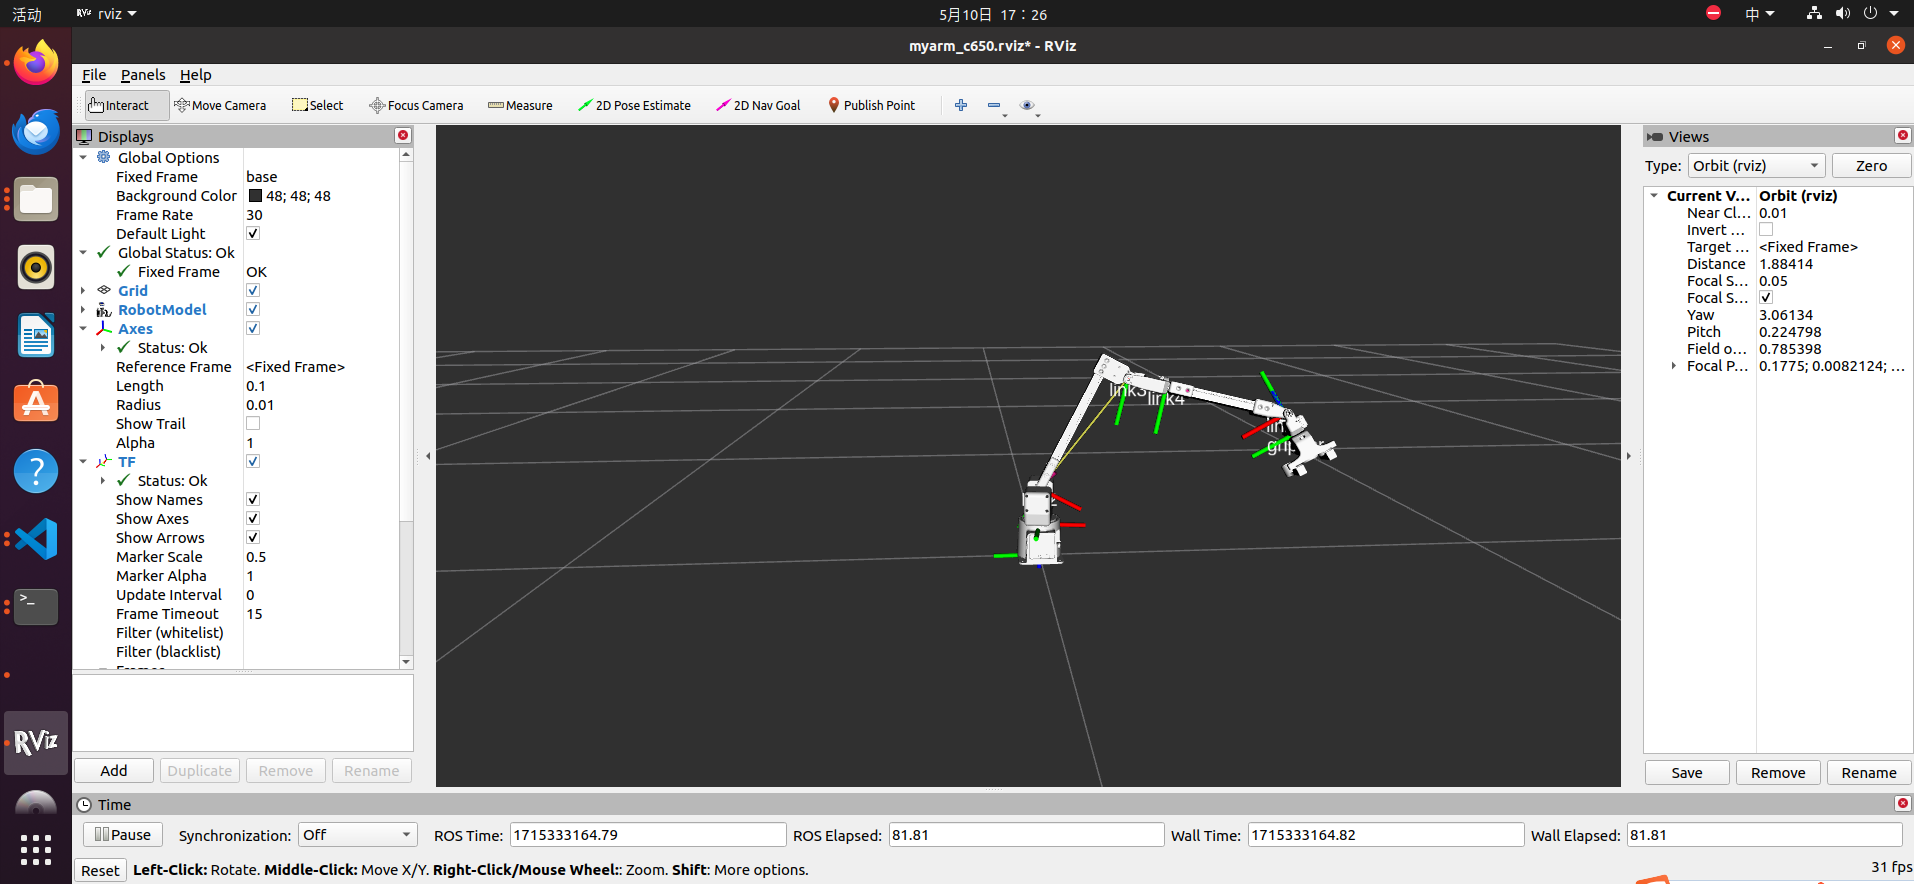
roslaunch myarm_c650 test.launch

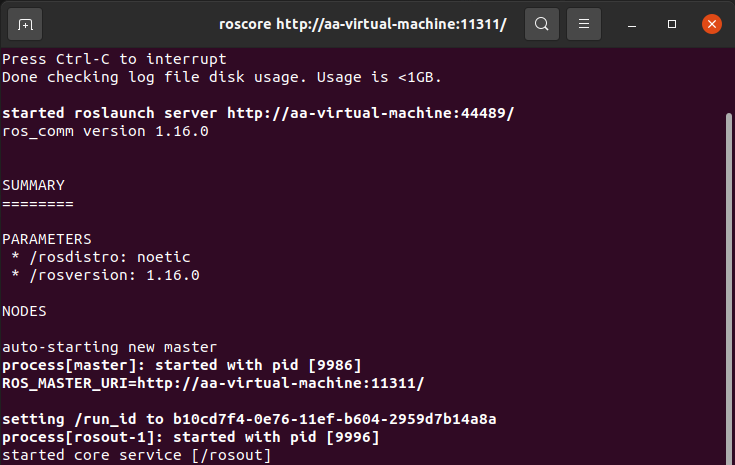
After successfully running the launch file, the terminal will display:
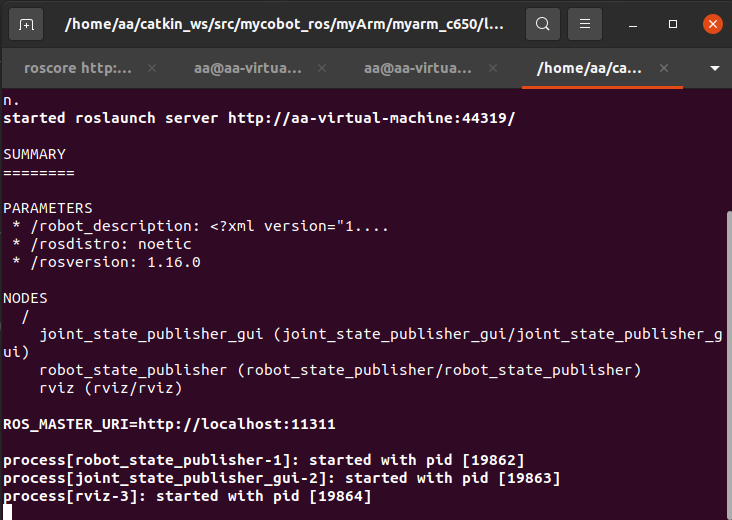
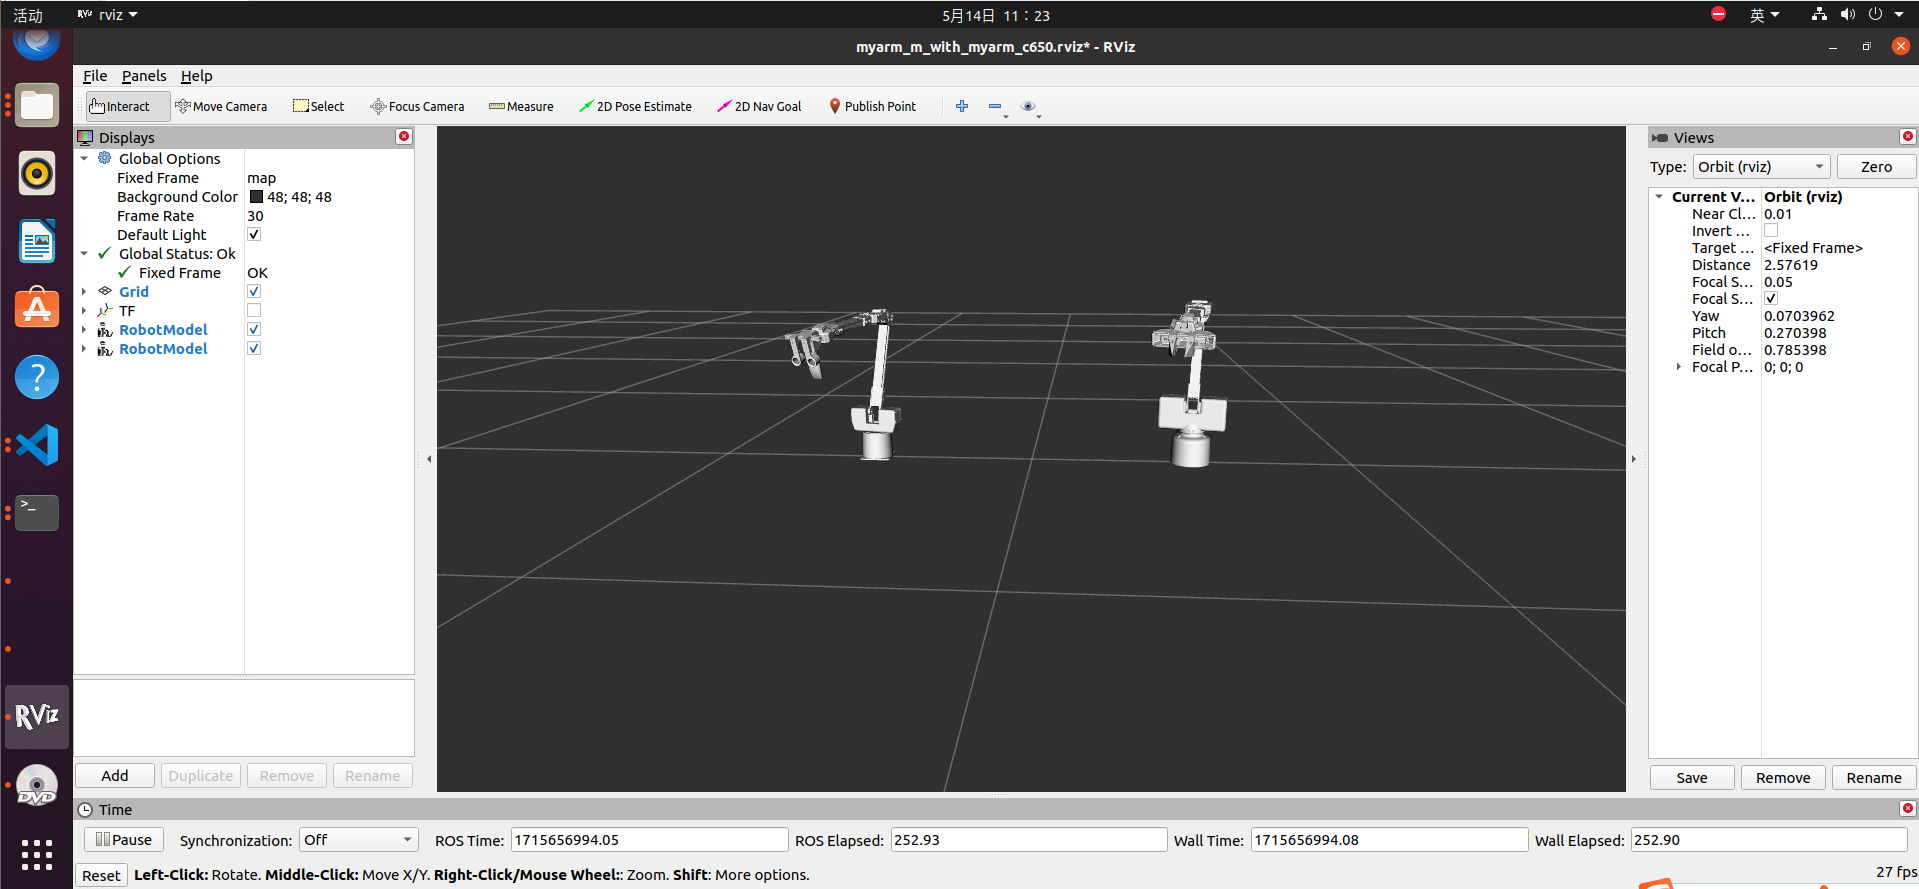
At the same time, rviz will be opened to generate a simulation model of MyarmC650
1.2 Dynamic simulation
Dynamic simulation here refers to the interaction between the MyarmC650 in motion reality and the MyarmC650 in simulation
First of all, we need to connect the MyarmC650 robotic arm to our computer via a USB to typeC cable and power it on
Select "Transponder" by the button and press the "OK" button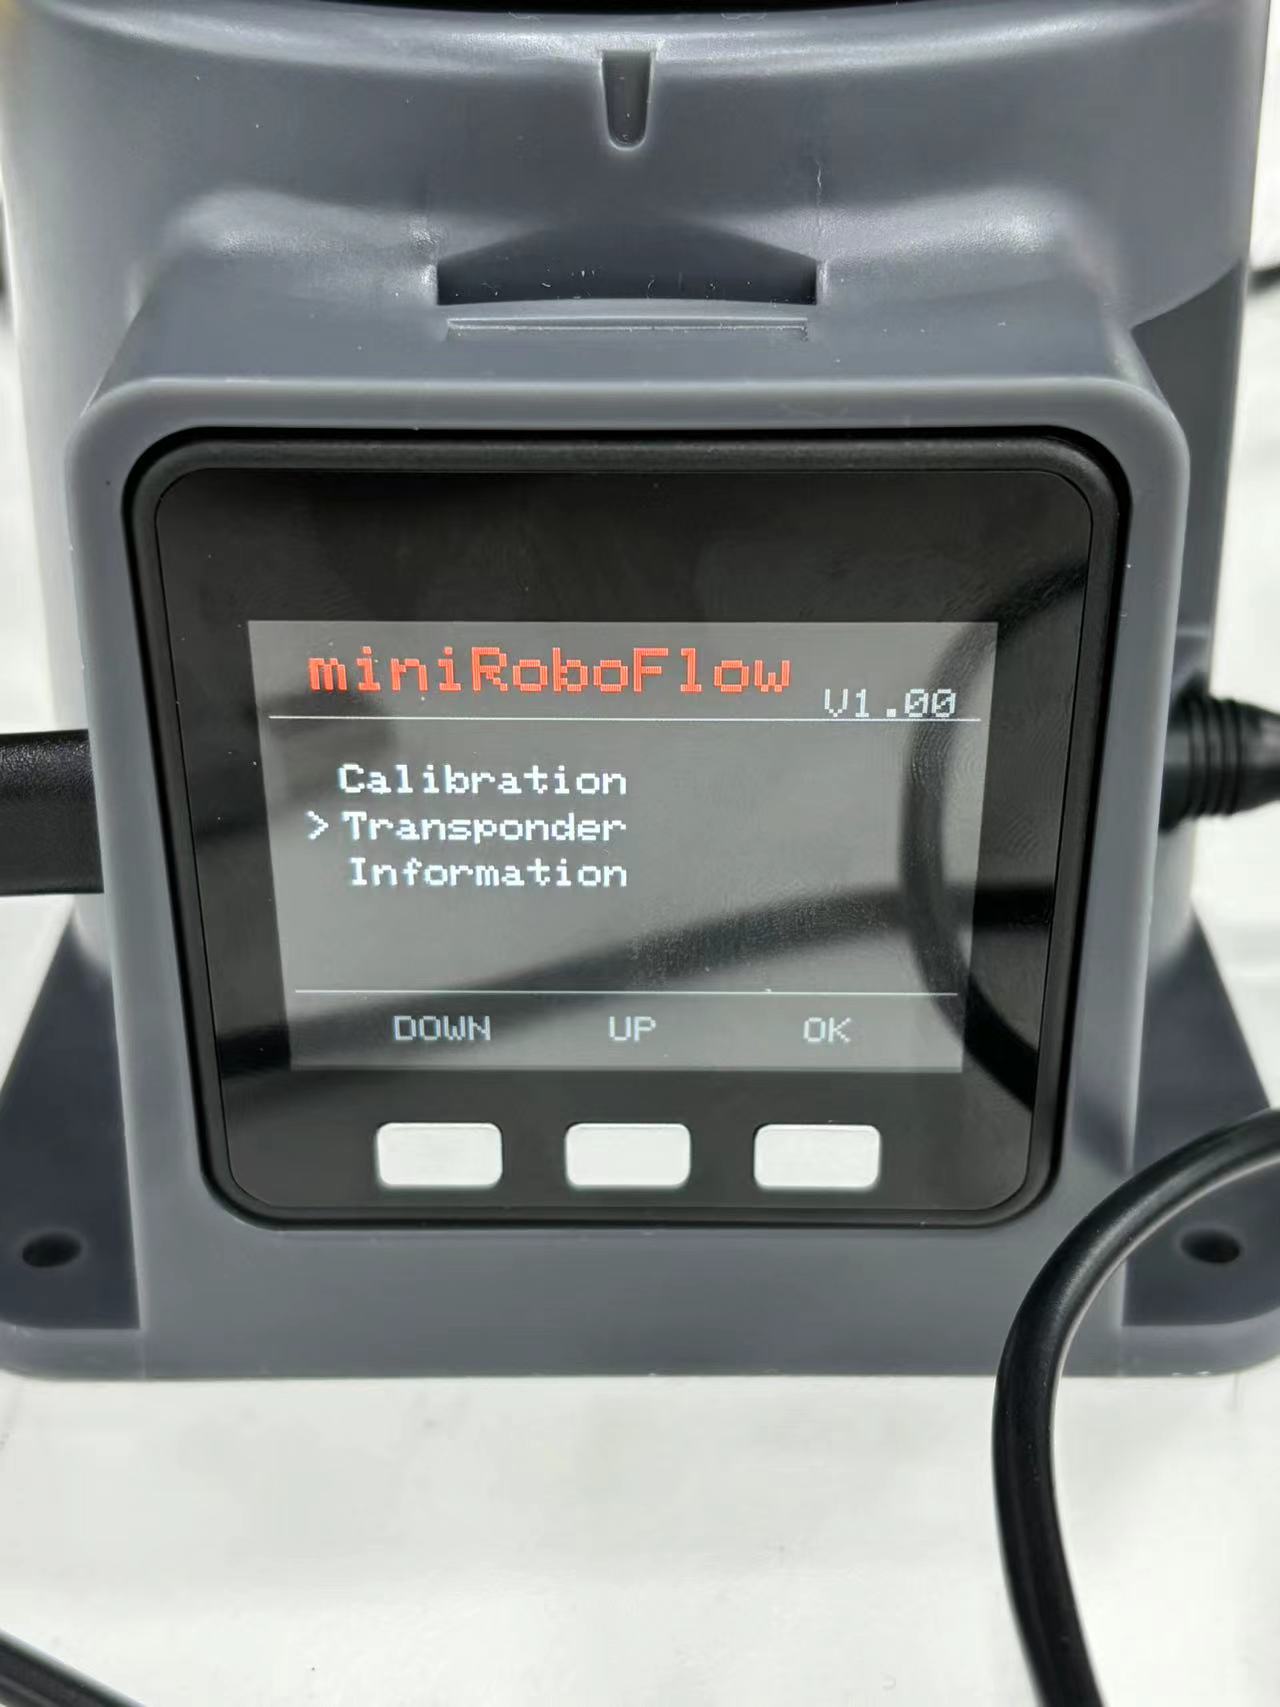
Then the screen will be displayed :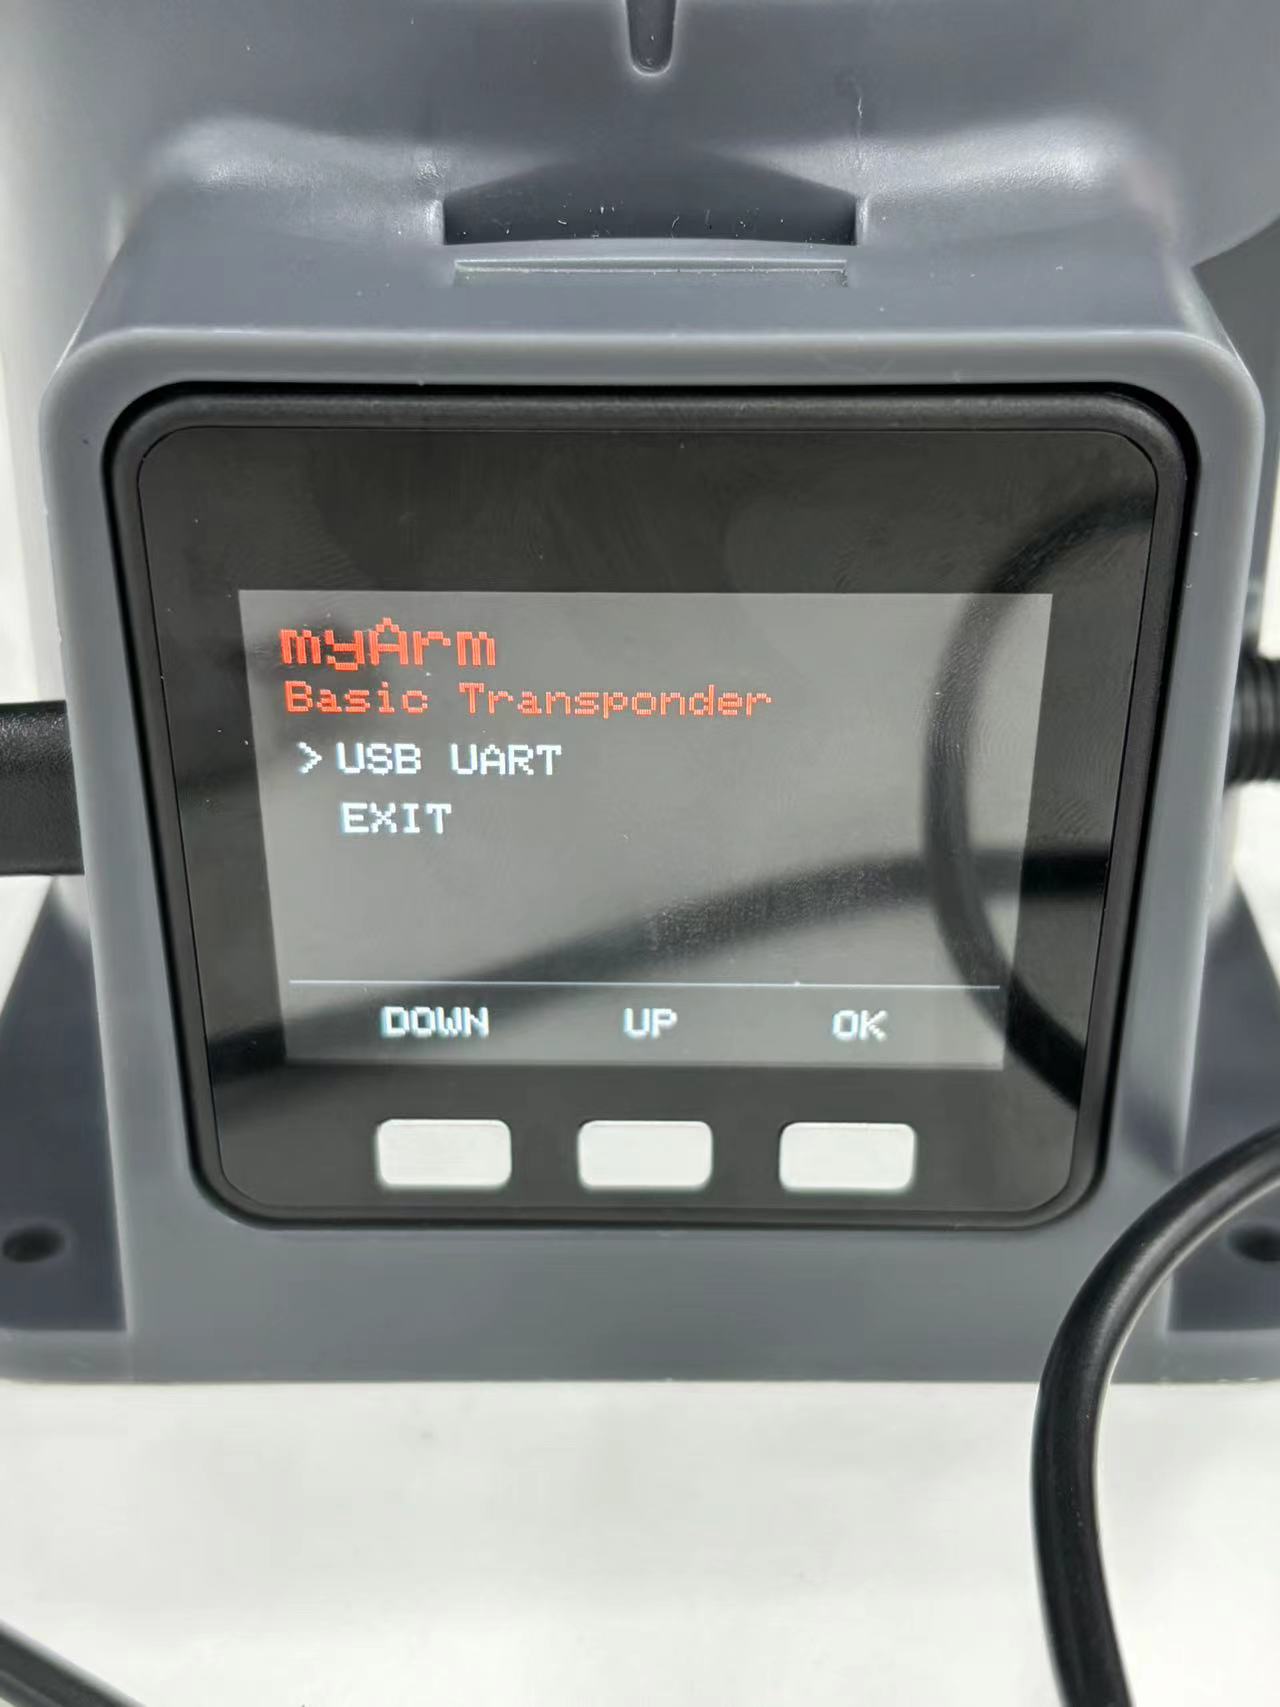
We can see that the arrow points to "USB UART, then press the "OK" button, after entering "NO, then press the "Exit button, go back to the arrow pointing to "USB UART", and then press the "OK" button, then "OK" will be displayed "OK"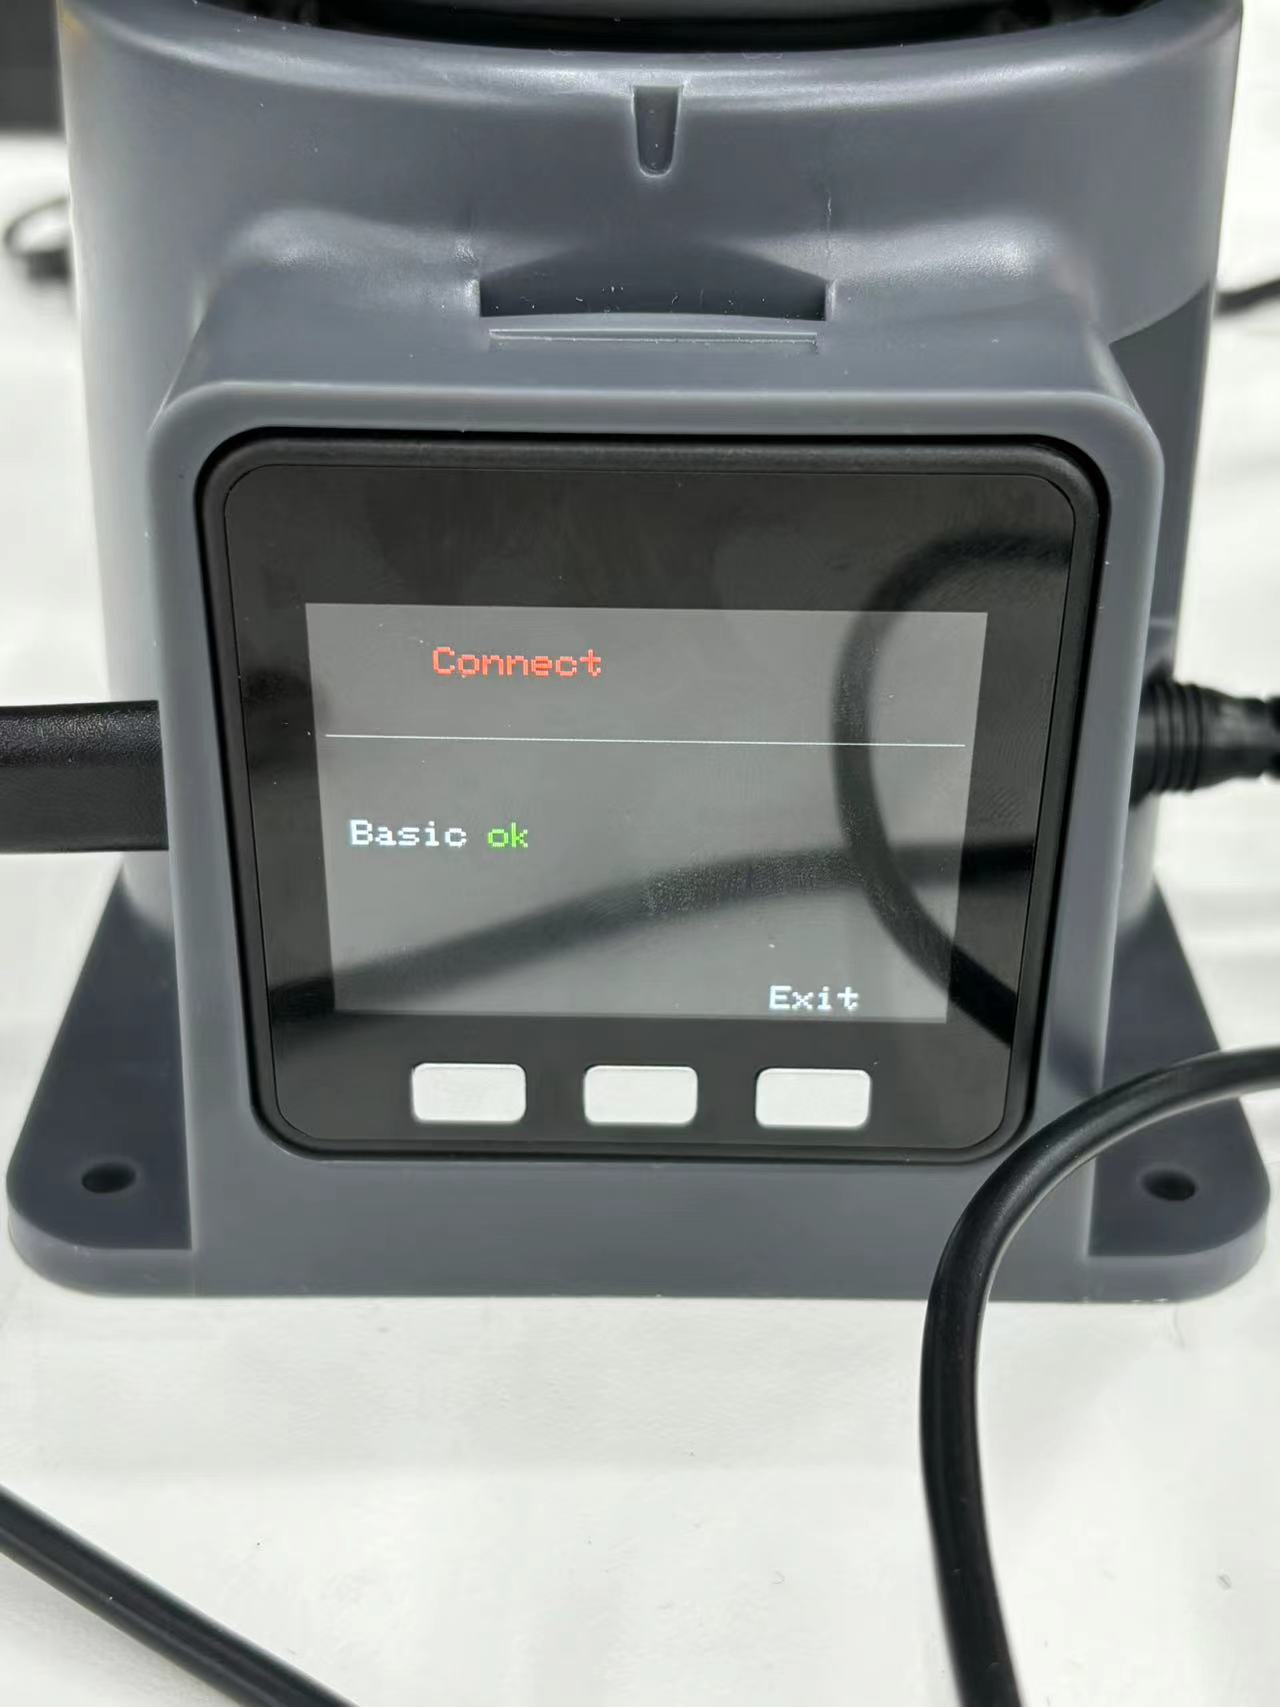
At this time, our MyarmC650 has been successfully connected to the computer
Next, enter the workspace open terminal command line in the command line add environment variables and run launch file:
source devel/setup.bash
roslaunch myarm_c650 test.launch
After successfully running the launch file, the terminal will display:
The rviz file will also display normally

Open the project in VS code and find the test.py file myArm/myarm_c650/scripts/test.py
- Open the .py file, right-click, select "Run Python", and then click "Run Python file in the terminal"
After a successful run, it will show: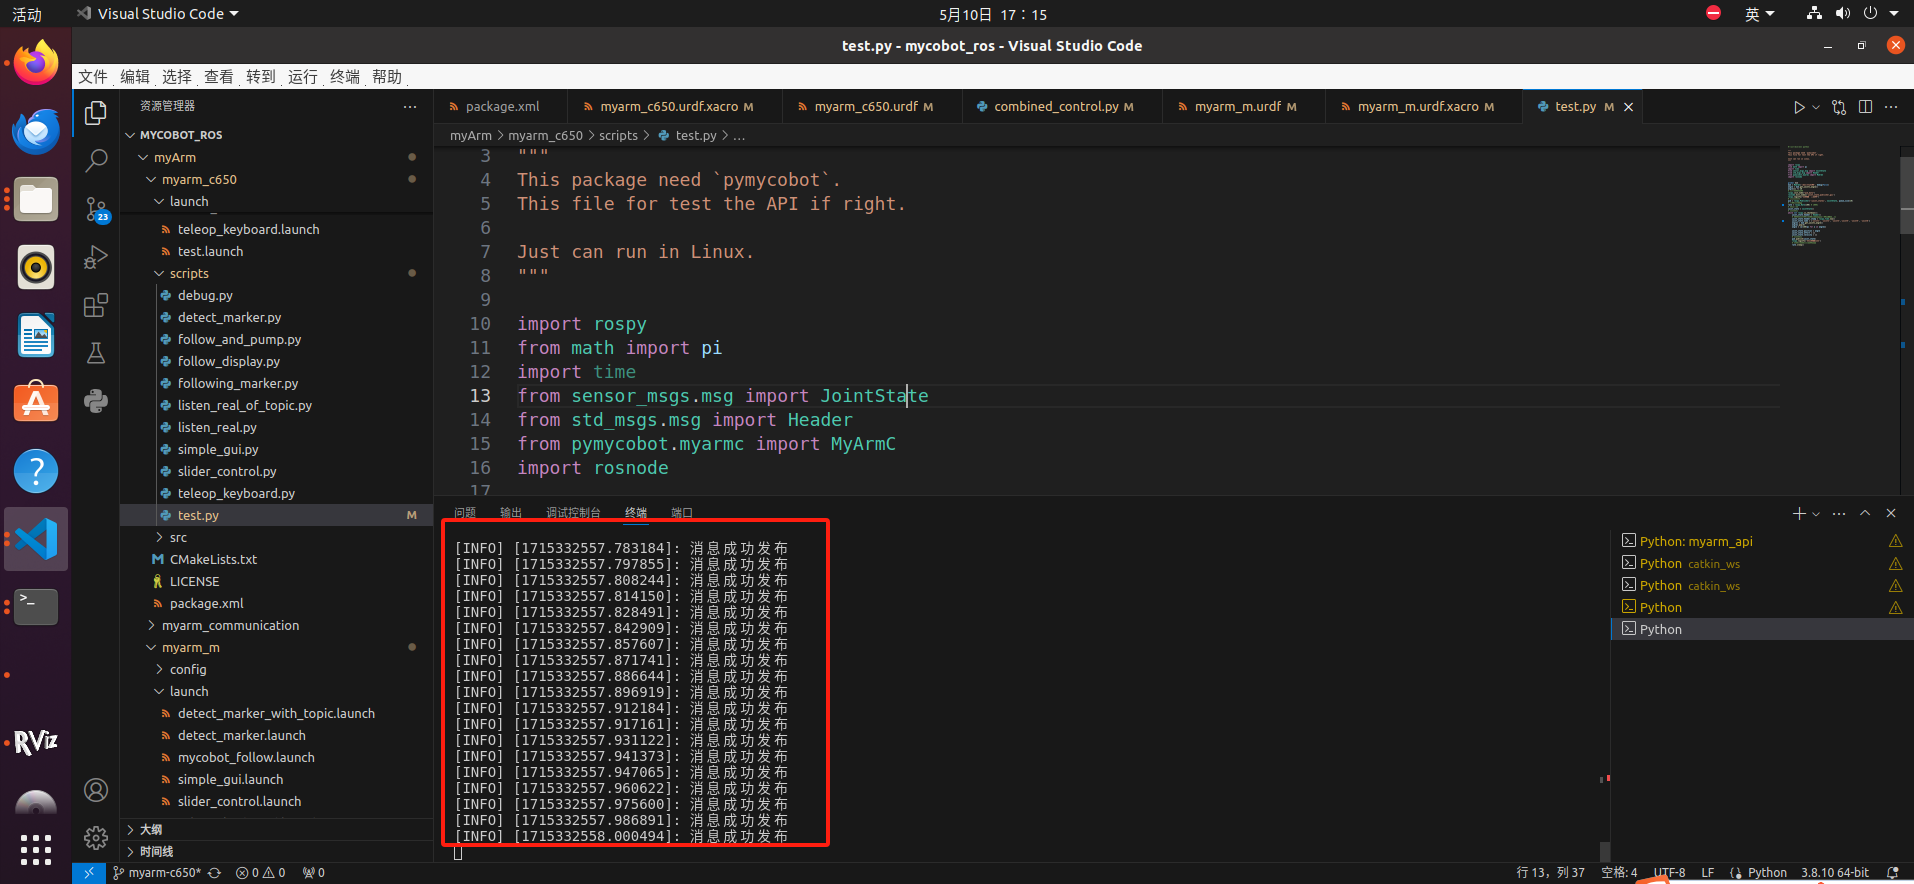
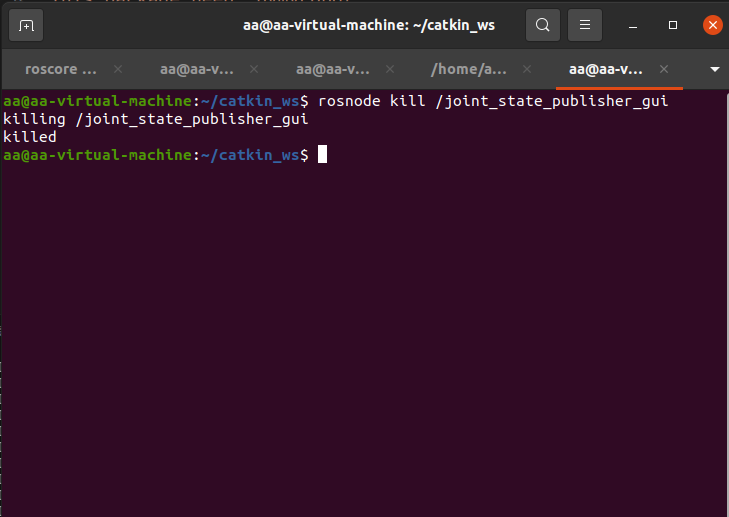
Create a new terminal in the workspace and enter the following command to kill the node:
rosnode kill /joint_state_publisher_gui
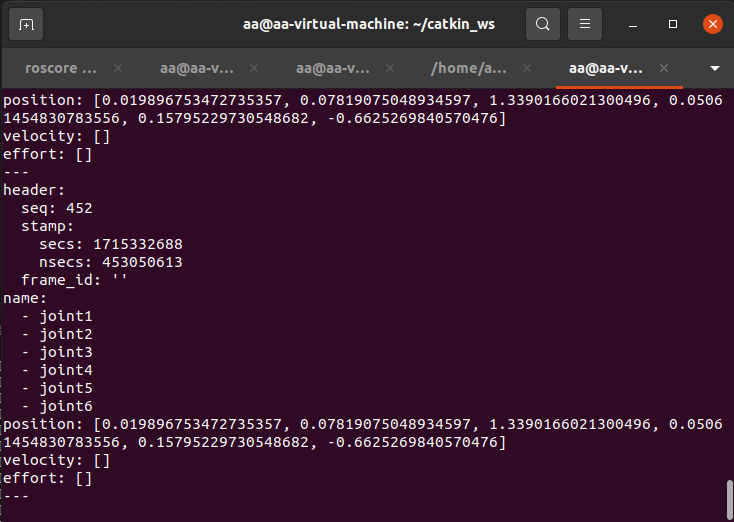
We can also continue to enter the following commands in the terminal in order to see the angle change of each joint of the MyarmC650:
rostopic echo /joint_state
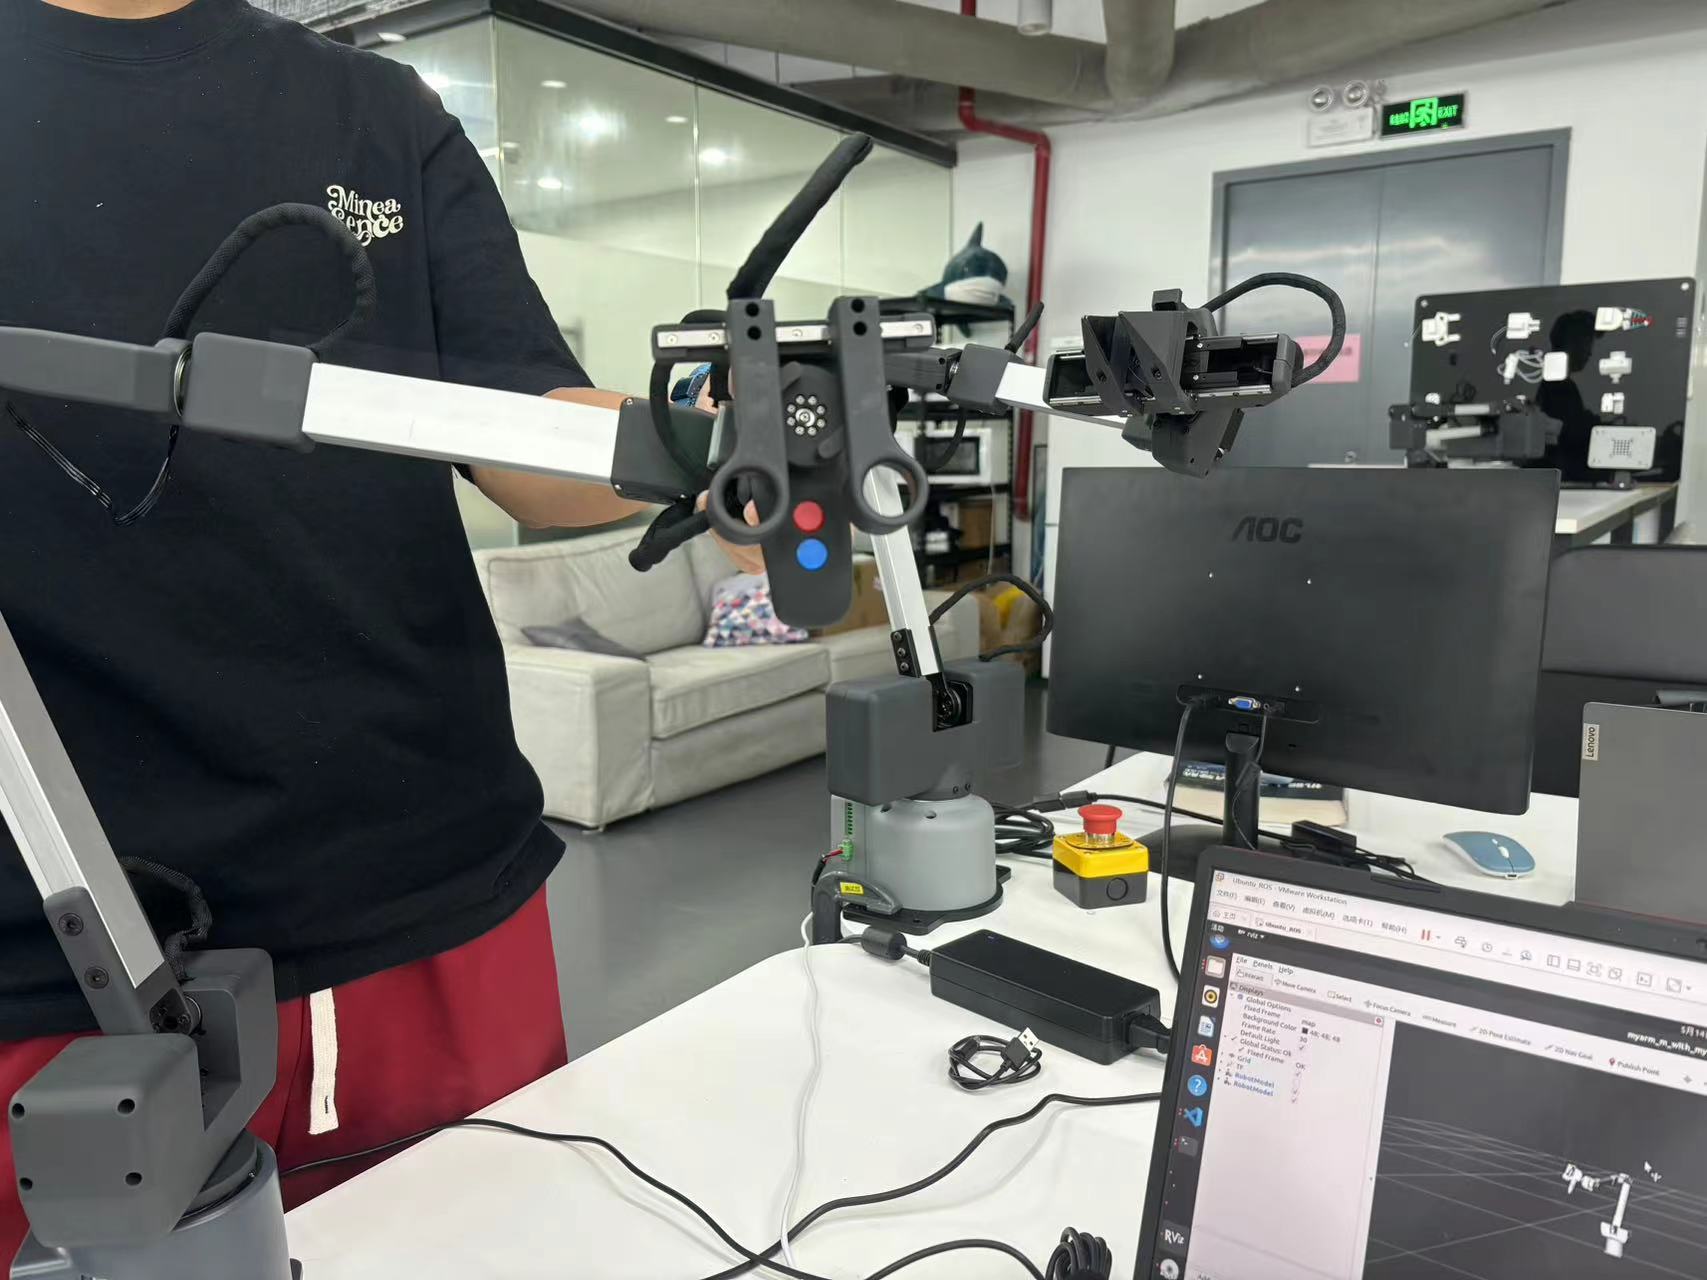
Next, we move the real MyarmC650 robotic arm with our hands, and the robotic arm in rviz will also move:
rosnode kill /joint_state_publisher_gui
At this point, the interaction with the MyarmC650 robotic arm has been completed
2、The MyarmC650 controls the movement of the MyarmM750
This function requires two robotic arms to be connected to our computer at the same time through USB, we need to distinguish how much each robotic arm is connected to our serial port, and create a new terminal:
Press TAB key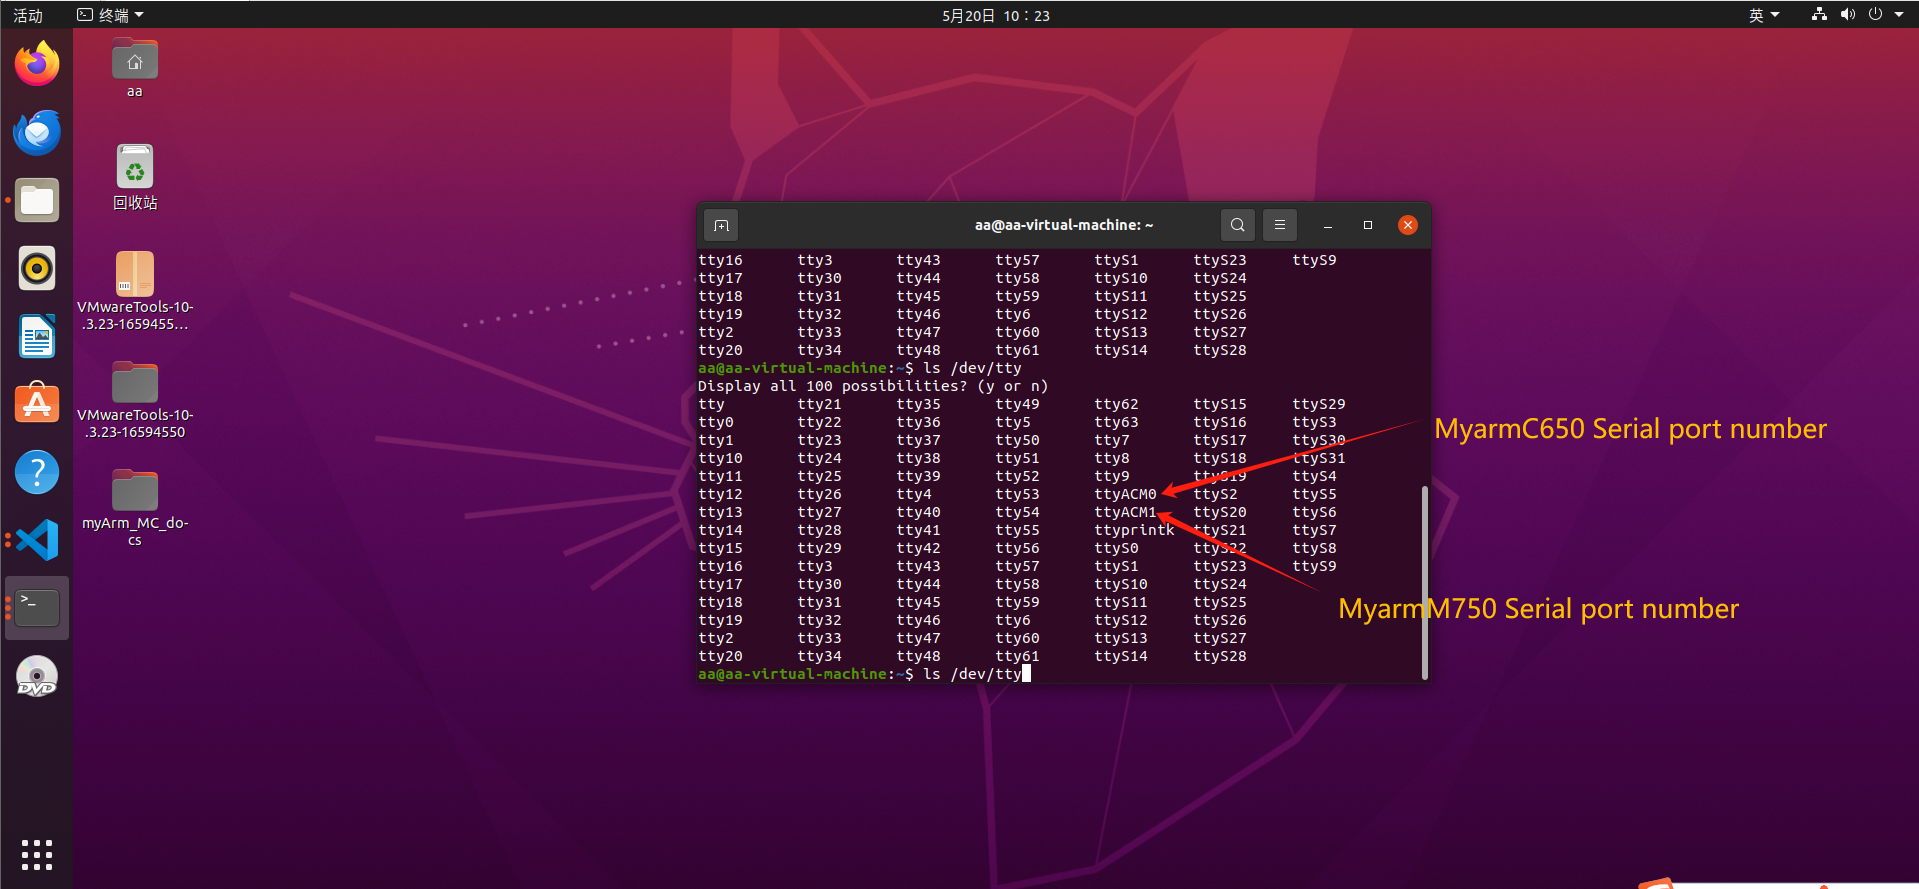
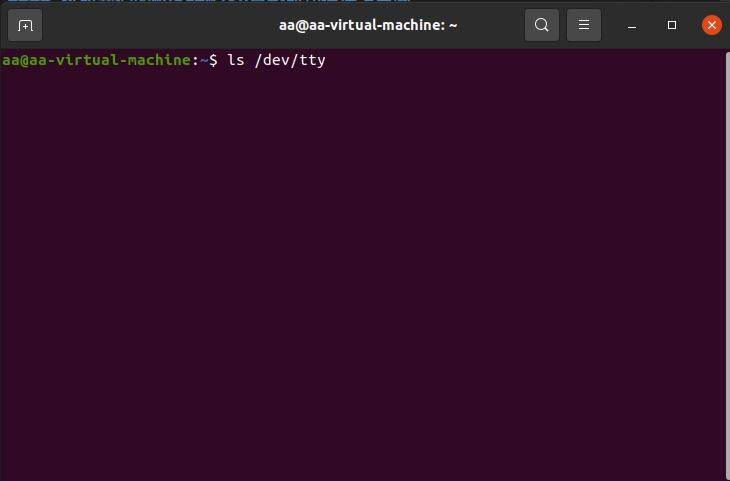
How to distinguish string slogans: Connect a robotic arm and then enter "ls /dev/tty" to view the current string slogan, and when the robotic arm is not opened, connect another robotic arm and enter this command to view the string slogan
Create a terminal input in the workspace:
roscore
Create another terminal and enter:
source devel/setup.bash roslaunch myarm_m combined_control.launch

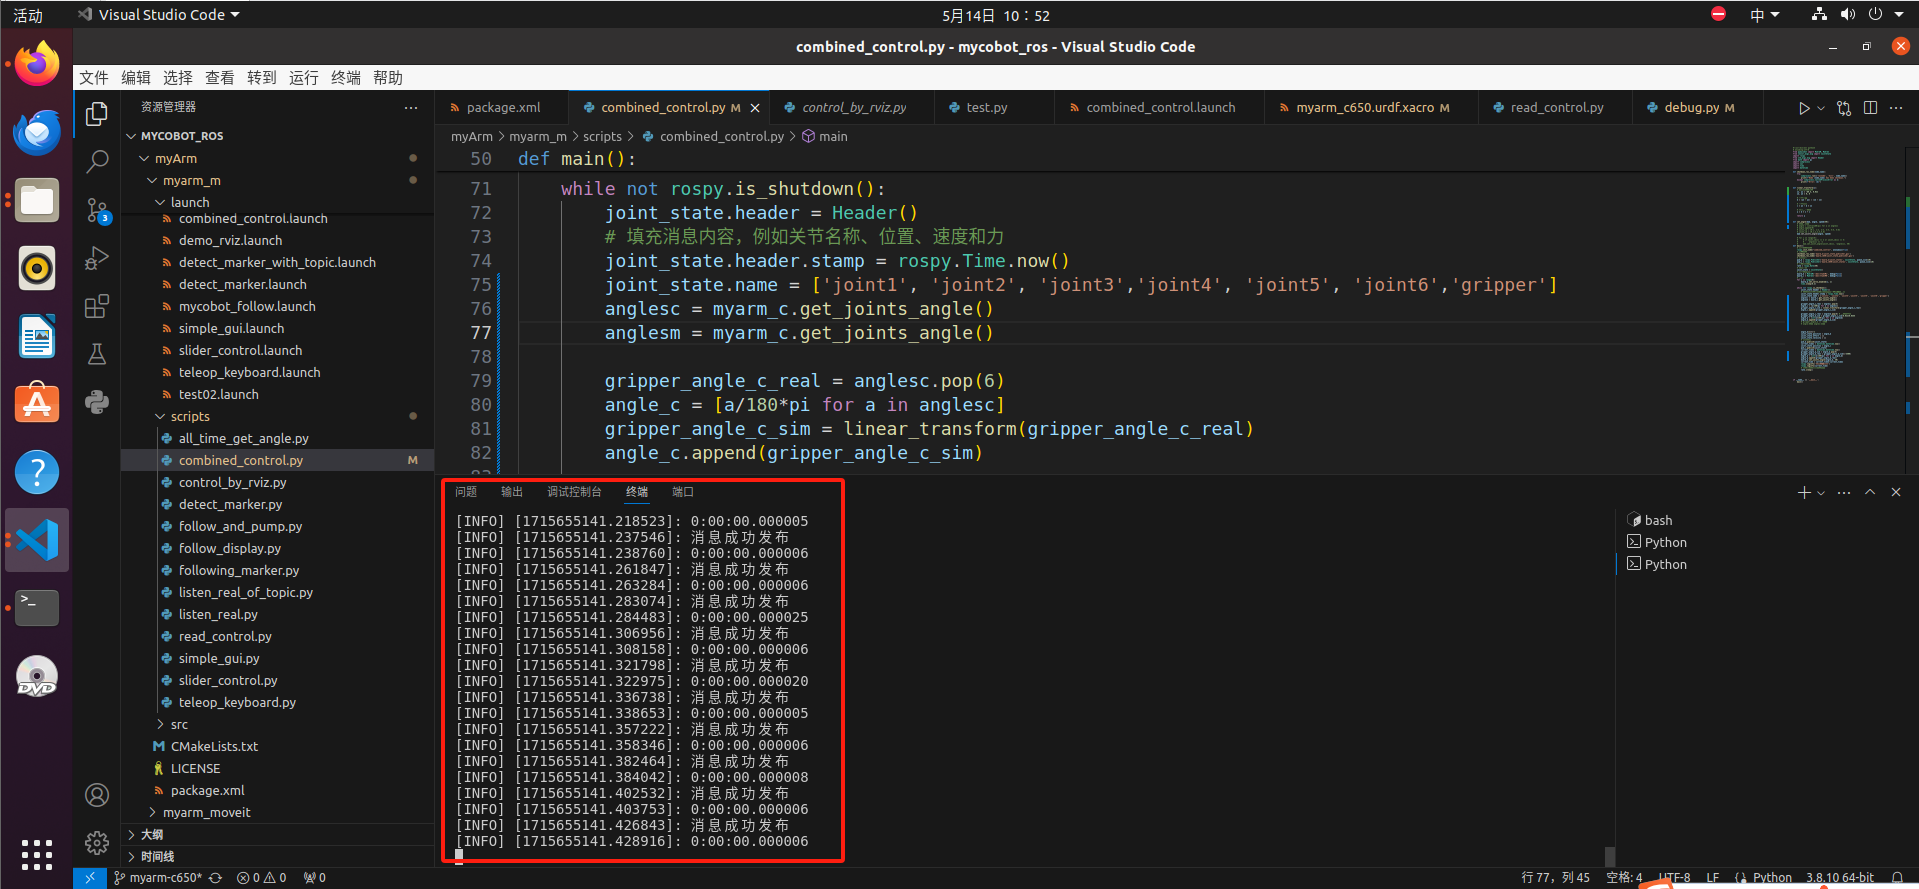
After starting the rviz emulation, open the .py file in the myArm/myarm_m/scripts/combined_control.py directory
- Open the .py file, right-click, select "Run Python", and then click "Run Python file in the terminal"
After a successful run, it will show:
At this time, we can use our hands to move the MyarmC650 robotic arm, the two robotic arms in the rivz follow the movement of the real-life MyarmC650, and at the same time, the MayrmM750 robotic arm in the real world will also follow the movement of the MyarmC650 (the gripping function can also move)