<<<<<<< HEAD
Zero calibration
This was done before the default bot was delivered. There is no need to repeat the operation. Using this feature incorrectly may damage the bot. If your robot is working without abnormality, do not use it. Thank you for your cooperation.
Calibrating the robotic arm is the prerequisite for precise control of the robotic arm, while setting the joint zero point and initializing the motor potential are the basic tasks of subsequent advanced development.
In this chapter, we'll teach you how to calibrate robotic arms as well as test and validate joints.
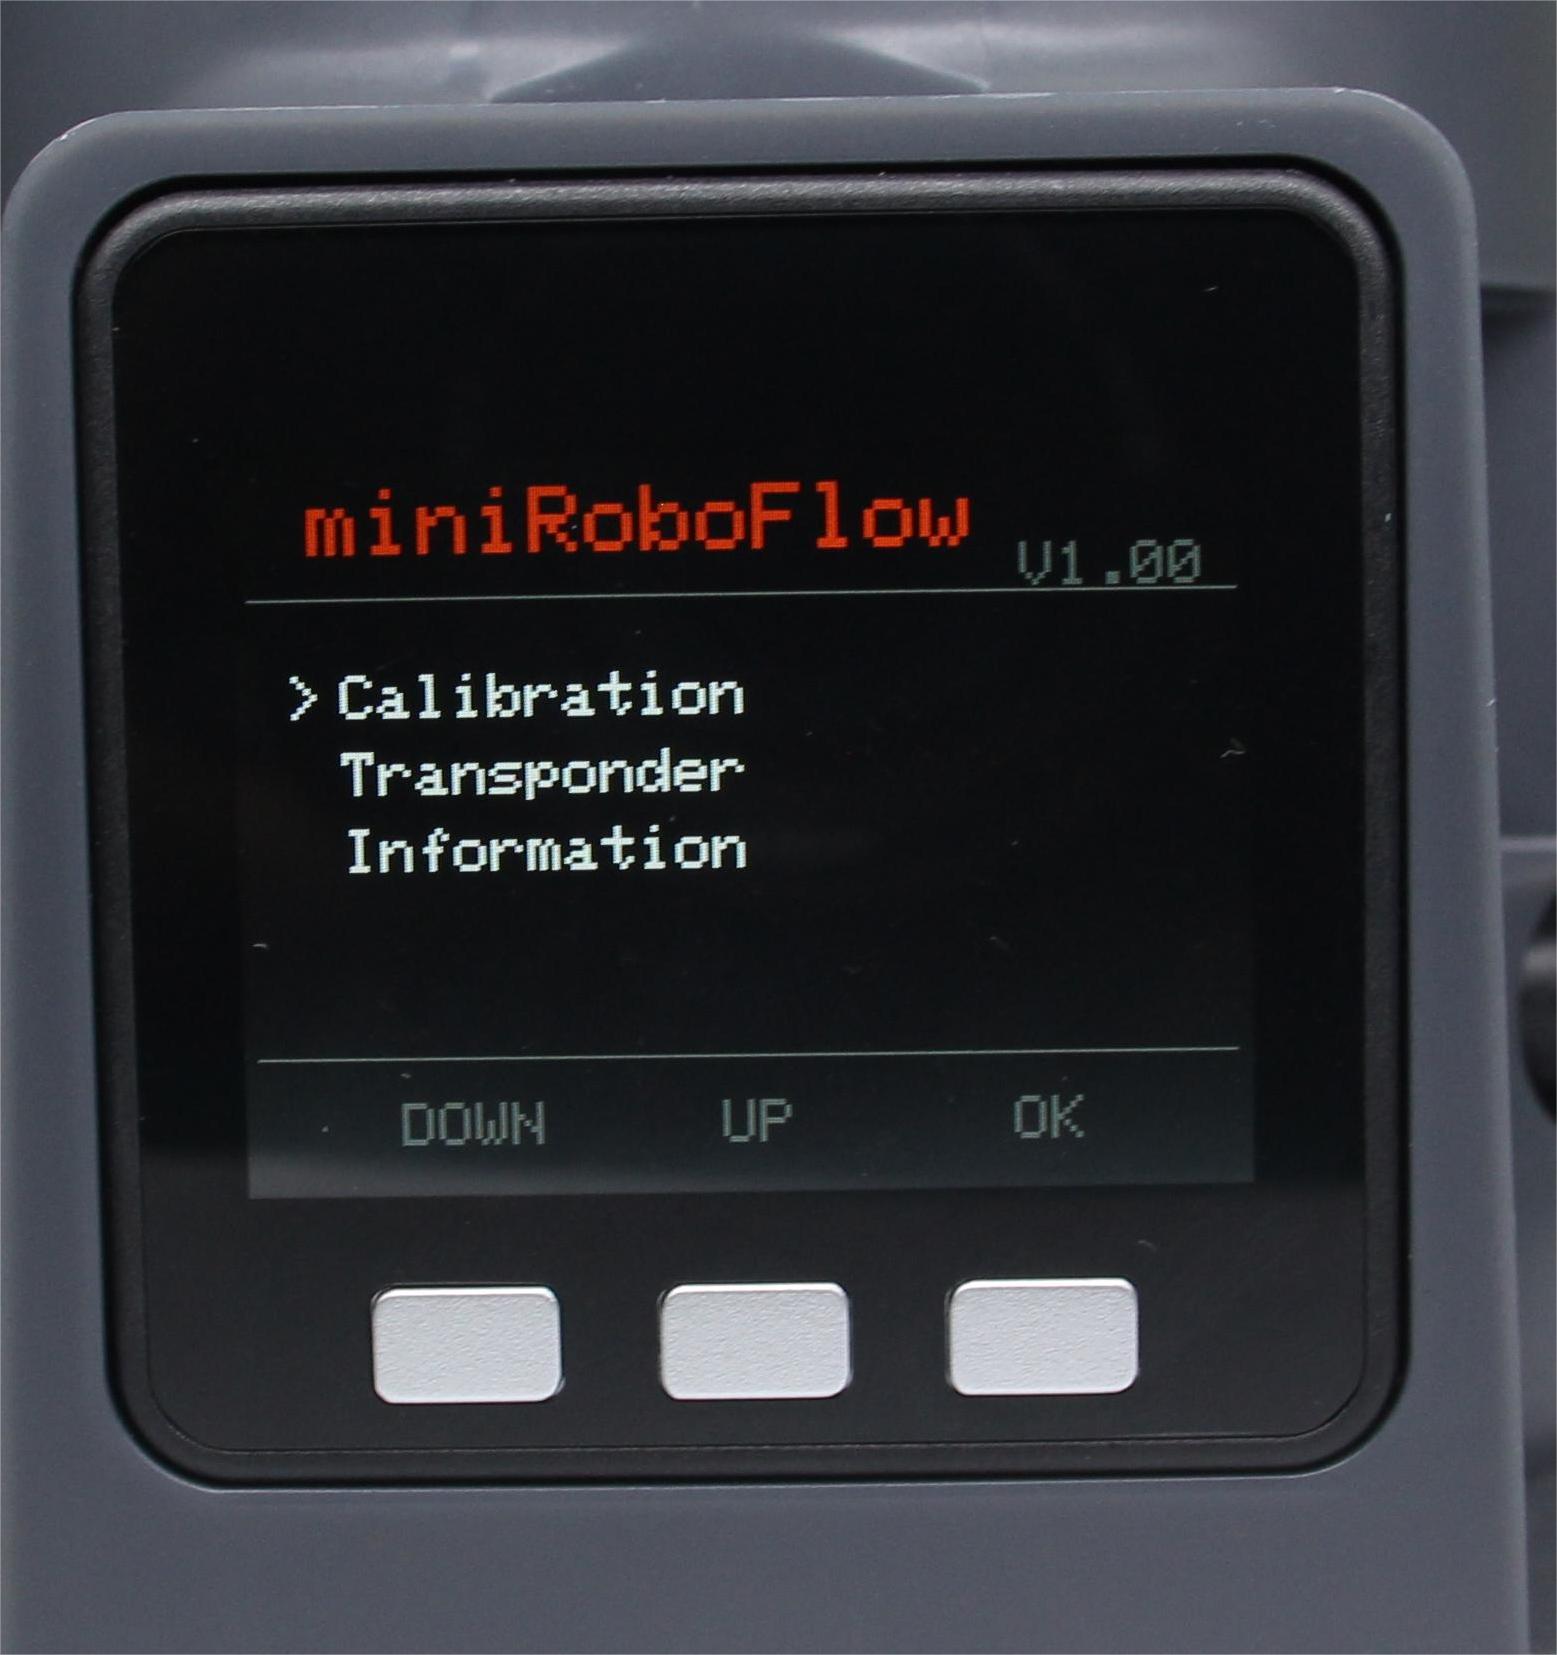
Step 1: Select Calibration, click OK to enter the zero calibration interface.
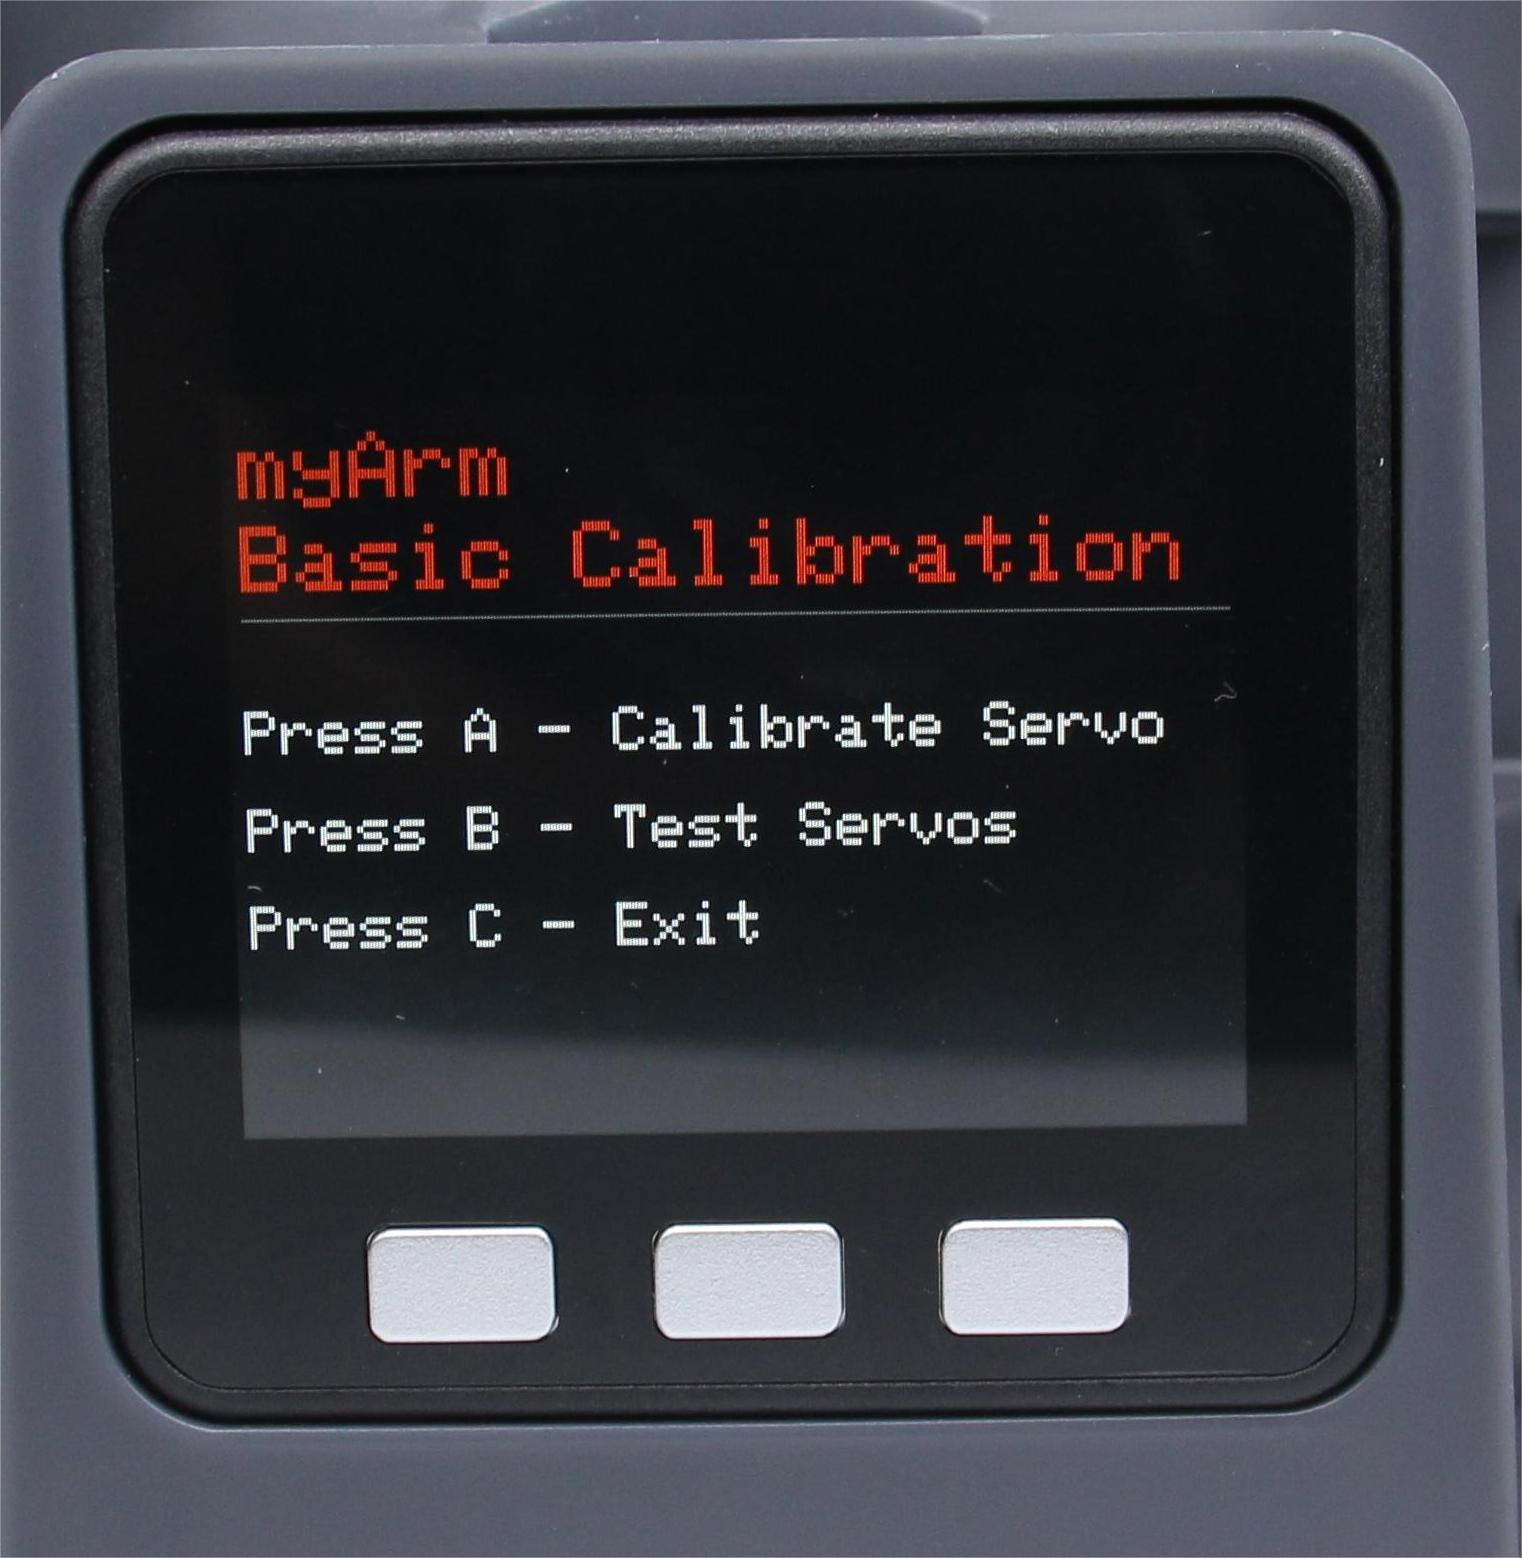
Step 2: Press the A key to start calibrating the robotic arm.
 Step 3: First drag the robotic arm to bring the No. 1 joint to the zero position (zero tick alignment).
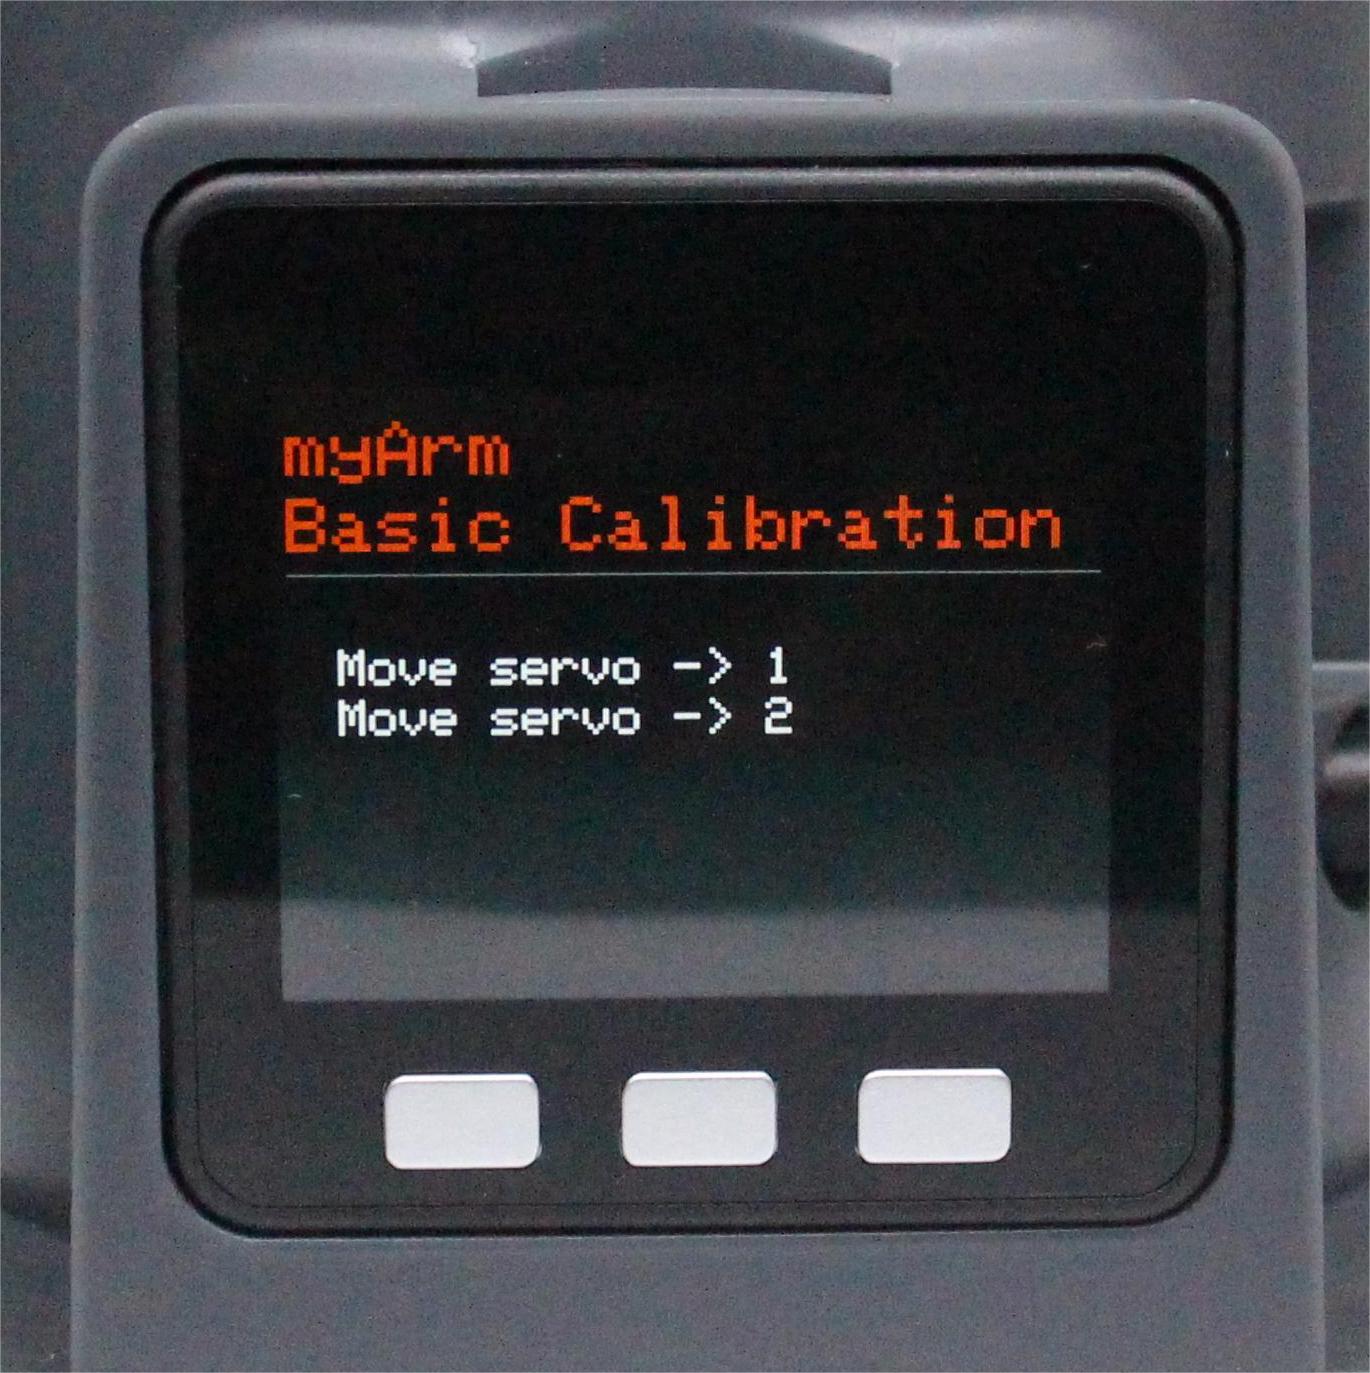
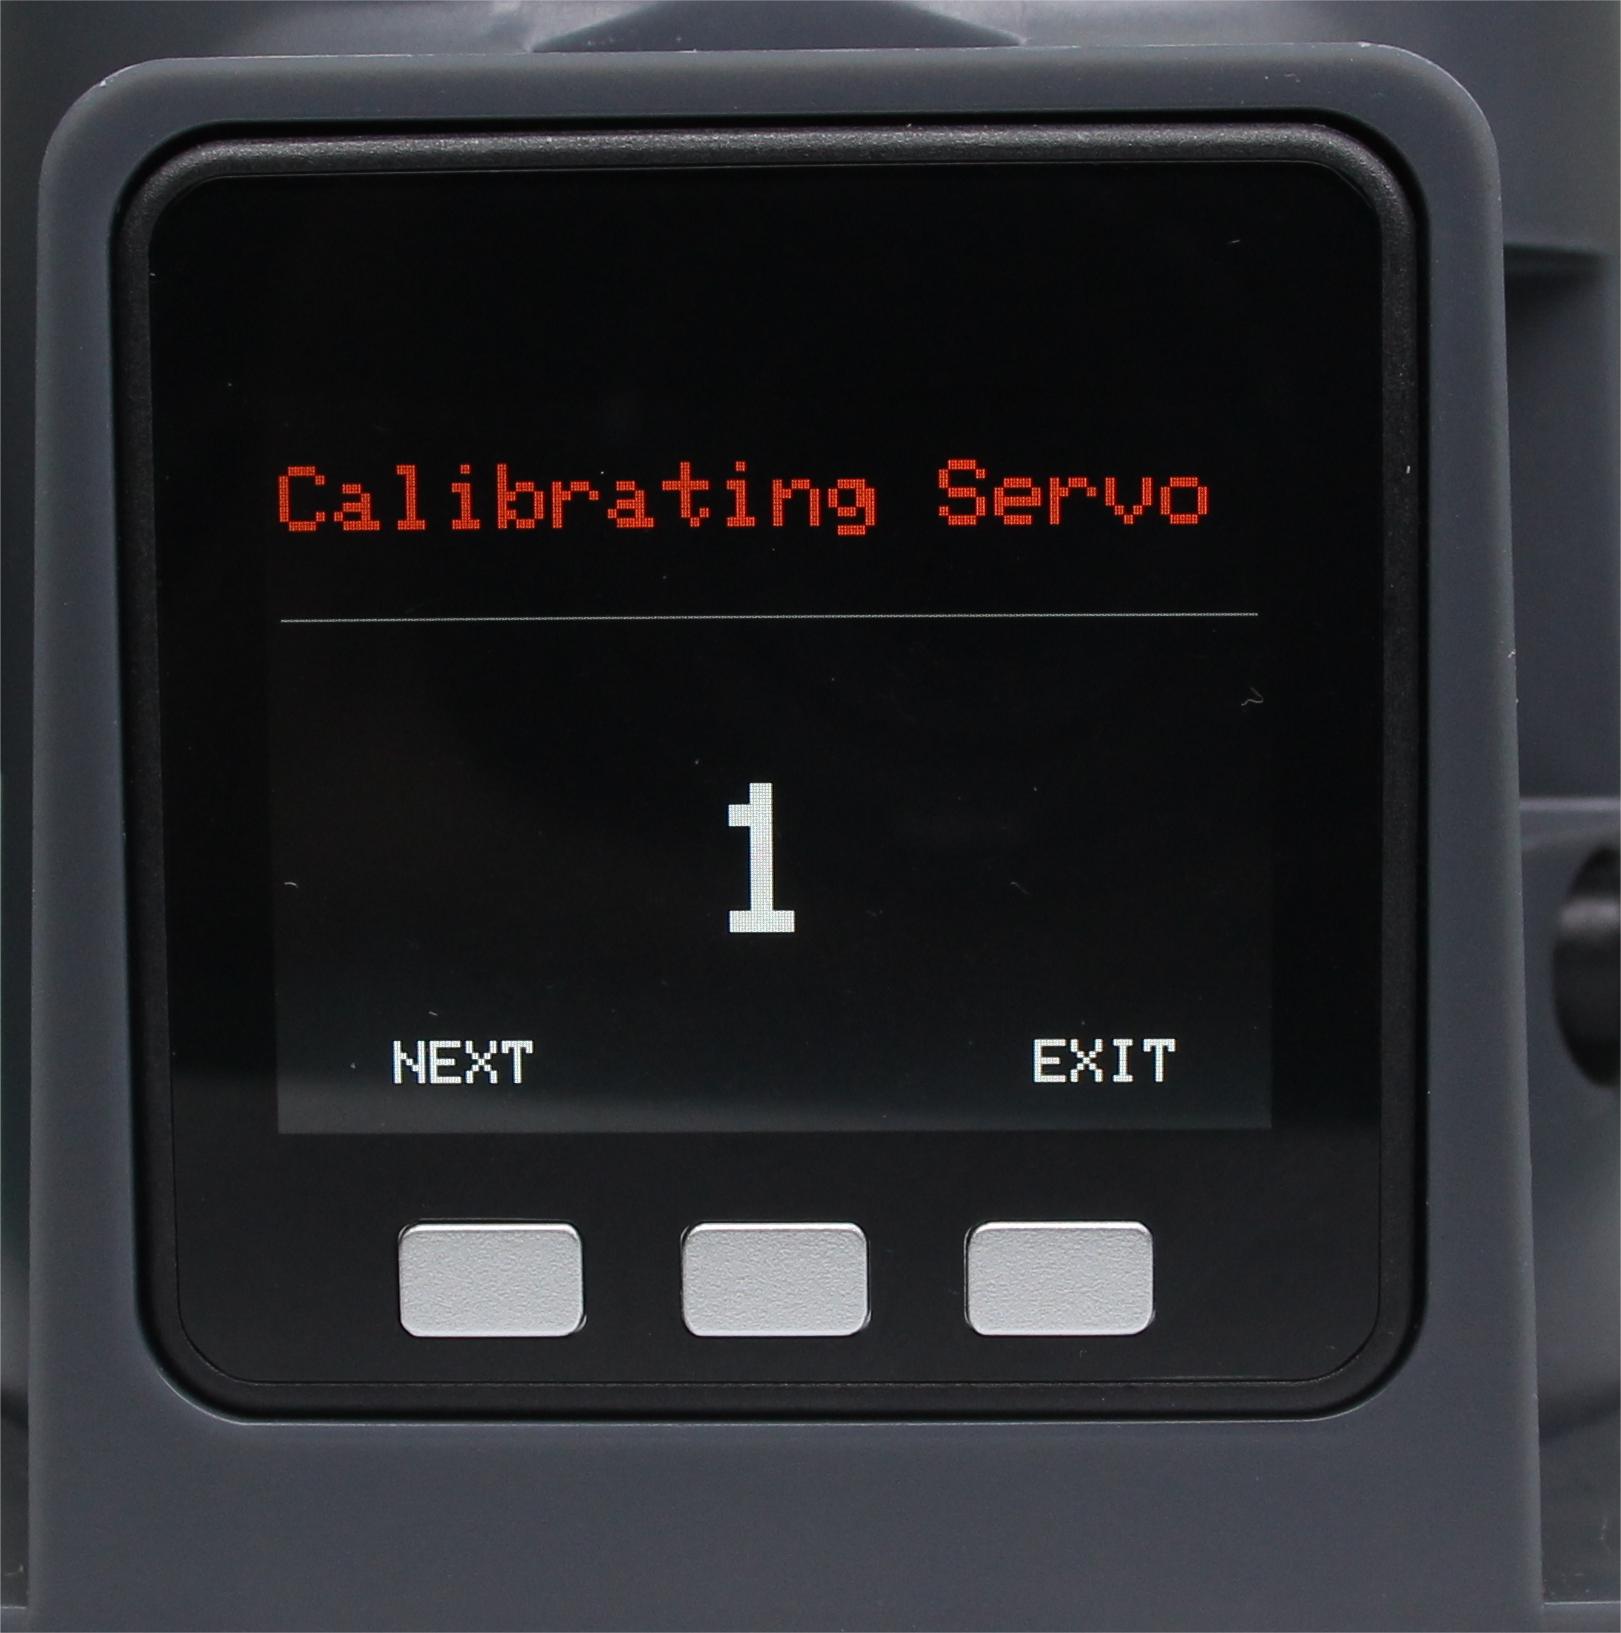 Step 4: Follow the joint serial numbers (1-7) as prompted on the screen, drag the robotic arm to bring each joint to the zero position (zero tick alignment)。
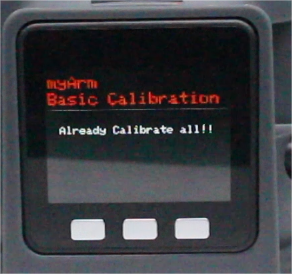
Step 5: Press NEXT in turn to enter the next motor calibration until Already Calibrate all appears!! , that is, the calibration is complete.
Step 6: Press EXIT to exit the calibration.
Step 7: Press the B key to test the zero position of each joint of the robotic arm, at this time, the robotic arm will perform a small movement near the zero position of each joint. The individual joints can only be tested with the test after the zero calibration has been completed.
(Version 1.1 Pressing the B button will show the angle of each joint).
 Step 8: Press the C key to exit this feature.
← Previous page | Next page →
零位校准
默认机器人交付前已执行过此操作。无需重复操作。错误使用此功能可能会损坏机器人。如果您的机器人在无异常情况下工作,请勿使用。感谢您的合作。
校准机械臂是精确控制机械臂的前提,而设置关节零点和初始化电机电位则是后续高级开发的基本工作。
在本章中,我们将教您如何校准机械臂以及测试和验证关节。
Step 1: 选中 Calibration,点击 OK 进入零位校准界面。
Step 2: 按下 A 键 ,开始校准机械臂。
Step 3: 首先拖动机械臂使一号关节到达零位状态(零位刻度线对齐)。
Step 4: 按照屏幕提示的关节序号(1-7),拖动机械臂使每个关节到达零位(零位刻度线对齐)。
Step 5: 依次按下 NEXT,进入下一个电机校准,直至出现 Already Calibrate all!! ,即完成校准。
Step 6: 按下 EXIT ,可退出校准。
Step 7: 按下 B 键,测试机械臂各关节零位,此时机械臂会在各关节零位附近进行小幅度的运动。只有在完成零位校准后,才能使用 test 测试各关节。
Step 8: 按下 C 键,退出此功能。
2350f0e86e2352fe2e8fb62592247280afec2c2d