<<<<<<< HEAD
C650 Controls M750 Program Example
Program Address
First, connect the MyarmM750 robotic arm to the system using a USB-to-Type-C cable and power it on.
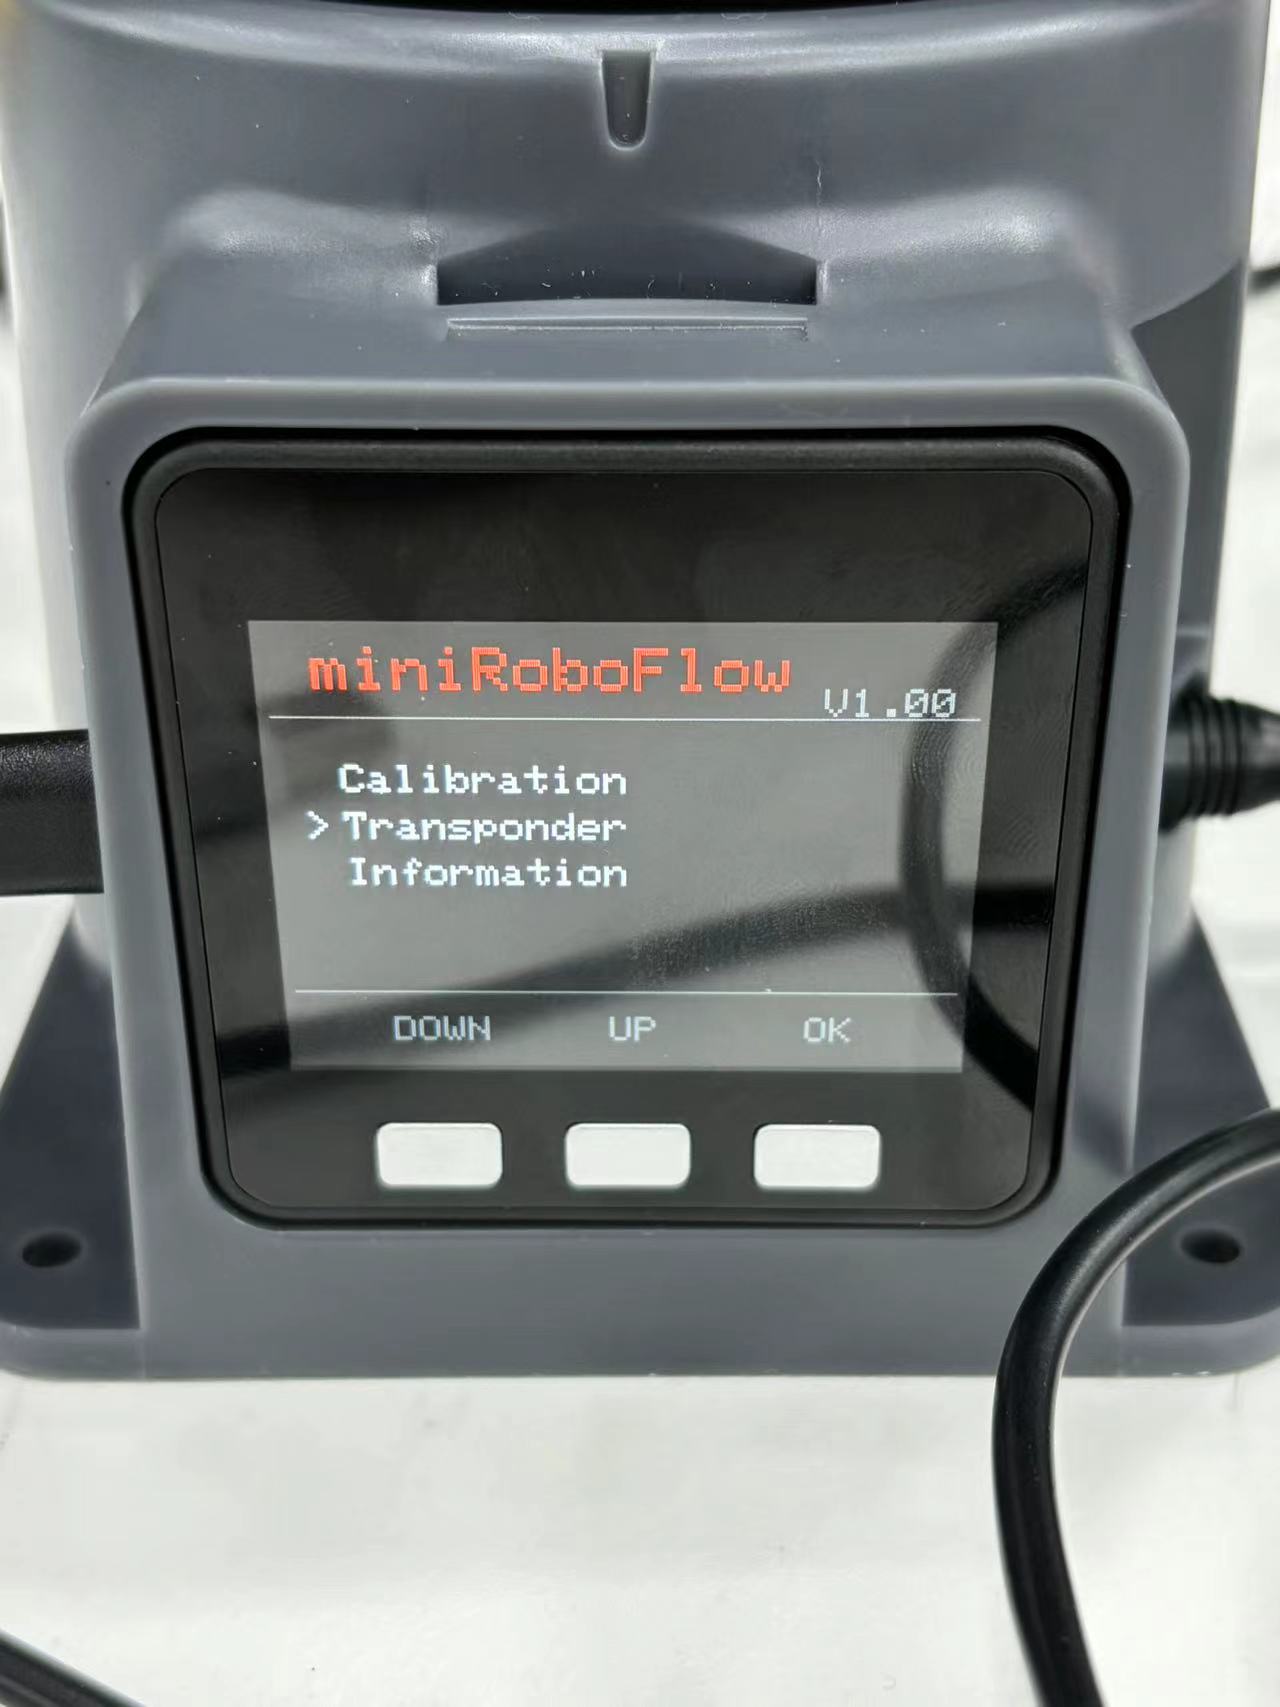
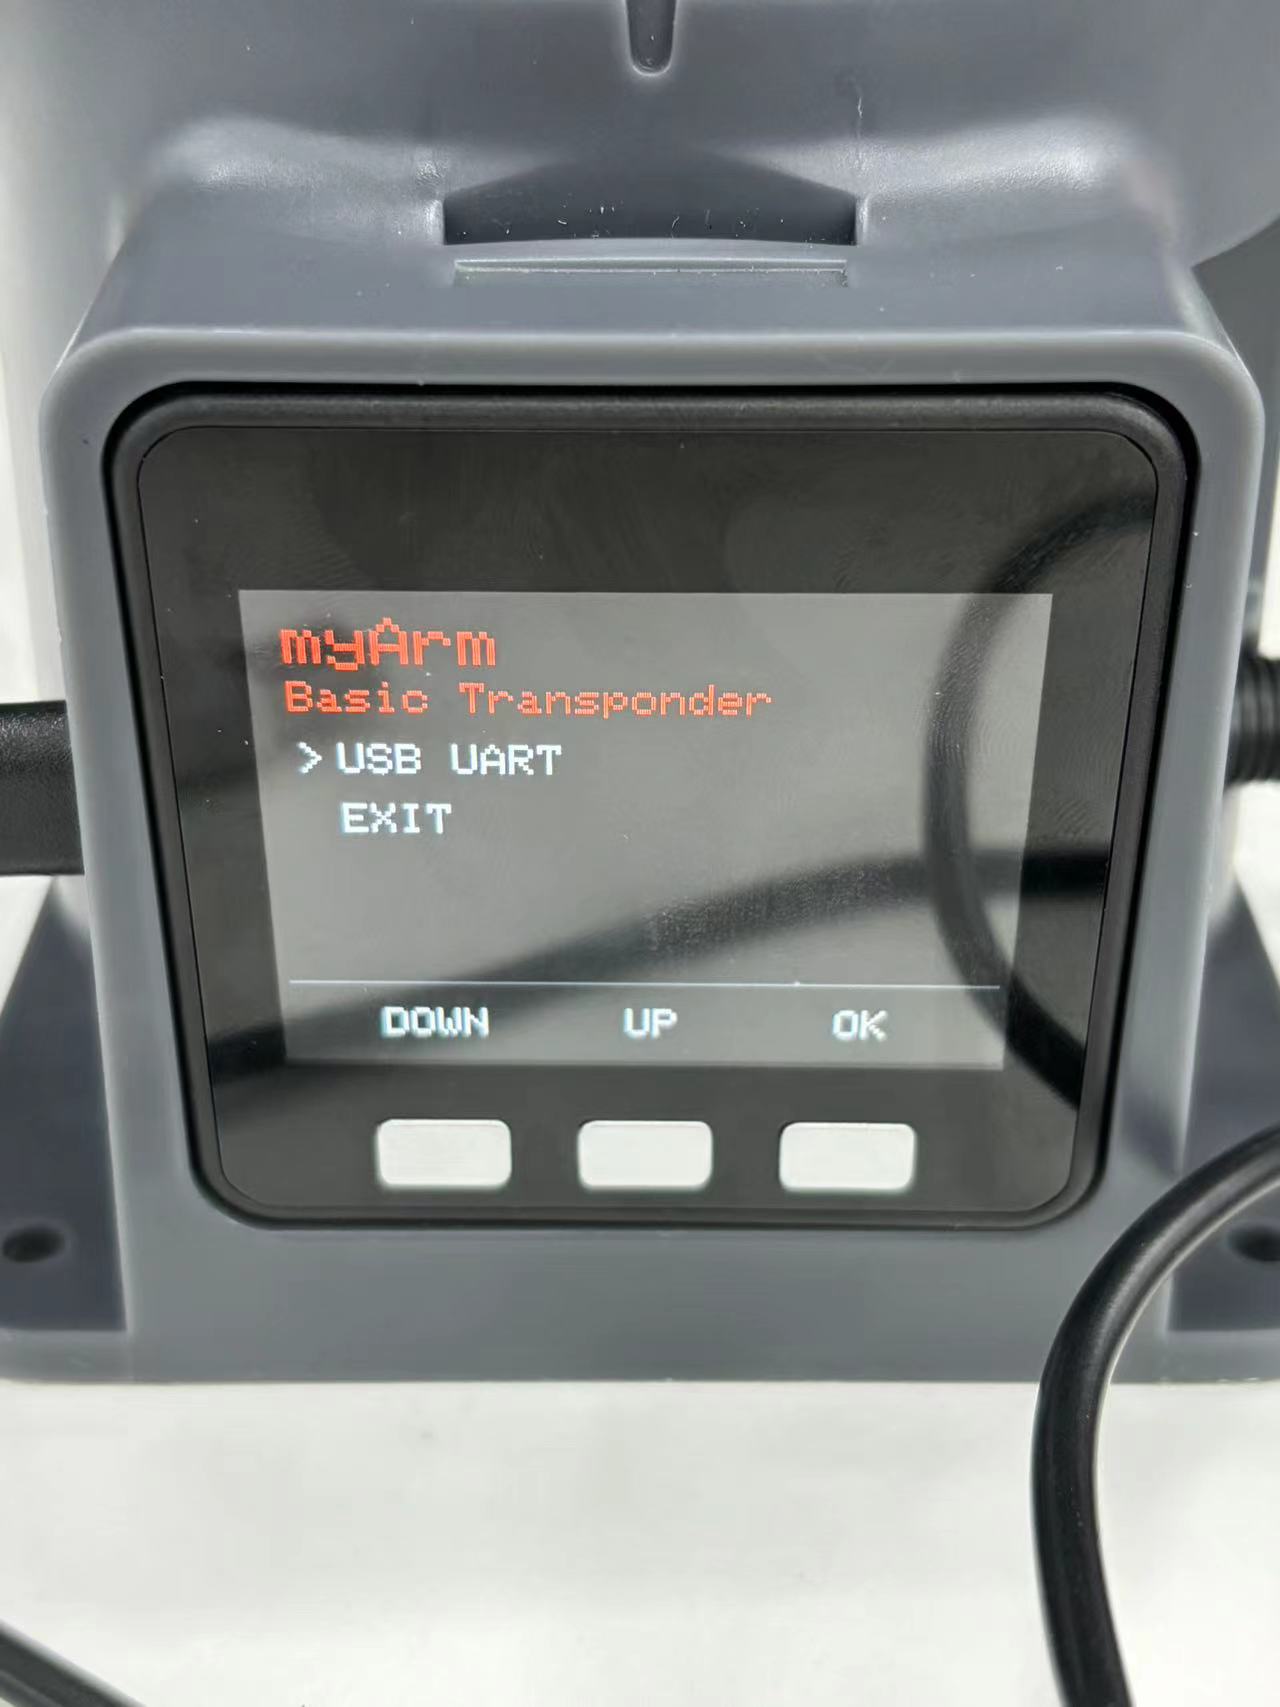
Select Transponder using the button and press "OK".
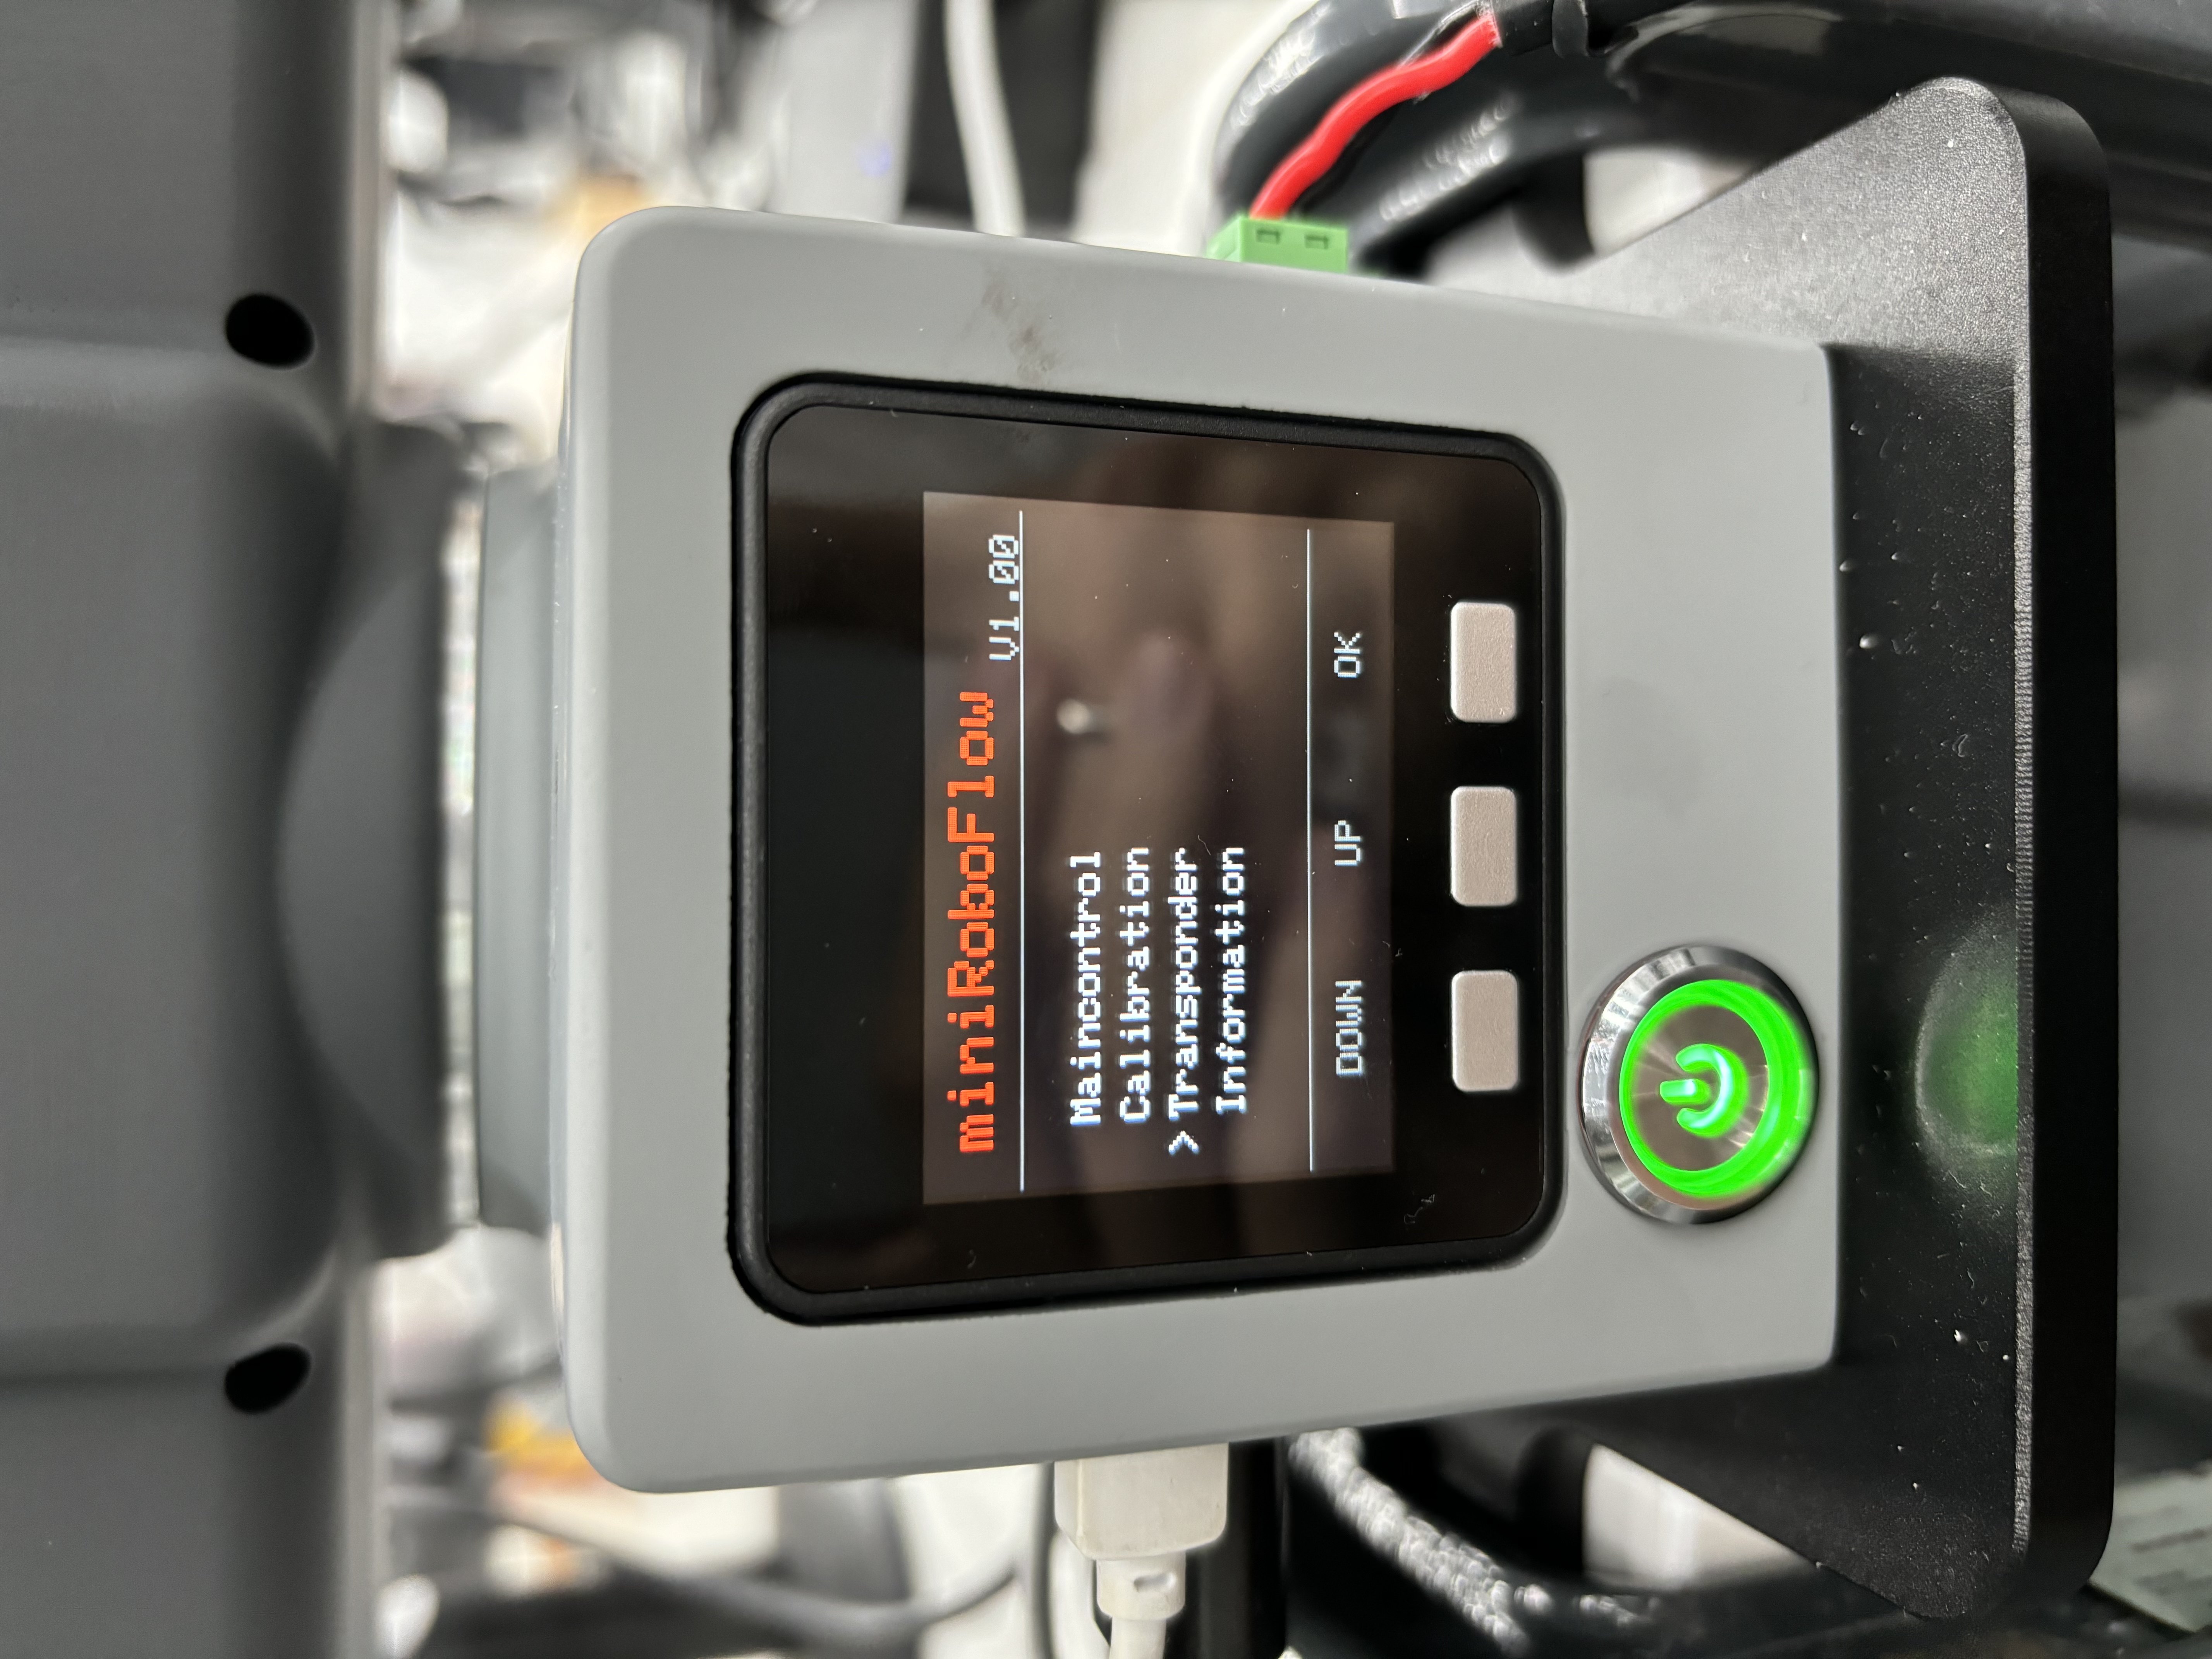
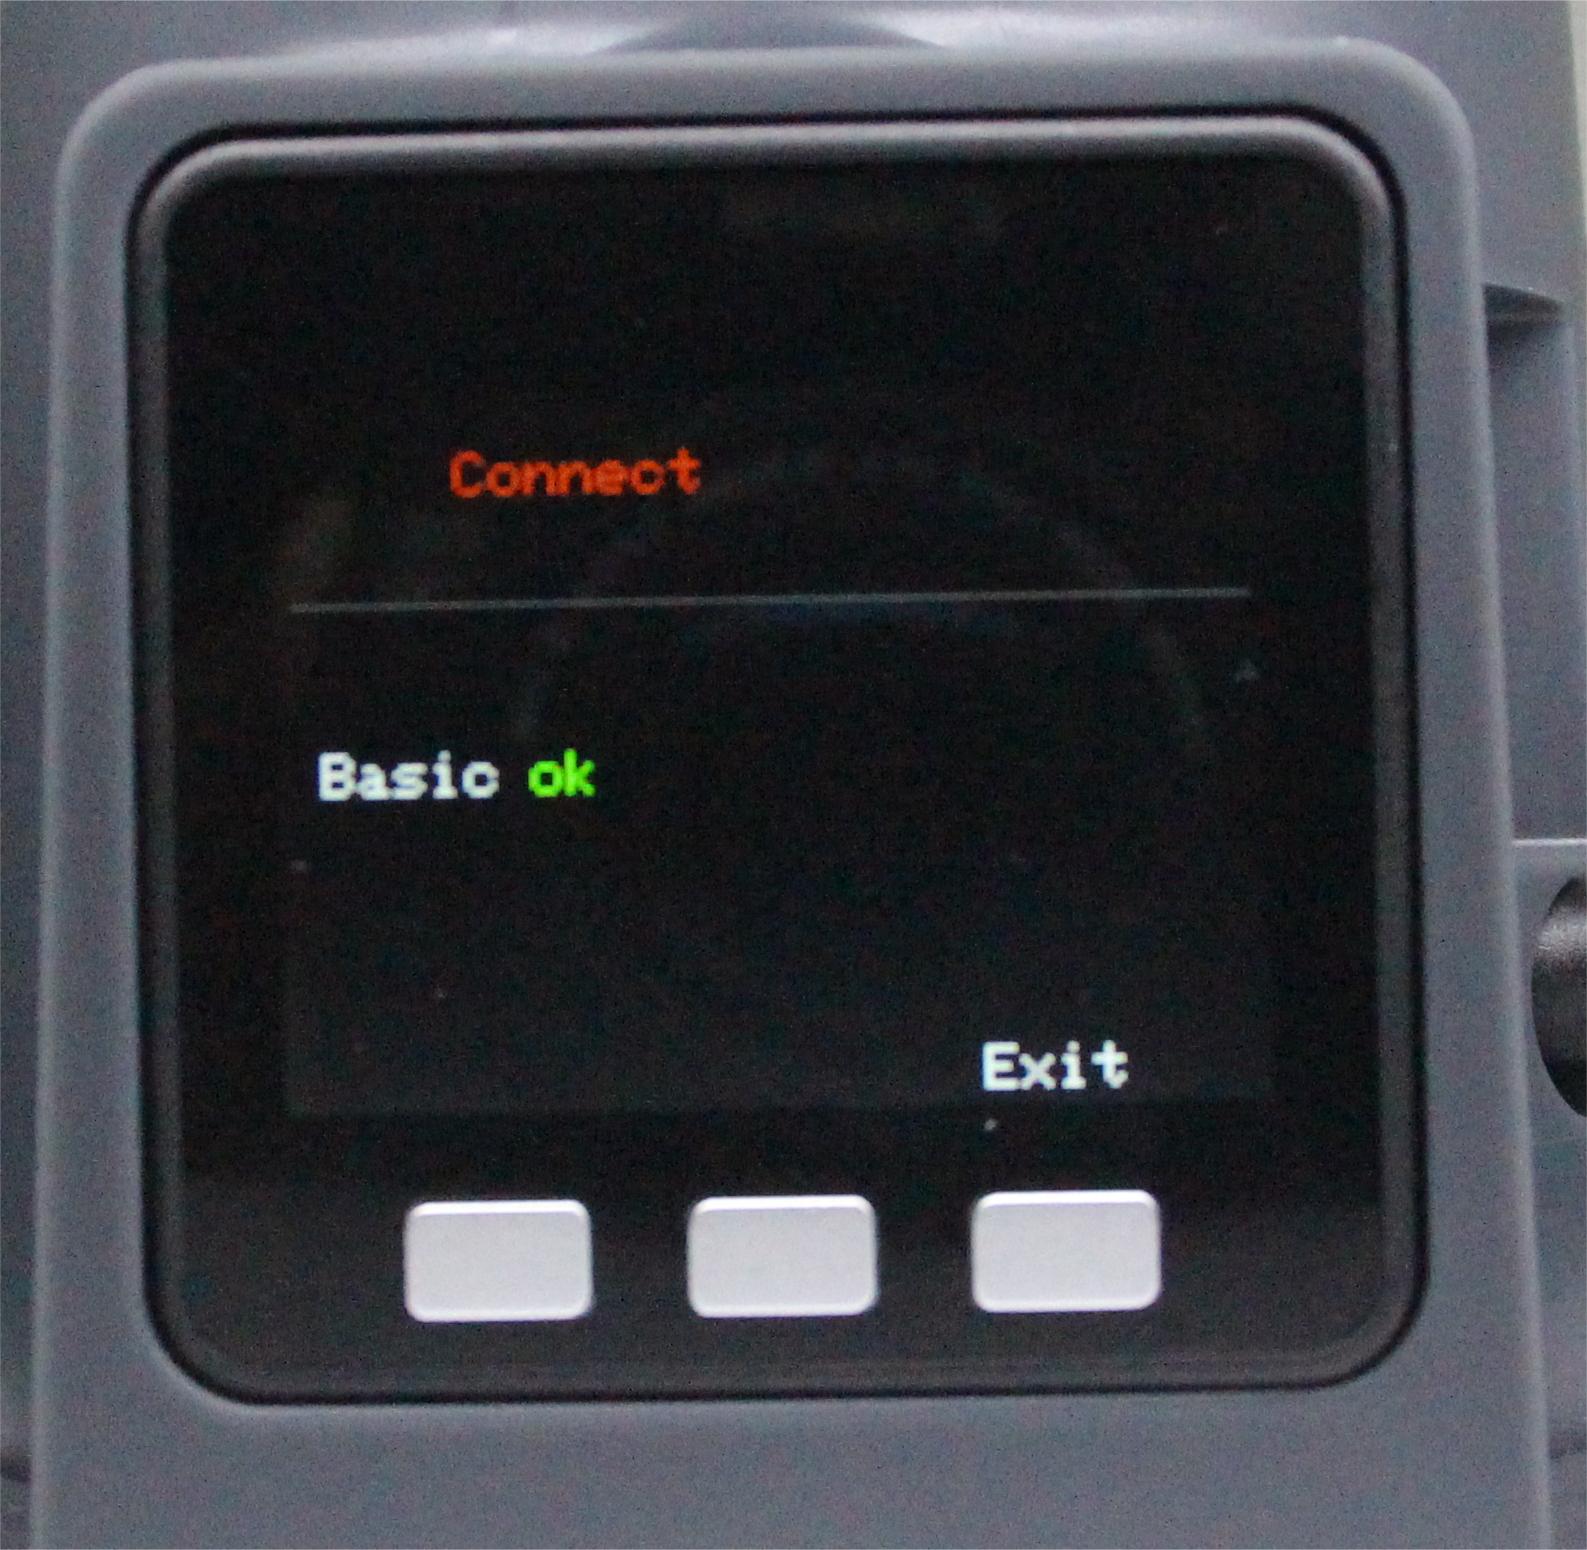
The screen will display the following:
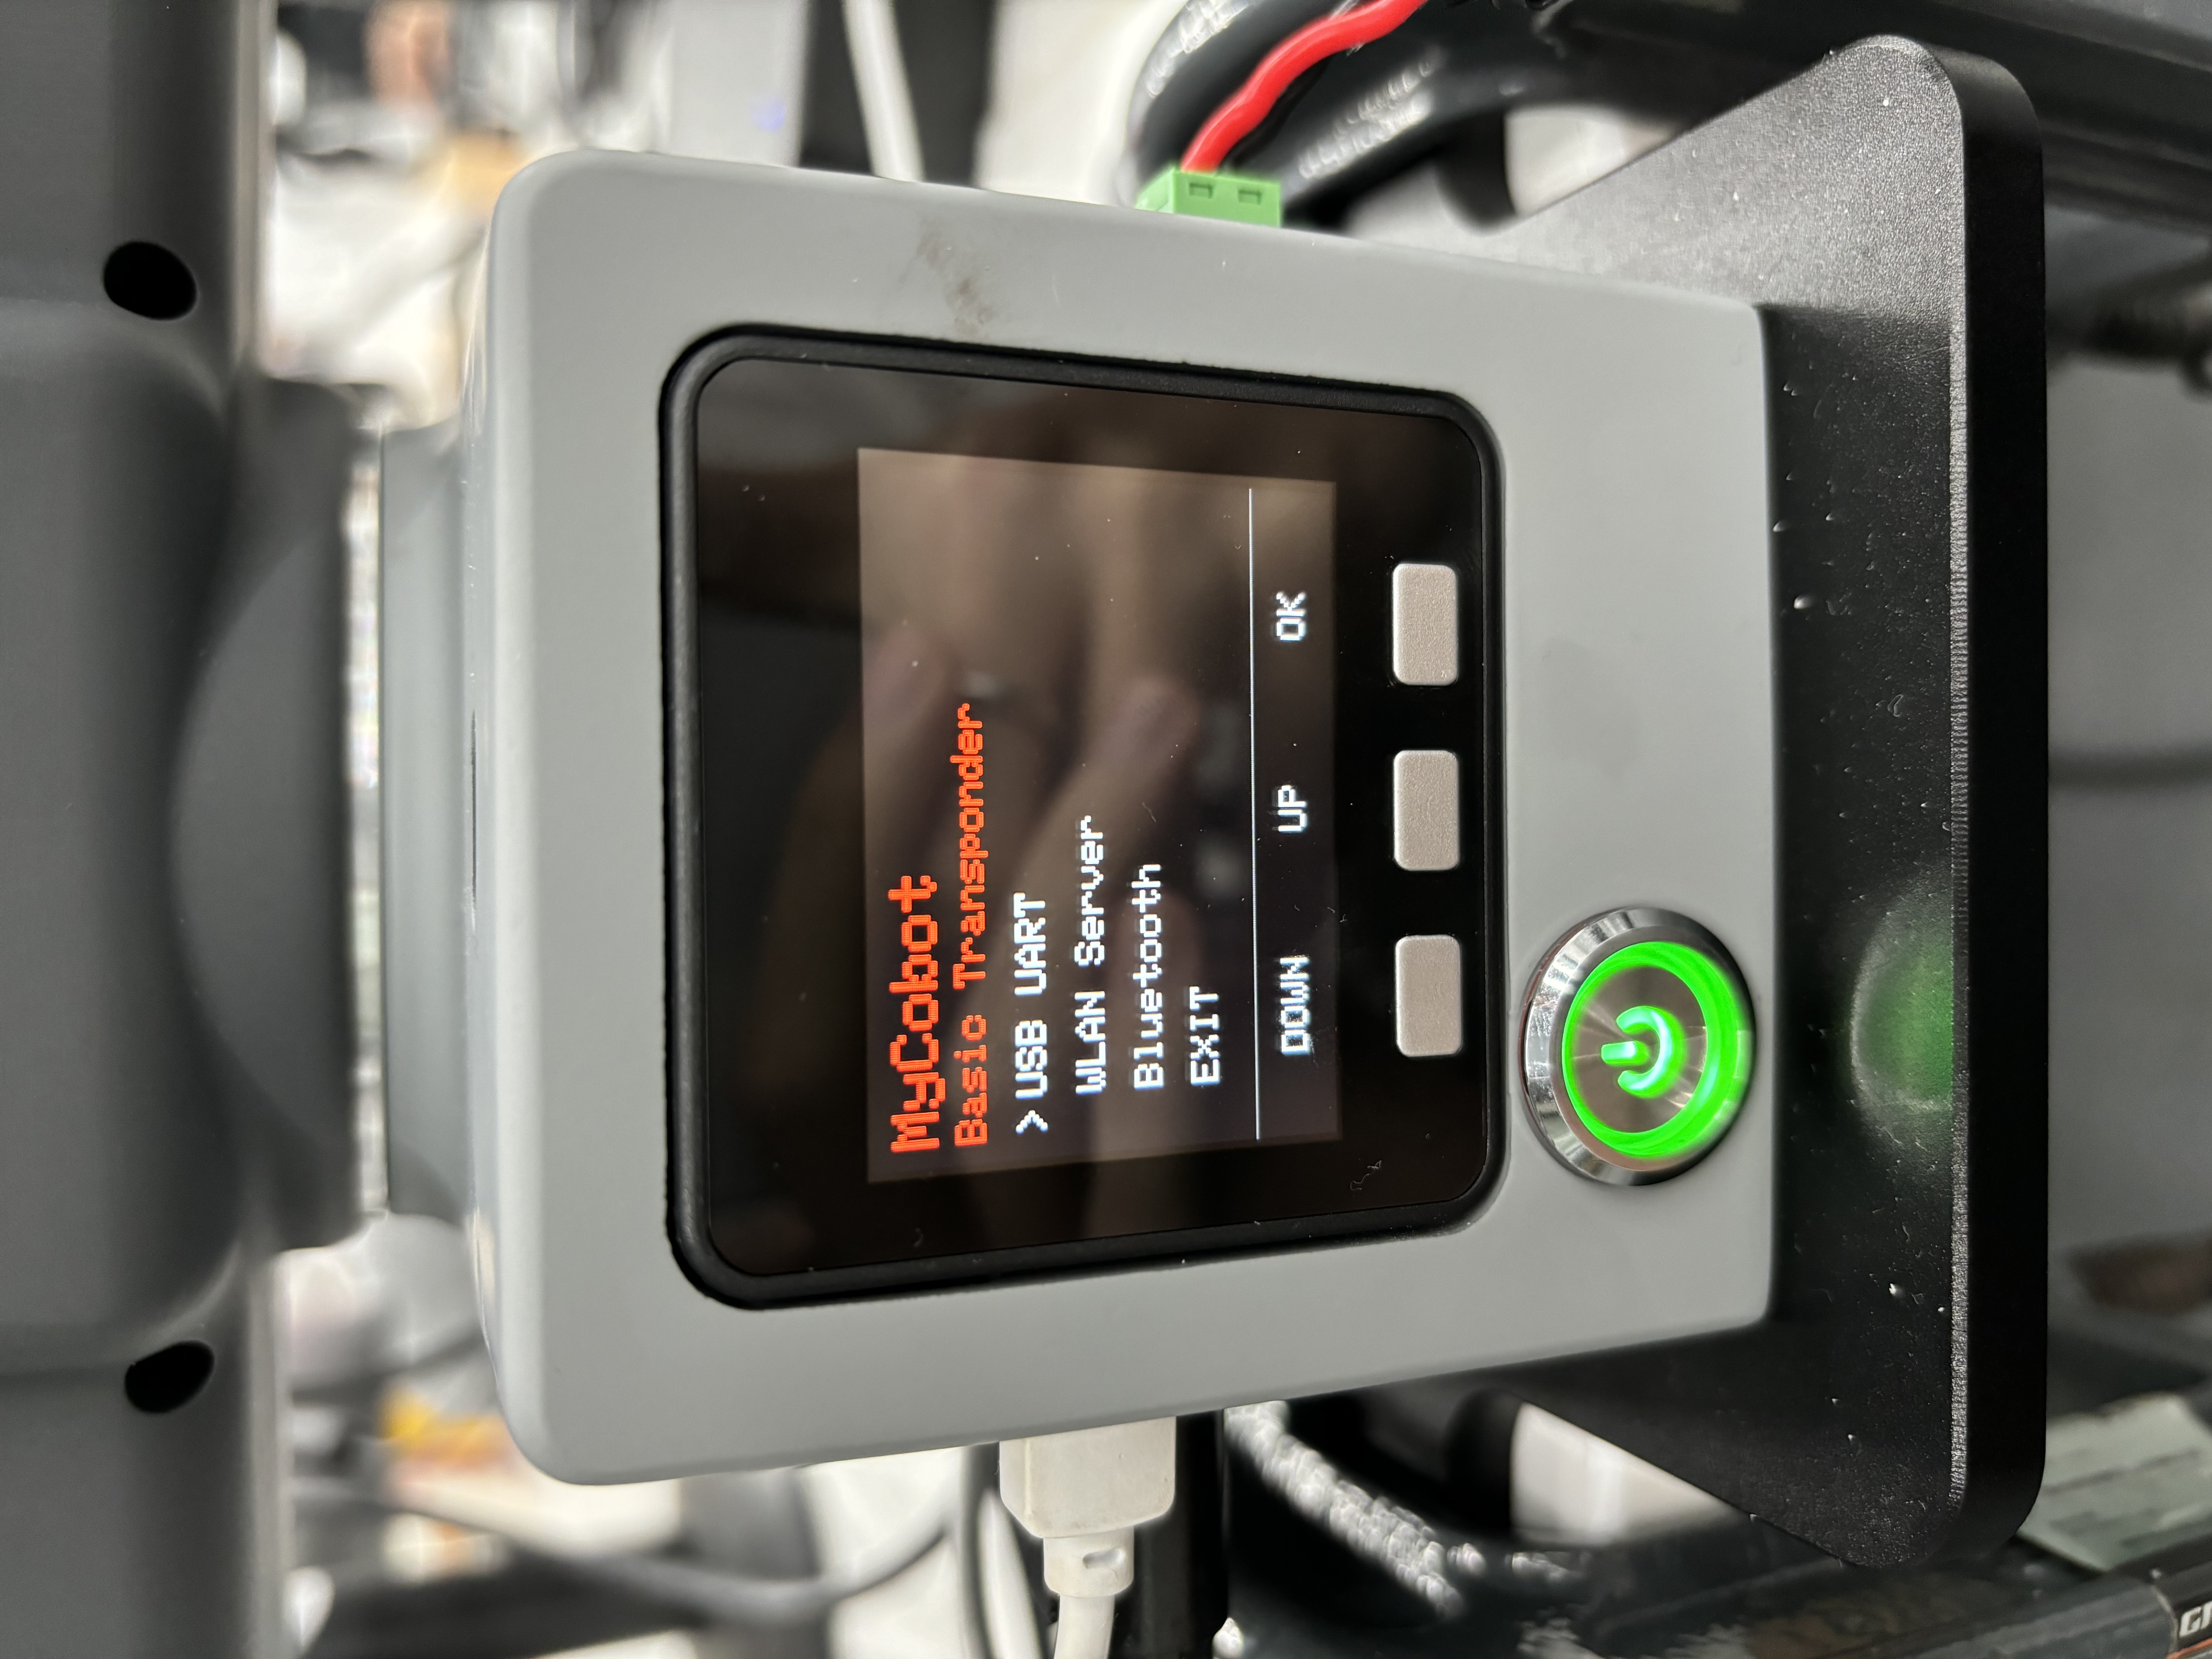
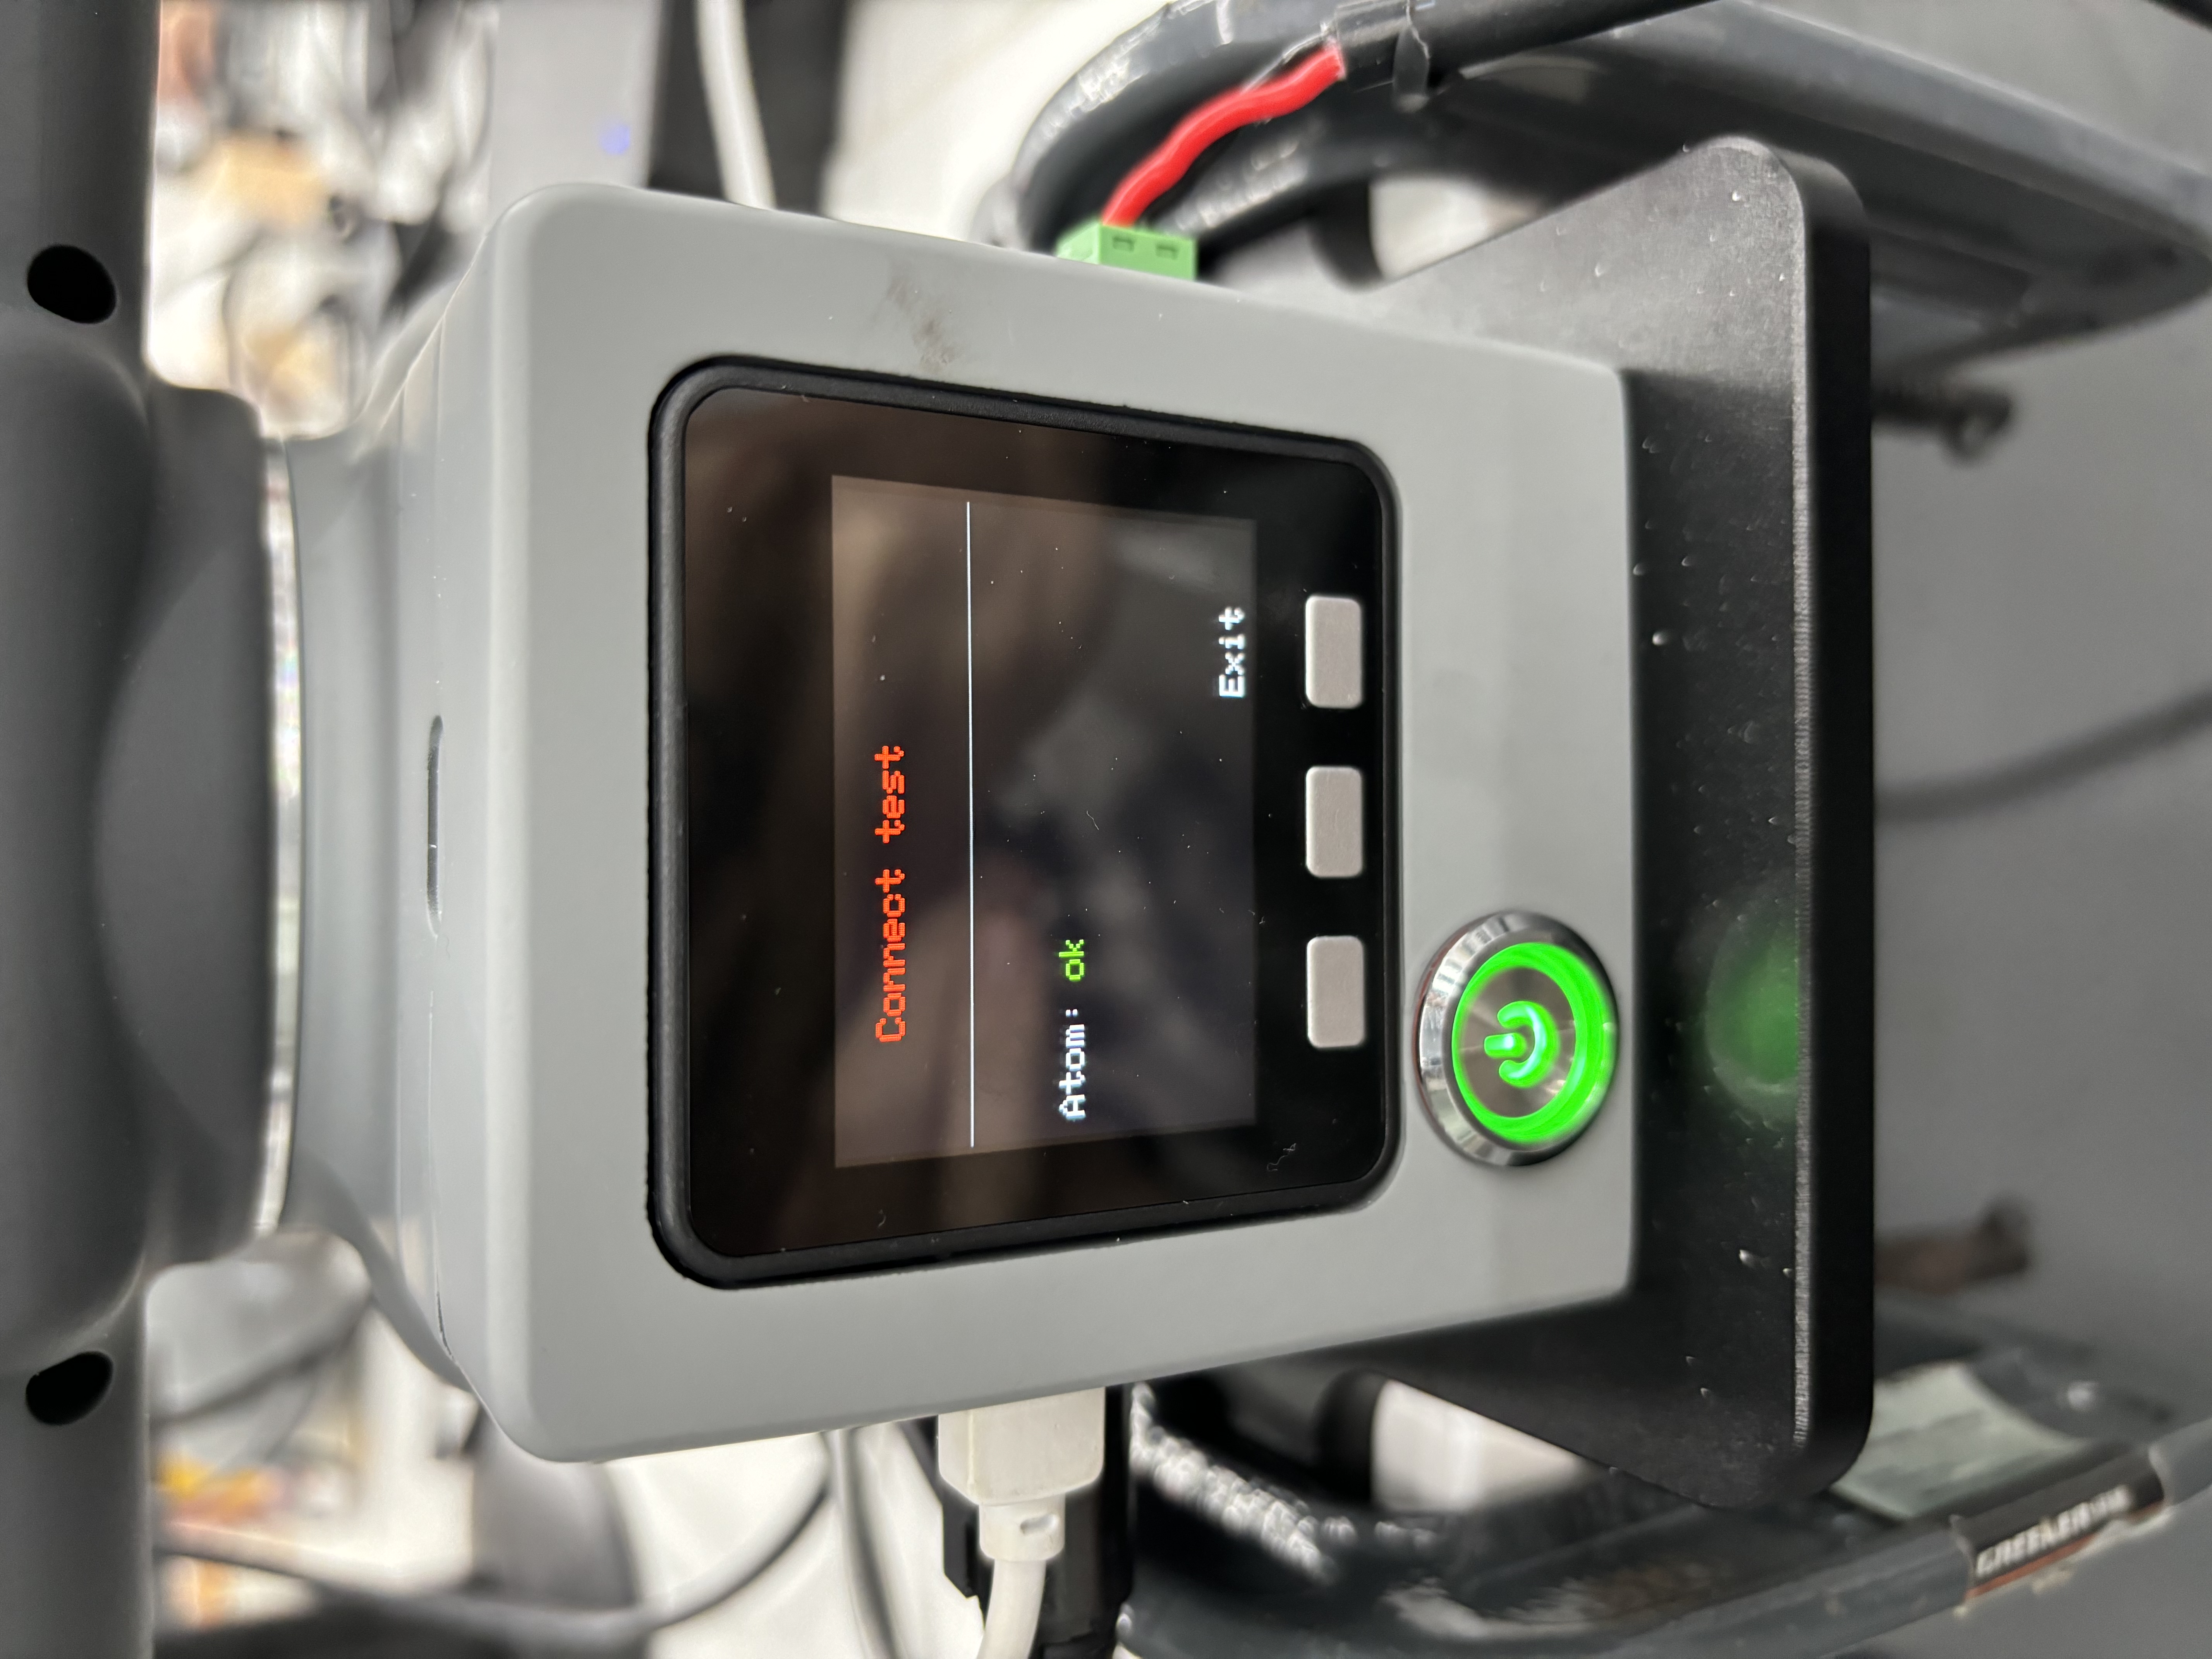
You will see an arrow pointing to “USB UART”. Press "OK" to enter, and it will show “NO”. Press the “Exit” button to return to the screen where the arrow points to “USB UART”. Press "OK" again, and this time it will display “OK”.
Next, connect the MyarmC650 robotic arm to the system using a USB-to-Type-C cable and power it on.
Select Transponder using the button and press "OK".
The screen will display the following:
You will see an arrow pointing to “USB UART”. Press "OK" to enter, and it will show “NO”. Press the “Exit” button to return to the screen where the arrow points to “USB UART”. Press "OK" again, and this time it will display “OK”.
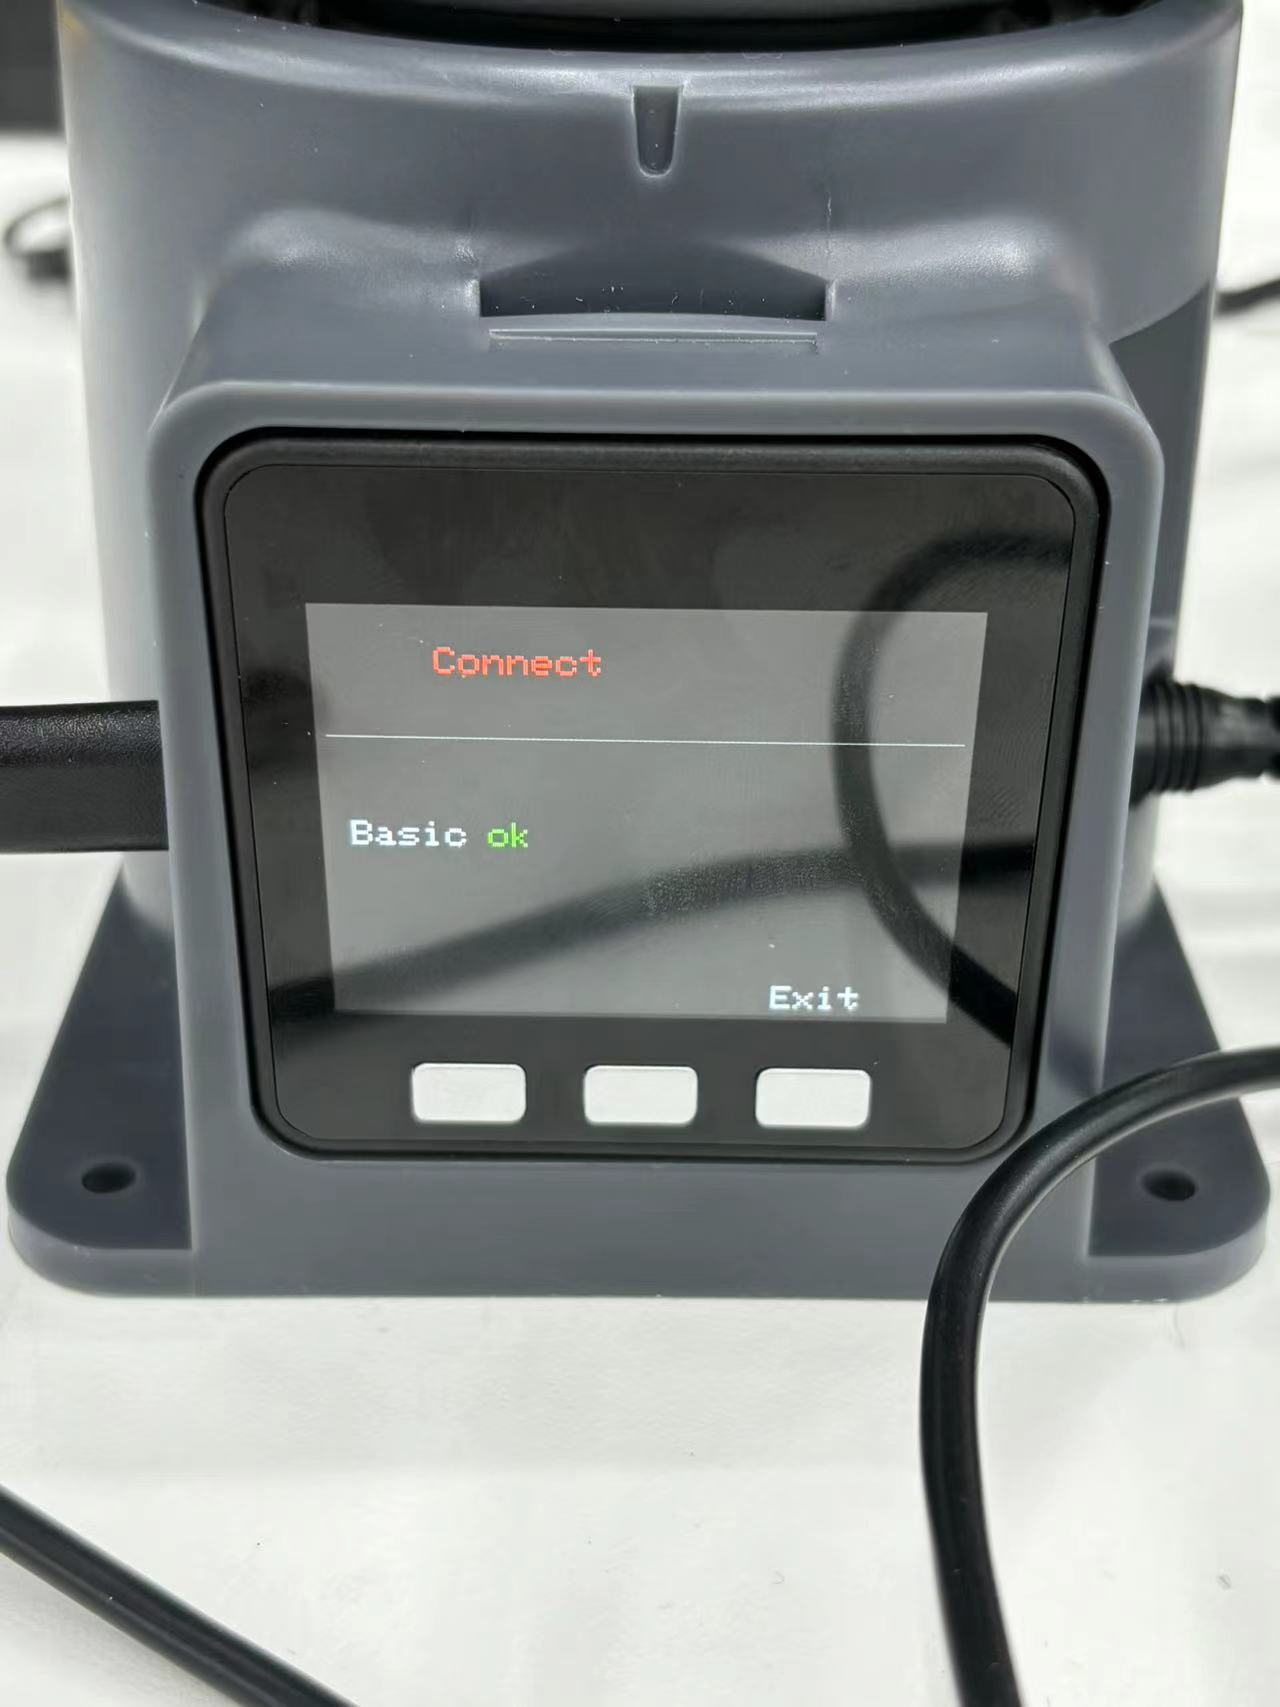
At this point, both the MyarmM750 and MyarmC650 robotic arms are successfully initialized.

To connect four robotic arms simultaneously via USB, you must distinguish the serial ports for each arm. Open a new terminal and type the following command:
ls /dev/tty*
Press the TAB key to view all available serial ports.

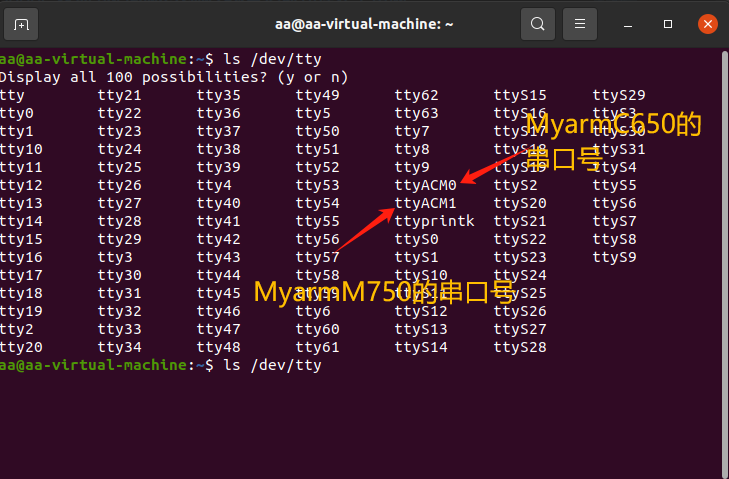
How to distinguish serial port numbers
- Connect one robotic arm, then run
ls /dev/tty*to check the current port. - Without disconnecting the first robotic arm, connect the second one and repeat the command.
- Do this for all four arms.
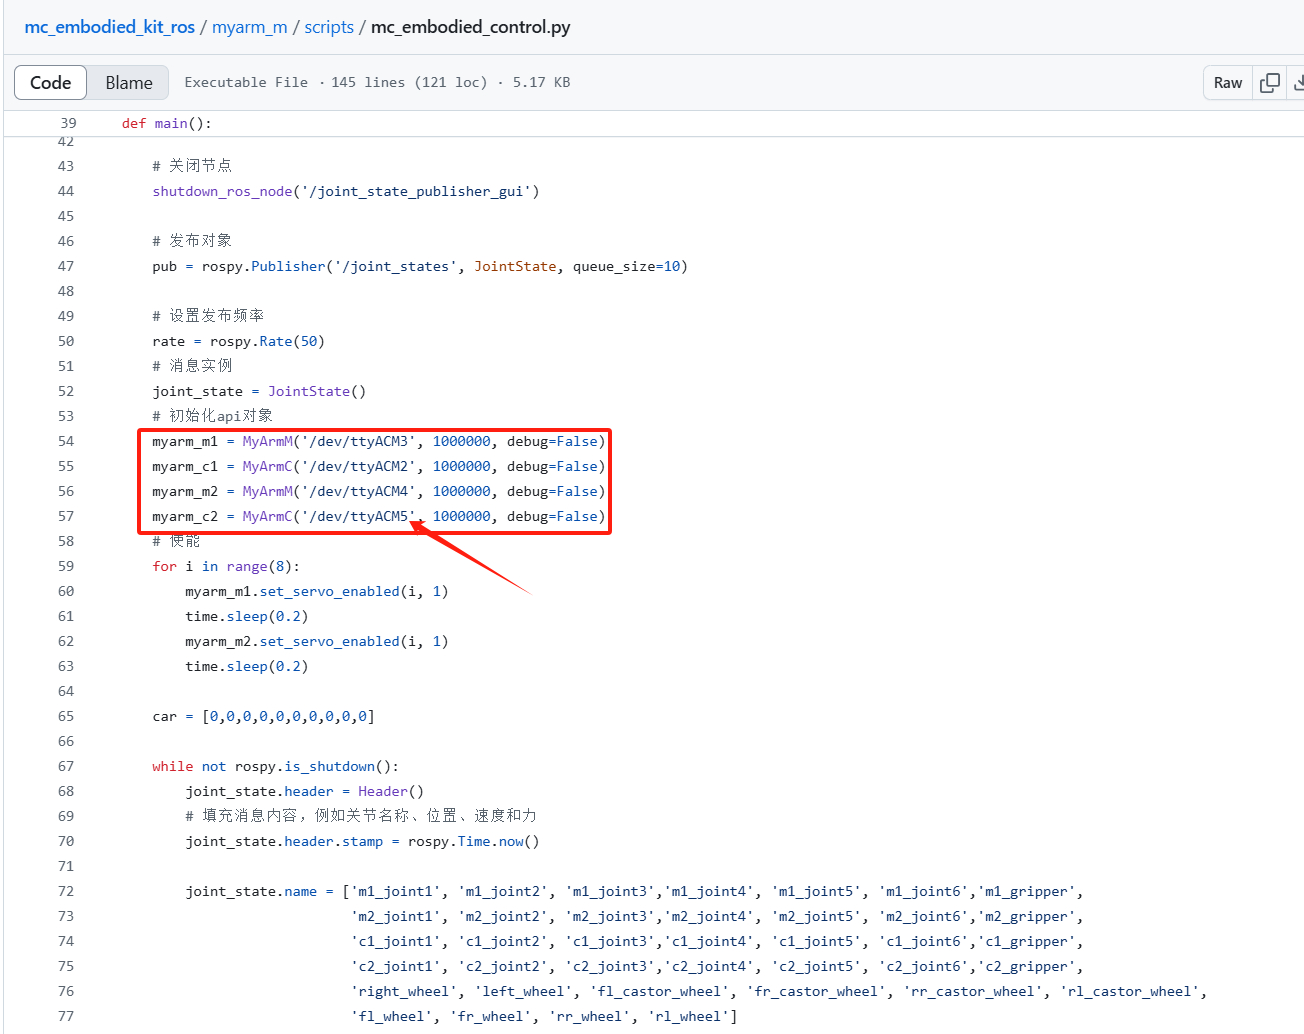
Modify the serial port numbers in the mc_embodied_control.py file located at mc_embodied_kit_ros/myarm_m/scripts.
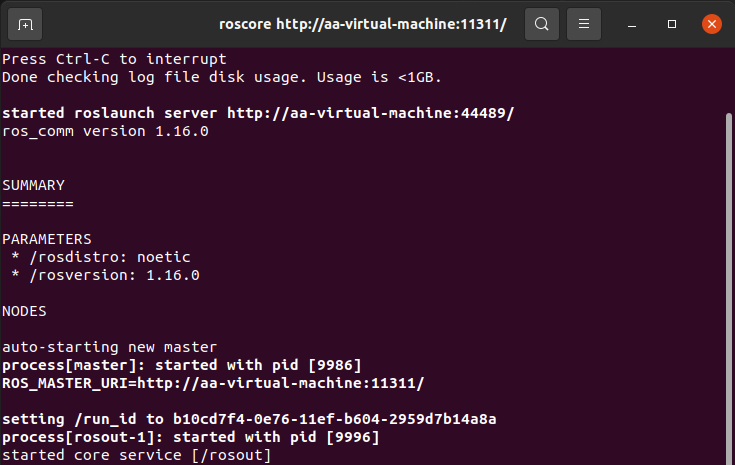
In your workspace, open a new terminal and start the ROS master node with the following command:
roscore
Open another terminal and launch the simulation:
roslaunch myarm_m mc_embodied_control.launch

Once RViz is running, open another terminal and run the following command:
rosrun myarm_m mc_embodied_control.py
This allows the MyarmC650 robotic arm to control the MyarmM750.
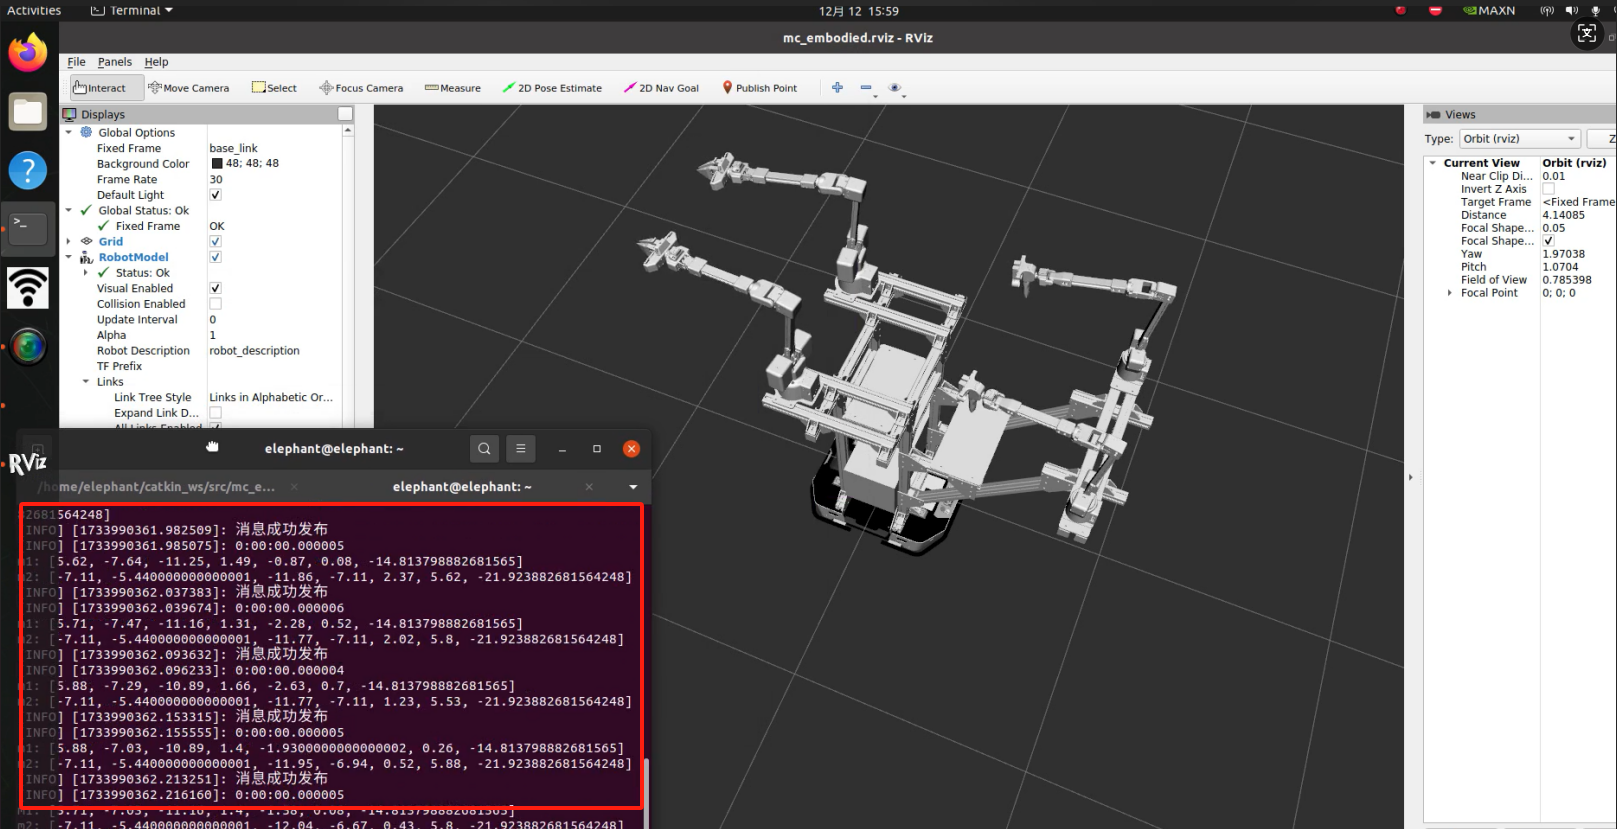
Now, you can move the MyarmC650 manually, and both the RViz simulation and the real-world MyarmM750 will follow its movements (including the gripper functionality).
At this point, the C650 controlling M750 function is fully implemented.
Example Use Cases for the MyArm M&C Embodied Composite Kit
Storage
Pushing a Chair
---
MyArm MC遥操作案例
该案例效果为M750会跟随C650进行相应动作的移动
1 环境配置
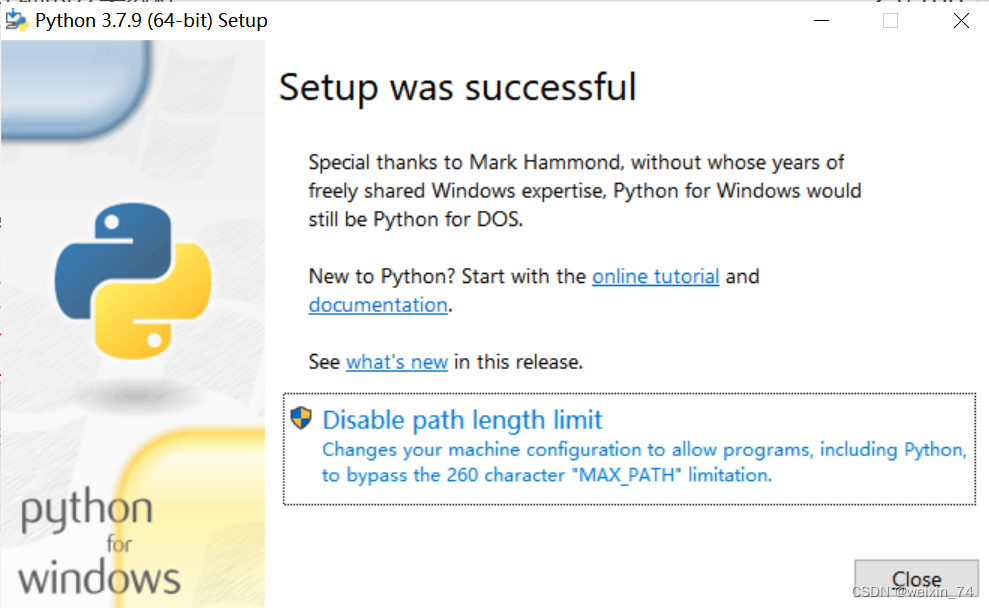
1.1 下载python
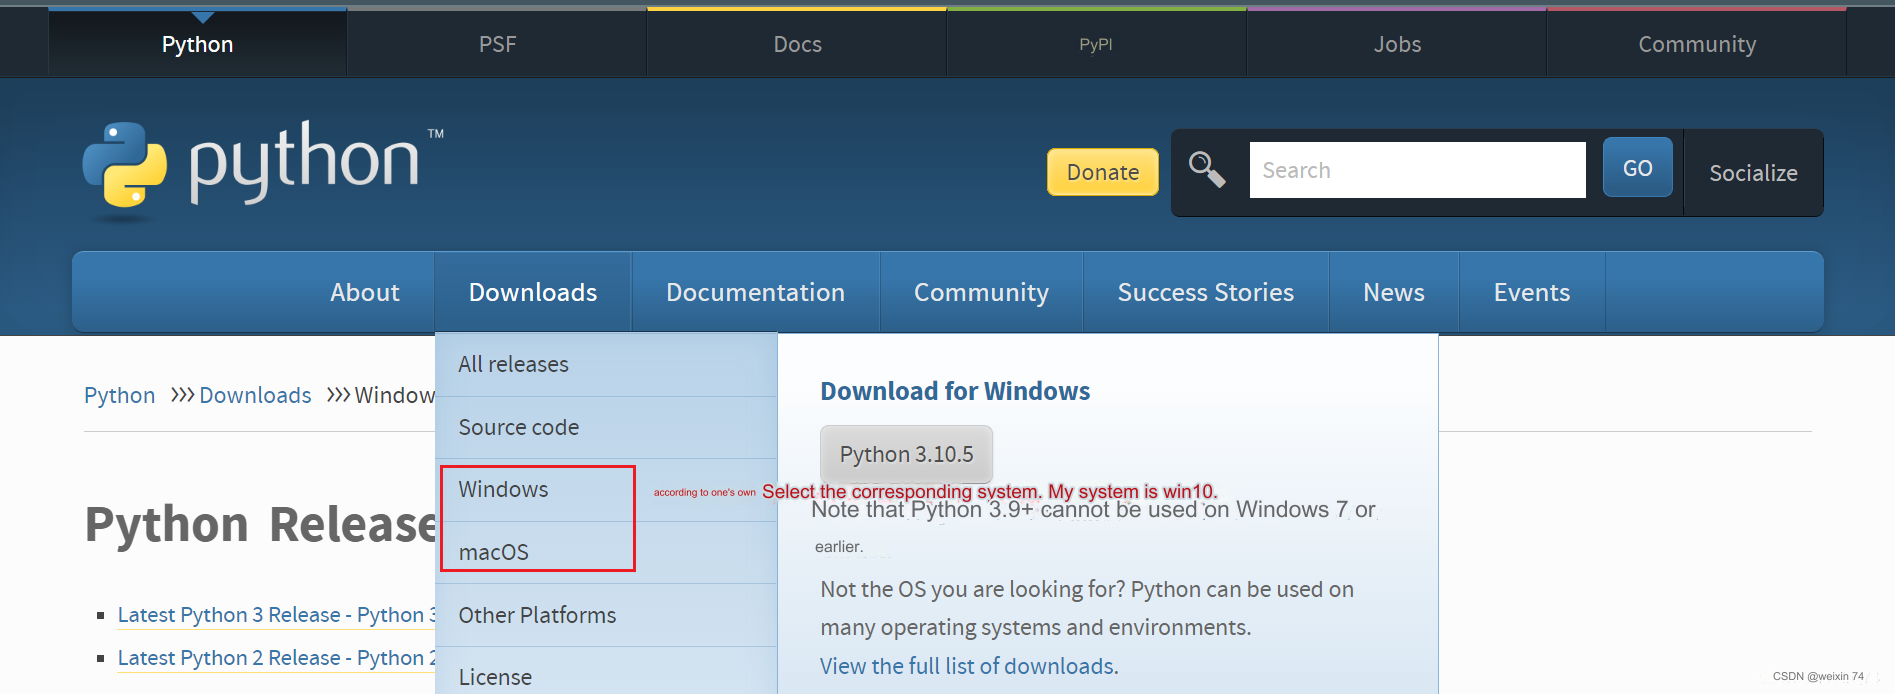
选择你要安装的版本,推荐安装3.7以上版本

双击安装包后
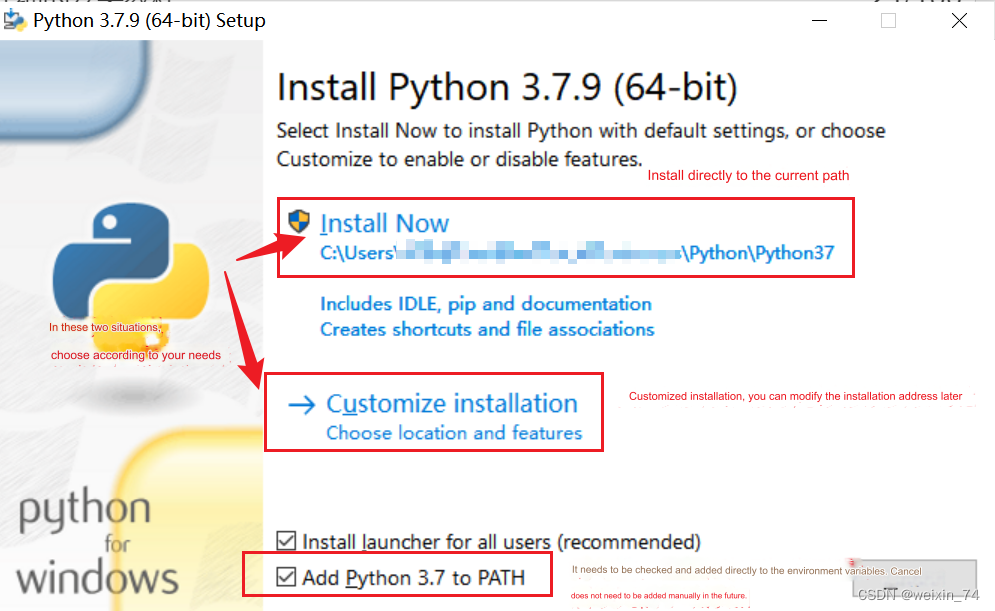
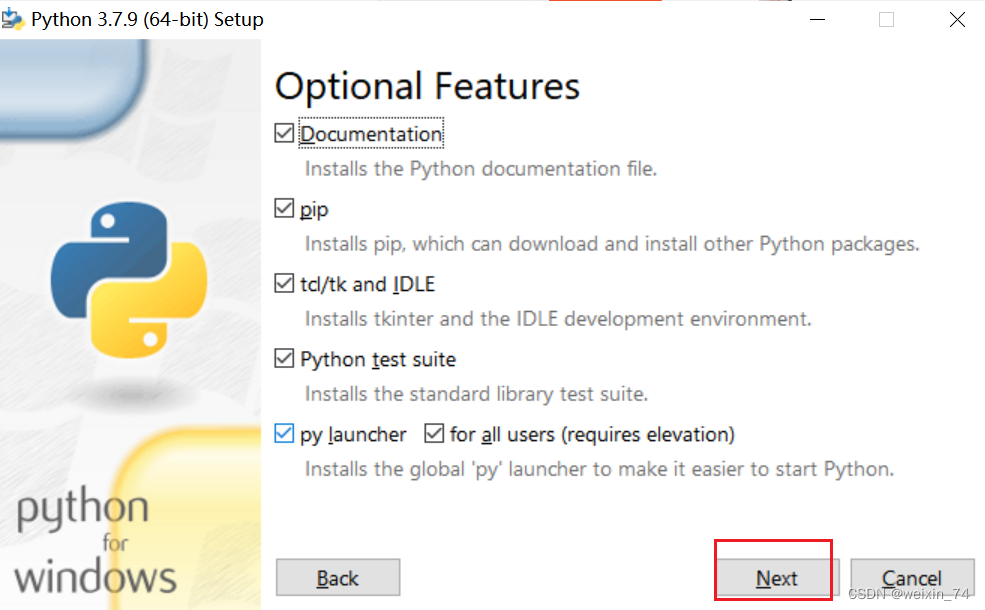
保持默认配置,直接点击Next
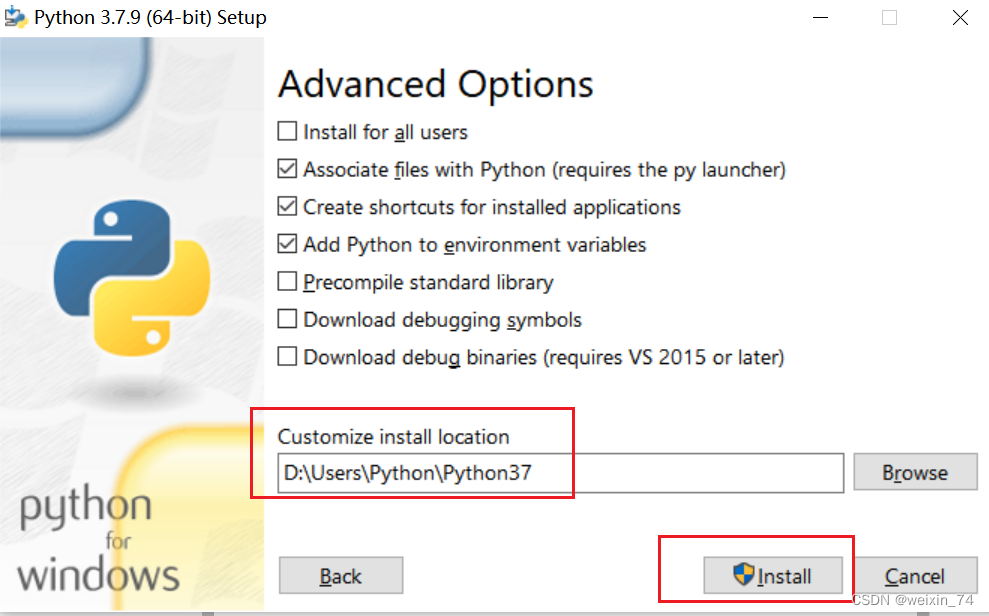
 若选择自定义软件安装位置后,点击Install
(建议安装的文件路径是全英路径,因为有些软件安装遇到中文会打不开)
若选择自定义软件安装位置后,点击Install
(建议安装的文件路径是全英路径,因为有些软件安装遇到中文会打不开)
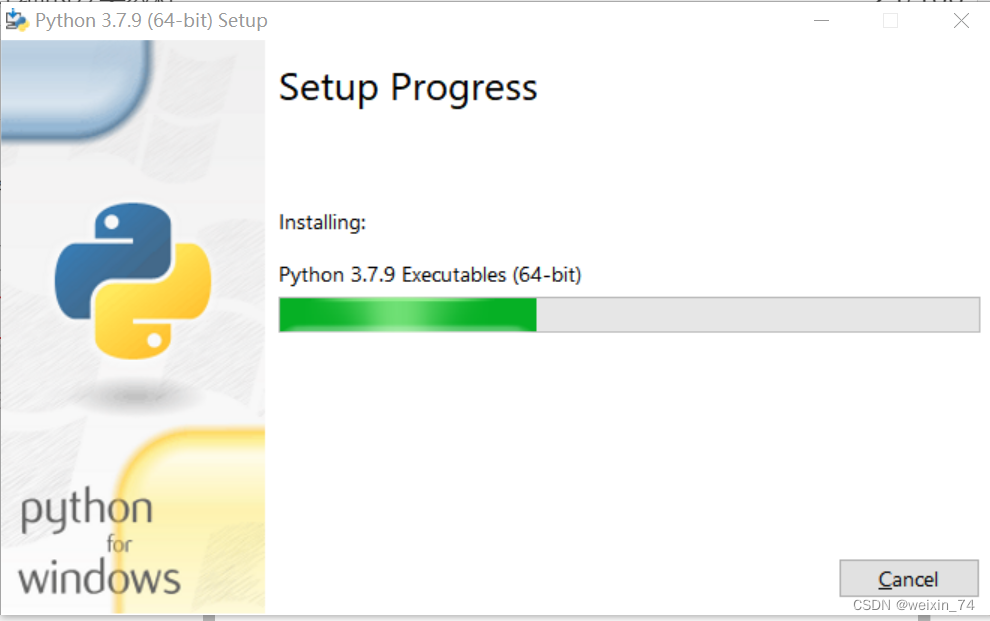
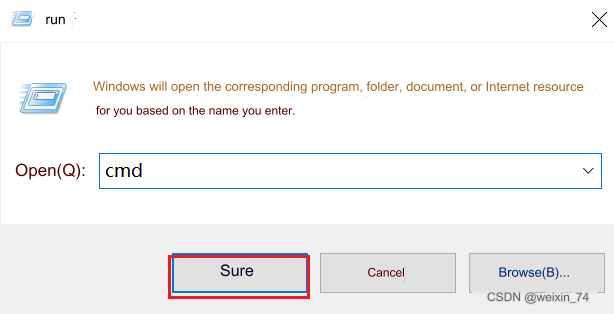
安装完成后,可以完毕当前页面,然后按键盘的 Windows键 + r键,并输入 cmd
 pymycobot安装
pip install pymycobot --upgrade --user

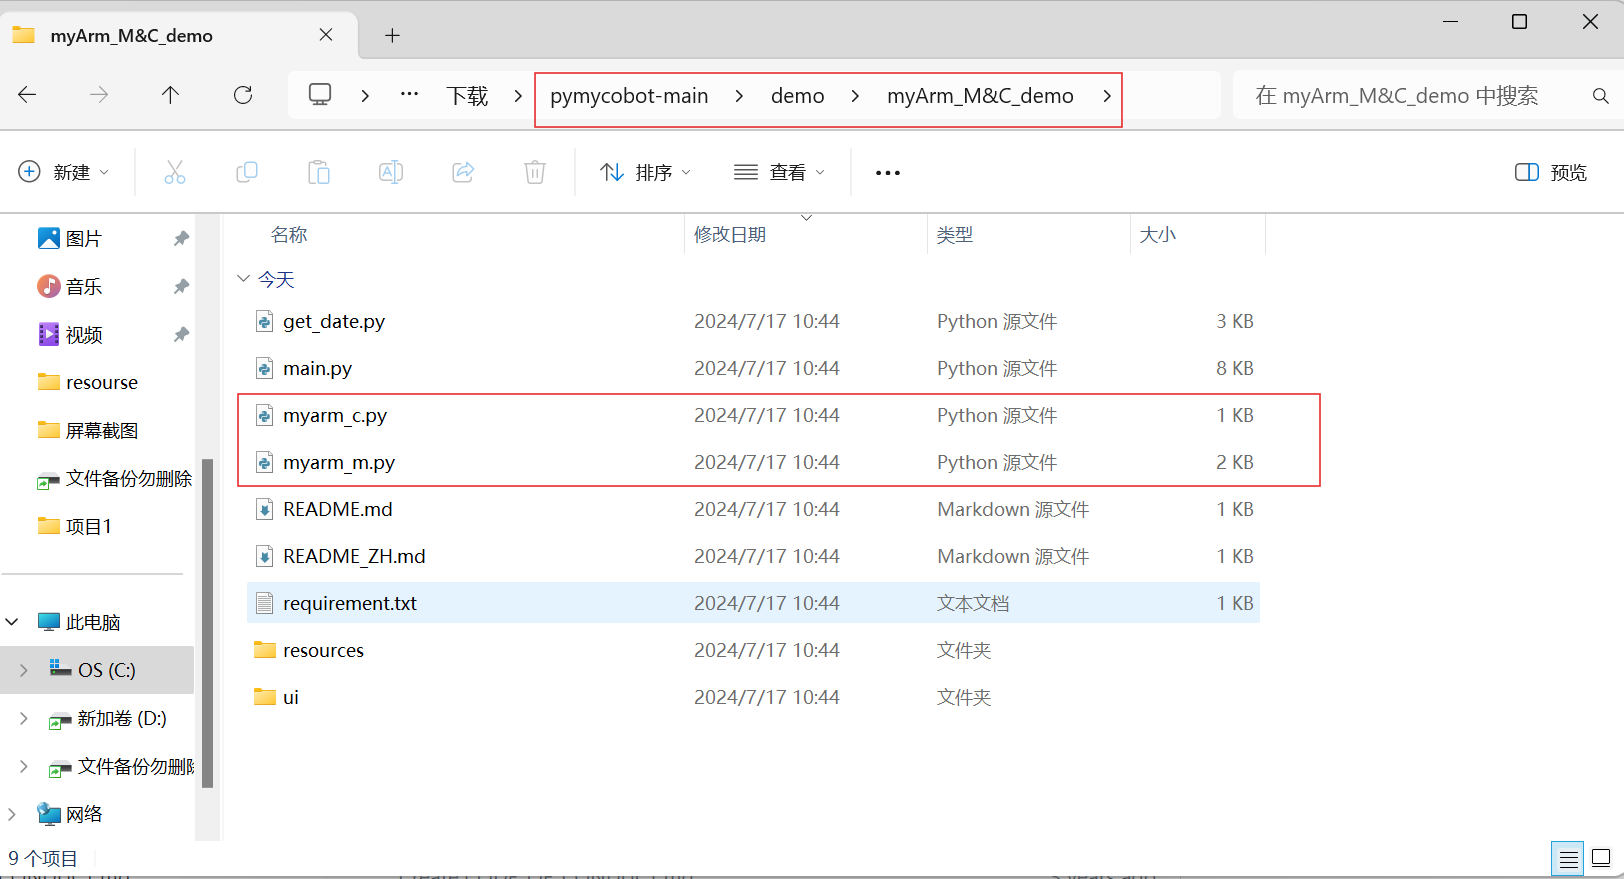
1.2 案例程序下载
程序下载地址:https://github.com/elephantrobotics/pymycobot/tree/main
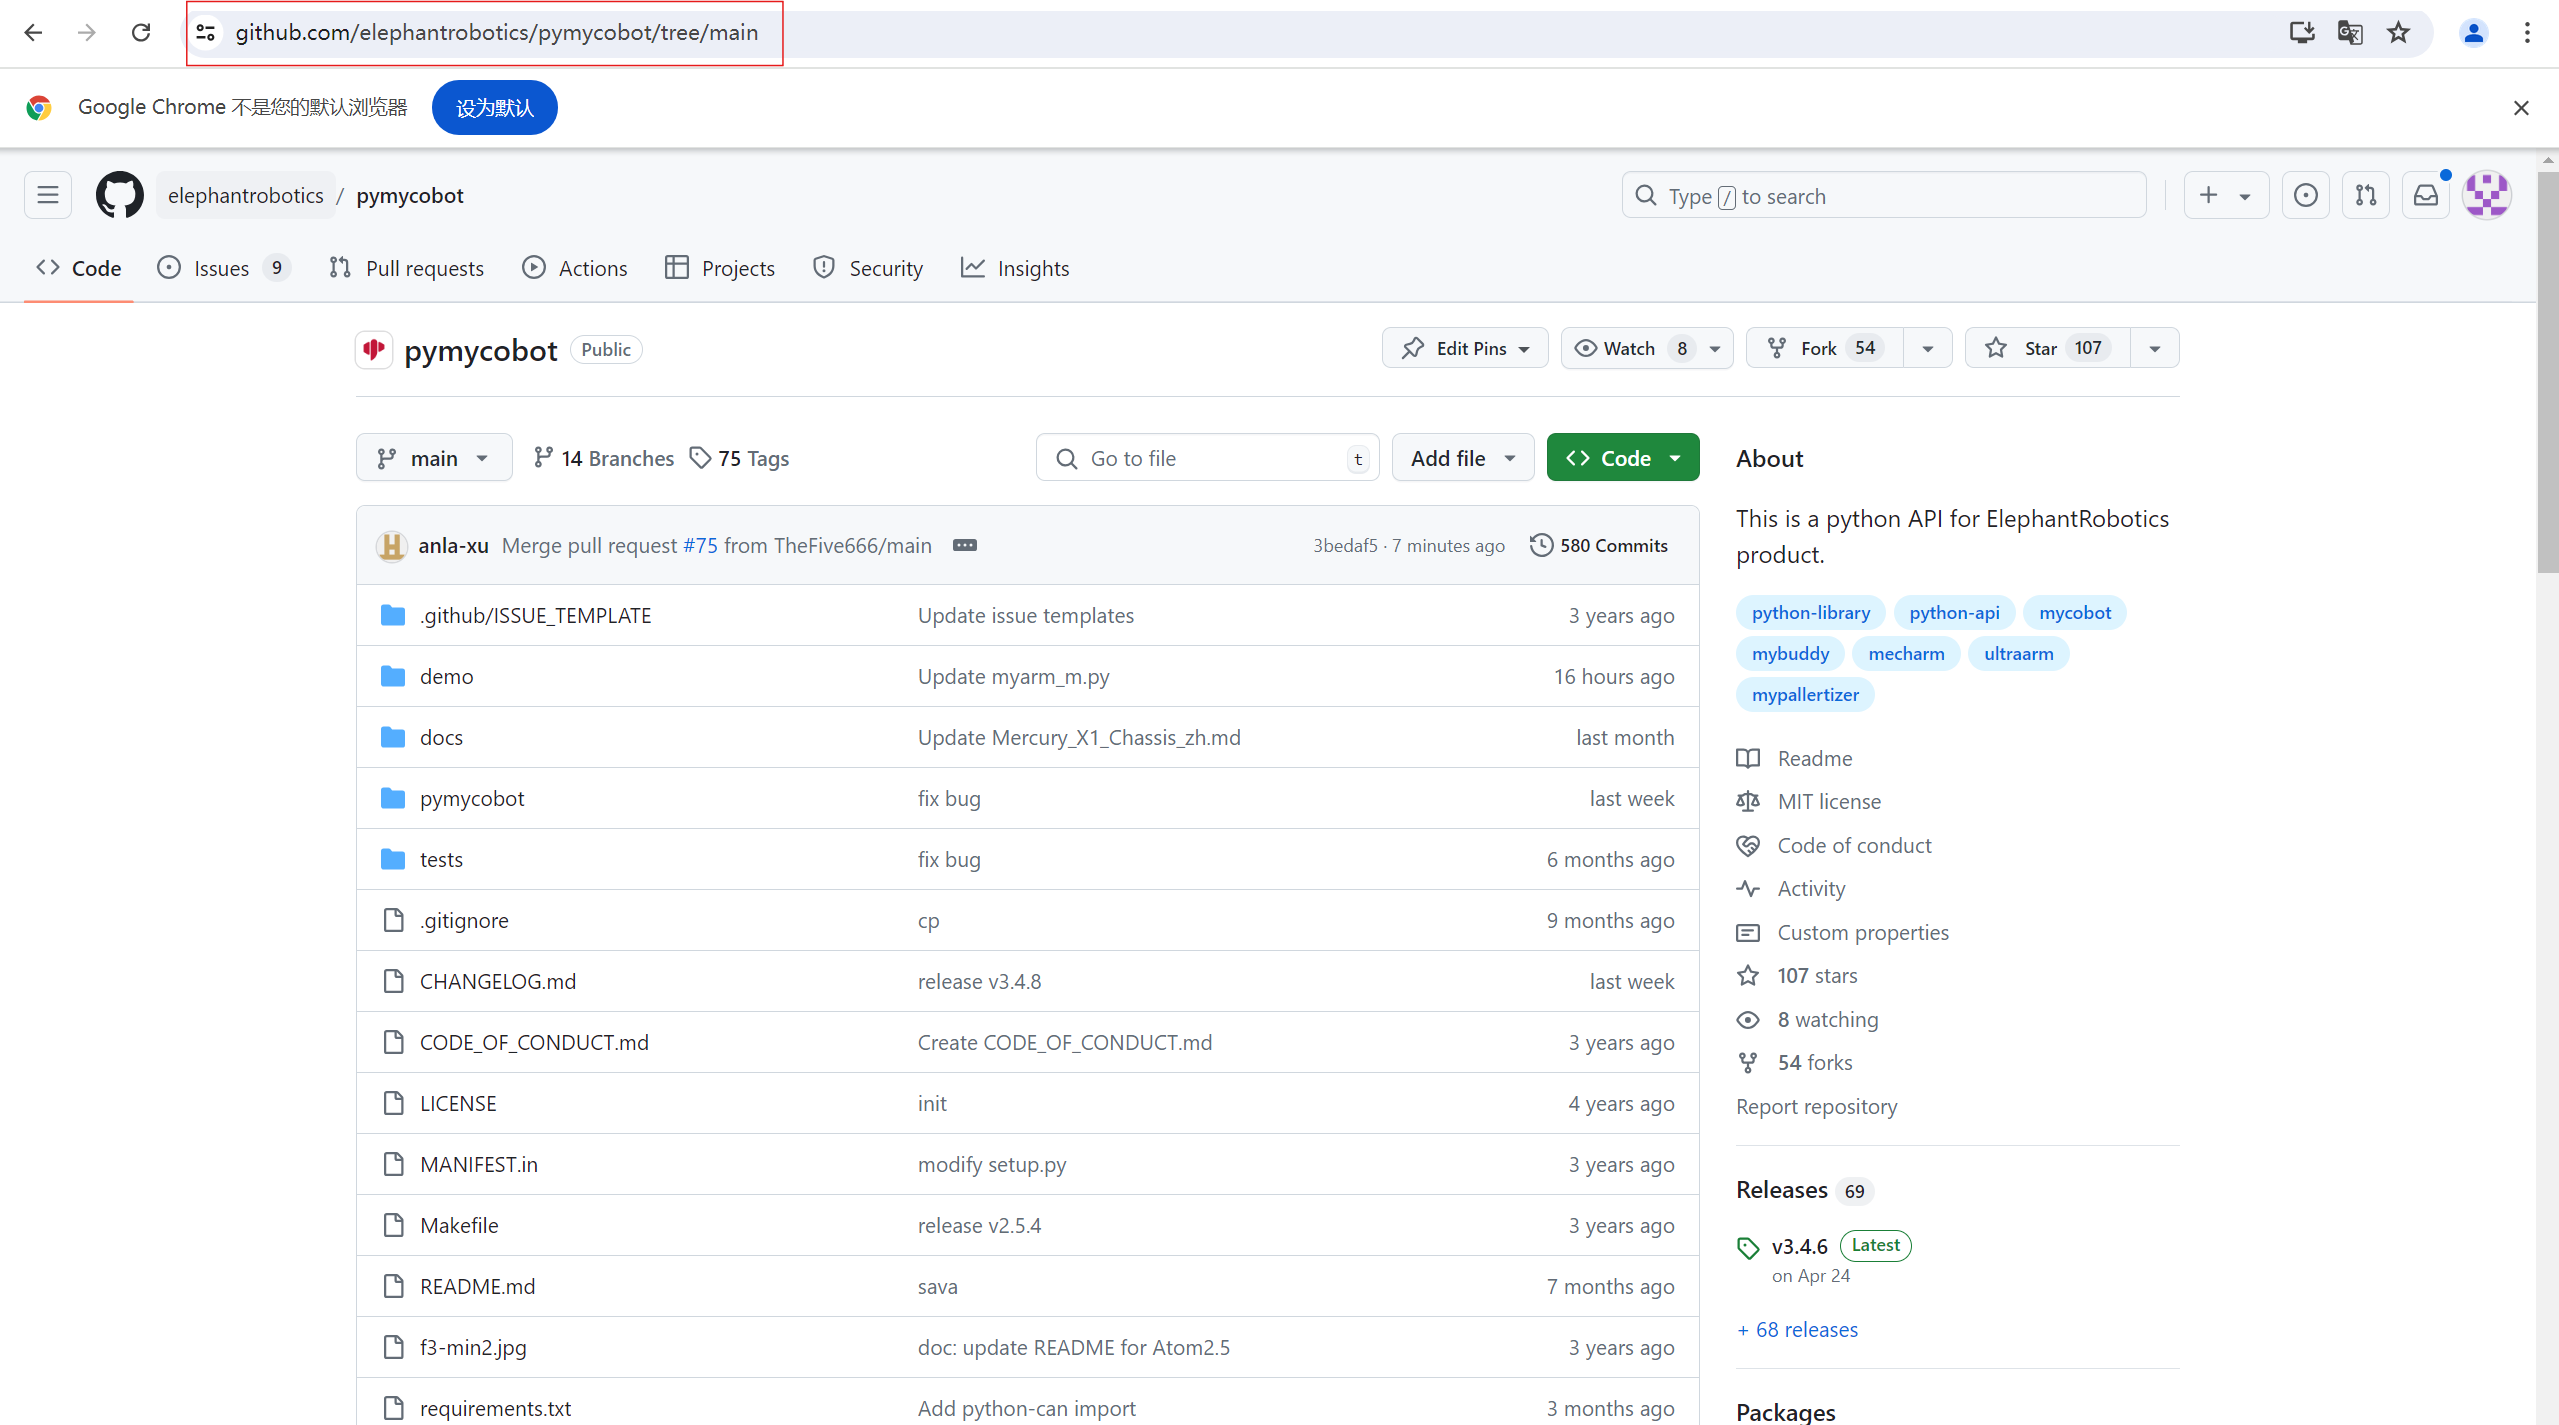
将程序下载到本地
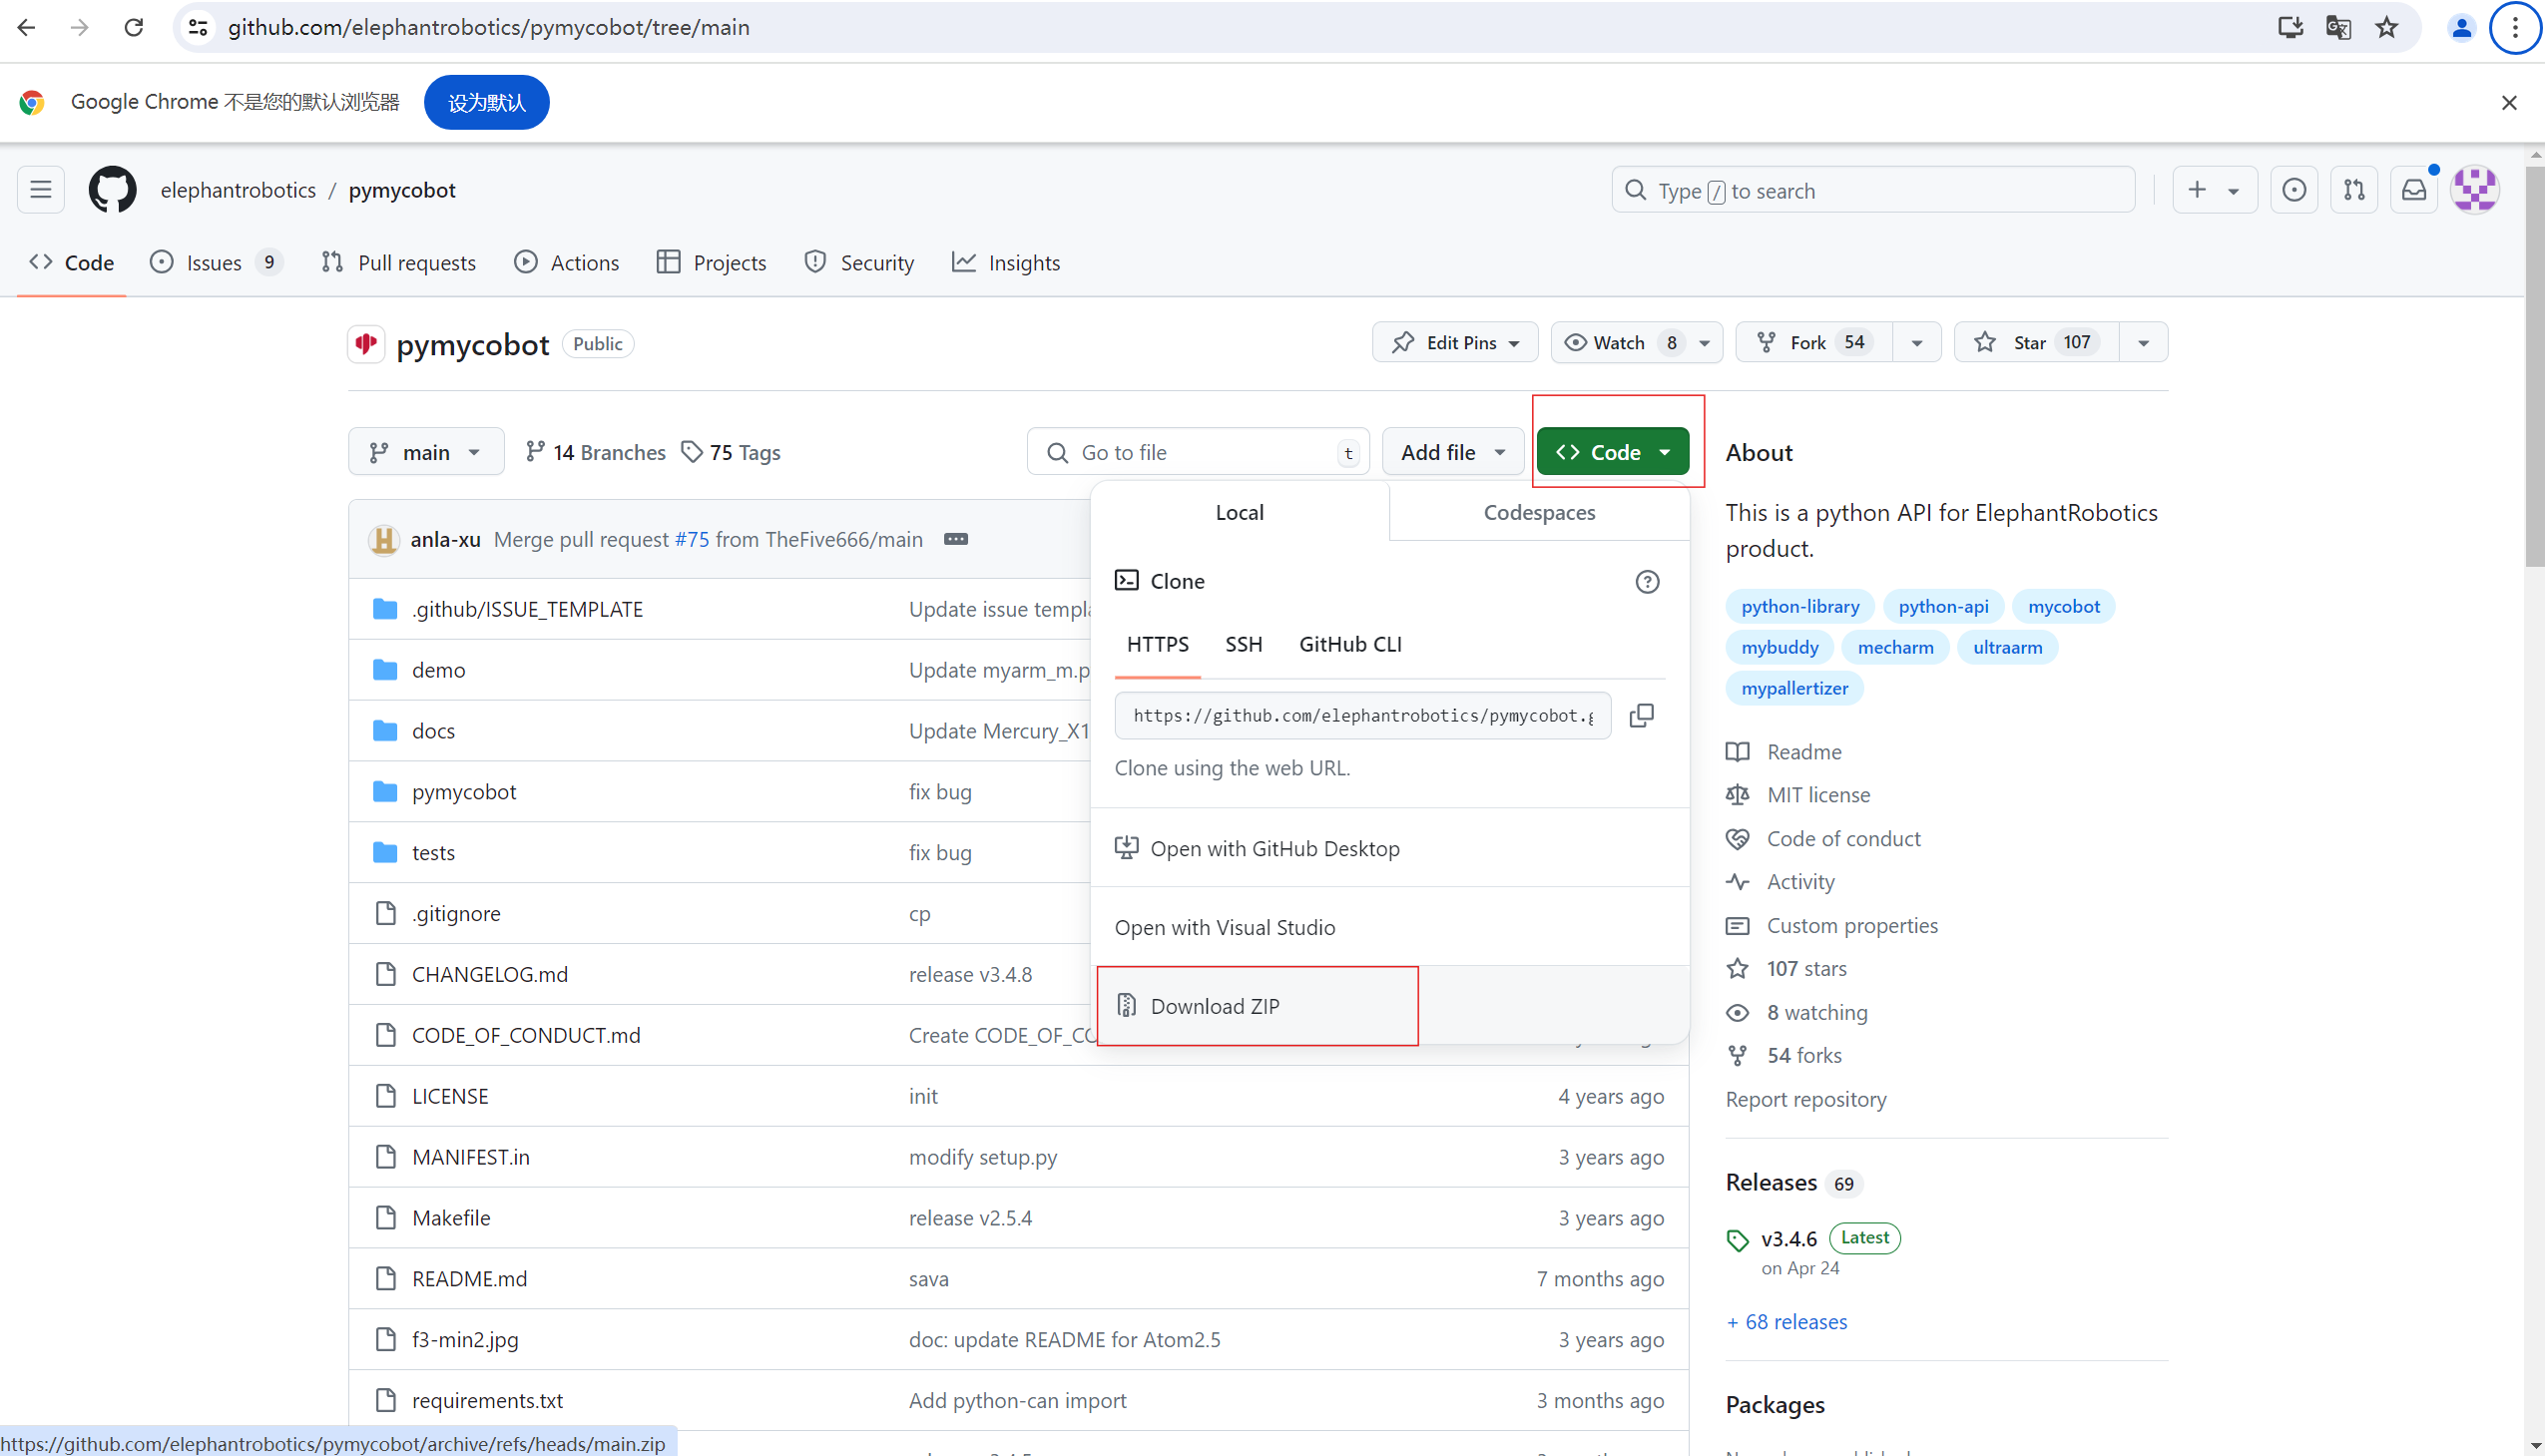
将文件进行解压,进入案例程序的所在的路径
注意:固件v1.1及以上版本应使用
myArm_M&C_demo_v1.1文件夹下的案例
2 案例复现
将两个机械臂固定好后,先将M750手动调整至下图姿态,再接入24V,之后再接入USB数据线到电脑
确保两个机械臂底座的显示屏都显示OK
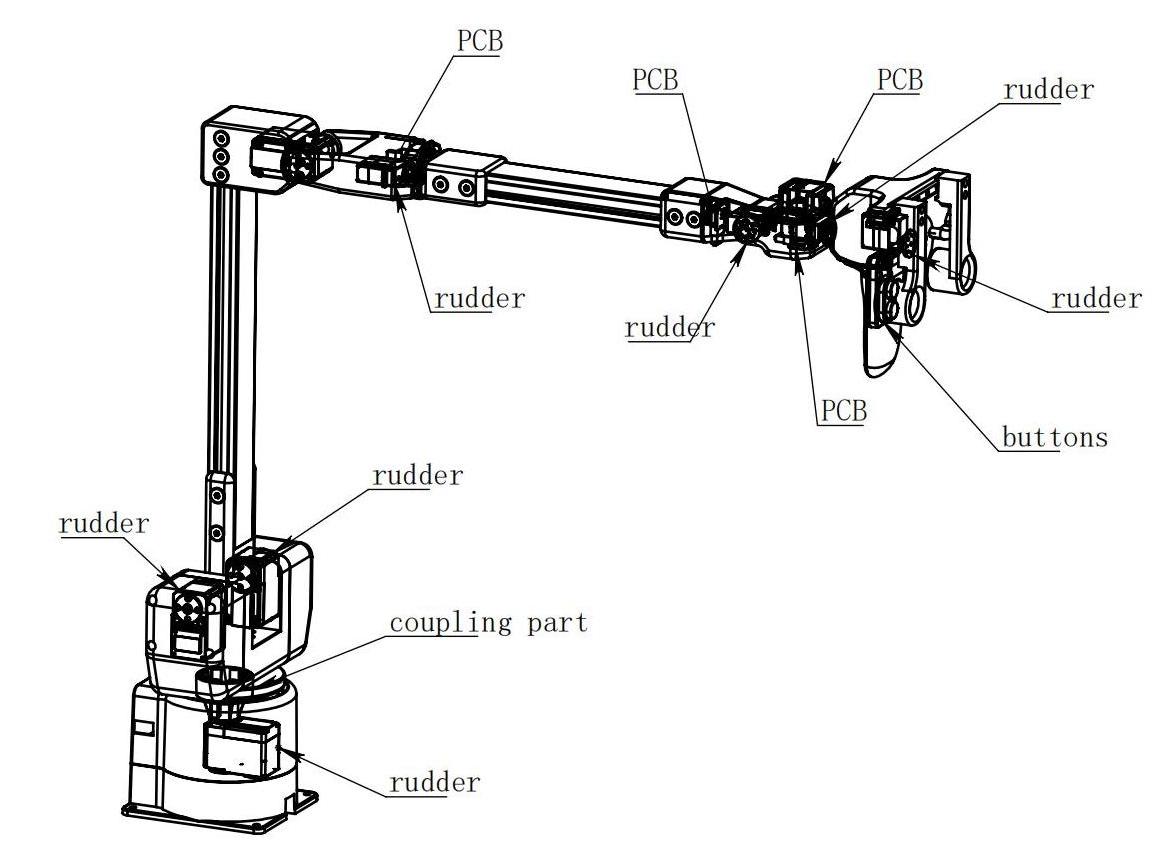
C650
 M750
M750

然后利用设备管理器确认好两个机械臂对应的串口号,可通过插拔USB数据线来确认串口号

然后先运行myarm_m.py程序,填入M750的串口号,按下键盘回车键即可
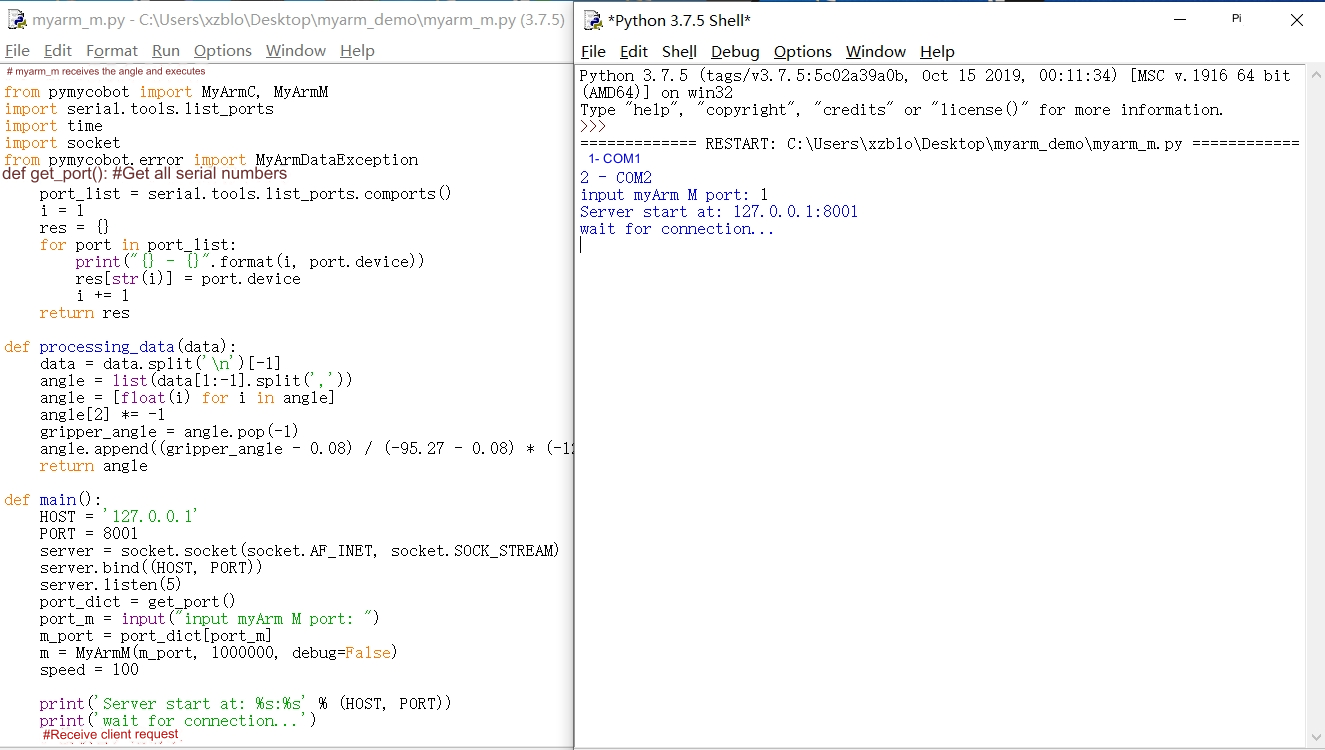
之后先将C650人手调整到下图姿态
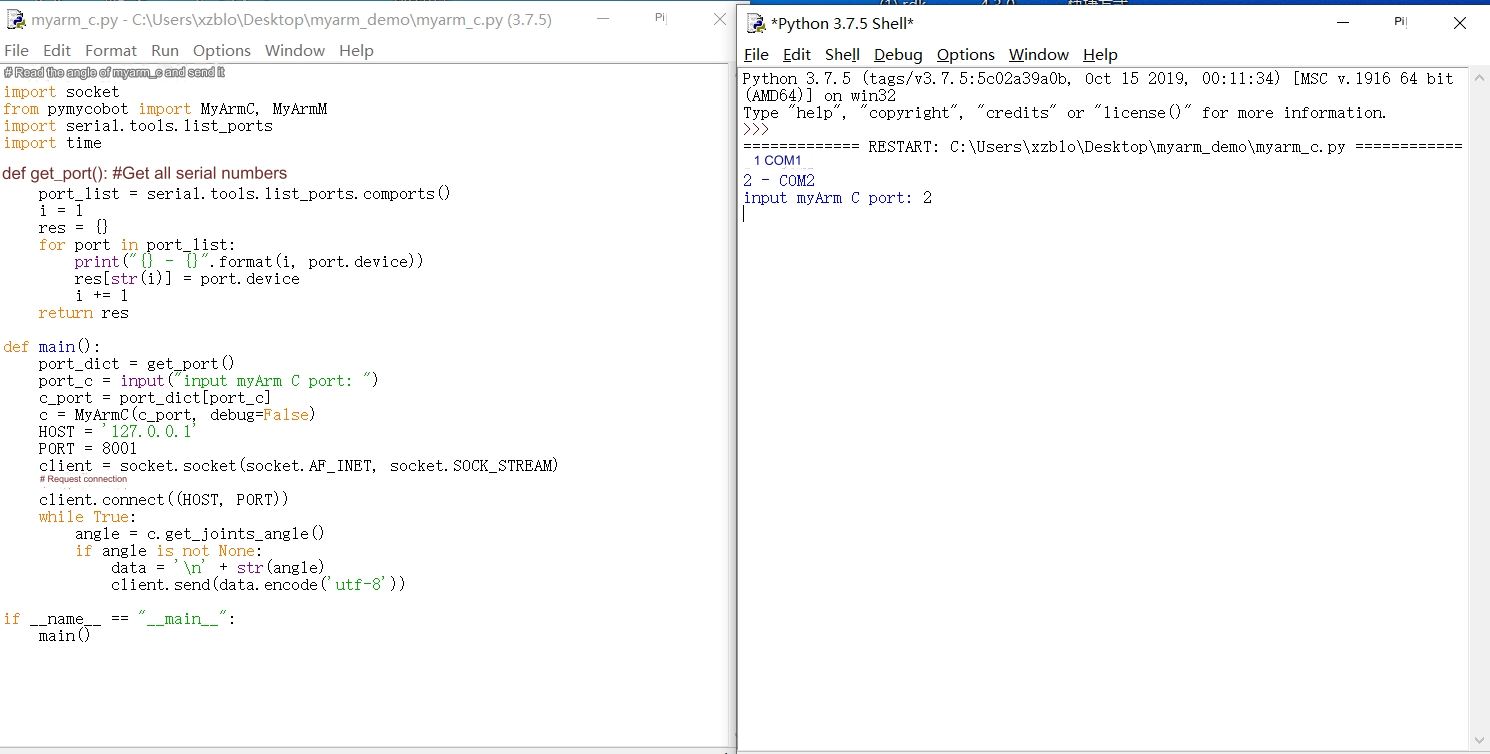
最后再运行myarm_c.py程序,填入C650的串口号,按下键盘回车键即可
2350f0e86e2352fe2e8fb62592247280afec2c2d