Control of the robotic arm
1 Enable TCP server function
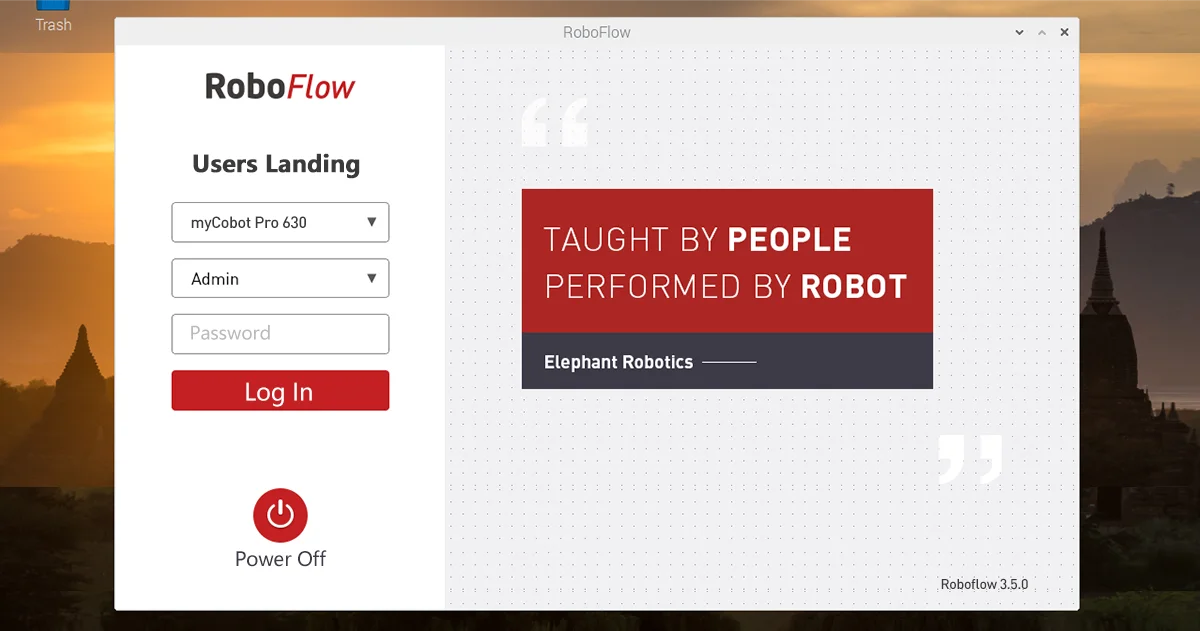
1.1 Log in to RoboFlow operating system
After the robot is powered on, use VNC Viewer to enter the Raspberry Pi and log in to the RoboFlow operating system.
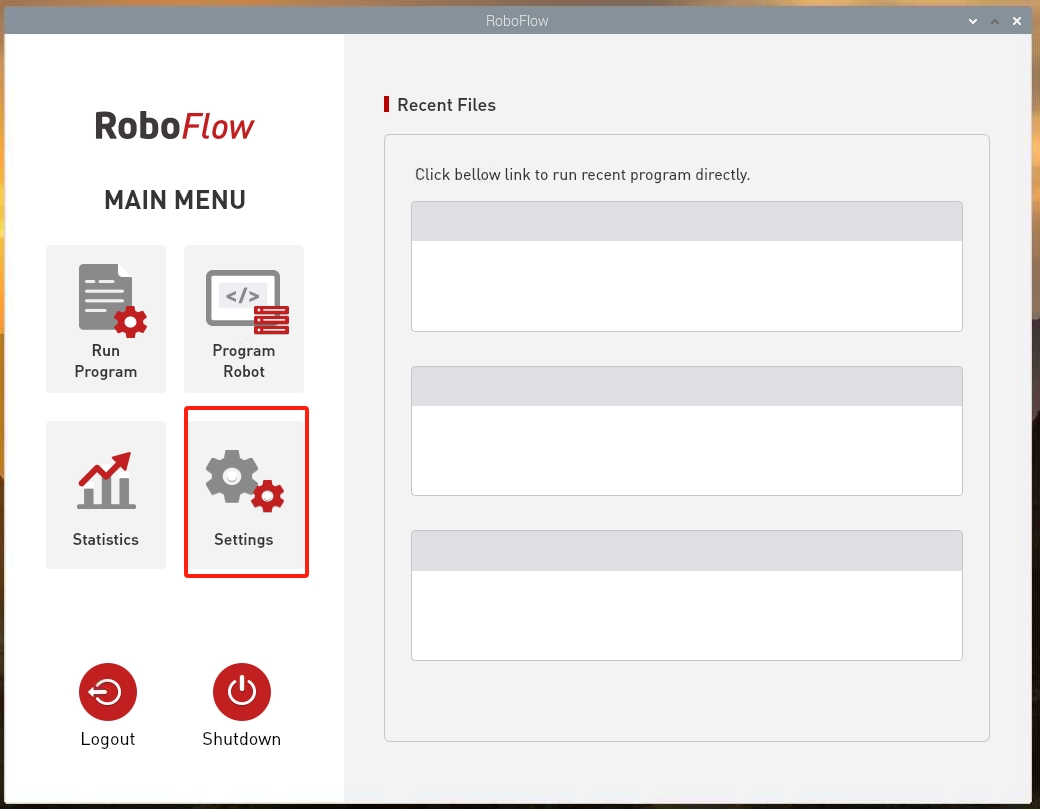
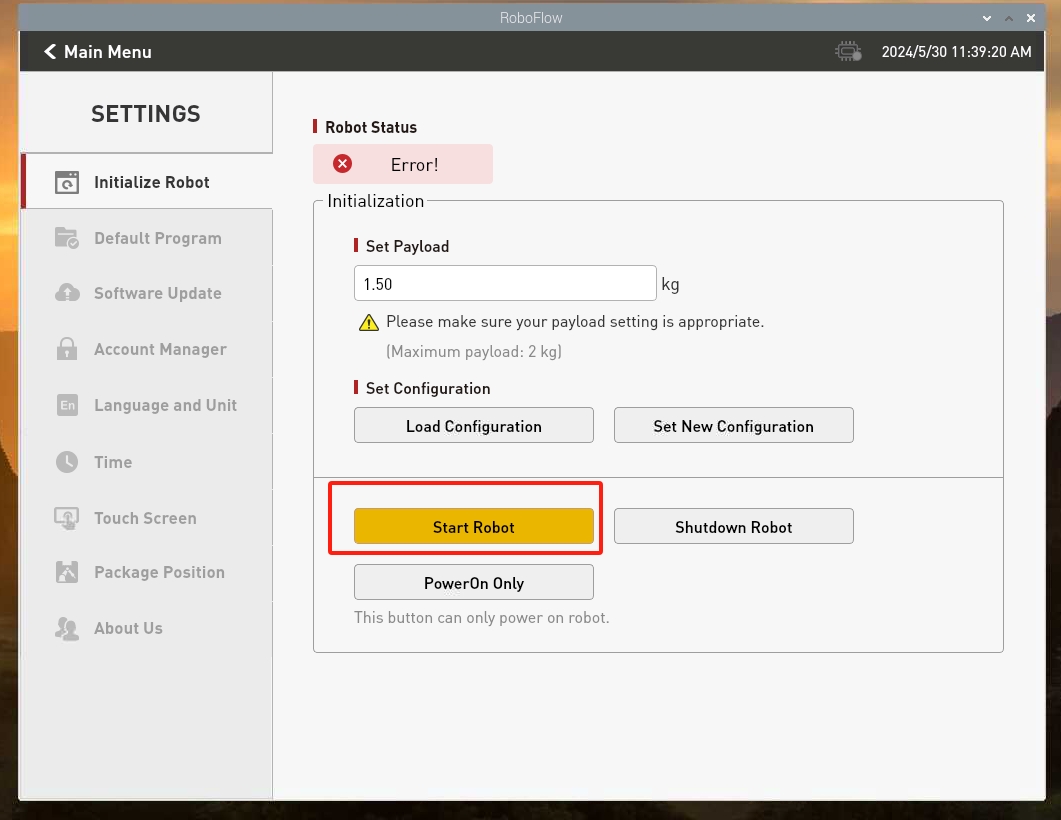
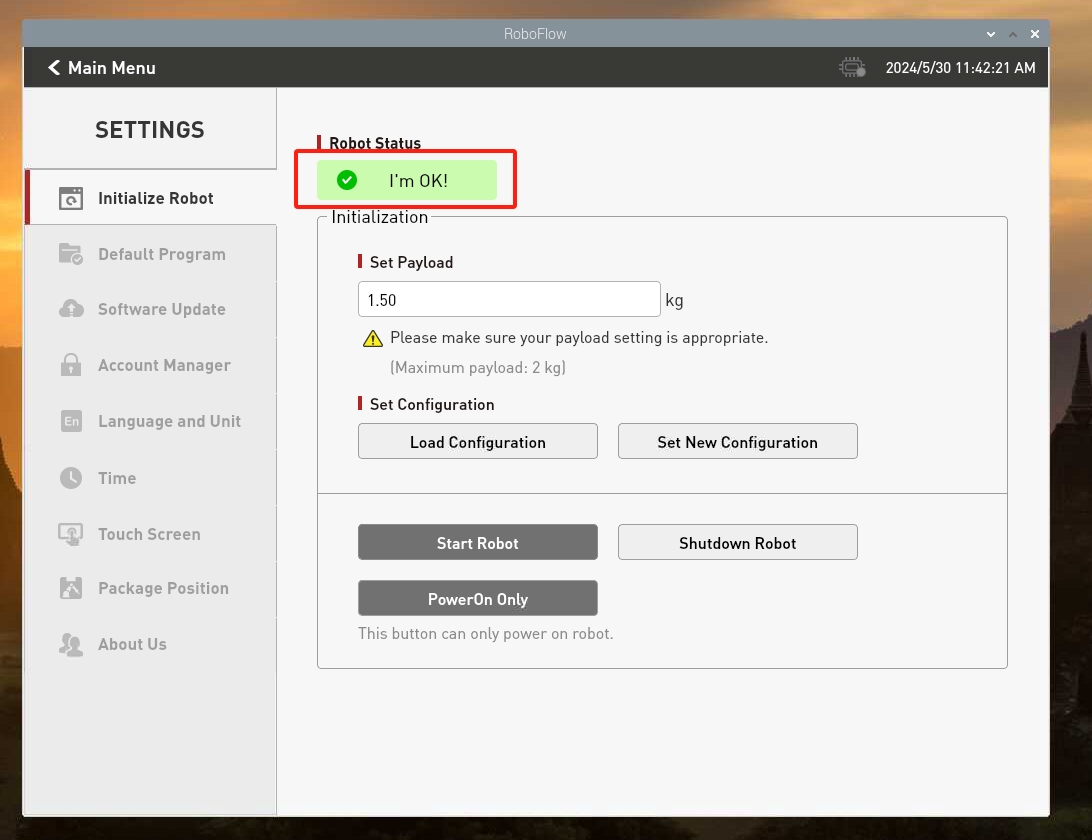
1.2 Start the robot
Enter the configuration center and click the Start Robot button
1.3 Check whether the TCP server is open
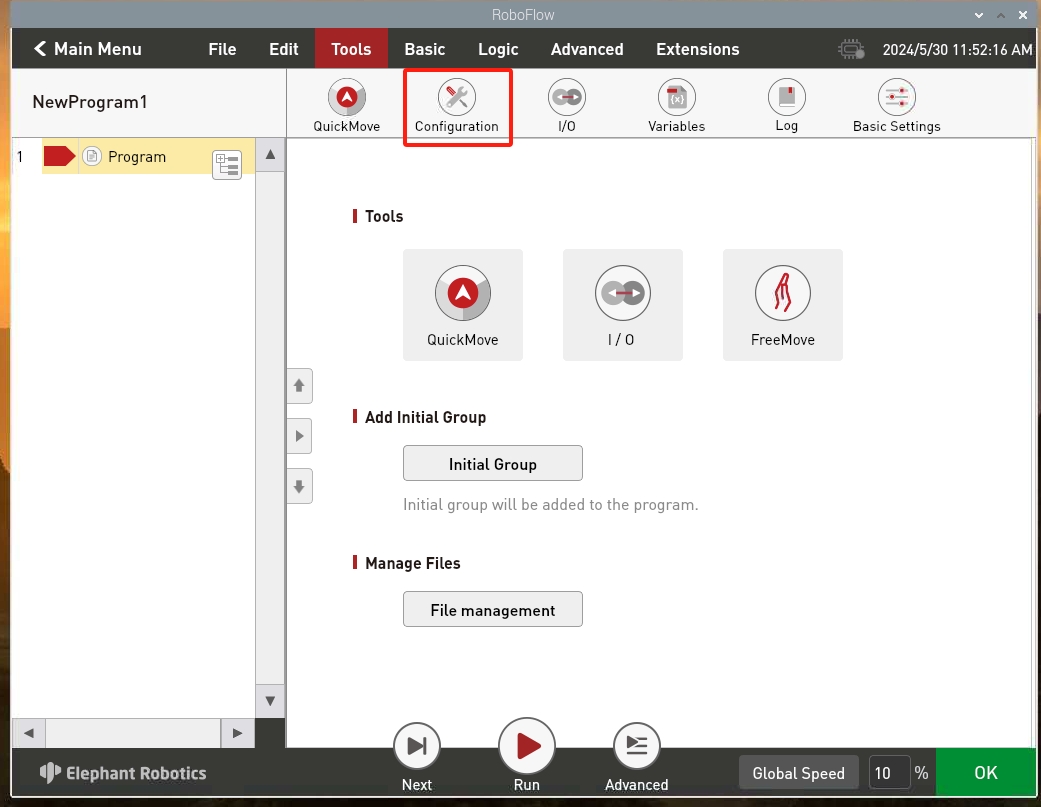
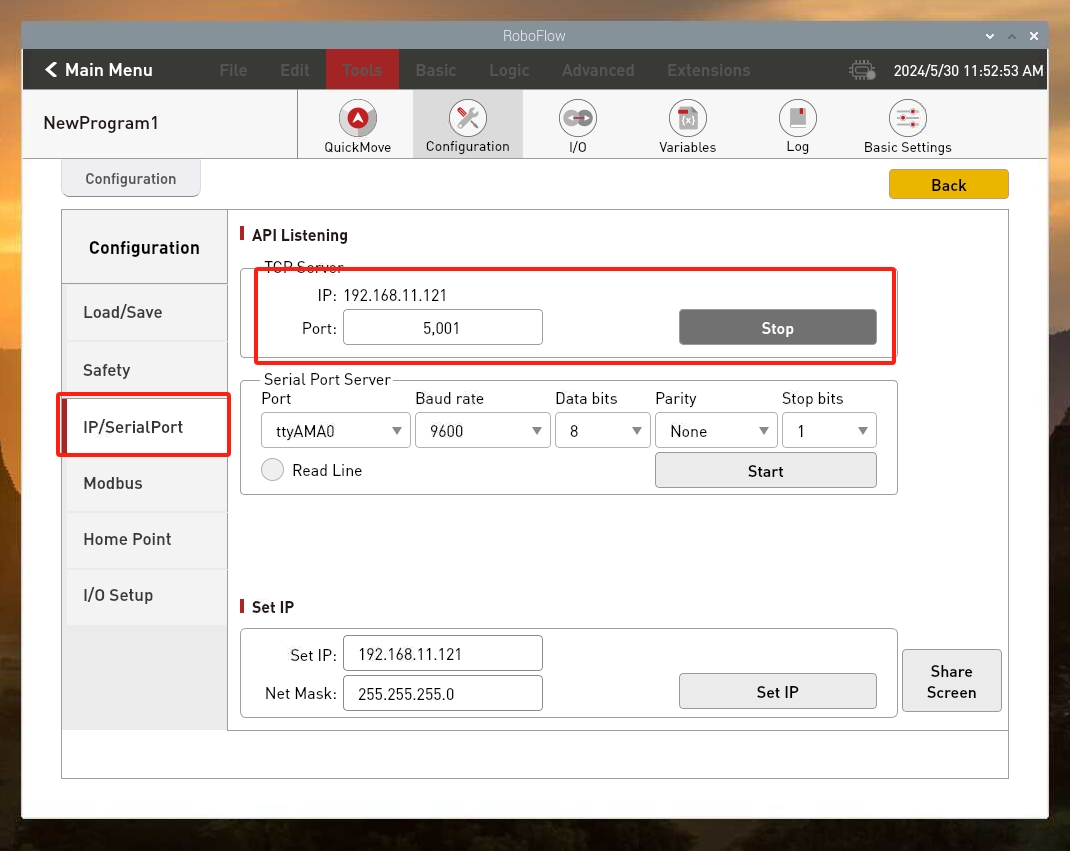
Return to the main menu, click Write Program, and then click the blank program. After entering the program editing interface, click the Configuration button, click the Network/Serial Port option, and check whether the TCP server is turned on. Normally, TCP server is turned on by default , if it is not turned on, you need to turn it on manually and set the IP address manually, such as setting it to 192.168.1.159.
2 Slider control
Note: TCP communication needs to ensure that the local virtual machine computer and the MyCobot Pro630 system use the same network and the same network segment.
Open a console terminal and run the command:
# The default Socket IP address of MyCobot Pro 630 is 192.168.1.159 and the port number is 5001. If it is inconsistent, it can be modified according to the actual IP address.
ros2 launch mycobot_630 slider_control.launch.py ip:=192.168.1.159 port:=5001
It will open rviz2 and a slider component, and you will see something like this:
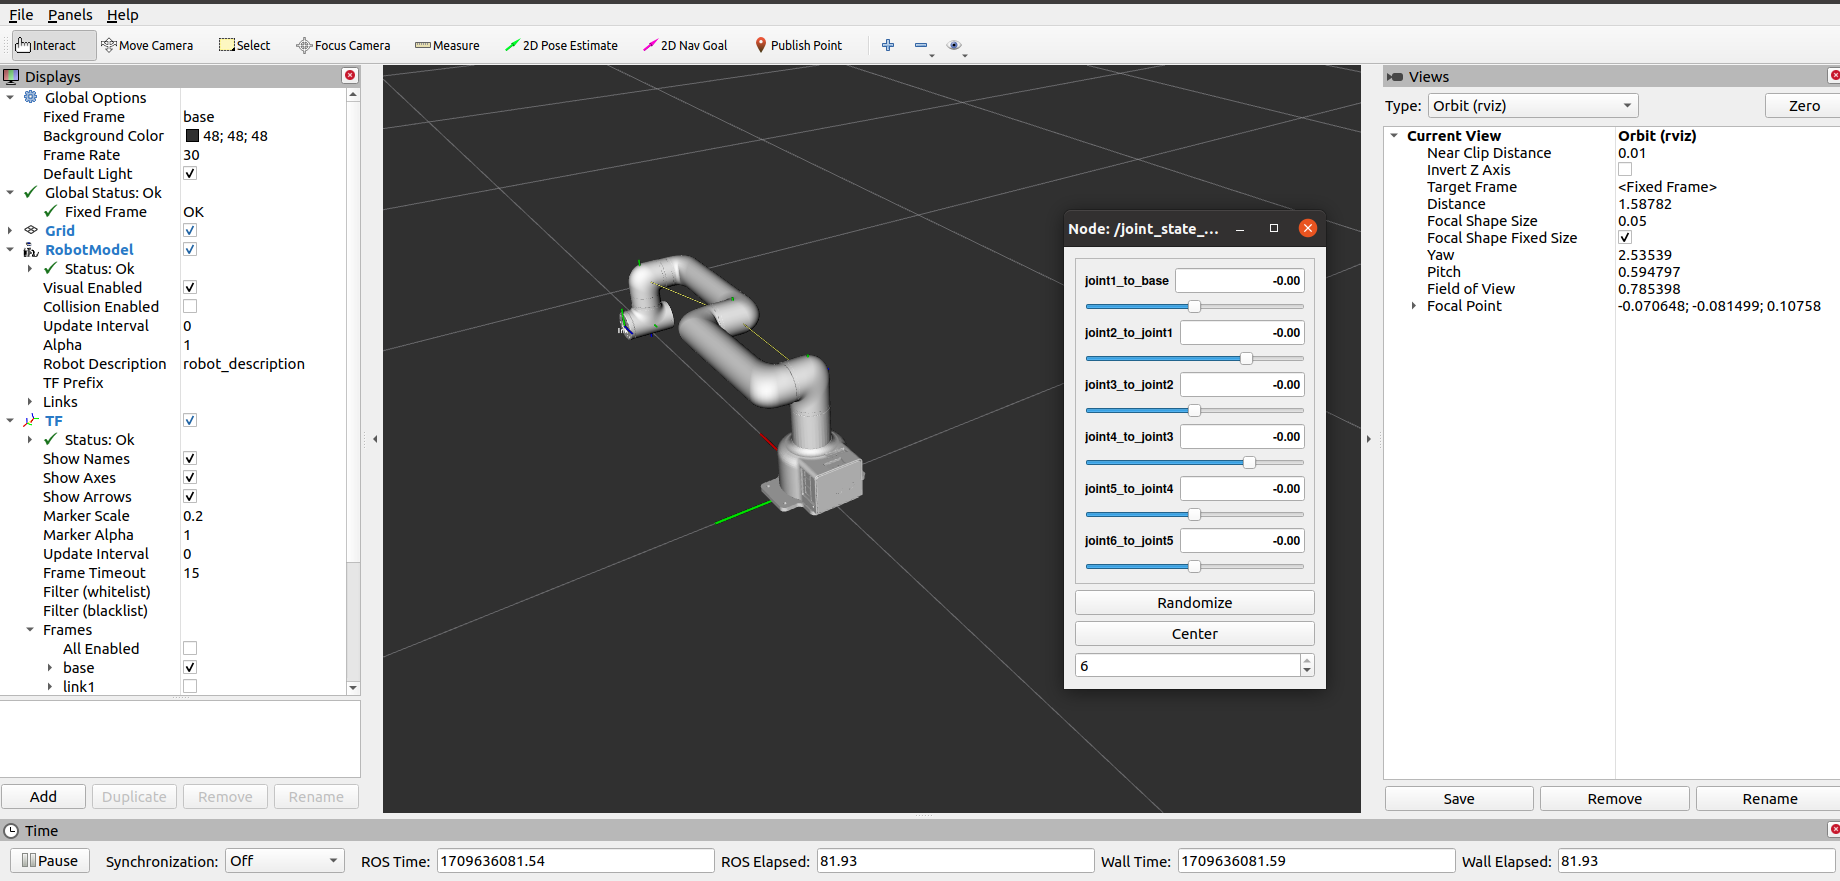
You can then control the movement of the model in rviz by dragging the slider. The real MyCobot Pr630 will move along.
Please note: Since the robot arm will move to the current position of the model when the command is entered, please make sure that the model in rviz does not have mold penetration before you use the command. Do not quickly drag the slider after connecting the robotic arm to prevent damage to the robotic arm.