Brief introduction and use of rviz
rviz is a 3D visualization platform in ROS. On one hand, it can realize the graphical display of external information, and on the other hand, it can also release control information to an object through rviz, realizing the monitoring and control of a robot.
1 Installation of rviz and the introduction to its interface
When installing ros, if you perform a complete installation, rviz is already installed, and you may try to run it directly; if it is not fully installed, you may install rviz separately:
# Ubuntu16.04
sudo apt-get install ros-kinetic-rviz
# Ubuntu18.04
sudo apt-get install ros-melodic-rviz
# Ubuntu20.04
sudo apt-get install ros-noetic-rviz
After the installation is complete, open a new terminal (shortcut key: Ctrl+Alt+T) and enter the following command:
roscore
Then open a new terminal (shortcut key: Ctrl+Alt+T) and input the following command to open rviz.
rosrun rviz rviz
# or
rviz
Open rviz, and the following interface will be displayed:
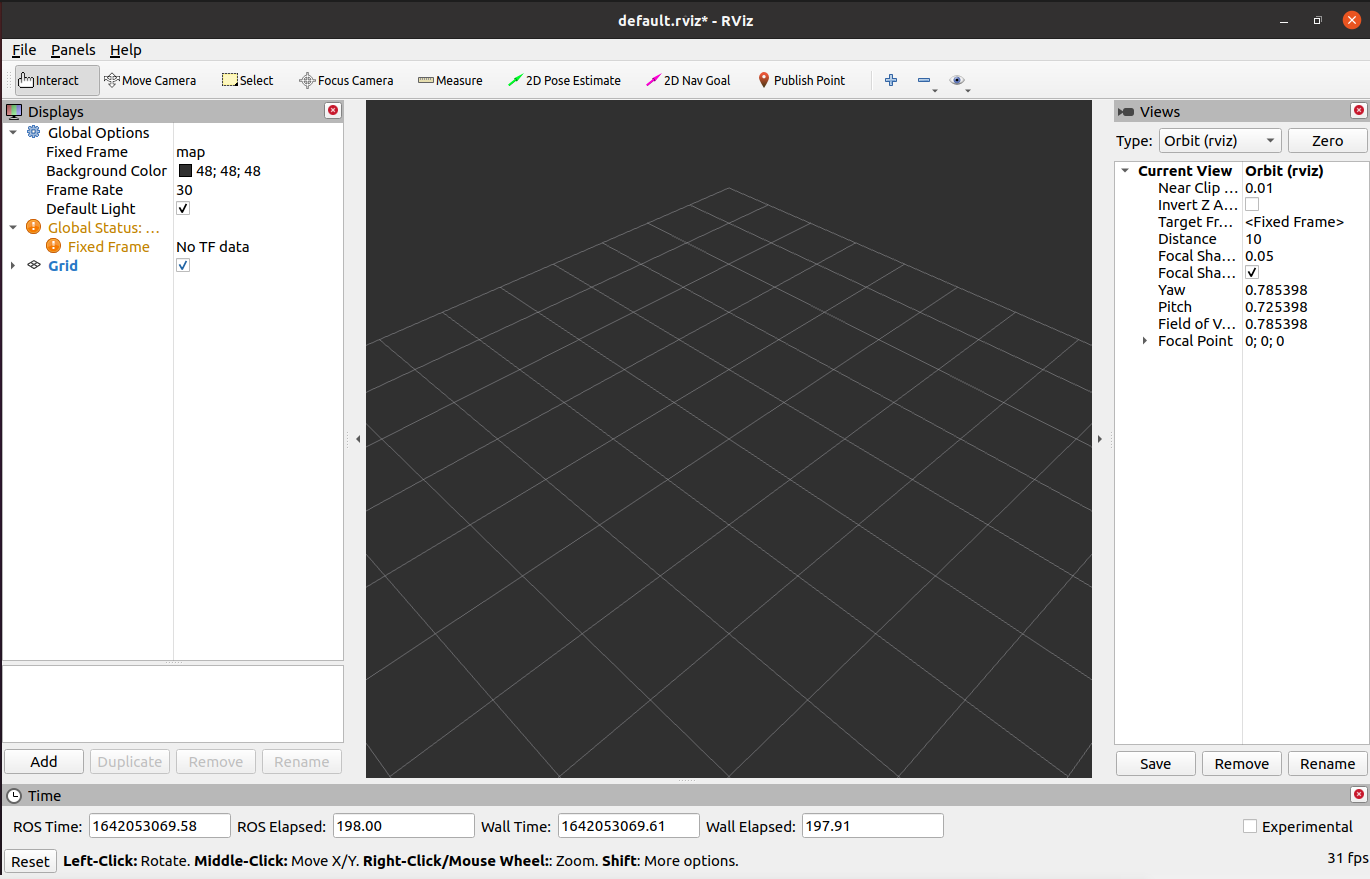
1.1 Introduction of all areas
- There is a list of monitors on the left. The monitor is a device that draws something in a 3D world and may have some options available in the display list.
- On the top is a toolbar, which allows the user to use various function buttons to select tools with multiple functions.
- The middle part is the 3D view: It is a main screen where various data can be viewed in three dimensions. The background color, fixed frame, grid, etc. of the 3D view can be set in detail in the Global Options and Grid items displayed on the left.
- Below is the time display area, including system time and ROS time.
- The right side is the observation angle setting area where different observation angles can be set.
We only give a rough introduction in this part. If you want to know more details, go to User Guide.
2 Prerequisites
- Type Ctrl+Shift+T in the command terminal to open another terminal window in the same directory to view the device name:
# View the device name of the robotic arm
ls /dev/ttyUSB* # 2020 version myCobot320 M5

# If the terminal does not display the /dev/ttyUSB related name, you need to use the following command
ls /dev/ttyACM* # 2022 version myCobot320 M5
- Grant the serial port permission to the robotic arm:
# The default device name is /dev/ttyUSB0, if the device name is not the default value, it needs to be modified.。
sudo chmod 777 /dev/ttyUSB0 # 2020 version myCobot320 M5

sudo chmod 777 /dev/ttyACM0 # 2022 version myCobot320 M5
Then enter the user password(Note: The password is not displayed, just enter it correctly).
3 Simple use
Start using launch file
This example is built on what you have already done Environment building and you have successfully copied the company's code from GitHub to your virtual machine.
Open a new terminal (shortcut key: Ctrl+Alt+T)
Input the command to configure the ROS environment.
cd ~/catkin_ws/
source devel/setup.bash
Input again:
roslaunch new_mycobot_320 mycobot_320_test.launch
Open rviz, and then you will obtain the following result:
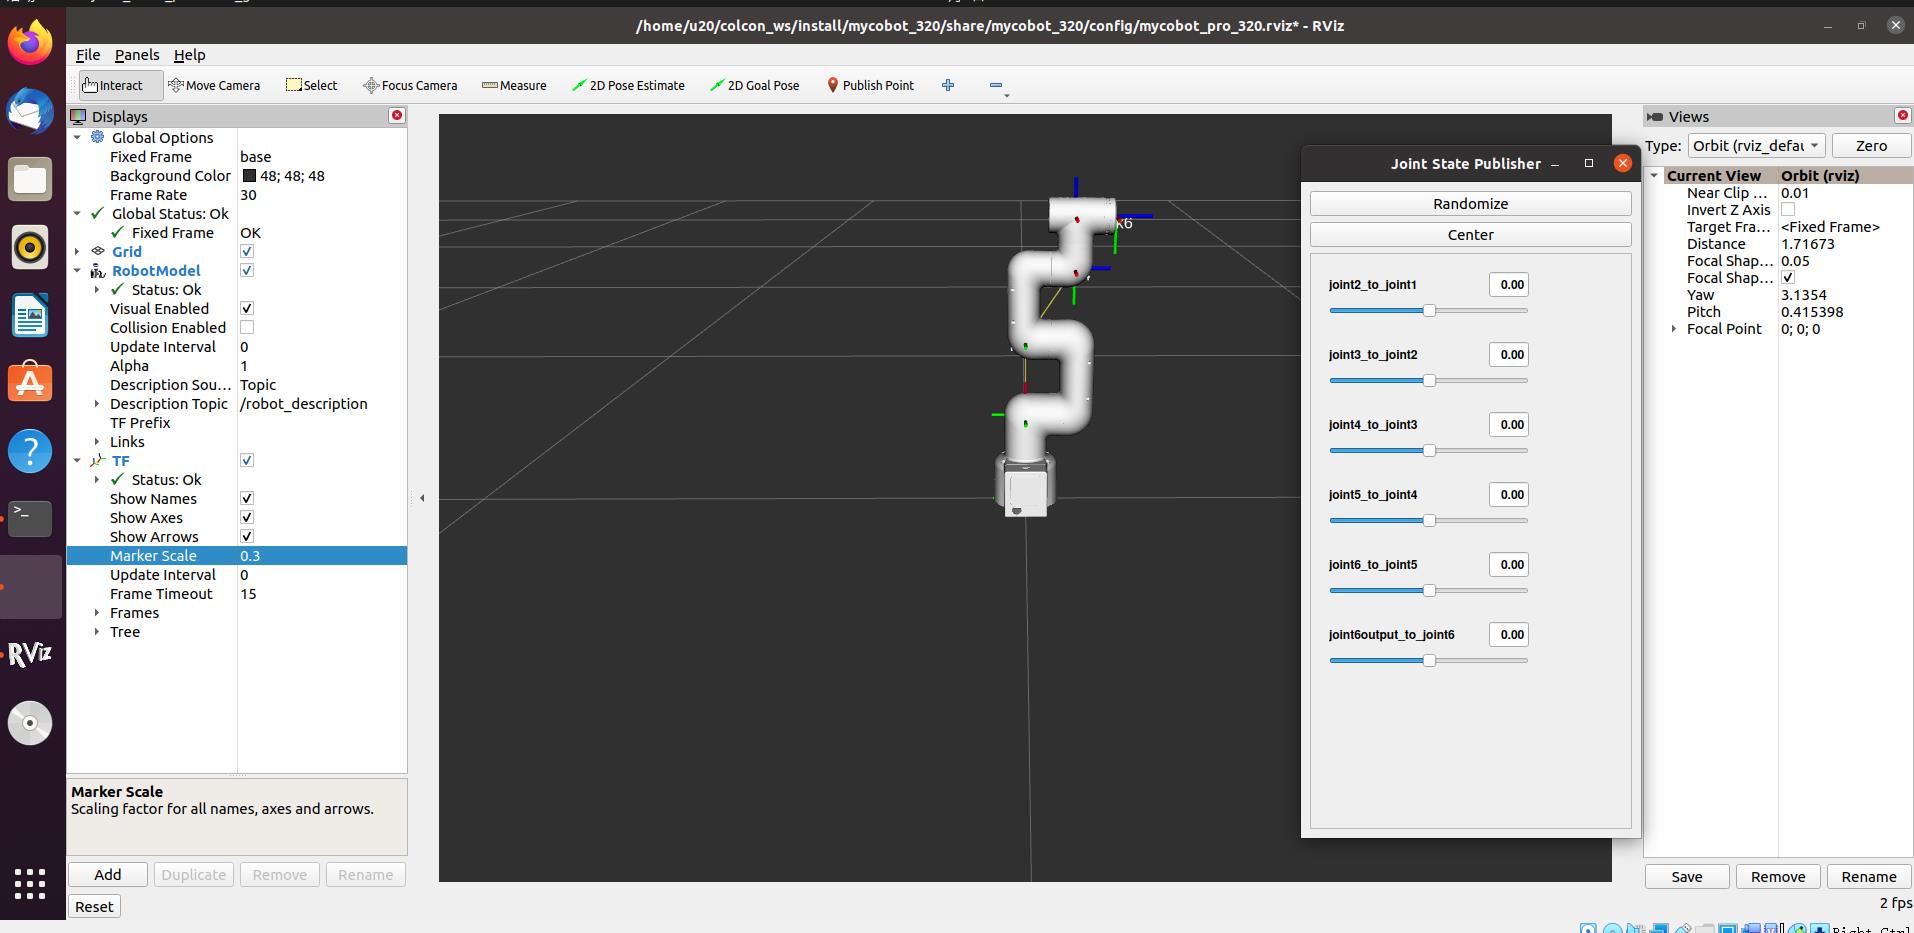
If you want to know more information about rviz, go to Official documents.