机械臂的控制
1 开启TCP服务器功能
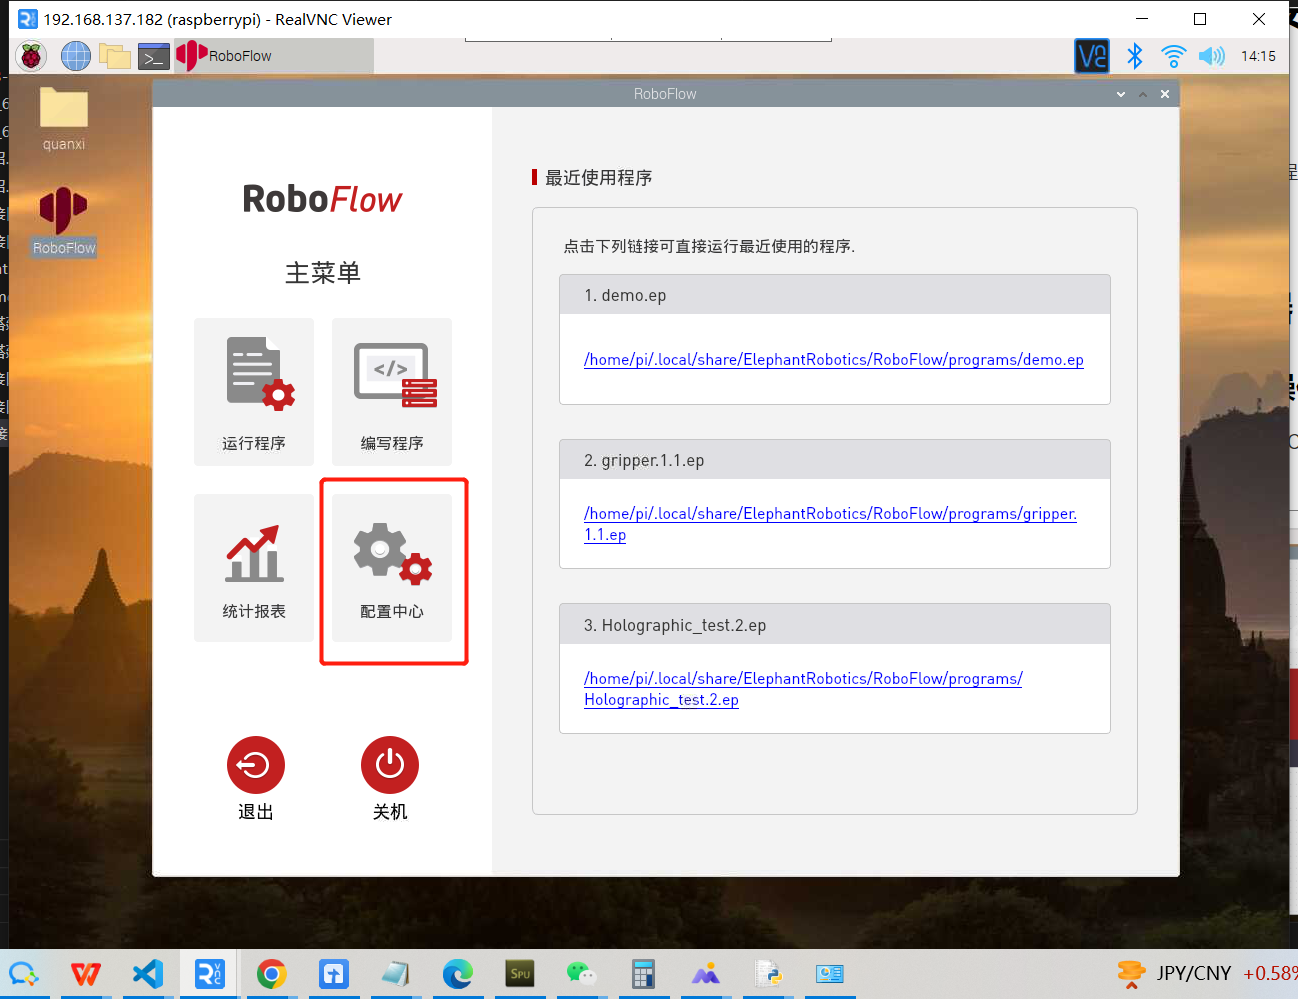
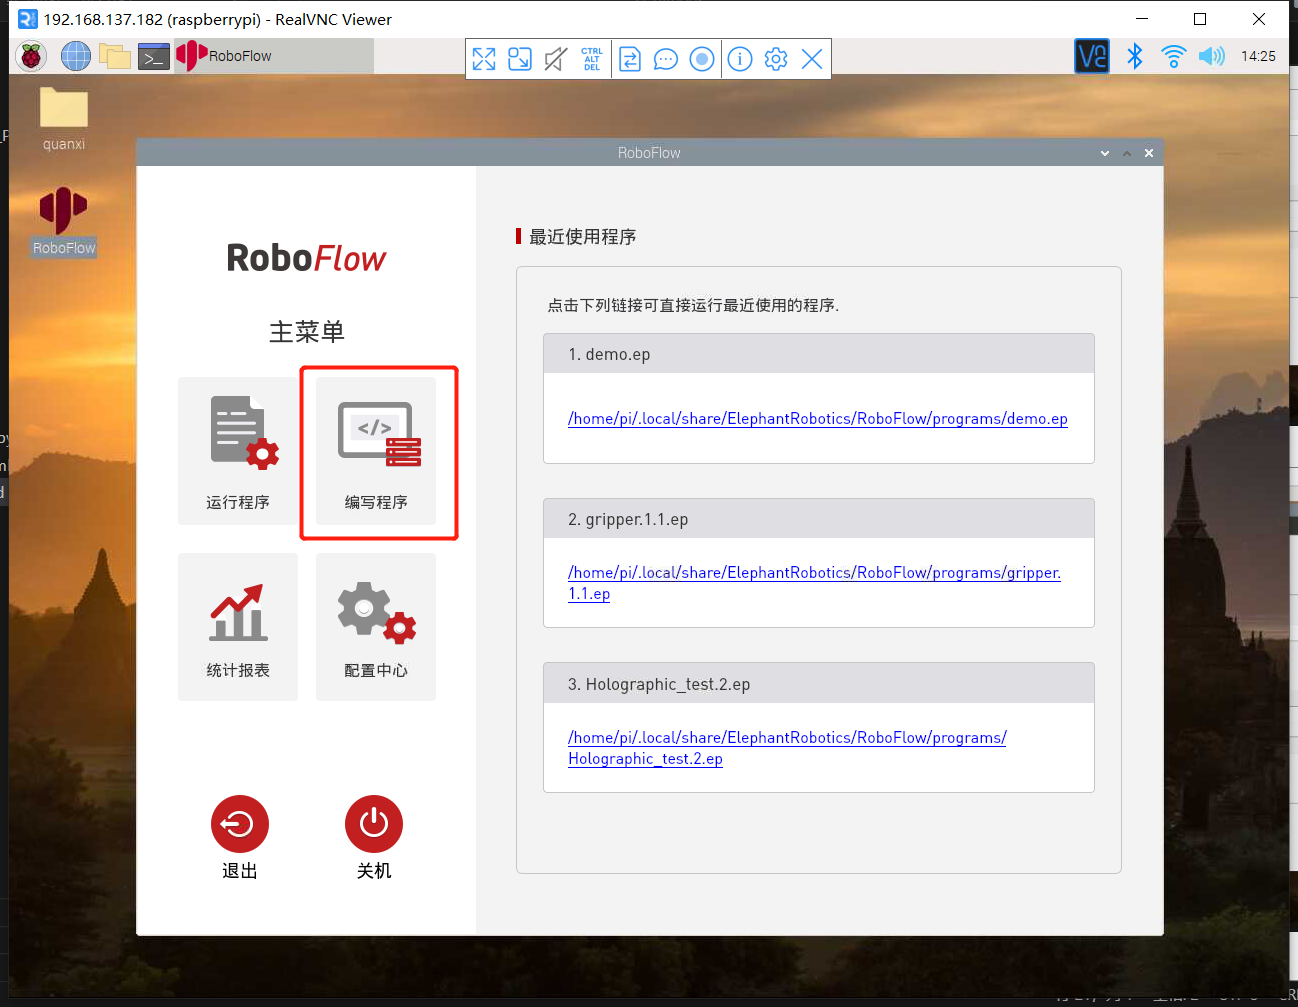
1.1 登录RoboFlow操作系统
机器人上电开机后,使用VNC Viewer进入树莓派,登录RoboFlow操作系统
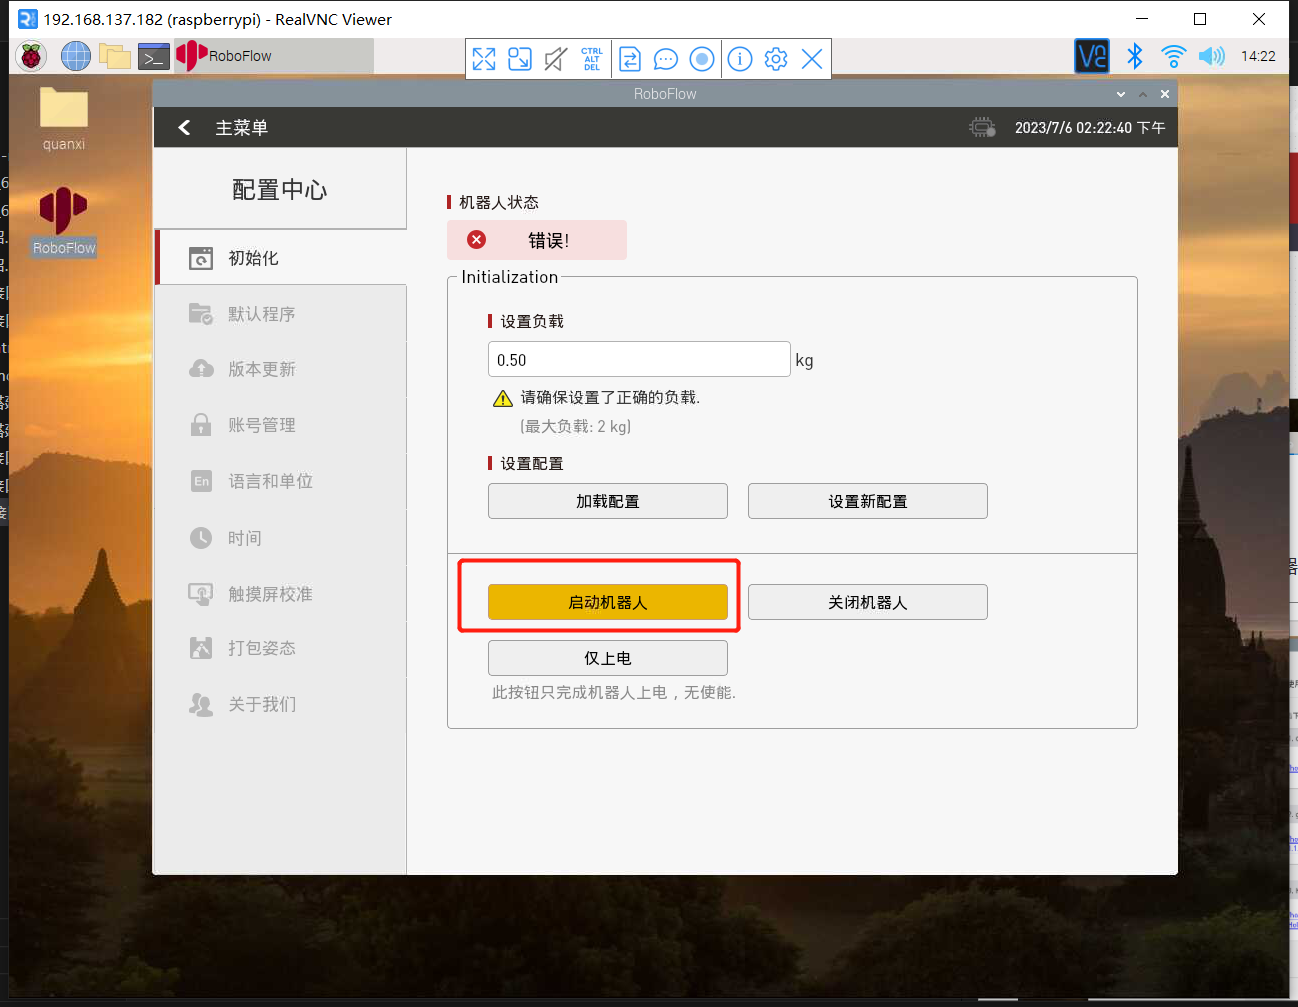
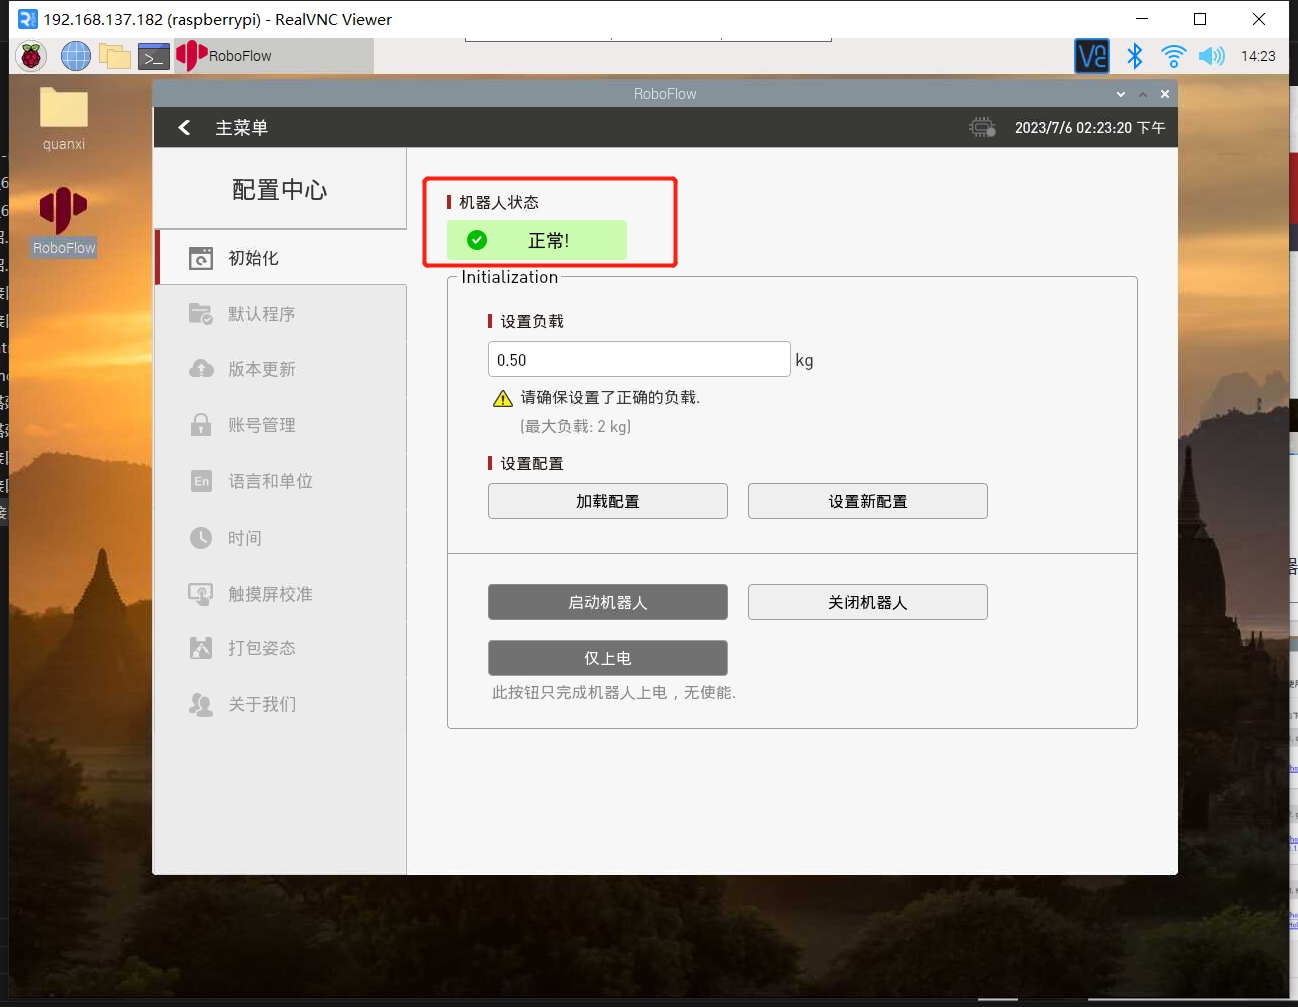
1.2 启动机器人
进入配置中心,点击启动机器人按钮
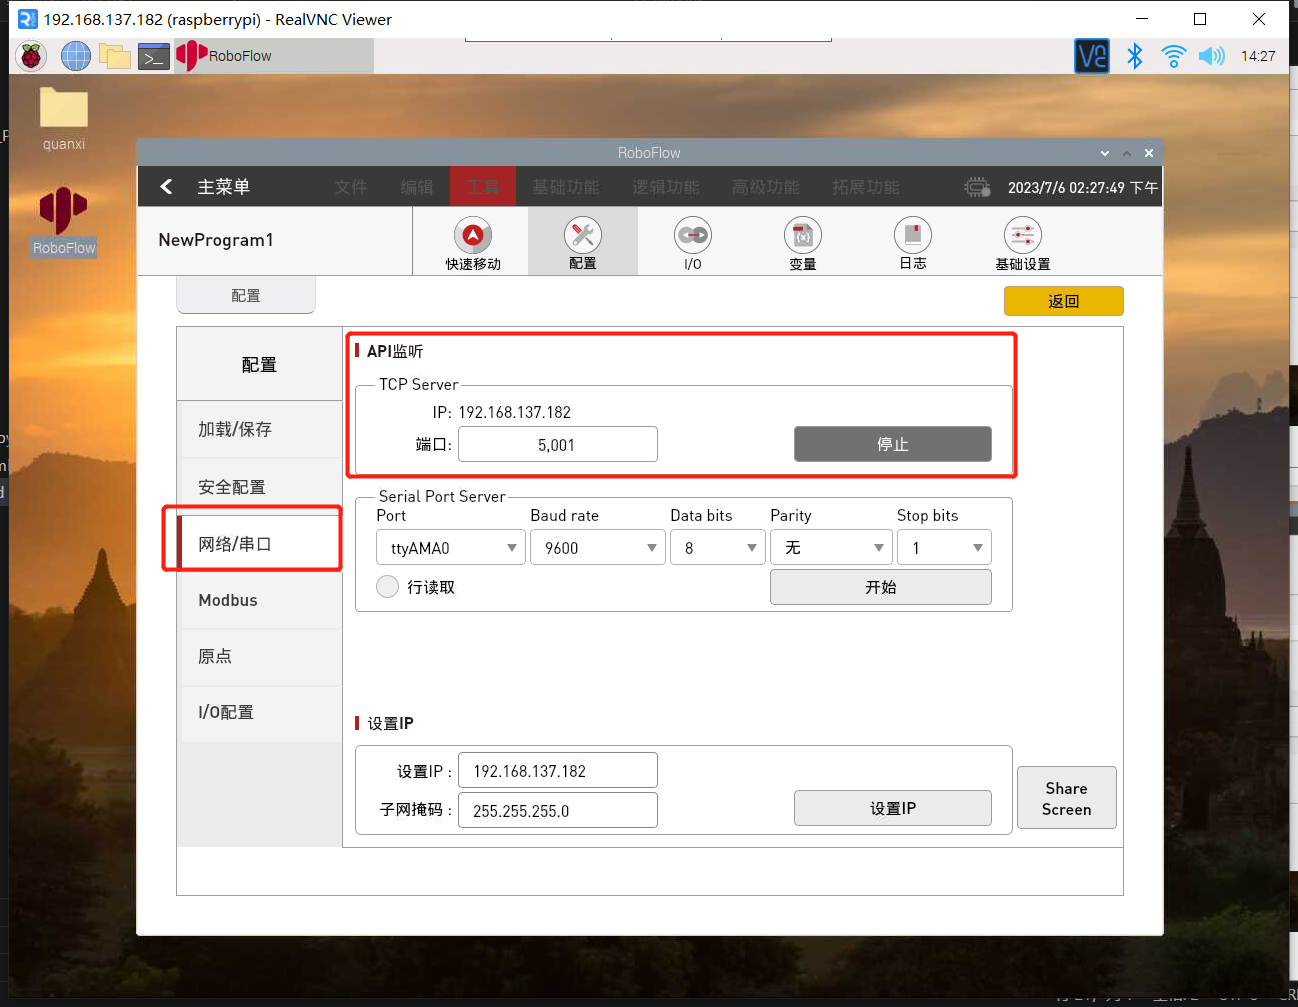
1.3 检查TCP服务器是否开启
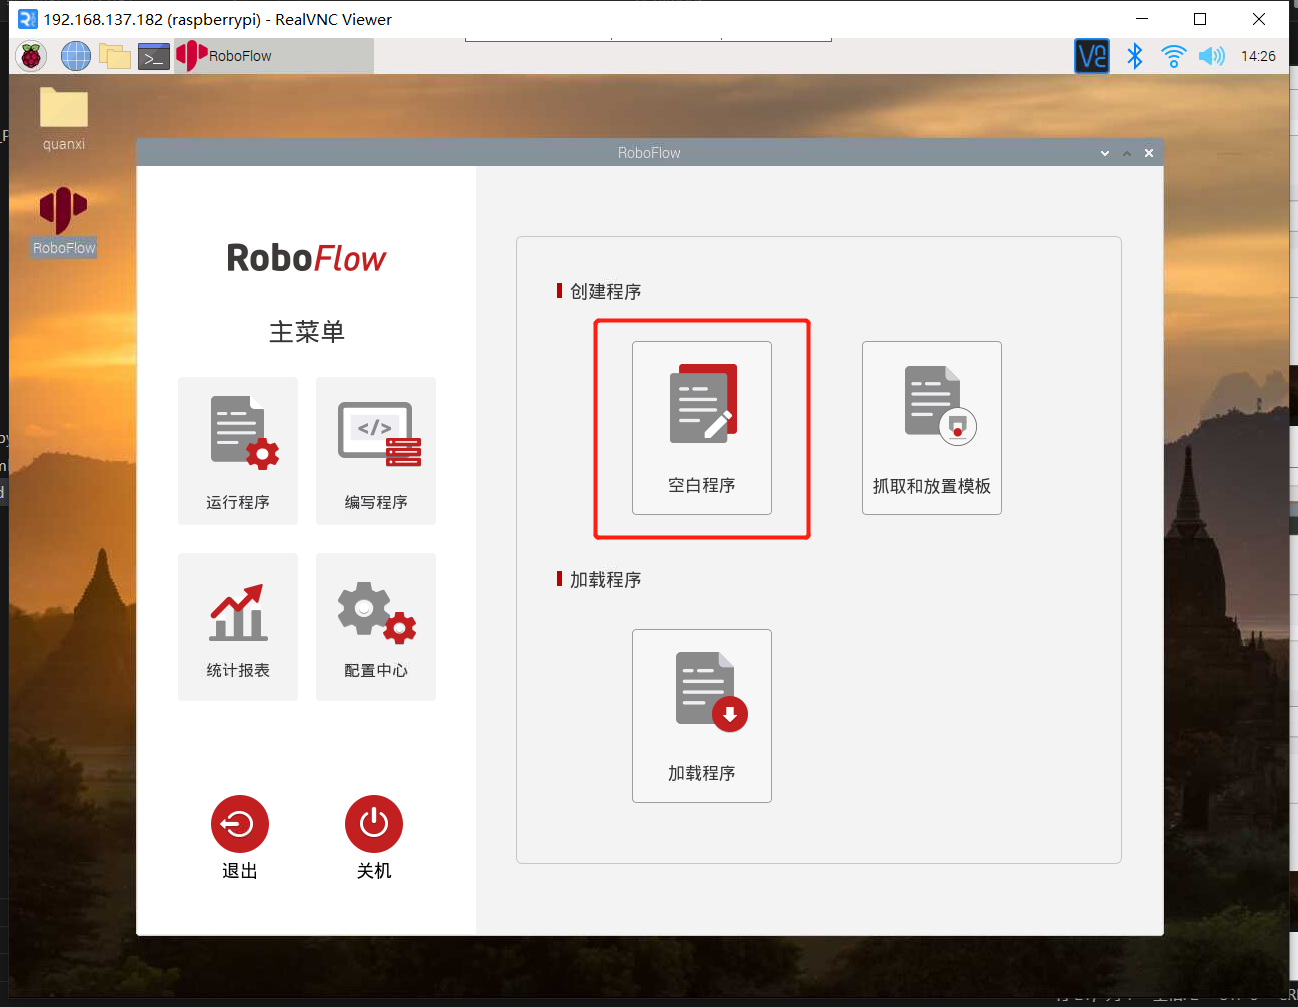
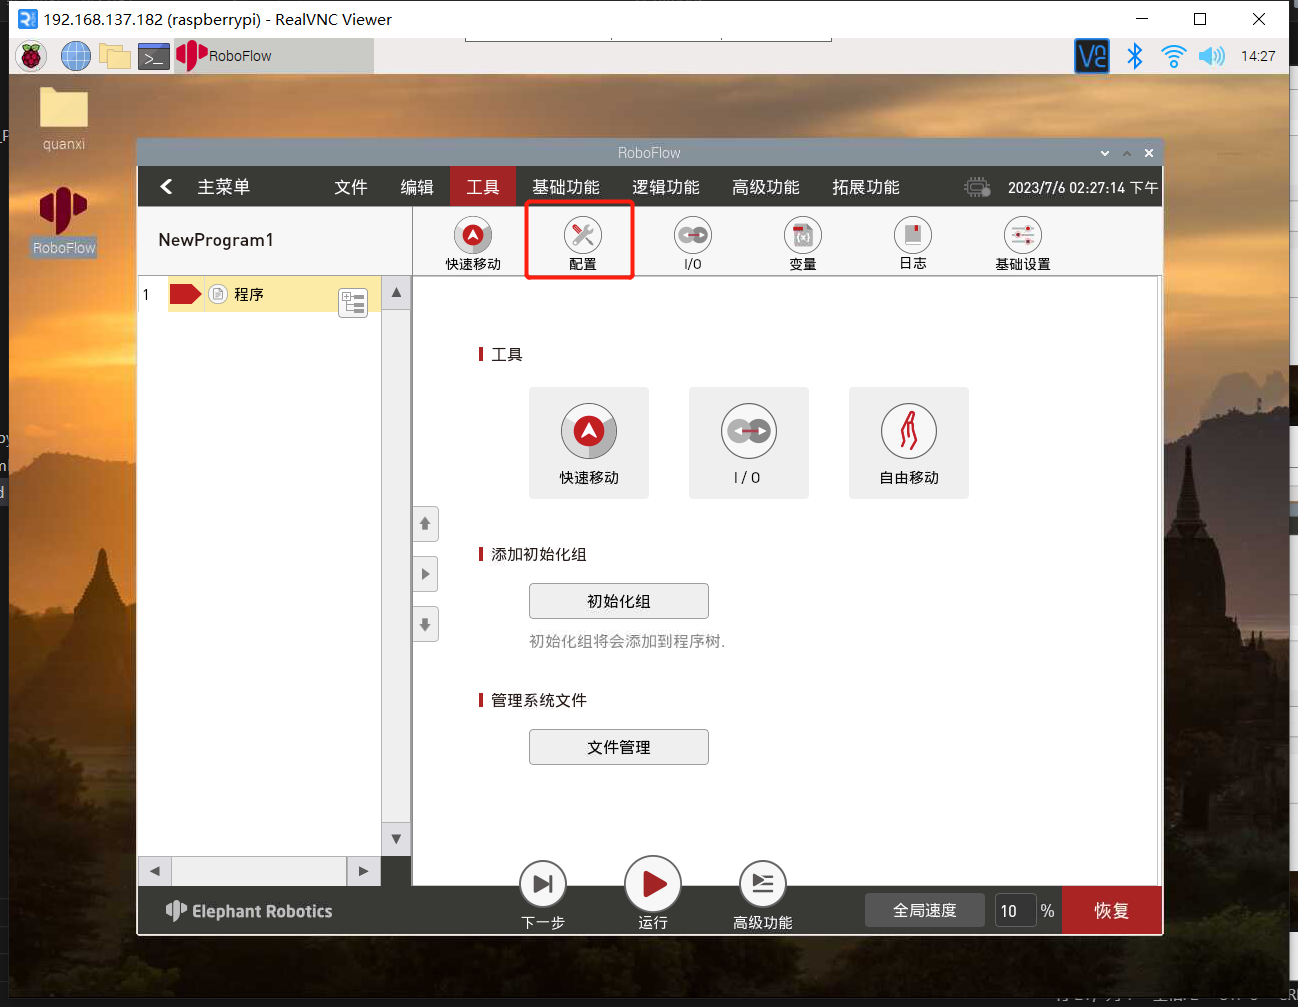
返回主菜单,点击编写程序后,再点击空白程序,进入程序编辑界面后,点击配置按钮,点击网络/串口选项,检查TCP服务器是否开启,通常情况下,TCP服务器是默认开启的,若未开启,则需手动开启,也手动设置IP地址,如设置成192.168.1.159。
2 滑块控制
注意:TCP通信需确保本地虚拟机电脑与MyCobot Pro630系统使用同一网络,同一网段。
打开一个控制台终端,运行命令:
# MyCobot Pro 630默认的Socket IP地址为192.168.1.159,端口号为5001,若不一致,可根据实际的IP地址进行修改。
ros2 launch mycobot_630 slider_control.launch.py ip:=192.168.1.159 port:=5001
它将打开 rviz2 和一个滑块组件,你将看到如下画面:
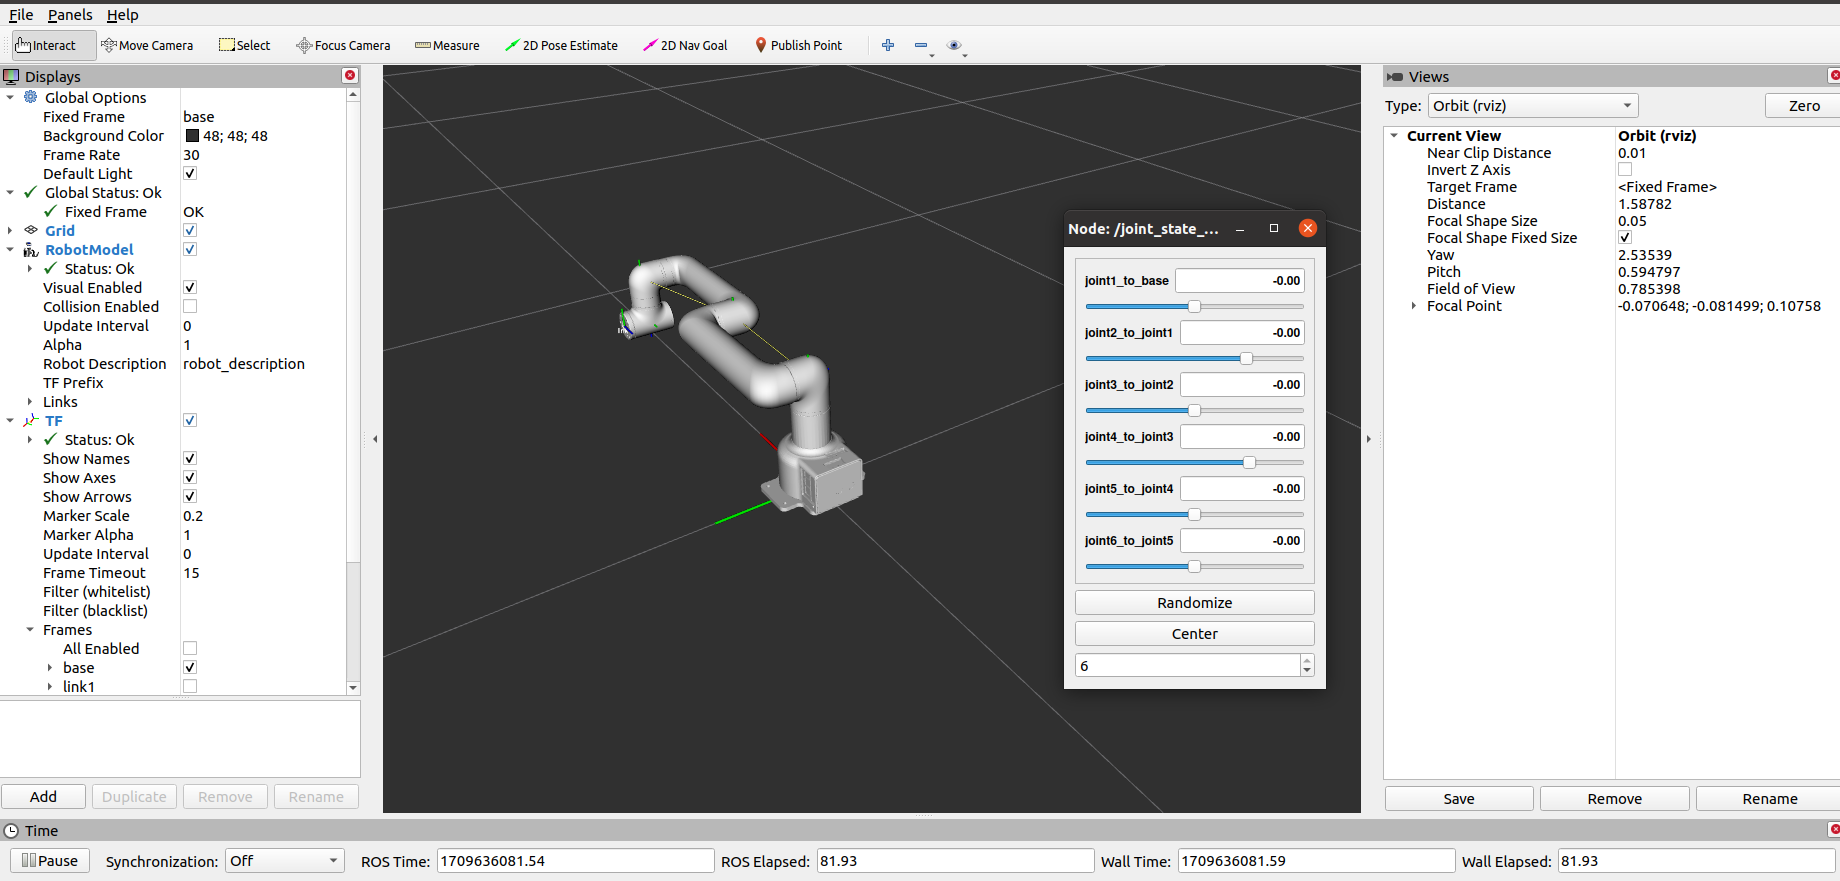
接着你可以通过拖动滑块来控制 rviz 中的模型移动。真实的 MyCobot Pr630 将跟着一起运动。
请注意:由于在命令输入的同时机械臂会移动到模型目前的位置,在您使用命令之前请确保rviz中的模型没有出现穿模现象。 不要在连接机械臂后做出快速拖动滑块的行为,防止机械臂损坏。