Mercury Panel User Guide
1 Mercury Panel Introduction
Mercury Panel is an application that controls the Mercury robot arm by touching the cm4 on the base of the robot arm. Its functions are coordinate control, Angle control, drag teaching, etc.), which is convenient for operators to interact with elephant robots and correctly use elephant robots.
Applicable equipment:
-Mercury A1
Be sure to download the updated atom and basic firmware before use
2 How to use it
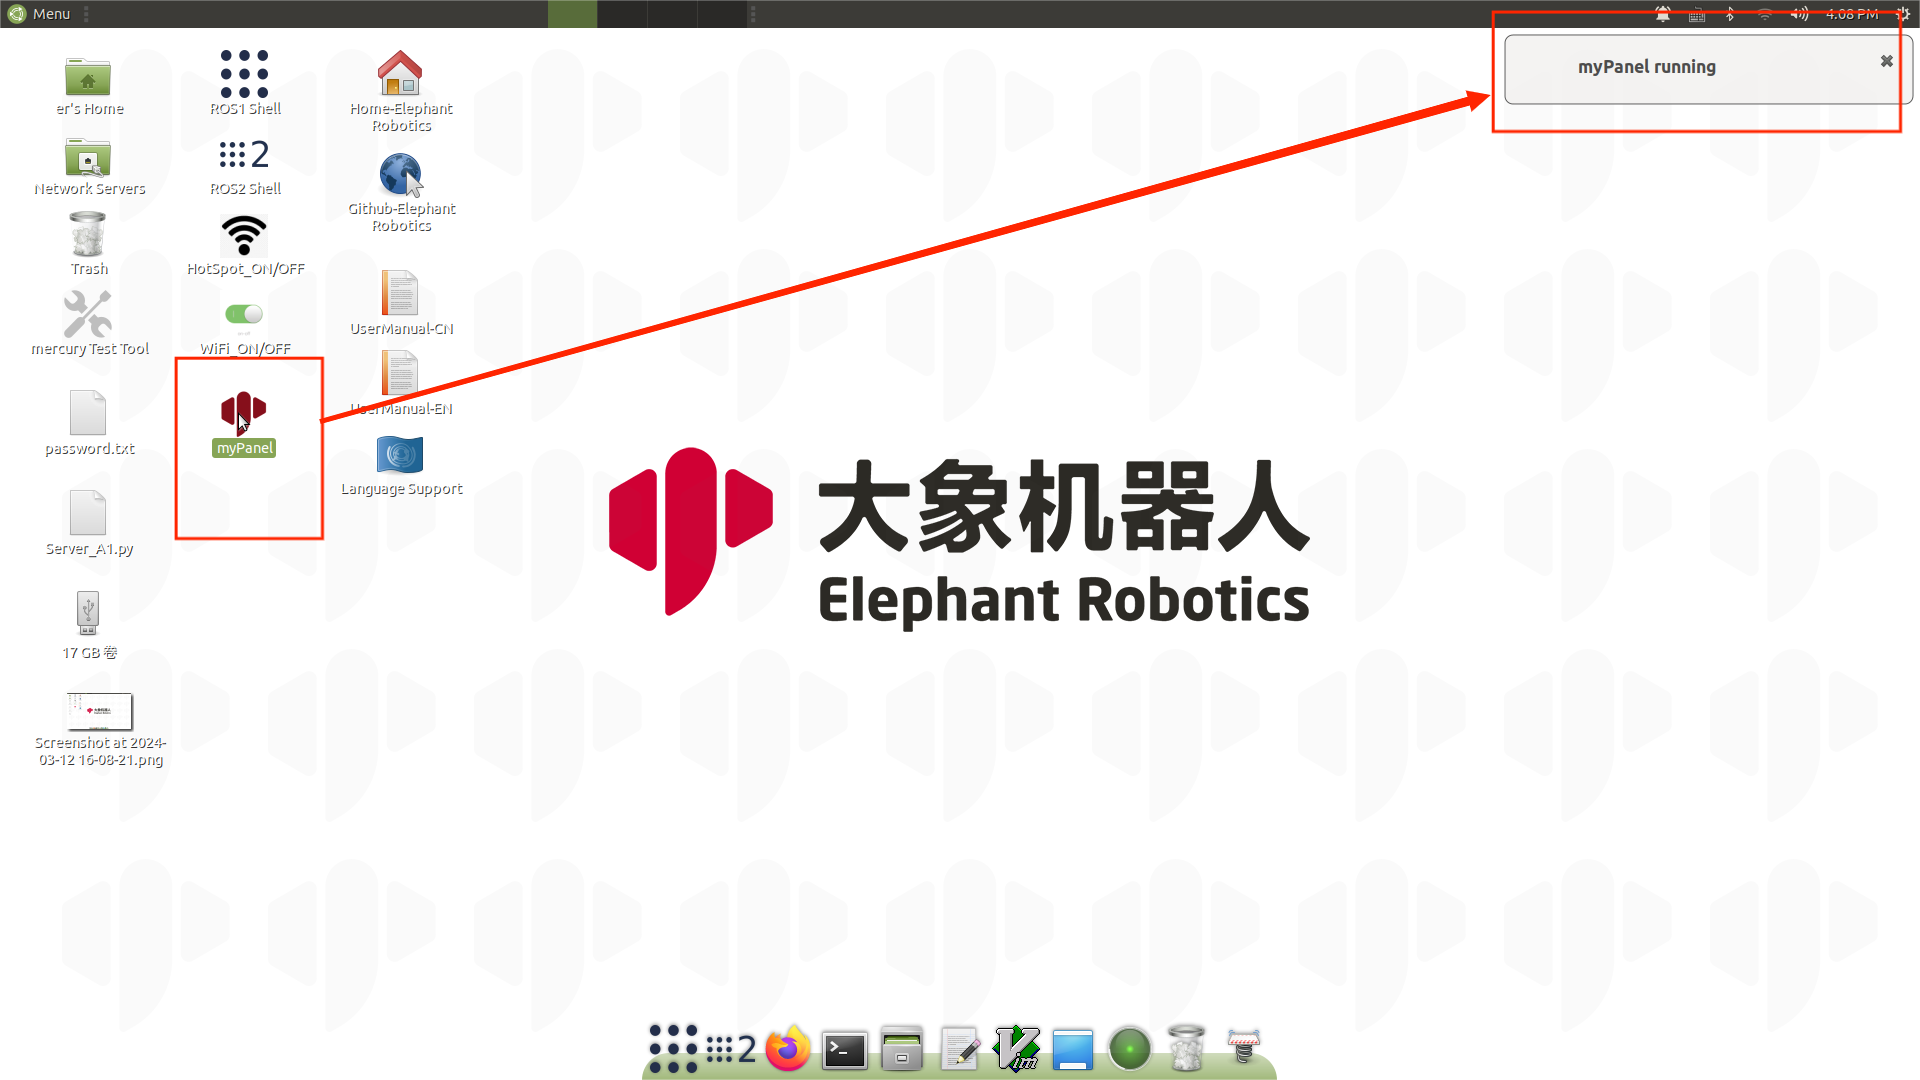
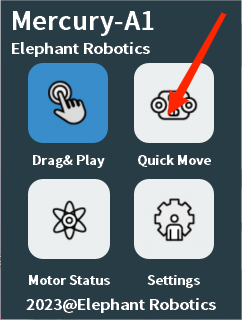
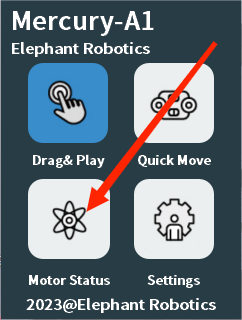
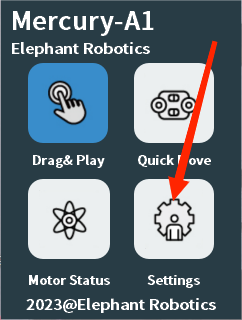
We have installed the panel in the system, and there is a shortcut on the desktop as shown in the figure.

Click the icon to run panel, and a message box will pop up in the upper right corner of the desktop (if it is opened, click to close it).
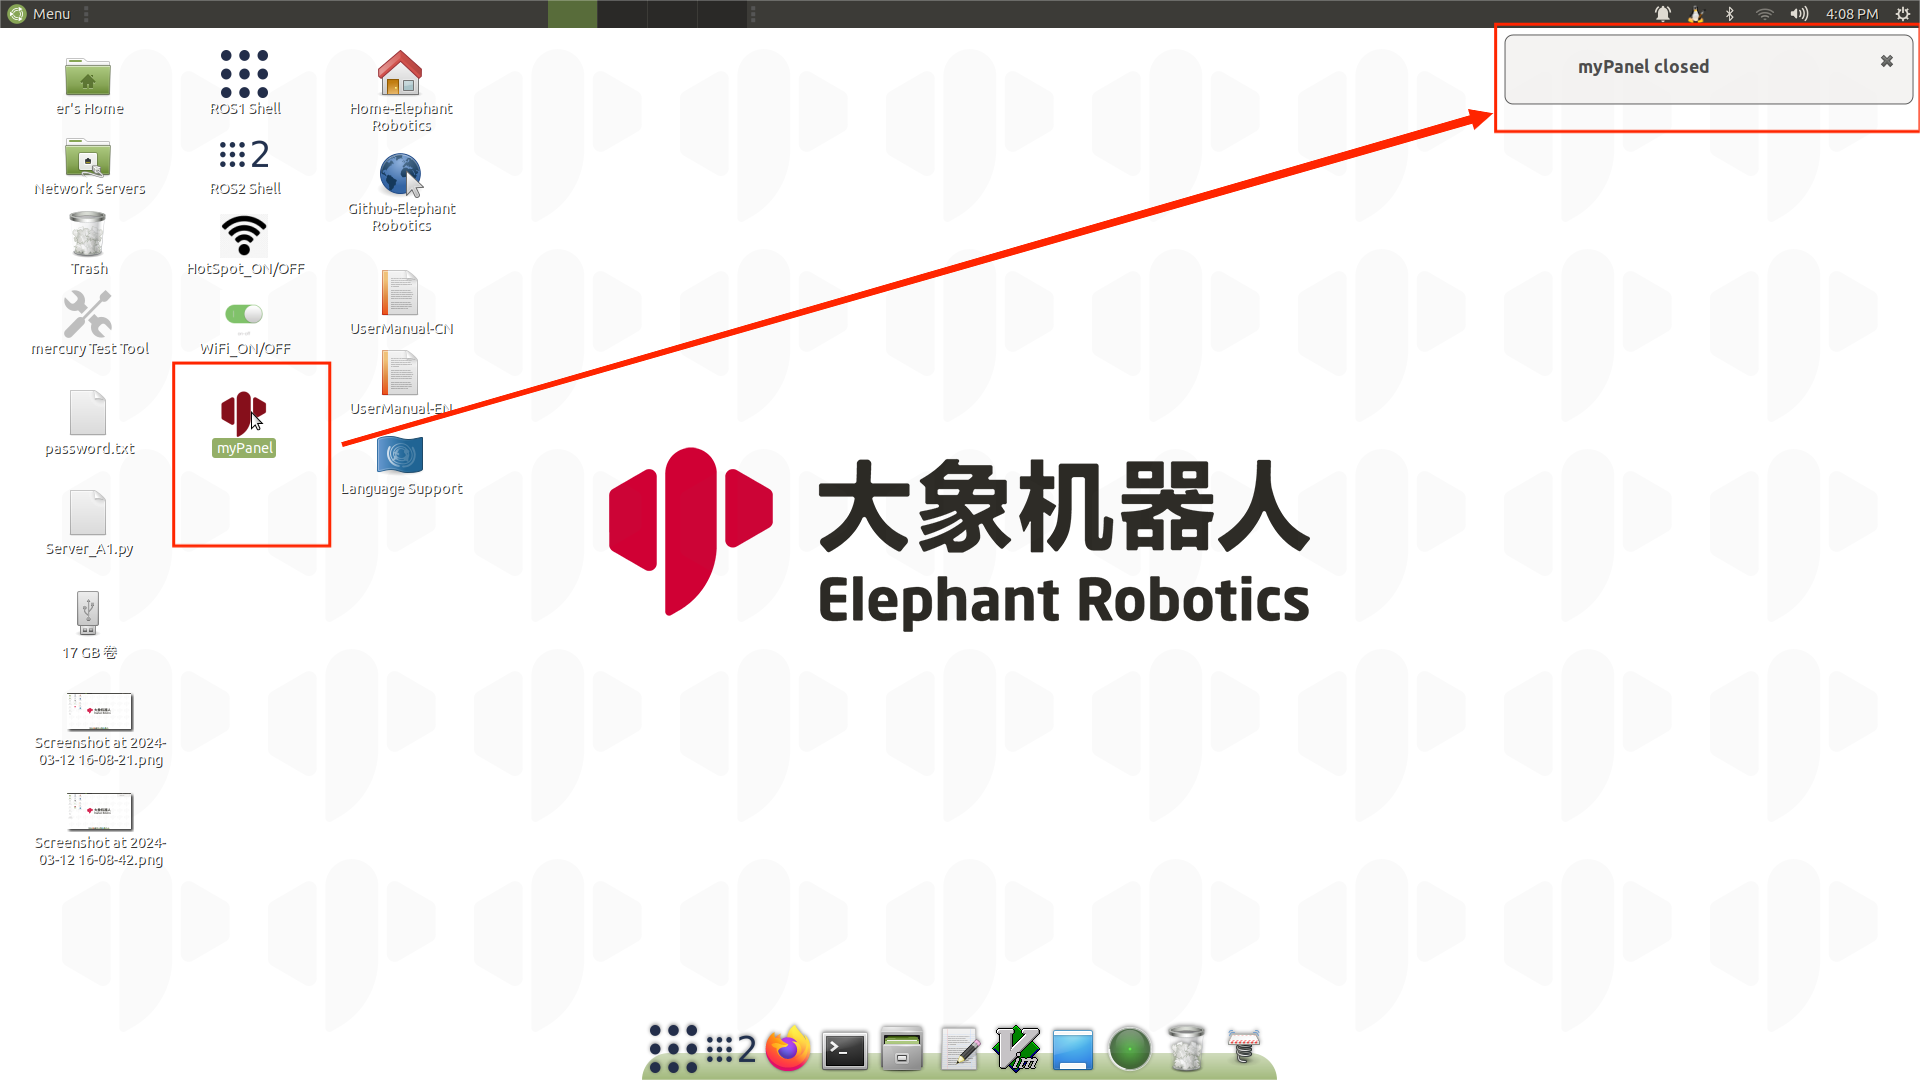
Click to close panel again, and a message box pops up in the upper right corner of the desktop.
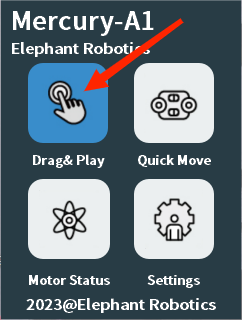
When the panel is run, the user can intuitively see the button that can be clicked and the corresponding comment. The default startup is the power-on state (the rbg light at the end of the power-on state will be on). The gray triangle in the upper left corner of the interface is to return to the previous interface, and the x in the upper right corner is to close the interface.
2.1 Drag & Play
Click drag to teach in the main interface to enter the drag to teach interface.
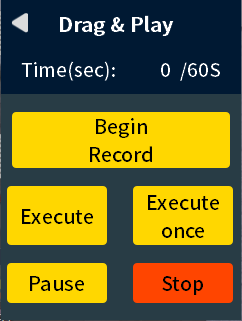
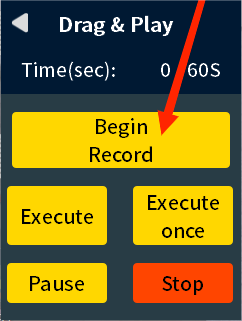
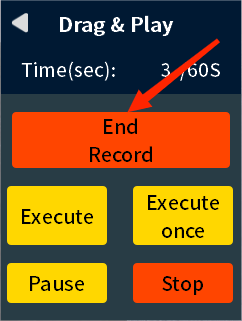
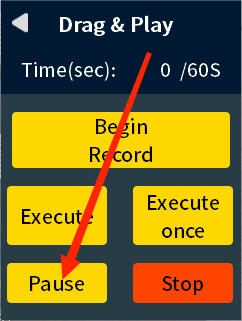
Click to start recording and pop-up window will remind you that the robot arm is about to be relaxed. Click OK to relax the robot arm and start dragging the recording teaching point. When recording, the recording time will be displayed on the top in real time (the recording time shall not exceed 60 seconds, otherwise there will be a pop-up warning), click to end the recording after recording, and the mechanical arm will be locked.
If you click Record in case of power failure, the system prompts you to power on first. Click OK.
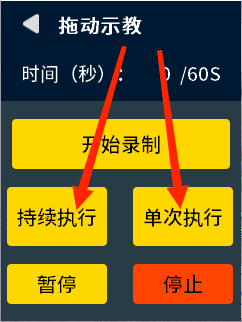
Click Single execution to play a recorded action; Click Continue to play the recording action in a loop.
Click Stop during the movement of the robot arm, the robot arm stops moving, and the recorded point is cleared.
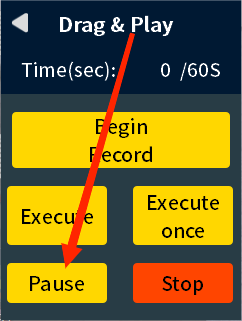
Click pause during the movement of the mechanical arm, the mechanical arm stops moving, the pause button changes to resume, and the mechanical arm continues to move along the previous break point.
2.2 Motion control
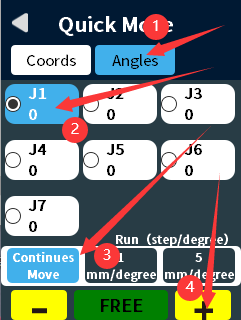
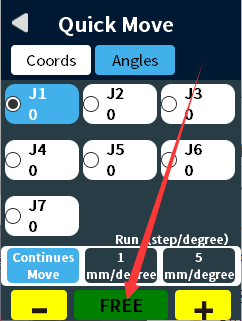
Click "Quick Move" in the main interface to enter the "Quick Move" interface and select Angle control or coordinate control.
Angle control: Select the joint to be operated, and the control is divided into continuous motion and stepping motion. Select continuous under run, this is continuous movement, after pressing the button, until the release button will stop (after reaching the limit will also stop); Select 1 mm/degree or 5 mm/degree (step value) under run, then it is a step movement, click + to increase the corresponding step value, click - to reduce the corresponding step value, the step movement will stop when it reaches the point (for example, joint 1 is at an Angle of 30 with an incremental value of 50, press the button on the side of the minus sign, then the robot arm will stop when it moves to -20).
Coordinate control: Adjust the robot arm to a proper attitude, such as joint 4: -90°, before performing coordinate control. Select the axis to operate, the control is divided into continuous motion and step motion. Select continuous under run, this is continuous movement, after pressing the button, until the release button will stop (after reaching the limit will also stop); Select 1 mm/degree or 5 mm/degree (step value) under run, then it is a step movement, click + to increase the corresponding step value, click - to reduce the corresponding step value, the step movement will stop when it reaches the point (for example, the X-axis is now 30, the incremental value is 50, press the button on the side of the plus sign, then the robot arm will stop when it moves to 80). RA is the redundant arm Angle.
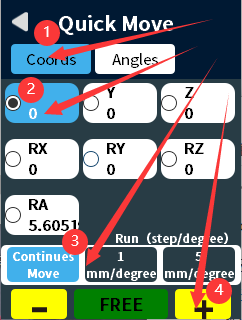
Free movement: Press the free movement button to enter the free movement mode, and the rgb light of atom changes color. Keep pressing the rgb button at the end of the robot arm to relax, and the whole robot arm can move freely and release the whole lock of the rgb button at the end. Click Free Move again to exit Free Move mode.

2.3 Overall operating state
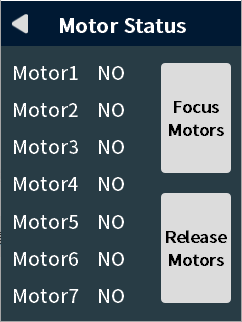
Click the motor status on the main interface to enter the motor status interface and check the motor connection status. The whole mechanical arm can be relaxed and locked by all locking and all relaxing.
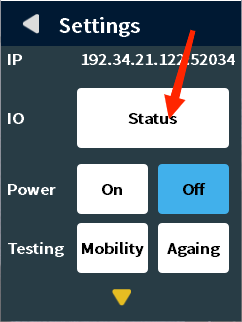
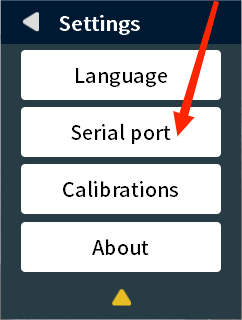
Click Settings on the main screen to enter the Settings screen.
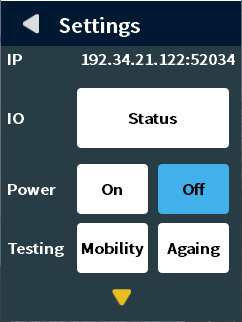
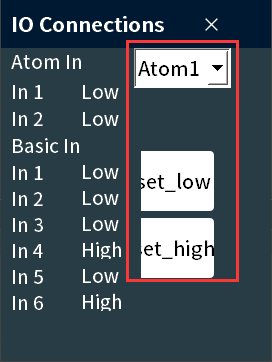
On this screen you can click IO status to view the IO status corresponding to atom and basic.
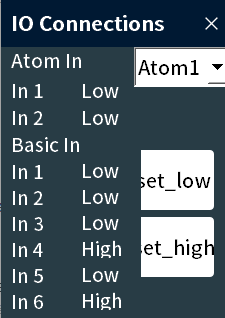
IO status interface setting pin high and low level has not been developed.
Click Quick test -> Multi-action, the robot arm starts a round of movement of multiple points, the button changes to stop, click stop, the robot arm stops moving; Click Quick Test -> Aging, the robot arm starts to cycle a group of large point movements, the button changes to stop, click stop, the robot arm stops after completing the current round of action.
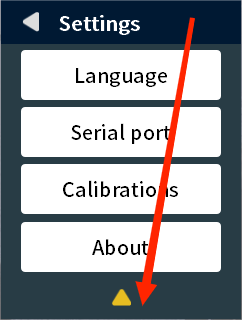
Click the yellow triangle and turn the page.

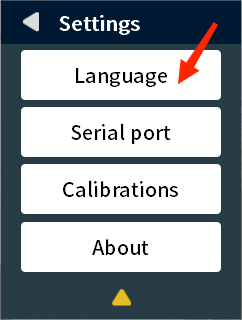
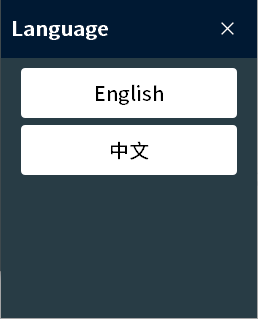
Tap Language to enter the language Settings screen, you can select the theme language of the application.
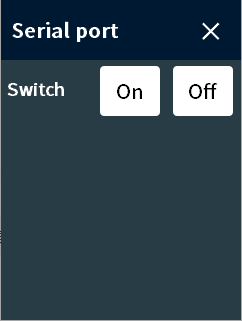
Tap the serial port to go to the serial port control screen. Click serial port connection -> Open to open the serial port; Serial port connection -> Off, close the serial port.
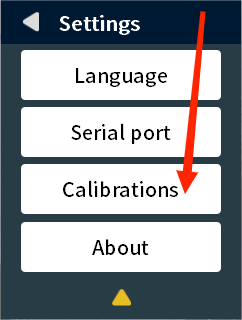
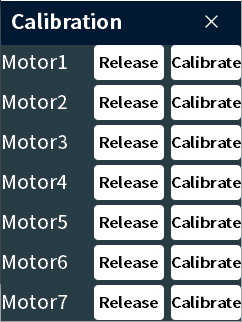
Click Calibrate to enter the calibration screen. You can perform a psychic calibration for each motor: click on the corresponding joint of the power off to relax the mechanical arm, drag the corresponding joint to the new zero position, click on the corresponding joint lock, and the calibration is completed.
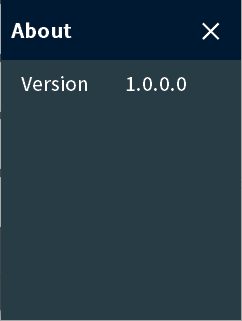
Click About to enter the About screen to view the application version.

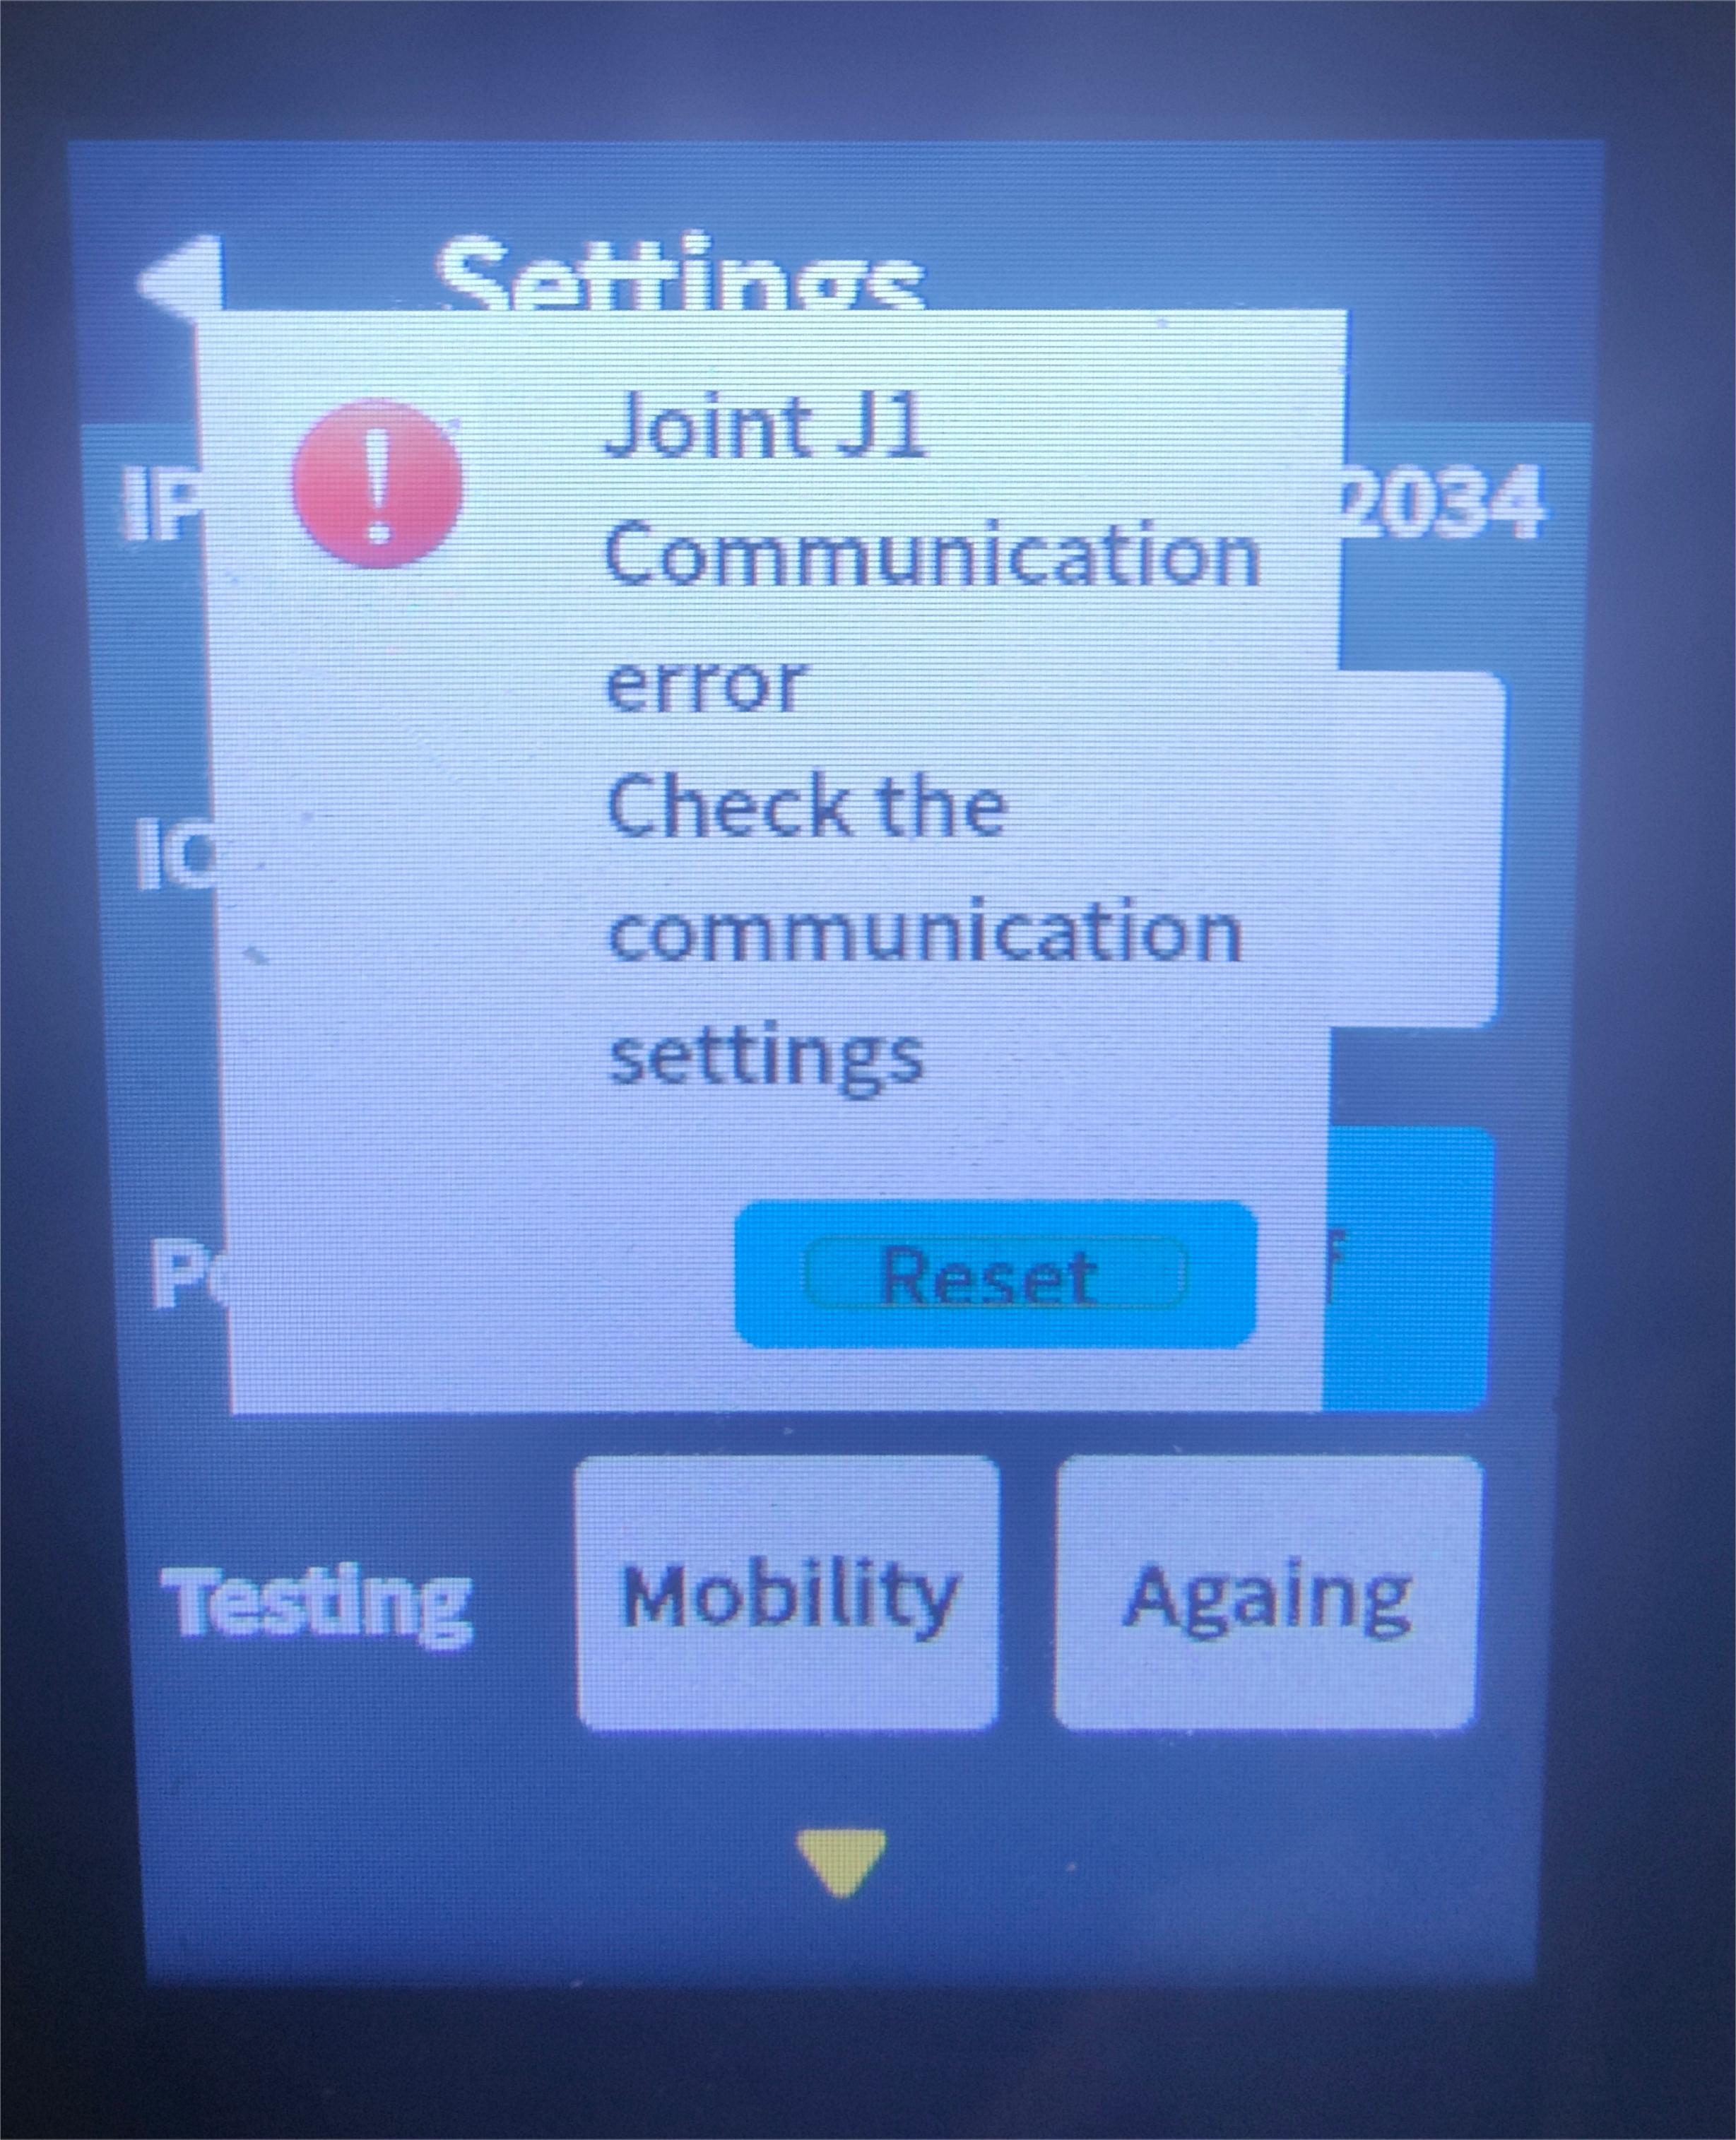
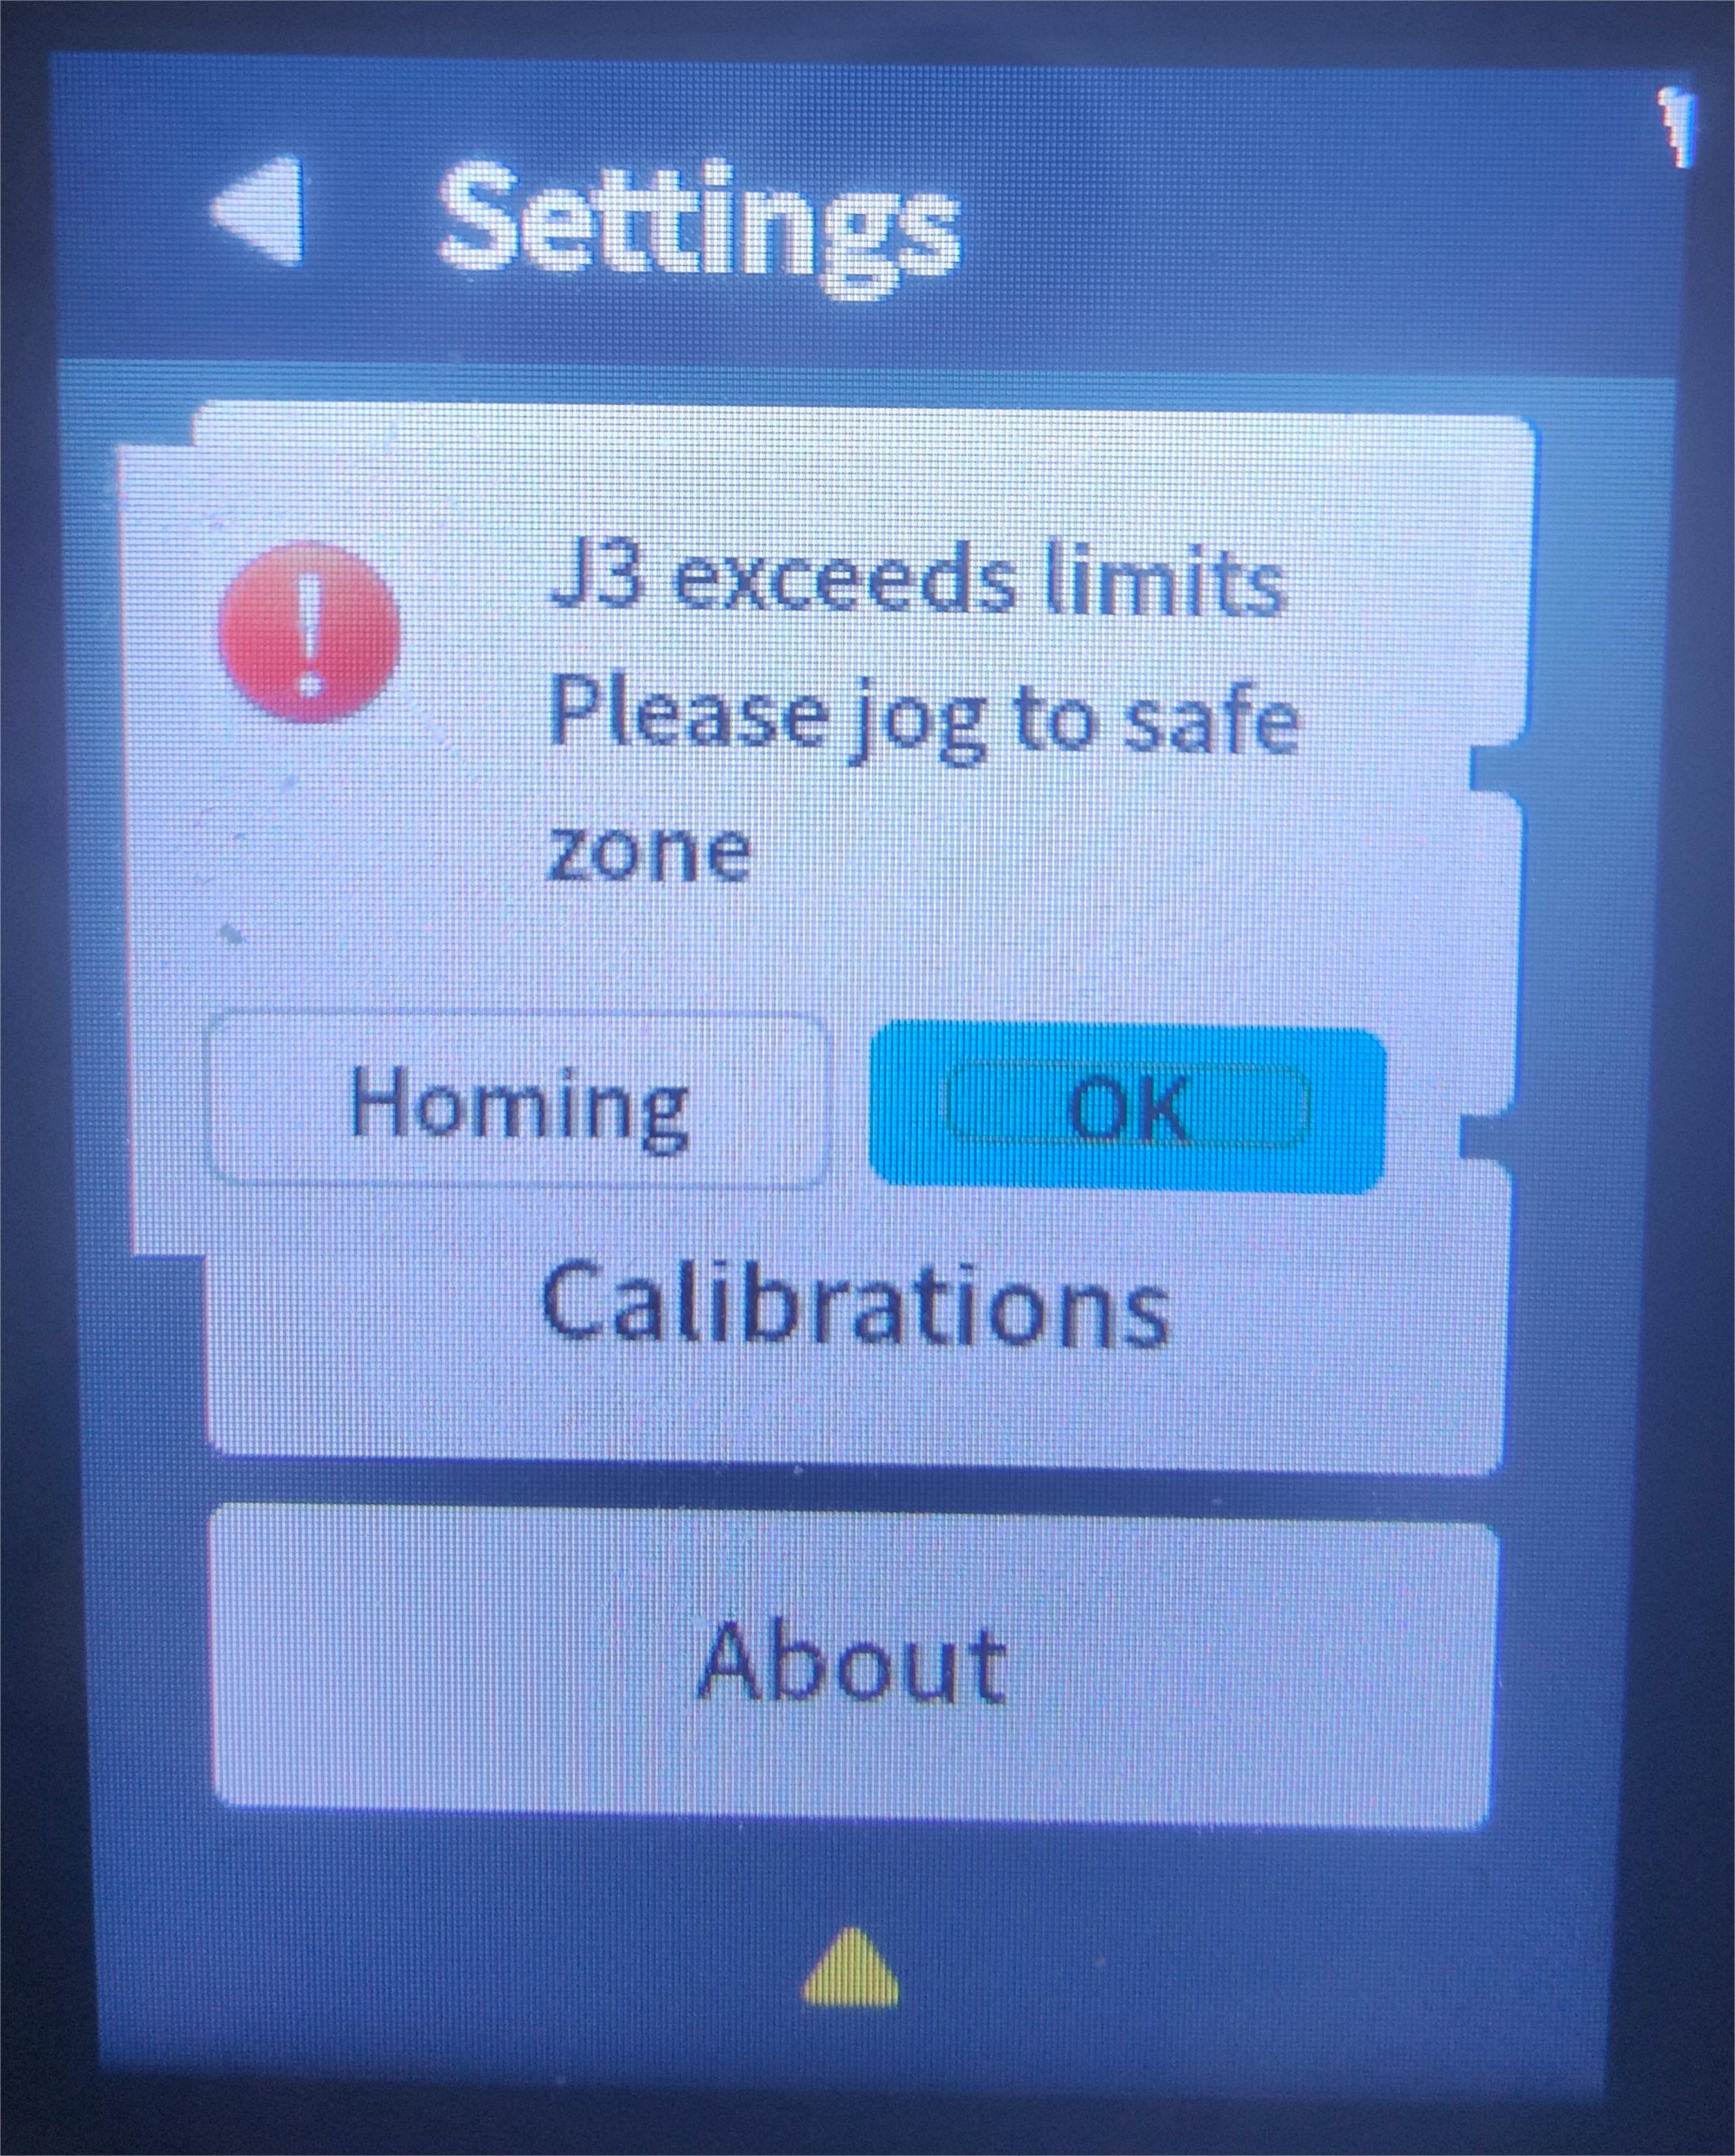
2.3 Mechanical arm status protection prompts
There will be a protection mechanism detection during the operation of Panel, and a pop-up prompt will be displayed after it is triggered.
For example:
Joint out of limit, motor voltage is insufficient, voltage is too high, motor drive temperature is high, motor temperature is too high, motor current is too large, motor communication error, motor short circuit.
When the limit is exceeded, click the return to zero on the overlimit reminder pop-up window. At this time, the pop-up window prompts to wait for the robot arm to return to zero. After the movement stops, click the OK on the pop-up window to continue to control the robot arm. If you click OK directly, you cannot control the robot arm.
When an error is reported outside the limit, the popup window has only one button to "recover", and then the robot arm cannot be controlled and needs to be powered down again.