Settings
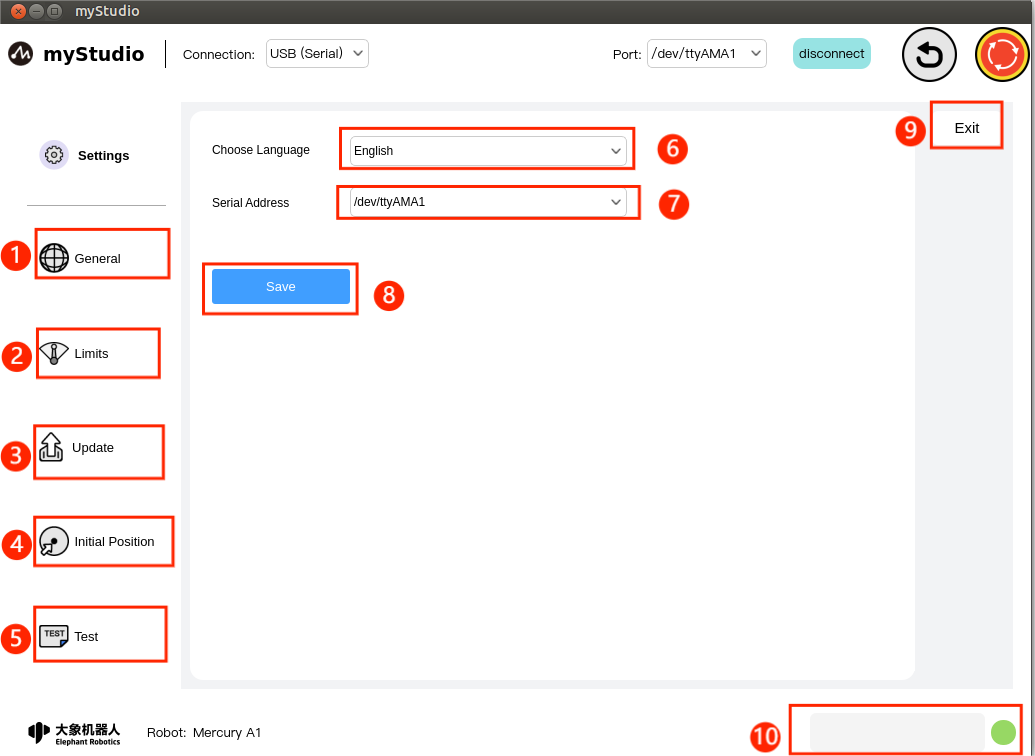
1 Interface introduction
| serial number | Function introduction |
|---|---|
| 1 | General setting module, main setting language |
| 2 | Limit setting module |
| 3 | Check for updated modules |
| 4 | Initial pose module |
| 5 | Test module |
| 6 | Language selection module |
| 7 | Serial address module, no setting required by default |
| 8 | Set save button |
| 9 | Exit settings |
| 10 | Safety module that detects robot status in real time |
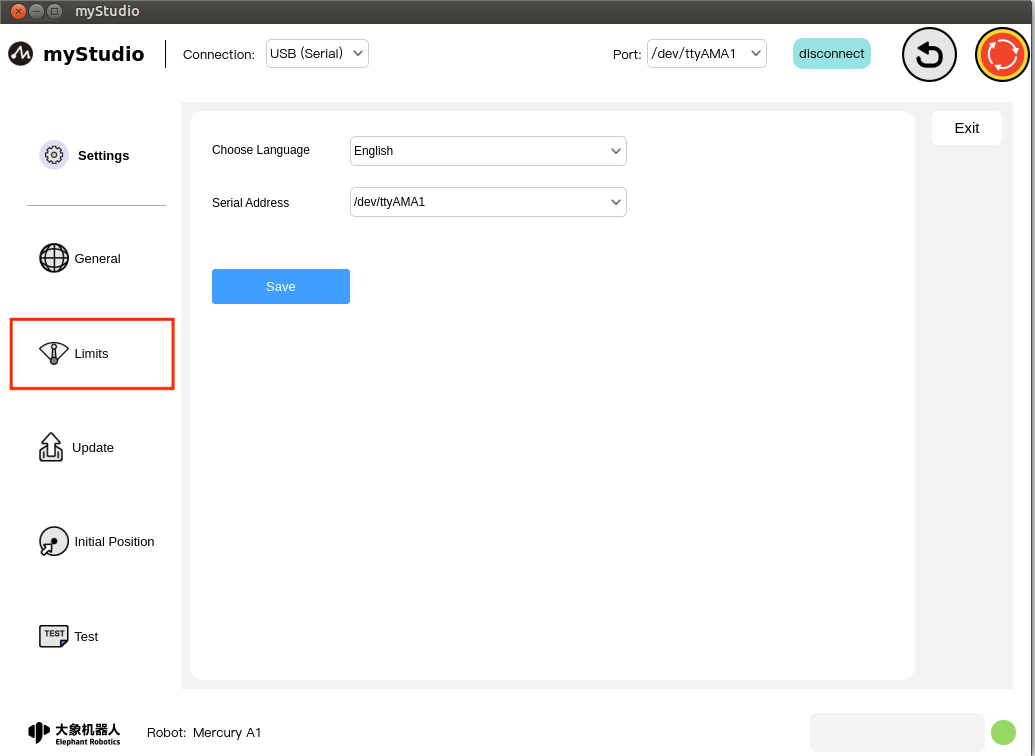
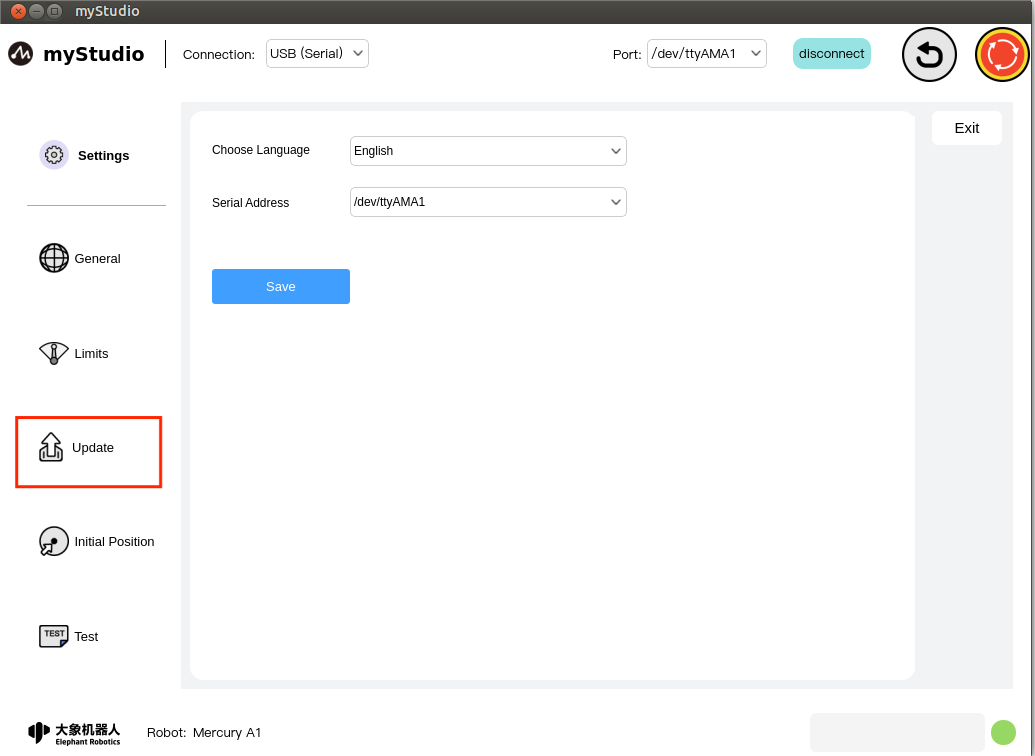
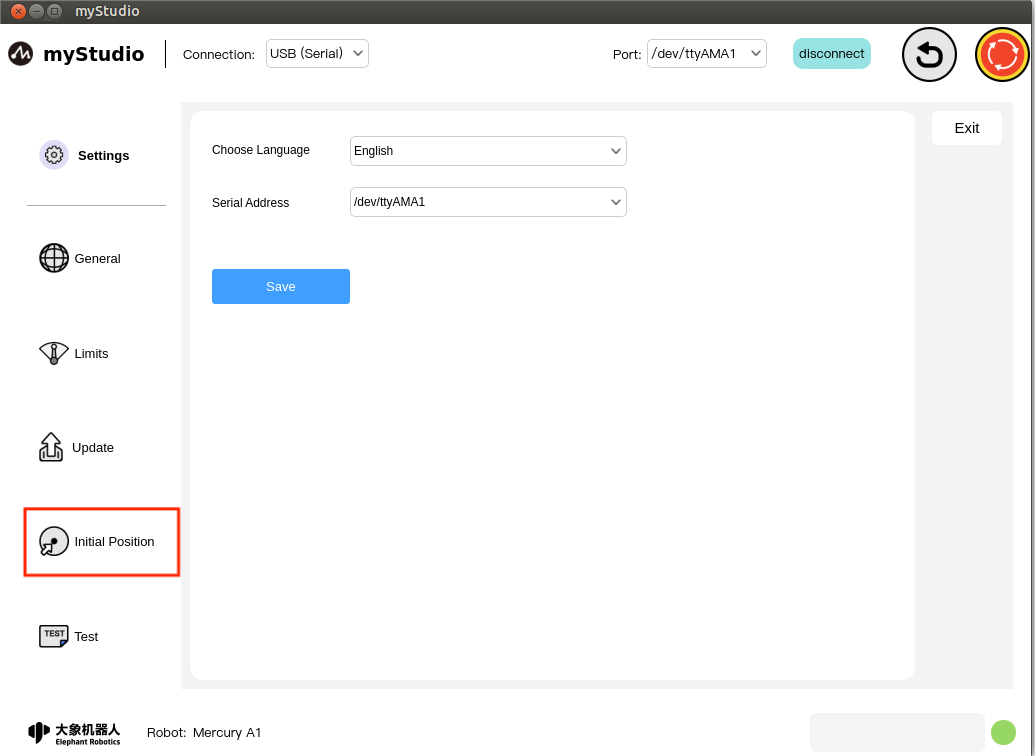
2 General settings
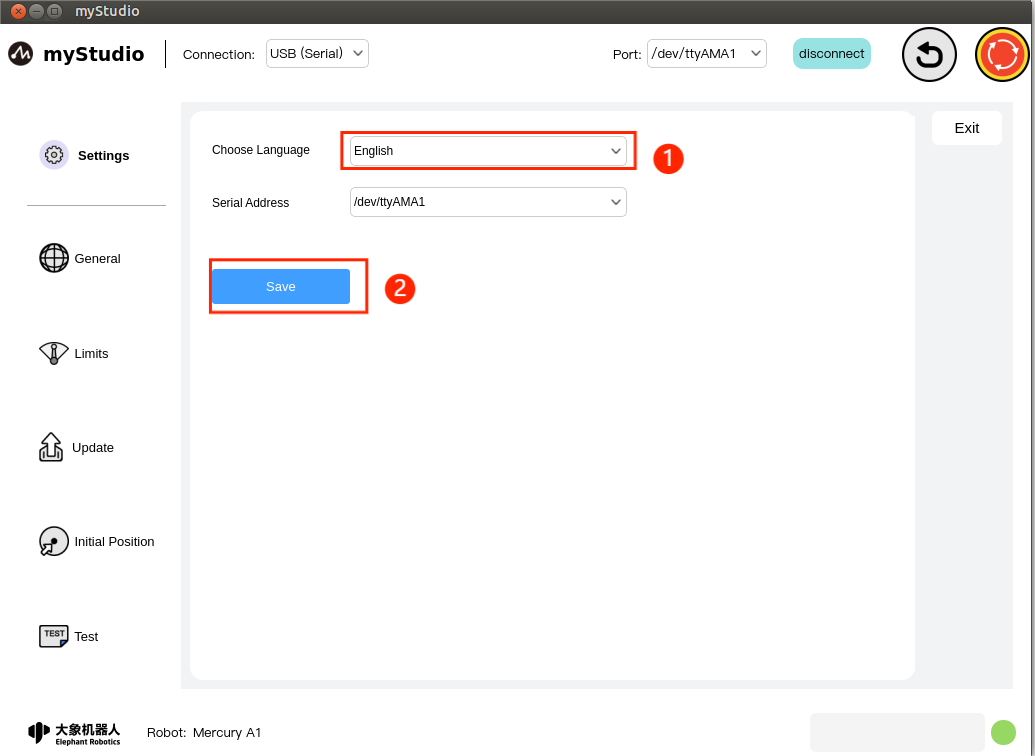
Click the General icon button to enter the language setting page. The language selection supports Chinese and English.
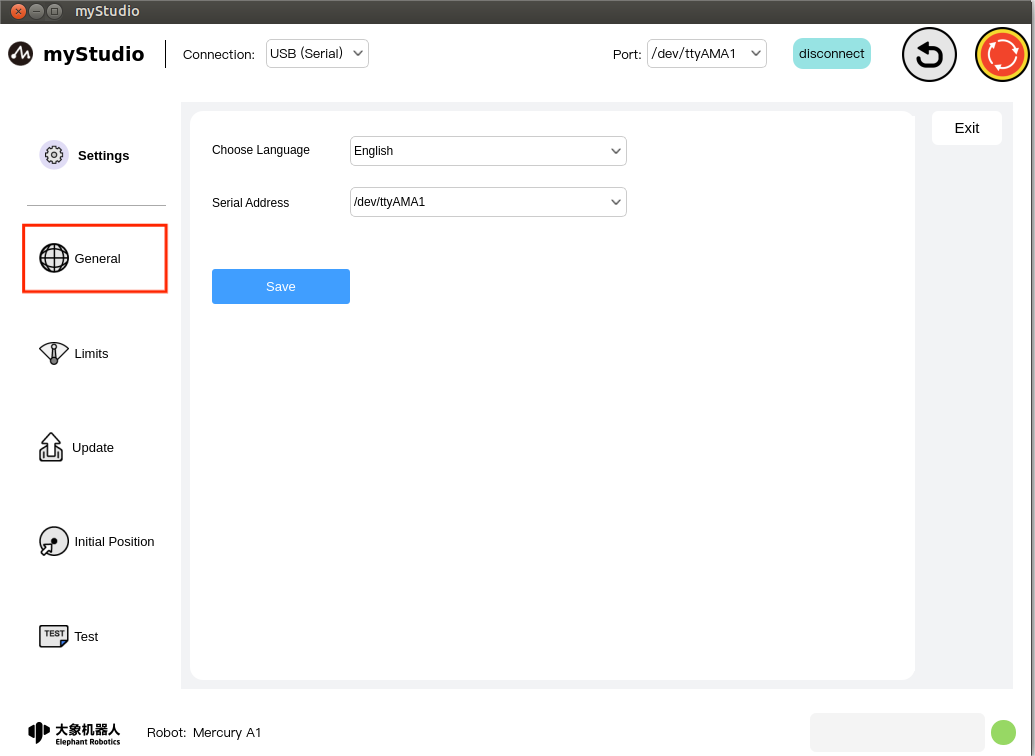
After selecting the corresponding language, click the Save button to successfully set the language.
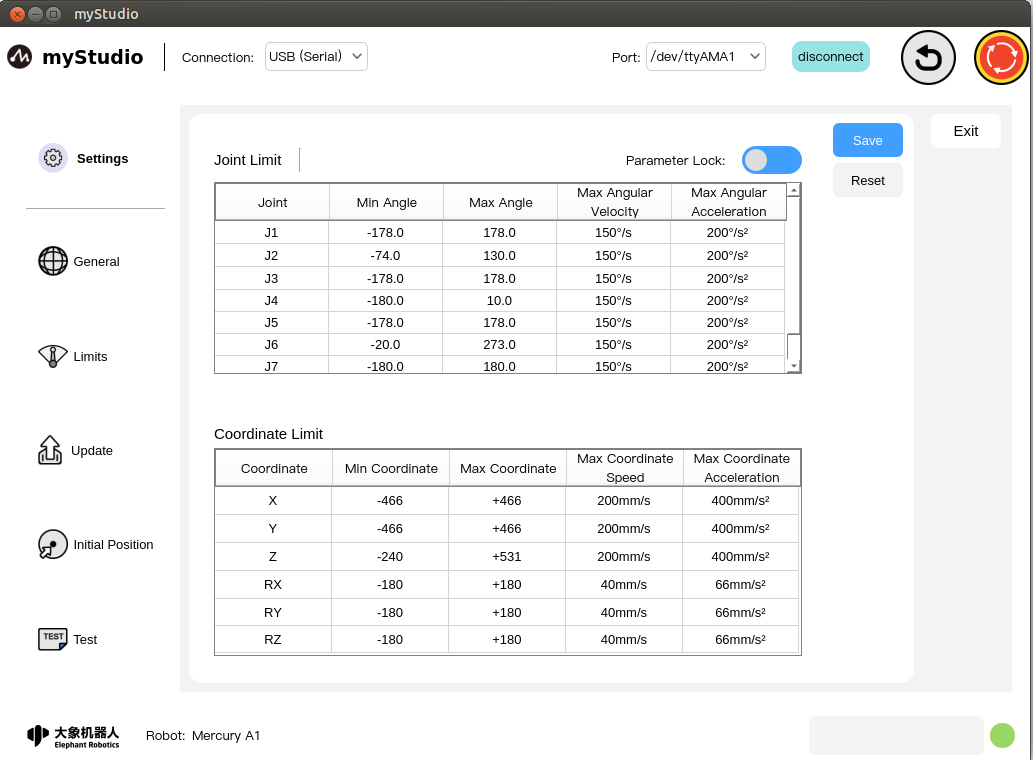
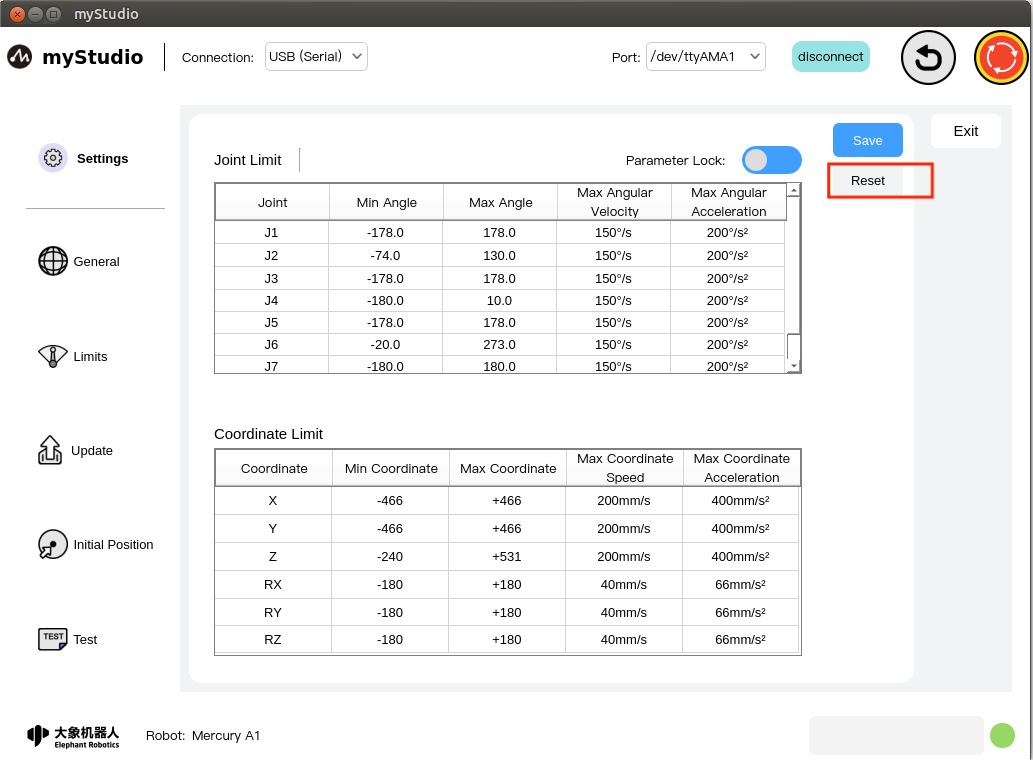
3 Limit setting
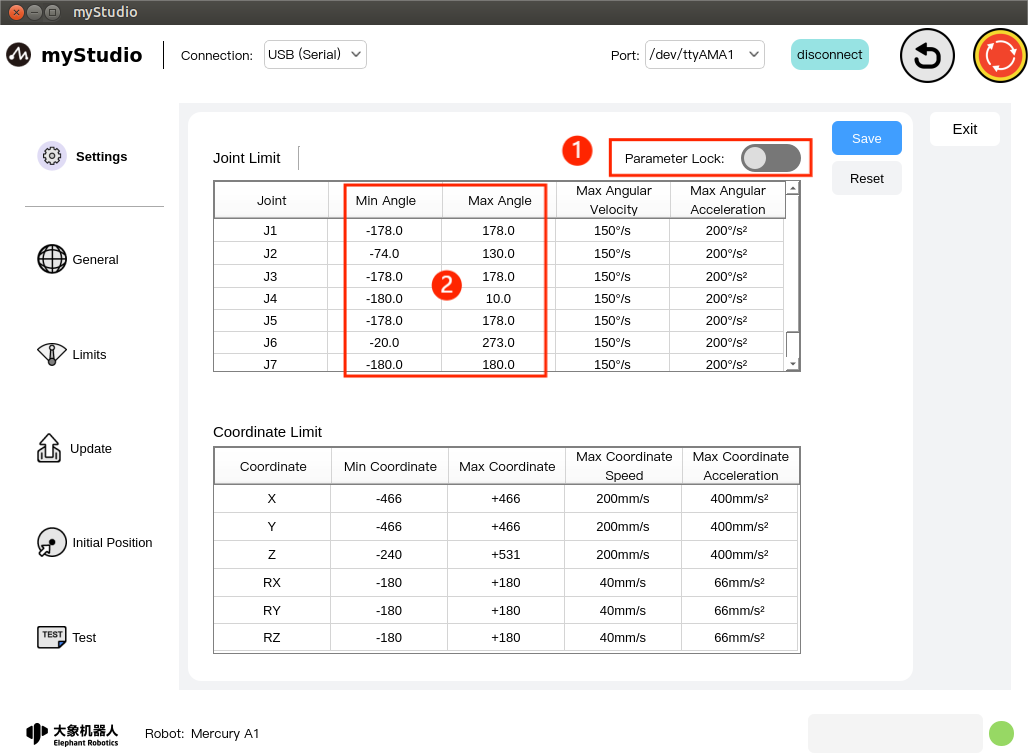
Note: Limit parameter modification only supports the minimum angle and maximum angle of the joint, and other parameters do not support modification.
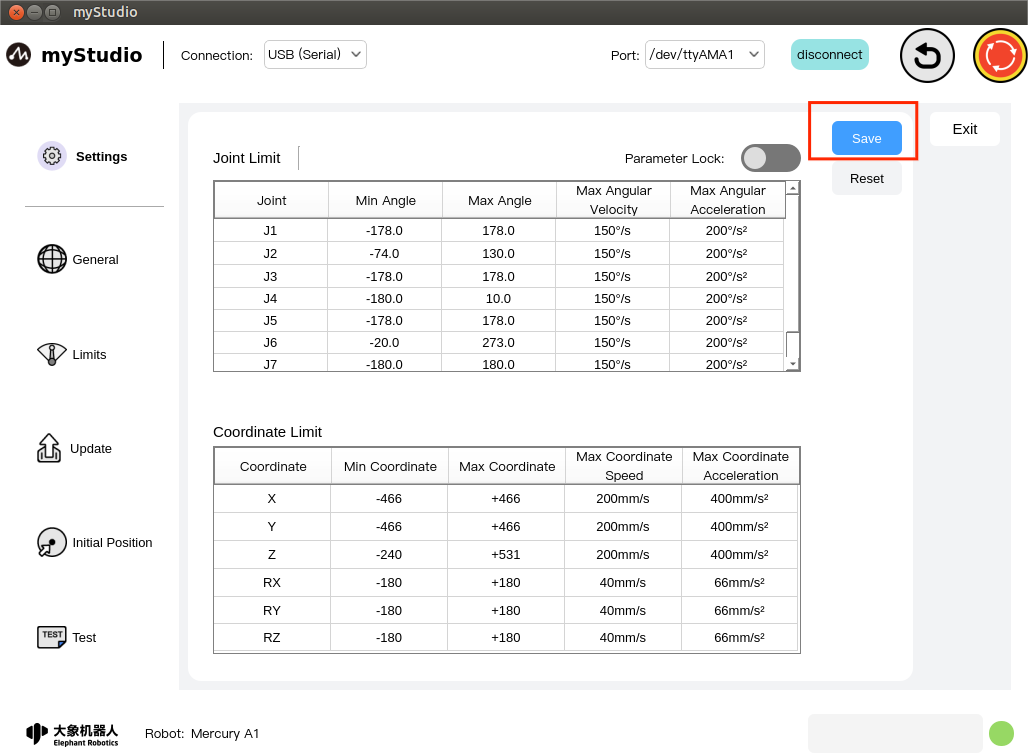
Click the Limits icon button to enter the joint limit setting page.
The Limit Settings interface displays the relevant parameters of the current joint limits and coordinate limits of the robotic arm by default.
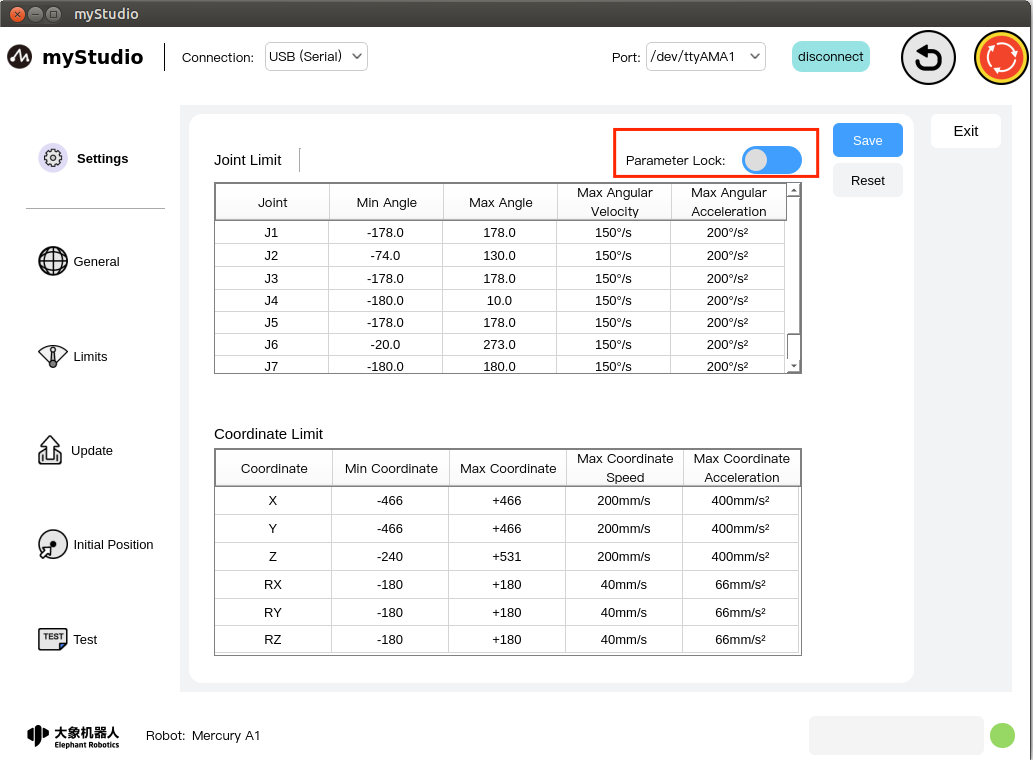
The Parameter Lock button is locked by default, and the button color is blue, which means that the limit parameters cannot be modified.
When in the parameter lock state, click the Parameter Lock button, and the button color turns gray. It is now in the unlocked state, which means that the limit parameters can be modified (only the minimum angle and maximum angle values can be modified).
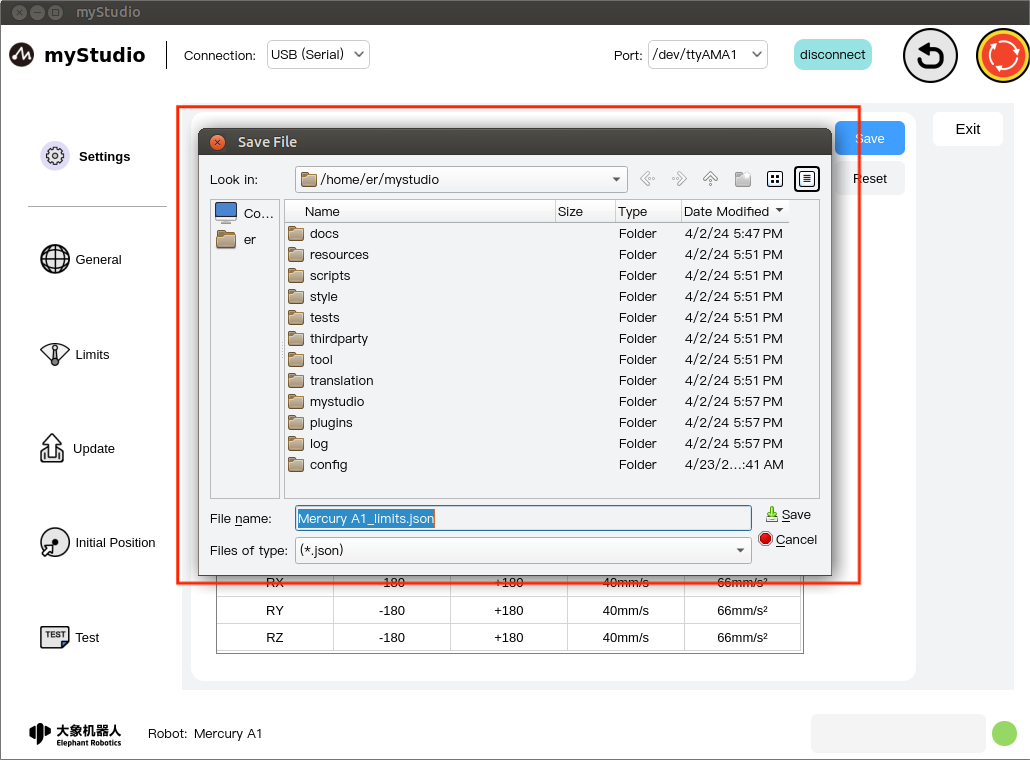
Click the Save button to save the parameters of the current limit page to a local file (json file) and set the joint limits of the robotic arm.
Select the file saving path according to the pop-up prompts.
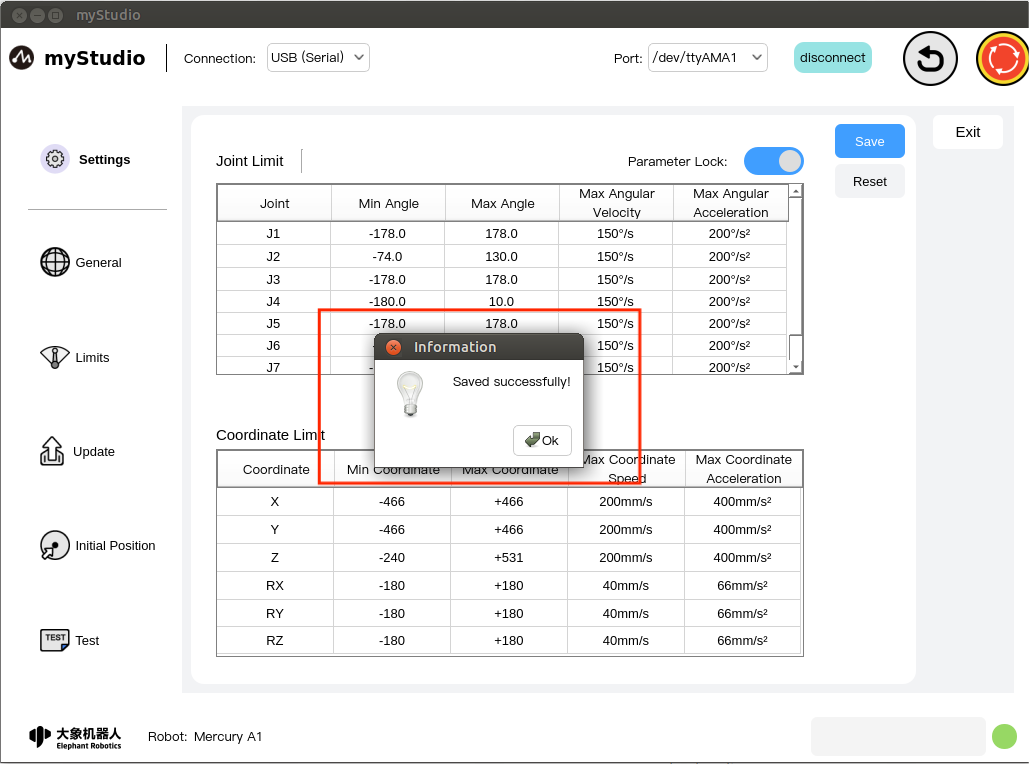
Saved successfully.
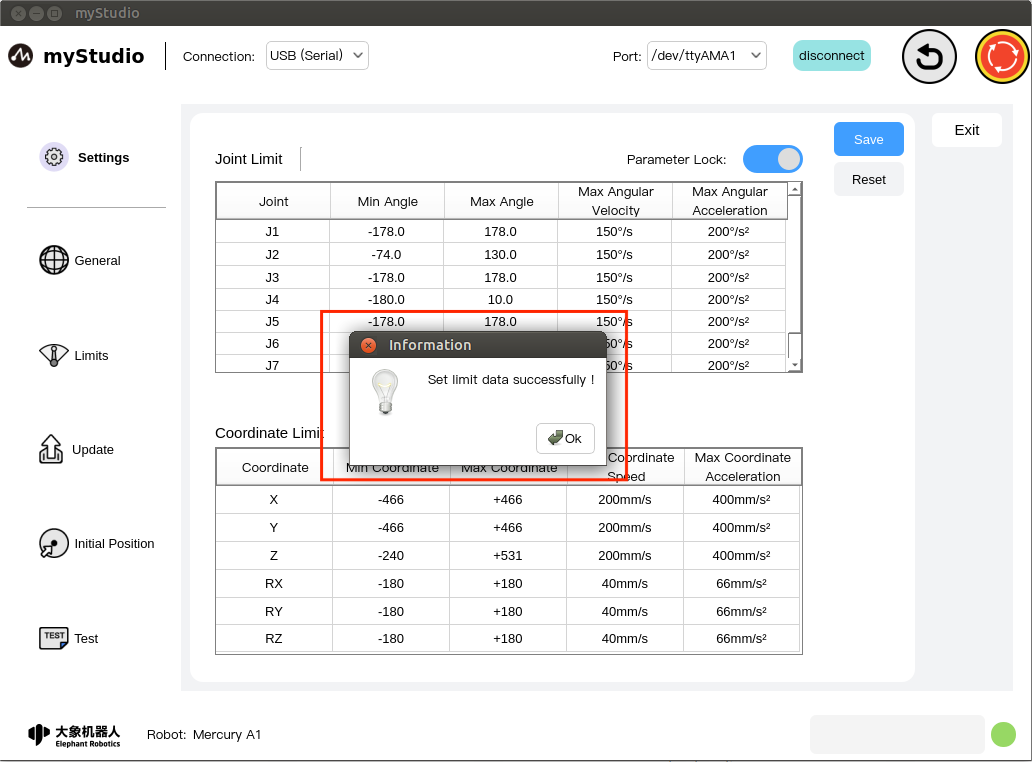
The limit data is set successfully.
Click the Reset button to set the default limit parameters for the robotic arm.
Confirm to reset the limit data.
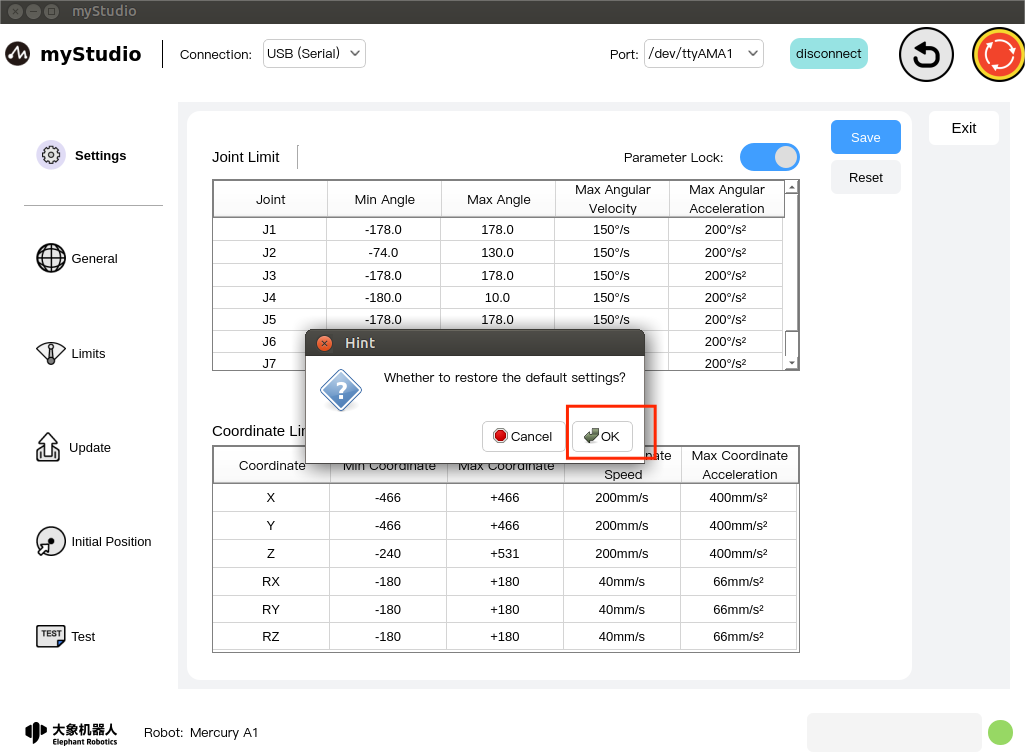
The limit data setting was reset successfully.
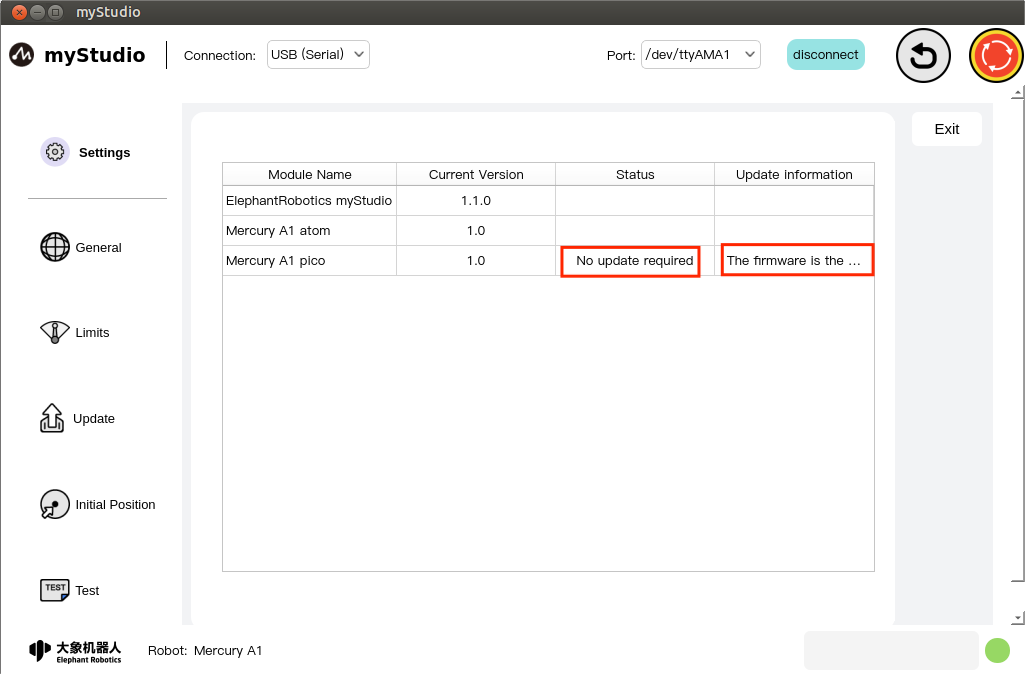
4 Check for updates
Click the Update icon button to enter the check update status page.
The update page mainly checks the version of myStudio and the Pico firmware version status of the robotic arm.
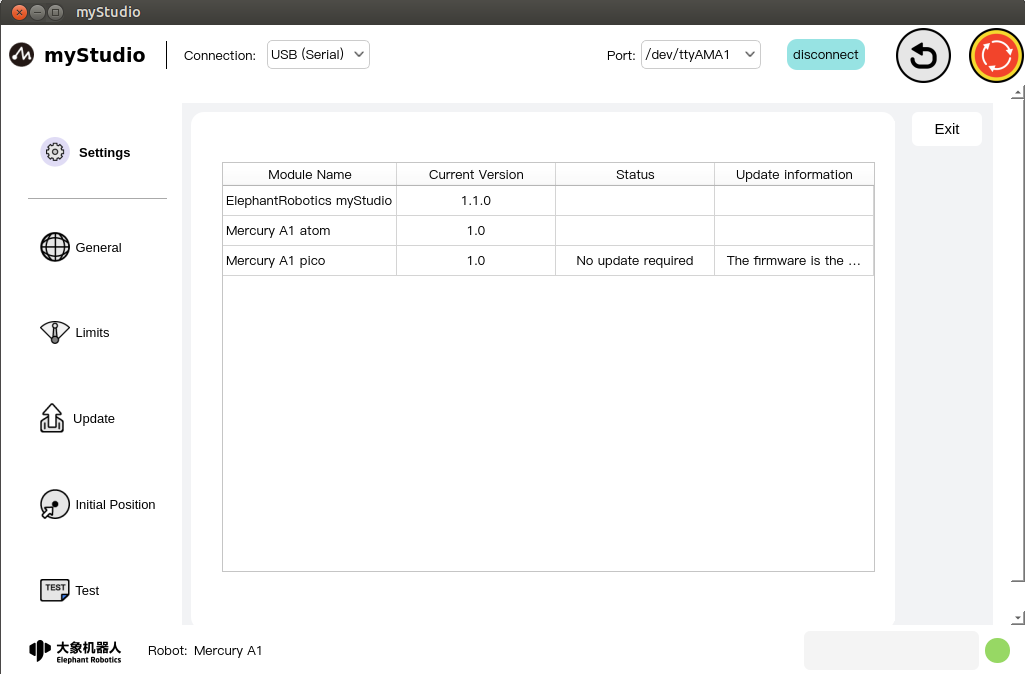
If it is detected that the Pico firmware of the robot arm is not the latest version, you will be prompted to update the firmware information.
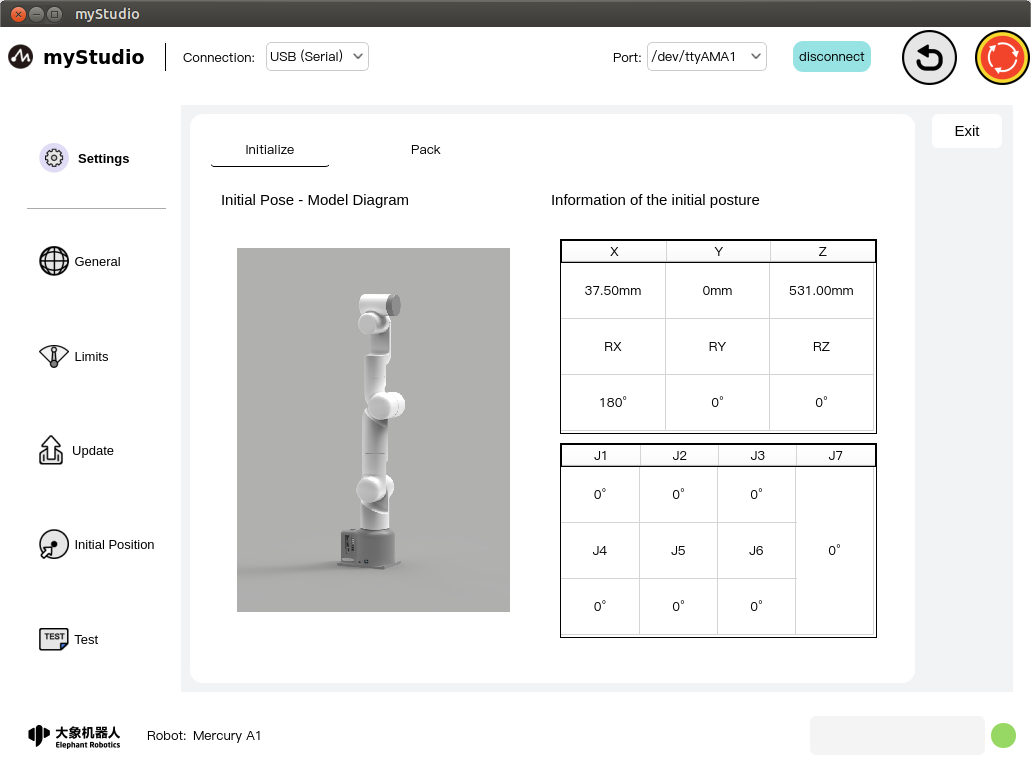
5 Initial and packaging posture
Click the Initial Position icon button to enter the Initial Posture page.
Initial attitude page: Displays the initial attitude model diagram, joint angle information and coordinate attitude information of the robotic arm.
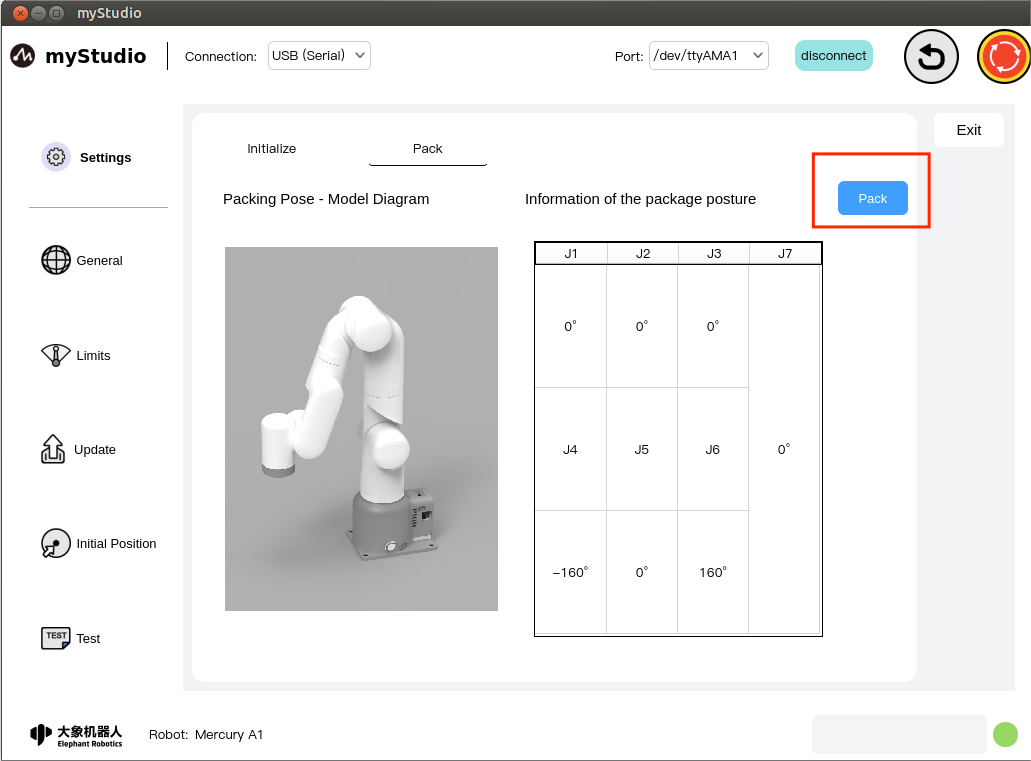
Click the Pack button to enter the packaging posture page. (Only valid for Mercury A1)
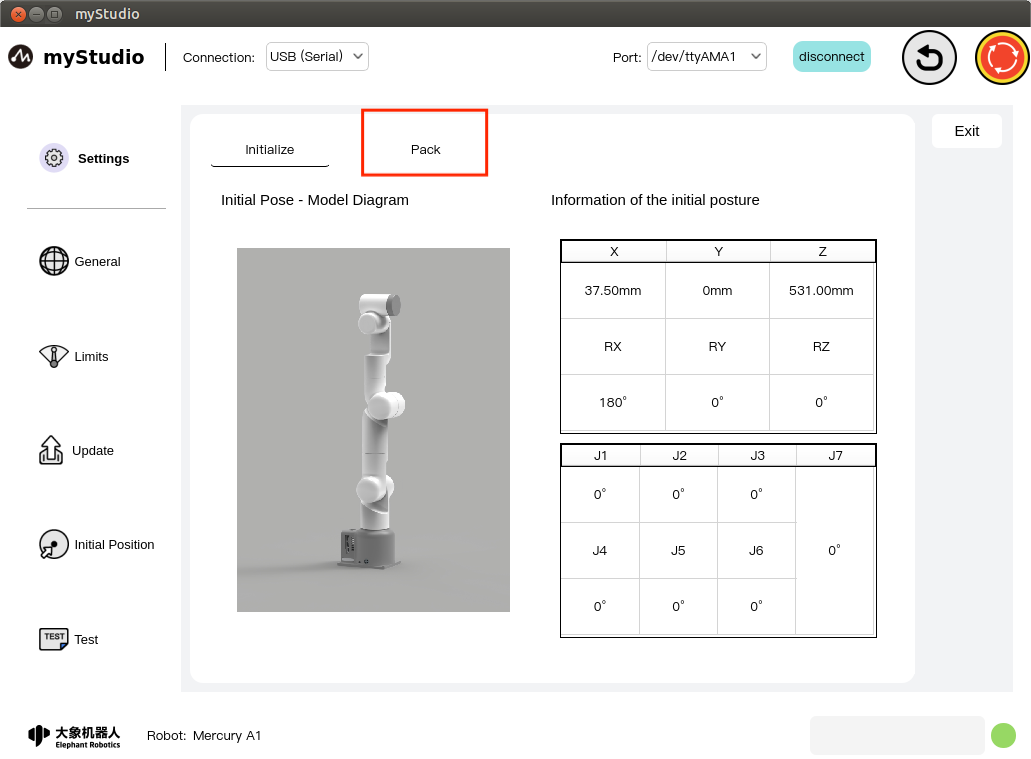
Packing posture page: Displays the packing posture model diagram of the robotic arm and the packaging joint angle information.
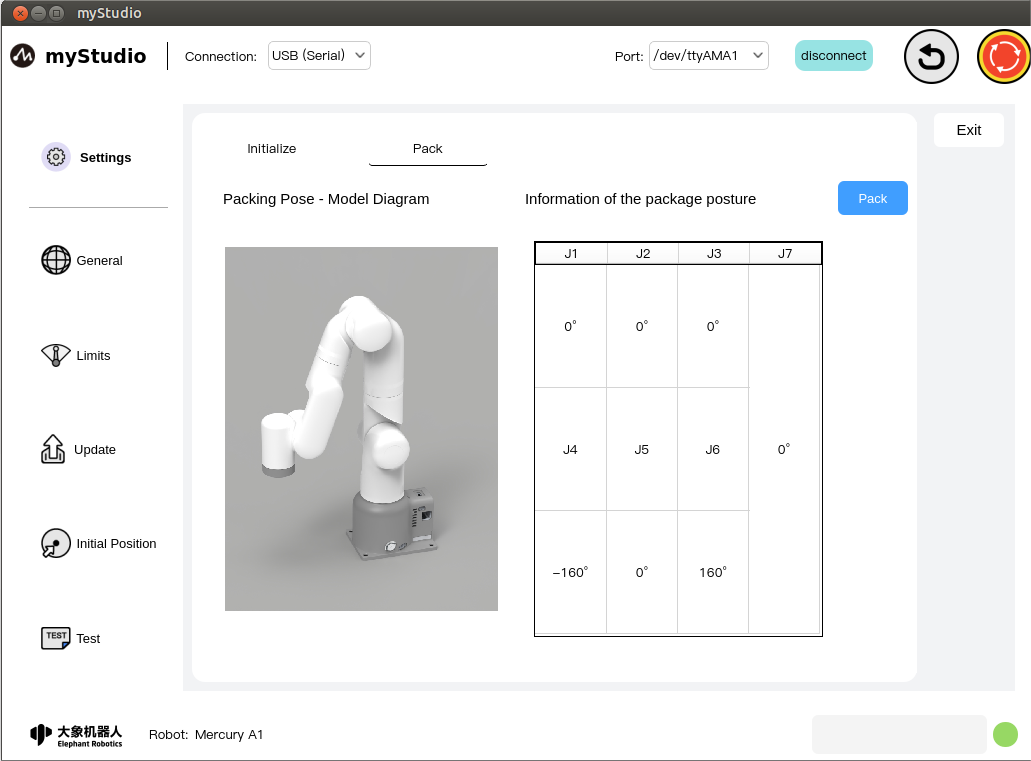
Click the Pack button, and the robotic arm will slowly move to the packaging posture.
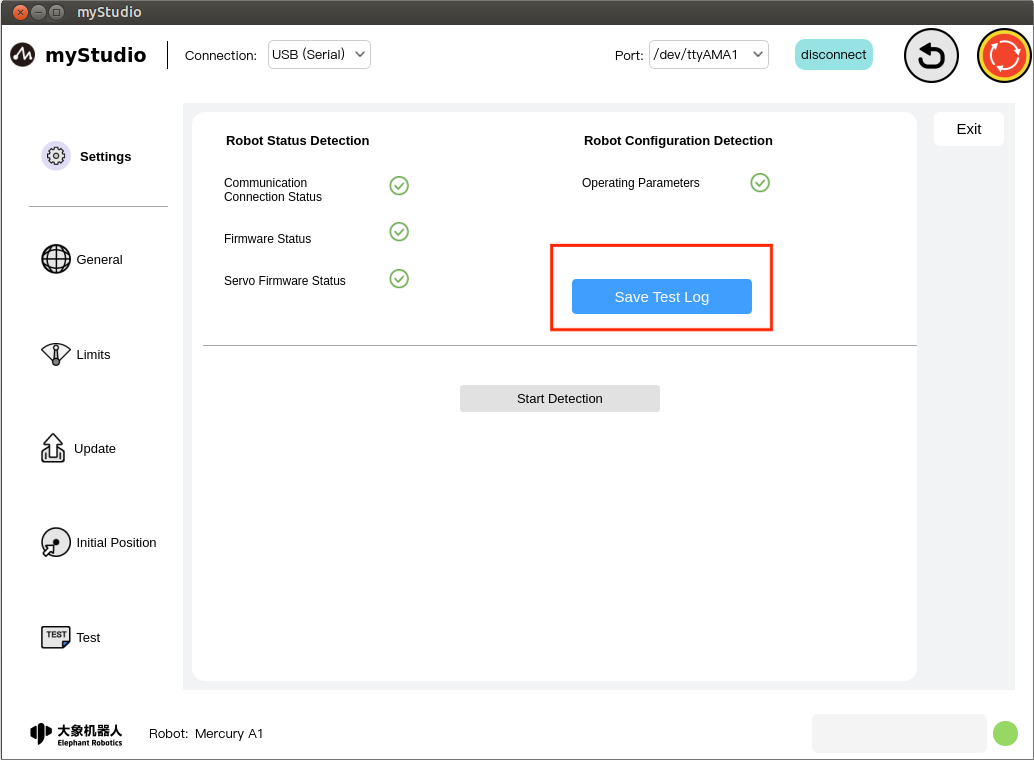
6 Test
Click the Test icon button to enter the test page.
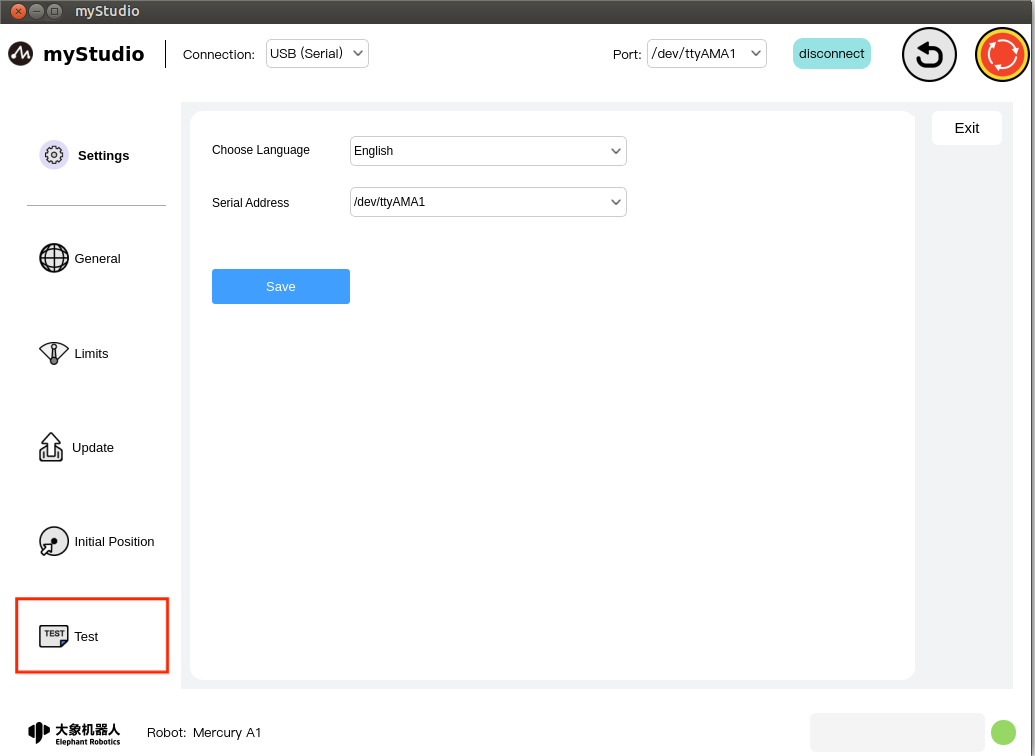
Test page: Mainly tests the communication connection, firmware, servo, operating parameters and other status of the robotic arm.
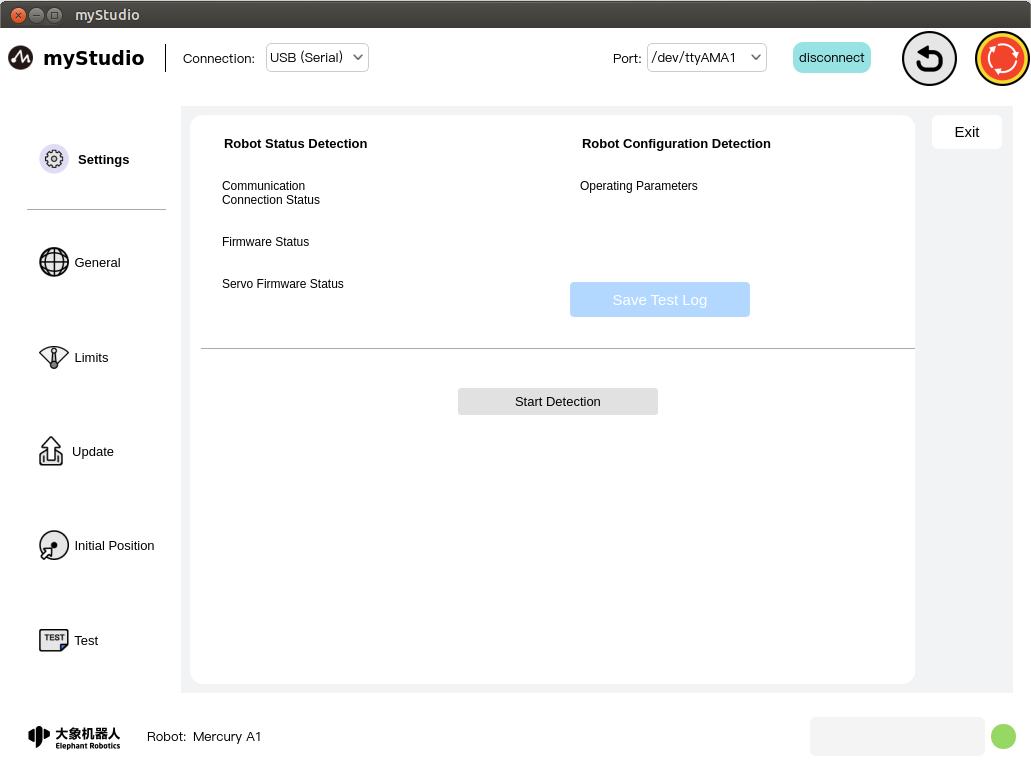
Click the Start Detection button to start testing.
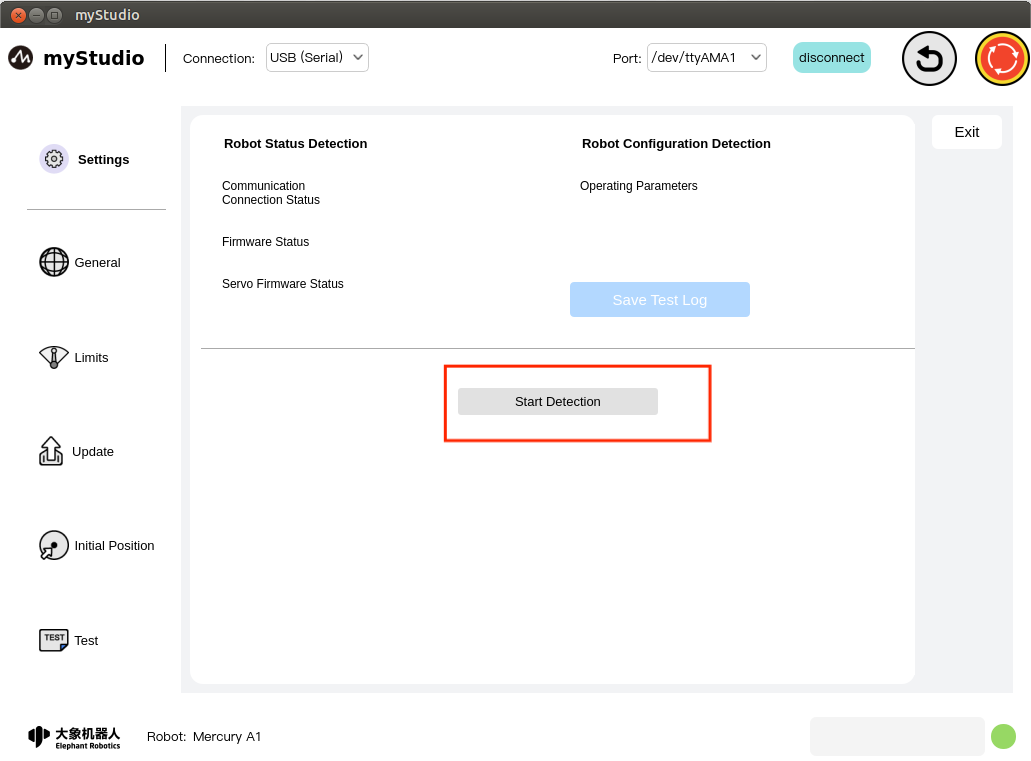
After the test is completed, click the Save Test Log button and follow the pop-up prompts to save the test results to the local log file.