System image
Published system
| Version | Information | Download |
|---|---|---|
| v1.2.0.2401105 | Update myStudioPro and myPanel | Download |
System image burning
Windows burn
- Select the system image you want to burn and download it. After downloading, unzip it.
- Install rpiboot program。
Remember the installation path, as the program will not automatically generate desktop shortcuts after installation.
Using the
rpibootprogram to turn a CM4 device into a computer disk- Mechanical arm shutdown
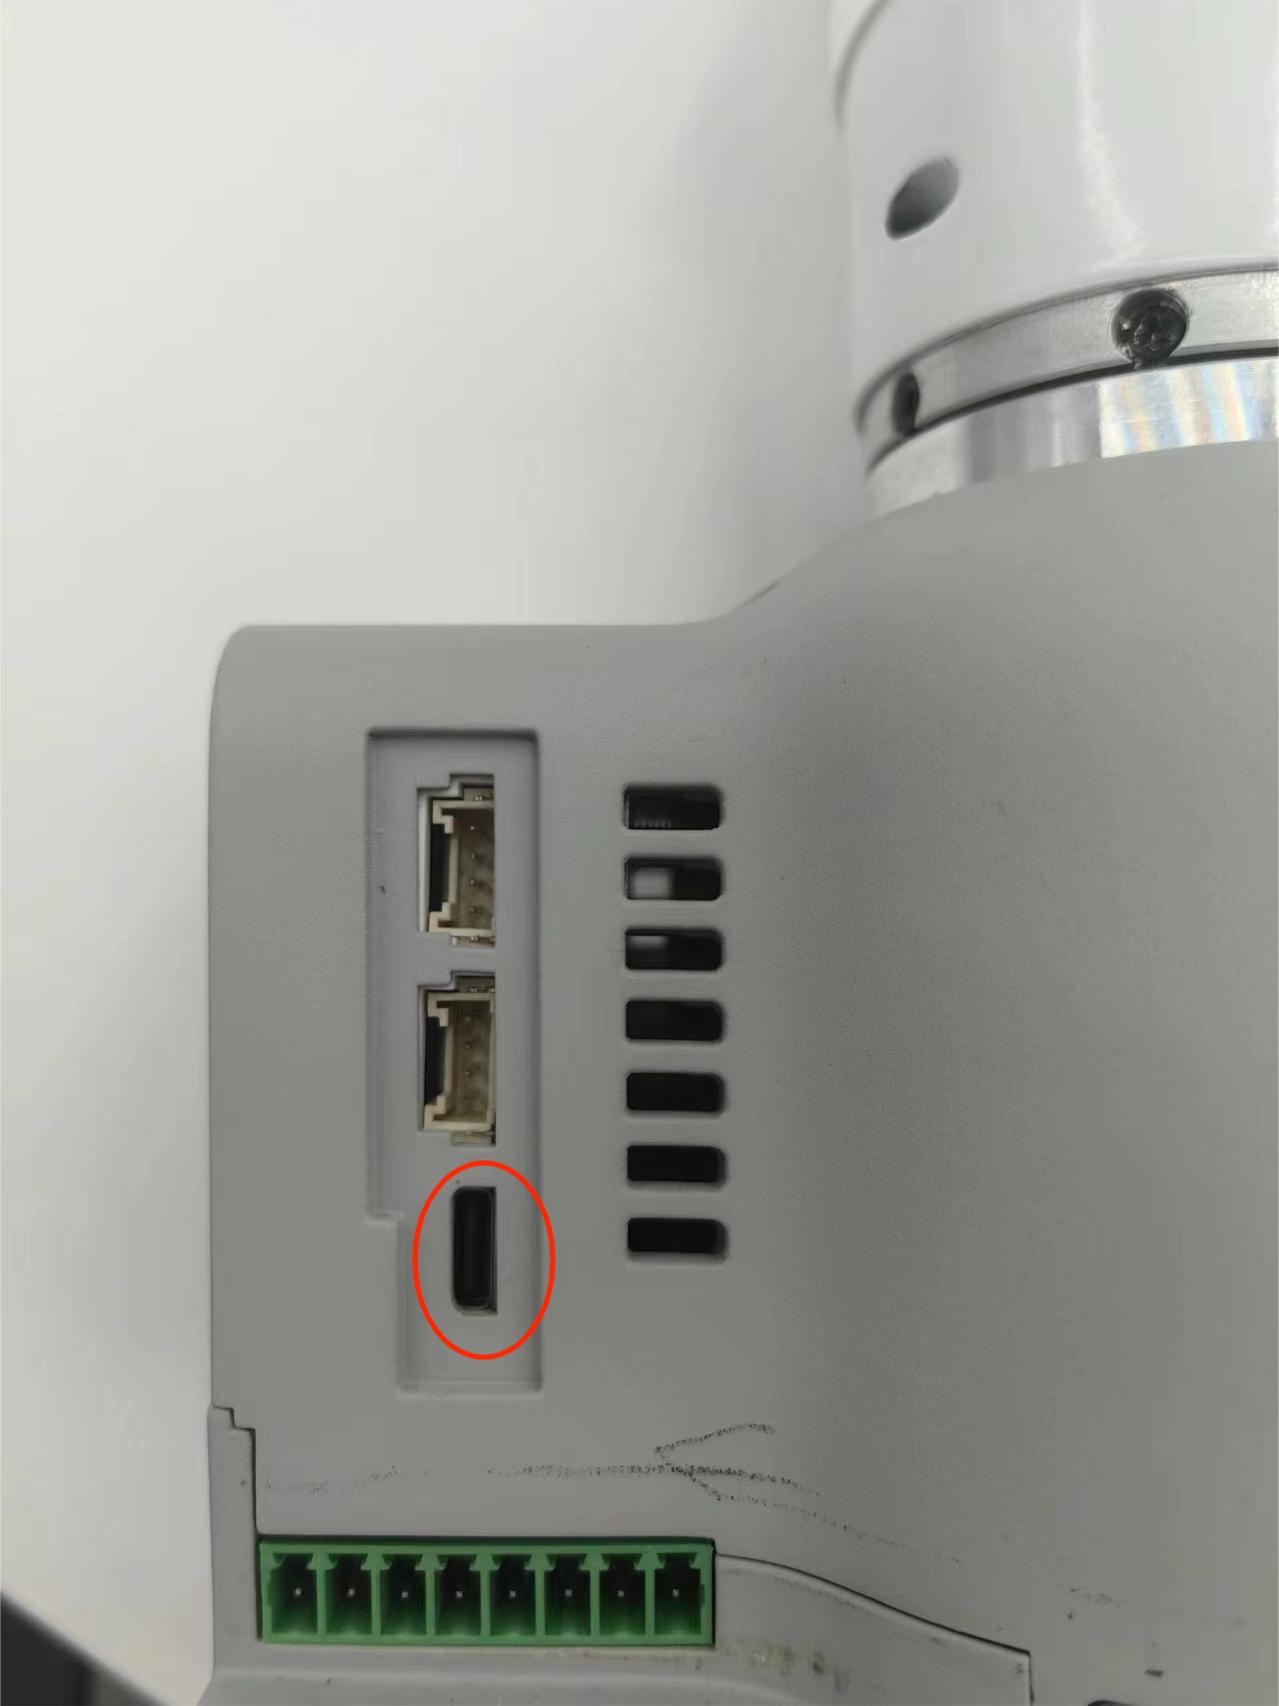
- Connect one end of a Type-C data cable that can communicate to a computer
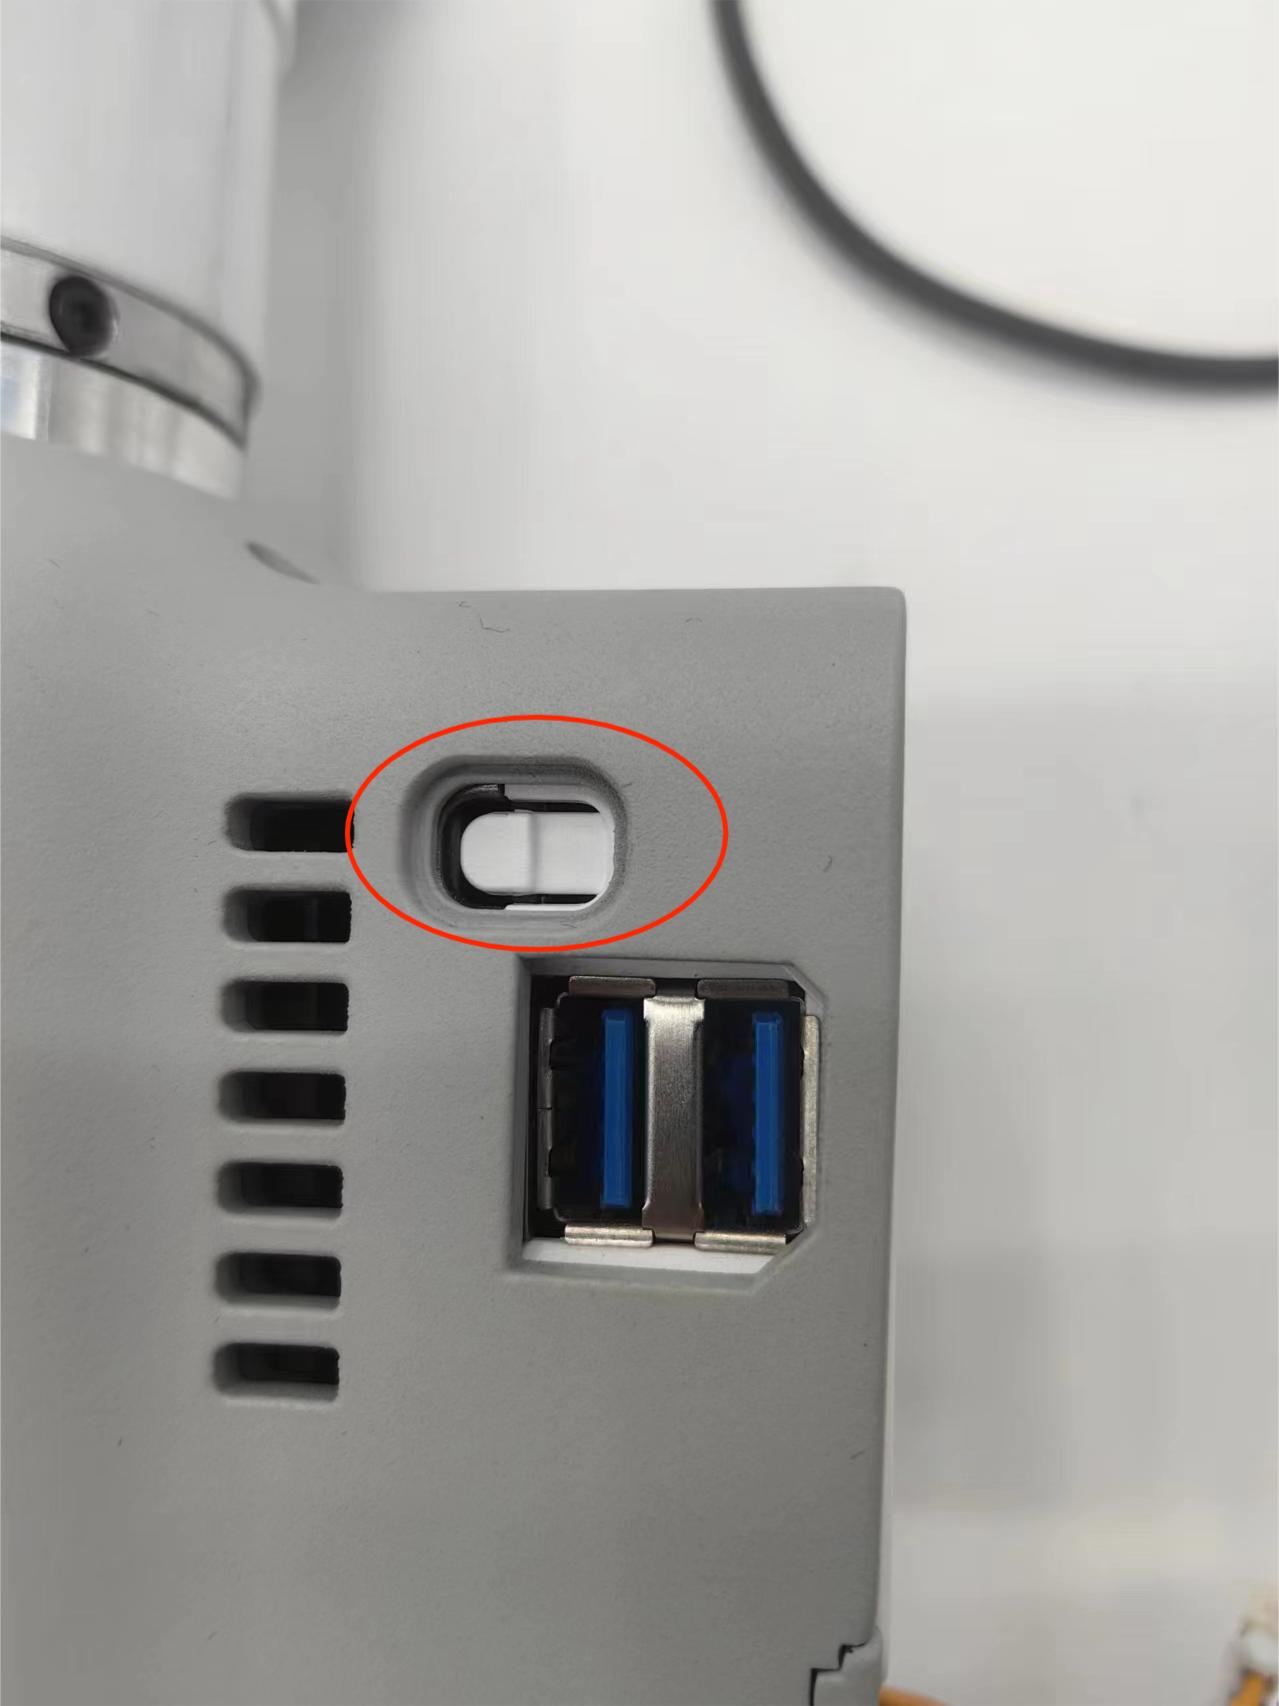
- Press the button above the USB port on the base, always keep it pressed, and connect the other end of the type-c cable to the type-c port on the base.
- Turn on the power of the robotic arm and turn it on
- Open the installation folder of
rpiboot, double-click with the left mouse button to executerpiboot.exe - Observe the computer side until CM4 becomes a computer disk, then release the button.
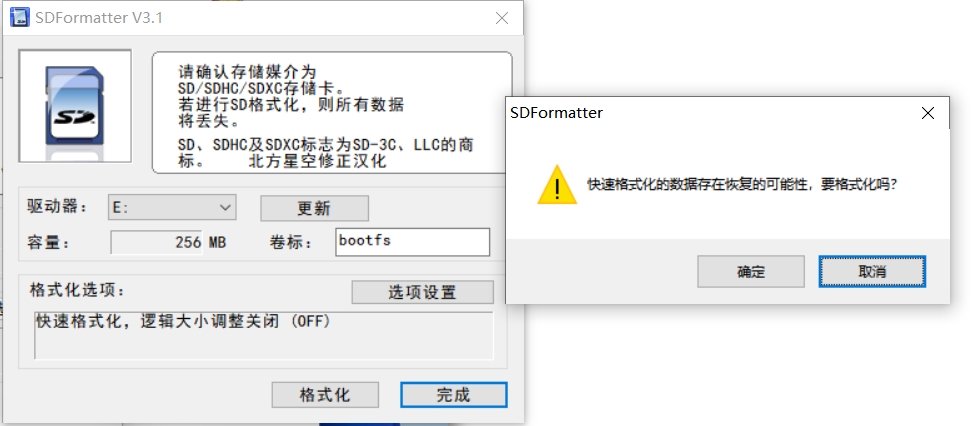
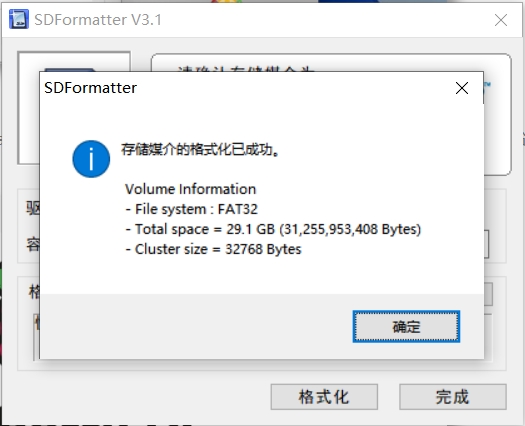
Use official SDFormatter to format and clean the disk. Open the SDFormatter software, select the drive, click on option settings, set the logical size adjustment to the on state, click OK, and then proceed with the formatting operation. Unsuccessful, continue with the previous operation and reformat it.
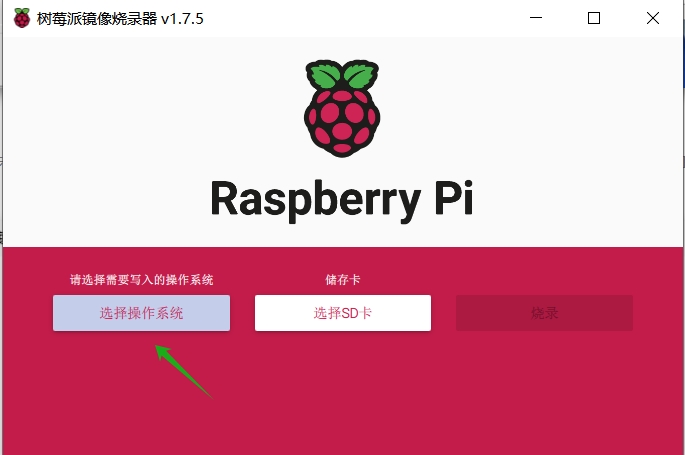
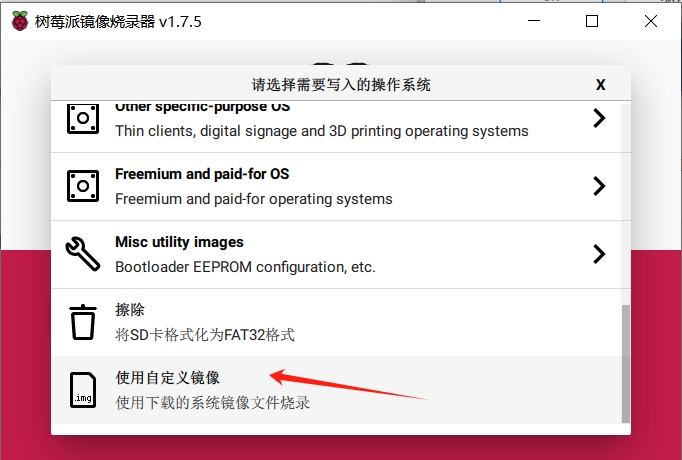
- Use the Raspberry Pi Imager burning tool to burn the decompressed system image.
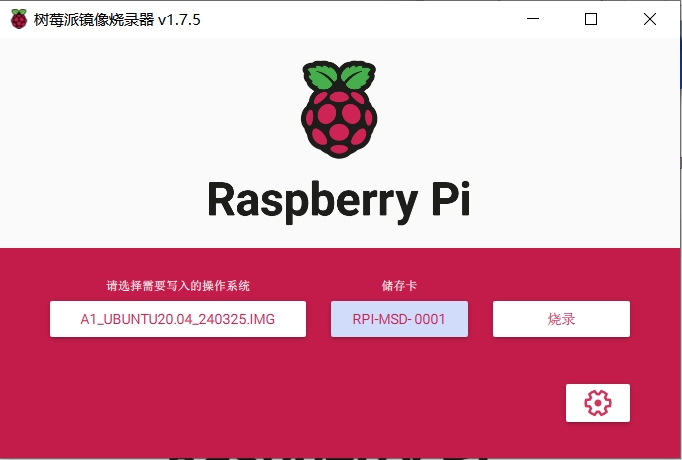
- After the burning is completed, the robotic arm can be restarted
Linux burn
- Select the system image you want to burn and download it. After downloading, unzip it.
Use the source code compilation rpiboot tool to compile the libUSB development library
 sudo apt install git libusb-1.0-0-dev pkg-config
 git clone --depth=1 https://github.com/raspberrypi/usbboot
 cd usbboot
 make
 # sudo ./rpiboot
Connect one end of a Type-C data cable that can communicate to a computer
- Press the button above the USB port on the base, always keep it pressed, and connect the other end of the type-c cable to the type-c port on the base.
Execute the rpiboot program
sudo ./rpibootBurning images can be done using the official burning software Raspberry Pi Imager, following the same steps as burning on Windows. You can also directly use the dd command to burn. The following burn command is for reference only. Please replace the disk object before using it.
sudo dd if=./A1_ubuntu20.04_240325.img of=/dev/sdx bs=1M status=progress oflag=dsyncAfter the burning is completed, the robotic arm can be restarted