Laser engraving
1 What is the scope of work
- The working range is the distance that can be reached when the mechanical arm is fully extended, also known as the arm length, also known as the working space. It refers to the space that the robot can reach without installing the end effector.
2 How to confirm the initial point of laser engraving
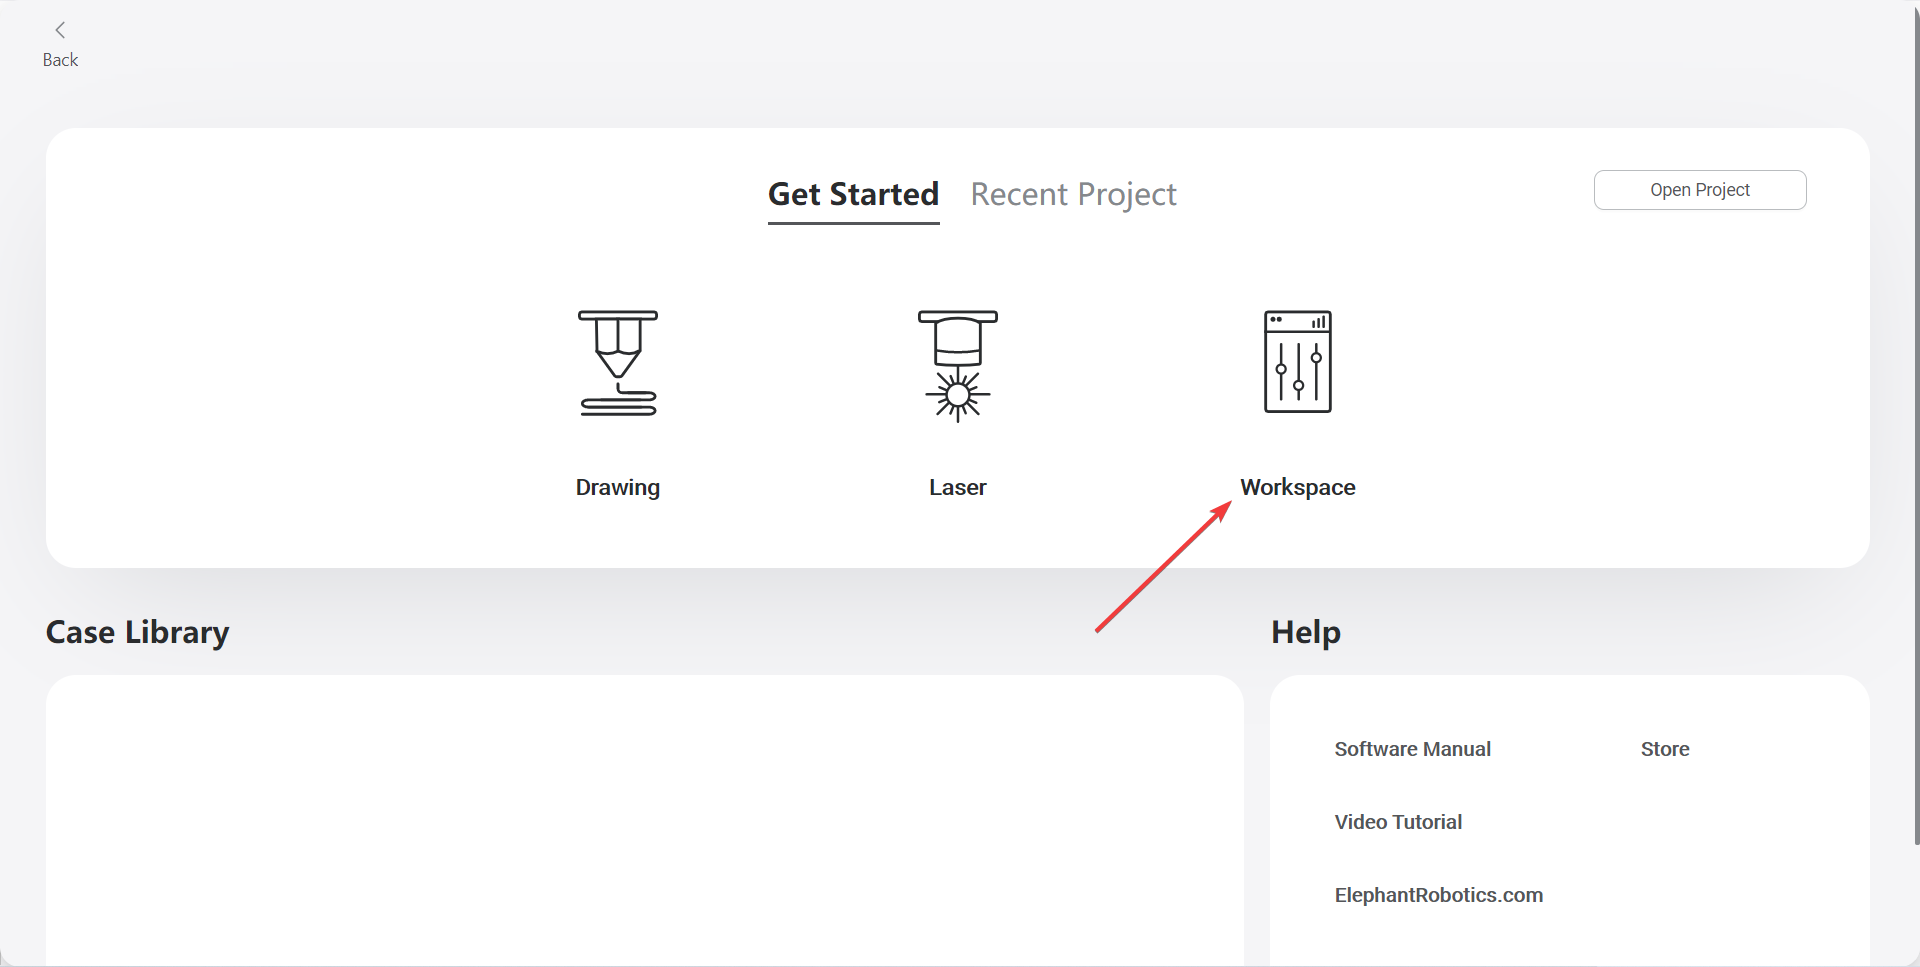
- Open Elephant Luban
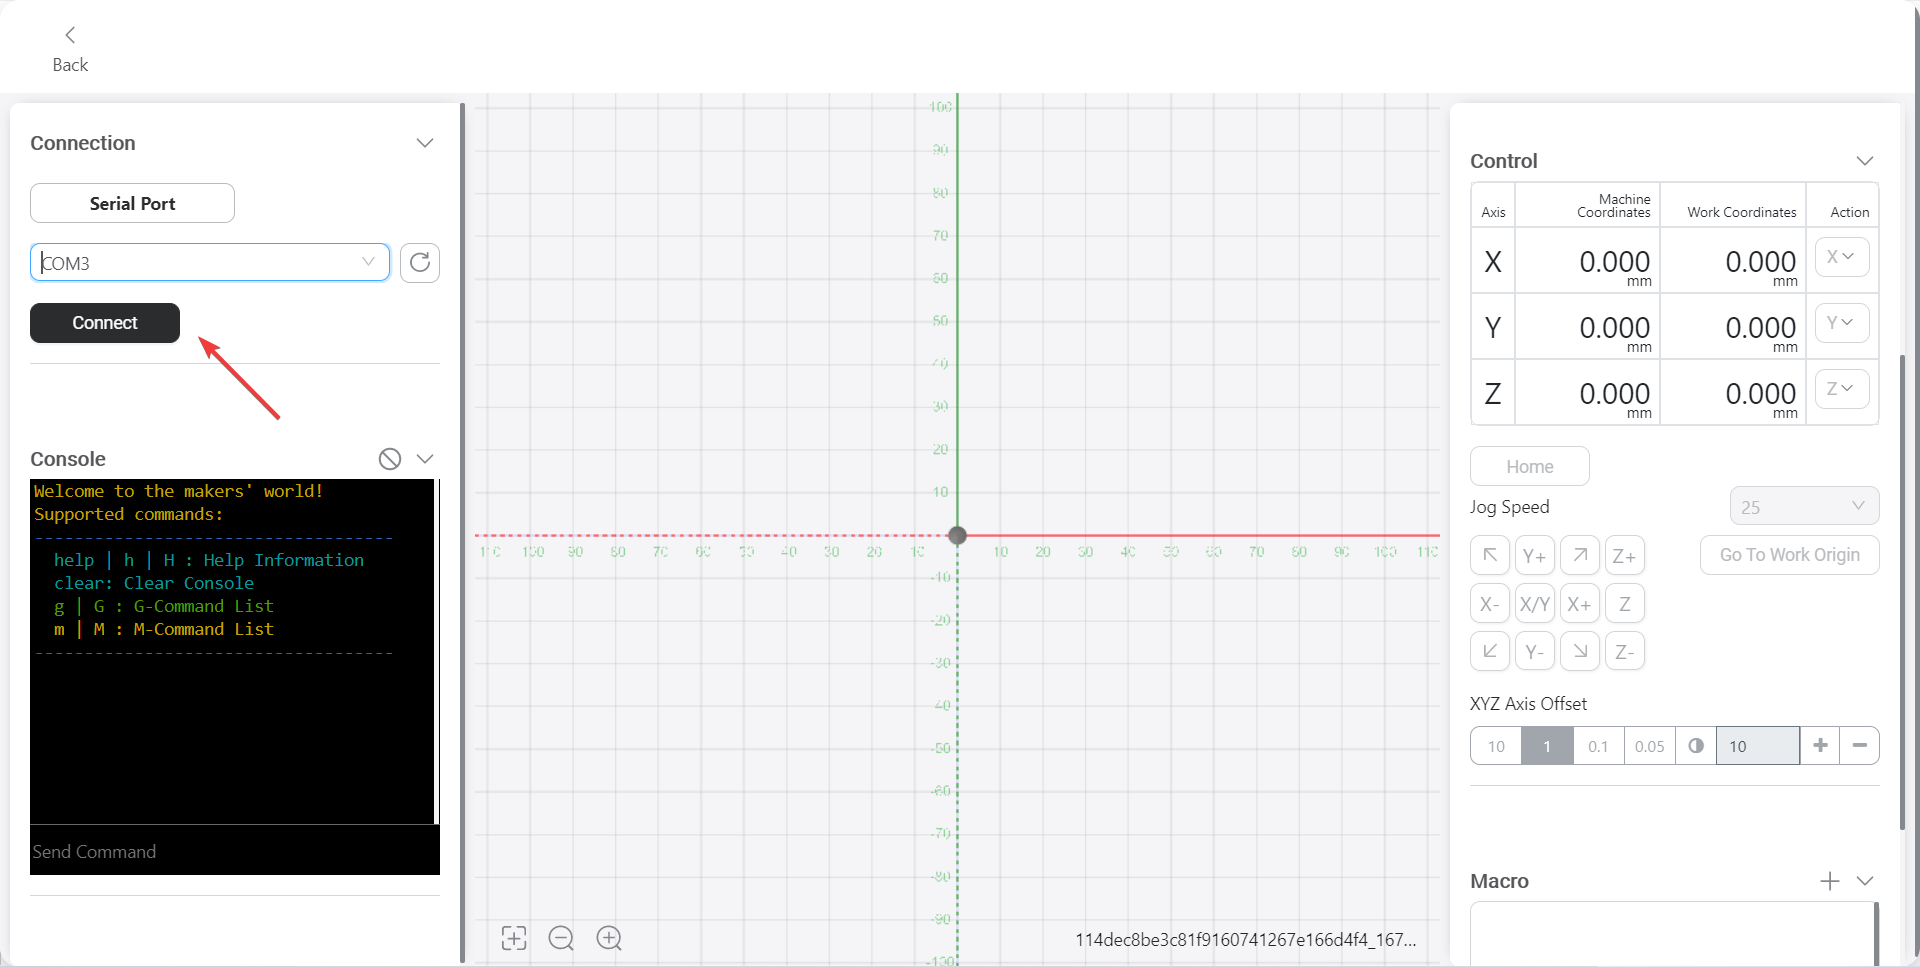
Click to enter the "WorkSpace"
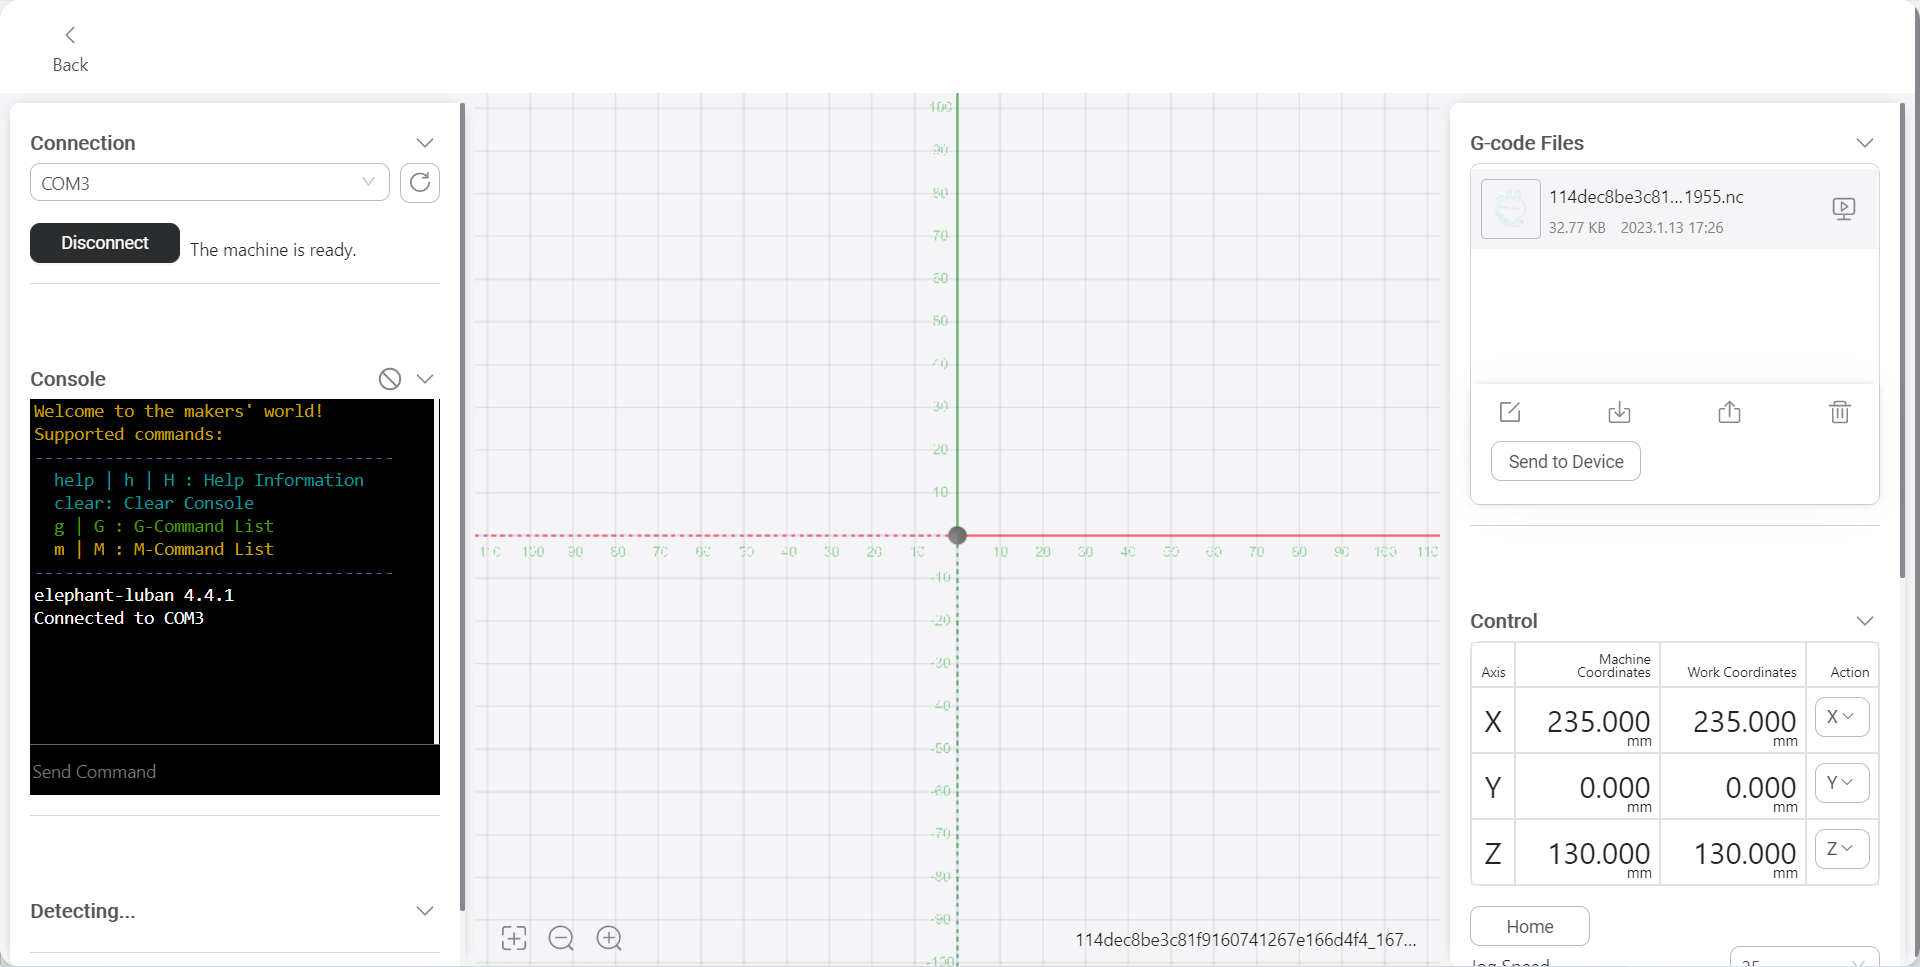
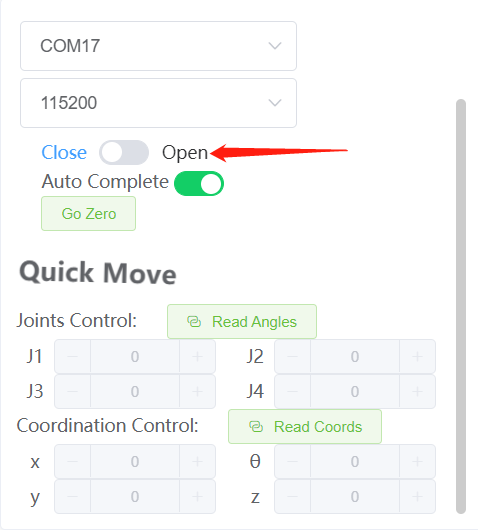
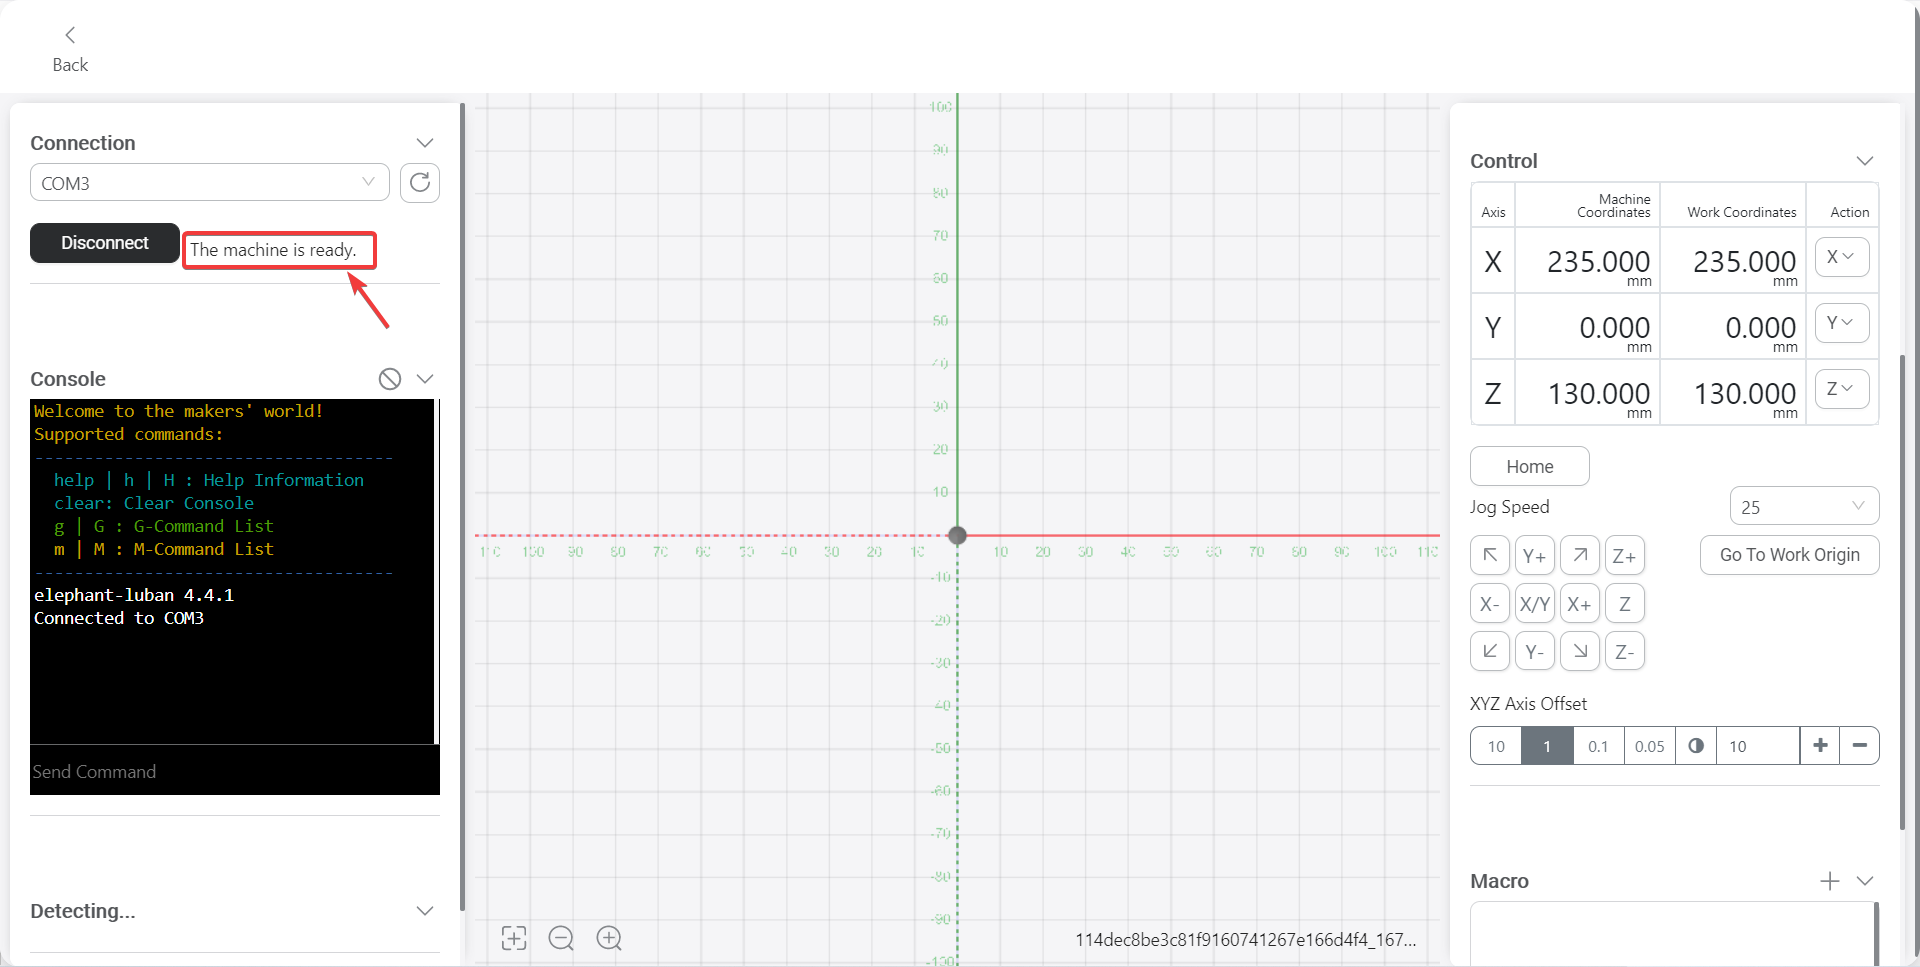
Select the corresponding serial port,click“Connect”, after the connection is successful, you can see the prompt text next to the button


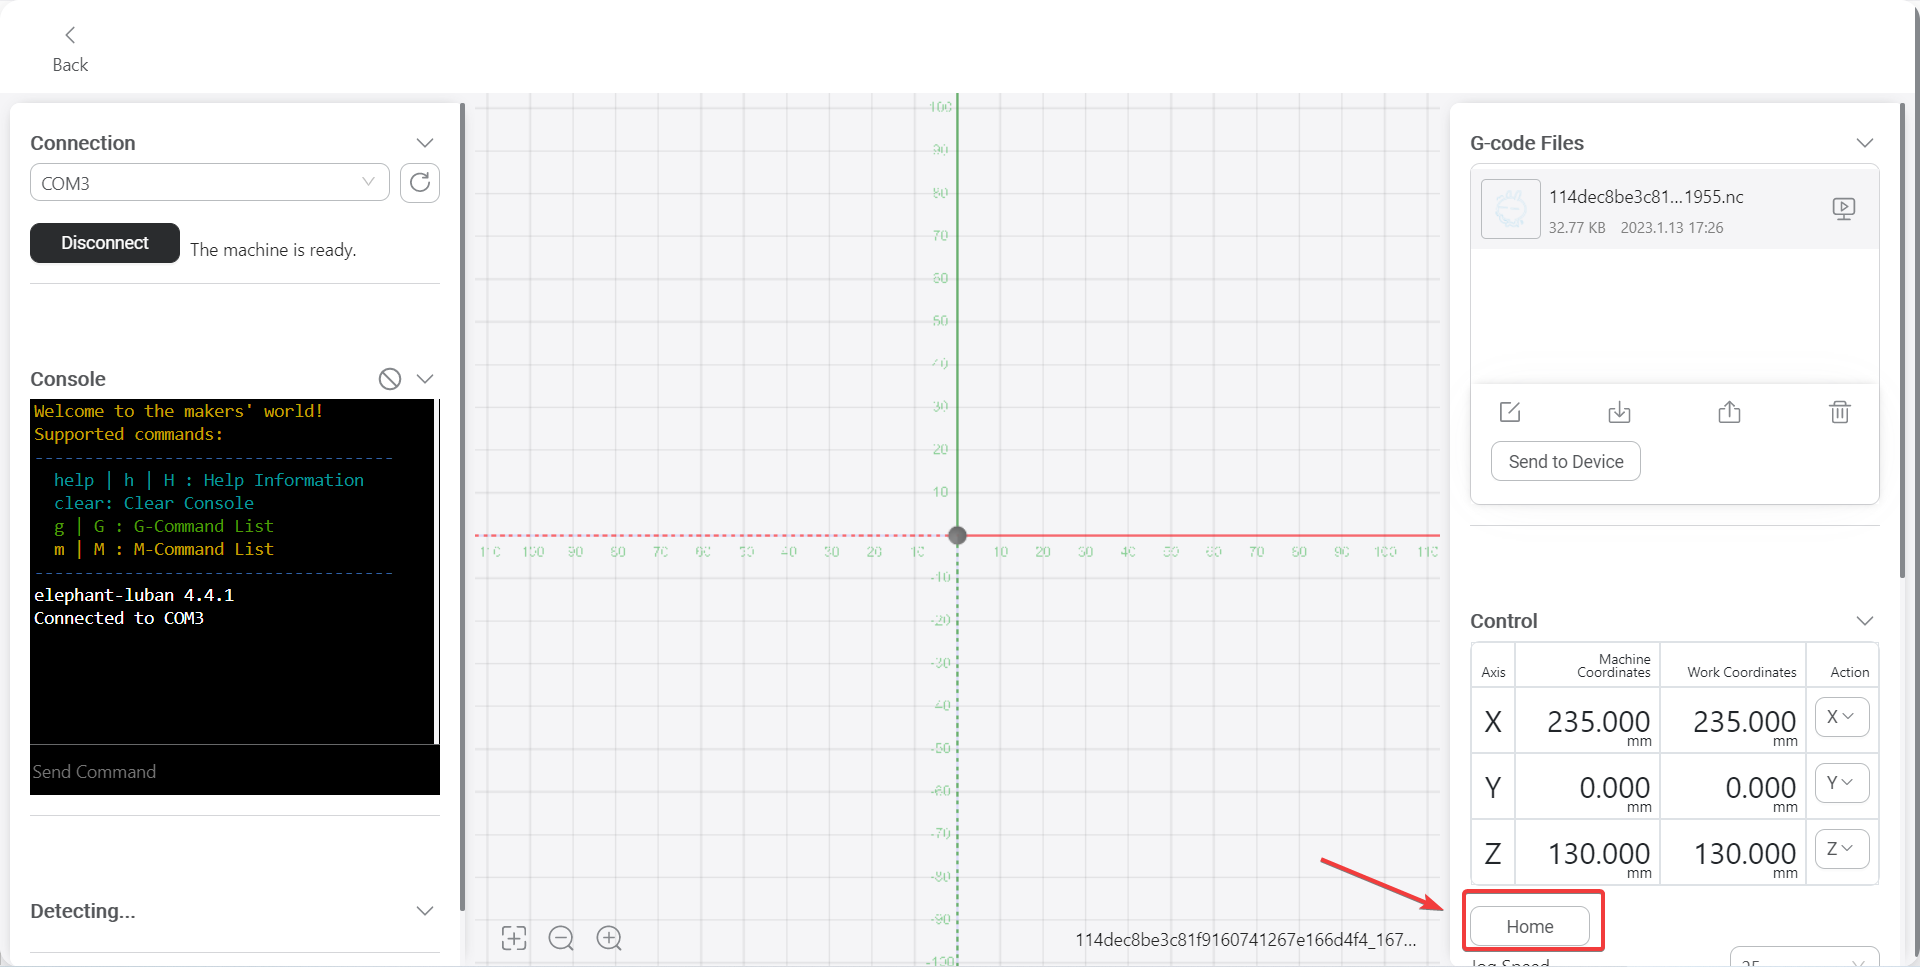
Click“Home”,let the machine adjust the joint to the zero position

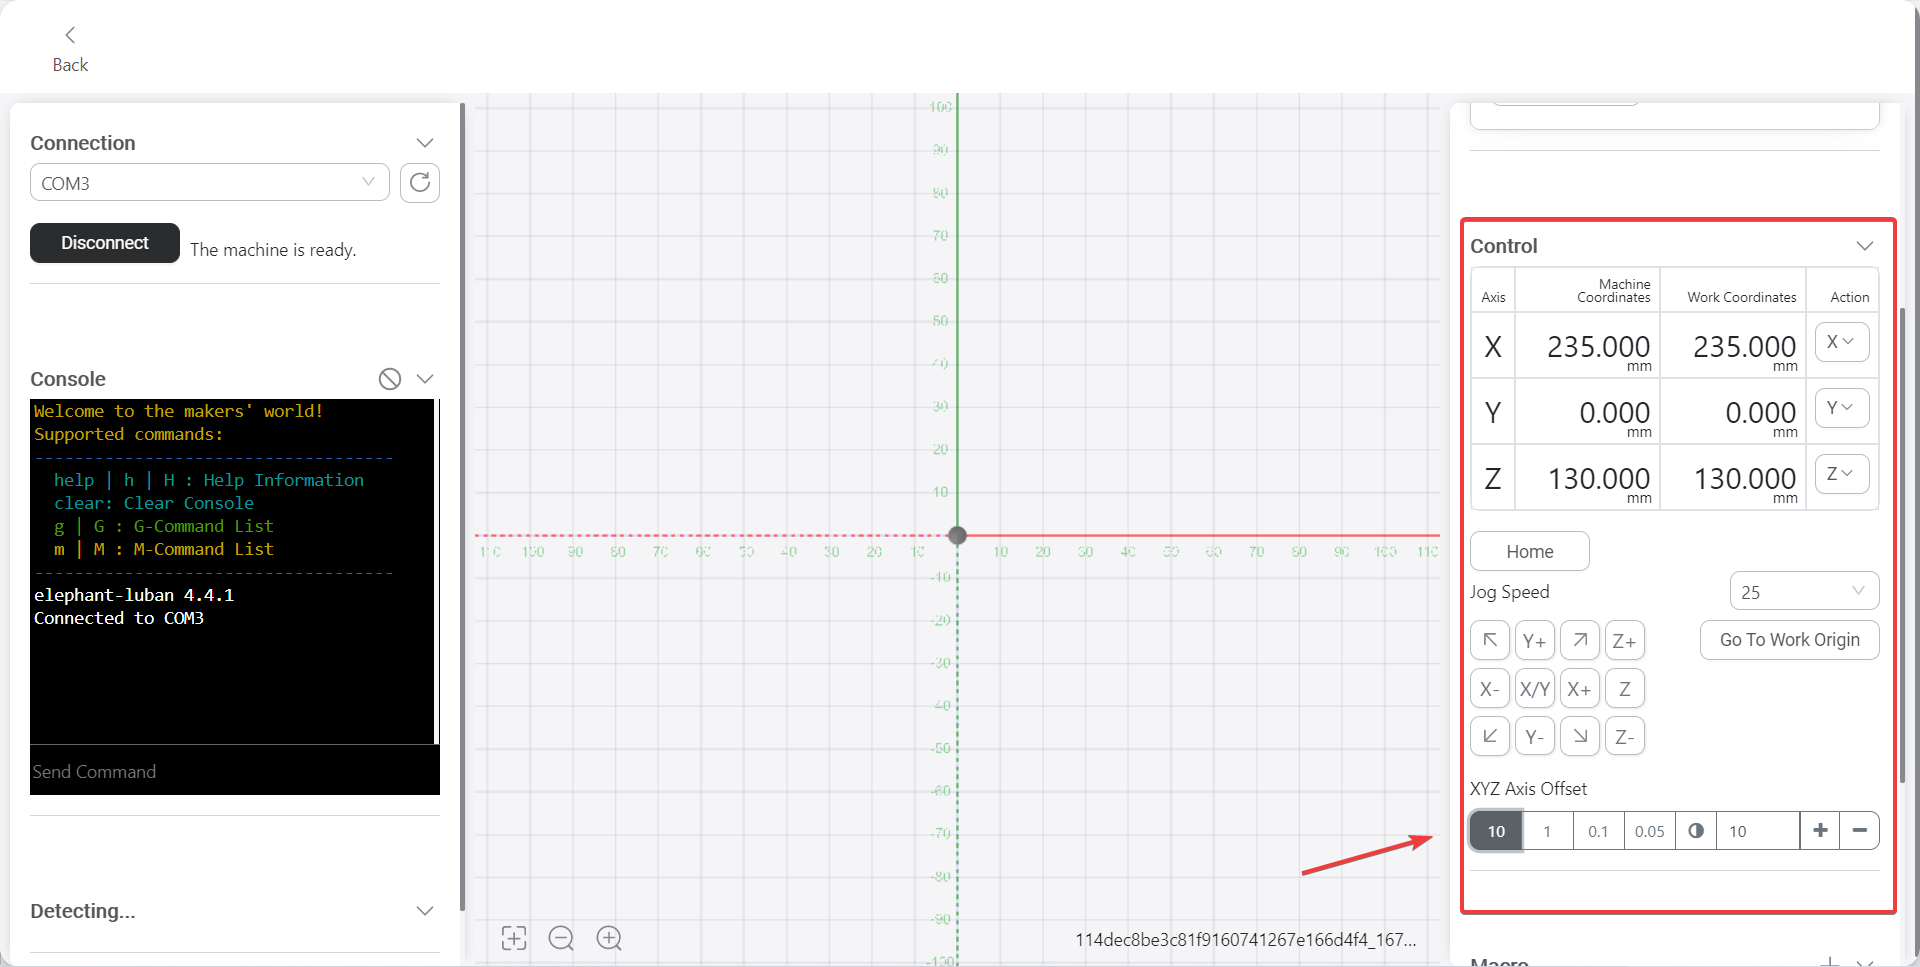
Control the manipulator to the desired starting point through the control panel
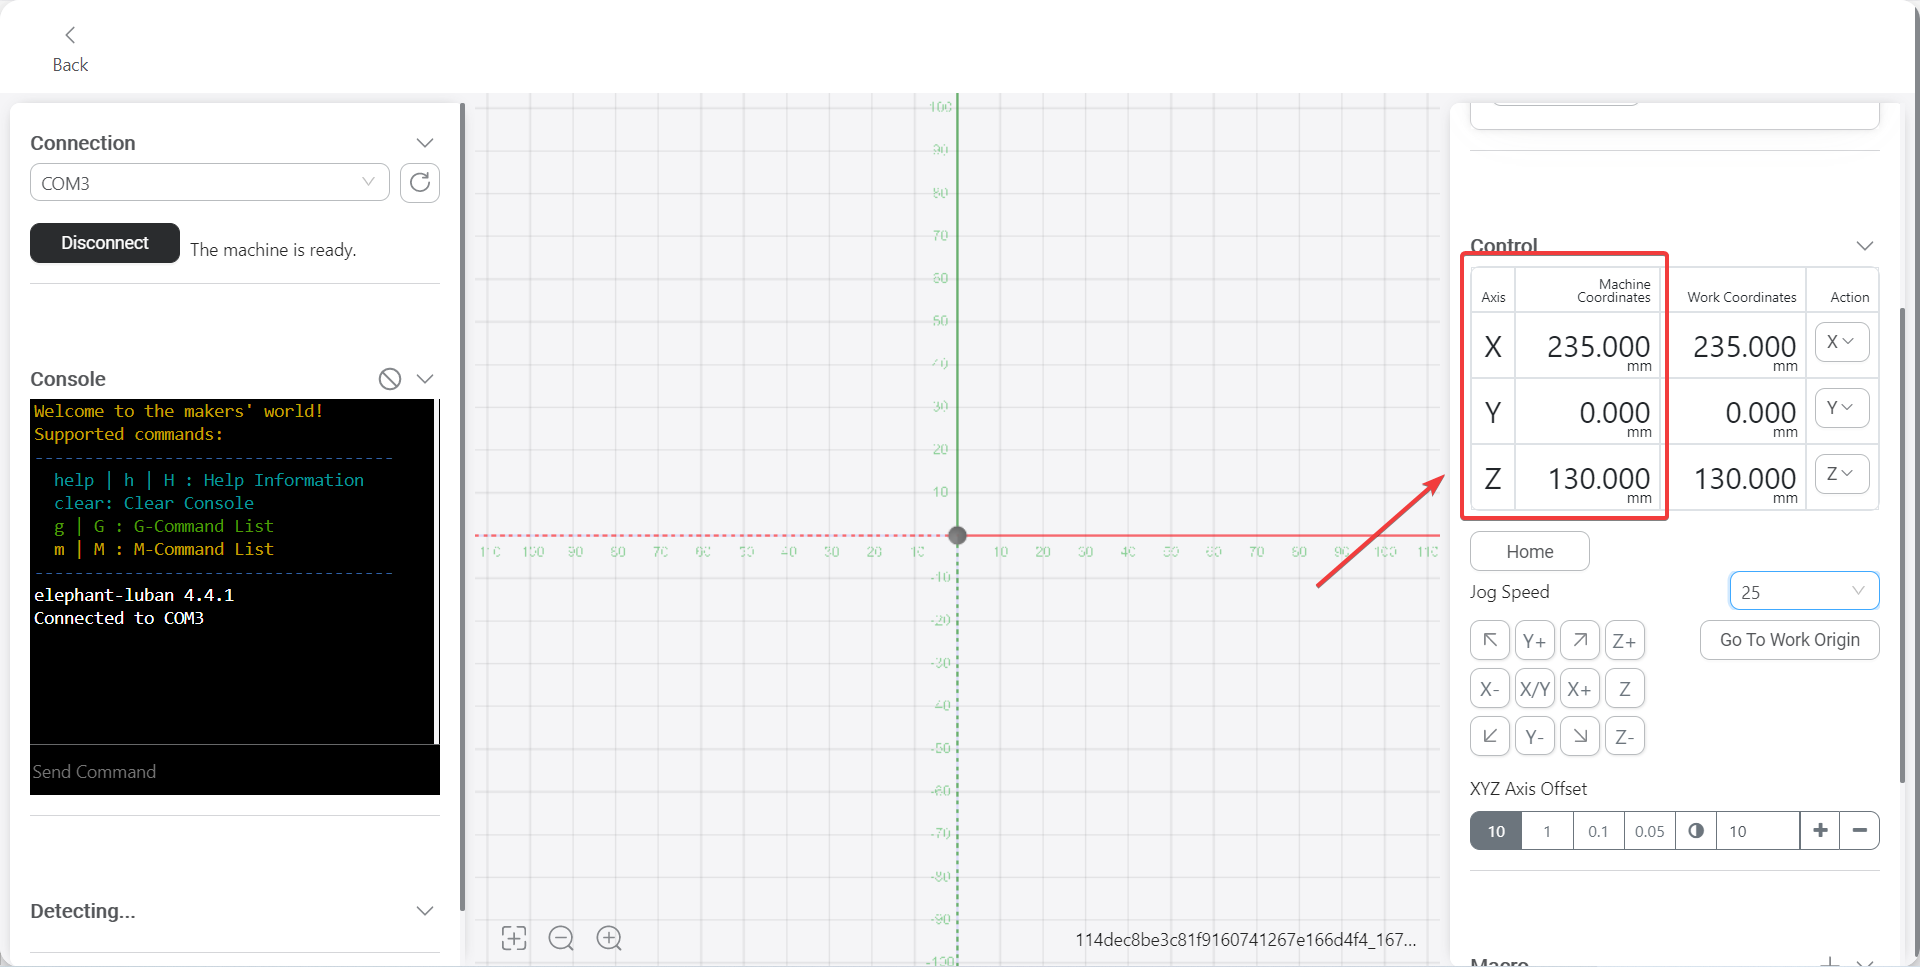
Record the Cartesian space coordinate value of the current manipulator as the initial point of painting
3 How to adjust the laser engraving power
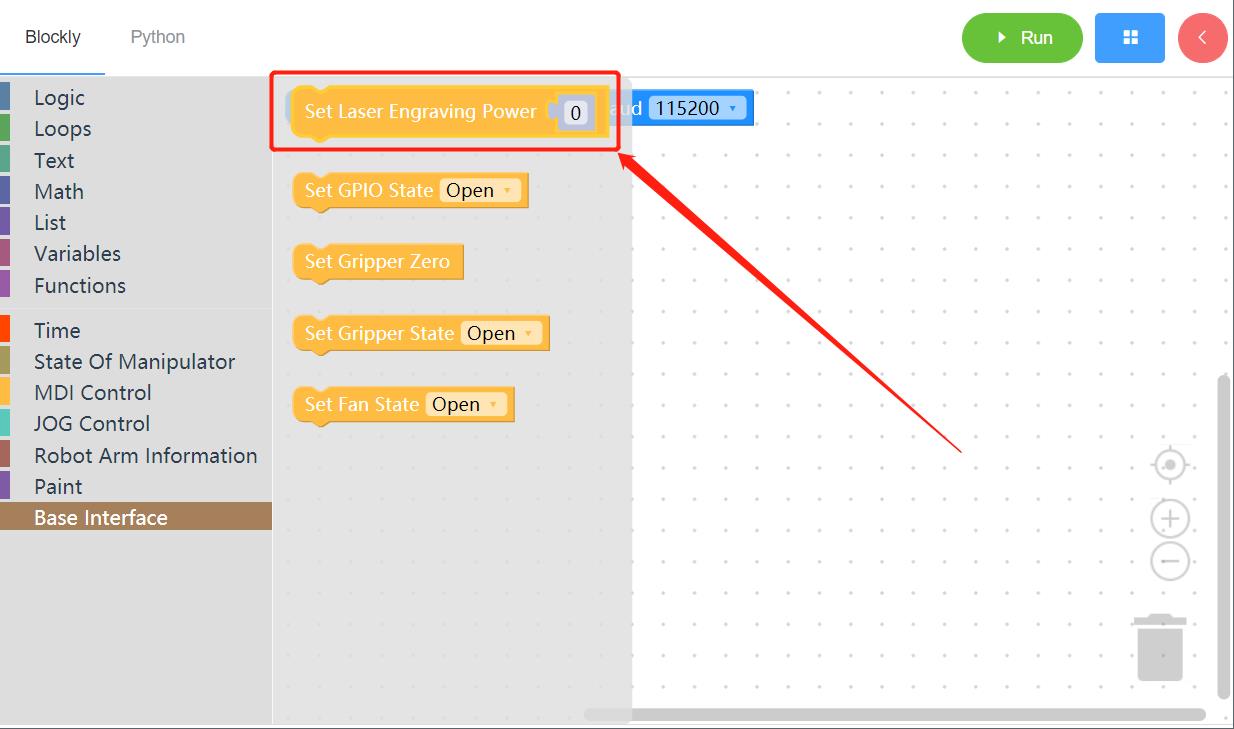
Close the serial port and drag the building block to program the laser engraving power

Click the "Run" button

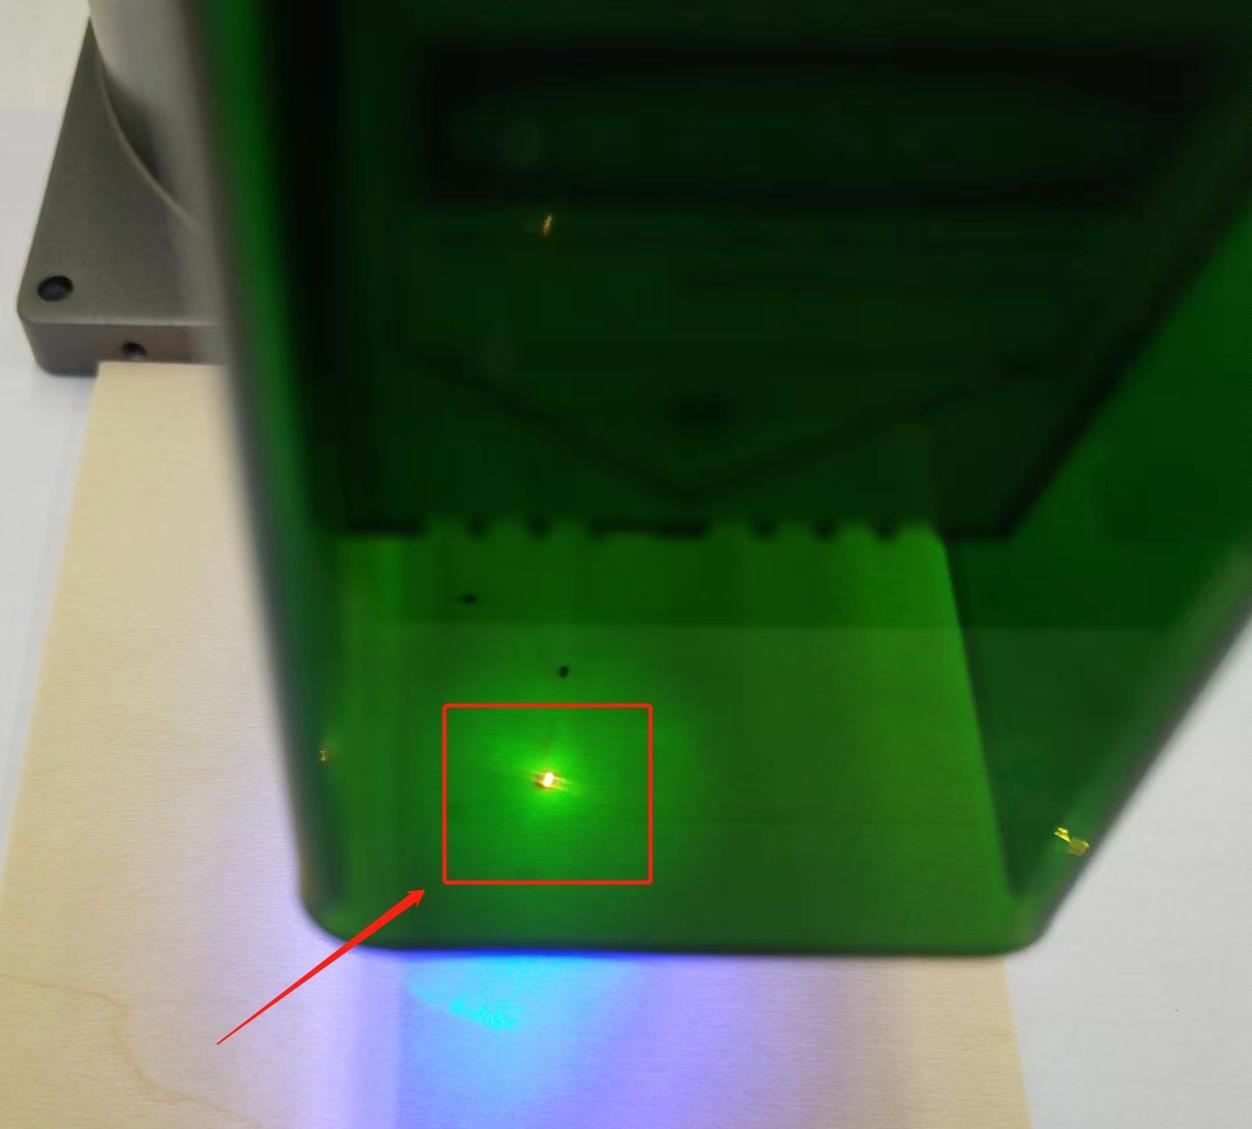
Turn on the laser engraving switch (yellow light means off, blue light means on)
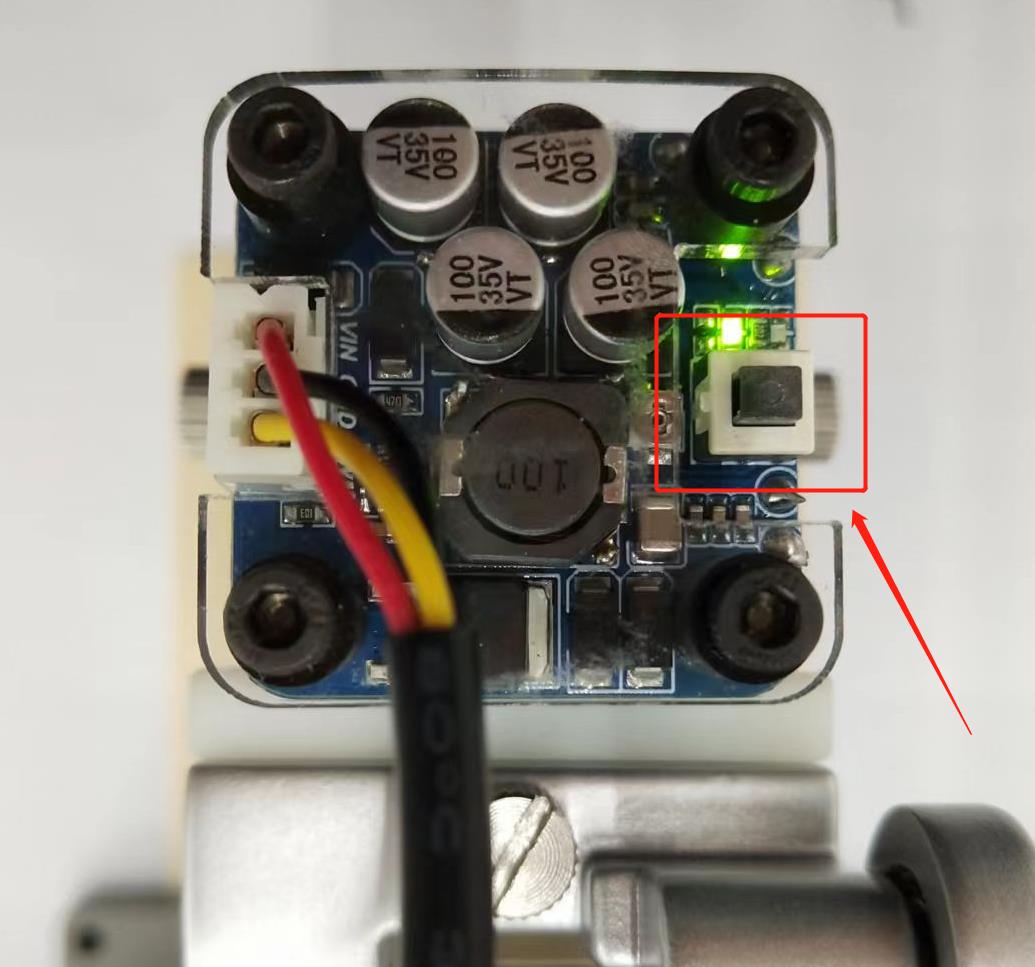
Turn the laser engraving lens to adjust the focus
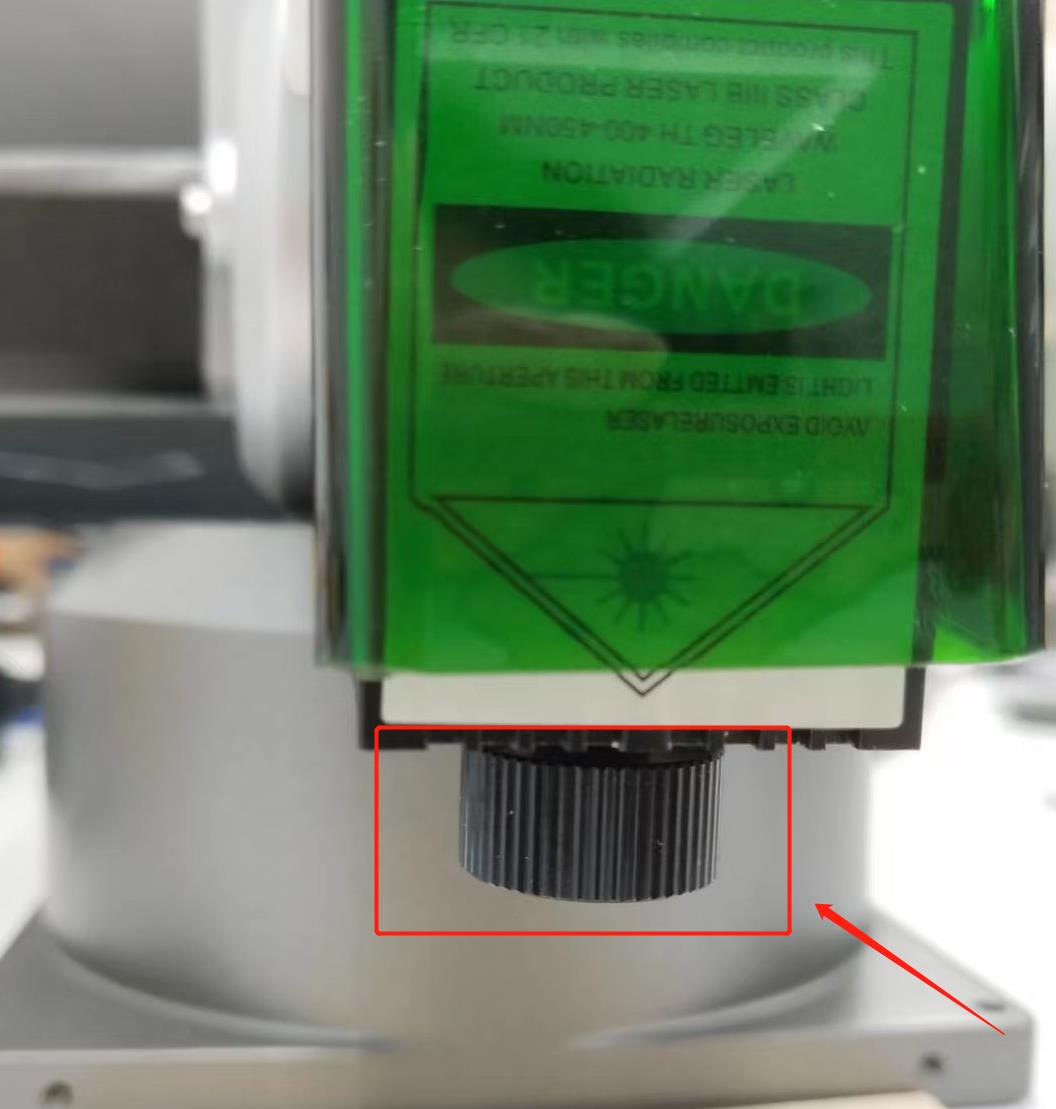
Until a light spot is formed
4 Which tool to use to generate tracks
- Download Elephant Luban and install
Double-click the icon to open Elephant Luban
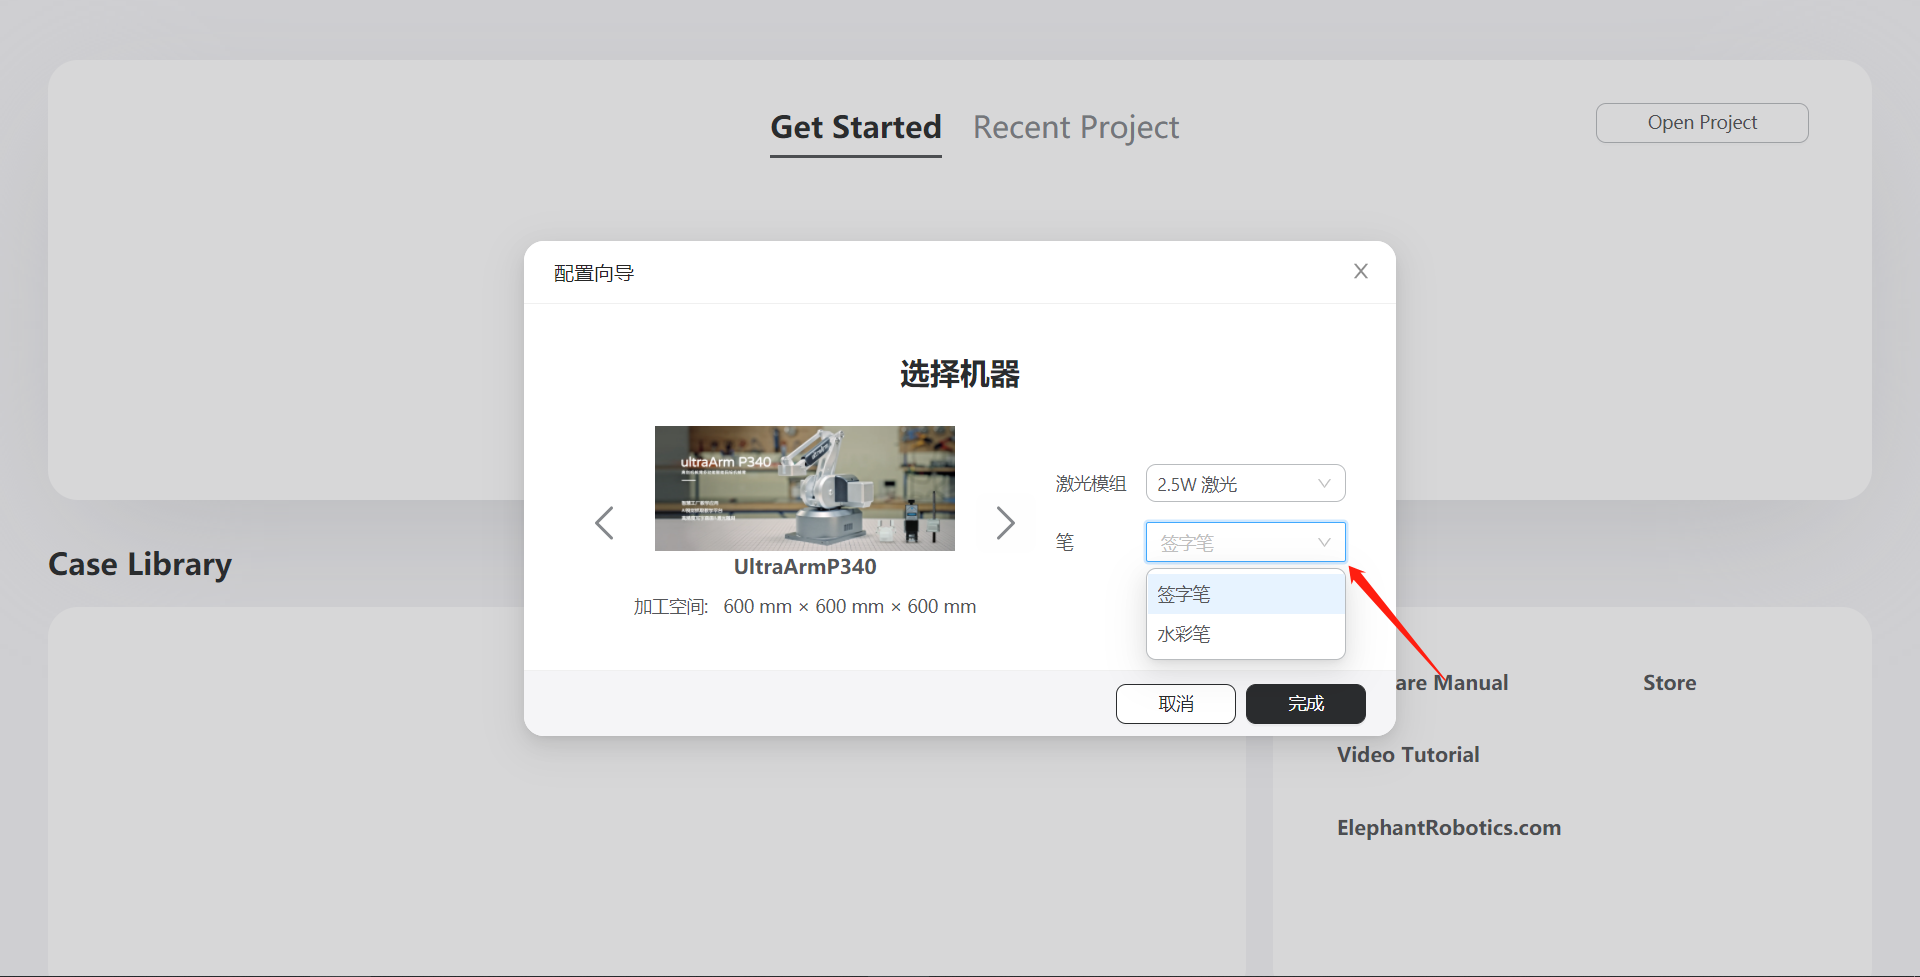
After opening the software, select the language first. After selecting, click "Next" to enter the machine configuration
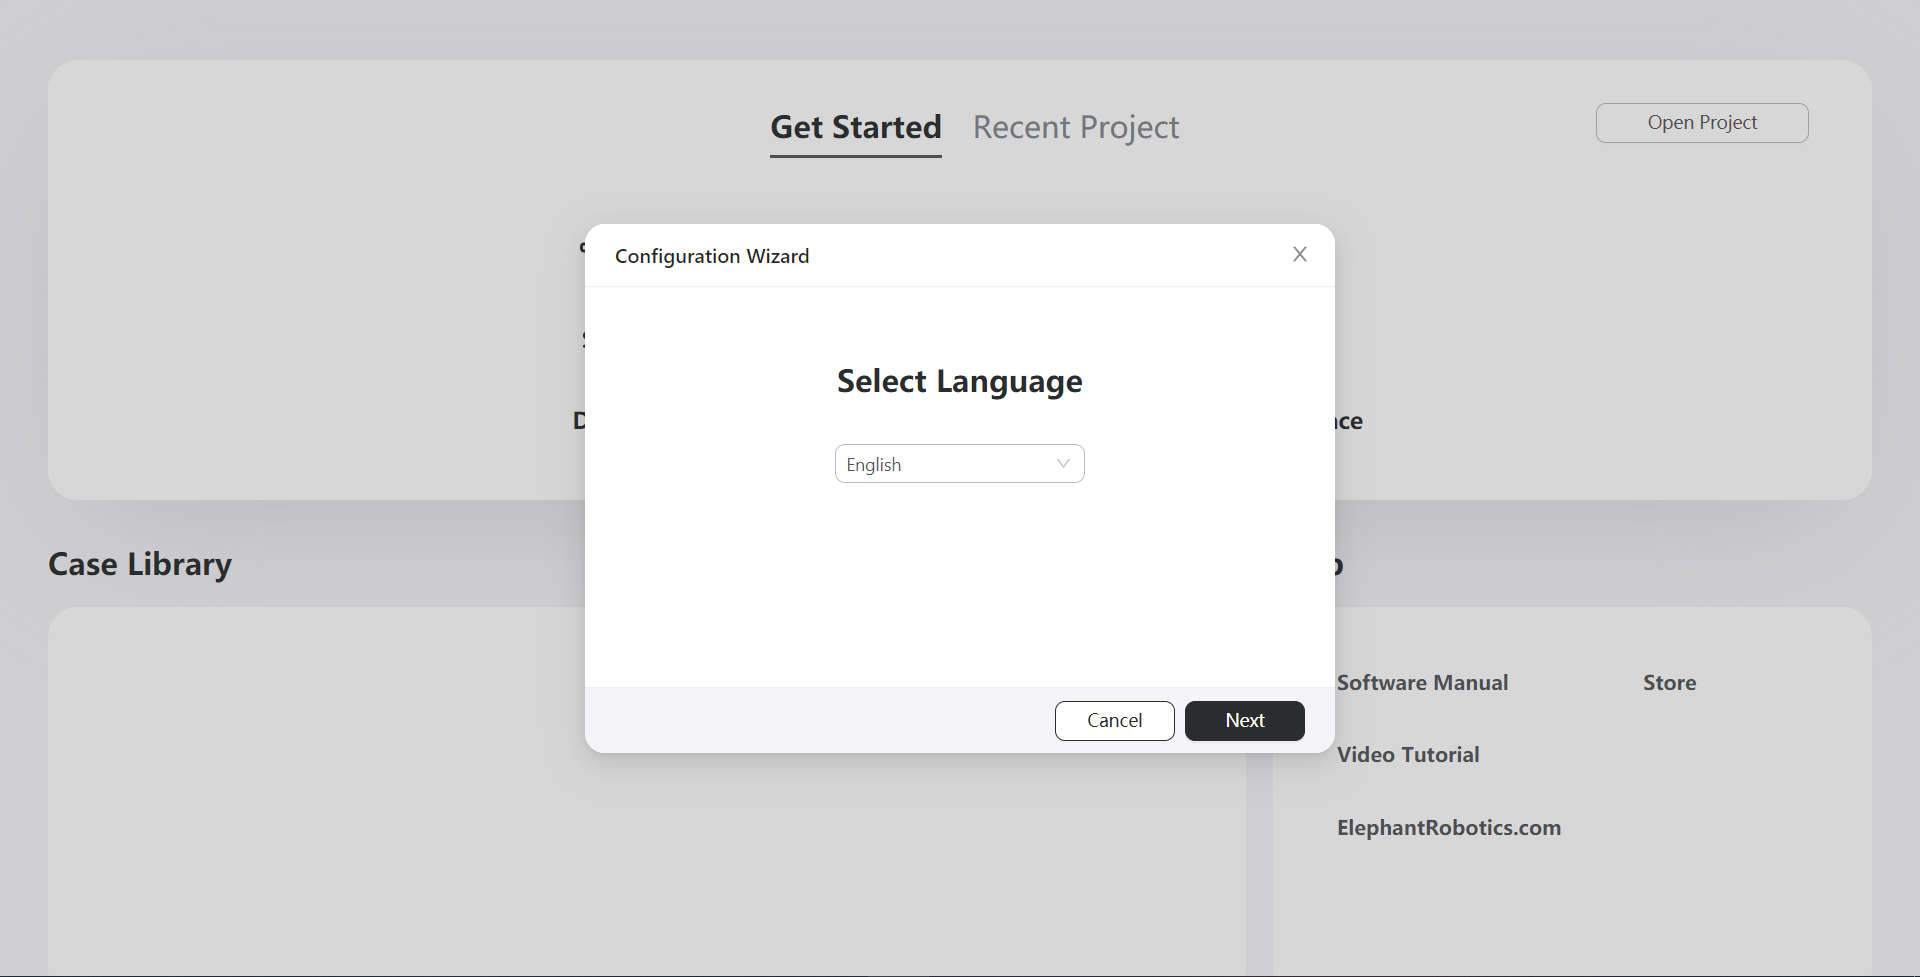
The tool has been selected by default. Click "Finish"
After the machine configuration is completed, click "Laser" to enter the track generation page

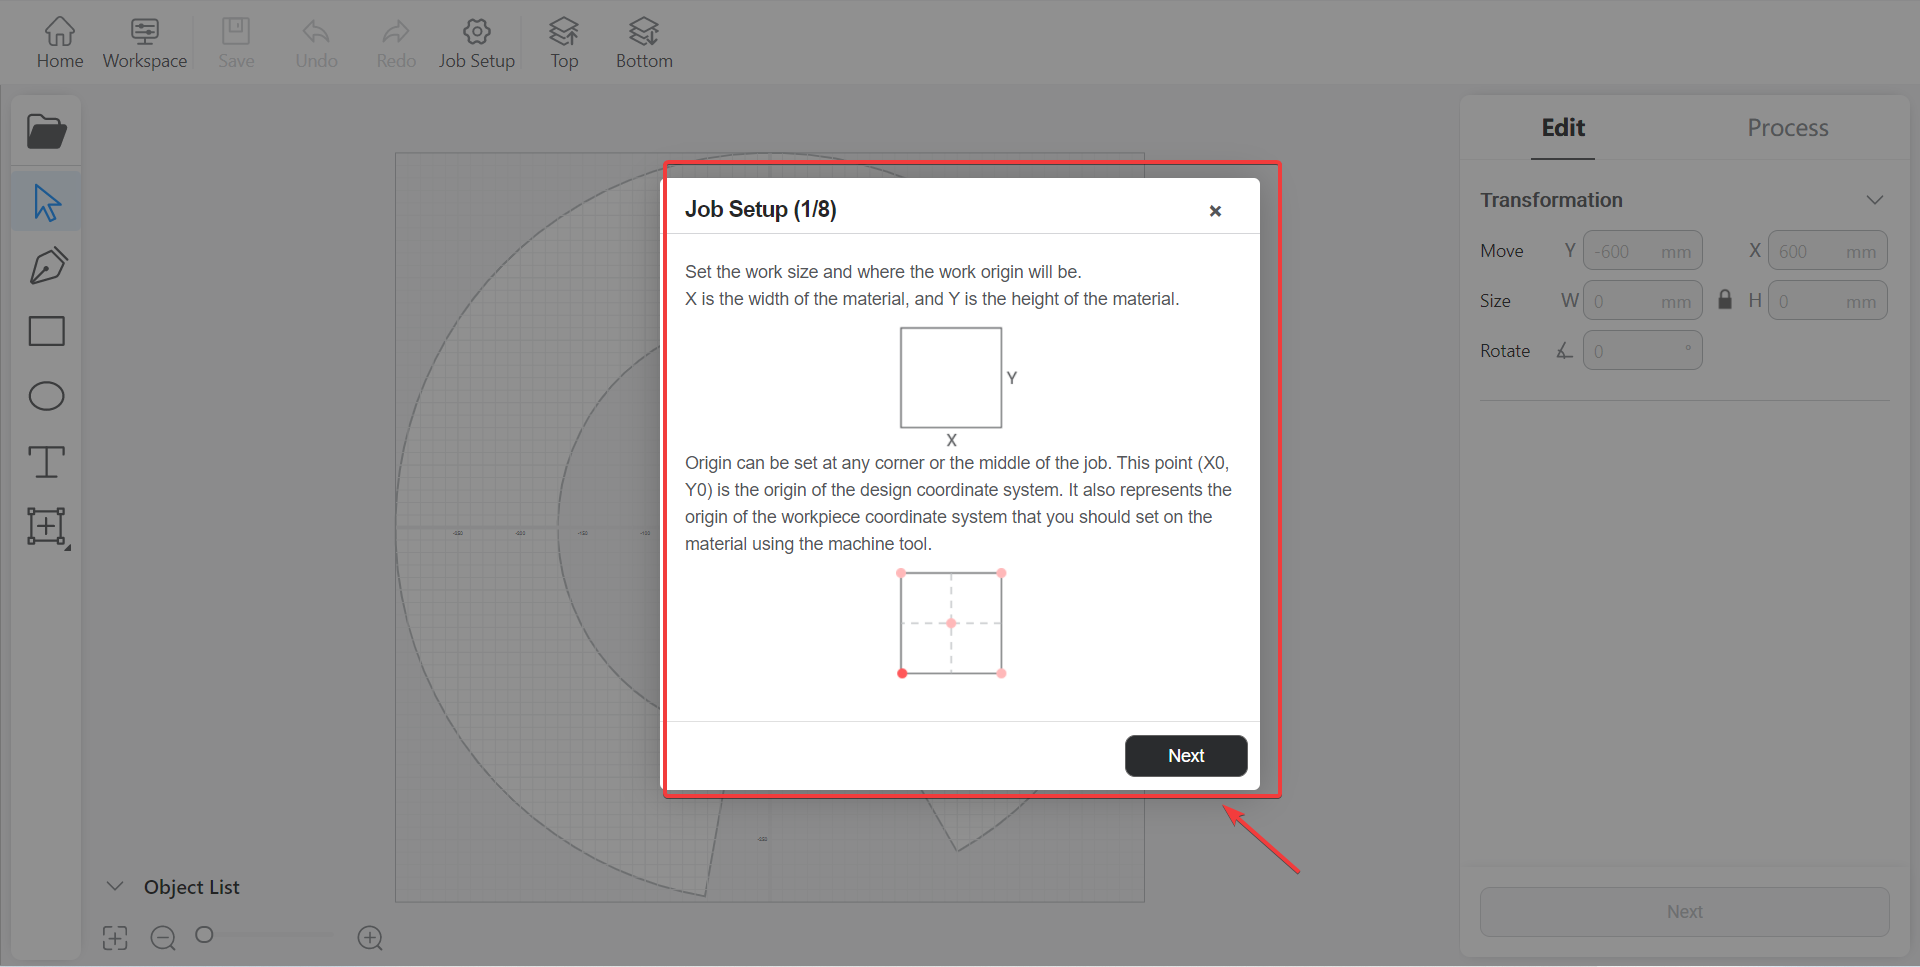
When you enter this page for the first time, there will be instructions. Follow the instructions and click "Next"
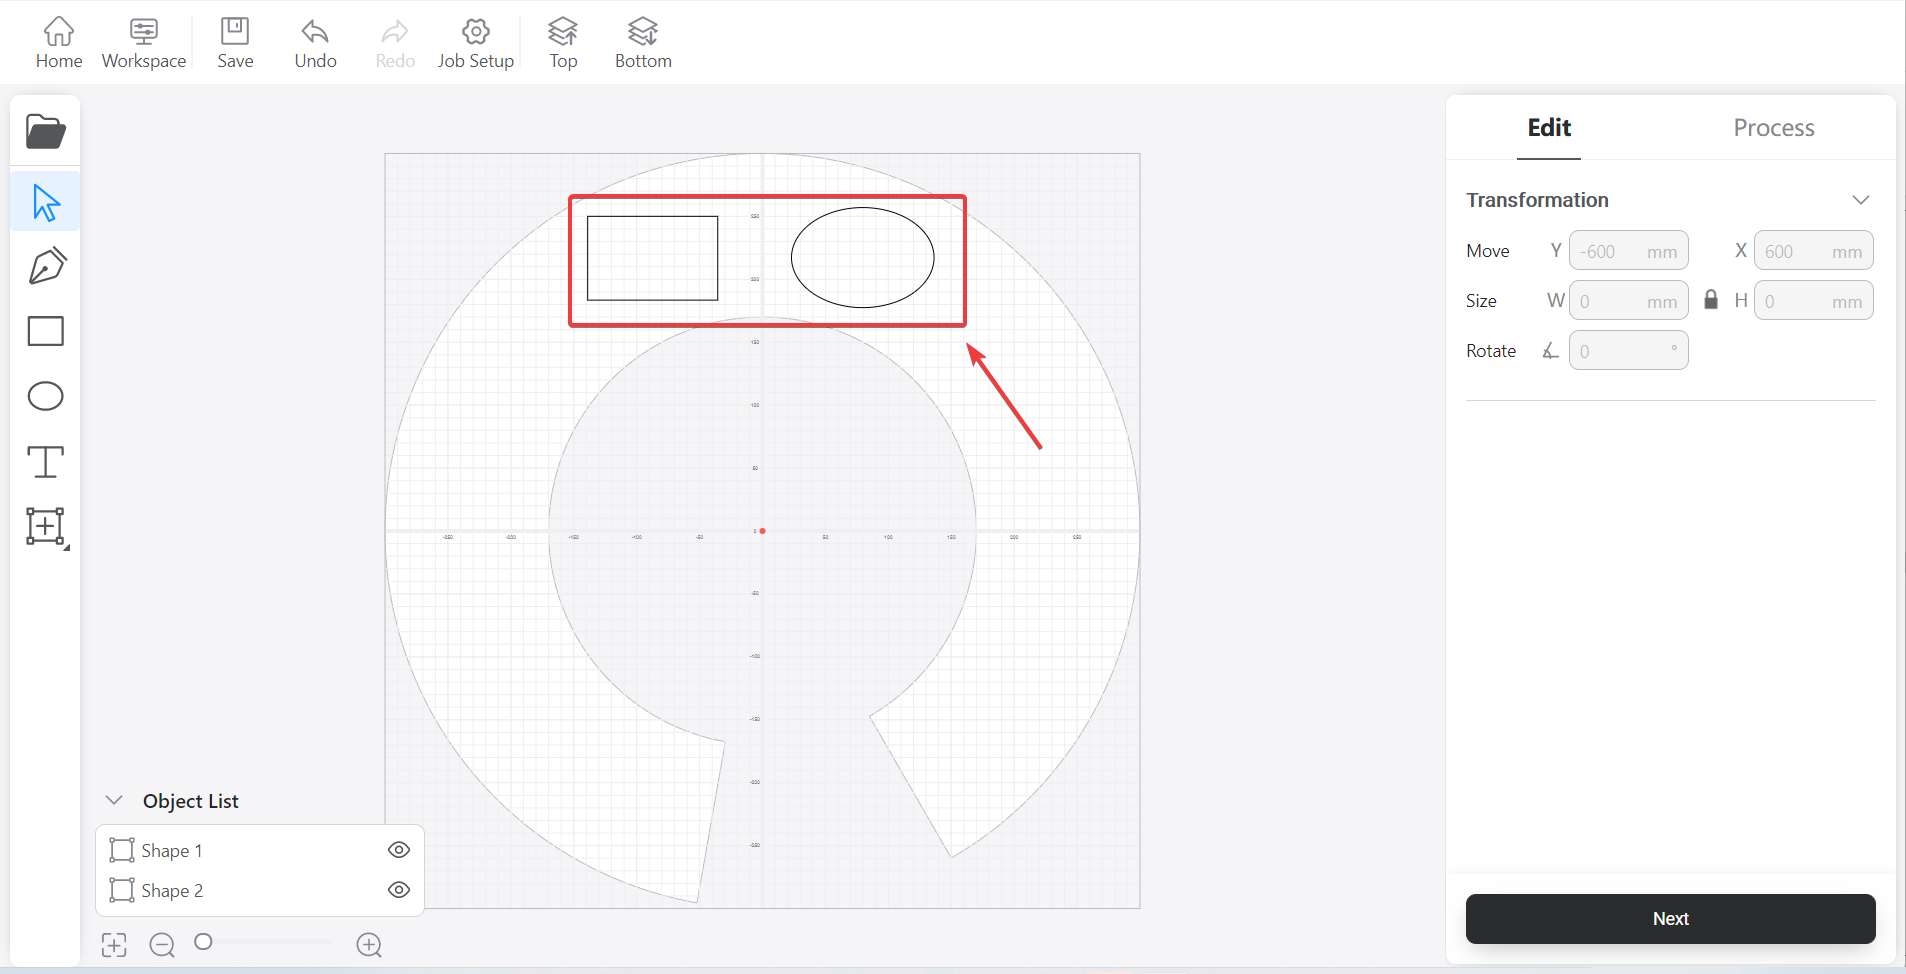
In this page, there are preset basic graphics that can be used directly

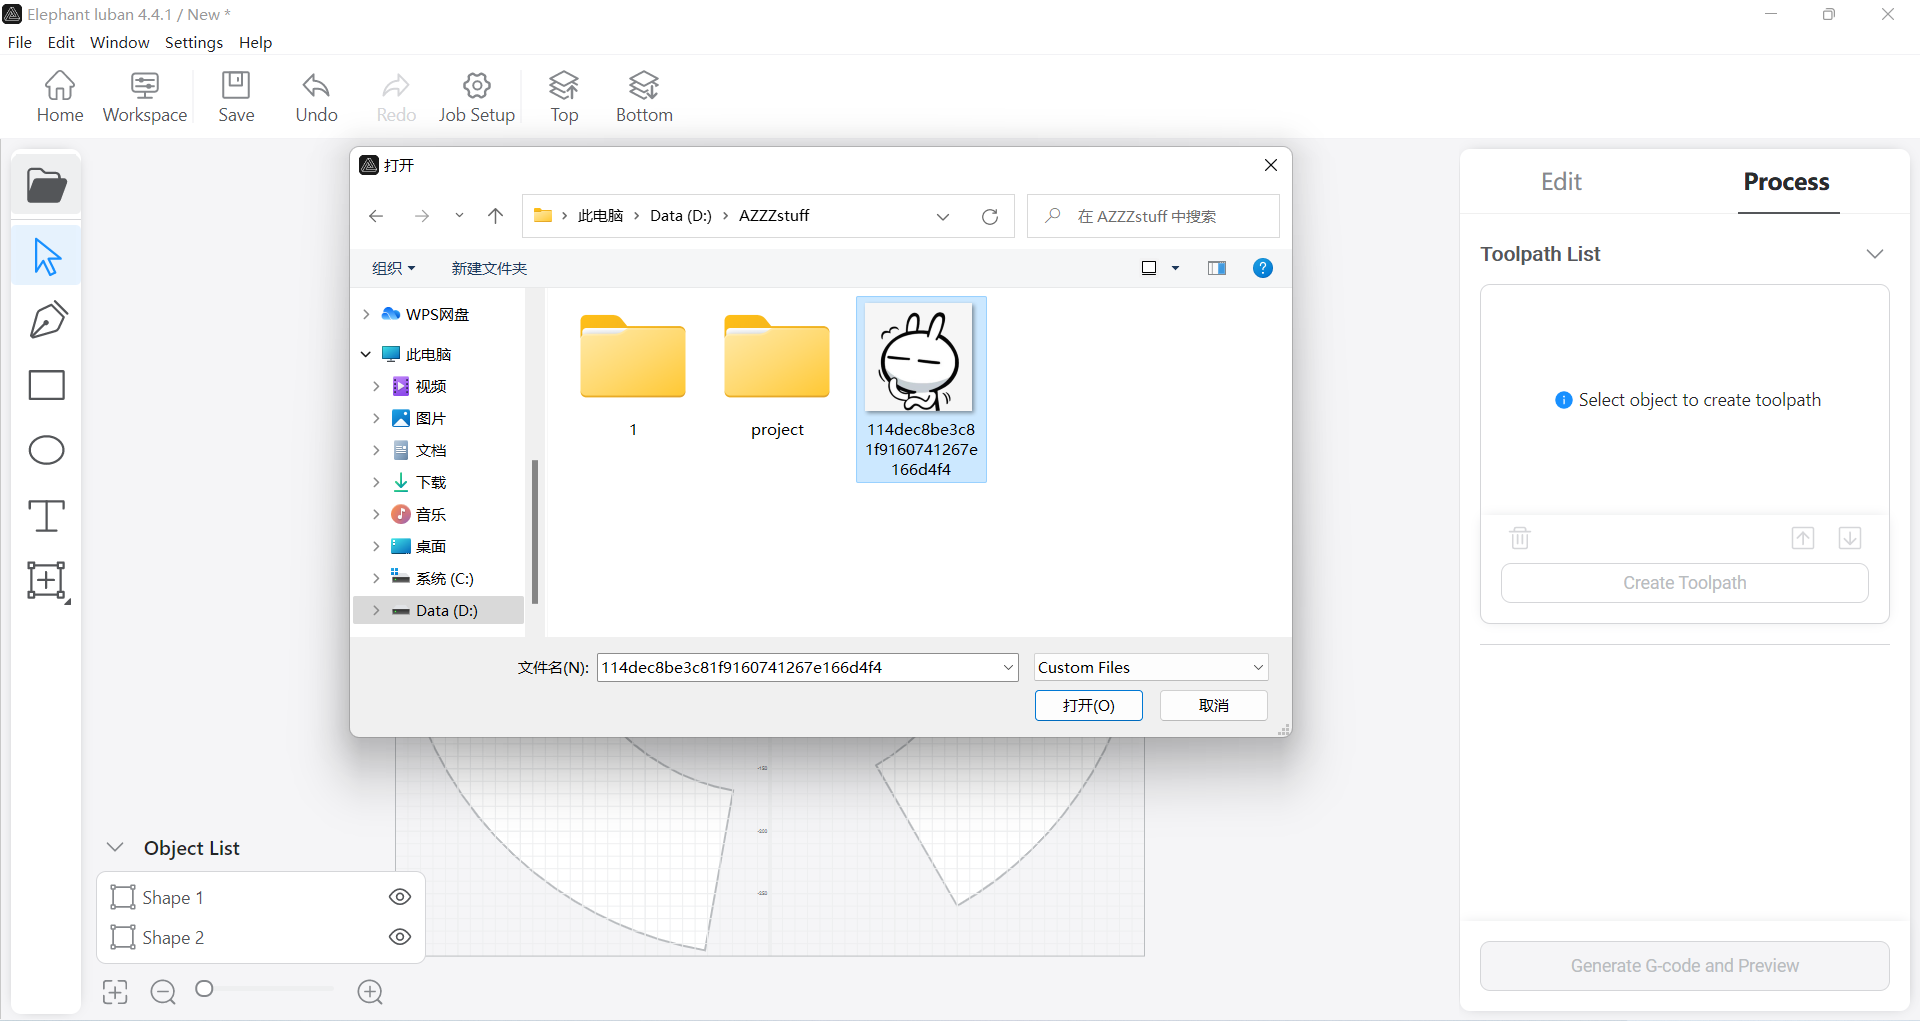
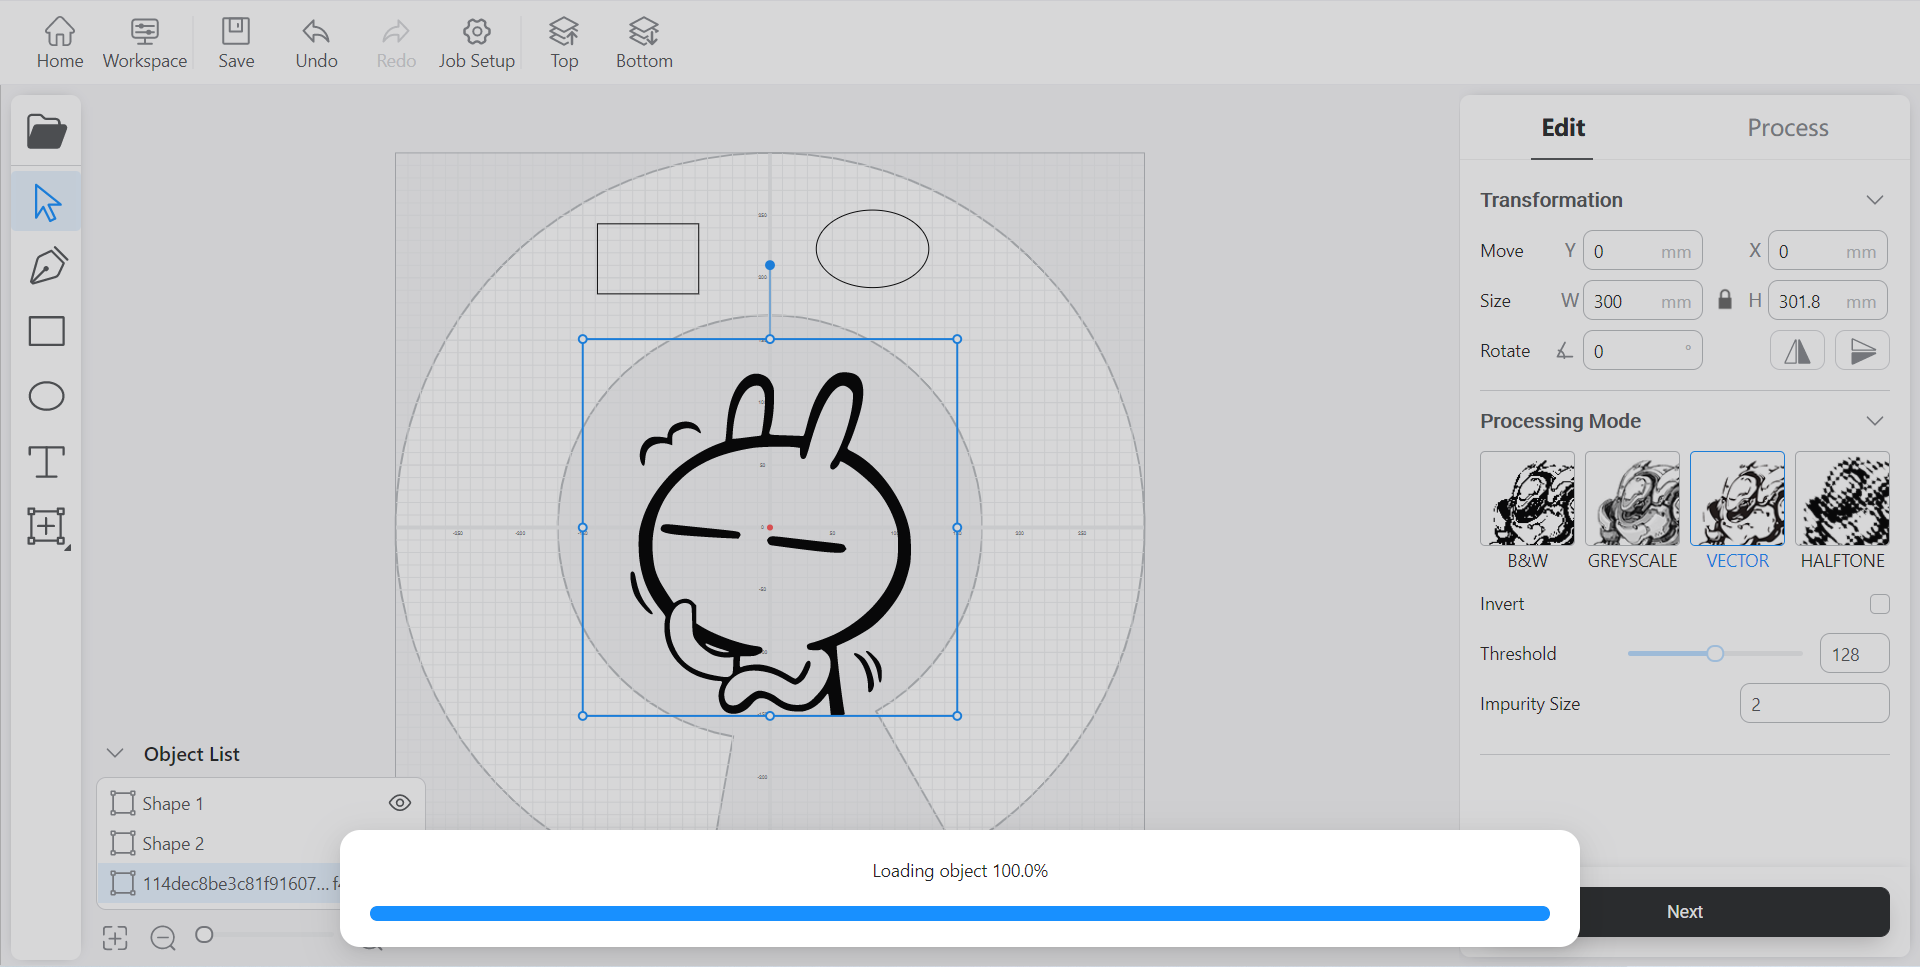
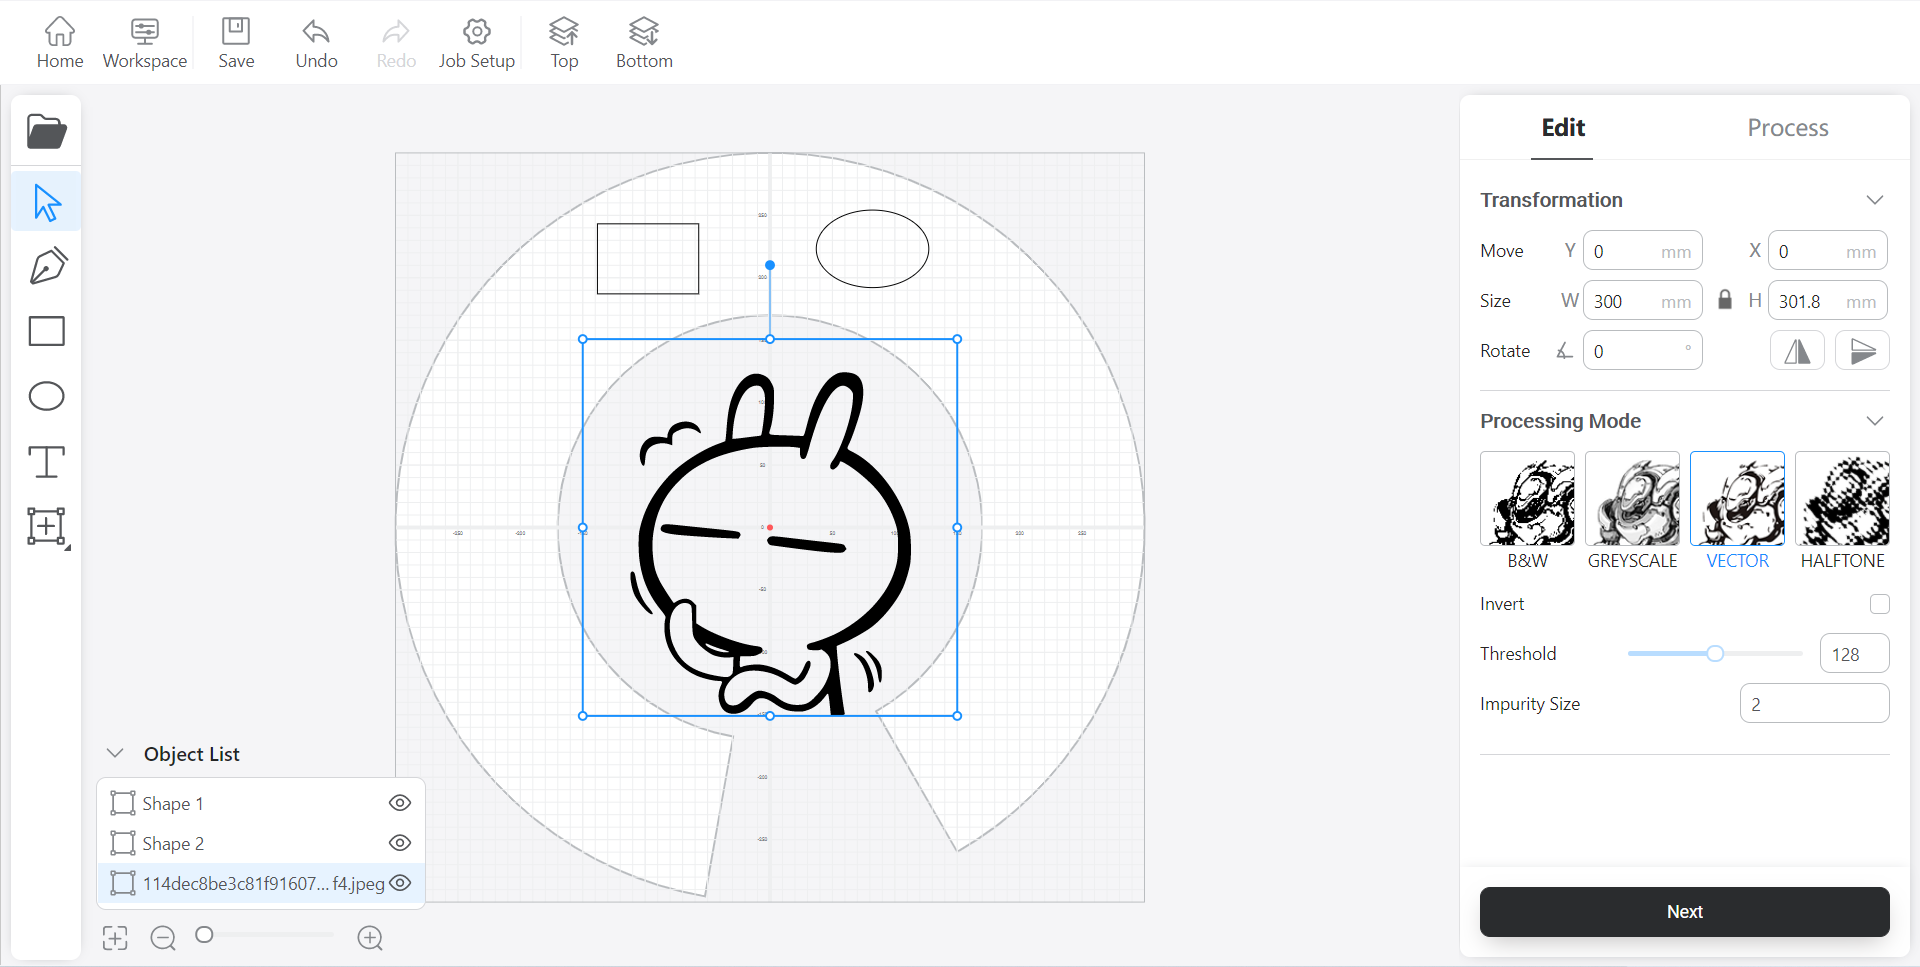
You can also choose to import the required image. After the image is imported, Elephant Luban will automatically perform vector processing on the image
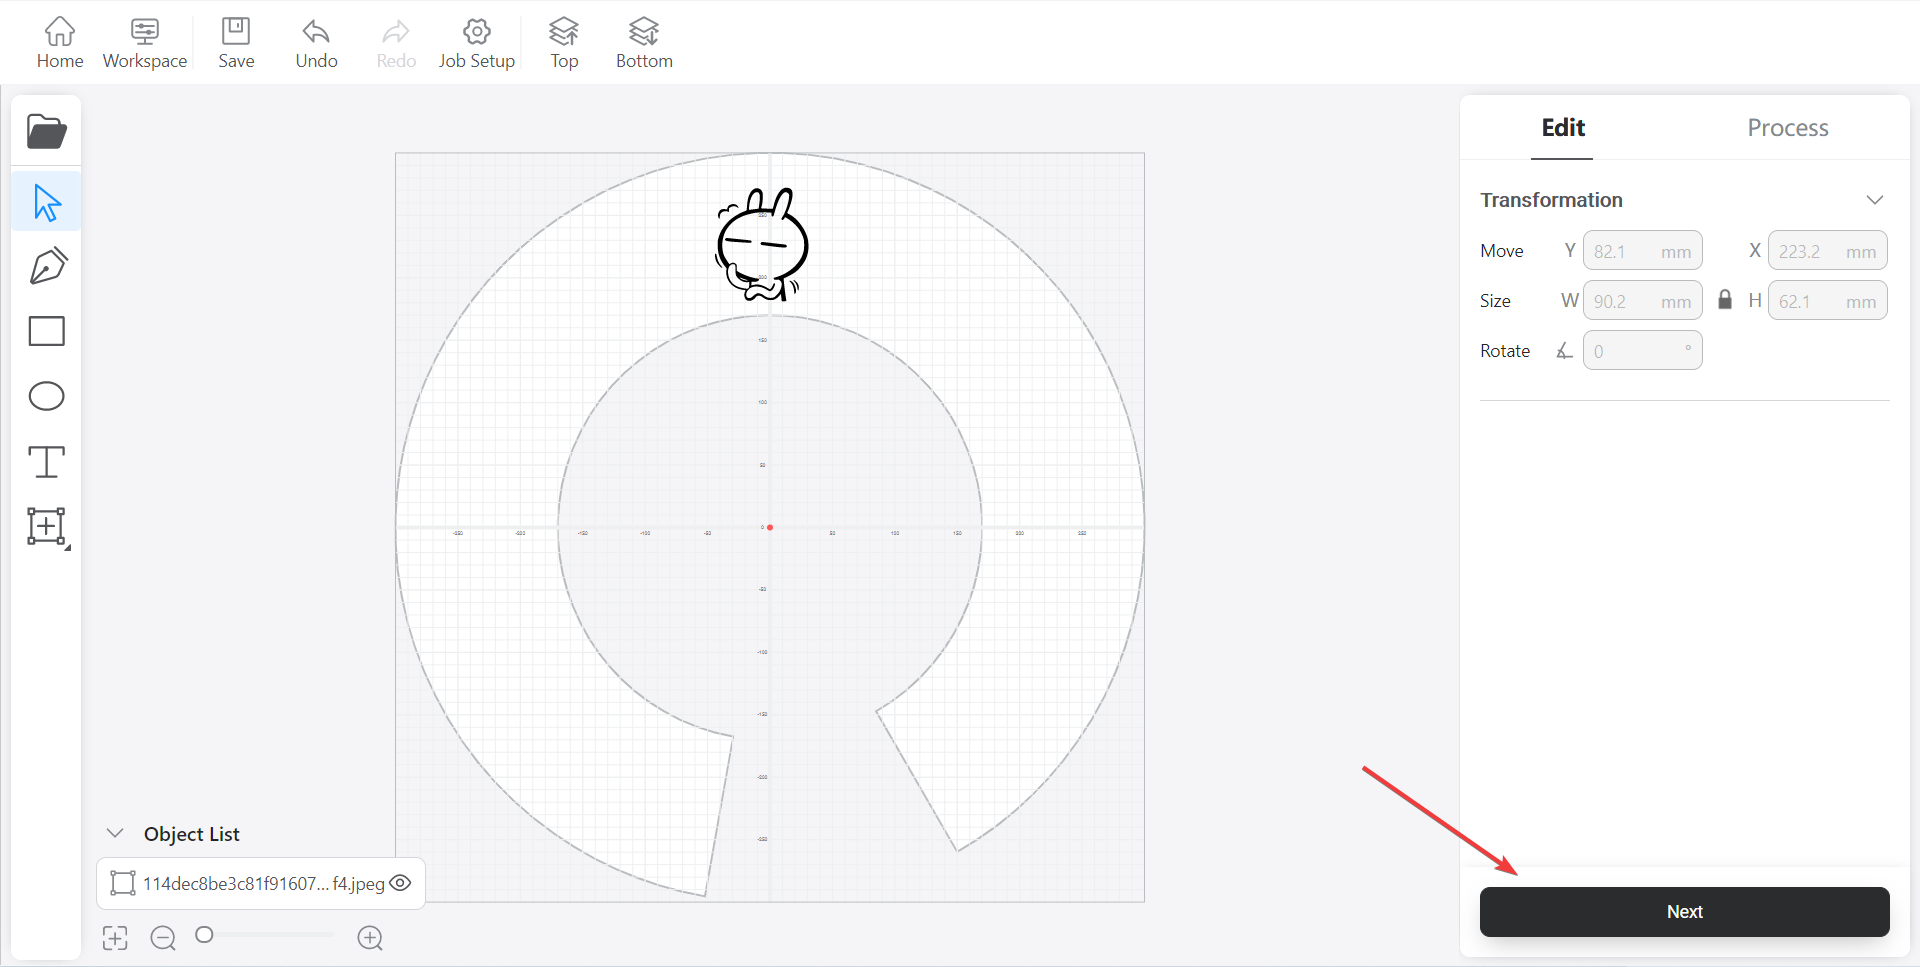
Move the processed image to the white sector area, that is, move the image to the working range of the manipulator
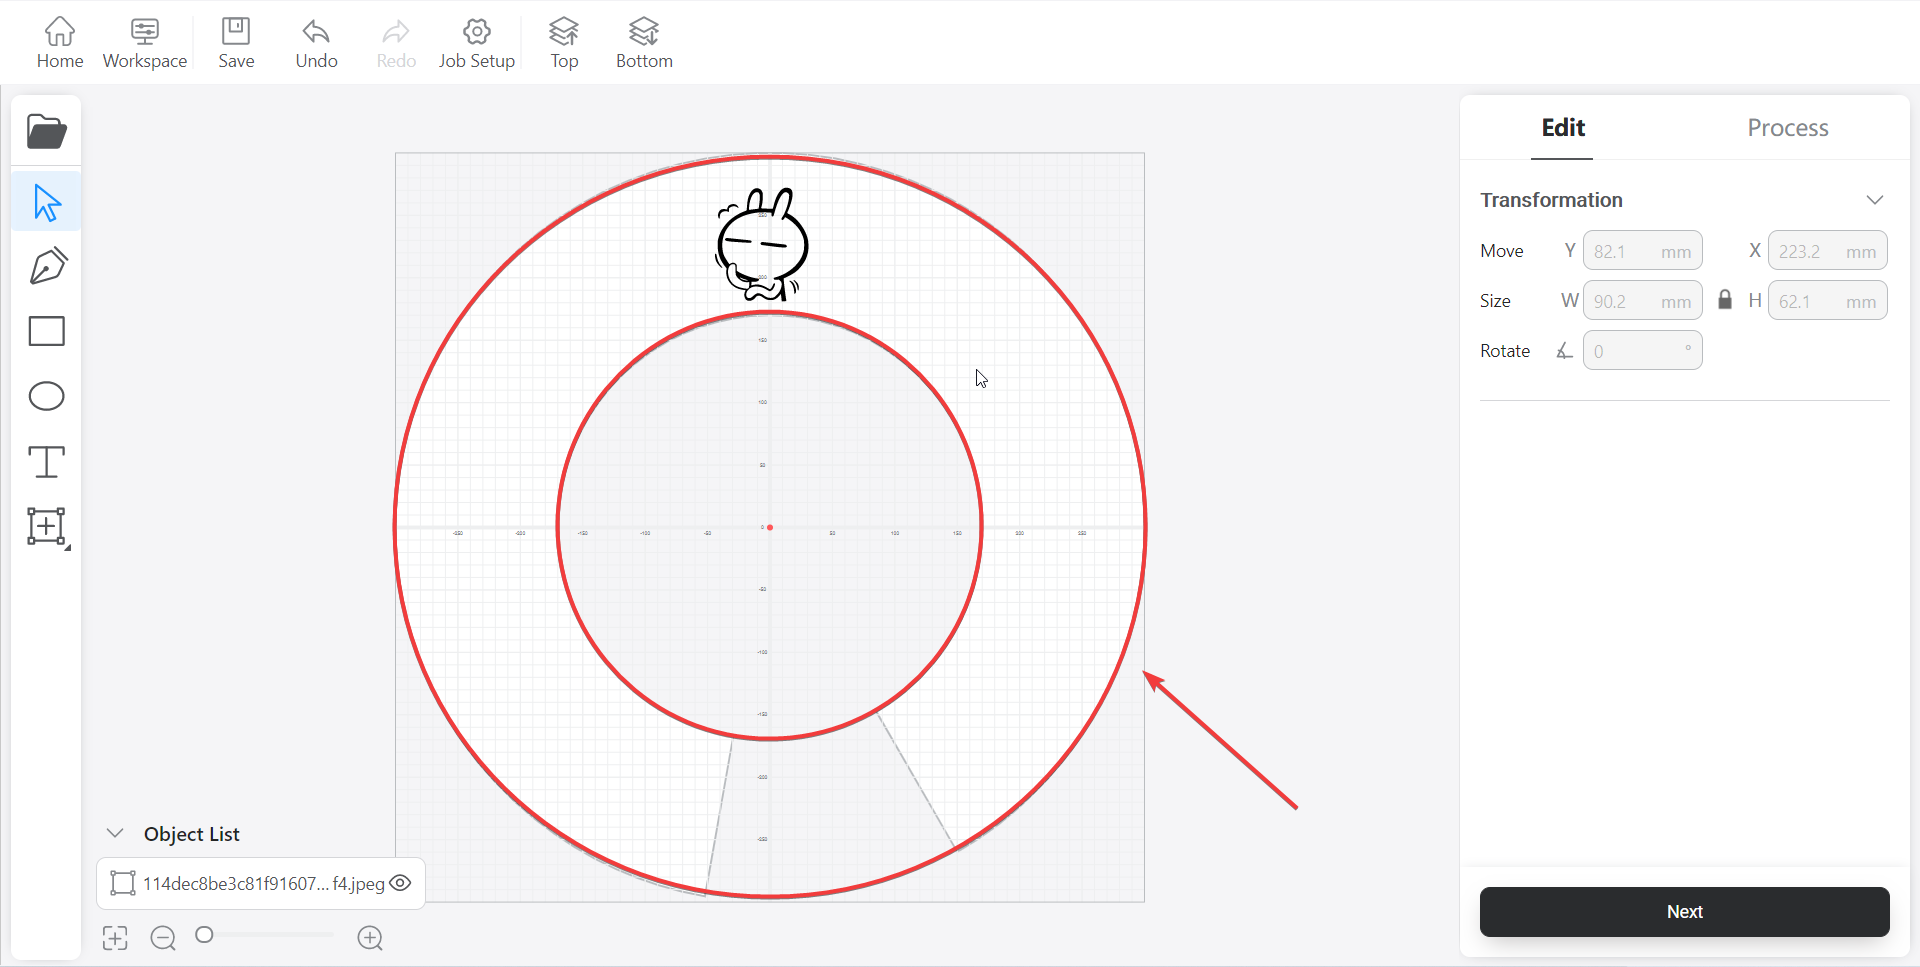
After confirming the image position, click "Next"
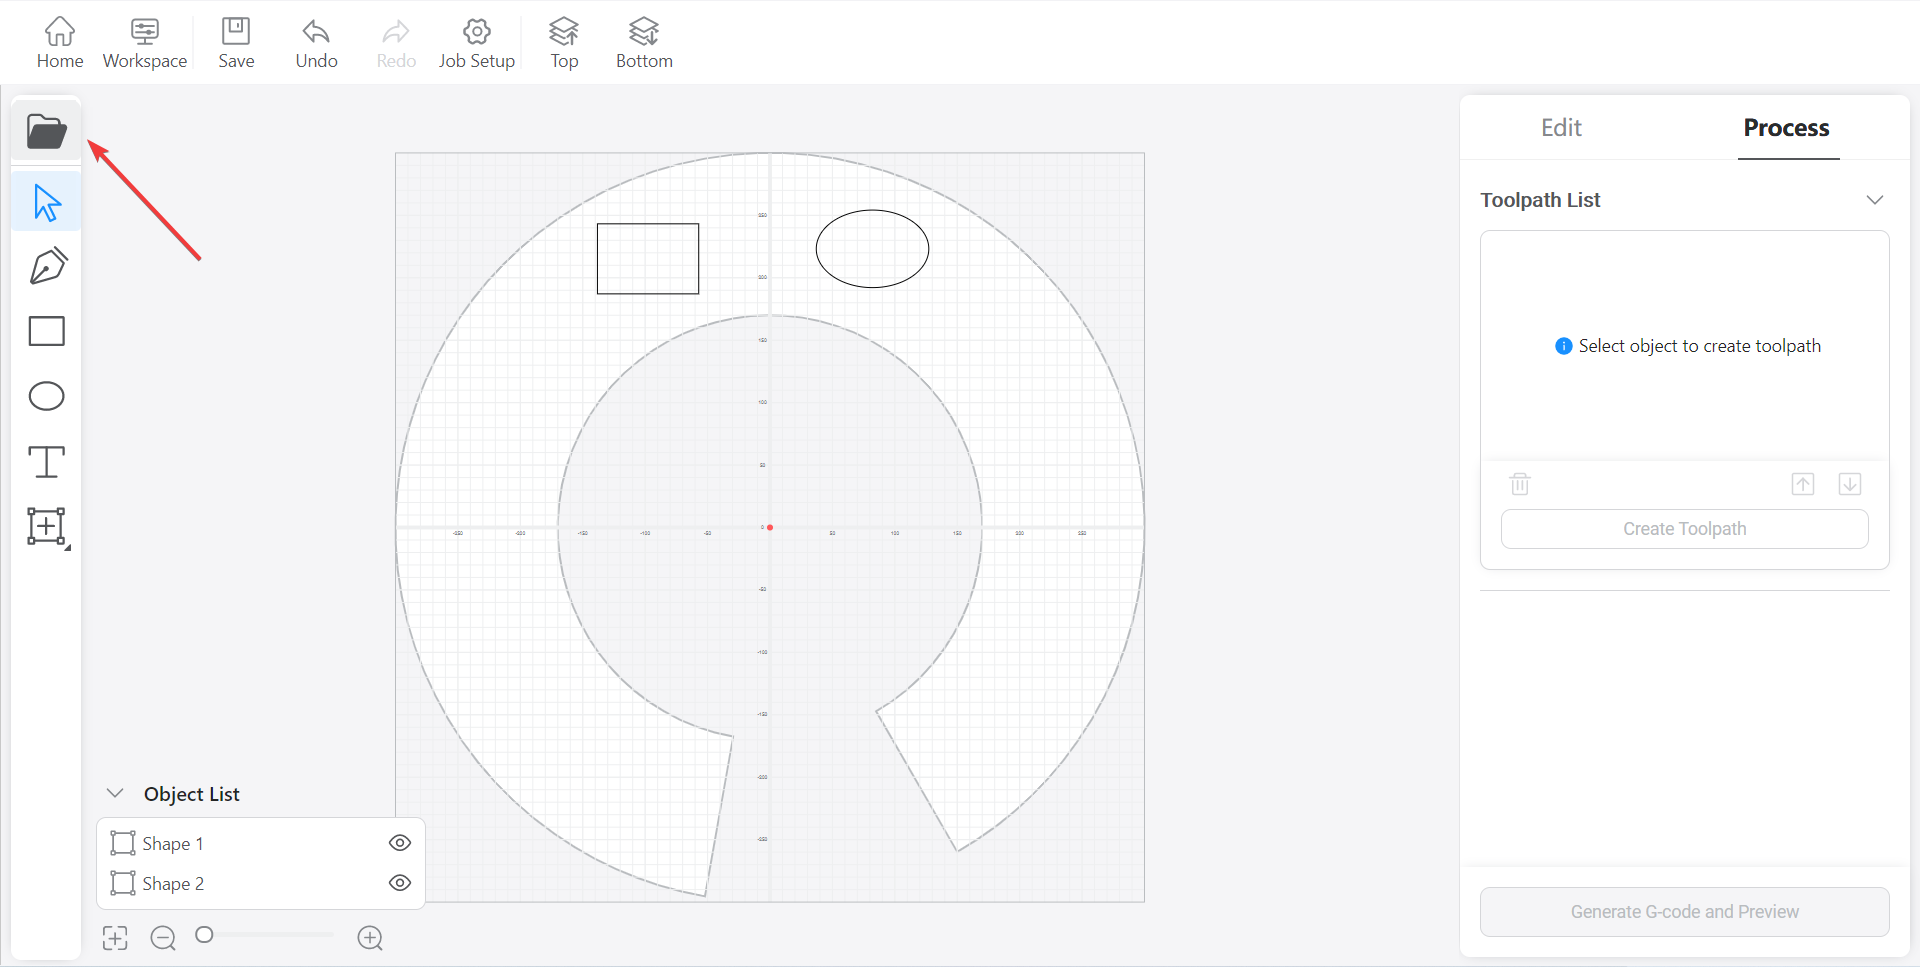
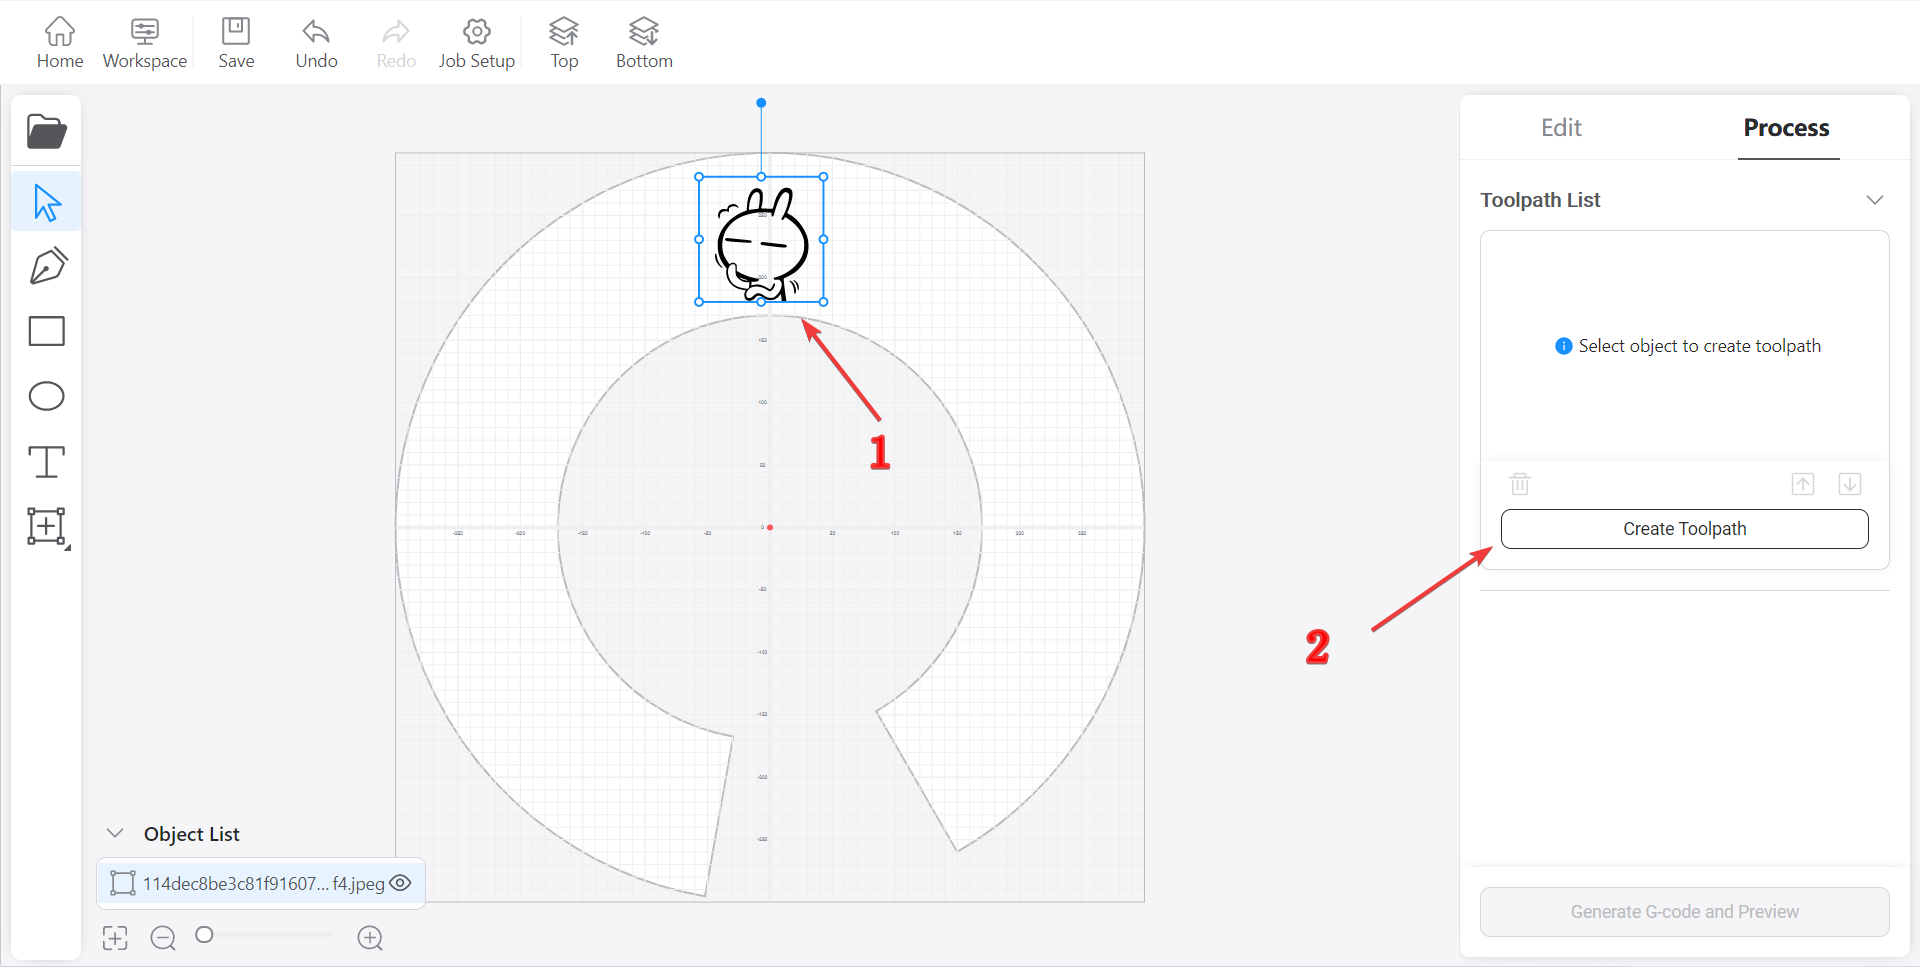
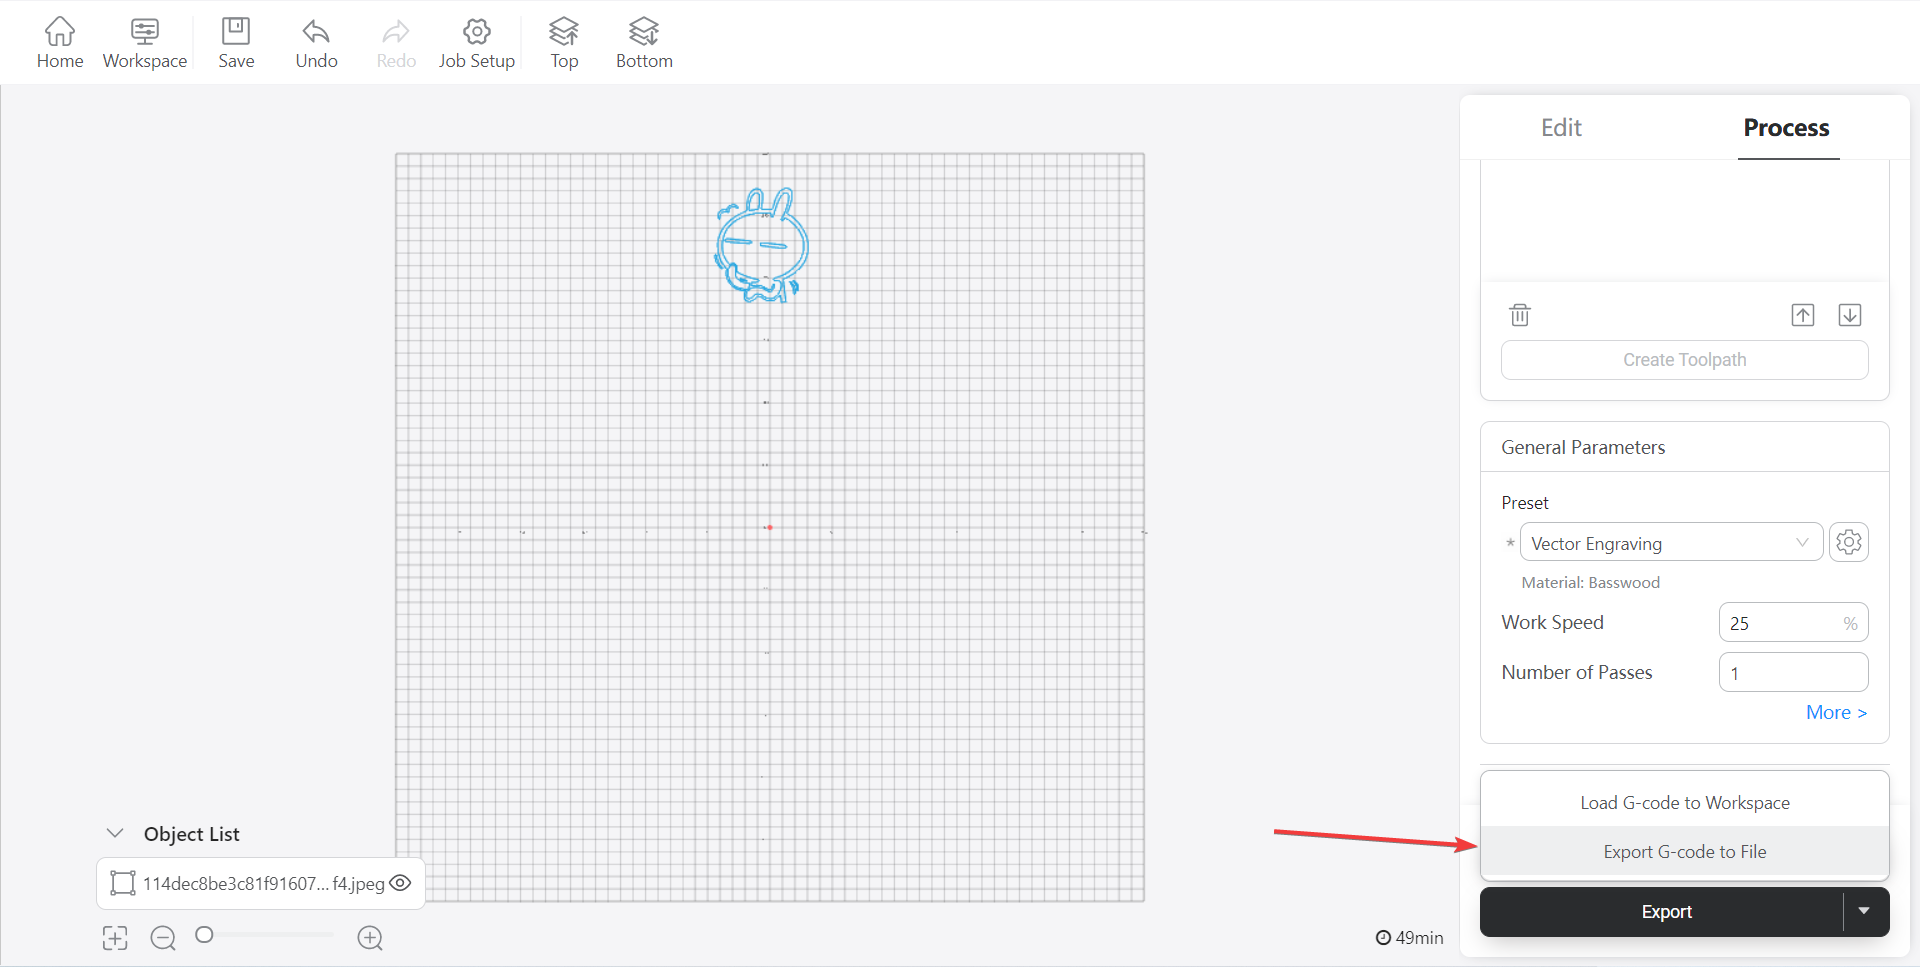
Select the image first, and then click "Create Toolpath"
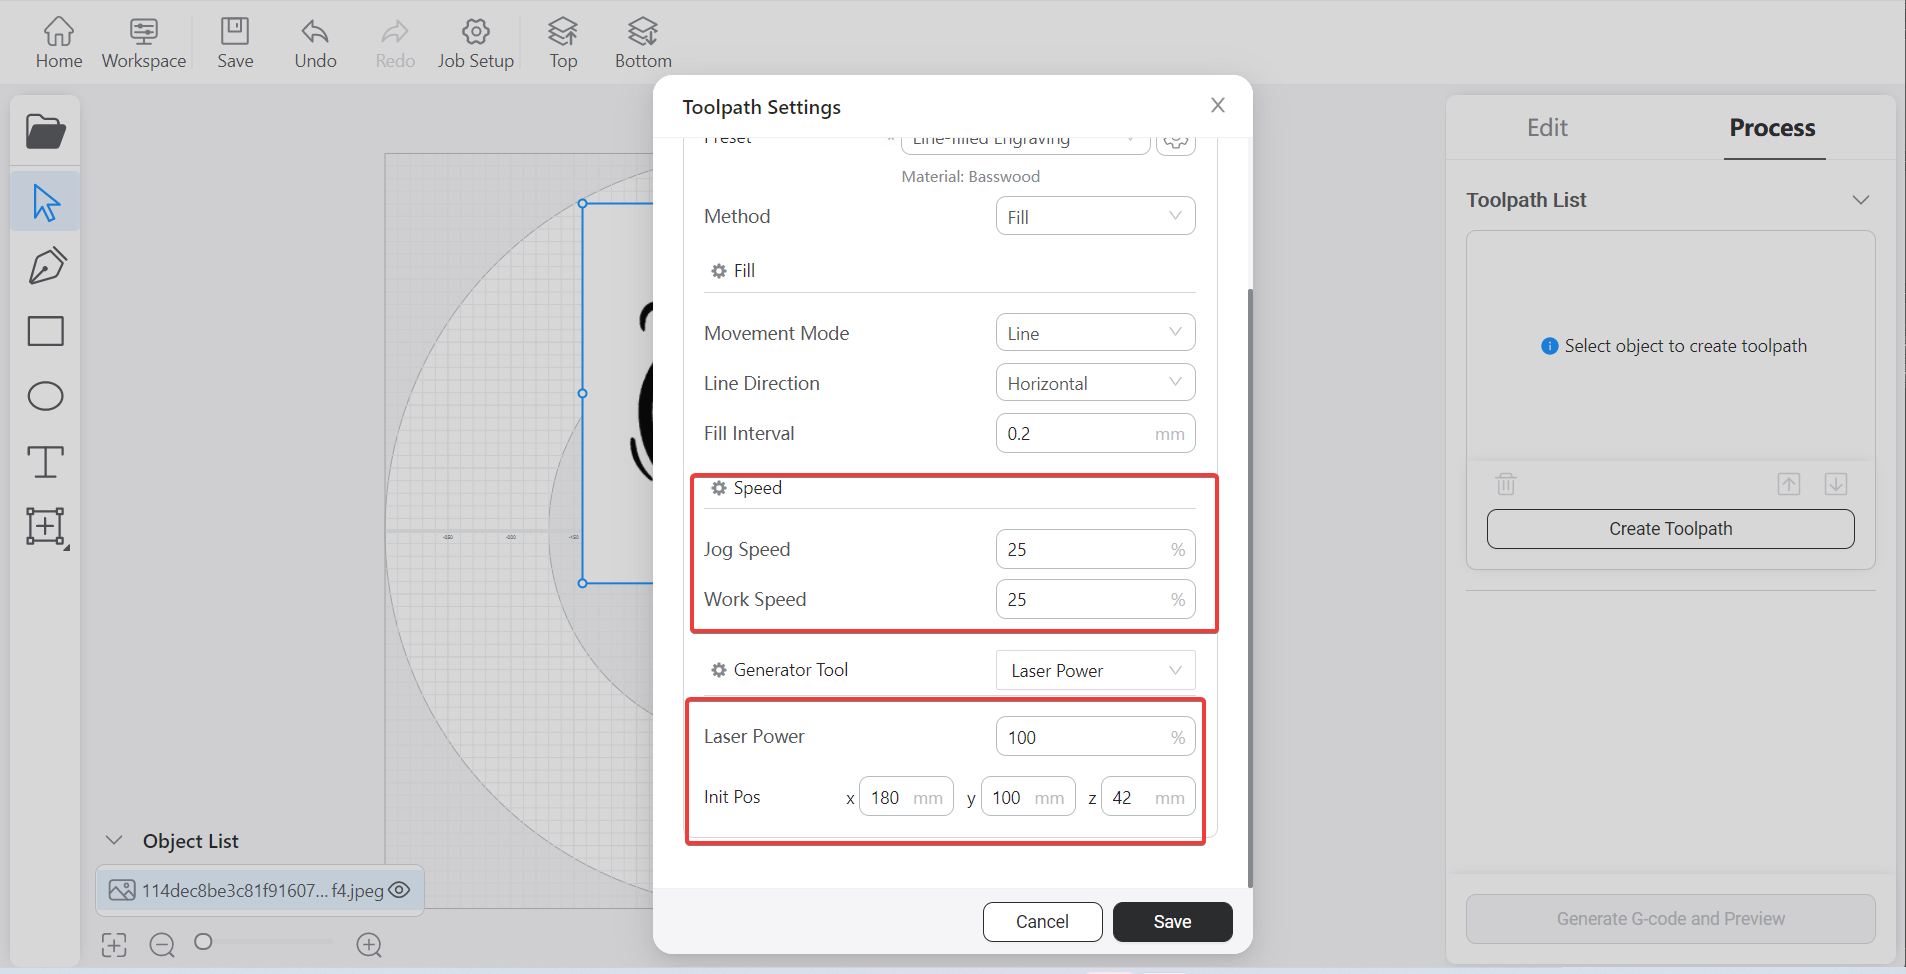
Input speed, power and initial point in sequence, and click "Save" after setting
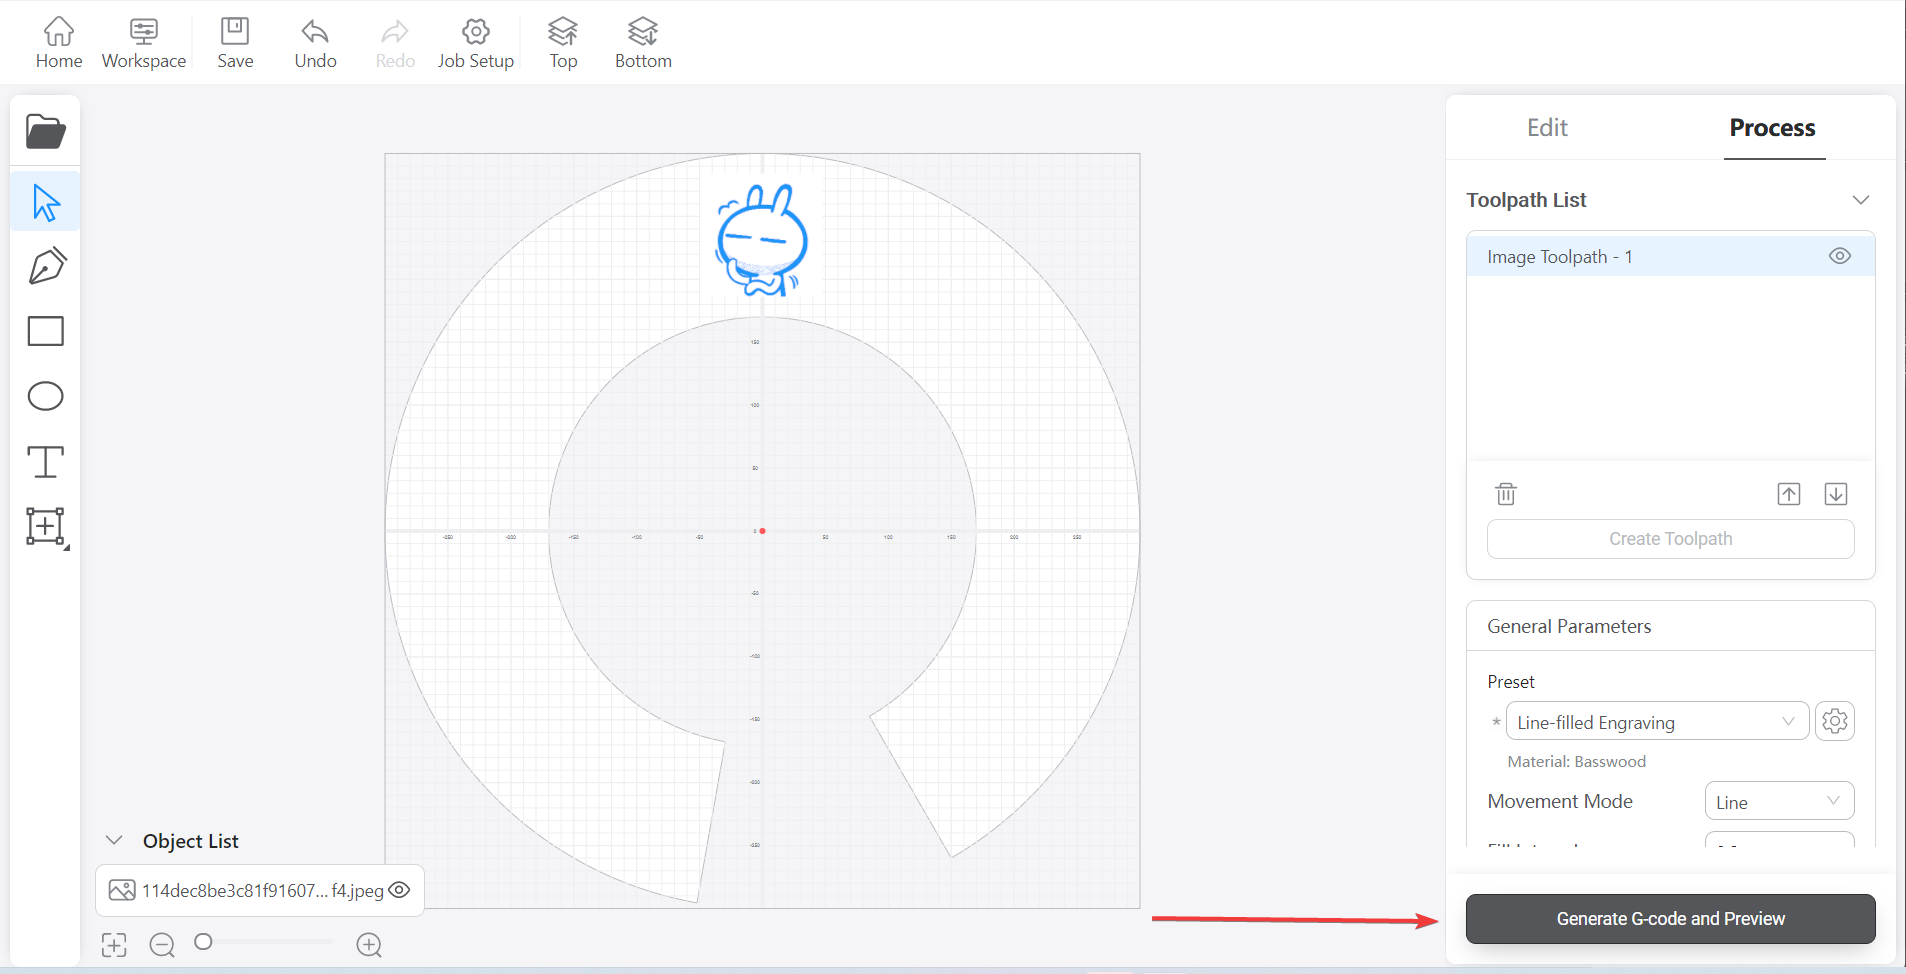
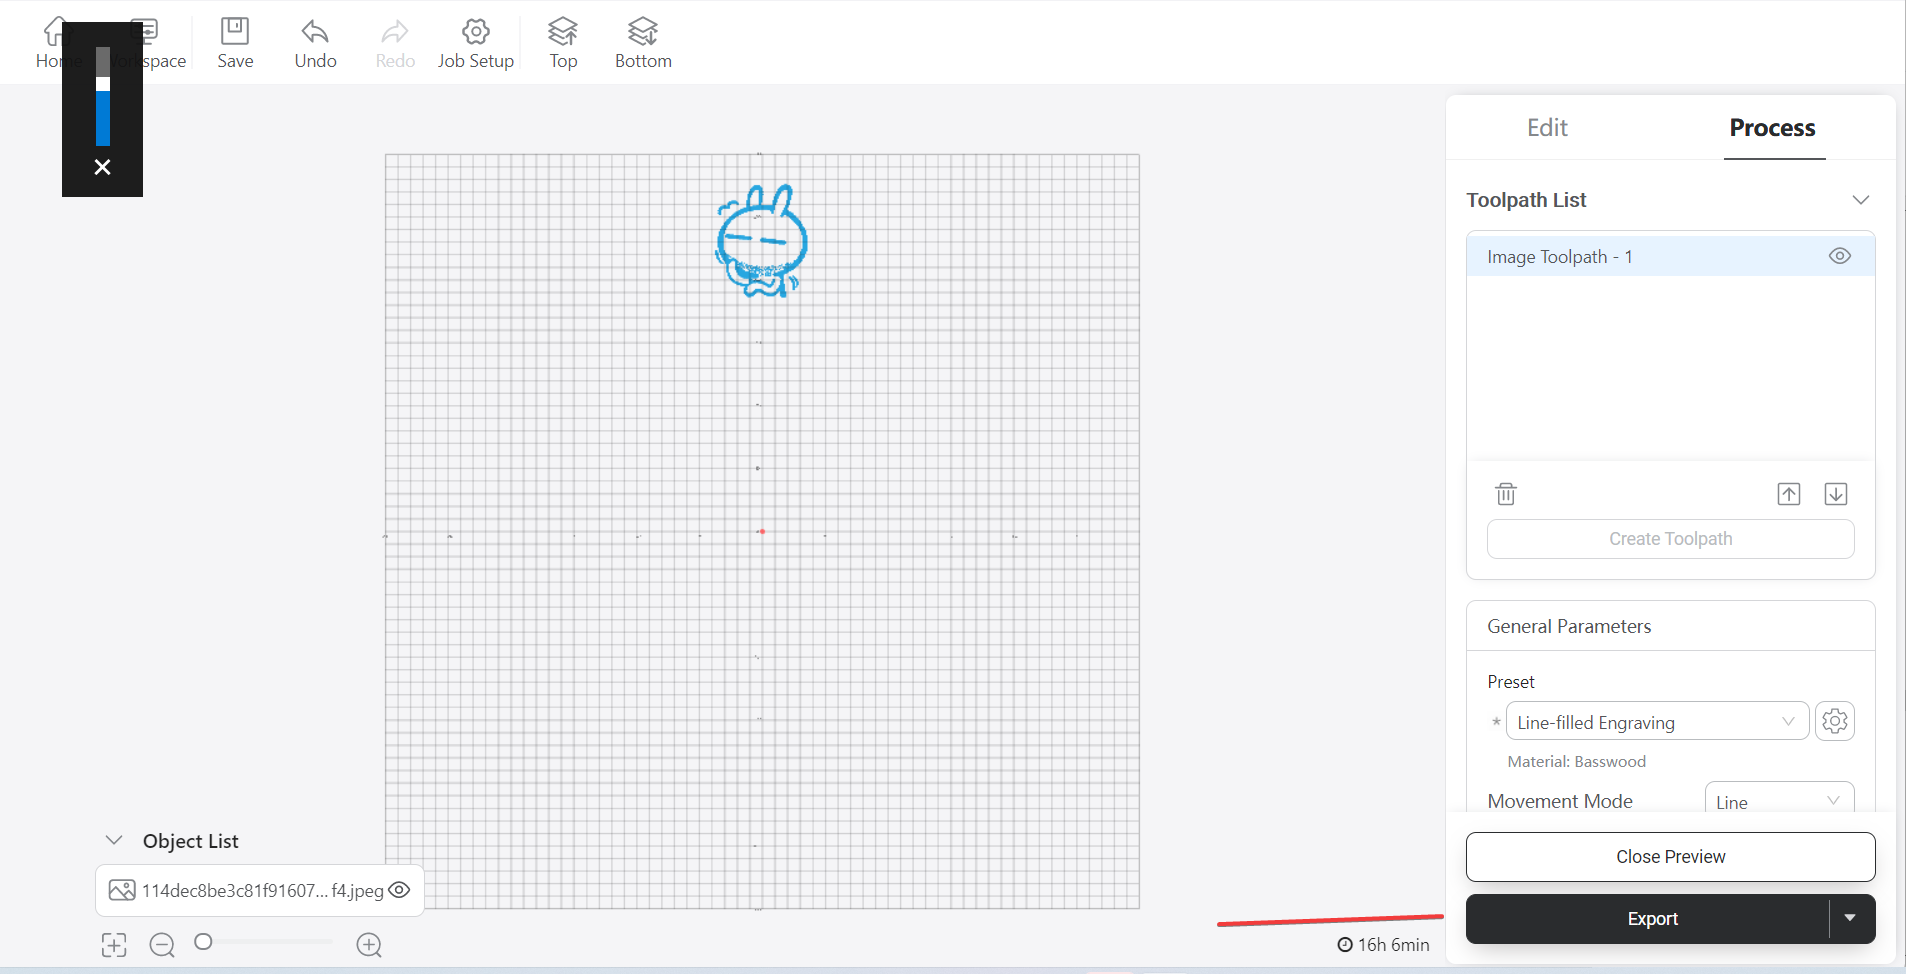
After the path is created,click “Generate G-code and Preview” and you can see the actual effect of the track
Click "Export" to save the generated track
5How to use the generated track
There are two ways to track: 1 Used directly in the Elephant Luban workspace 2 Play tracks using myBlockly
How to send tracks in Elephant Luban workspace
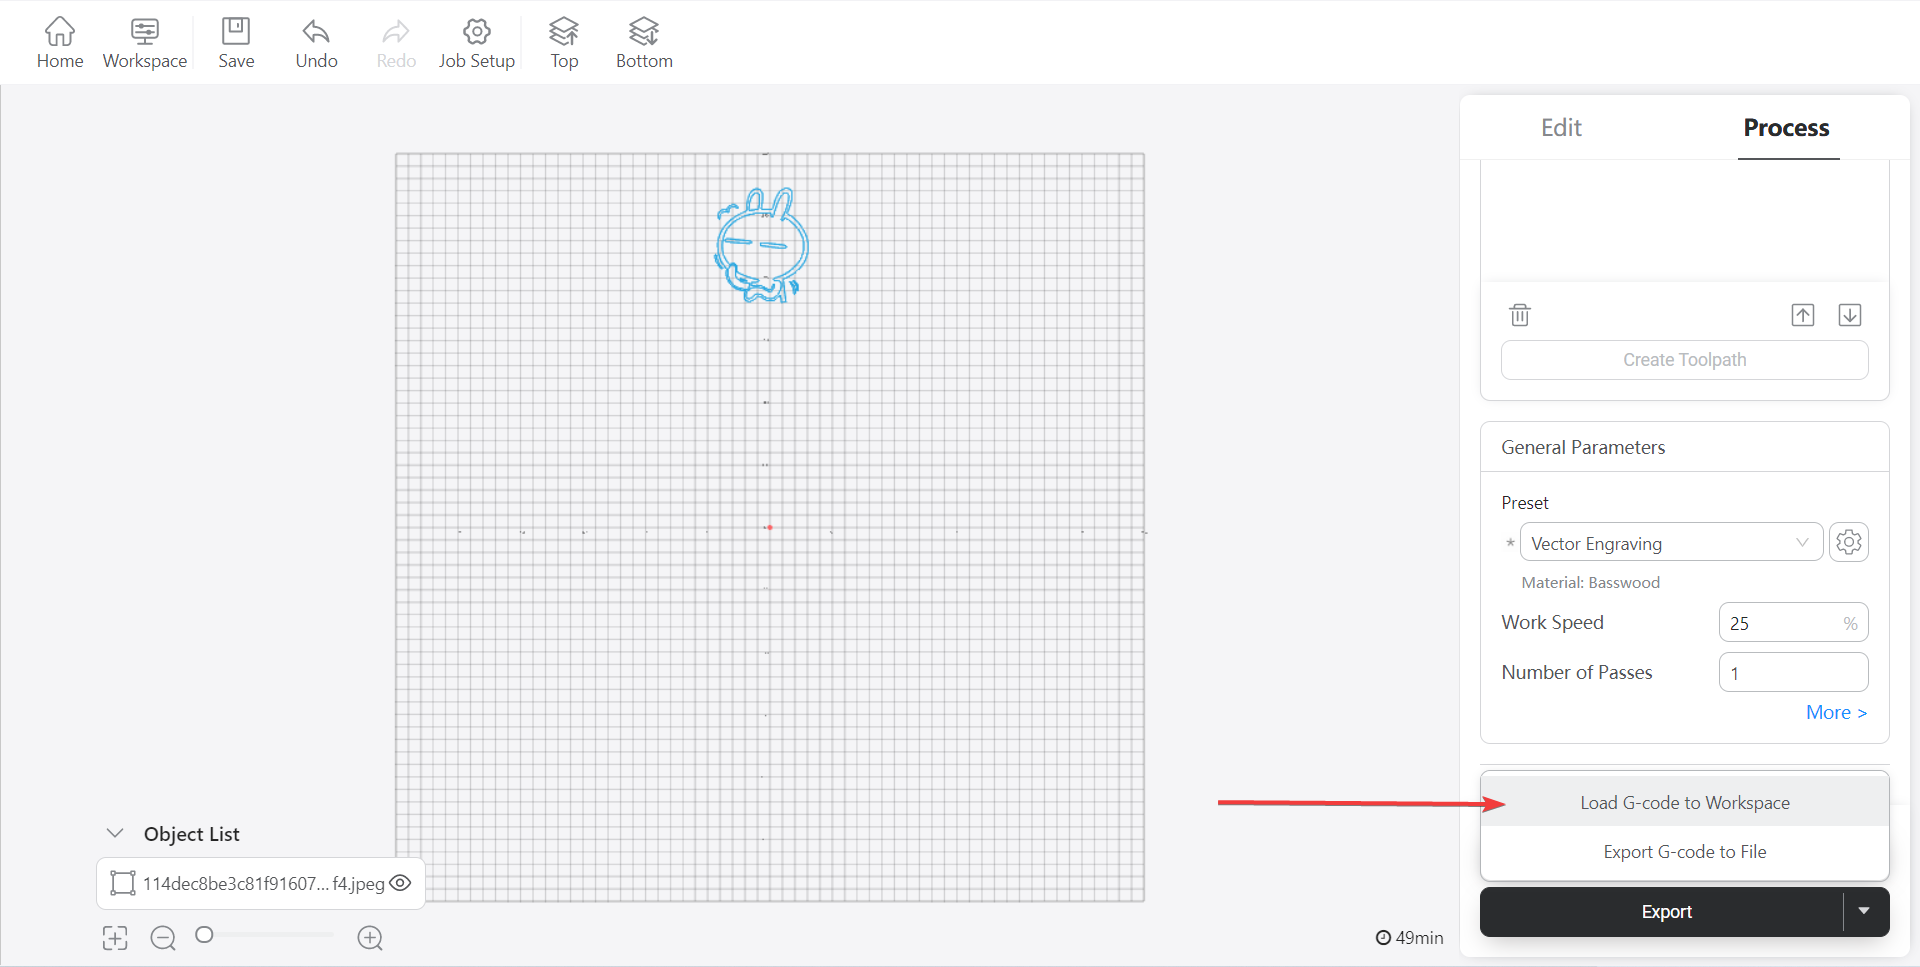
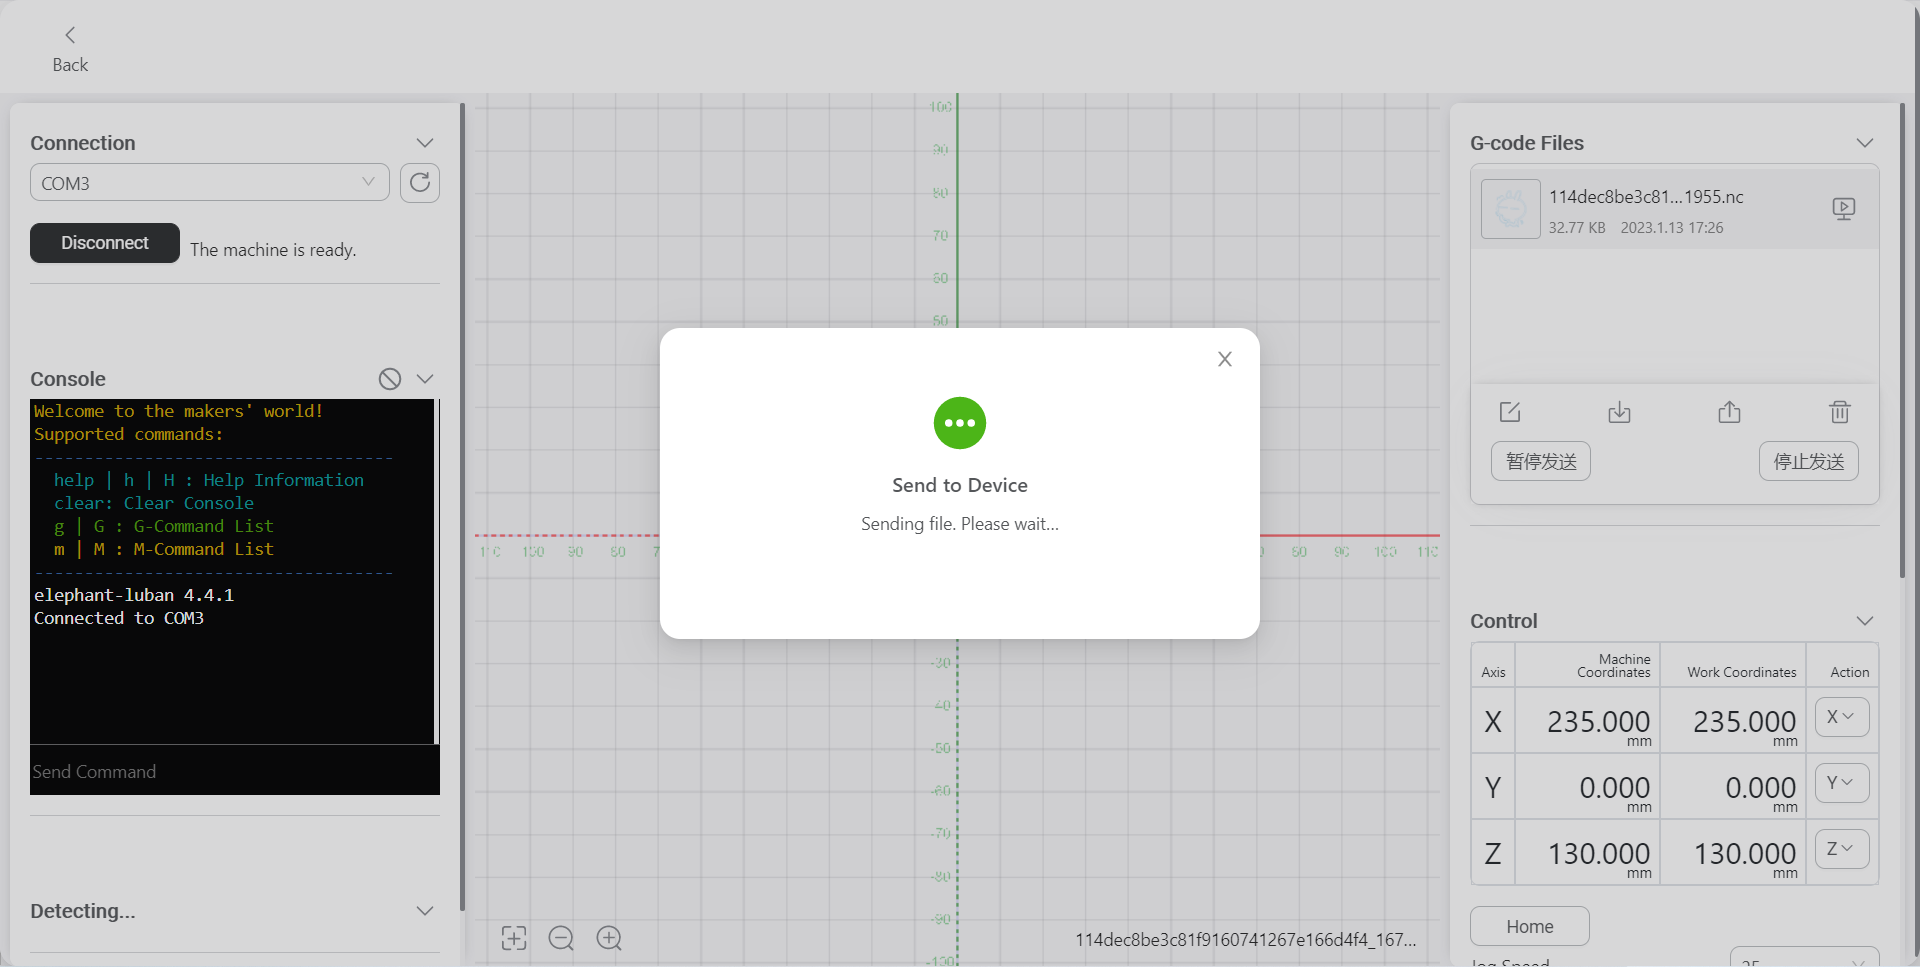
Click "Export" and select "Load G-code to Workspace"
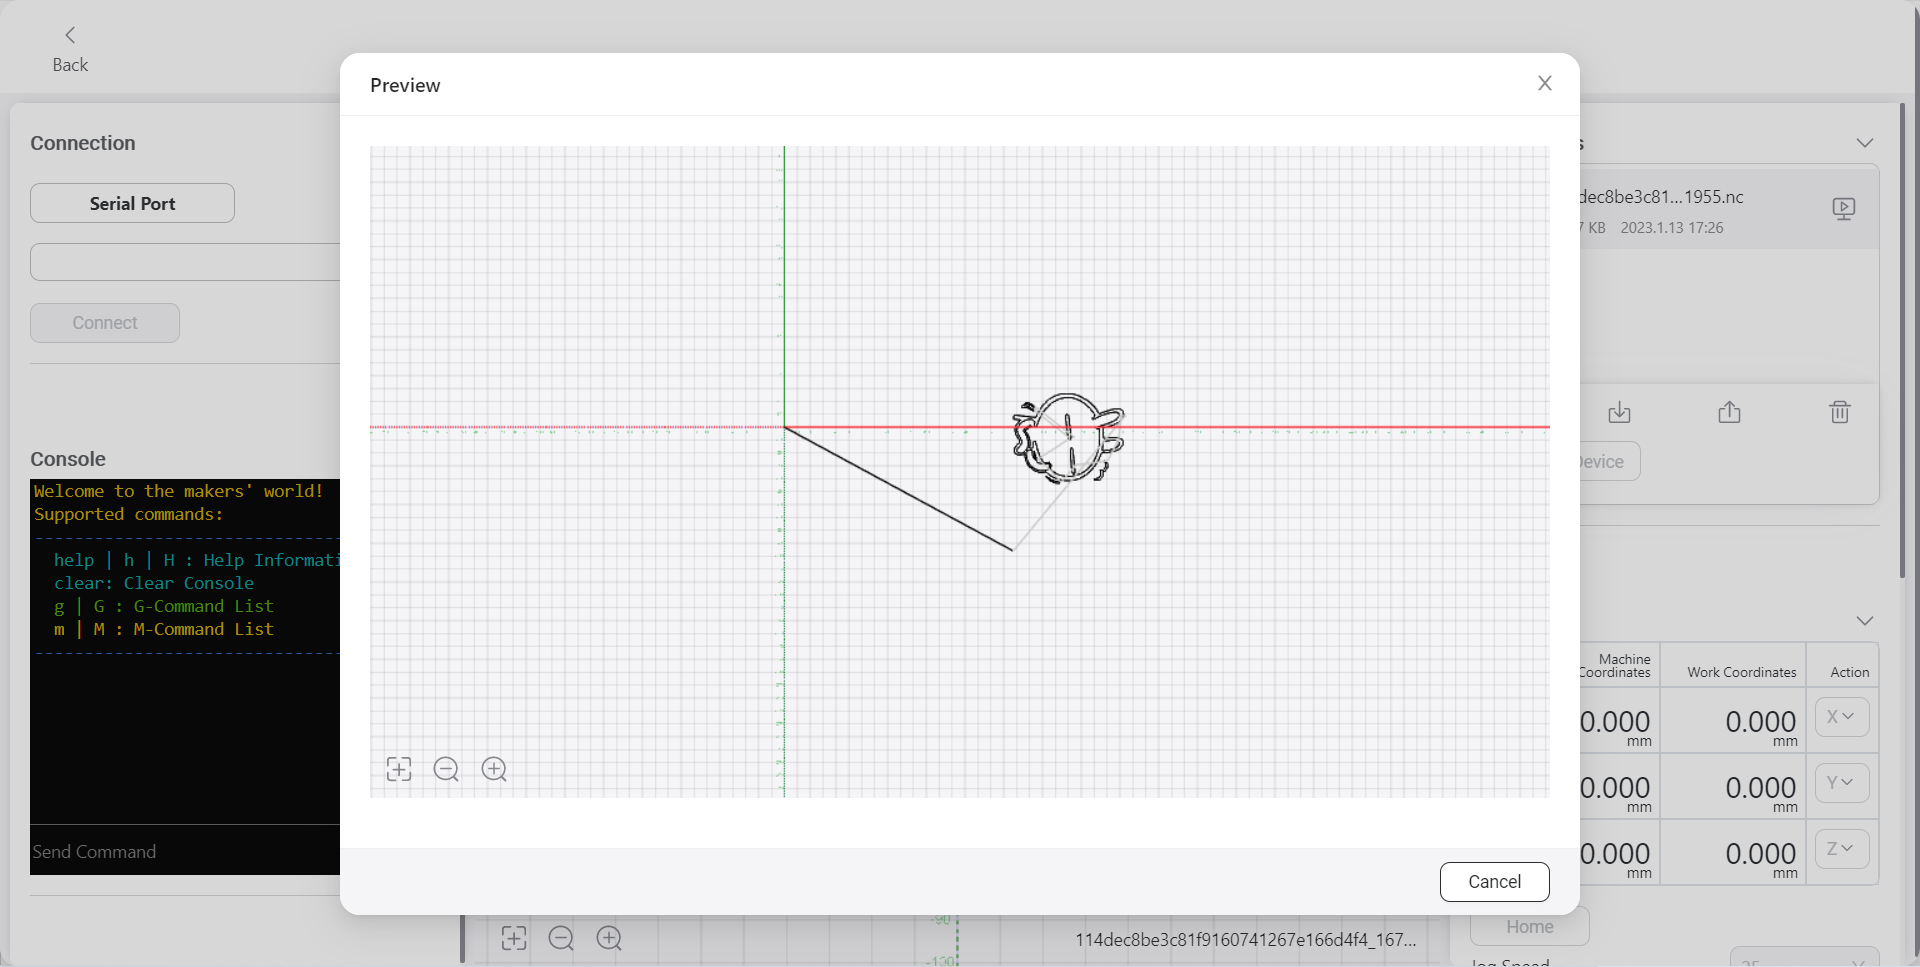
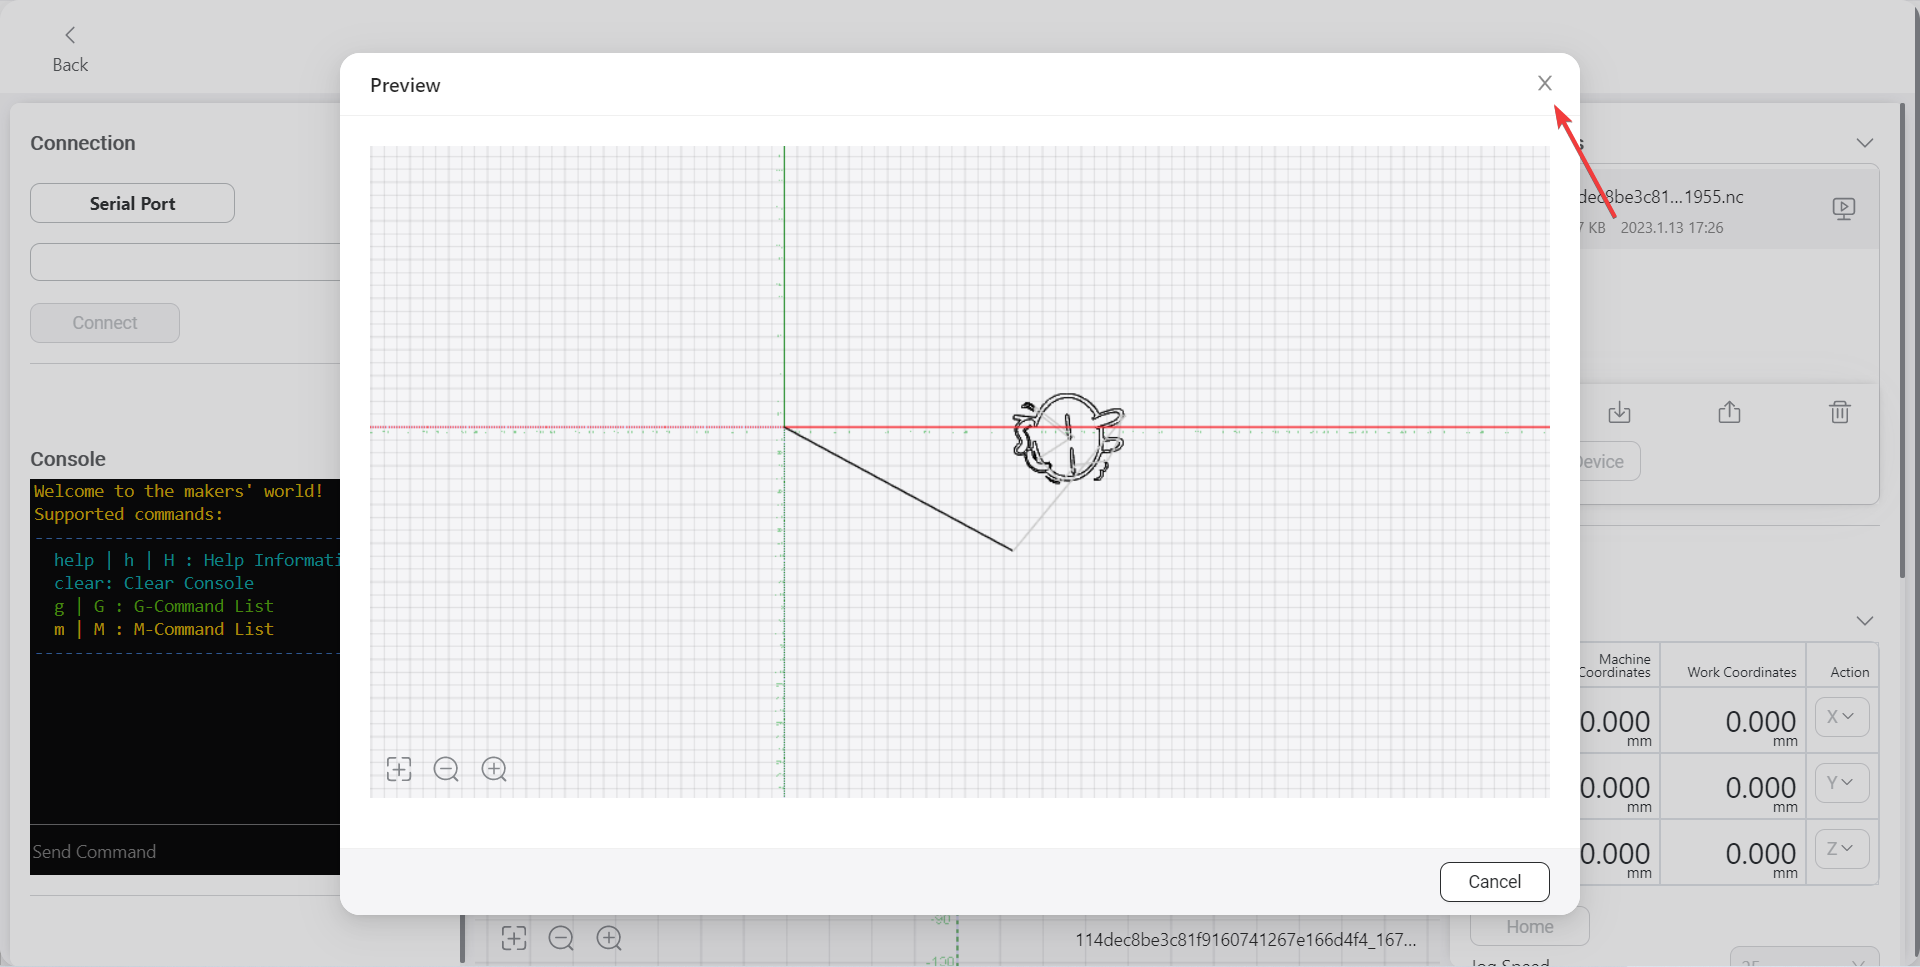
Enter the work area and see the actual effect of the track. Click "X" to close the preview window
Select the corresponding serial port and click "Connect". After the connection is successful, you can see the prompt text next to the button
Click“Home”,let the machine adjust the joint to the zero position
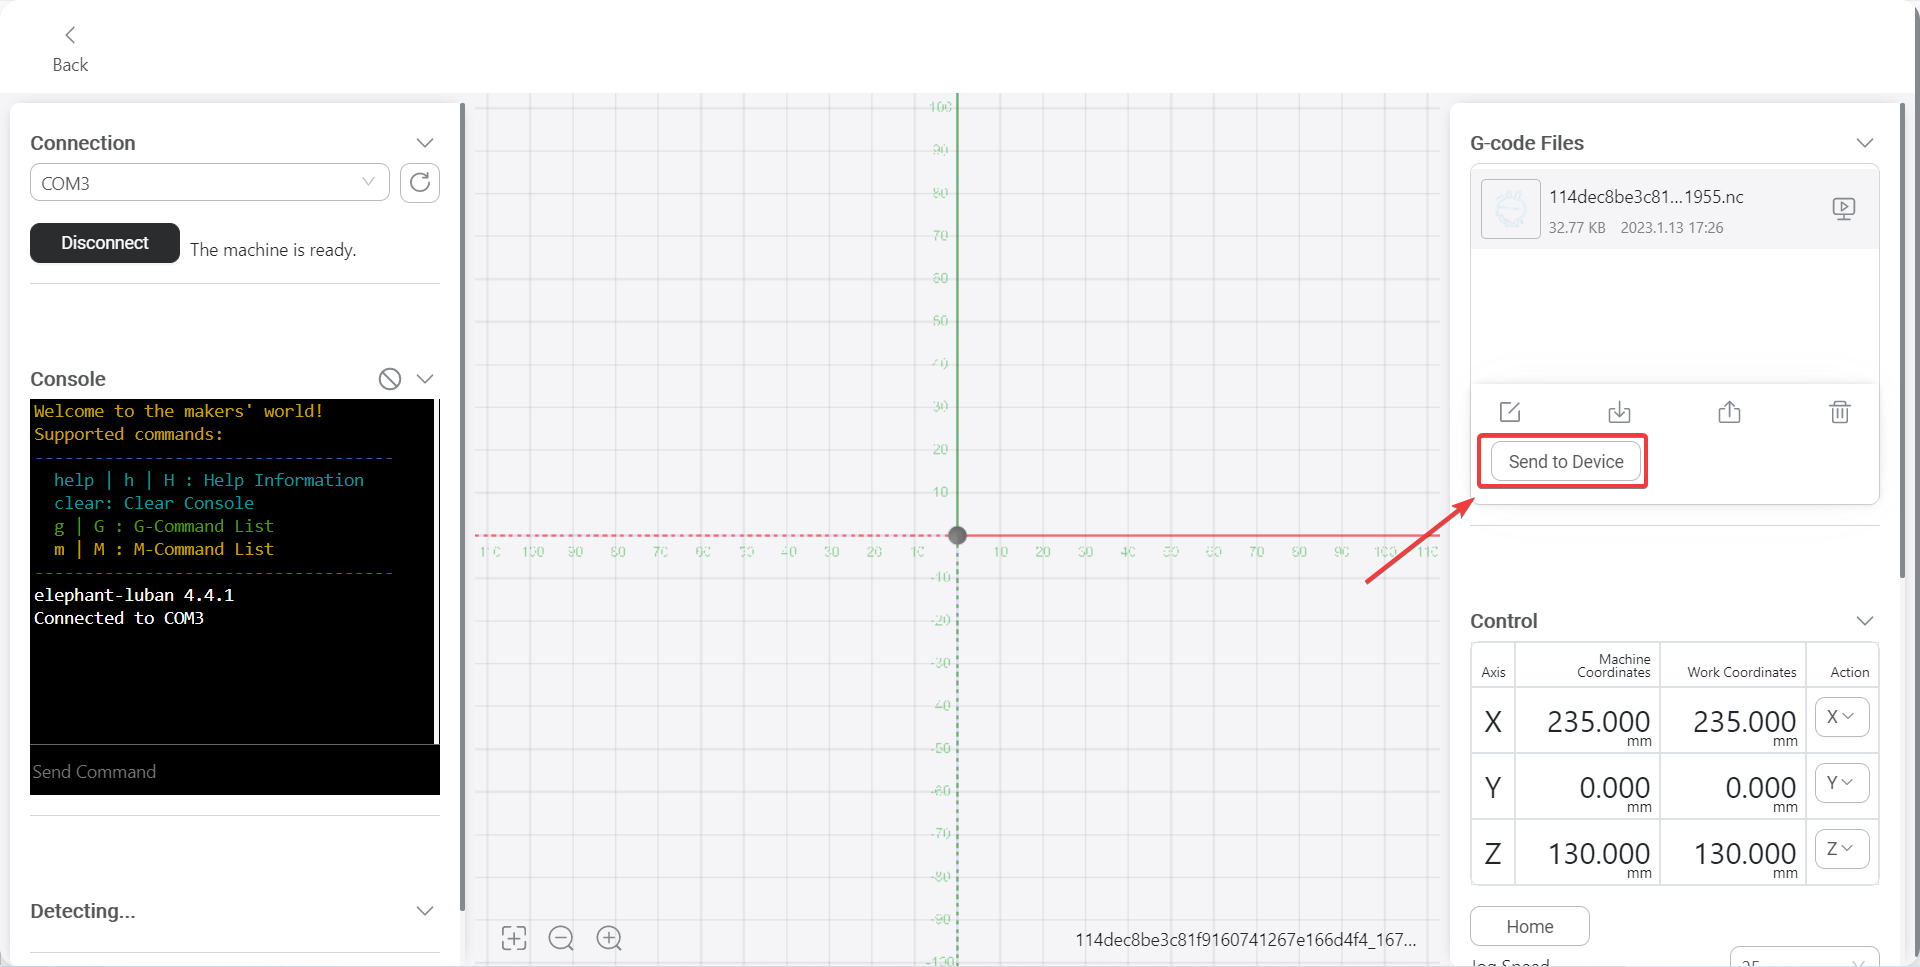
Click "Send to machine" to send the generated track to the machine and let the machine start writing and drawing
How to play tracks with myBlockly
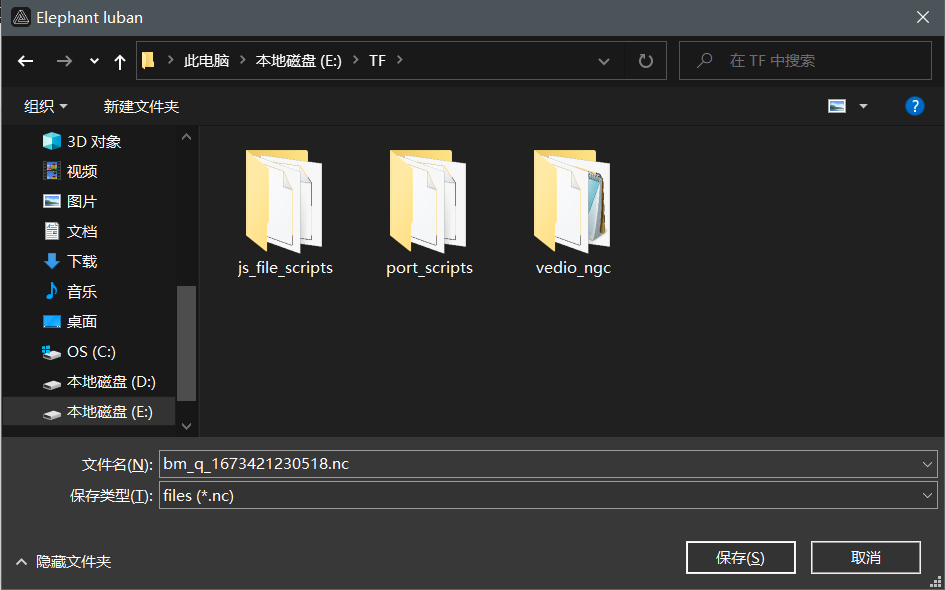
Click "Export" and select "Load G-code to Workspace"
Save nc file
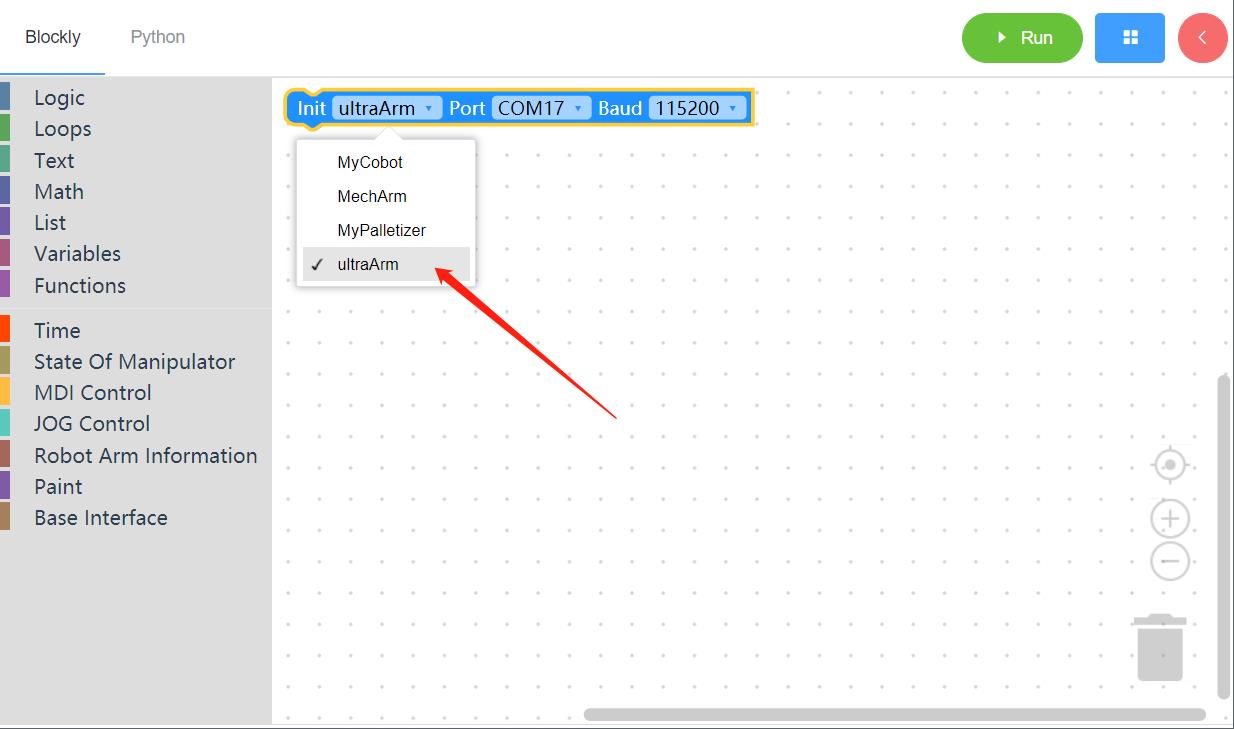
Double-click to open myBlockly

Switch machine type, select serial port and baud rate
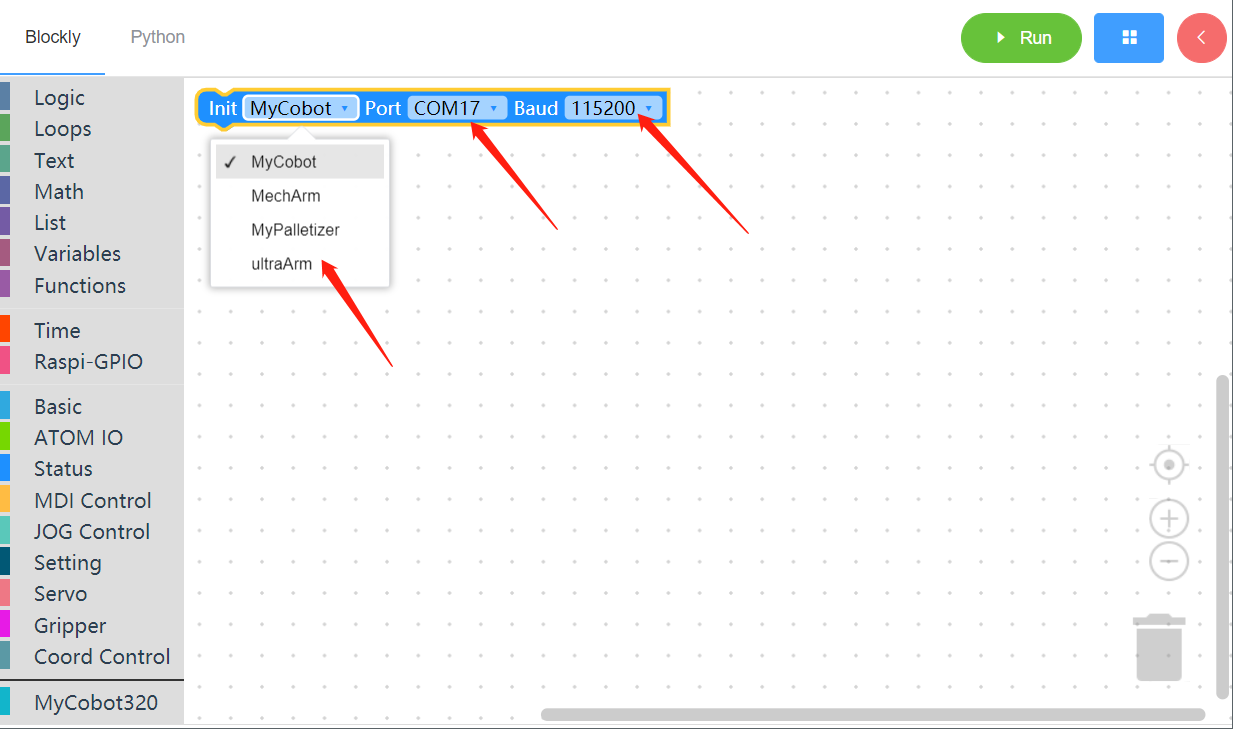
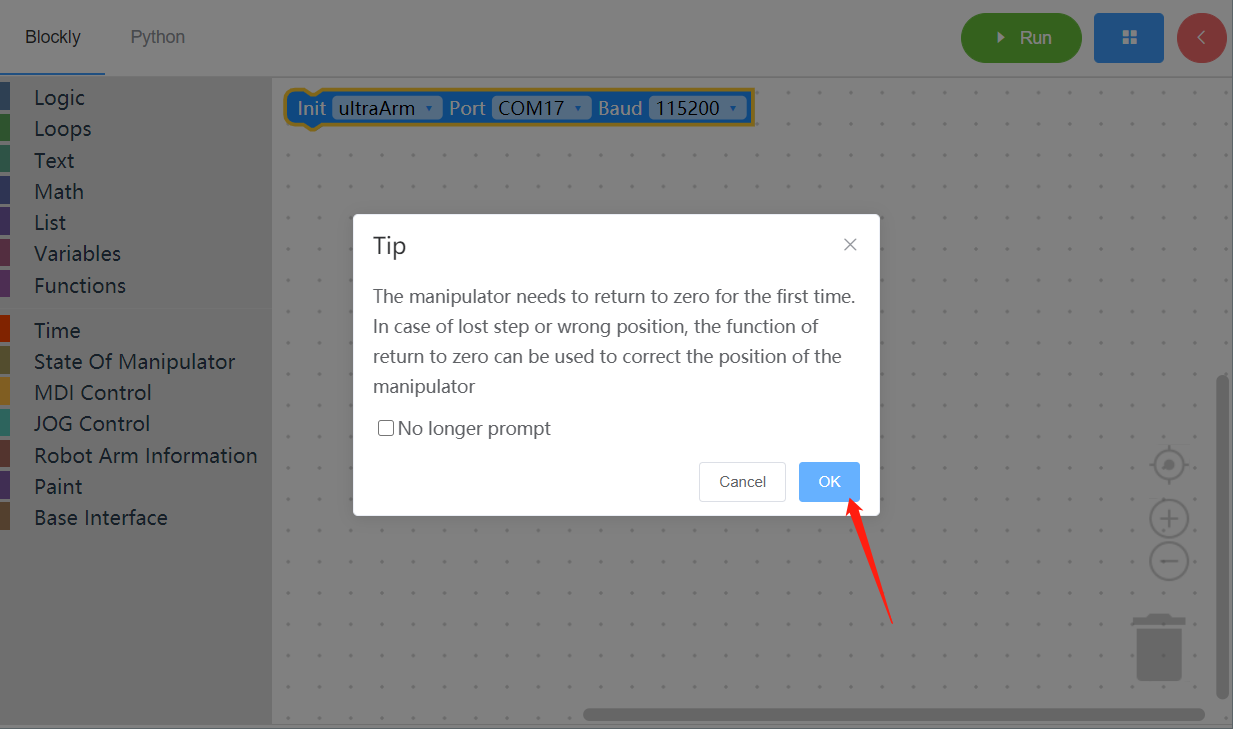
After switching the machine type, there will be a prompt pop-up window, which can be closed directly
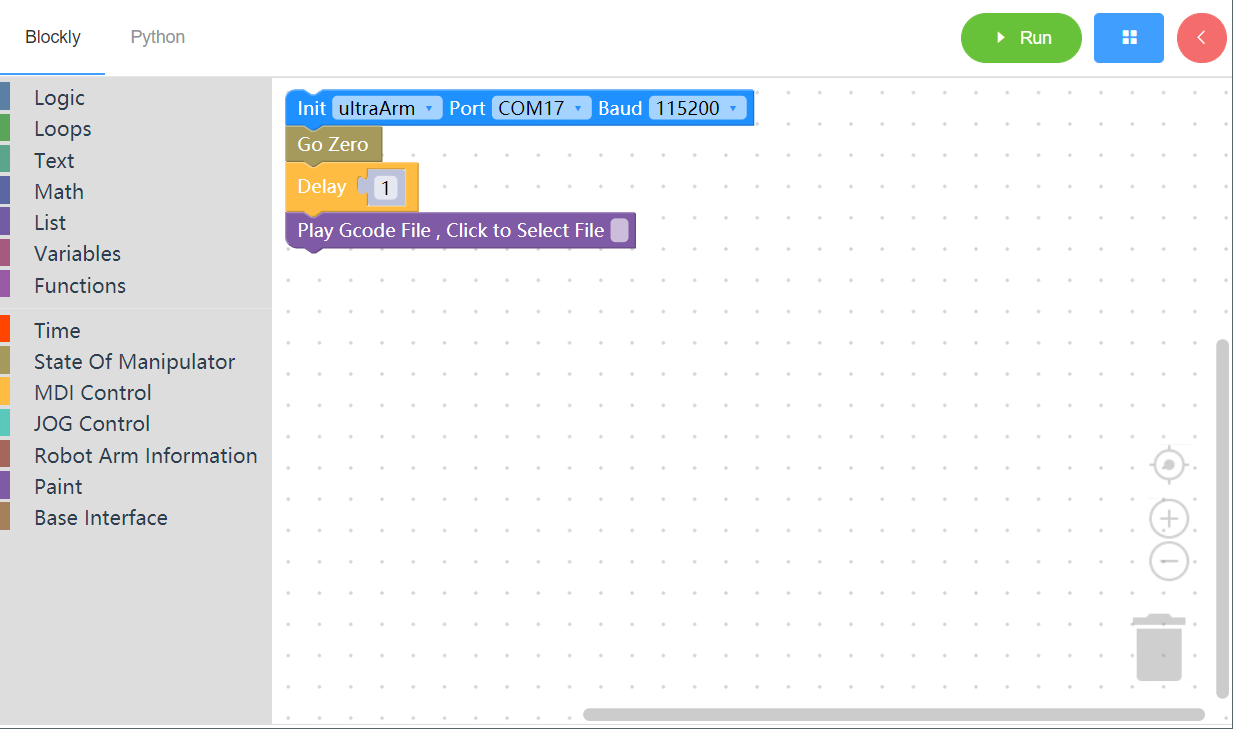
Drag the building block for programming, as shown in the figure below
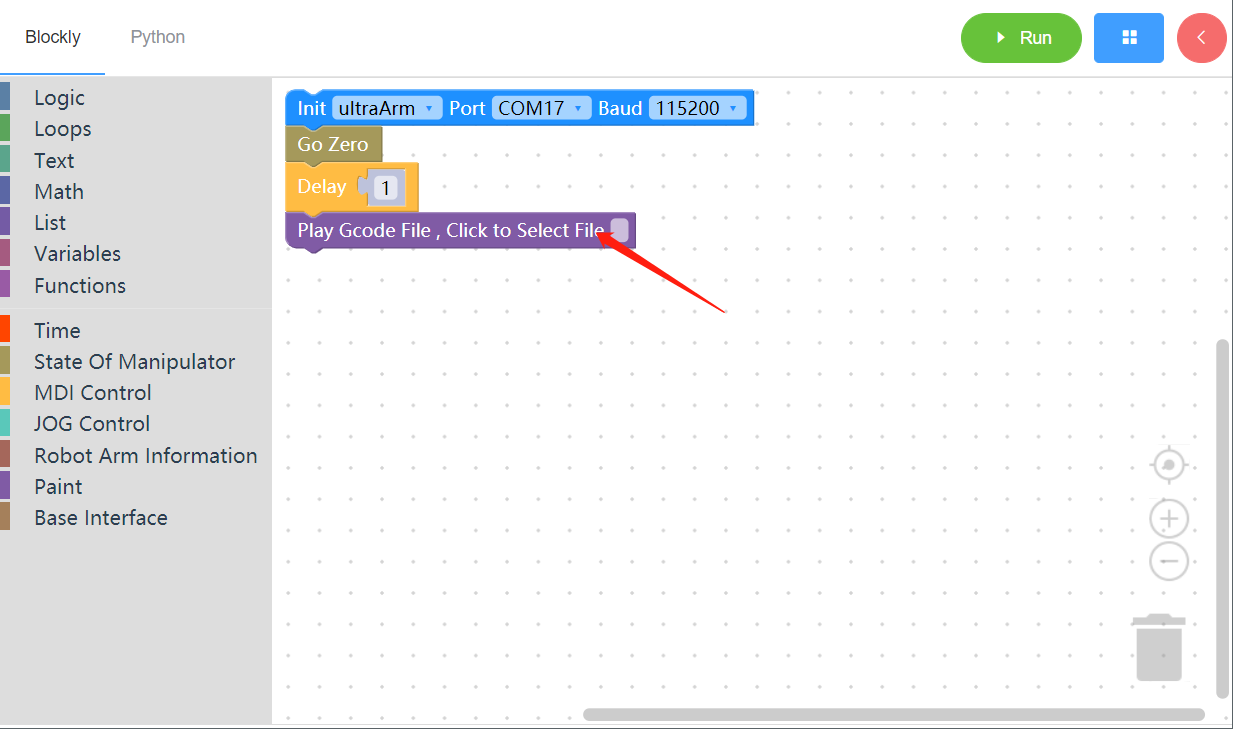
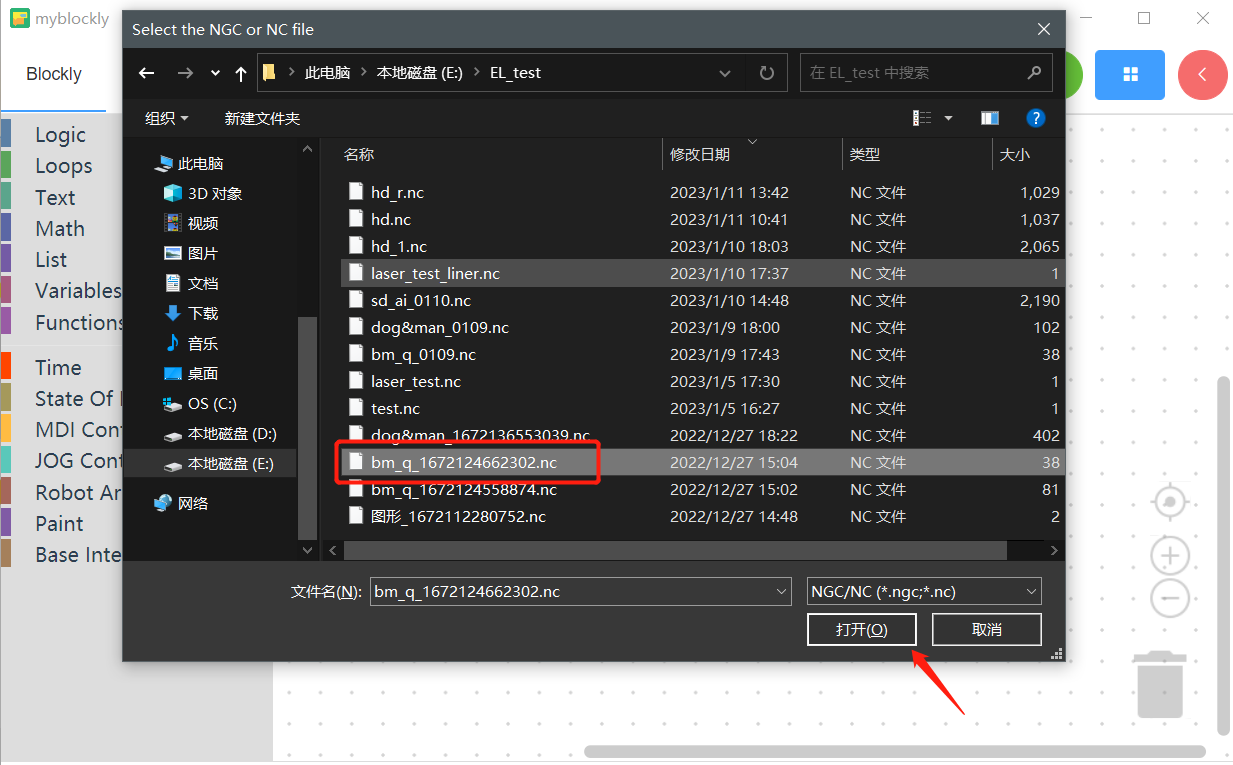
Click the building block, select the track file, and complete the programming
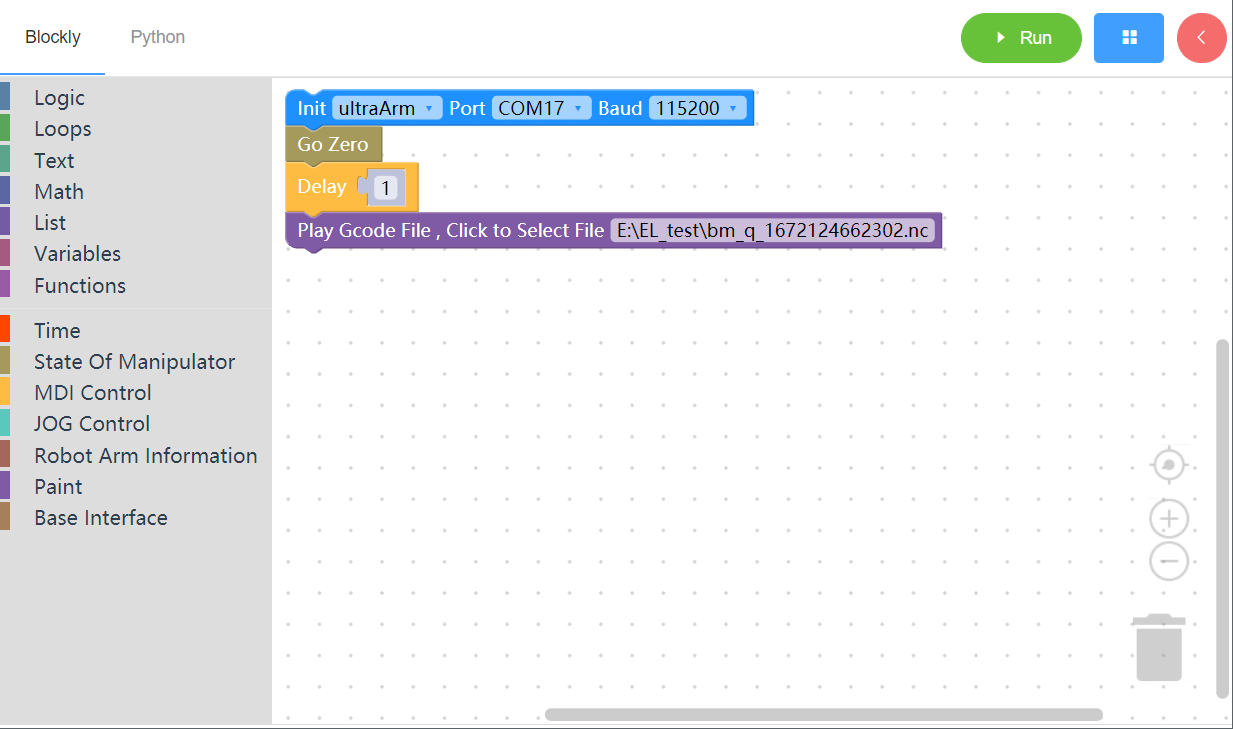
Click“Run”,and you can play the track