Visual Picking Kit Installation Tutorial
1.Acrylic board assembly
Putting 2 acrylic panels together
2.Camera Mount Assembly
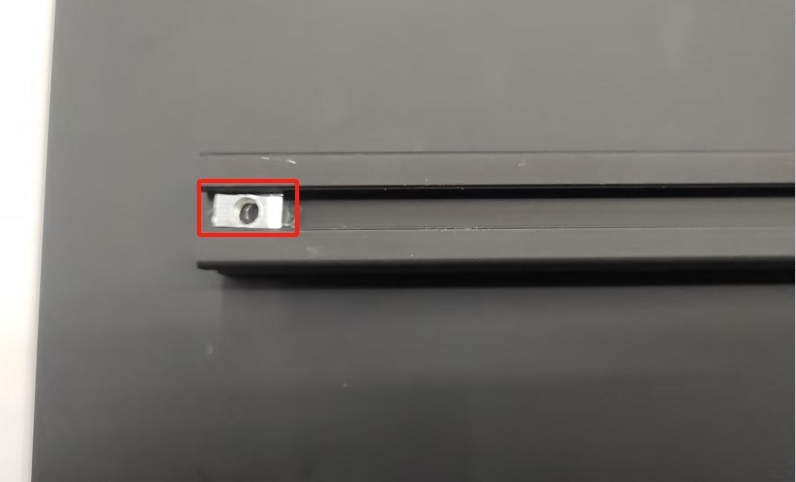
Start by placing the cap nut on the profile
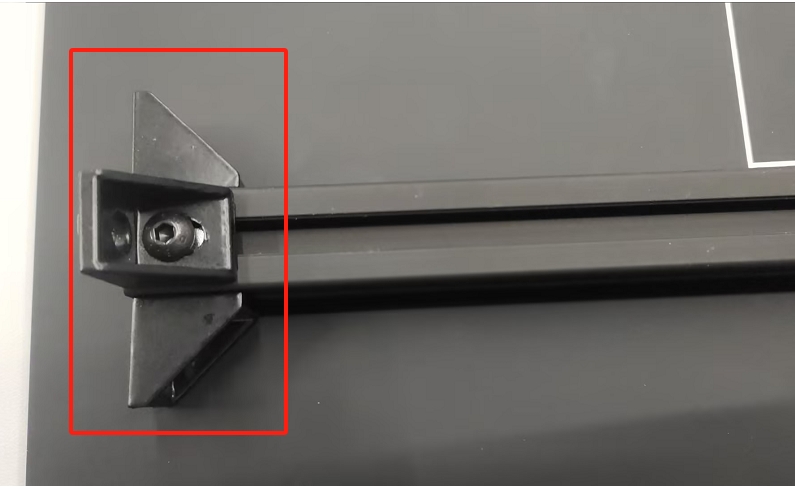
Then use the Allen to install the corner code to the longest profile, the corner code in accordance with the following figure, respectively, in the front of the profile, the left side, the right side of the lock, a total of 3 corner codes need to be installed
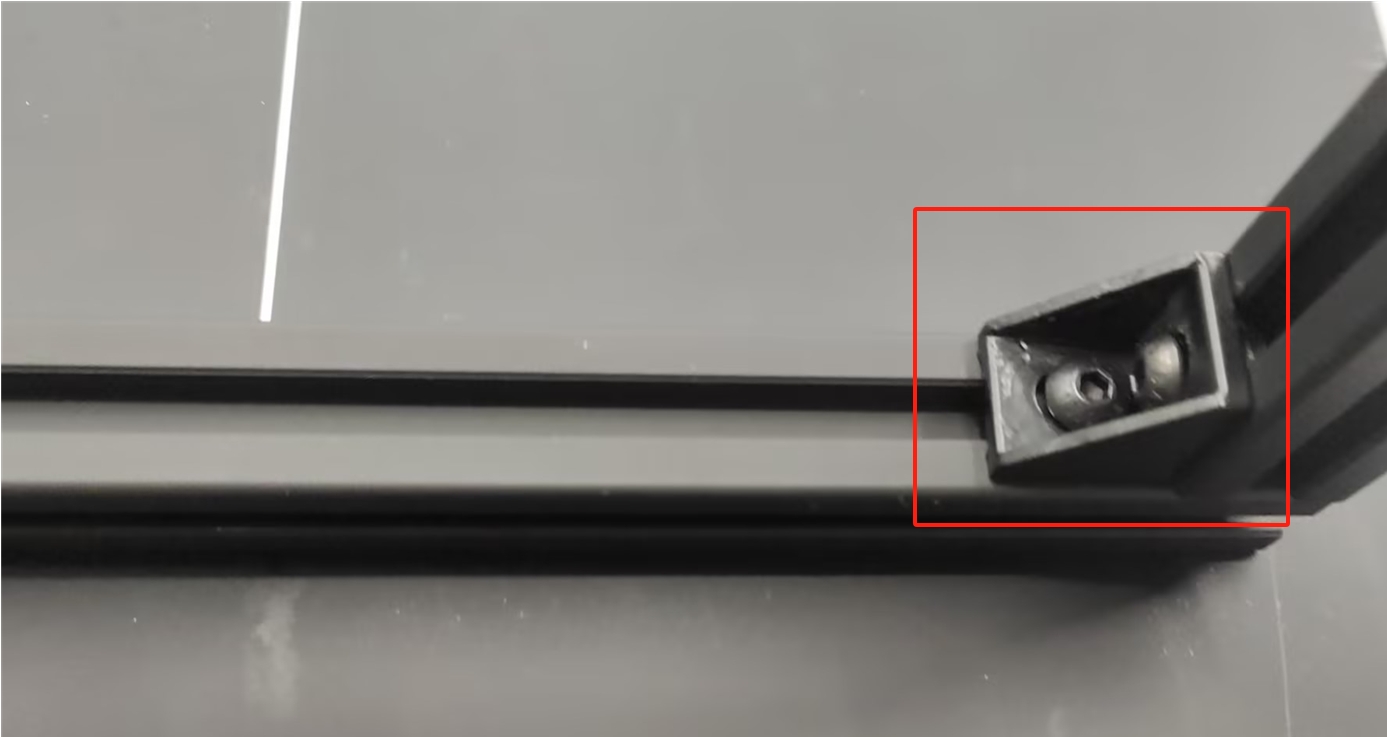
The 2 profiles are then spliced together using a corner code
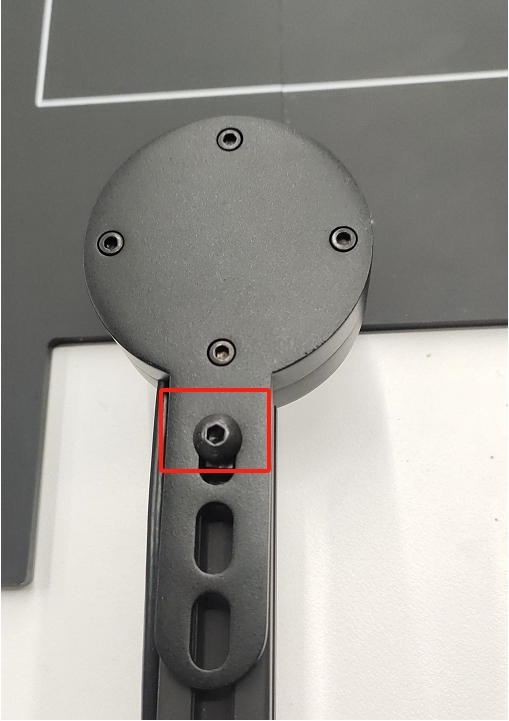
The camera is then fixed to the profile
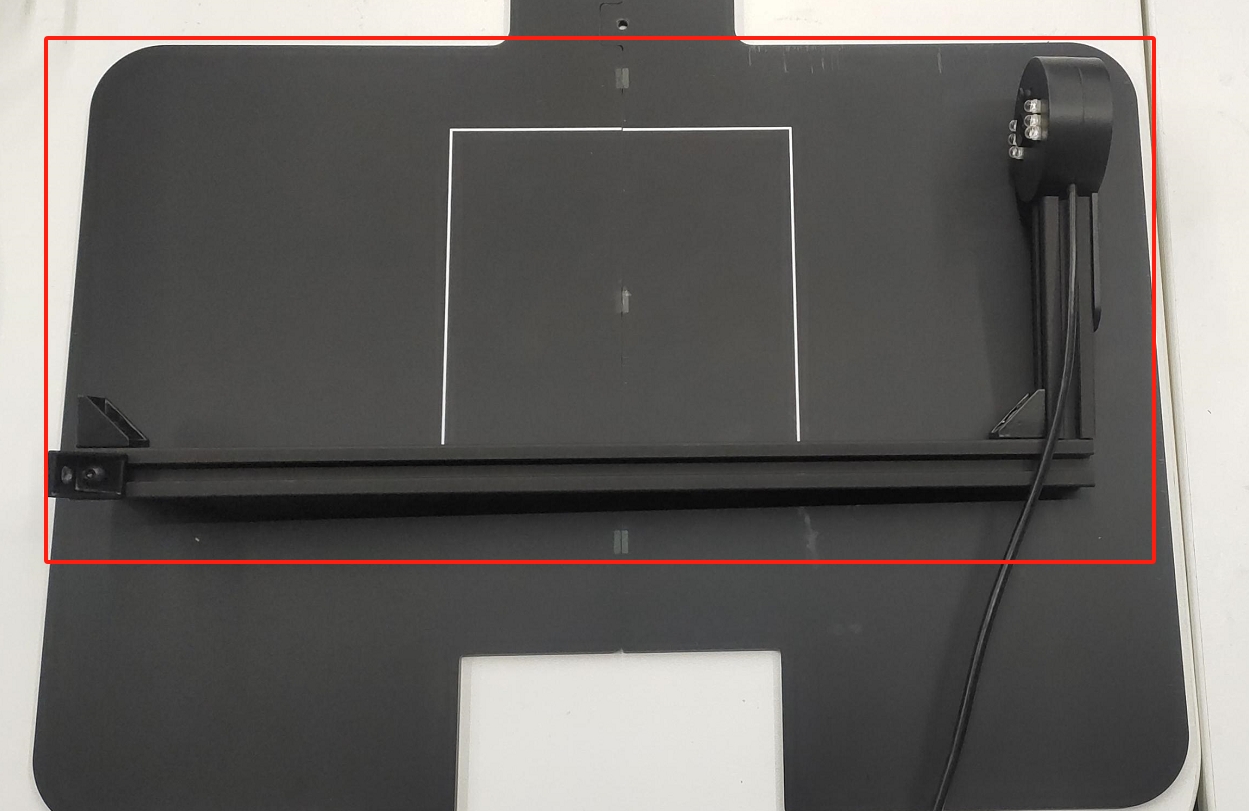
Final look of the camera mount assembly
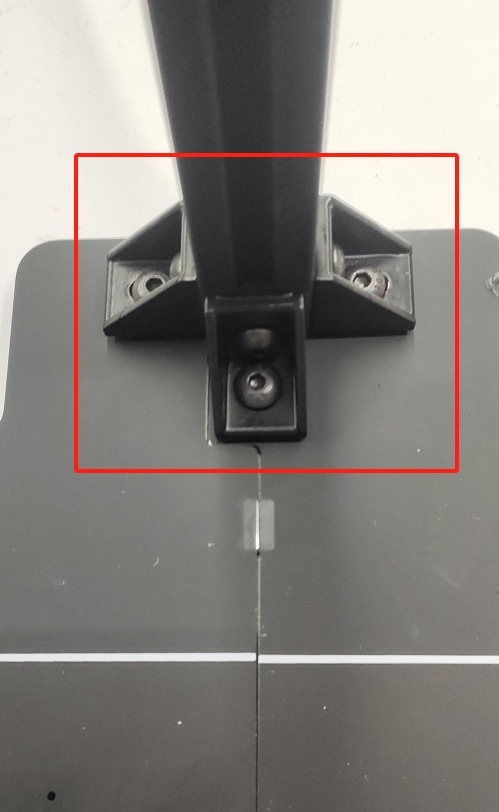
Attach the camera bracket to the acrylic plate
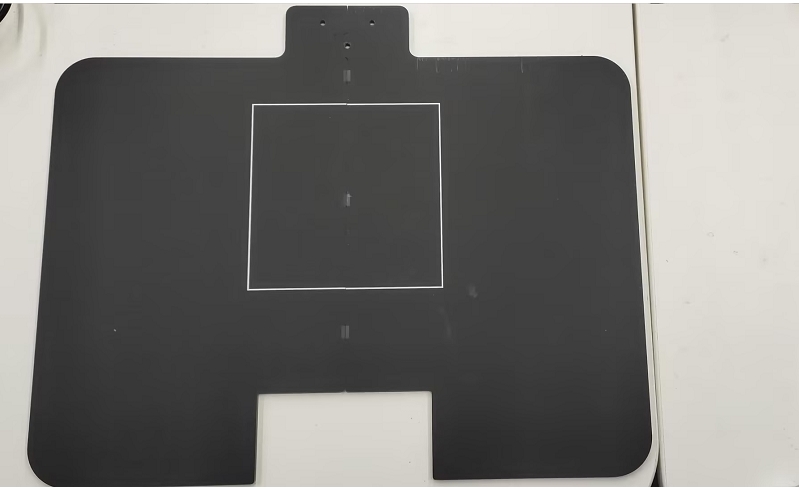
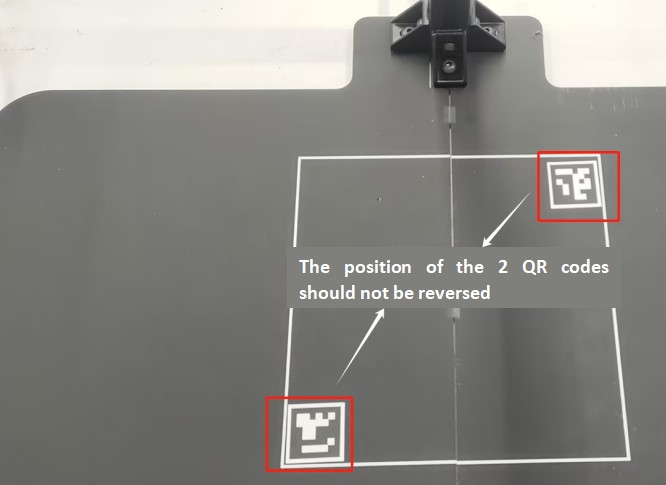
Stick the 2 QR code stickers on the acrylic board according to the picture below, Note: the position of the QR code can not be confused, according to the picture below to stick the way
Place the 4 frames on the acrylic plate, the position of the frames can be adjusted according to the debugging result

3.Suction Pump Installation
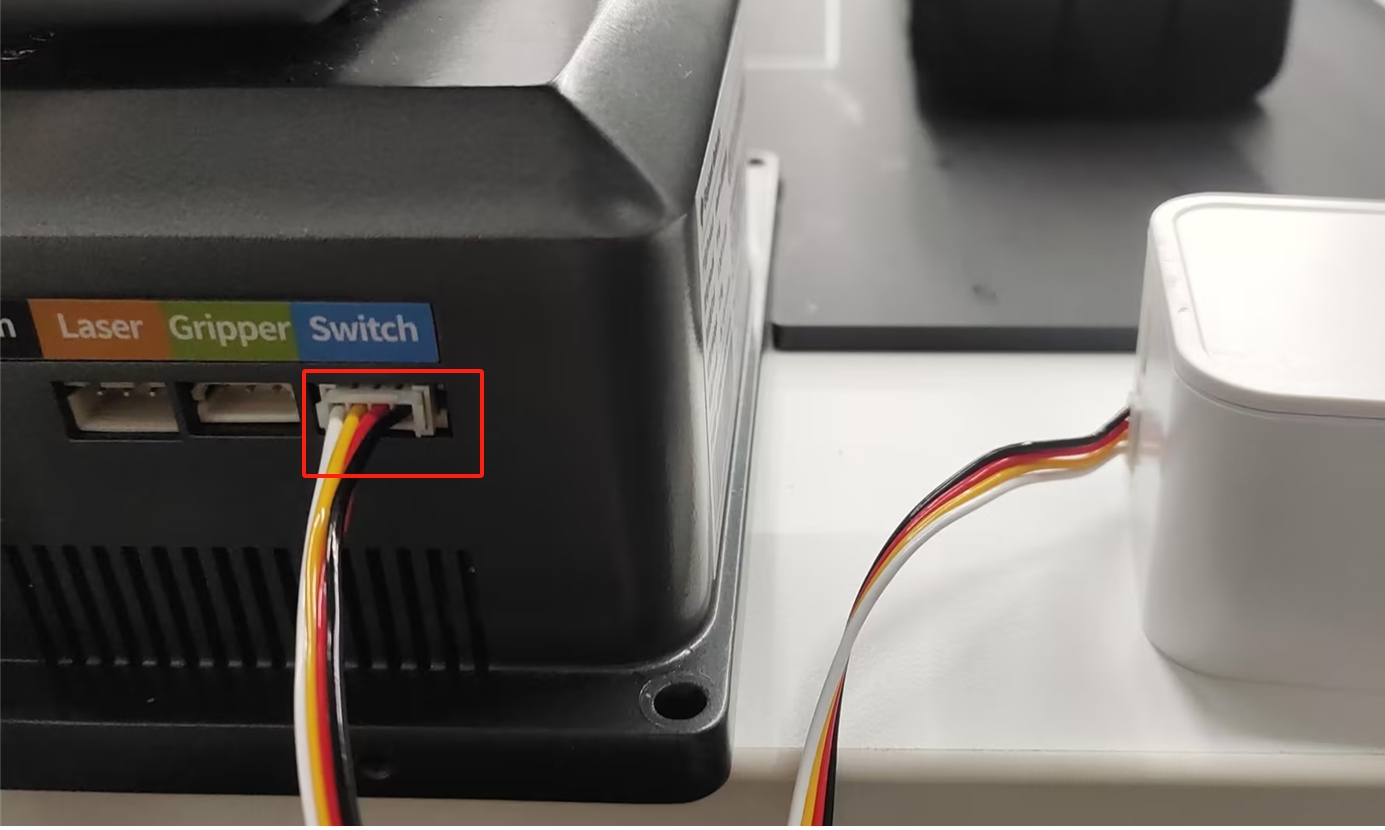
Connect the suction pump control cable to the Switch connector on the robot arm base
Attach the end suction cup to the end of the robot arm

Sample of completed assembly
