Laser Engraving Kit Installation Tutorial
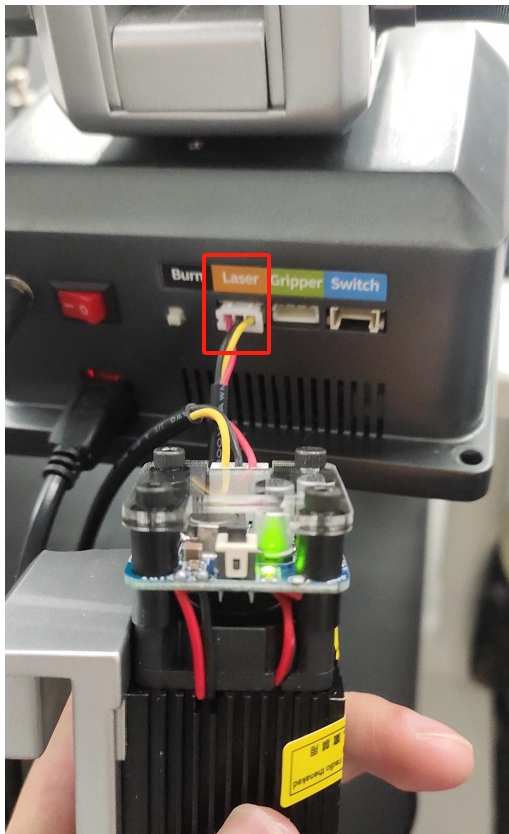
1.Quick-change laser engraving head wiring
Connect the 3P cable of the quick-change laser engraving head to the Laser connector on the base of the robotic arm, and the indicator light of the quick-change laser engraving head will be on after accessing it.
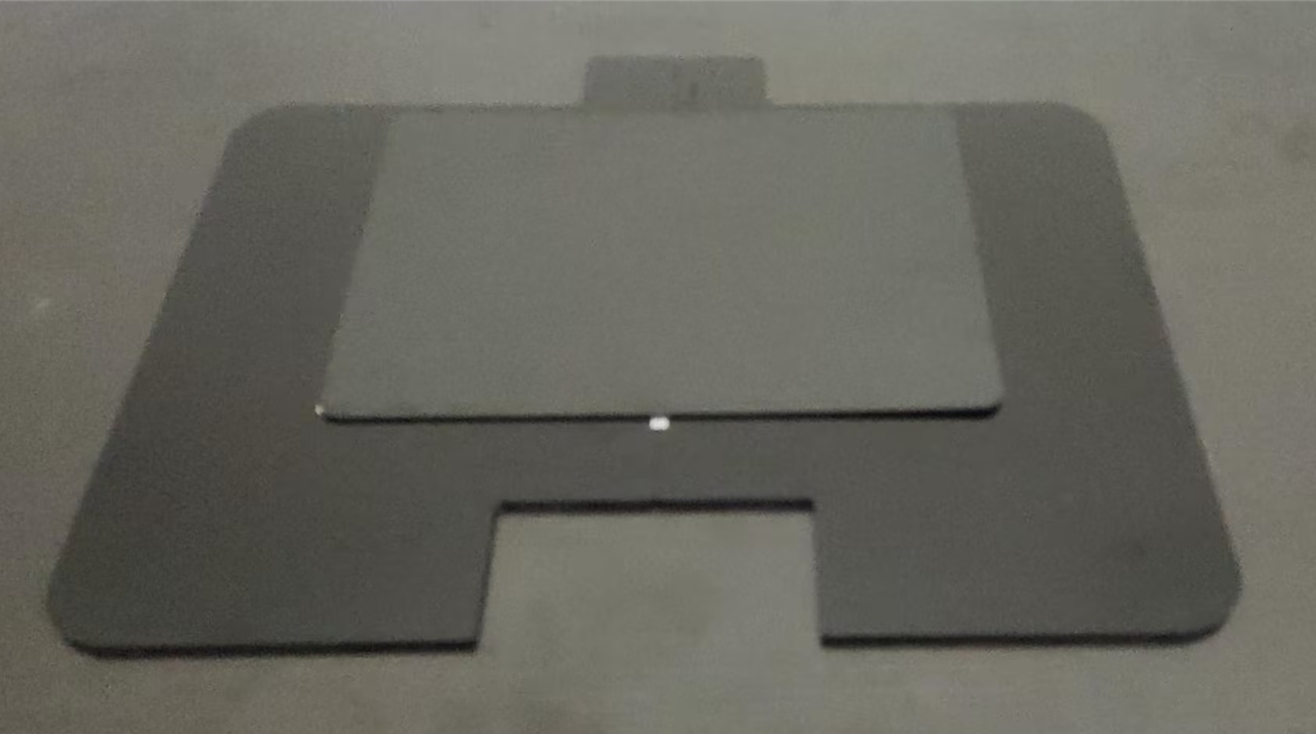
2.Acrylic panel installation
Splice the two acrylic panels together, paying attention to the front and back, with the side with the magnet facing upwards

Put the iron plate on the acrylic plate to prevent the laser from burning the acrylic base plate
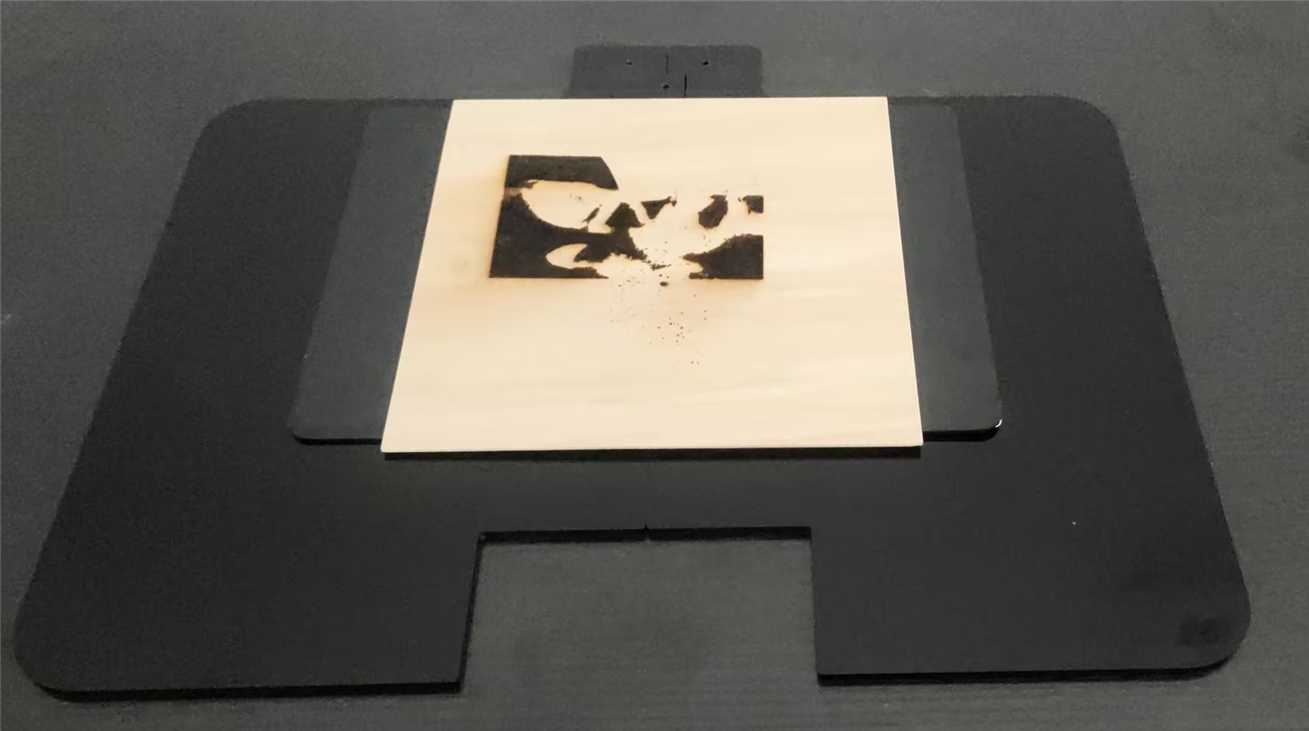
Place the workpiece to be engraved on the iron plate
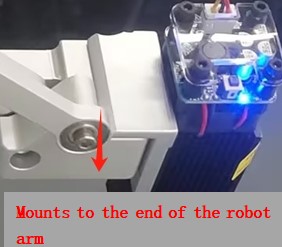
3.end installation
Simply attach the assembled quick-change laser engraving head to the end of the arm
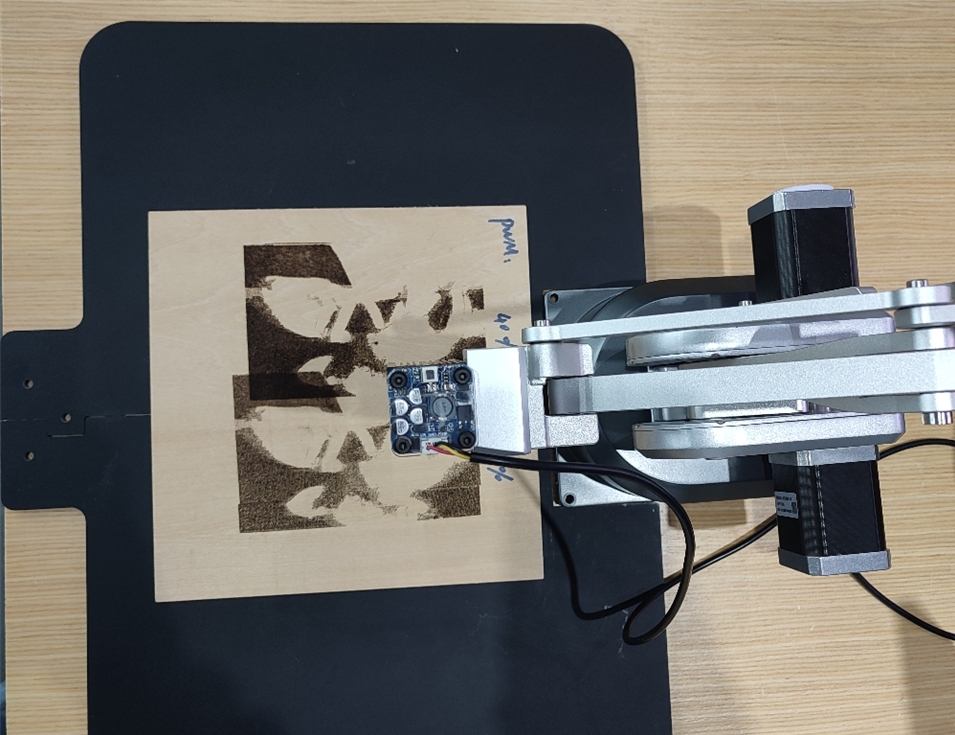
Sample of completed assembly
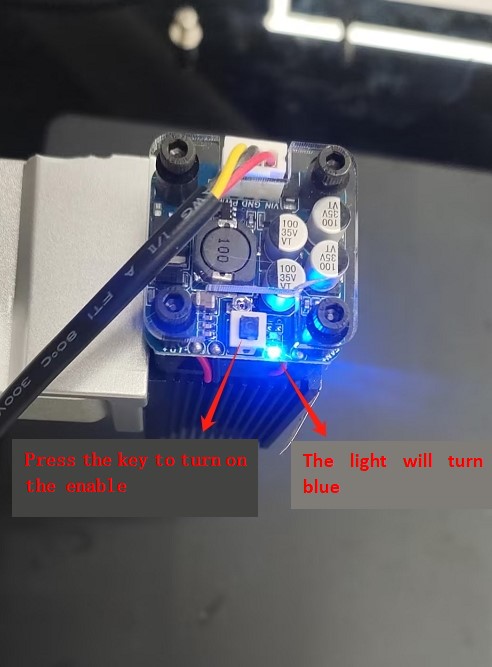
4.Quick-change laser engraving head enables opening
After pressing the key, the enable will be turned on and the indicator light will change from yellow to blue, after pressing the key again, the key will be reset, the enable will be turned off and the indicator light will change from blue to yellow. Note: Before using the laser engraving function, you need to switch the enable on