Installation Tutorial for Writing and Painting Set
1.Quick Change Pen Clip Installation
Loosen the screw on the quick-change pen clip with a hexagonal socket to make it easier to fit the pen in.
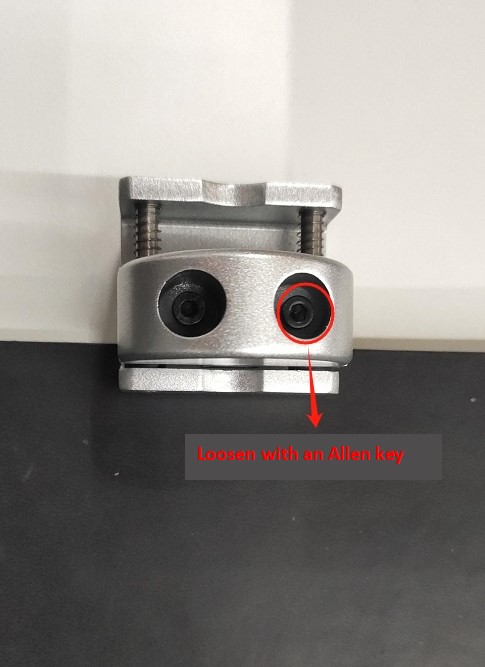
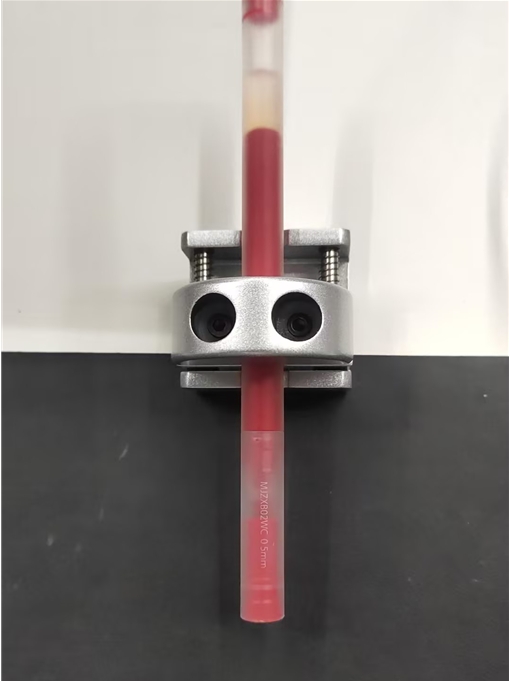
Adjust the pen to the right height, and then use the Allen to tighten the screws that have just been loosened to prevent the pen from wobbling when the robotic arm is writing and drawing
2.Acrylic panel installation
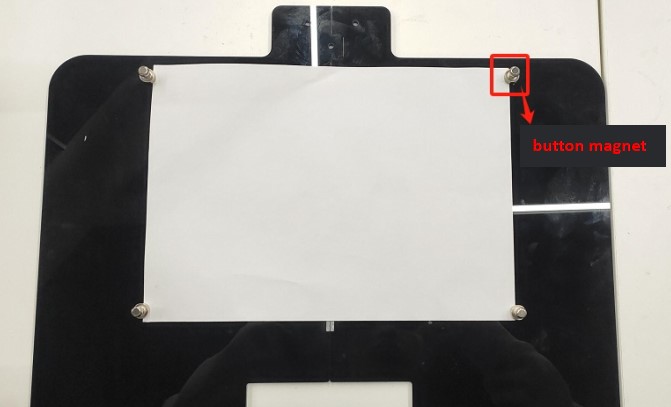
Splice the two acrylic panels together, paying attention to the front and back, with the side with the magnet facing upwards
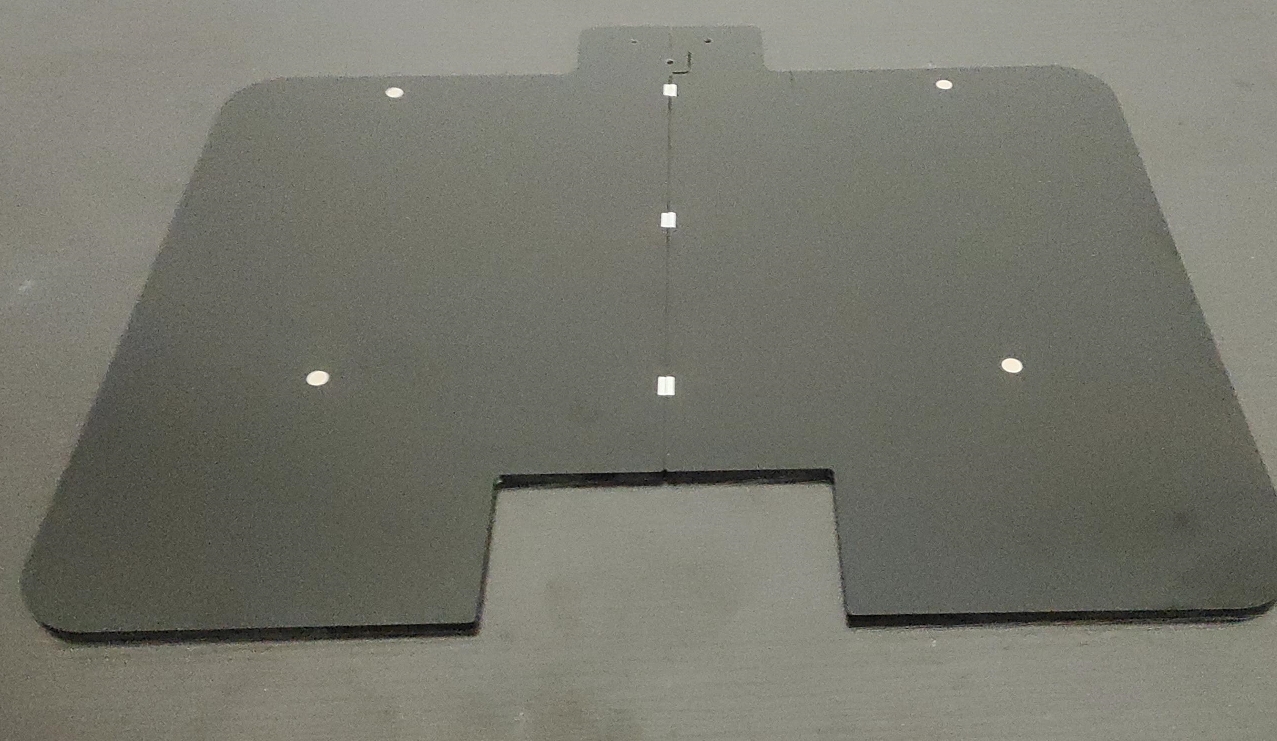
Put the A4 paper on the acrylic board, and then use the magnetic nail to fix the A4 paper, to prevent the paper from moving when the robotic arm is writing and drawing
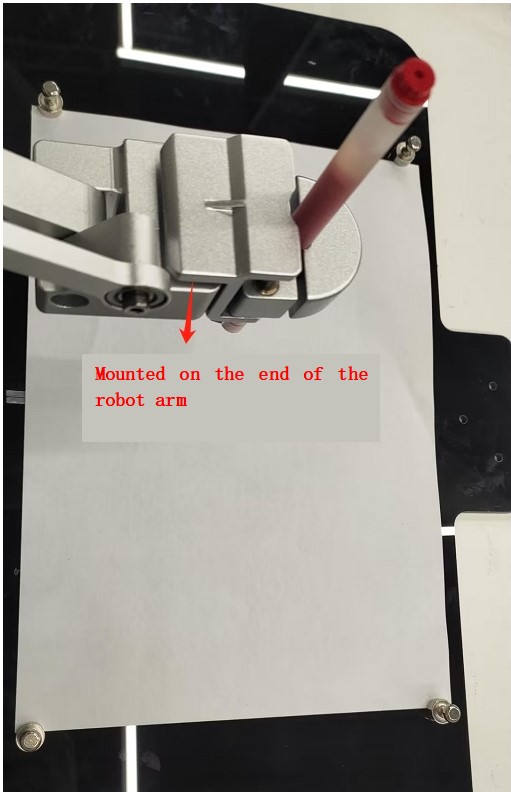
3.end installation
Simply attach the assembled quick-change pen clip to the end of the arm
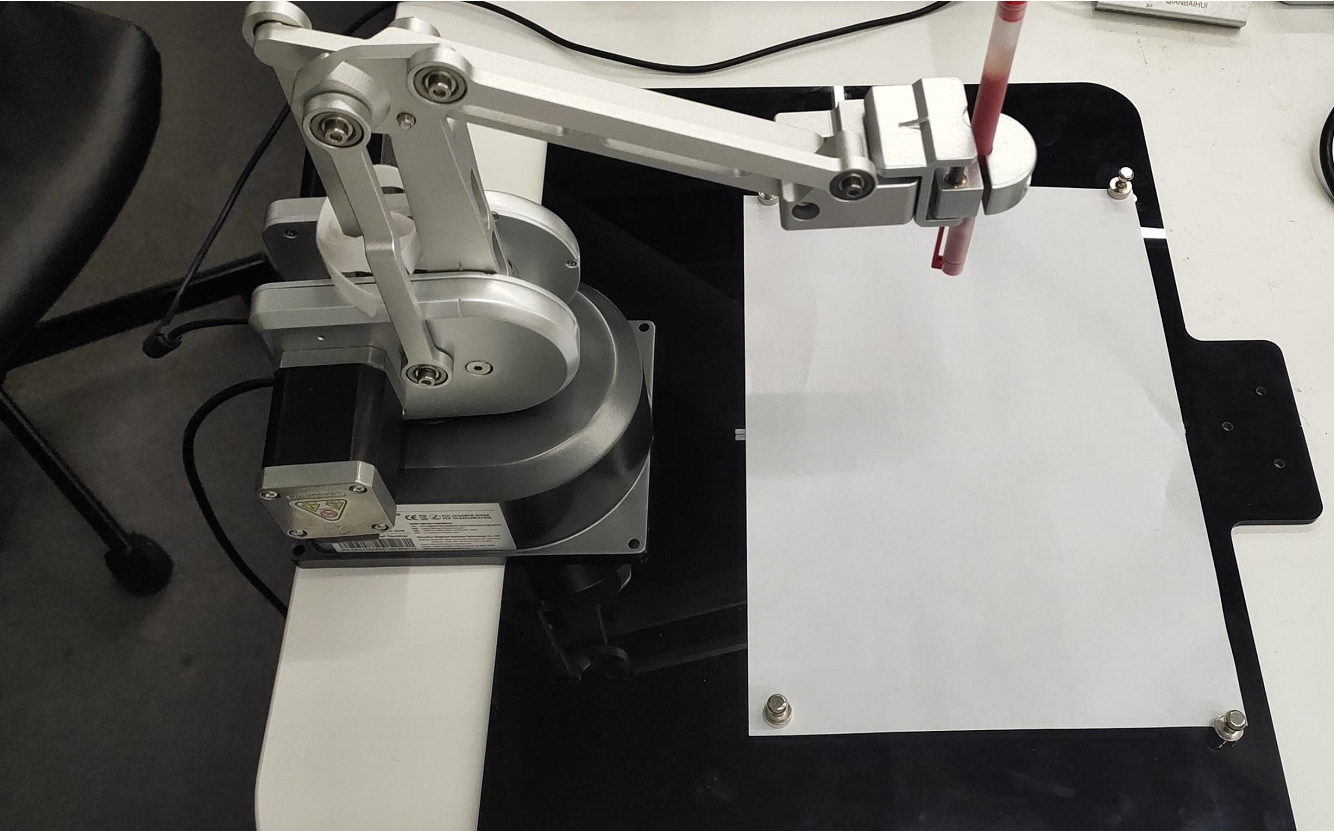
Sample of completed assembly