Visual grabbing kit
How to use visual grabbing kit
- How to install the visual grabbing kit
How to build the environment for Windows system
- Install python+pymycobot,pymycobot is a python package that conduct serial communication with myCobot ,it supports Python2,Python3.5 and later versions
Install OpenCV,OpenCV-Python is a Python based library,designed to solve computer vision problems.Before installation, ensure that the Python environment has been built
Open a console terminal(shotcut Win+R,type cmd to enter terminal),enter the following command:# The version numbers of the two should be consistent,here we install 4.5.5.62 version pip install opencv-python==4.5.5.62 pip install opencv-contrib-python==4.5.5.62
How to use Python
- How to use Python to open the camera
- How to use visual module to locate objects
- How to recognize object shape
- How to carry out color recognition
- How to recognize feature points
- How to carry out QR code recognition
- How to convert the positioned object to the coordinates recognized by the manipulator
- How to execute the converted coordinates
- How to control the suction pump/gripper to pick up objects
1 Environment construction
Using environment: Windows 10 or Windows 11、Python3+OpenCV+pymycobot、Git
Applicable equipment: ultraArm P340
1.1 Install Python+pymycobot
pymycobot is a python package that conduct serial communication with myCobot ,it supports Python2,Python3.5 and later versions
Before using pymycobot to control the robot arm, you need to build a Python environment,Please check the specific construction process on Pyhton Environment construction
1.2 Install OpenCV
OpenCV-Python is a Python based library,designed to solve computer vision problems.Before installation, ensure that the Python environment has been built
Open a console terminal(shotcut Win+R,type cmd to enter terminal),enter the following command:
# The version numbers of the two should be consistent,here we install 4.5.5.62 version
pip install opencv-python==4.5.5.62
pip install opencv-contrib-python==4.5.5.62


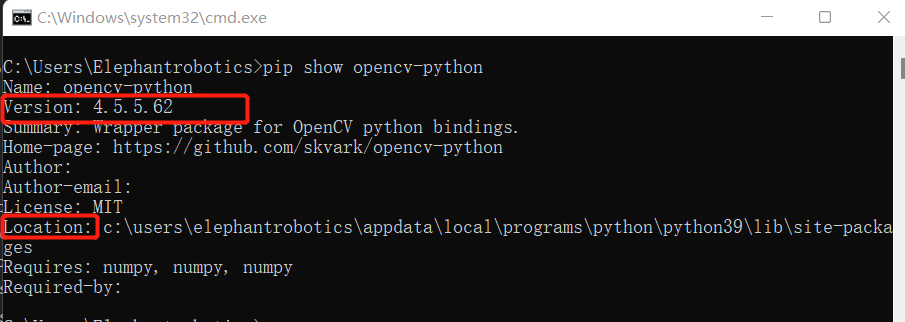
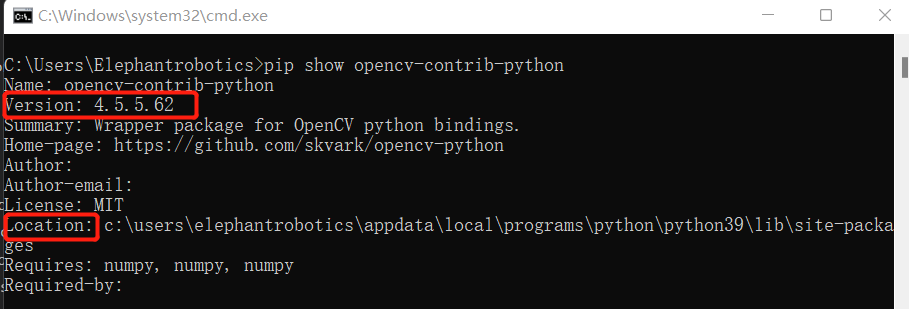
After the installation is successful, you can view the specific installed version and installation location through the following command:
# You can also view other python packages  Format:pip show 'package name'
pip show opencv-python
pip show opencv-contrib-python
1.3 Install Git
Git is an open source distributed version control system, which is used to effectively and high-speed process version management of projects from very small to very large.
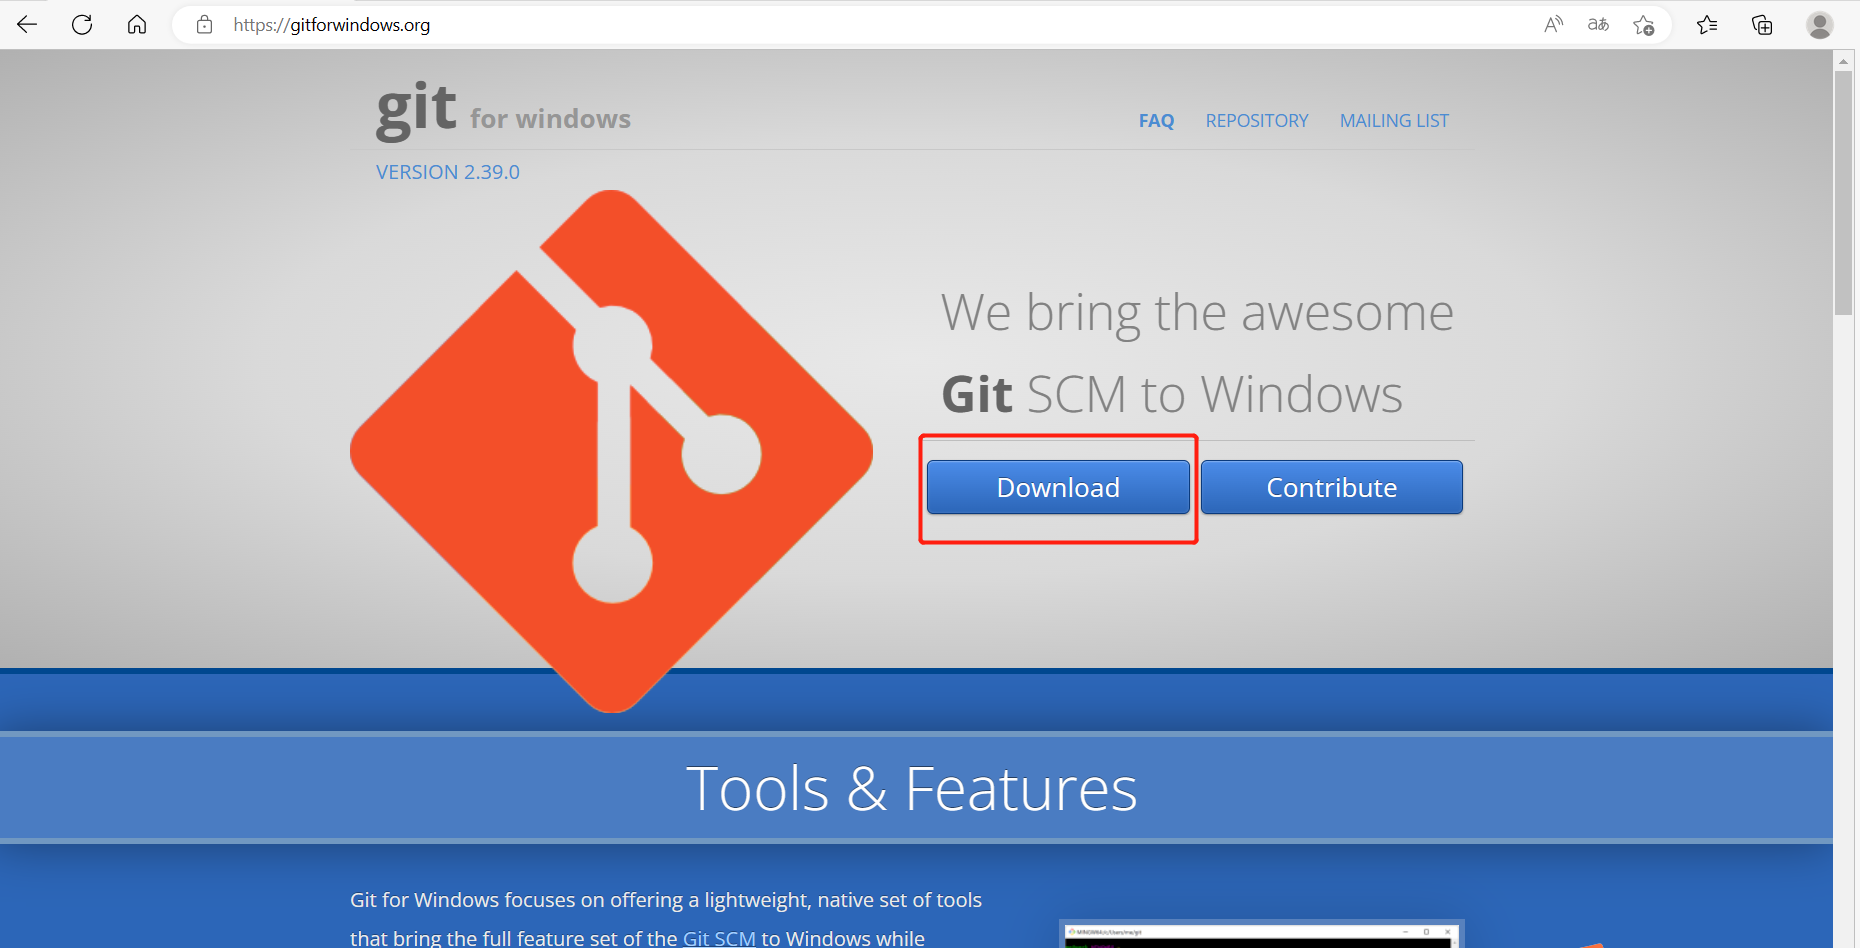
Git official download address: https://gitforwindows.org/
Click
Downloadoption,start downloading Git
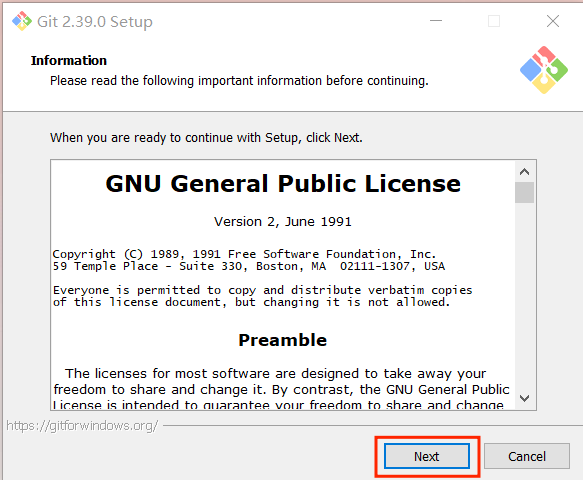
- Double-click the downloaded exe file to install
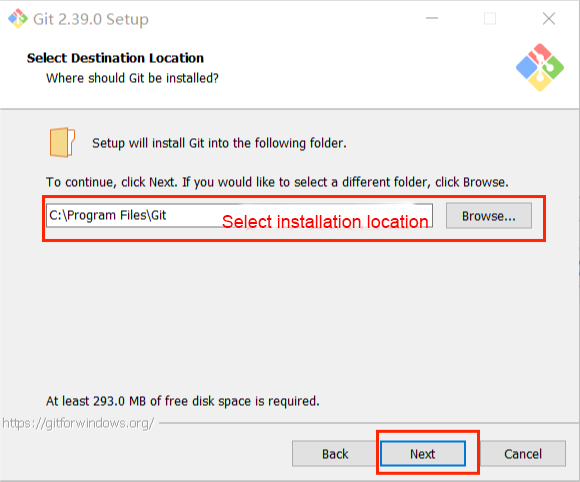
- Select the installation location. It is under the C disk by default. If you do not want to place it under the C disk, you can change the location.Click next after selecting the installation location.
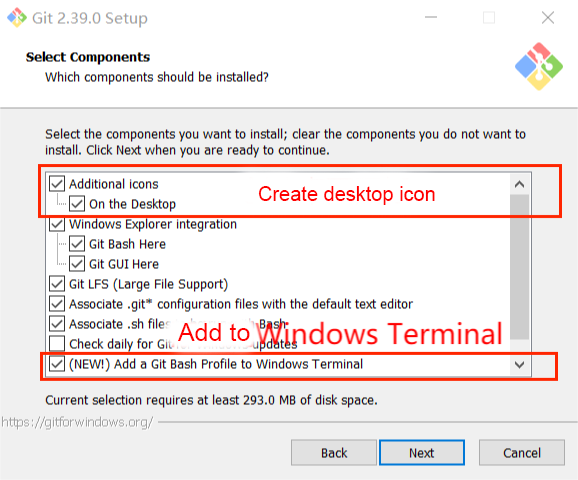
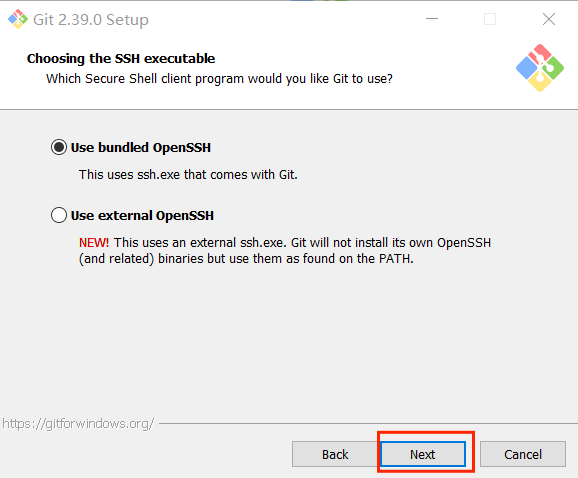
- The icon will not be created on the desktop by default,and it added a new feature,put GItBash to Windows terminal,which is recommended to check
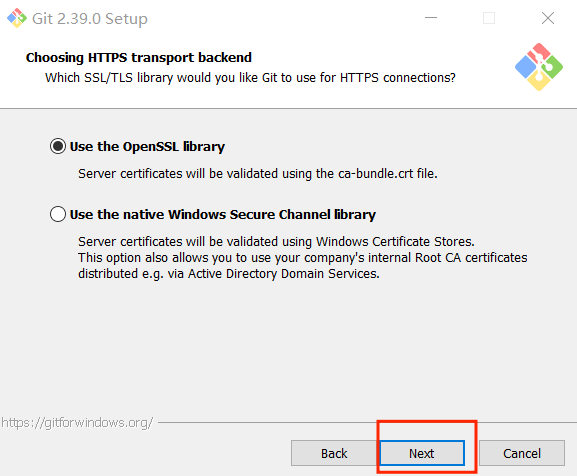
- Next, by default, just select Next
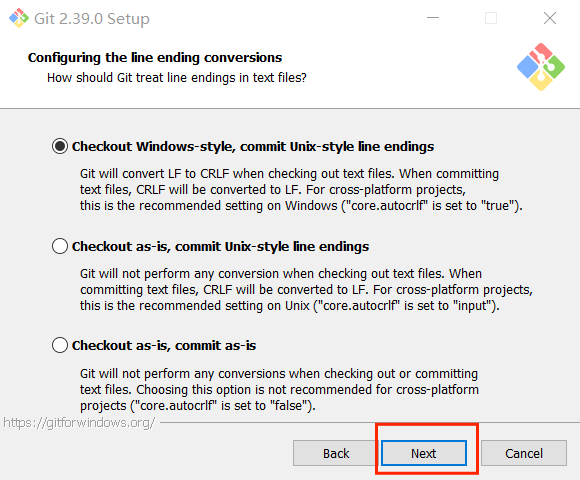
- Select a default editor,default is Vim(Linux),there is also Notepad,I choose to use Vim

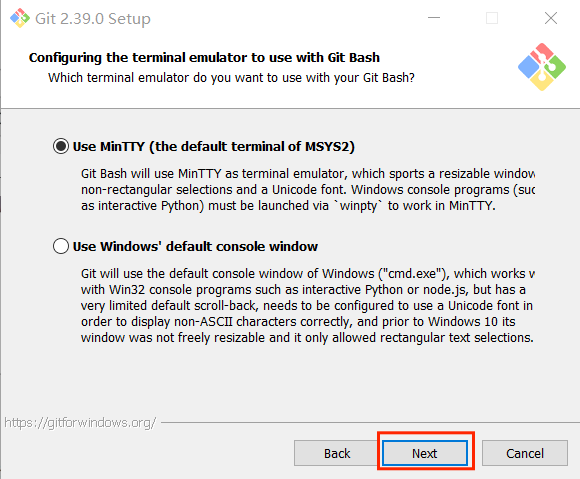
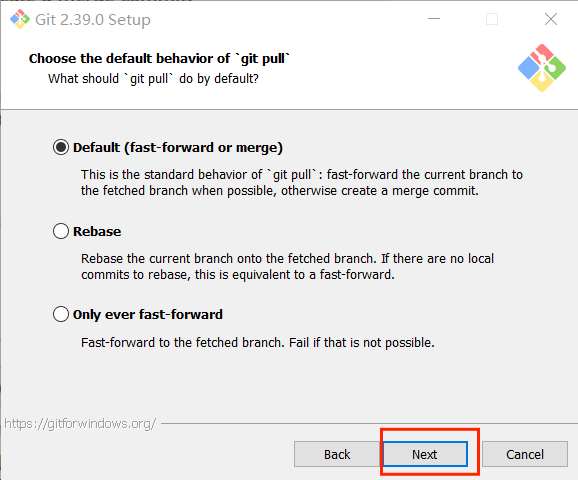
- Default name (master)after creating a branch in Git,If there is no special default setting, click next

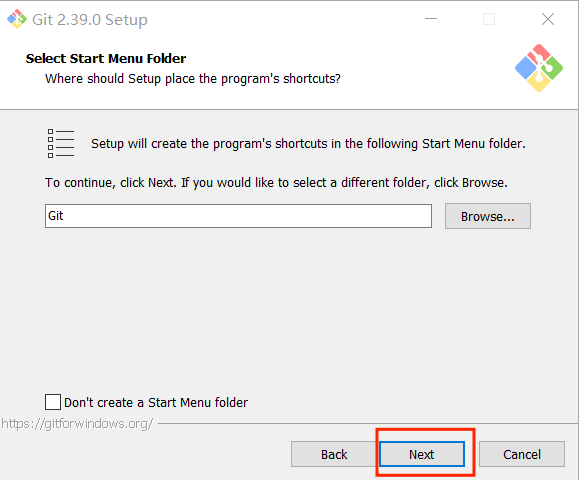
- Next, by default, just select Next
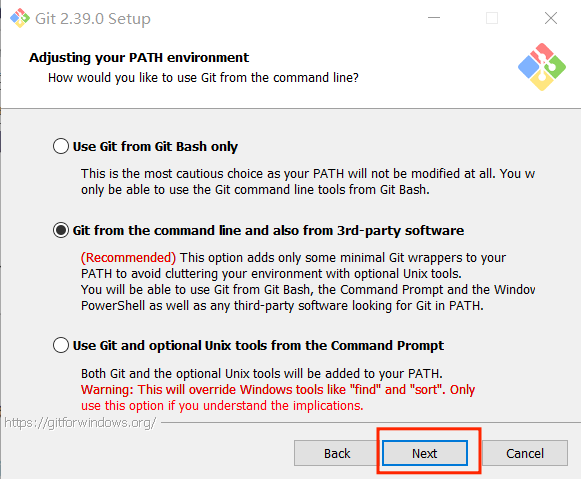
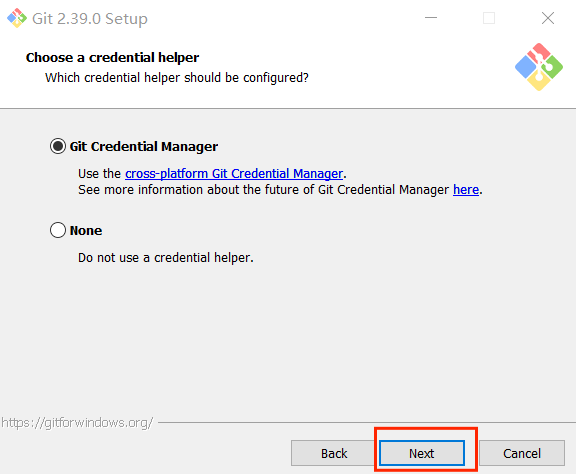
- Next, by default, just select Next
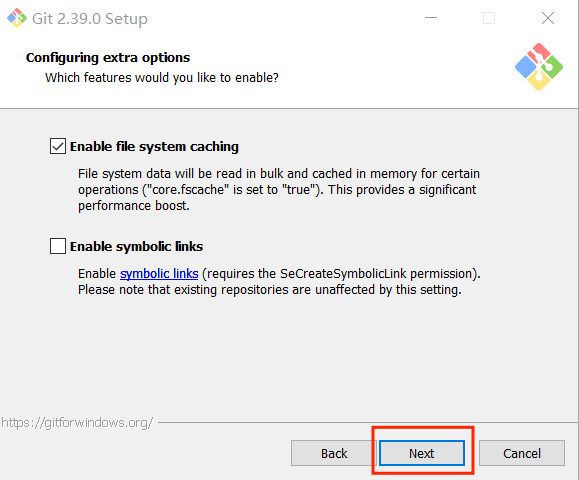
- Next, by default, just select Next
- Next, by default, just select Next
- Next, by default, just select Next
- Next, by default, just select Next
- Next, by default, just select Next
- Next, by default, just select Next
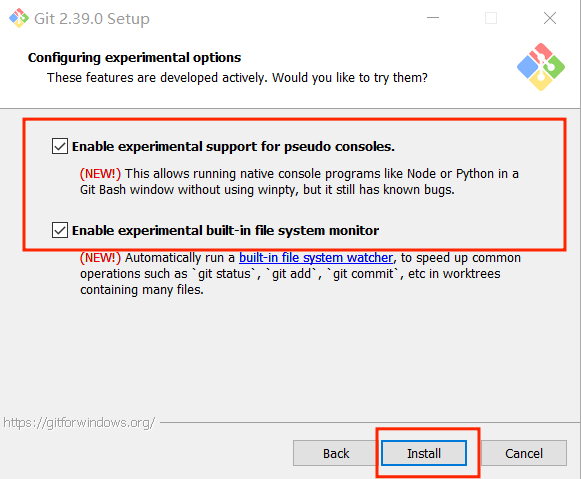
- Additional configuration options,none of them are checked by default,You can check these two boxes,support(node、python,although there are still bugs)Then select install.
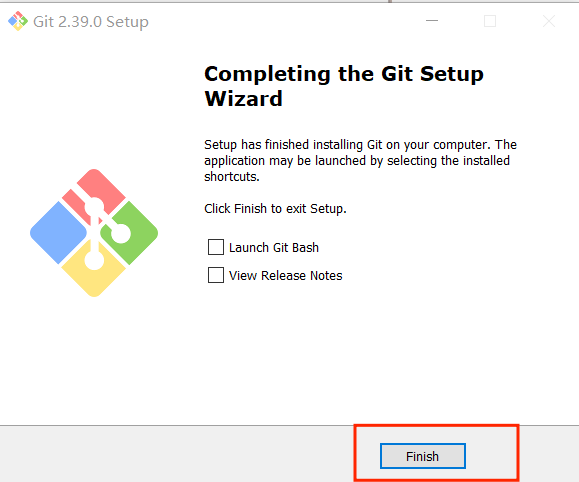
- After the installation, click FInish to complete the installation。
Inspect
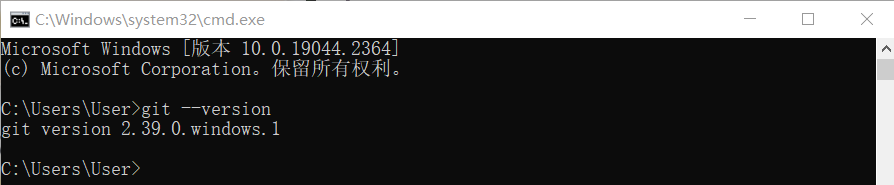
Open a console terminal(shotcut Win+R,type cmd to enter terminal),enter the following command to check Git version:
git --version
Git is required for subsequent downloading of aikit package,The use of git can refer to the following link:
1.4 aikit_V2 installation
aikit_V2 was launched by ElephantRobotics,it is compatible with the AI package V2.0 of its desktop manipulator。
Project address:https://github.com/elephantrobotics/aikit_V2
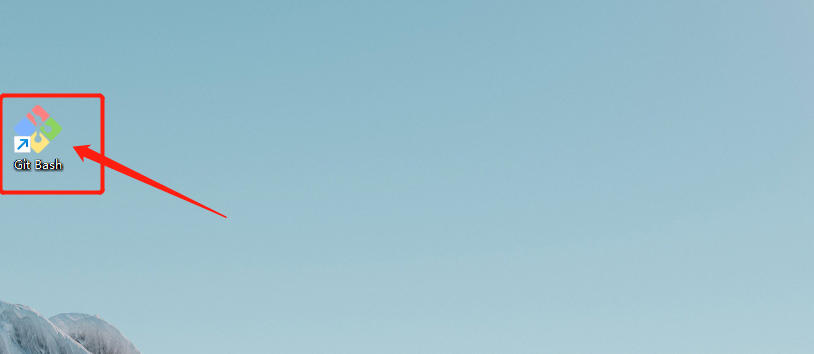
- 1 Double-click the desktop
Git Bashicon to enter the Git terminal。
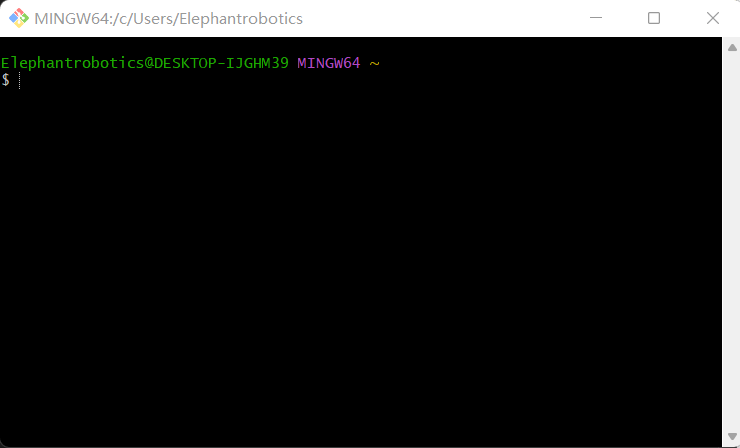
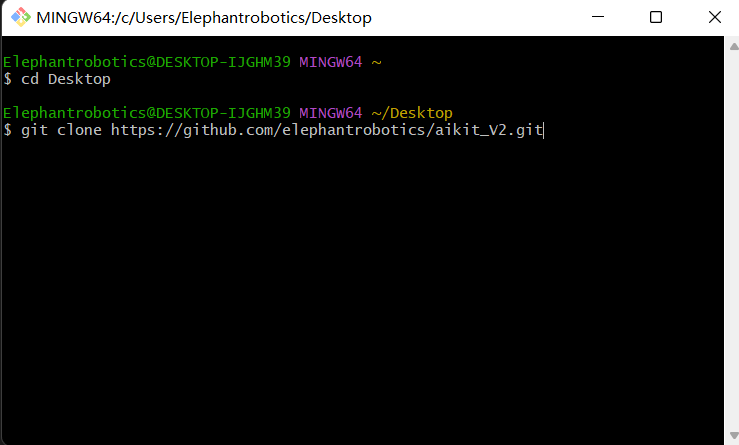
- 2 Enter the following command at Git terminal:
cd Desktop
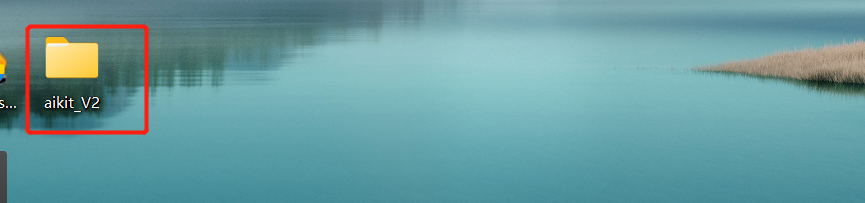
git clone https://github.com/elephantrobotics/aikit_V2.git

Then aikit_V2 folder will appear on the desktop。
So far, the Windows environment has been built
How to use Python to open the camera
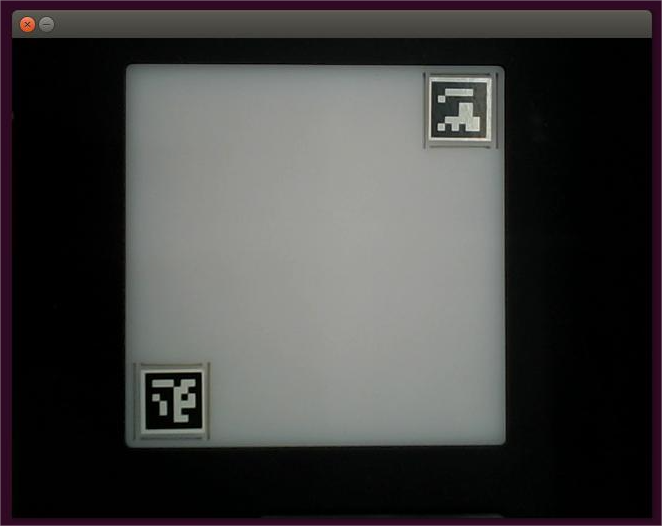
First, you need to use python to run OpenVideo.py under aikit_V2 package.If the enabled camera is a computer camera, you need to modify cap_num.For details, please refer to:Note。Ensure that the camera completely covers the entire recognition area, and that the recognition area is square in the video,as shown in the figure below。If the recognition area does not meet the requirements in the video, the position of the camera needs to be adjusted.
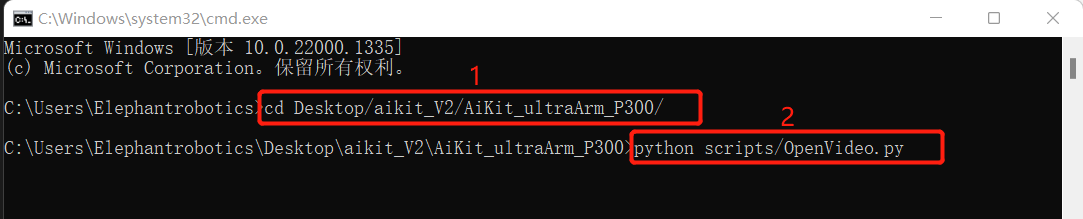
- Open a console terminal(shotcut Win+R,type cmd to enter terminal),enter the following command to enter the target folder
cd Desktop/aikit_V2/AiKit_ultraArm_P340/
- Enter the following command to open the camera for adjustment
python scripts/OpenVideo.py
1 How to use visual module to locate objects
- Before starting the recognition procedure, the camera needs to be calibrated to ensure that the camera completely covers the entire recognition area and that the recognition area is square in the video
- After starting the recognition program, place the recognizable object in the recognition area, and the program will locate the object through the recognition function provided by OpenCV
2 How to recognize object shape
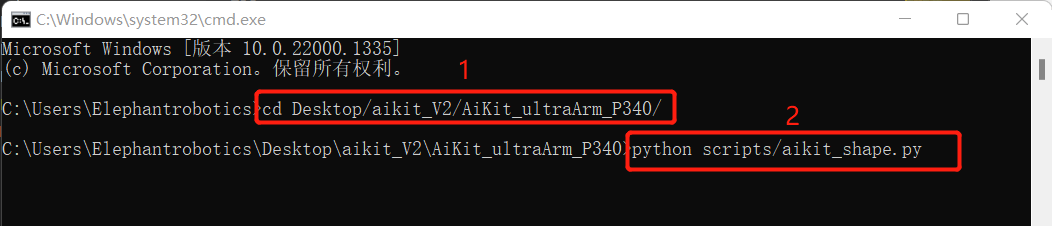
- Open a console terminal(shotcut Win+R,type cmd to enter terminal),enter the following command to enter the target folder
cd Desktop/aikit_V2/AiKit_ultraArm_P340/
- Then enter the following command to start the shape recognition program.
python scripts/aikit_shape.py
- When the command terminal appears ok and the camera window can be opened normally, it indicates that the program runs successfully. At this time, the recognizable object can be placed in the recognition area for recognition and grabbing.
3 How to carry out color recognition
- Open a console terminal(shotcut Win+R,type cmd to enter terminal),enter the following command to enter the target folder
cd Desktop/aikit_V2/AiKit_ultraArm_P340/
- Then enter the following command to start the shape recognition program
python scripts/aikit_color.py

- When the command terminal appears ok and the camera window can be opened normally, it indicates that the program runs successfully. At this time, the recognizable object can be placed in the recognition area for recognition and grabbing.
4 How to add a new image of feature points
- Open a console terminal(shotcut Ctrl+Alt+T),enter the target folder
cd ~/aikit_V2/AiKit_ultraArm_P340/
- Enter the following command to start the add image program
python scripts/add_img.py

- Operate according to the prompt input by the terminal, and intercept the image in the second image box that pops up.
- After the image capture area is completed, press the Enter key. According to the terminal prompt, enter numbers (1~4) to save to the corresponding image folder, and press the Enter key to save to the corresponding folder.
5 How to recognize feature point image
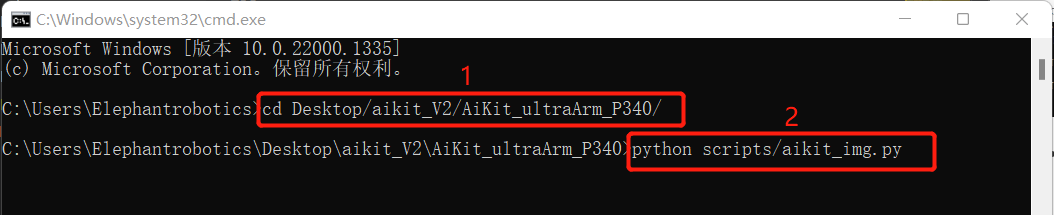
- Open a console terminal(shotcut Win+R,type cmd to enter terminal),enter the following command to enter the target folder
cd Desktop/aikit_V2/AiKit_ultraArm_P340/
- Then enter the following command to start the shape recognition program
python scripts/aikit_img.py
- When the command terminal appears ok and the camera window can be opened normally, it indicates that the program runs successfully. At this time, the recognizable object can be placed in the recognition area for recognition and grabbing.
6 How to carry out QR code recognition
- Open a console terminal(shotcut Win+R,type cmd to enter terminal),enter the following command to enter the target folder
cd Desktop/aikit_V2/AiKit_ultraArm_P340/
- Then enter the following command to start the shape recognition program
python scripts/aikit_encode.py

- When the command terminal displays coordinate information and the camera window can be opened normally,it indicates that the program runs successfully. At this time, the recognizable object can be placed in the recognition area for recognition and grabbing.
7 How to convert the positioned object to the coordinates recognized by the manipulator
- The pixel distance M1 between two aruco can be calculated by measuring the pixel points of two aruco in the captured area,Measure the actual distance M2 of two aruco, so that we can get the ratio of pixel to actual distance(ratio = M2 / M1).We can calculate the pixel difference between the object block and the center of the grabbing area from the picture, so we can calculate the relative coordinates (x1, y1) of the object block from the center of the grabbing area.Add the relative coordinates (x1, y1) from the center of the grabbing area to the relative coordinates (x2, y2) of the manipulator to obtain the relative coordinates (x3, y3) of the block to the manipulator.
# Grab the coordinate of the center point relative to the manipulator
self.camera_x, self.camera_y = camera_x, camera_y
# The coordinates of the object relative to the manipulator,the parameters can be set as:
self.c_x = self.c_y = 0, 0
# Pixel to actual ratio:
self.ratio = 0
# Set the parameter function to calculate the coordinates between the cube and the manipulator
def set_params(self, c_x, c_y, ratio):
    self.c_x = c_x
    self.c_y = c_y
    self.ratio = 220.0/ratio
# Obtain the position function, which is used to calculate the coordinates between the cube and the manipulator
def get_position(self, x, y):
    return ((y - self.c_y)*self.ratio + self.camera_x), ((x - self.c_x)*self.ratio + self.camera_y)

# Next, the program will call the parameter setting function set_params(), used to calculate and set the real coordinates parameters between the object and the manipulator
            detect.set_params(
                (detect.sum_x1+detect.sum_x2)/20.0,
                (detect.sum_y1+detect.sum_y2)/20.0,
                abs(detect.sum_x1-detect.sum_x2)/10.0 +
                abs(detect.sum_y1-detect.sum_y2)/10.0
            )
# Then the function get_position() will be called ,used to calculate the real coordinates between the cube and the mycobot
real_x, real_y = detect.get_position(x, y)
# Finally, the real coordinates obtained will be slightly processed and passed into the  decide_move() function for the use of the subsequent manipulator grabbing.
 detect.decide_move(real_sx/20.0, real_sy/20.0, detect.color)
8 How to execute the converted coordinates
- The real coordinates obtained will be slightly processed and passed into the decide_move() function for the use of the subsequent manipulator grabbing.
detect.decide_move(real_sx/20.0, real_sy/20.0, detect.color)
- In the decide_move() function, the move() function will continue to be called to trigger the mobile grab of the manipulator
# Decide whether grab cube
    def decide_move(self, x, y, color):
    # Output and print plane coordinates of real objects
        print(x, y, self.cache_x, self.cache_y)
        # Detect the movement or operation of block state
        if (abs(x - self.cache_x) + abs(y - self.cache_y)) / 2 > 5:  # mm
            self.cache_x, self.cache_y = x, y
            return
        else:
            self.cache_x = self.cache_y = 0
            # Adjust the suction position of the suction pump,Y increases and moves to the left; Y decreases and moves to the right;X increases and moves forward; X decreases and moves backwards
            # Call the move function to make the manipulator perform a series of grabbing actions
            self.move(x, y, color)
- When the mechanical arm performs the grab movement operation, it indicates that the program executes the move() function
def move(self, x, y, color):
    print(color)
    # Send the angle to move the manipulator at a speed of 50
    self.ua.set_angles(self.move_angles[2], 50)
    # Wait 3 seconds
    time.sleep(3)
    # Send coordinates to move the manipulator so that the end of the manipulator reaches directly above the block at a speed of 50
    self.ua.set_coords([x, -y, 65.51], 50)
    # Wait 1.5 seconds
    time.sleep(1.5)
    # Send coordinates to move the manipulator so that the end of the manipulator reaches the upper surface of the block at a speed of 50
    self.ua.set_coords([x, -y, -32], 50)
    # Wait 2 seconds
    time.sleep(2)
9 How to control the suction pump or gripper to pick up objects
- When the suction pump at the end of the mechanical arm reaches the top of the object and contacts the object, call the suction function and suck or release the object
# Start the suction pump
def pump_on(self):
    self.ua.set_gpio_state(0)

# Stop the suction pump
def pump_off(self):
    self.ua.set_gpio_state(1)
- Start the suction pump
# open pump
self.pump_on()
- Close the suction pump
# open pump
self.pump_off()