myAGV trolley for first use
First of all, congratulations on getting an interesting myAGV. Using this advanced myAGV, you can give full play to your brain hole to create and realize various unrestrained functions. Then, let's start.
Note: before the first use, the trolley needs to be fully charged.
1 myAGV brief introduction
myAGV adopts the McNham wheel + Radar + high-precision camera scheme.
What is mcnamu wheel: the design principle of mcnamu wheel is that rollers arranged at a 45 degree angle with the axis are installed in the outer ring of the wheel to contact the ground. When rotating, the friction will produce a 45 degree reverse thrust with the axle. This oblique thrust can be divided into longitudinal and transverse vectors. The whole myAGV body is driven by two pairs of mcnamum wheels with mirror arrangement of rollers. Each wheel will produce corresponding vectors. The resultant force of these vectors determines the final active state of the myAGV body. By adjusting the steering and rotational speed of each wheel alone, the movement modes of the whole vehicle body, such as forward, transverse, oblique, rotation and combination, can be realized.
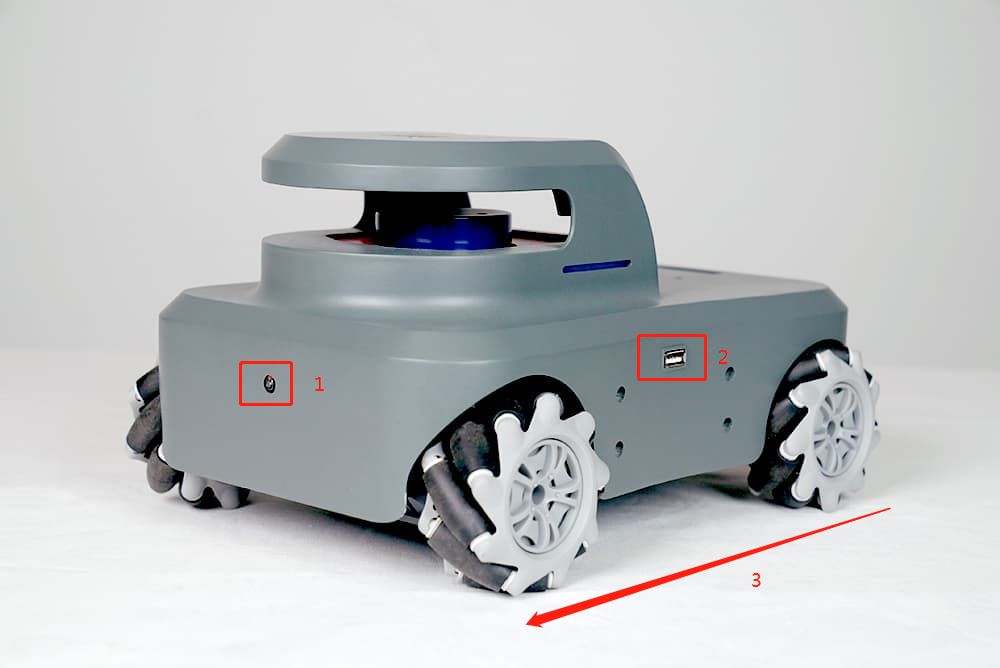
1.high-precision camera 2.USB interface 3.myAGV forward direction
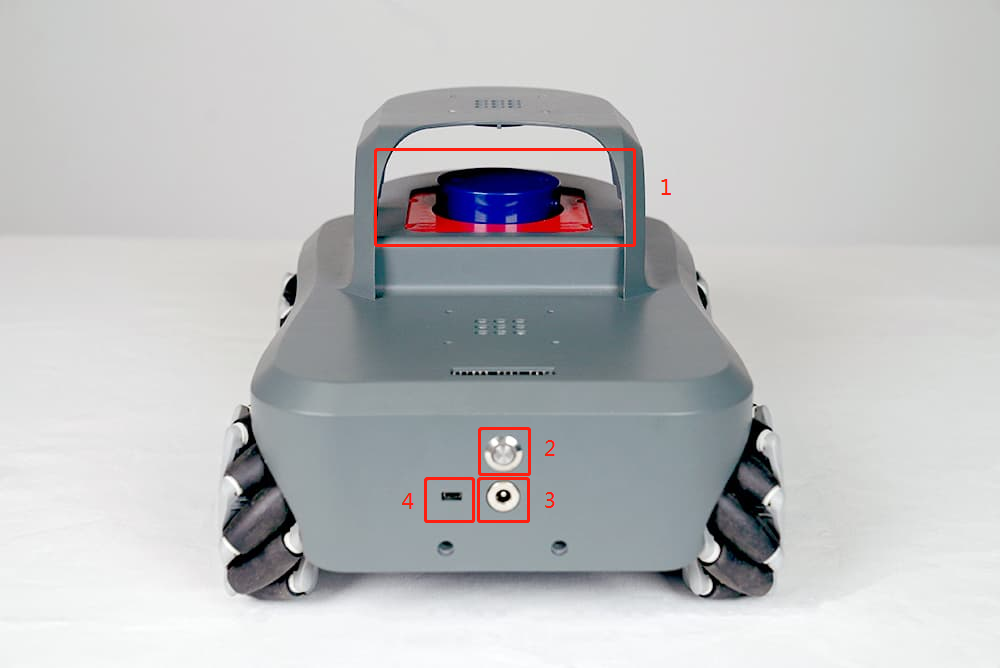
1.Lidar 2. power switch 3. Charging port 4.HDMI interface
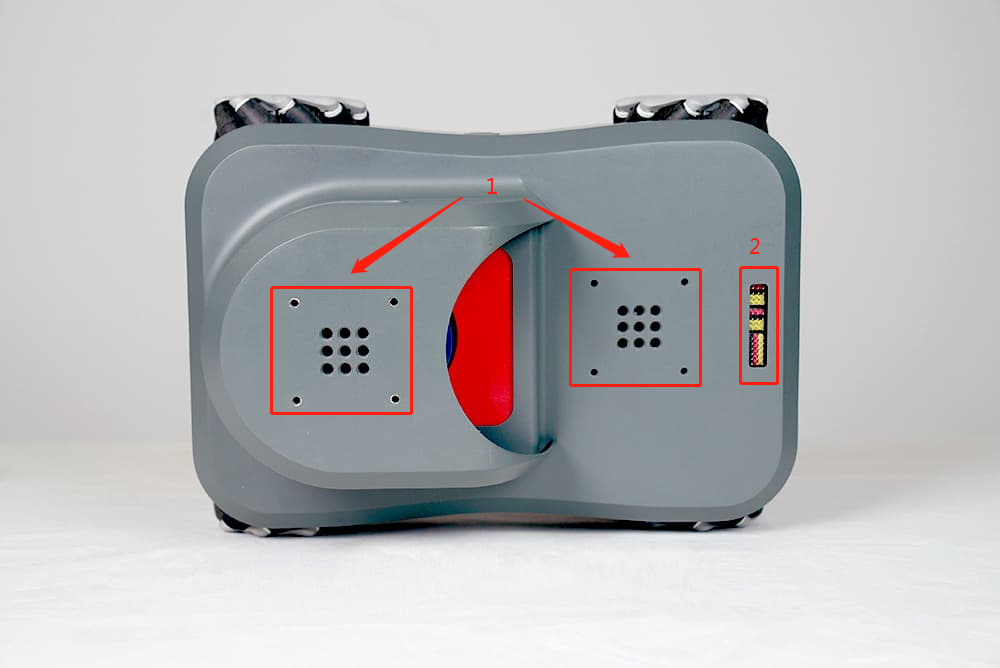
1.Lego interface 2. Expand pin pins
2 Power-on
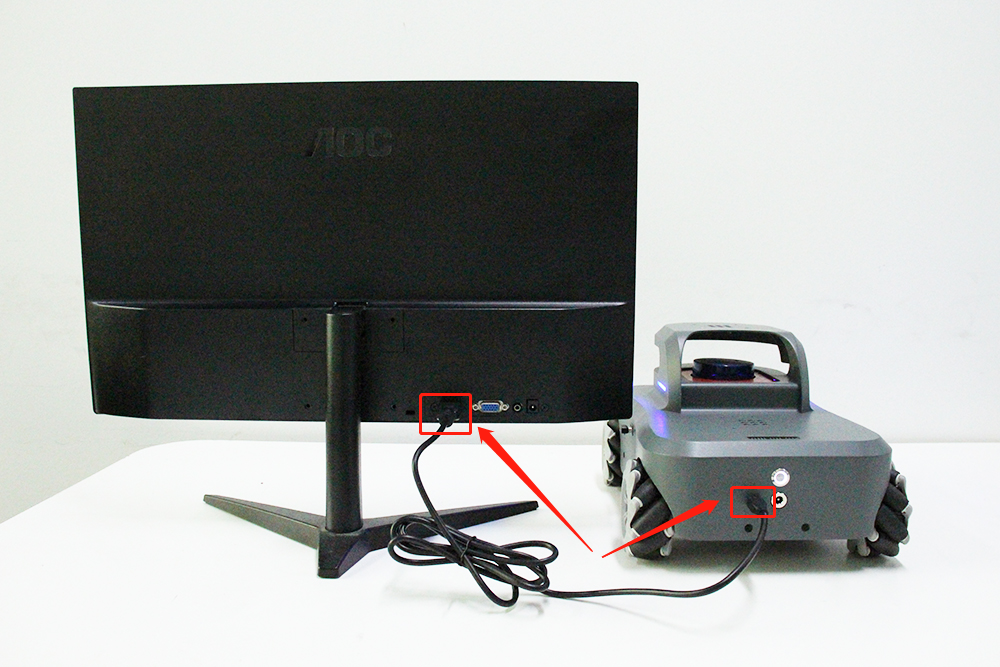
- Connect the HDMI interface to the display Before starting the myAGV, be sure to connect the screen and connect the HDMI interface of the myAGV and the HDMI interface of the screen through the HDMI transmission line. This is because the trolley system is required to connect a solid screen to start the operating system.
Note: When the HDMI micro port is connected to myAGV, it sometimes has poor contact. Do not move myAGV during connection.
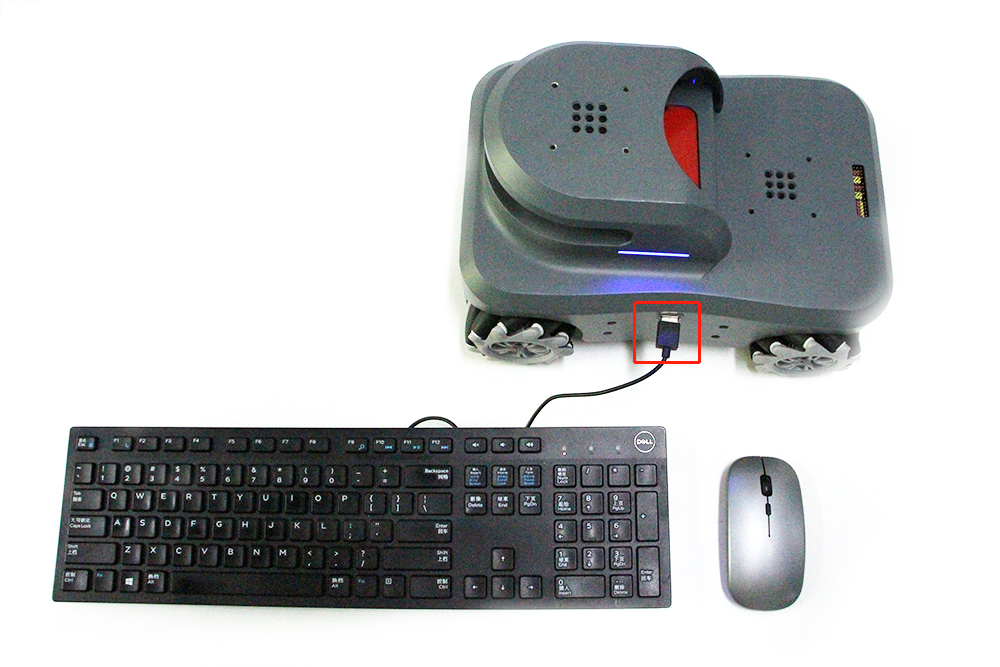
- Connect the keyboard and mouse myAGV has a built-in raspberry pie development board, and there is a USB interface on the left and right sides of the car, as shown in the figure below, connecting the keyboard and mouse.
- Press the power-on button Press the start button to start myAGV, wait for about one minute, and then enter the login interface. The general initial password is:aibot1234
If you need to enter the password repeatedly, please follow the steps below:
Press Ctrl Alt F1 at the same time to enter the command line interface.
Enter the user name: ubuntu press enter
Enter the password: aibot1234 press enter
Enter sudo startx and press enter
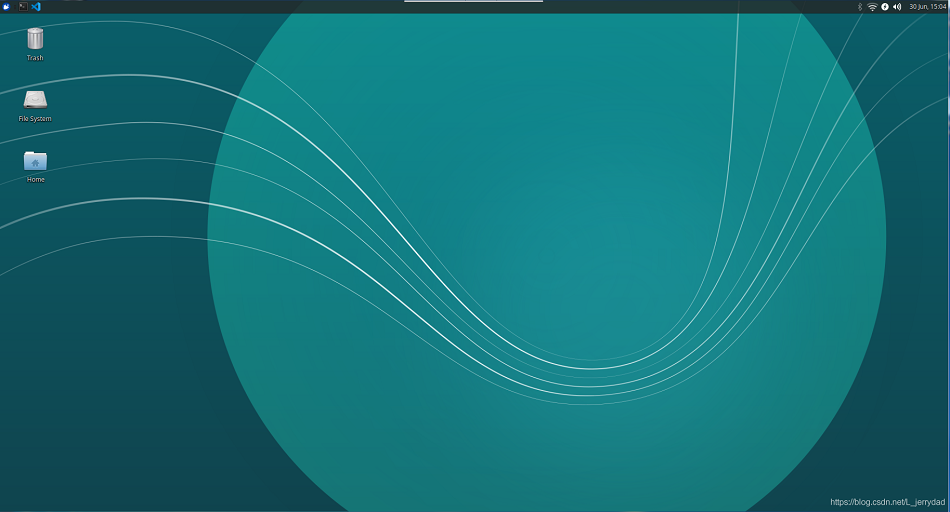
After entering the system, the desktop should be the following:
3 Internet
After the first boot, we can connect myAGV to WiFi, which is convenient for us to download software and update code. First click on this icon in the top right corner:

Check Enable Networking and Enable Wi-Fi, to ensure that there are two pair √ s before both options After clicking on, check Enable Networking and Enable Wi-Fi to ensure that there are two checkmarks in front of these two options √
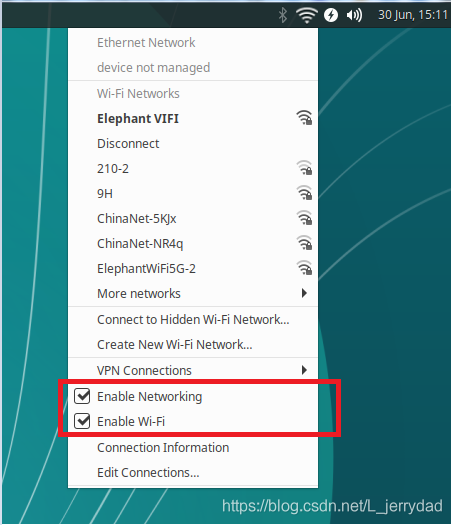
At this time, you can see the wifi information that we can connect nearby, and select your wifi input password to successfully connect.
If nearby wifi information is checked, you can open a terminal console (shortcut Ctrl+Alt+T) and enter the following instructions:
sudo create_ap --fix
This instruction needs to be executed once after each boot. If you do not want to be too troublesome, save this command in the configuration file as follows:
- Enter the following instructions at the terminal to open the profile:
sudo vim /etc/rc.local
The editor interface appears and use the keyboard direction key to move the cursor to the following position:

Press the keyboard oto enter the edit and add our instruction: sudo create_ap--fix to the file:

Then press Esc to exit edit mode, pressShift+:, and then enter wq to save the file and exit editing.
The above are some initialization operations used by myAGV for the first time after unpacking. Have a good time!