Environment Building
pymycobot is a Python package used for serial communication with myCobot. It supports Python2, Python3.5 and later versions.
Before using pymycobot, make sure to build a Python environment. Follow the steps below to install Python.
1 Download and Installation of Python
Python is applicable to:
- myCobot 280:
- myCobot 280 M5
- myCobot 280 PI
- myCobot 280 Jetson Nano
- myCobot 280 for Arduino
- myCobot 320:
- myCobot 320 M5
- myCobot 320 PI
- myPalletizer 260:
- myPalletizer 260 M5
- myPalletizer 260 PI
- mechArm-270:
- mechArm-270 M5
- mechArm-270 PI
At present, Python has two versions: 2.x and 3.x. These two versions are incompatible with each other. This section takes the version 3.x as an example due to its increasing popularity.
1.1 Installing Python
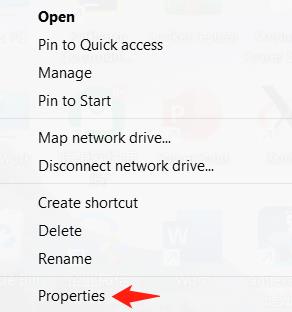
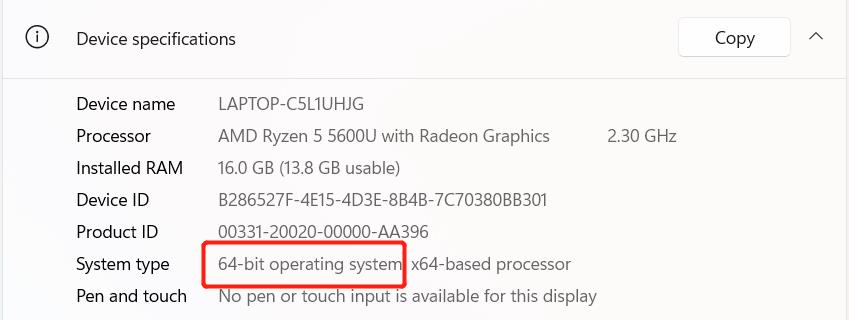
Notice: Before installation, check the operation system of PC. Press right button on the
My Computericon and then selectProperties. Install the corresponding Python.
- Go to http://www.python.org/download/ to download Python.
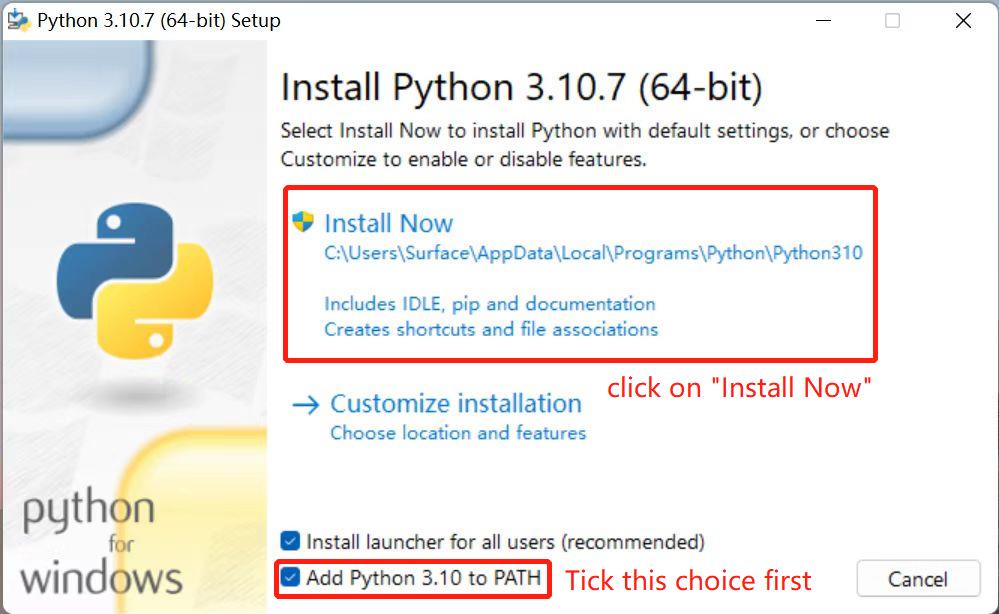
- Click on
Downloads, and then download begins. TickAdd Python 3.10 to PATH. Click onInstall Now, and then installation begins.

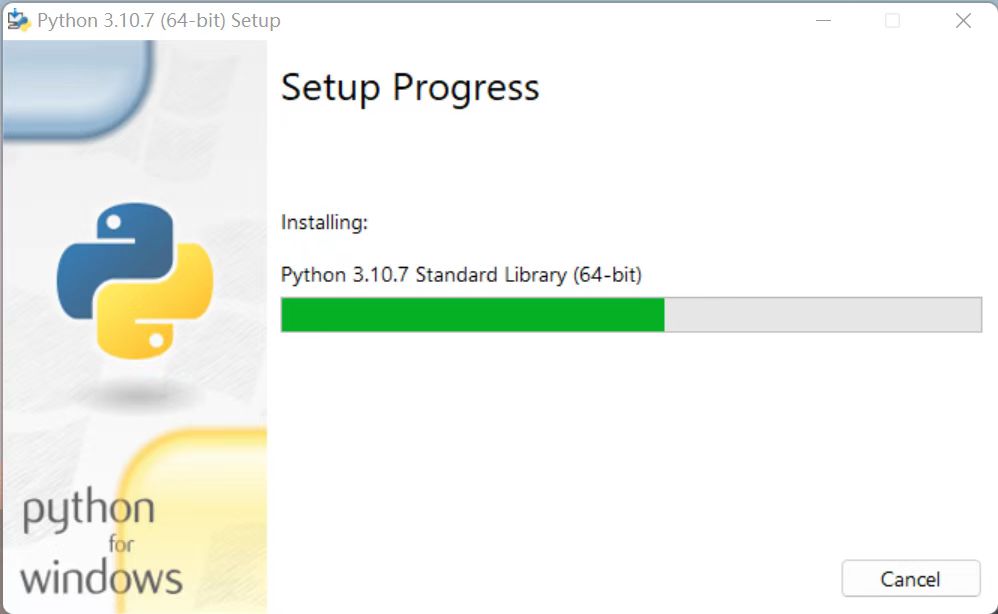
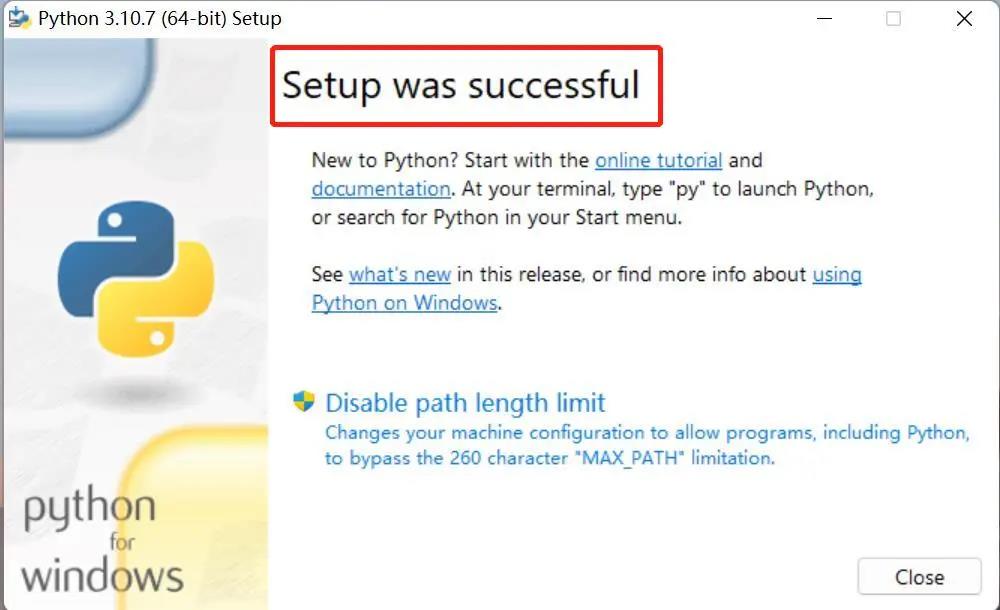
Download and installation complete.
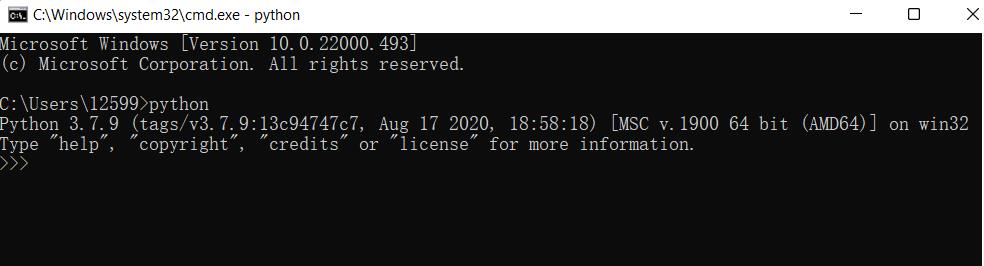
1.2 Running Python
Open the command prompt window (Win+R, input cmd and press Enter). Type Python.
Successful Installation:
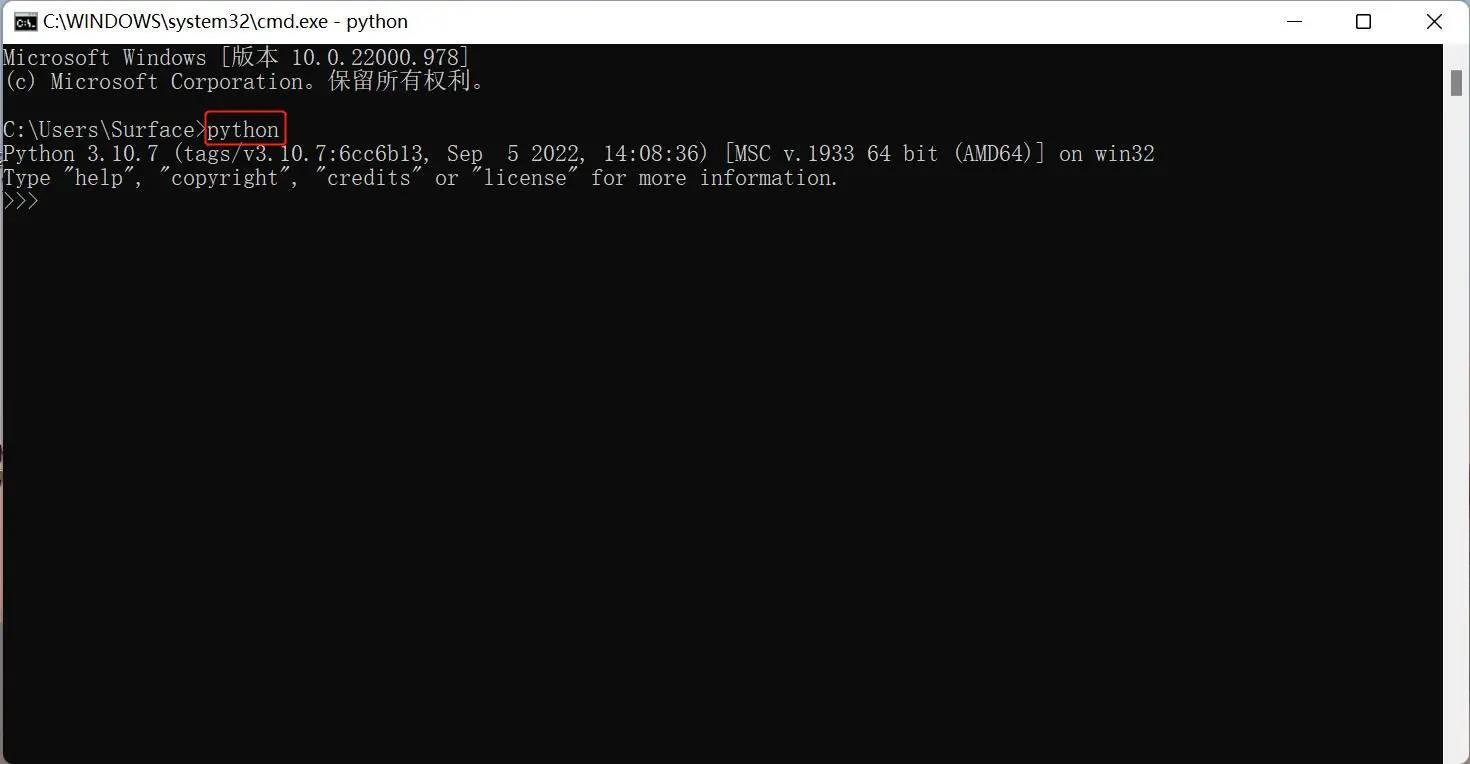
This on-screen instruction means that Python is successfully installed. The prompt >>> means Python interactive environment. If you input a Python code to get the execution result immediately.
Error Report:
If a wrong instruction is typed, for example "pythonn", the system may report an error.
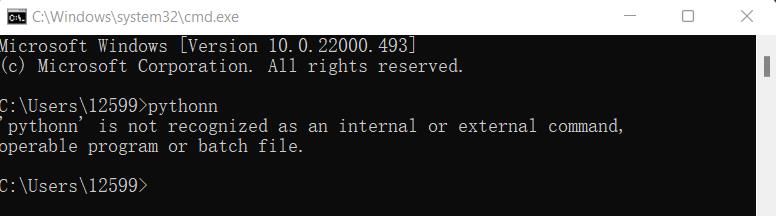
Notice: Generally, the error results from lack of environment configuration. Refer to 1.3 Environment Configuration to solve problems.
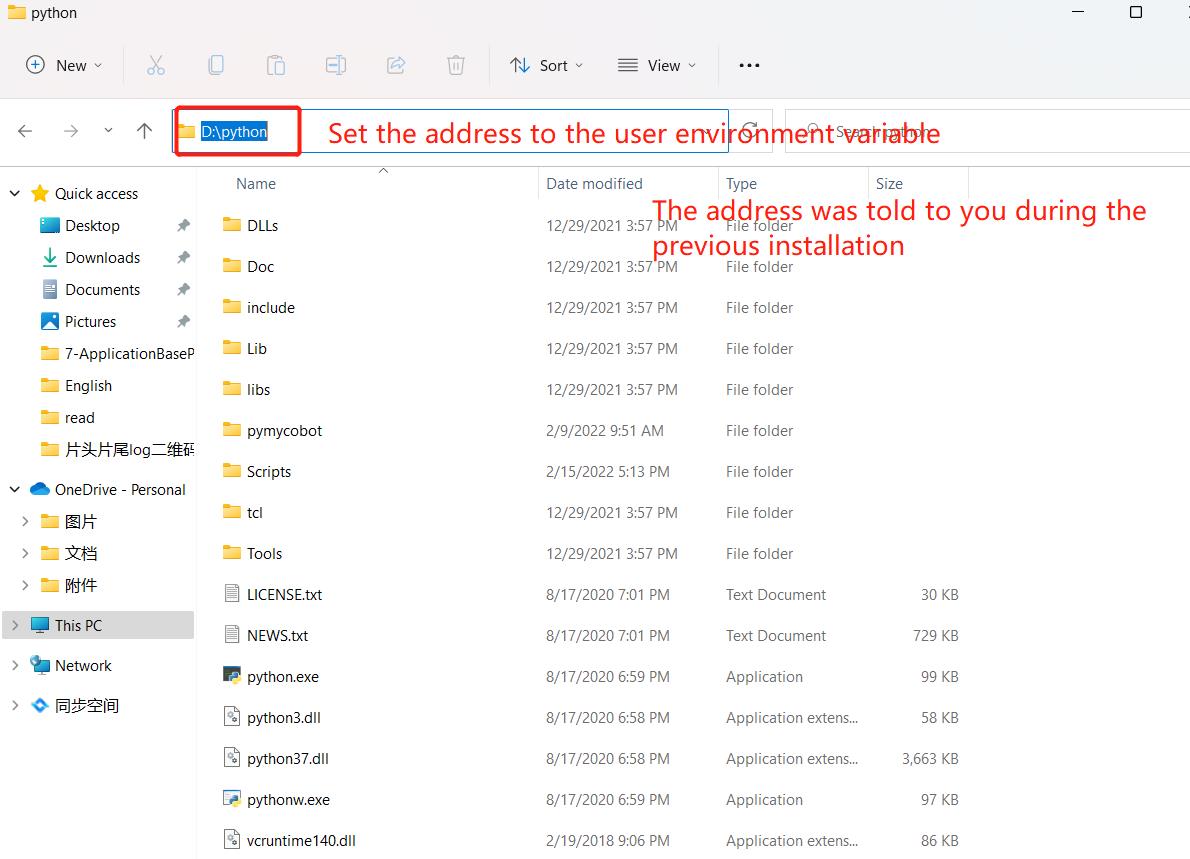
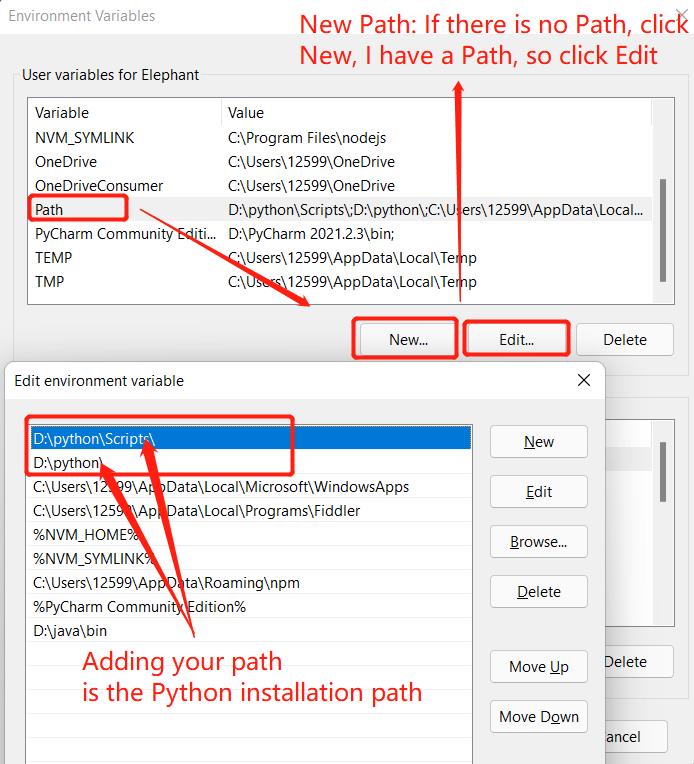
1.3 Environment Variable Configuration
Windows follows the path set by a Path environment variable in search of python.exe . Otherwise, an error will be reported. If you fail to tick Add Python 3.9 to PATH during installation, you need to manually add the path where python.exe is located into environment variable or download python again. Remember to tick Add Python 3.9 to PATH .
Follow the steps below to add python into environment variable manually.
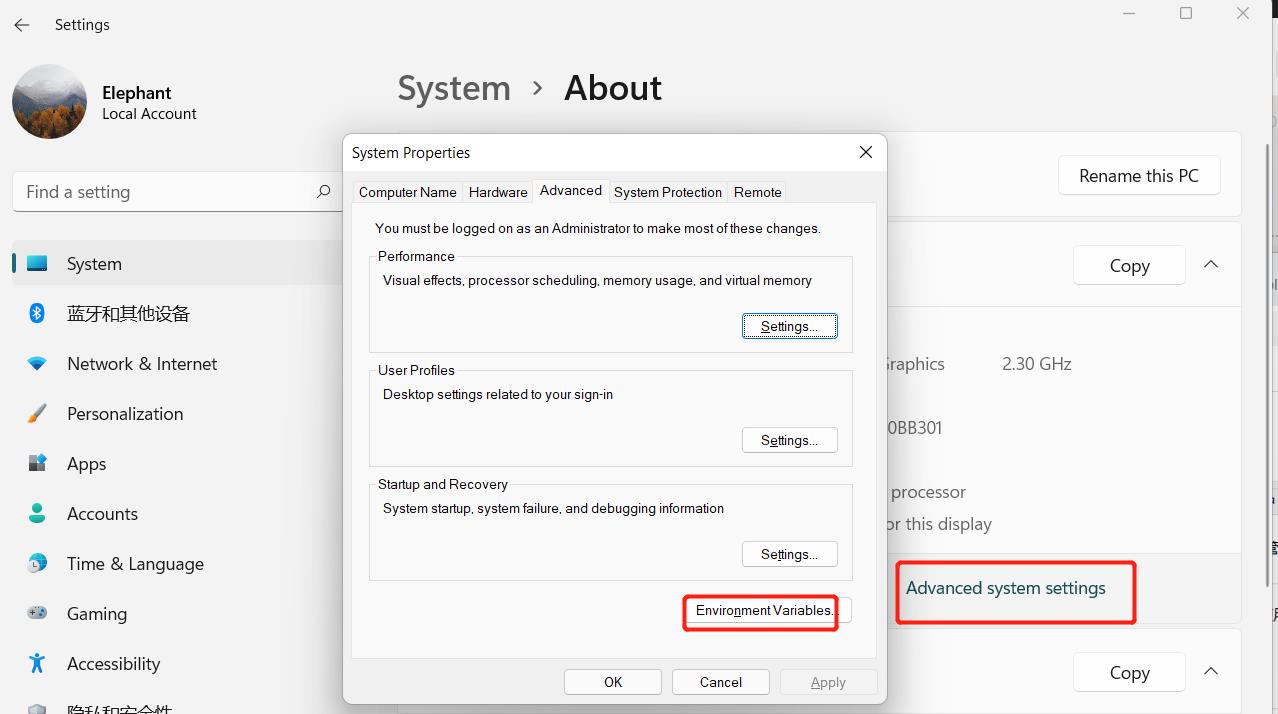
- Right click on
My Computericon -->Properties ->Advanced System Settings ->Environment Variables
- The environment variables include user variables and system variables. For user variables, users can utilize their own downloaded programs via
cmdcommand. Write the absolute path of the target program into the user variables.
- After the configuration, open the command prompt window (Win+R; input
cmdand pressEnter), and typePython.
2 Installation of PyCharm
PyCharm is a powerful python editor with the nature of cross-platform. Follow the steps below to download and install PyCharm.
Go to PyCharm to download PyCharm.
2.1 Download and Installation
Official website view:
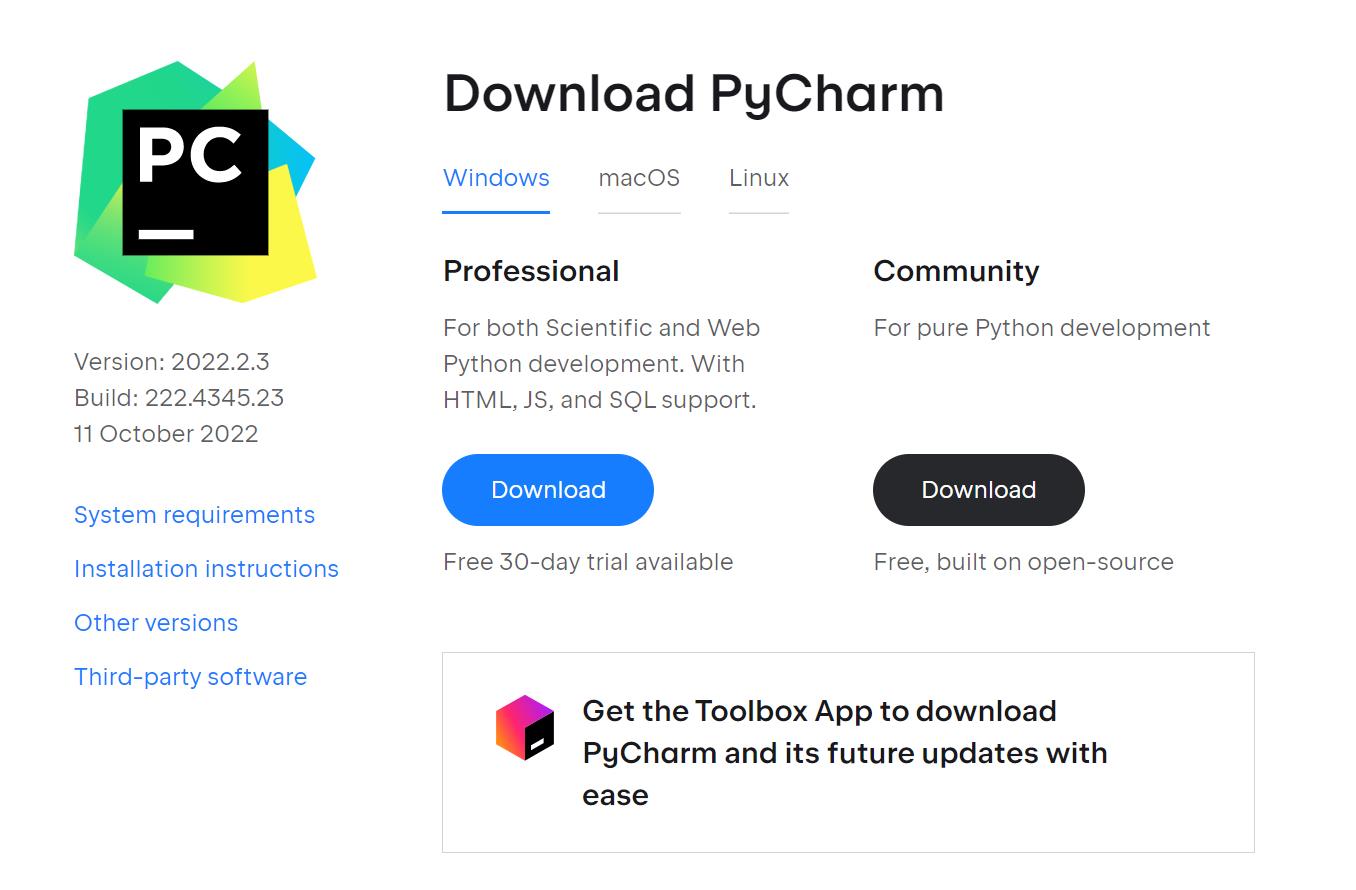
It is recommended to install the free version.
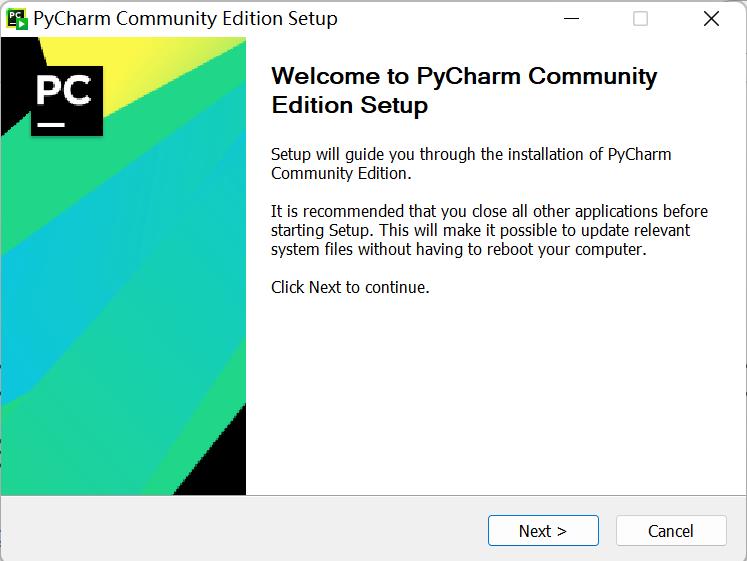
- Click on
Next:
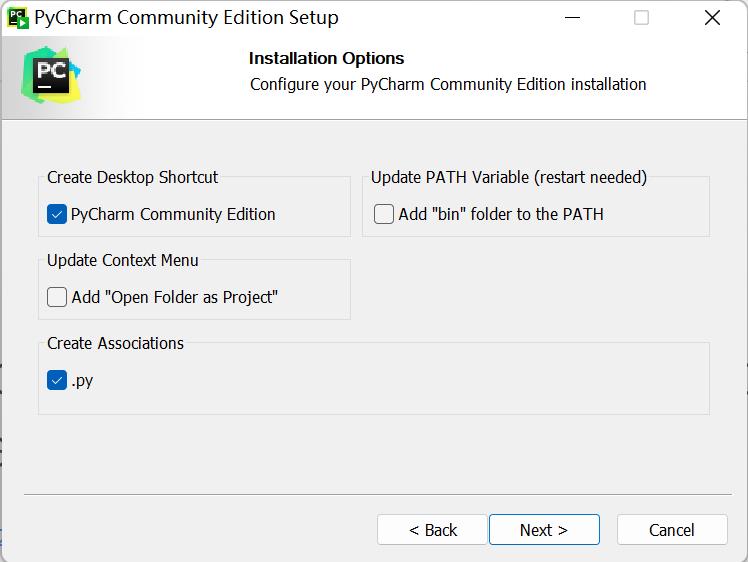
- Select options according to your needs and then select
Next:
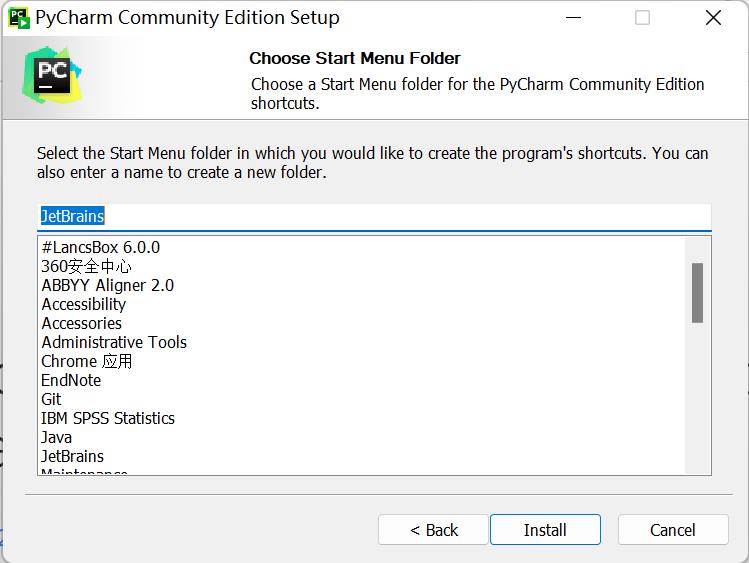
- Tap
Install:
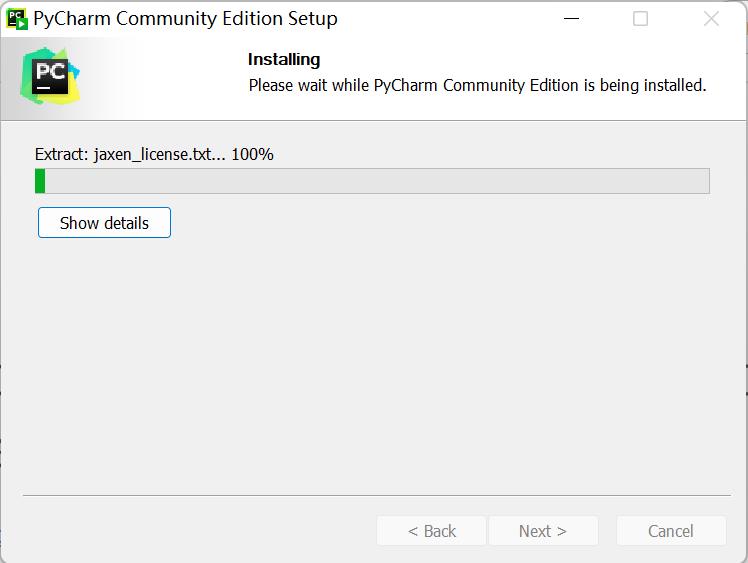
- Installing:
Tap
Finish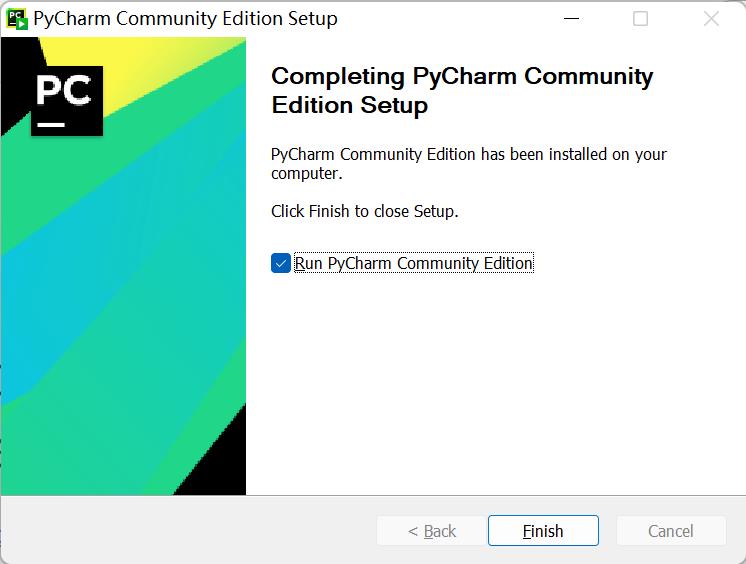
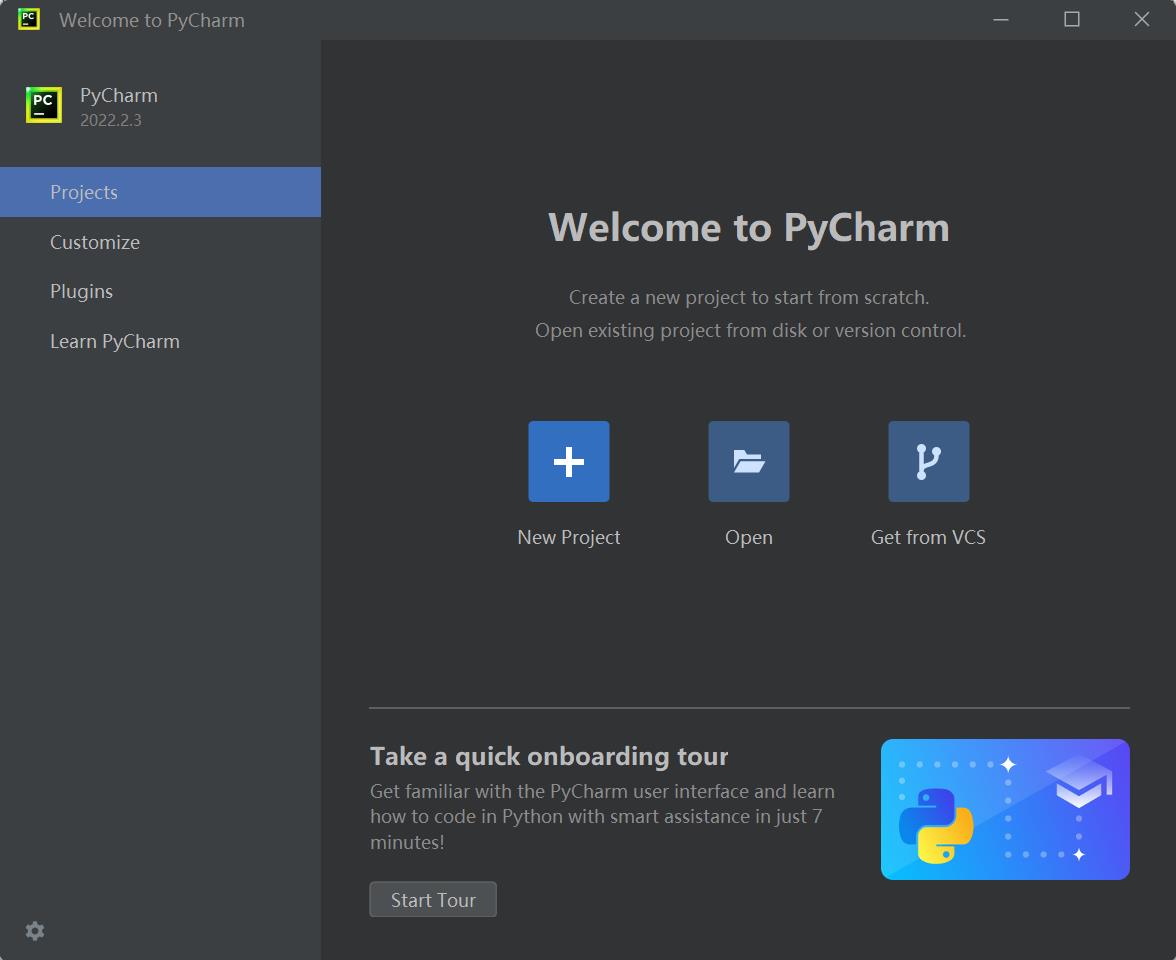
2.2 Create a new project
- Click
+New Project:
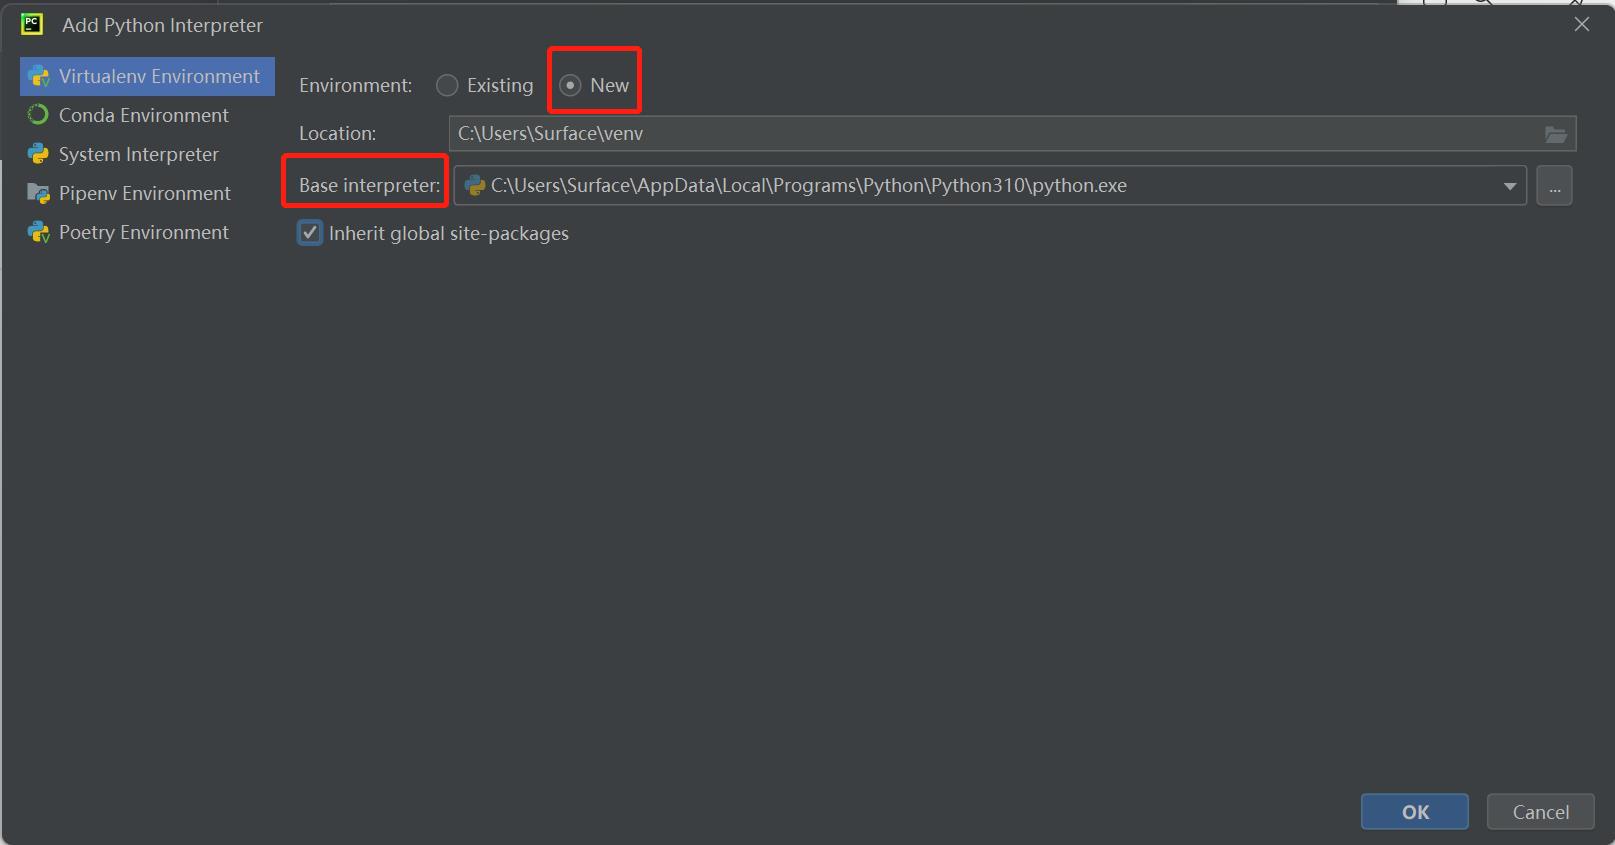
The
Interpreteris used to interpret python programs. SelectAdd Interpreter->Newto add base interpreter.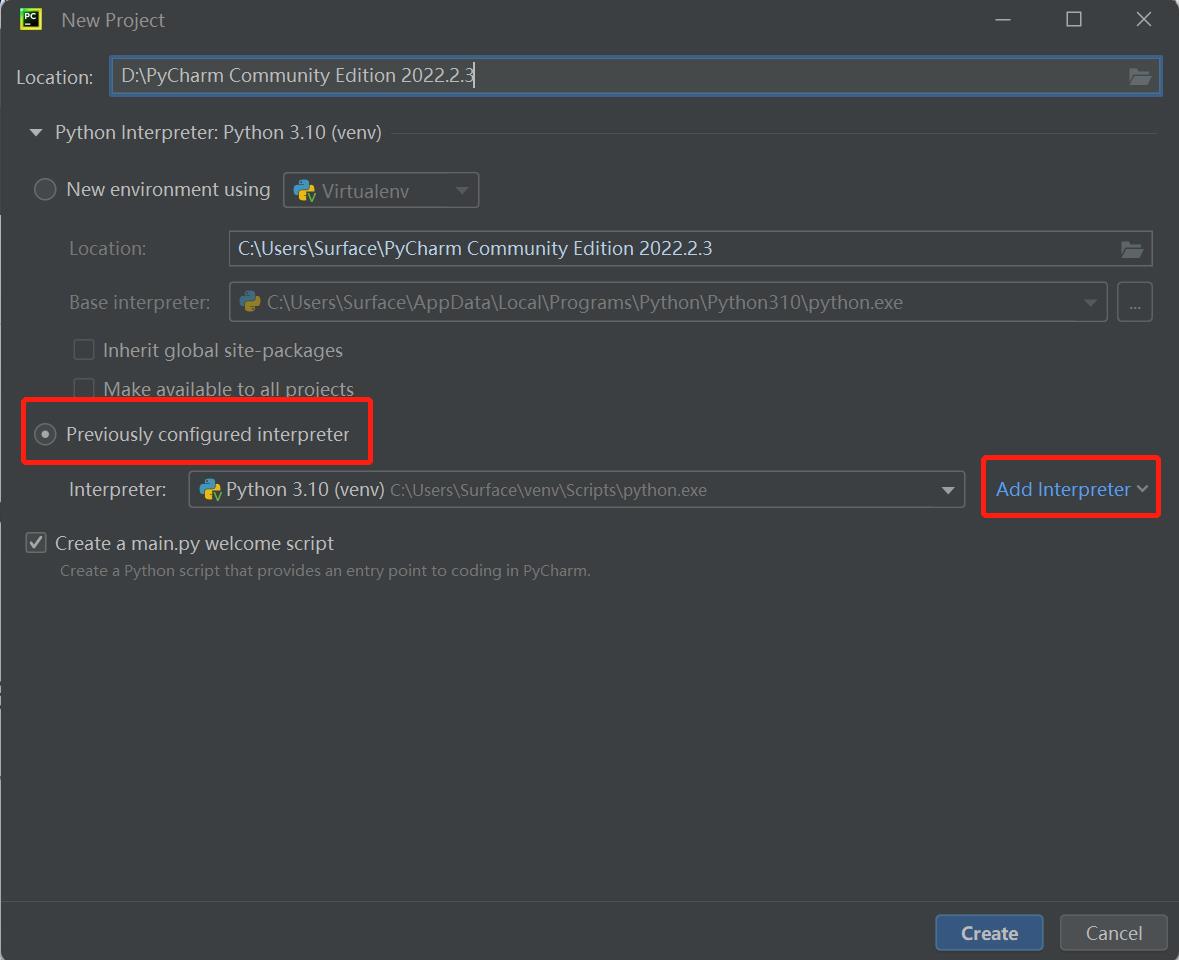
Locationrefers to the place where to save python file. Choose a file to put your programs.
Click on
Createand a sample appears:
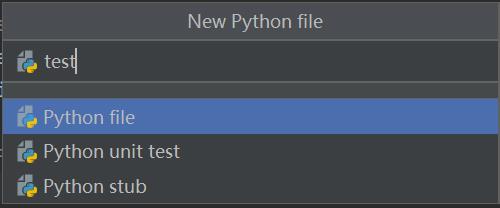
Right click on the selection that the red arrow points, and create a new python file.

Type name for the new file.
3 Preparations
Firmware burning. Firmware serves as a driver for systems to control robots.
- M5Stack version Make sure to burn
minirobotfor Basic at the bottom. And then chooseTransponderfunction (to receive instructions from Basic), PressPress A.Atom: OKmeans connect successfully. Refer to MyStudio) for more information about firmware burning. - Pi \ jetsonnano version
AtomMainfor Atom at the top is factory burnt.
- M5Stack version Make sure to burn
pymycobot installation. Type
pip install pymycobot --upgrade --uservia terminal (Win+R)cmdcommand.pip install pymycobot --upgrade --user

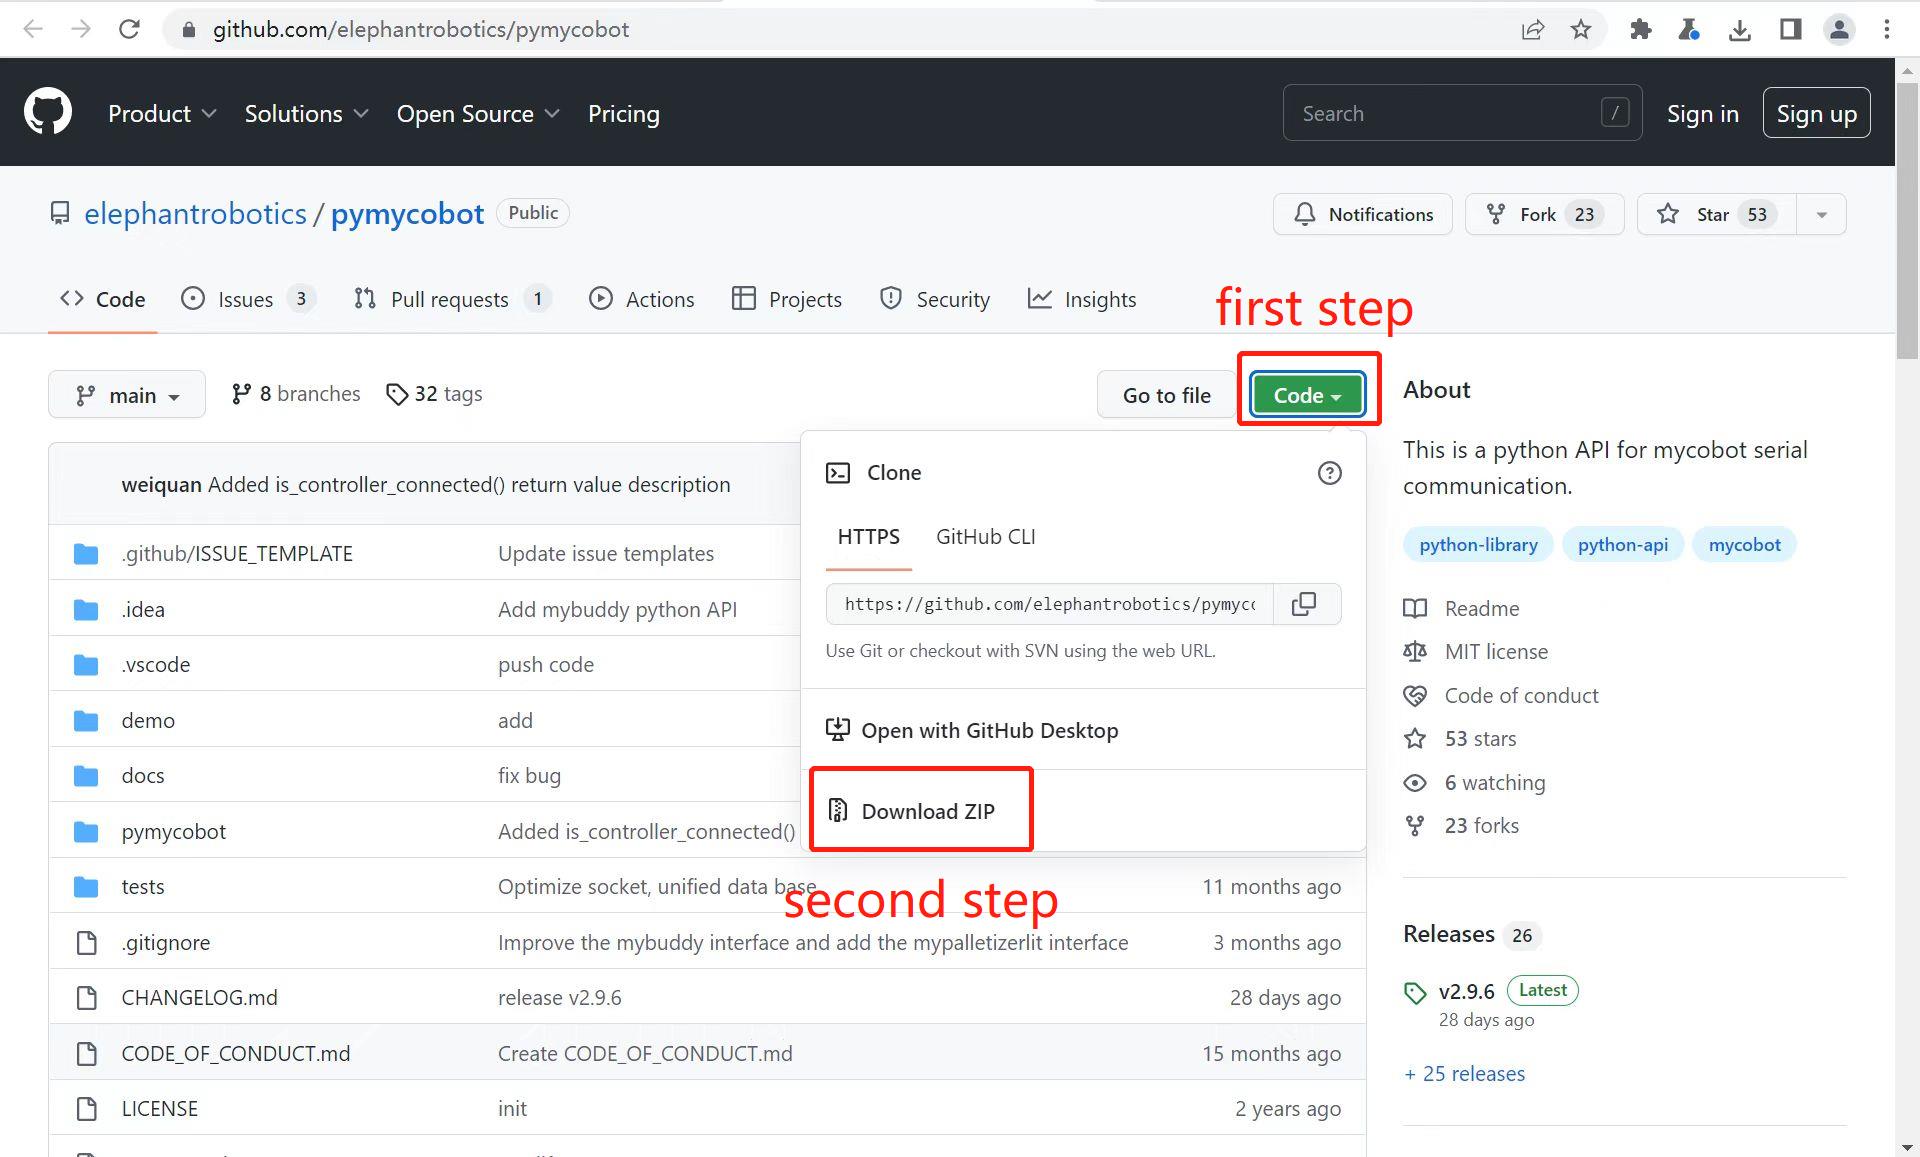
Source code installation. Open a terminal (Win+R, input
cmd), and type the command below to install.git clone https://github.com/elephantrobotics/pymycobot.git <your-path> #Fill in your installation address in <your-path>, do not choose the current default path. cd <your-path>/pymycobot #Go to the pymycobot folder of the downloaded package. #Run one of the following commands according to your python version. # Install python2 setup.py install # or python3 setup.py installUpdate pymycobot
pip install pymycobot --upgrade
4 Import of pymycobot
This part takes MyPalletizer 260-M5 as an example to introduce how to control a robot via python.
- Import pymycobot library for MyPalletizer :
from pymycobot.mypalletizer import MyPalletizer
Notice:
- If no red wavy line appears below the codes, pymycobot is successfully installed.
- if a red wavy line appears, got to the address https://github.com/elephantrobotics/pymycobot to download pymycobot manually and put it into python library.
5 Simple Demo
Create a new Python file, and type the following codes to set the color of RGB light panel. The codes are suitable to myCobot 280-M5, myCobot 320-M5 and myPalletizer 260.
Notice: The baud rates are different according to types of devices. Refer to calculator device manager to check the corresponding number.
- Codes for MyCobot:
# demo.py
from pymycobot.mycobot import MyCobot

from pymycobot import PI_PORT, PI_BAUD      # When using the Raspberry Pi version of mycobot, you can refer to these two variables to initialize MyCobot, if not, you can omit this line of code
import time
#The above codes are required to be written, which means importing the project package

# MyCobot class initialization requires two parameters:
#   The first is the serial port string, such as:
#       linux:  "/dev/ttyUSB0"
#          or "/dev/ttyAMA0"
#       windows: "COM3"
#   The second is the baud rate::
#       M5 version is:  115200
#
#    Example:
#       mycobot-M5:
#           linux:
#              mc = MyCobot("/dev/ttyUSB0", 115200)
#          or mc = MyCobot("/dev/ttyAMA0", 115200)
#           windows:
#              mc = MyCobot("COM3", 115200)
#       mycobot-raspi:
#           mc = MyCobot(PI_PORT, PI_BAUD)
#
# Initiate MyCobot
# Create object code here for windows version
mc = MyCobot("COM3", 115200)

i = 7
#loop 7 times
while i > 0:
    mc.set_color(0,0,255) #blue light on
    time.sleep(2)    #wait for 2 seconds
    mc.set_color(255,0,0) #red light on
    time.sleep(2)    #wait for 2 seconds
    mc.set_color(0,255,0) #green light on
    time.sleep(2)    #wait for 2 seconds
    i -= 1
Run the example file:
python3 demo.py
- Codes for MyPalletizer:
from pymycobot.mypalletizer import MyPalletizer
import time
##The above codes are required to be written at the beginning, which means importing the project package

#initiate MyPalletizer
mc = MyPalletizer("COM3", 115200)

#     MyPalletizer initiation requires two parameters:
#   The first is the serial port string, such as:
#       linux:  "/dev/ttyUSB0"
#          or "/dev/ttyAMA0"
#       windows: "COM3"
#   The second is the baud rate::
#       M5 version is:  115200
#
#    Example:
#       MyPalletizer-M5:
#           linux:
#              mc = MyPalletizer("/dev/ttyUSB0", 115200)
#          or mc = MyPalletizer("/dev/ttyAMA0", 115200)
#           windows:
#              mc = MyPalletizer("COM3", 115200)

i = 7
#loops 7 times
while i > 0:
    mc.set_color(0,0,255) #blue light on
    time.sleep(2) #wait for 2 seconds
    mc.set_color(255,0,0) #red light on
    time.sleep(2) #wait for 2 seconds
    mc.set_color(0,255,0) #green light on
    time.sleep(2) #wait for 2 seconds
    i -= 1
The blue, red, and green lights on the top of the robot flash 7 times continuously at an interval of 2 seconds.