Simple use of Arduino
1 Connecting a device
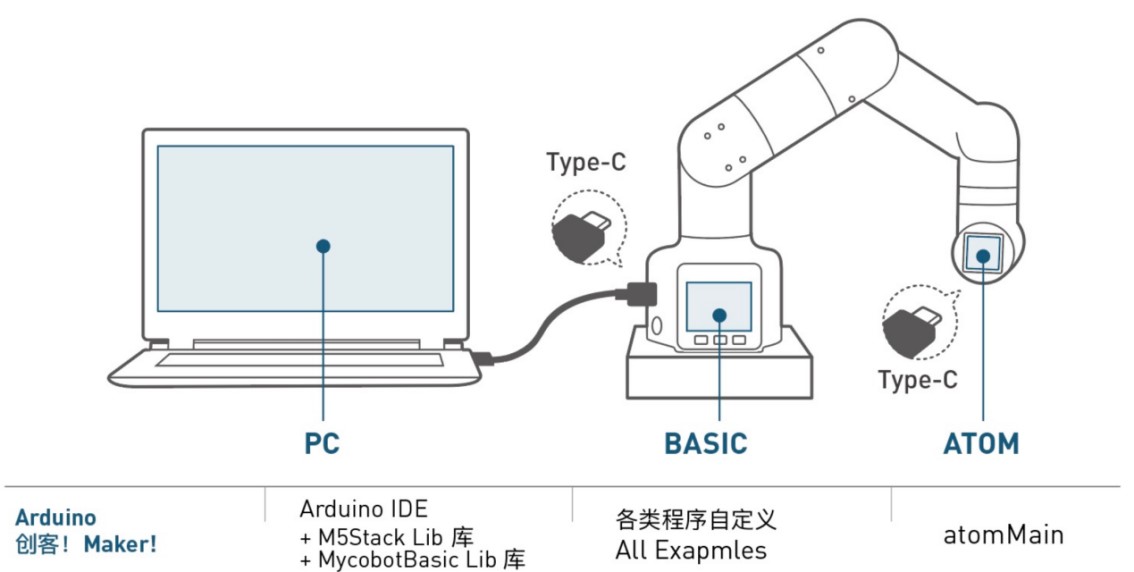
Take myCobot 280-M5 for example. Connect the M5Stack-basic on the stand of the robot arm with a PC by using a Tyep-C data cable.
2 Firmware requirements
• ATOM: burn the latest version of AtomMain by using MyStudio.
• M5Stack-basic: no requirements
3 Detecting link
Open the computer device manager to see whether there is a device. If no device is detected, replace the USB cable. If "it cannot be used" is shown, click to download CP210X driver or CP34X. After the downloading is complete, unzip and install the required version of the driver for use.
Open Arduino IDE --> Tools --> Port to check whether there is a device. If no device is detected, replace the USB cable for test, or check whether the driver is installed successfully.
4 Starting development
Take burning an official demo as an example. Open Arduino IDE --> File --> Examples --> MyCobotBasic, and you will see all project examples. Choose to burn a simple demo, for example MyCobotBasic --> SetRGB.ino.
Open SetRGB from the example file.
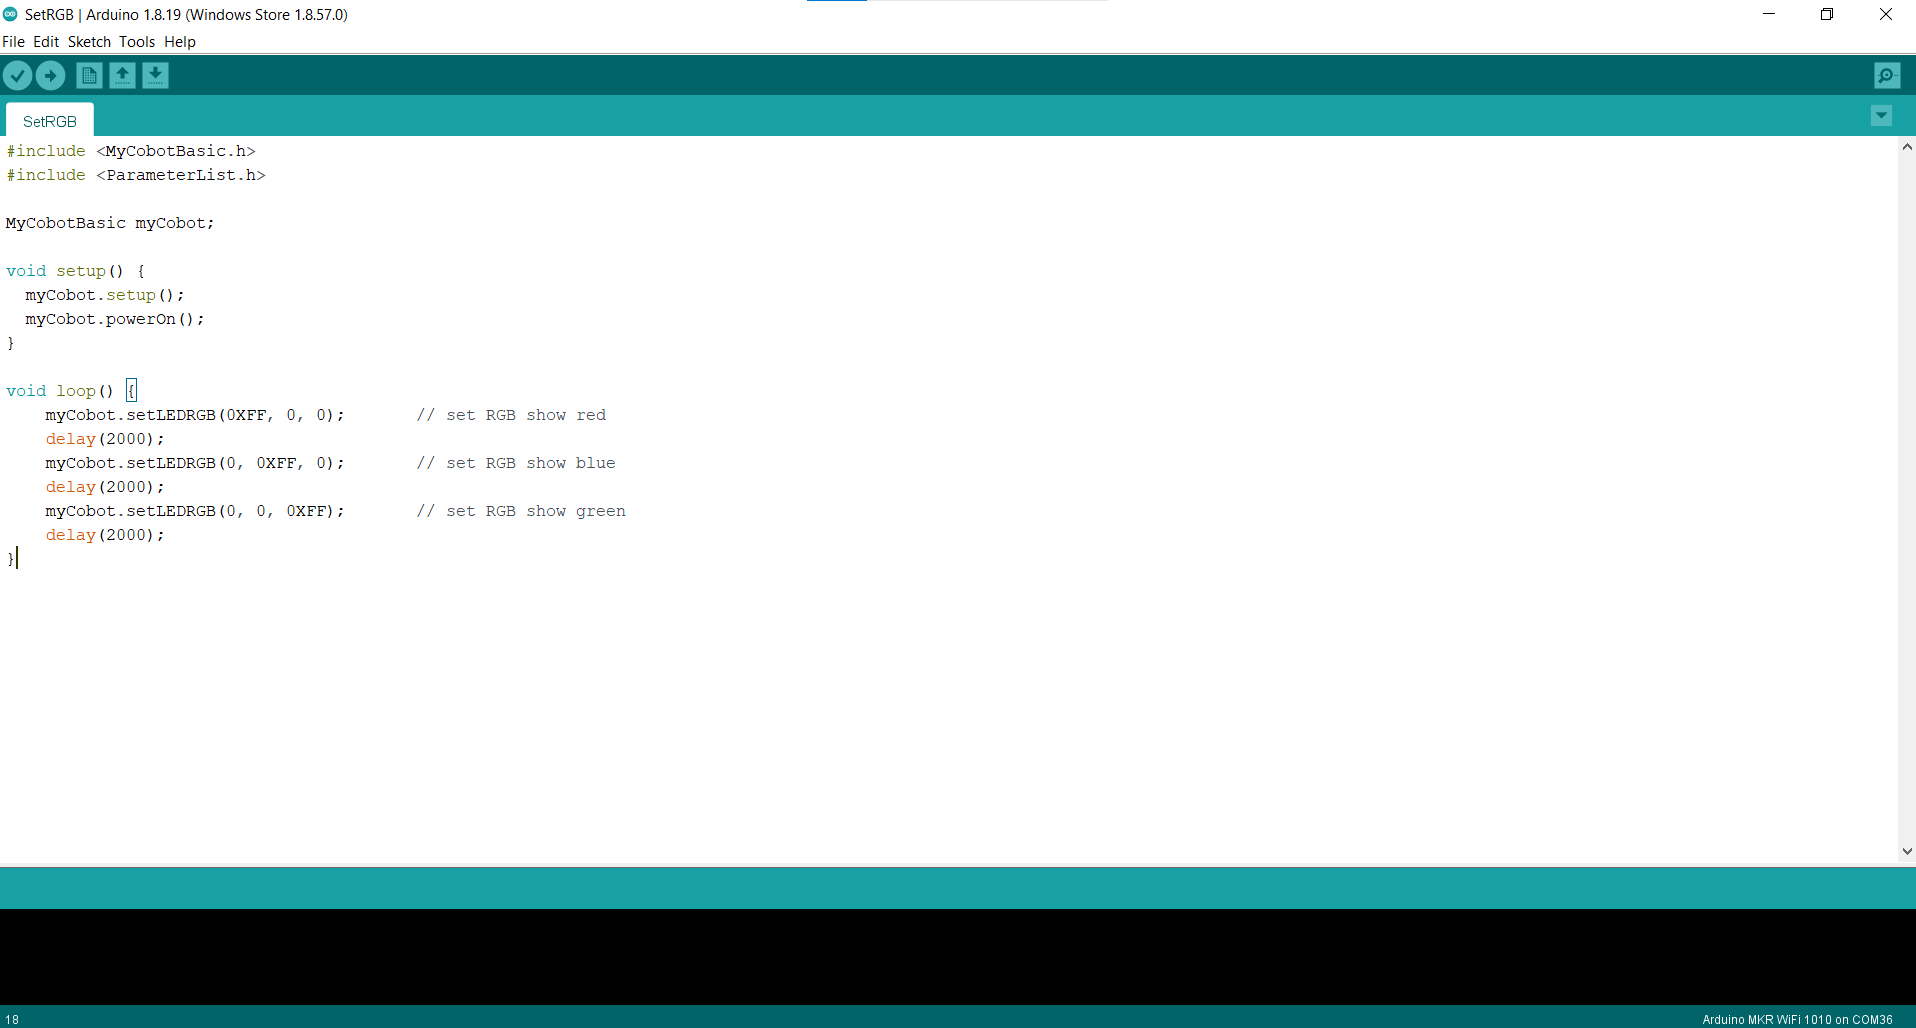
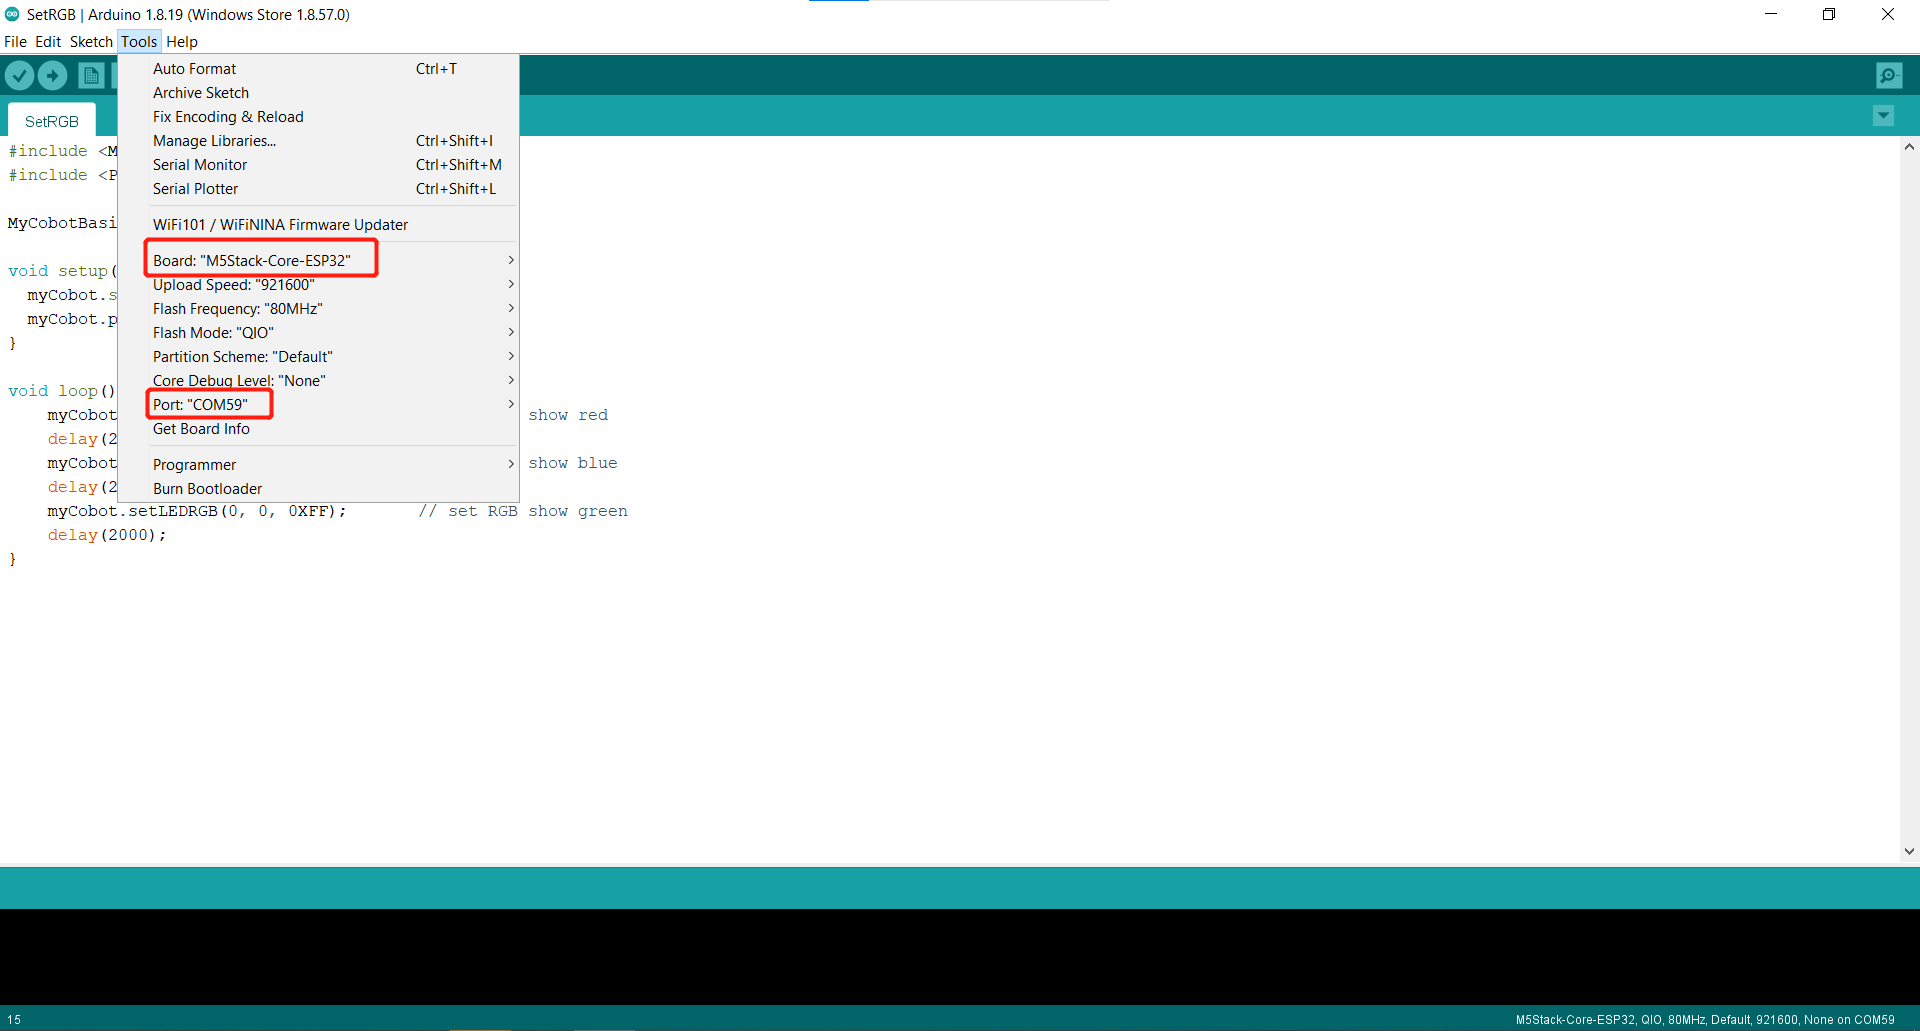
Notice: Select the board as M5Stack-Core-ESP32 and corresponding COM port.
If you are using the myCobot280-M5, please open ParameterList.h, comment line 5, and uncomment the corresponding board:
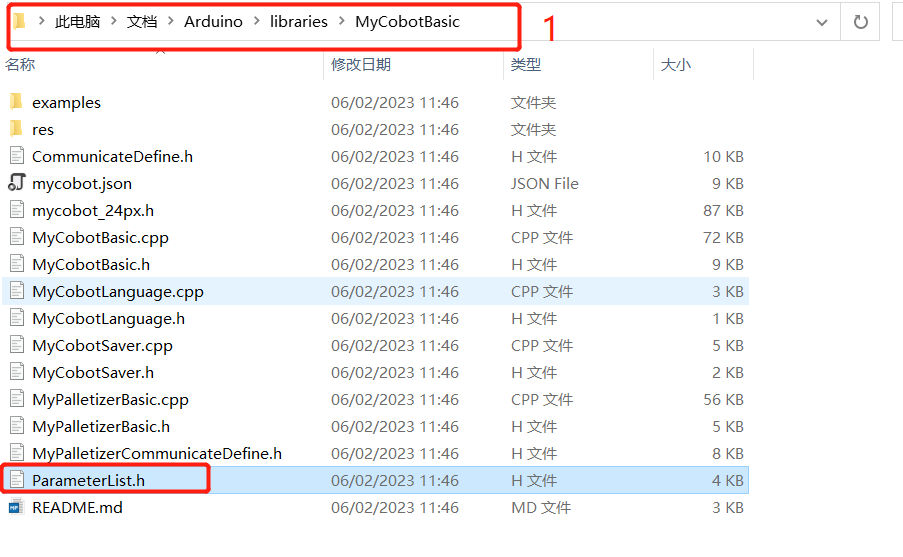
1 You can refer to 10.1 Adding dependencies to find the libraries folder, and then open MyCobotBasic
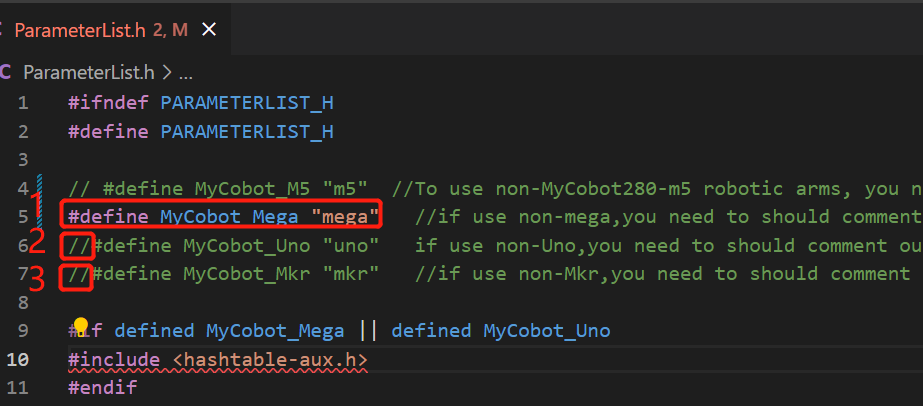
1 when not using mega, add Commments "//"
2 When using uno, delete Comments "//"
3 When using mkr, delete Comments "//"
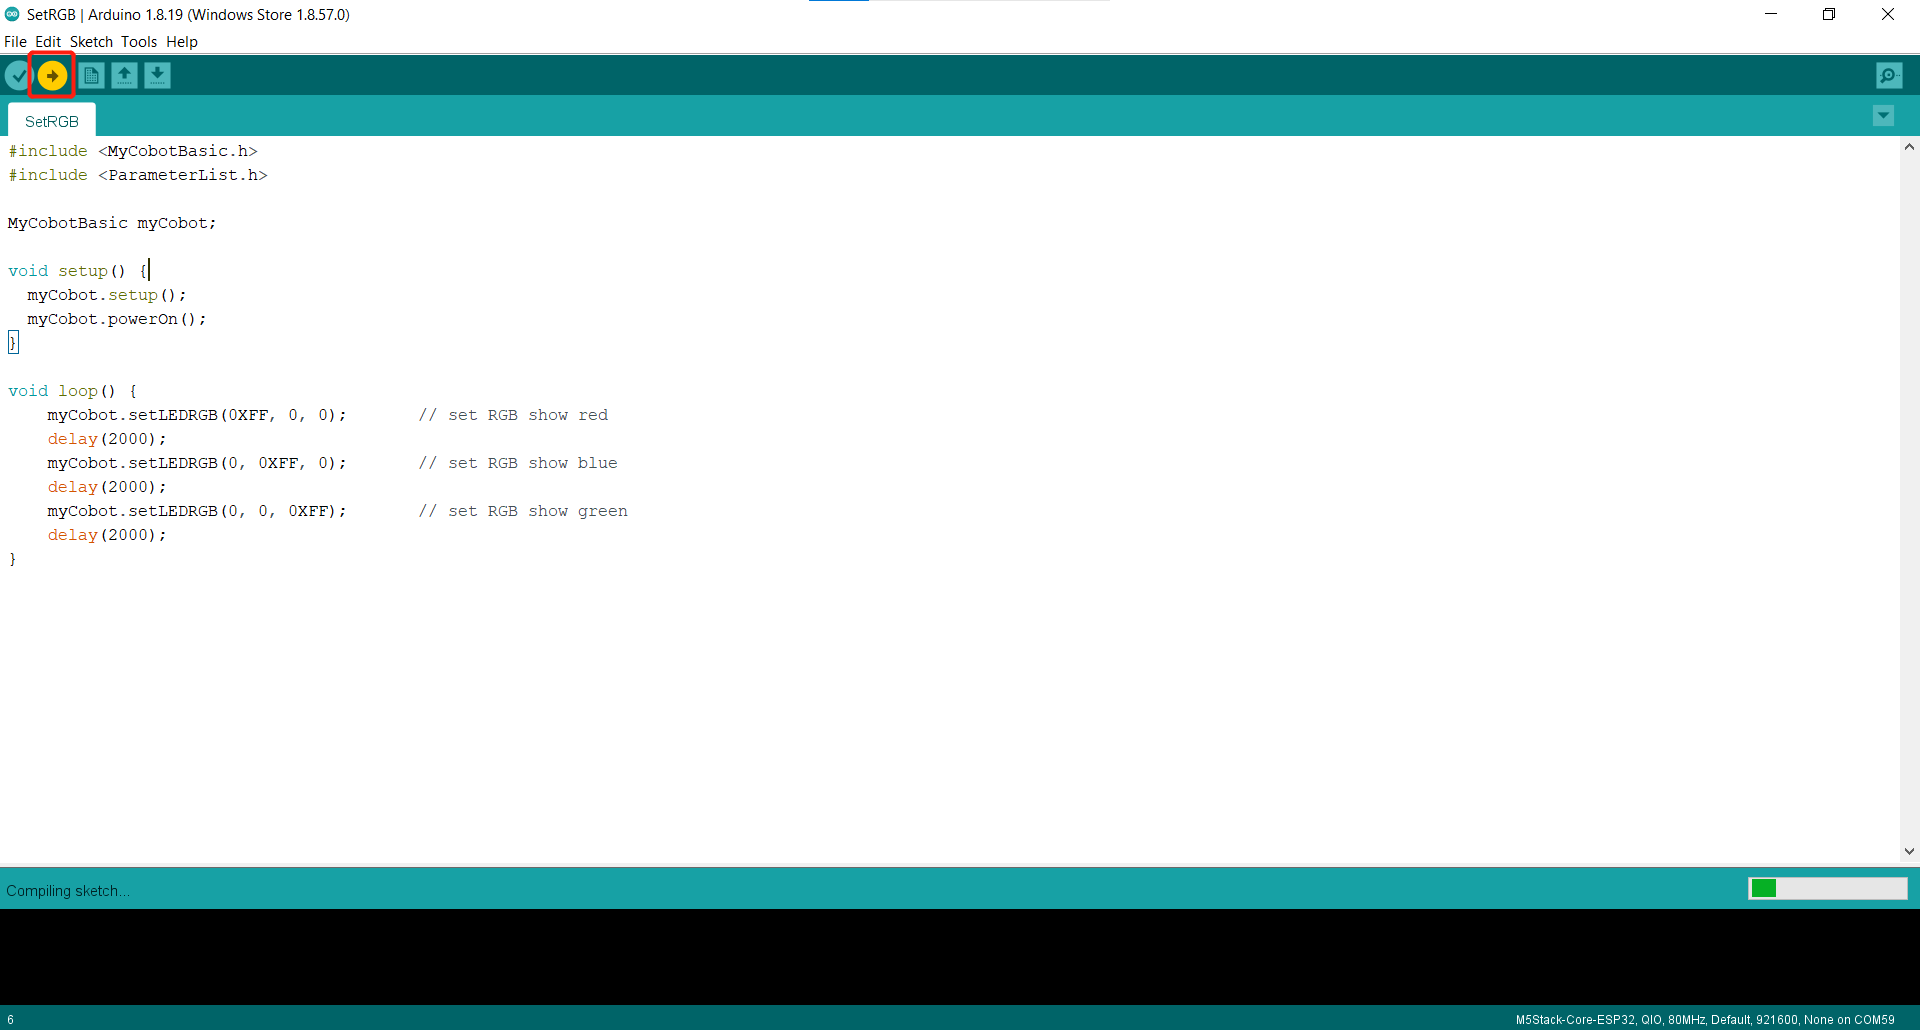
Click Download and wait for the progress bar at the bottom right to finish.
Wait until the bottom right shows that the uploading is successful, which means that the downloading of the program has been completed.
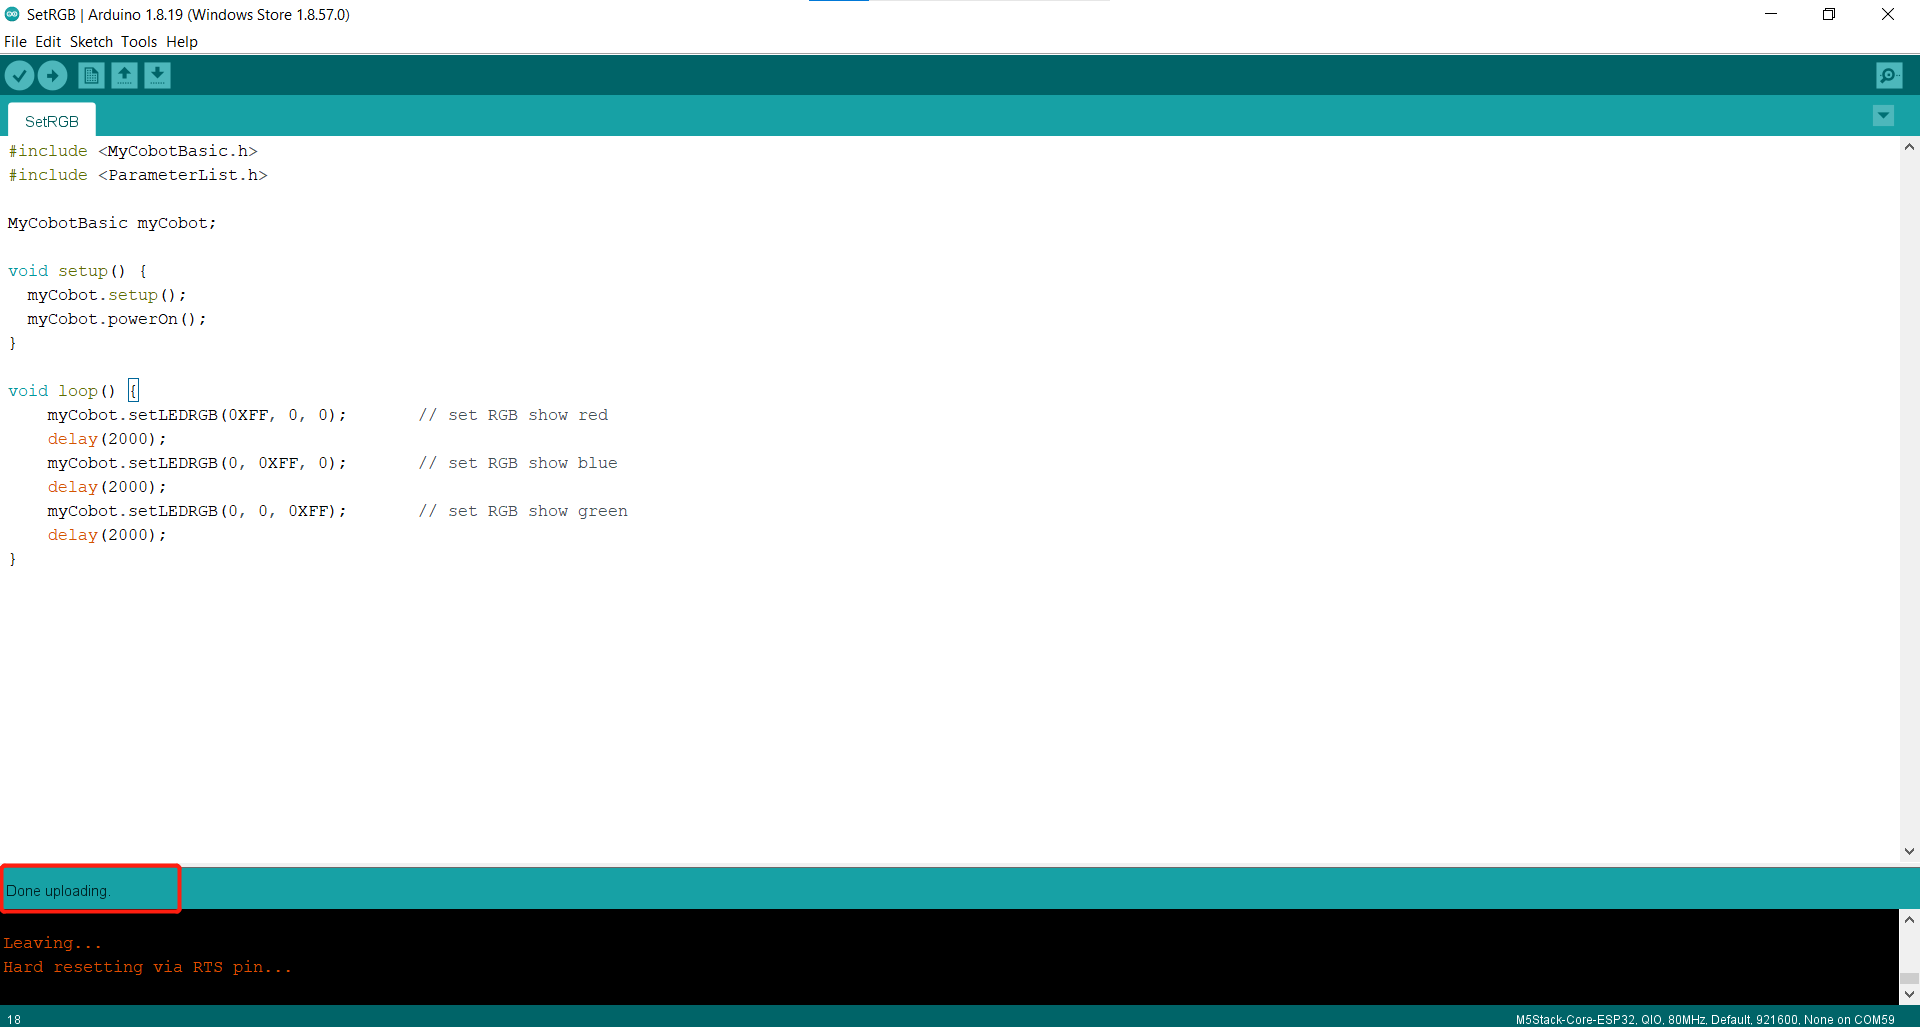
At this point, we can see that Atom screen displays red, green and blue lights cyclically.
The interface and drivers for the use of the basic buttons with the screen can be found in the following documents:
button: https://docs.m5stack.com/en/api/core/button
screen: https://docs.m5stack.com/en/api/core/lcd
5 Part of the case introduction
5.1 MyPalletizerRoboFlow:
MyPalletizer260 use cases for zero calibration, dragging and teaching, communication (on top of that, controlling the robot arm using RoboFlow, python, myblockly, etc.), and information acquisition (getting the servo atom connection status, and M5Stack-basic, atom firmware version).
5.2 miniRoboM5:
myCobot280-M5 use case with the same functionality as MyPalletizerRoboFlow.
5.3 MKRBoard:
myCobot280-Arduino and Mega2560 board use case, the function is mainly communication, based on this, use RoboFlow, python, myblockly, etc. to control the robot arm, io control.
5.4 ControlRobot:
MyCobot280 general use case, the case mainly introduces the joint, coordinates, clamping jaws and other control and information acquisition, can be developed on this basis, before burning this case, please fix robot arm, the case will be the robot arm for coordinates, joints, clamping jaws control.
Note: Arduino environment configuration and case compilation can be found in our gitbook documentation( https://docs.elephantrobotics.com/docs/gitbook-en/10-ArduinoEnv/ ) and the videos on Bilibili ( https://www.bilibili.com/video/BV1Vi4y1c7DQ/ )。