Construction of working environment
First of all, it should be clear that all case experiments are based on Python + opencv + pymycobot. Therefore, when using M5 manipulator, myStudio needs to burn atom firmware and transport firmware at the head and bottom of the manipulator respectively.
Since it is troublesome to install opencv version 4.5.3 in Linux system, and in order to reduce the difficulty of environment construction, we will provide Linux system image, virtual box installation package and its expansion package. Next, we will teach you how to install virtual box and import Linux system image.(The default password is 123)
1 Virtual Box install
Click the link to download the installation package:
Double click virtualbox-6.1.24-145767-win.exe to install as follows.

2 Installing extensions for virtual box
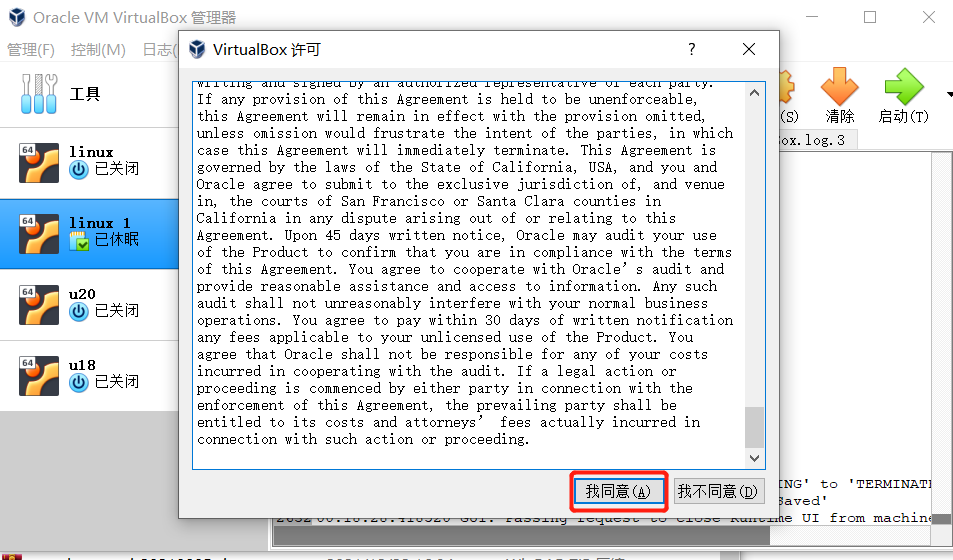
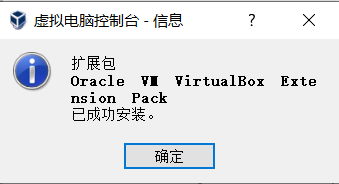
Open the installed virtual box and double-click oracle VM VirtualBox Extension Pack-6.1.24. VBox extpack extension program can be installed as follows.
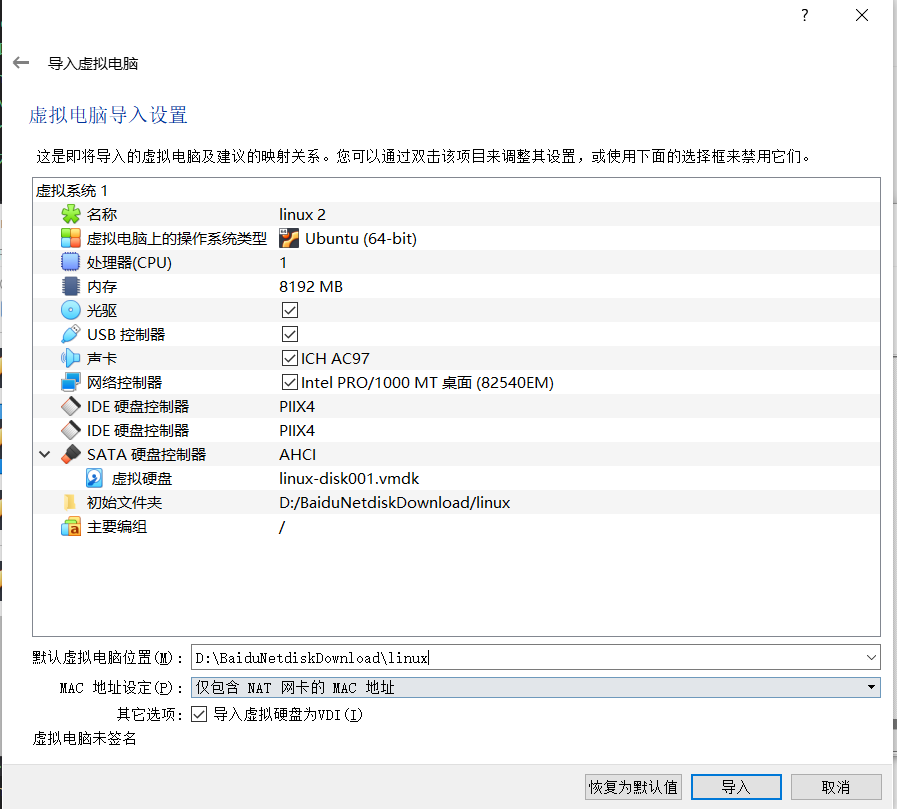
3 Import Linux system image
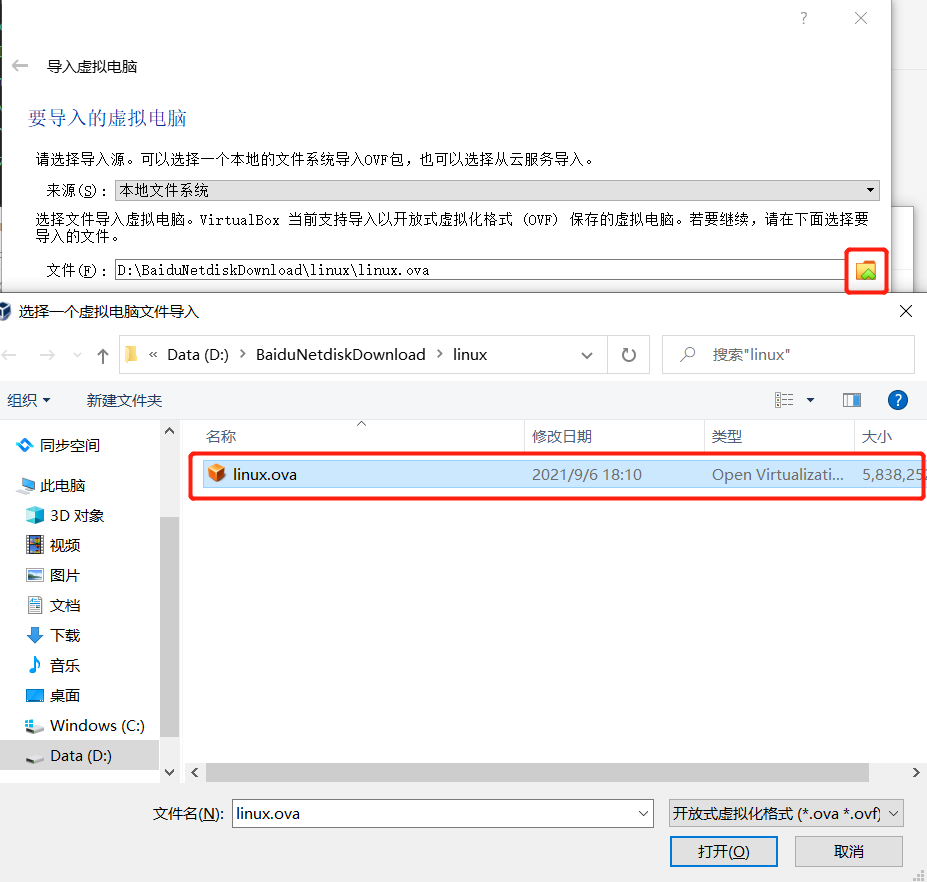
In the virtual box interface, click management - > Import virtual computer - > select virtual image - > select the installation path and import, as shown below.
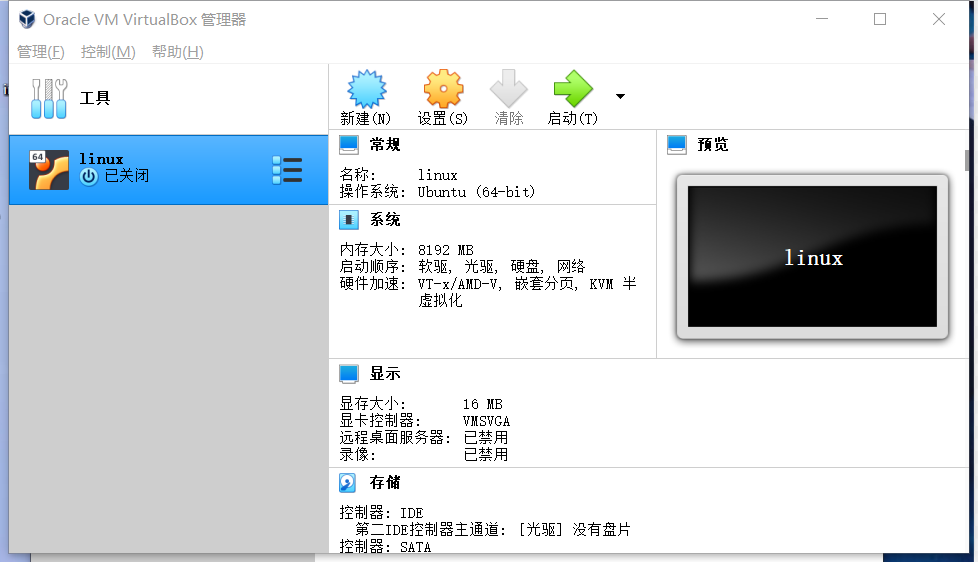
Wait for the image to be imported, as shown in the figure below.
4 Artificial intelligence suit construction
You can build an artificial intelligence suit according to the video content through Artificial Intelligence Suite--Installation Tutorial
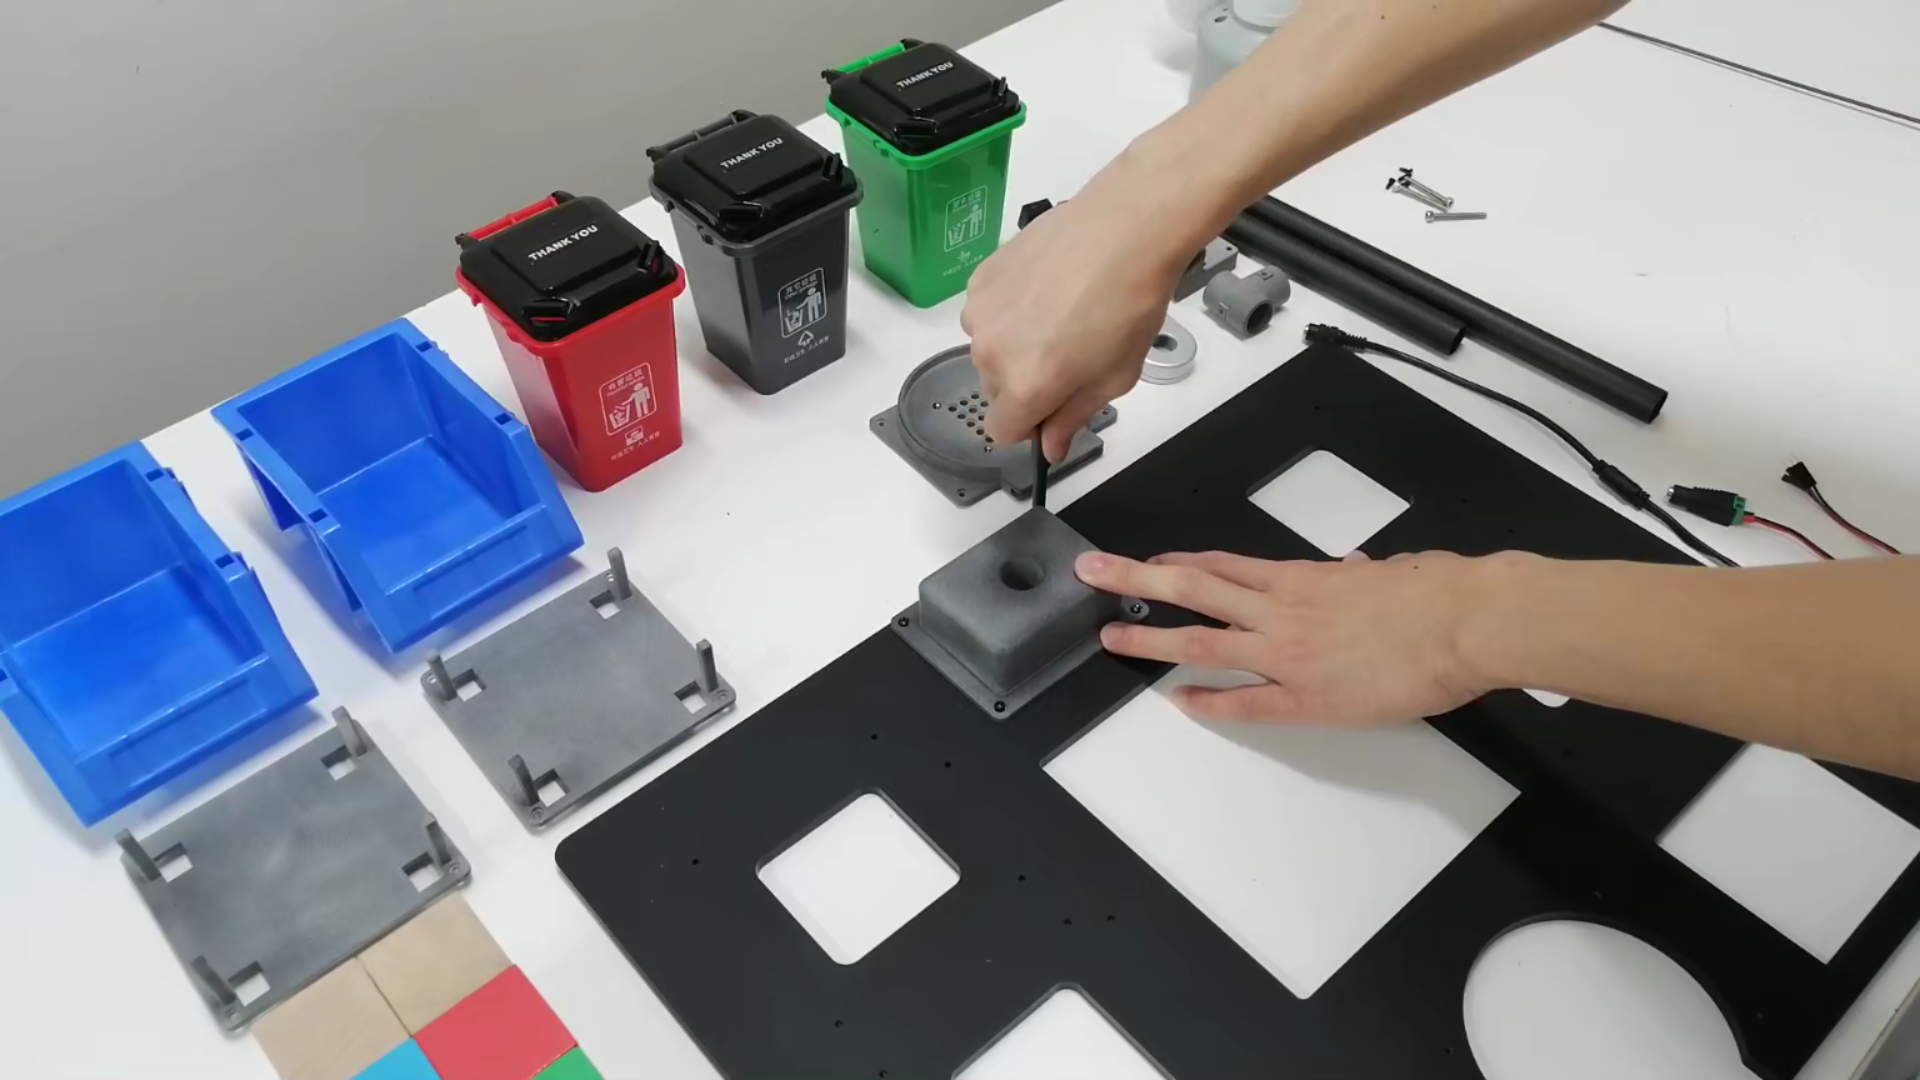
First of all, please confirm whether the item is complete and whether it is damaged. If there is a problem, please contact us. Mail: support@elephantrobotics.com We will reply within 1~2 working days. WeChat: We only provide WeChat 1-to-1 services to users who have already purchased products.
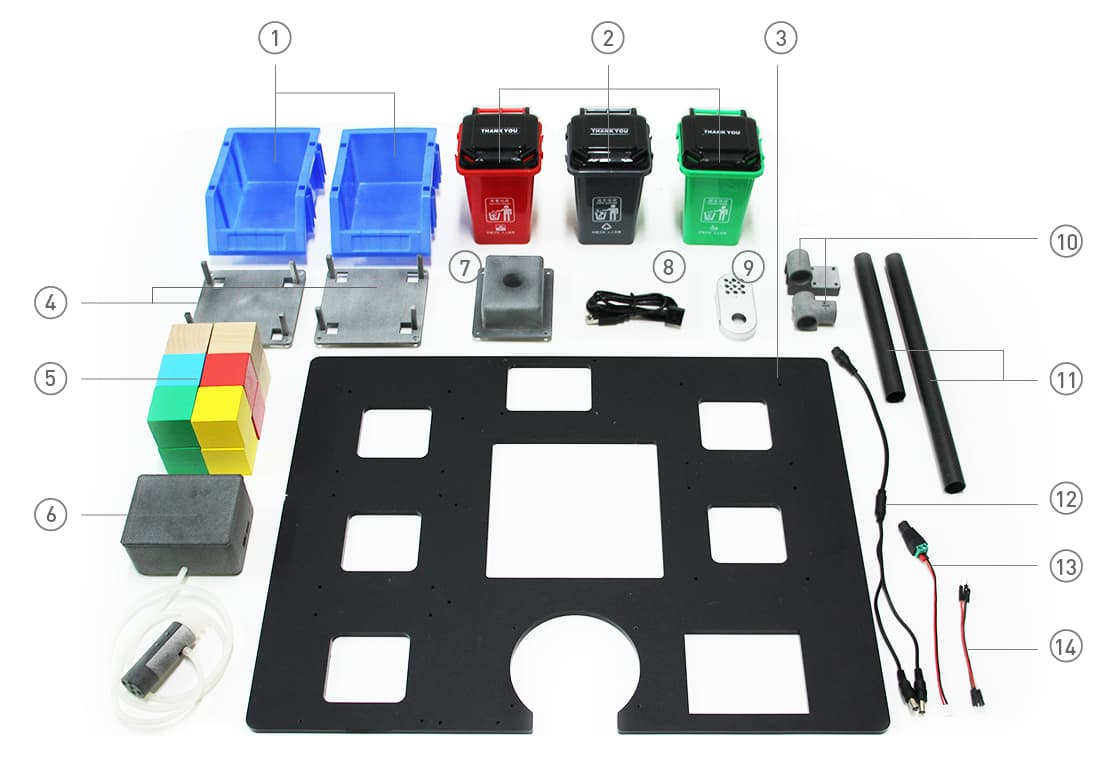
- Material box
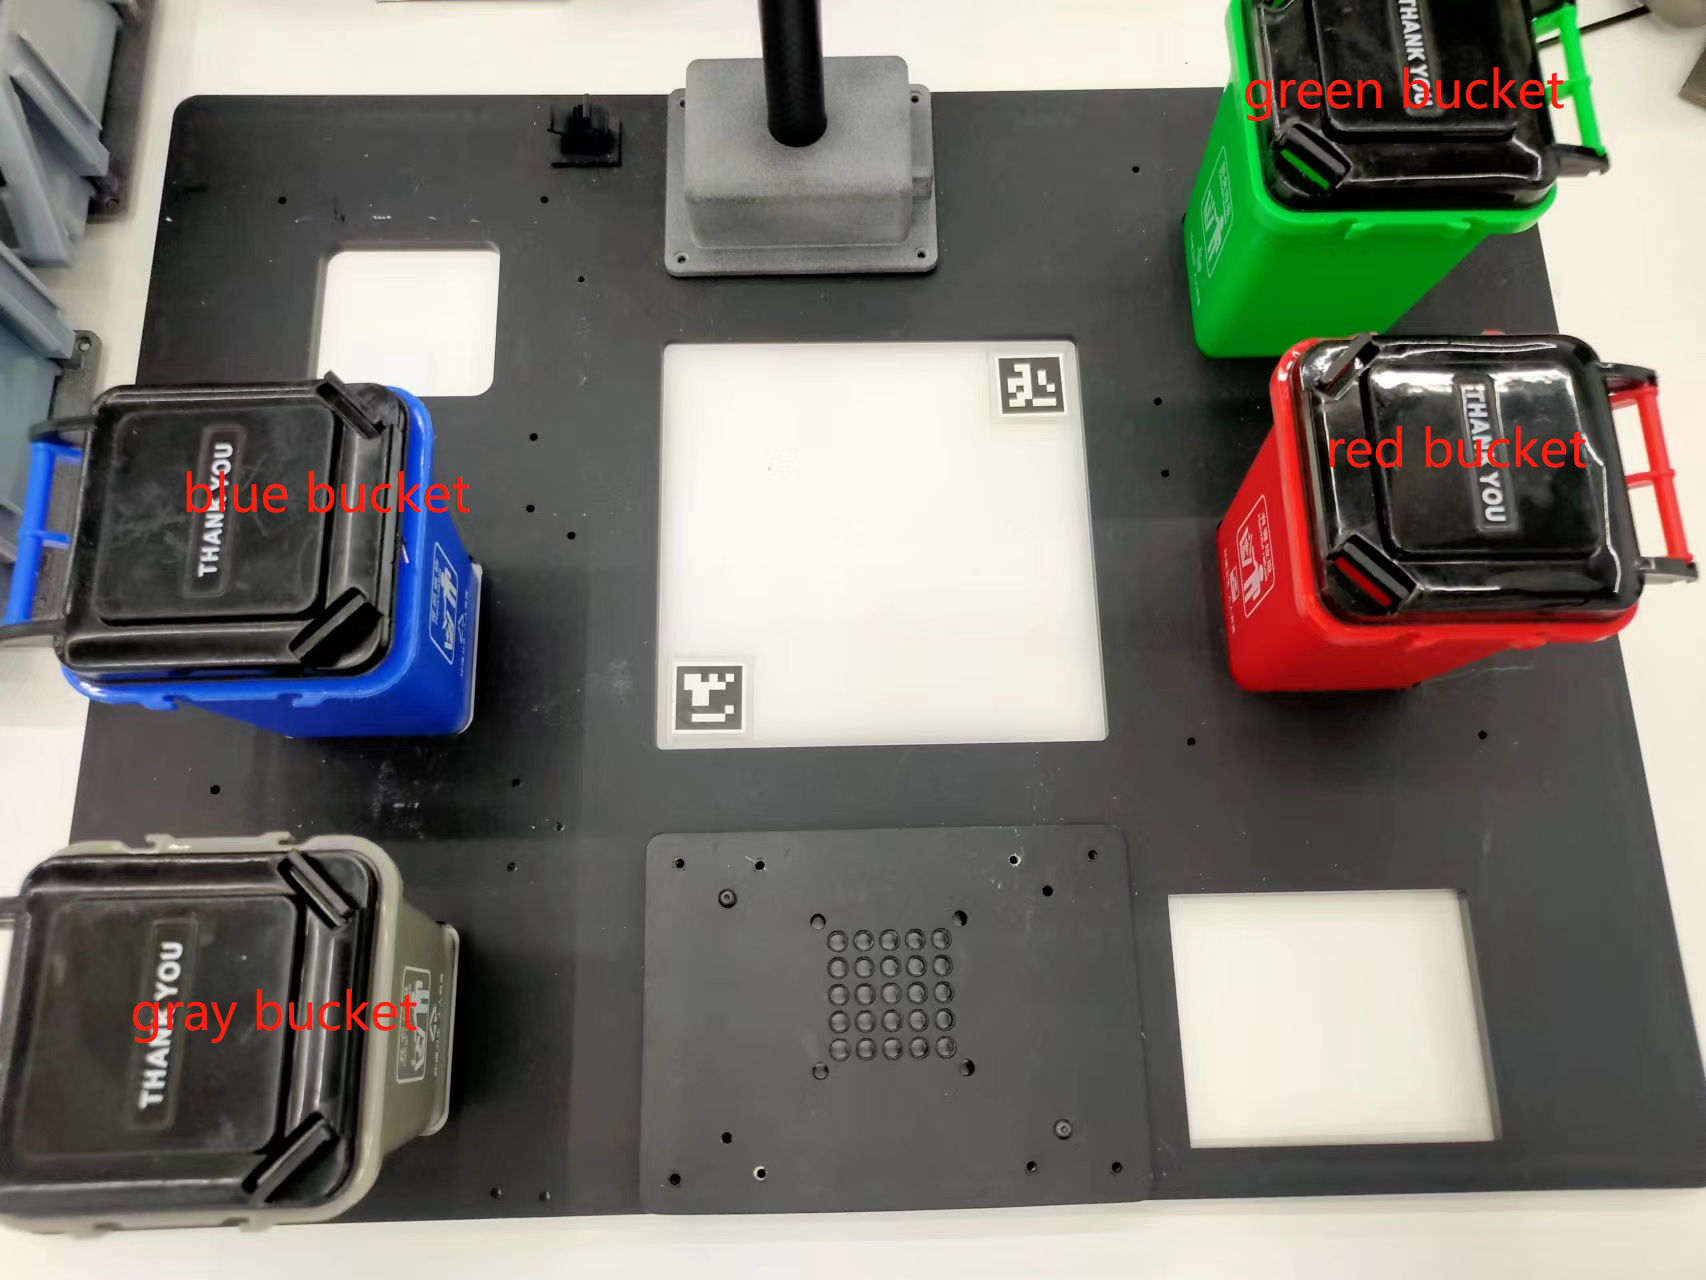
- Garbage can
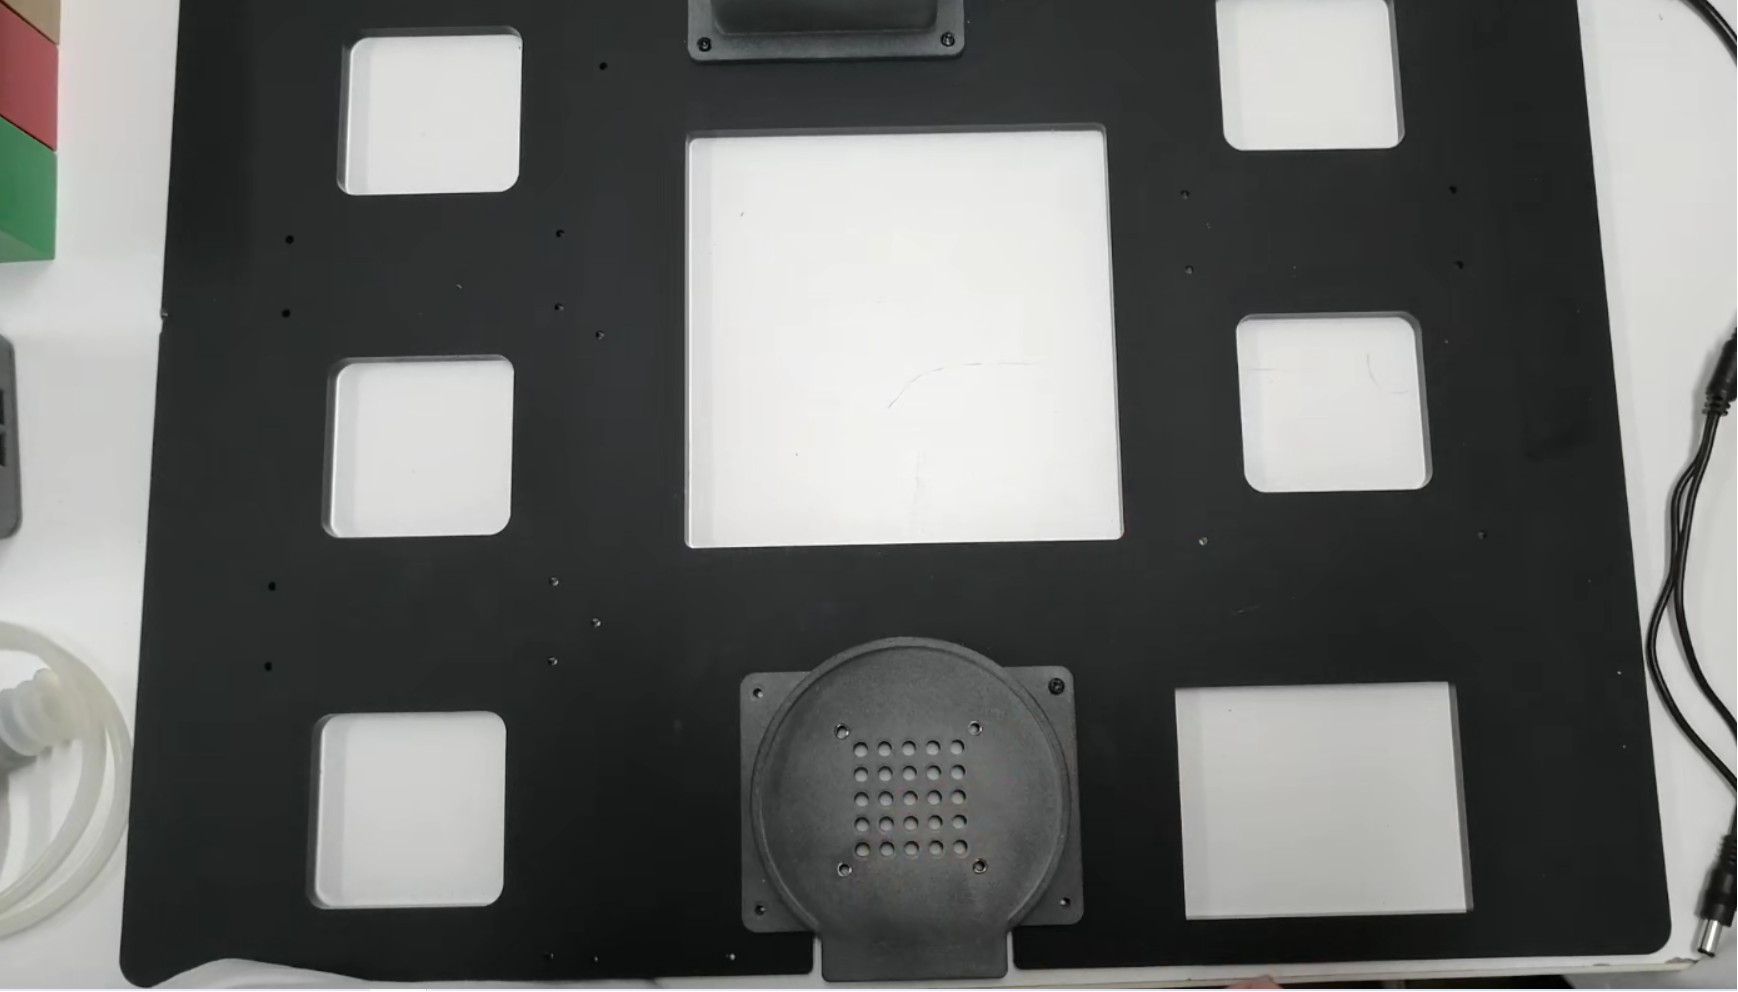
- Artificial Intelligence Set_Baseboard
- Material Box Holder
- Blocks (stickers provided)
- Suction pump
- Vision module_base bracket
- Vision Module_Camera
- Vision Module_Camera Flange
- Vision Module_Camera Bracket
- Vision Module_Fiber Tube
- Suction pump connection line_power distribution line
- Suction pump connection cable_power cable
- Suction pump connection line_DuPont line
The first step: install the robotic arm 1 First, fix the base of the robot arm with screws.
2 Insert an appropriate amount of LEGO pieces into the LEGO hole at the bottom of the robotic arm, and insert the robotic arm into the base.
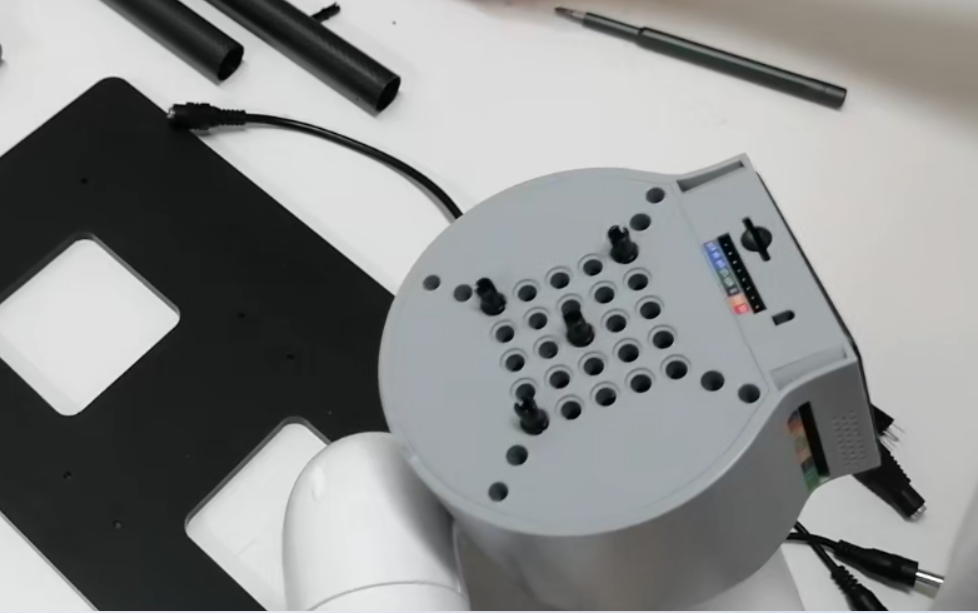
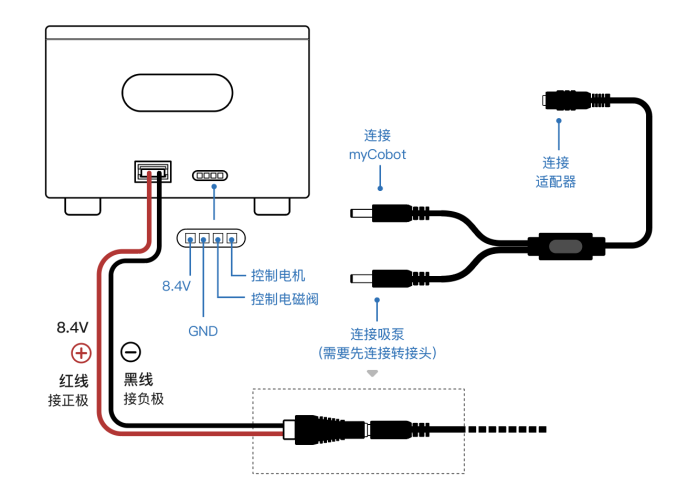
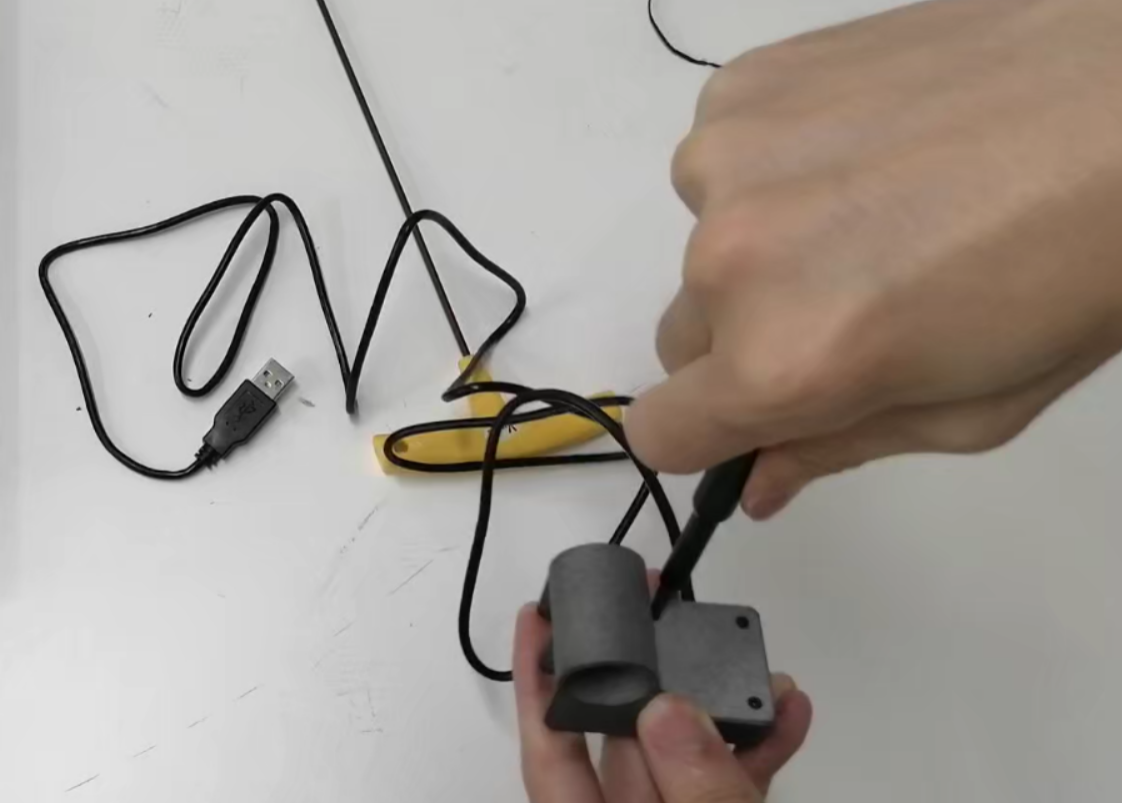
Step 2: Install the suction pump 1 Female cable--The power cable end is connected to the port on the left side of the suction pump, the other end is connected to the outlet end of one input and two outlets, the other end is connected to the power port of the robot arm, and the inlet end is connected to the power adapter.
2 The pin end of the DuPont wire is connected to the interface for controlling the motor and solenoid valve as noted in the wiring diagram, and the other end is connected to pins 20 and 21 of the robotic arm.

3 Use LEGO pieces to attach the suction pump head to the end of the arm.
Step 3: Install the Vision Module
1 eye in hand
1.1 Embed the camera in the camera flange, then install the cover.

1.2 Remove the six-axis end of the robot arm.
1.3 Install the camera flange and fix it with screws.
1.4 The suction pump is plugged into the camera flange via LEGO keys.
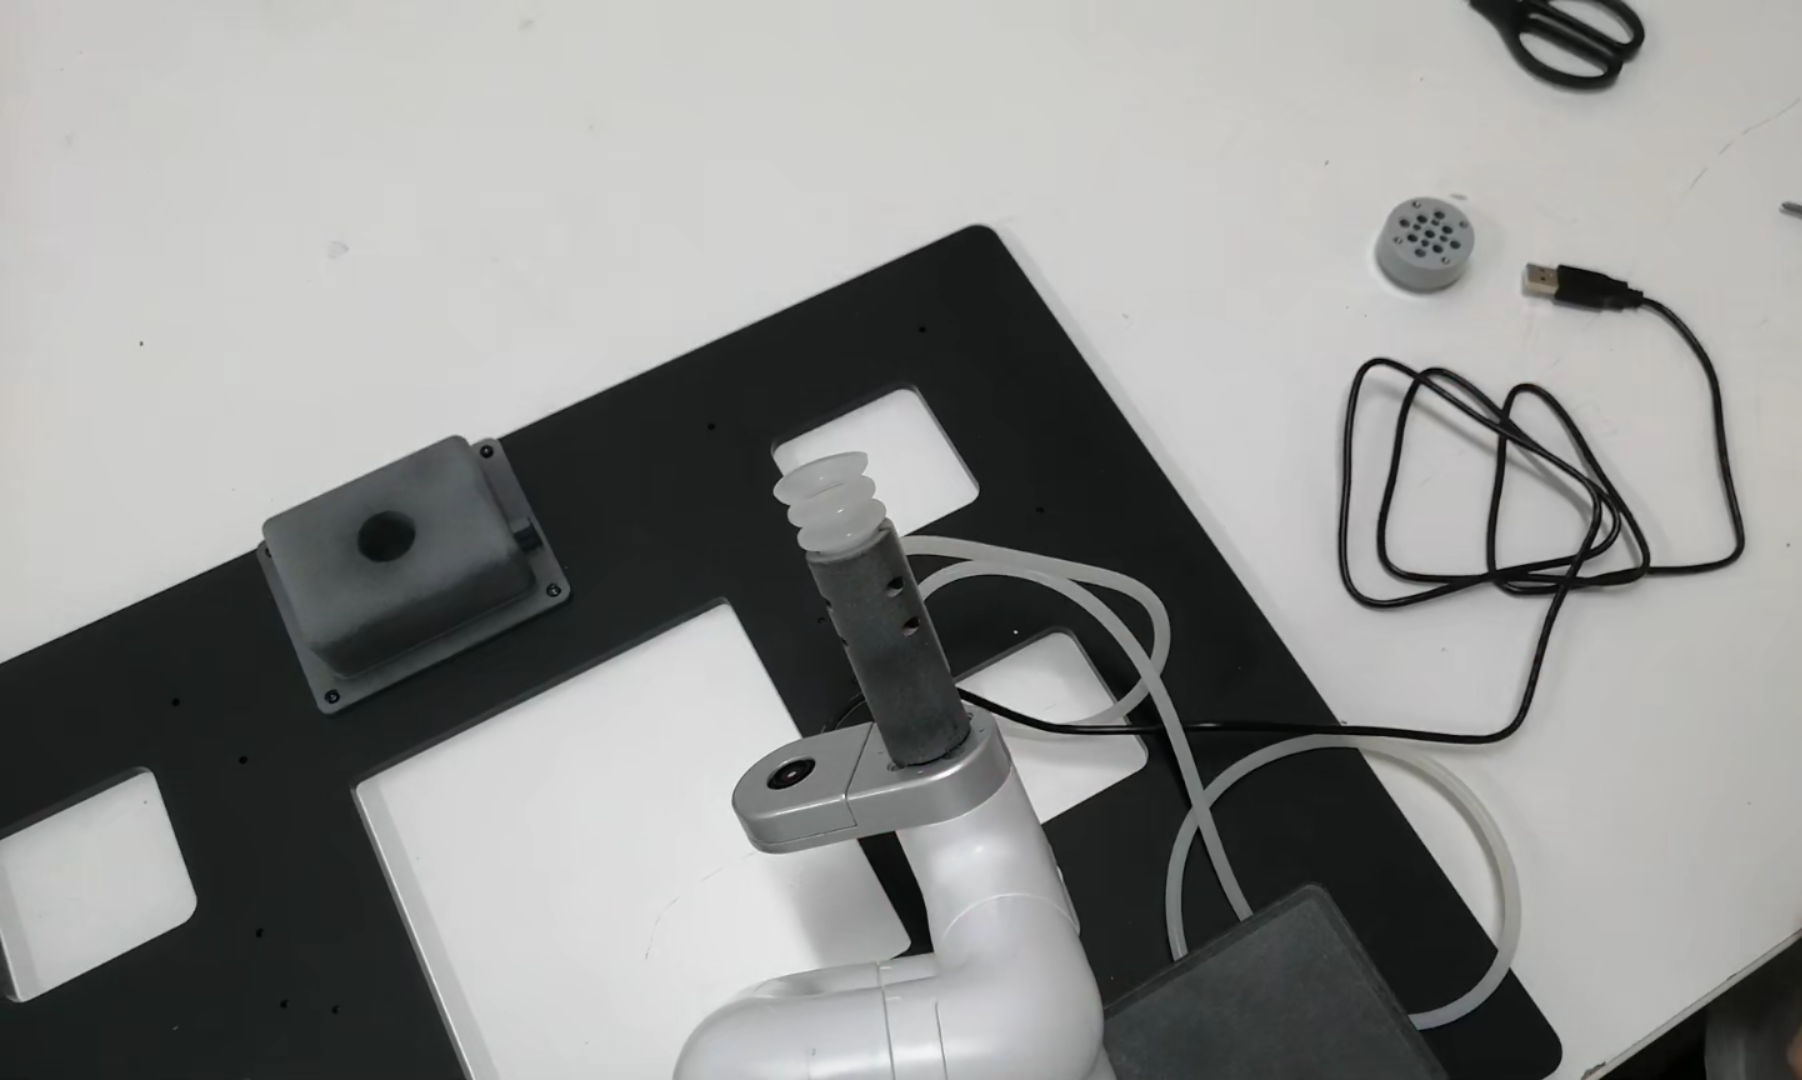
1.5 The surface of the acrylic board without the QR code can be embedded in the bottom plate.
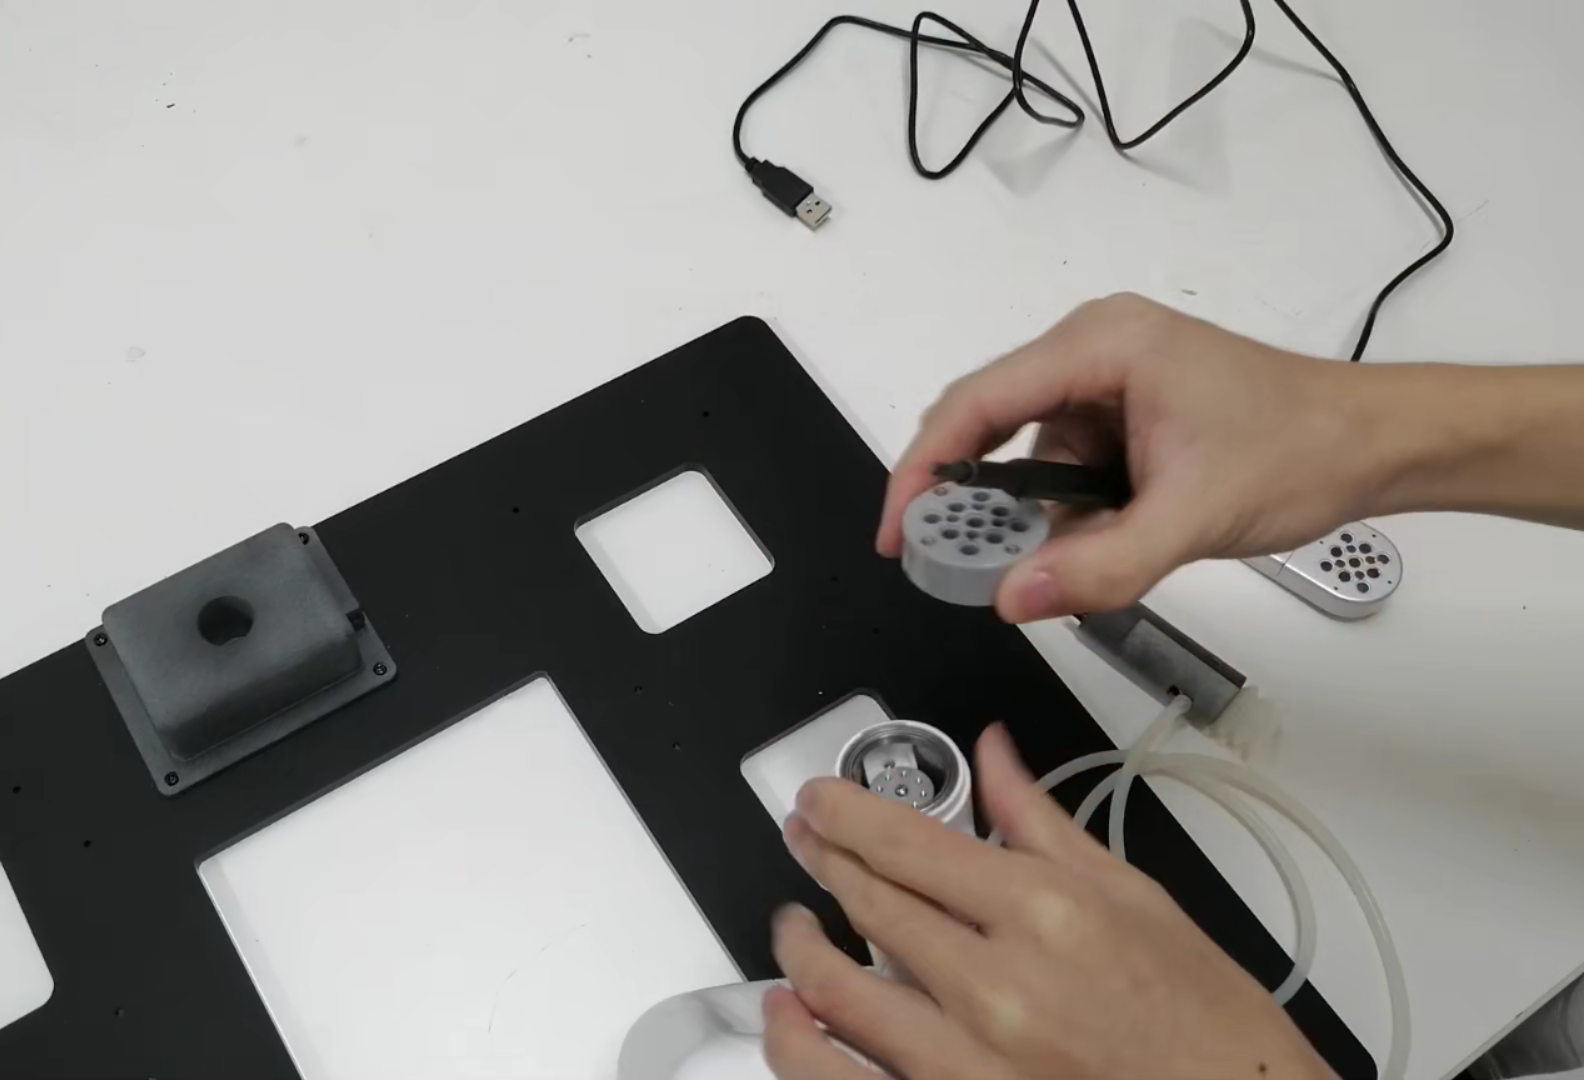
2 eye to hand
2.1 Fix the base of the vision module on the base plate with screws.
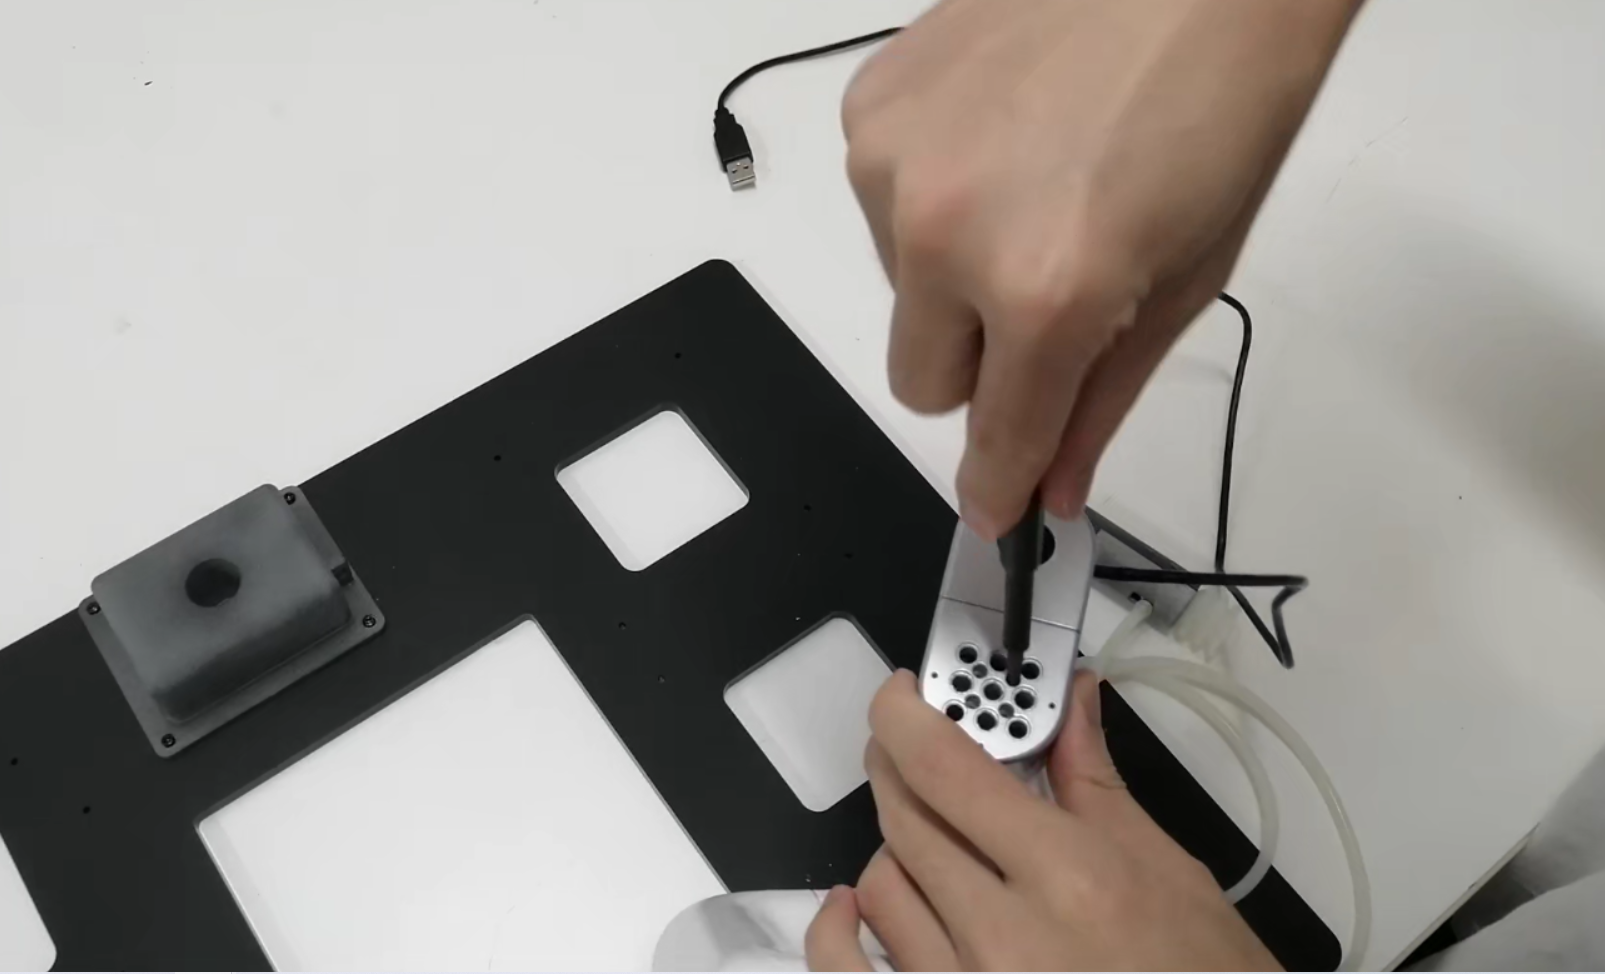
2.2 Install the camera on the camera bracket and fix it with screws.
2.3 Insert the two fiber tubes into the adapter and install it on the base of the vision module. 2.4 Connect the camera bracket to the fiber tube, and connect the other end of the USB port to the computer.
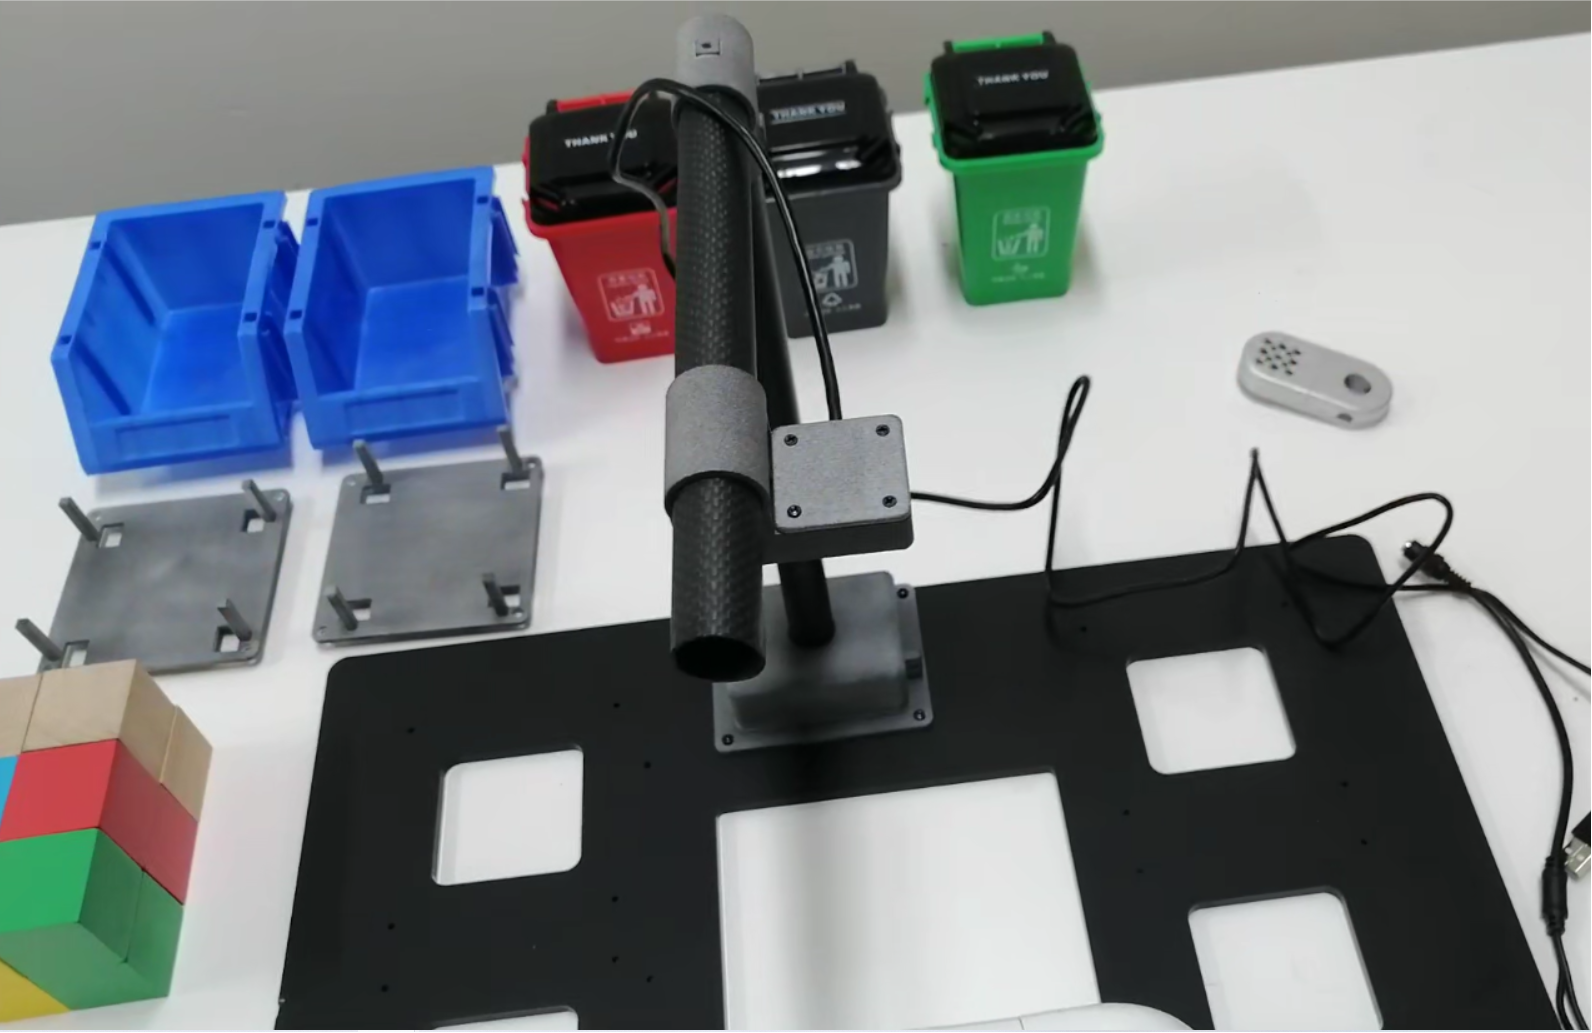
2.5 The suction pump is inserted into the end of the six-axis of the robotic arm through Lego keys. 2.6 Paste the small-size QR code on the acrylic board according to the picture.
Step 4: Place the materials
1 Assemble the material rack and the base, put them into the corresponding grooves, and fix them with screws.

2 Put the block into the material rack. 3 Finally, place the trash can.