Identify aruco code block
This case uses the eye_in_hand mode and the camera to identify and locate the unique aruco code of OpenCV and obtain its spatial position coordinates through opencv and some of its related dependencies. Set a set of related actions for the manipulator and put the identified aruco blocks into the bucket. In the following chapters, the code implementation process of the whole case will be introduced in detail.
1 Robot camera assembly

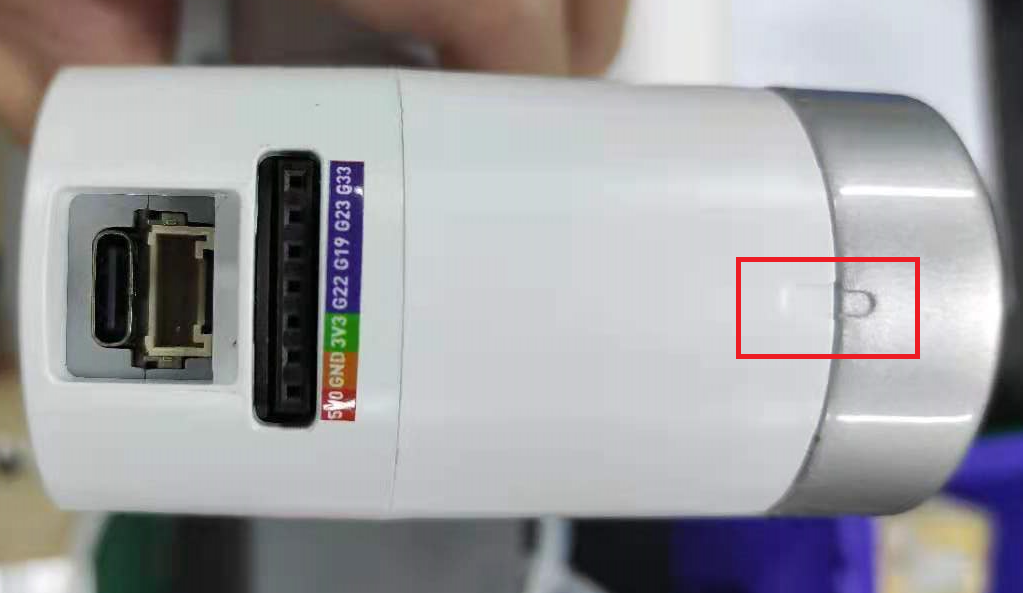
As the case of the manipulator is based on the eye_in_hand mode, the camera is required to be combined with the manipulator, so the front end of the head of the manipulator needs to be replaced with the front end with a camera with a screwdriver.
In order to ensure the normal operation of the program, the six axes of the manipulator need to be calibrated when replacing the front end of the head of the manipulator. Align the six axis zero adjustment position, as shown in the figure below,Modify the tools.py of the mycobot_ai package and run it according to the following instructions. Make sure that the camera on the robot arm is as shown above after the program initializes the robot arm. Otherwise, please terminate the program and refit the camera.
from pymycobot.mycobot import MyCobot

# The name of manipulator equipment shall be consistent with the actual name of manipulator equipment.
port = "/dev/ttyUSB0"
mc = MyCobot(port)

# Release the robot arm
# mc.release_all_servos()

# Calibrate the six axes of the manipulator
mc.set_servo_calibration(6)

2 Case reproduction
The above video operation can realize the demo of object block recognition and capture. Next, we will describe the operation process in the video in words:
Go to the mycobot_ai package in the mycobot-ros workspace through the file manager.
Right click to open the terminal.
Give permission to operate the manipulator, enter
sudo chmod 777 /dev/ttyUand use the tab key to fill in the name of the manipulator equipment.If the device name is not
/dev/ttyUSB0, you need to change the port value in the vision. Launch file.Enter
roslaunch launch/vision.launchto open the vision. Launch file, which contains some core libraries and dependencies of ROS.Create a marker in the rviz graphical interface and name it cube.
Type
ctrl+shift+tin the command terminal to open another command window under the same directory.Enter
Python script / detect_ obj_ Color. Pyopen the color recognition program to realize color recognition and capture.
If you don't know how to modify port value and create marker, please refer to:ROS building block model
Matters needing attention
- Because the camera needs to be assembled by itself, the offset of the camera relative to the suction pump will be different. If the grabbing effect is not ideal, you can modify the offset by yourself.
3 Code explanation
- Recognizing aruco according to opencv will obtain a translation coordinate value tvec of aruco code relative to the camera and a rotation coordinate value RVEC relative to the camera. Here we use its tvec value to obtain the coordinate value of the aruco object block relative to the camera.pump_y,pump_x.
    # Convert picture to gray scale
    gray = cv.cvtColor(img, cv.COLOR_BGR2GRAY)
    # Detection of aruco blocks
    corners, ids, rejectImaPoint = cv.aruco.detectMarkers(
        gray, self.aruco_dict, parameters=self.aruco_params
    )

    if len(corners) > 0:
        if ids is not None:
            # Get a series of information about aruco
            ret = cv.aruco.estimatePoseSingleMarkers(
                corners, 0.03, self.camera_matrix, self.dist_coeffs
            )
            # Get rotation and translation coordinate values
            (rvec, tvec) = (ret[0], ret[1])
            (rvec - tvec).any()
            xyz = tvec[0, 0, :]

            """
               Calculate the coordinate value of aruco block relative to suction pump;

                pump_ y,pump_ X represents the total offset of the camera relative to the suction pump and the error occurred during recognition;

                You can modify pump_ y,pump_ The X offset corrects the grab effect;
            """
            xyz = [round(xyz[0]*1000+pump_y, 2), round(xyz[1]*1000+pump_x, 2), round(xyz[2]*1000, 2)]


            for i in range(rvec.shape[0]):
                # Draw aruco in the picture
                cv.aruco.drawDetectedMarkers(img, corners)
                cv.aruco.drawAxis(
                    img,
                    self.camera_matrix,
                    self.dist_coeffs,
                    rvec[i, :, :],
                    tvec[i, :, :],
                    0.03,
                )
The tutorial only explains the key and difficult points of the program. Please check the source code for specific implementation.