Different connecting way to PC for robotic arms in M5 version and PI version
M5
M5 version robotic arms is jointly produced by Elephant Robotics and Shenzhen Mingzhan Technology Co., Ltd. - M5STACK. It is the first robotic arm of myCobot series made for sale. It adopts Esp32 as its core processor, and applies two screens and several physical buttons so that it can be used on a table-sized ground. Deeply integrated with M5 expensive ecosystem, users are able to control robots via UIFlow, Python, Arduino in accordance with tutorial provided on our official website.
M5 version robotic arms is equipped with two screens and several physical buttons,M5Stack-basic works as the main control on pedestal , and M5STACK Atom works as the secondary control on the end.
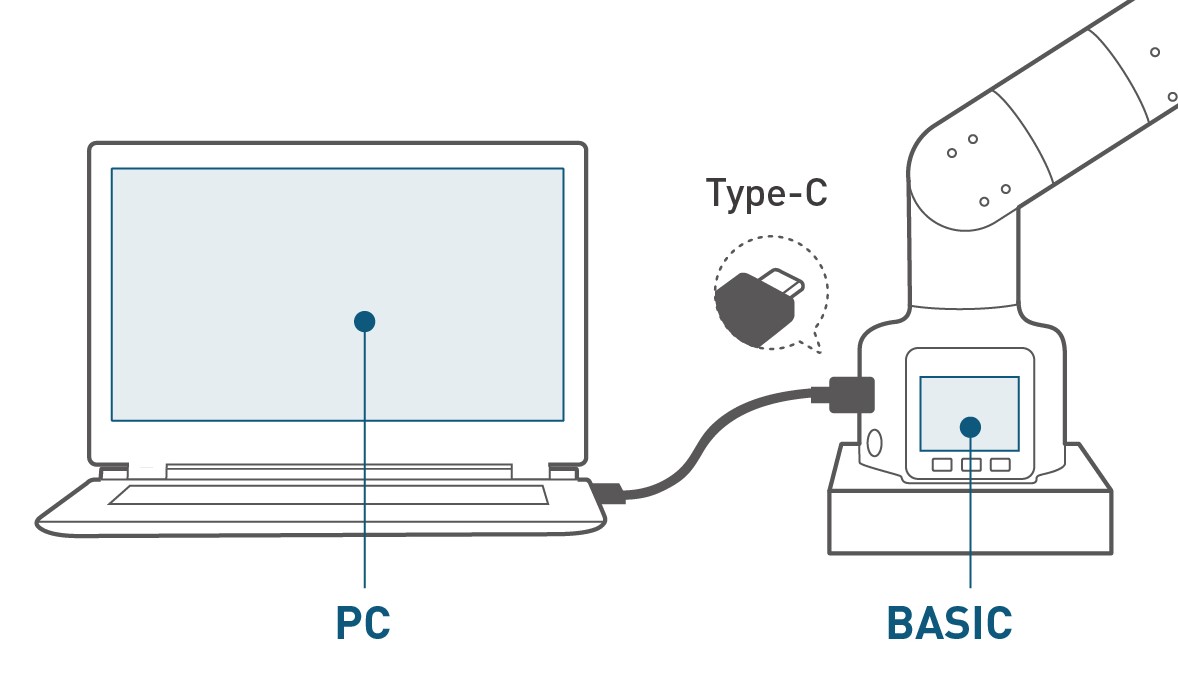
M5 version robotic arms itself only has the recording and playback function, that is, recording action and playing action,If you need to use UIFlow, python, Arduino for further development, you need to connect to PC or laptop. The connection methods are as follows:
After the connection is complete, turn on the manipulator communication according to the following steNote: ❗❗❗❗❗❗❗❗❗❗Note⚠:The following steps are extremely important, please be sure to carry out, otherwise the mechanical arm can not communicate normally❗❗❗❗❗❗❗❗❗❗ ❗❗❗❗❗❗❗❗❗❗Note⚠:The following steps are extremely important, please be sure to carry out, otherwise the mechanical arm can not communicate normally❗❗❗❗❗❗❗❗❗❗
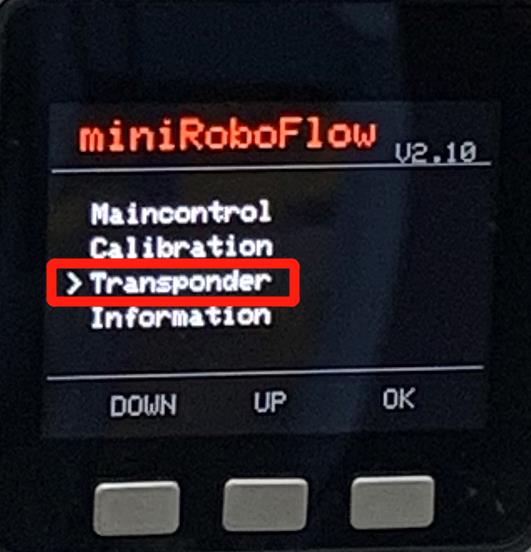
- M5Stack-basic choose and press the Transponder
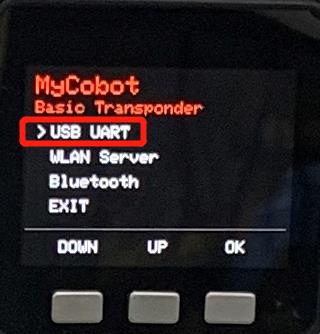
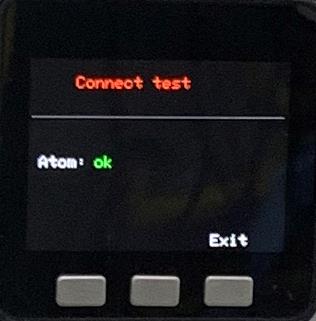
Check the connection of Atom
Notice:
okmeans in a normal state, otherwisenois displayed.❗❗❗❗❗❗❗❗❗❗Note⚠:After arriving at this page, you need to stay on this page to maintain communication❗❗❗❗❗❗❗❗❗❗ ❗❗❗❗❗❗❗❗❗❗Note⚠:After arriving at this page, you need to stay on this page to maintain communication❗❗❗❗❗❗❗❗❗❗
- The appropriate development methods are:myBlockly, Python, C++, C#, Arduino, JavaScript, ROS,how to program the operation, please click the corresponding link above
PI
PI version robotic arms is a joint product developed by Elephant Robotics and Raspberry Pi. Adopting the Raspberry PI 4B as its core processor, and reserving the origin hardware interface of RaspBerry PI 4B, the robotic arm meets the application needs of Linux system with one-in-all structure for portable robot development. Featuring built-in Ubuntu 18.04. system as well as development environments like Python, ROS and myBlockly, it can be developed after connecting with displayer without matching with PC.
PI version robotic arms is embedded with Raspberry PI 4B, 1.5GHz 4-core microprocessor, runs Debian/Ubuntu platform, supports 4 USB channels, 2 HDMI channels, standardized GPIO interface, TF card is removable
The essence of the PI version robotic arms is a development board with an independent system, which can be seen as a miniature computer host. The communication between the host and the host cannot be simply constituted by a wire. It can only be connected to an independent monitor, and equipped with power supply, mouse and keyboard, and can be developed and operated after entering the built-in system of the development board
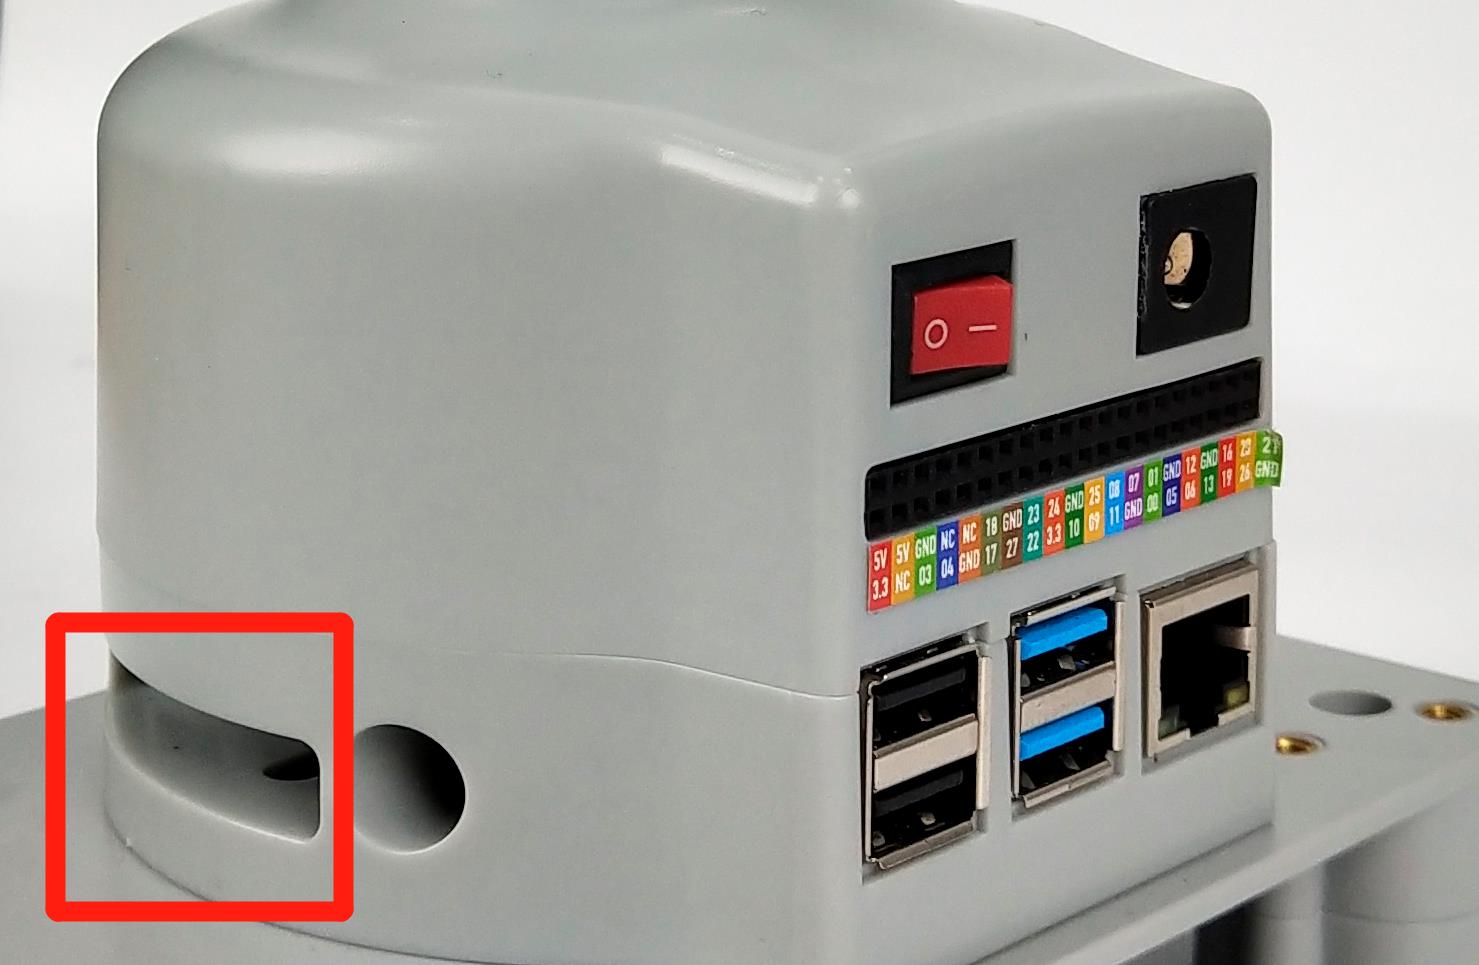
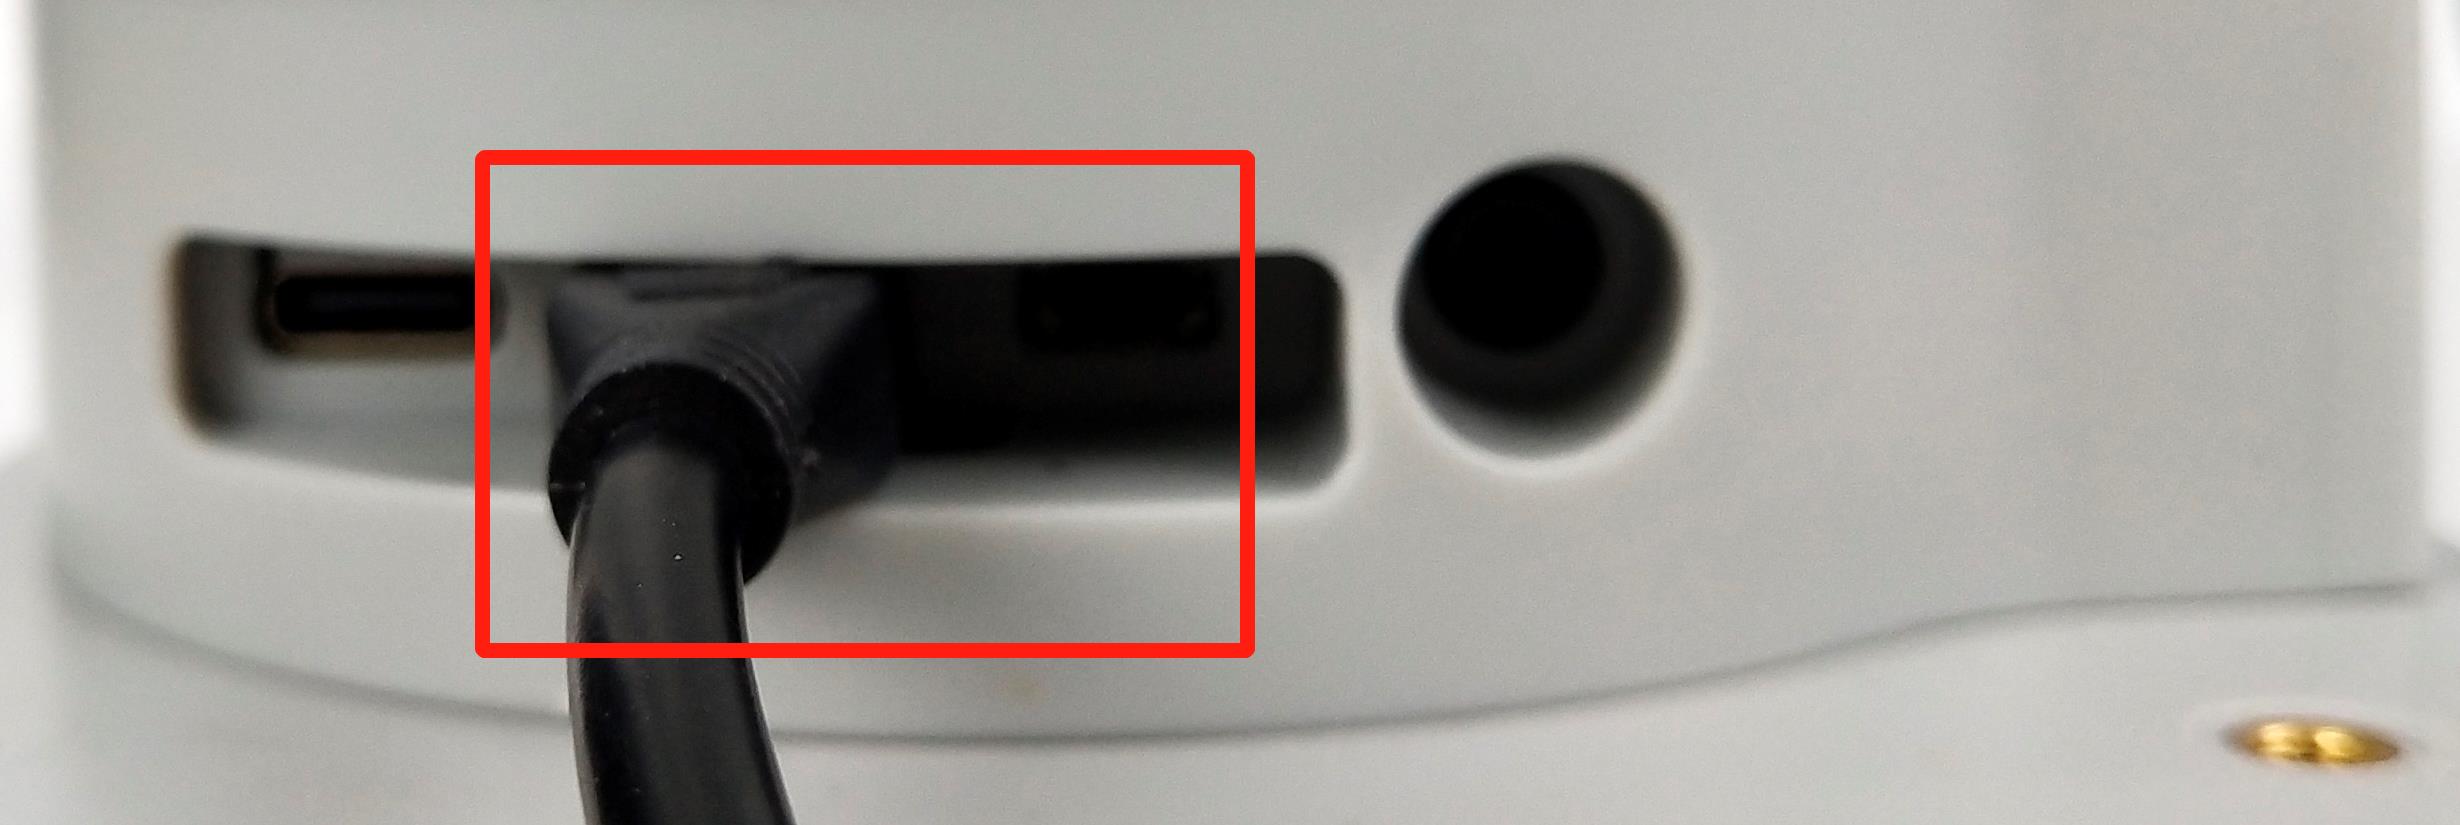
❗❗❗❗❗❗❗❗❗❗Note⚠:The Type-C ports, HDMI ports, and USB ports circled in the figure below are all unavailable for communication with PCs and laptop❗❗❗❗❗❗❗❗❗❗ ❗❗❗❗❗❗❗❗❗❗Note⚠:The Type-C ports, HDMI ports, and USB ports circled in the figure below are all unavailable for communication with PCs and laptop❗❗❗❗❗❗❗❗❗❗
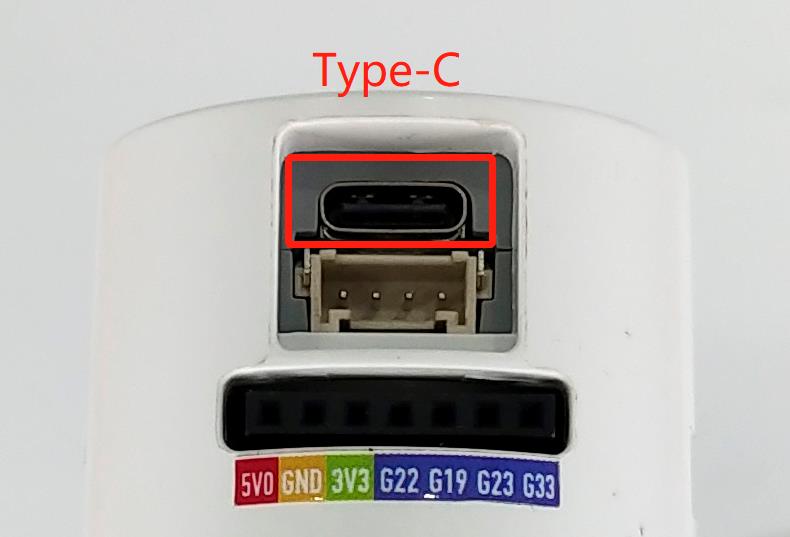
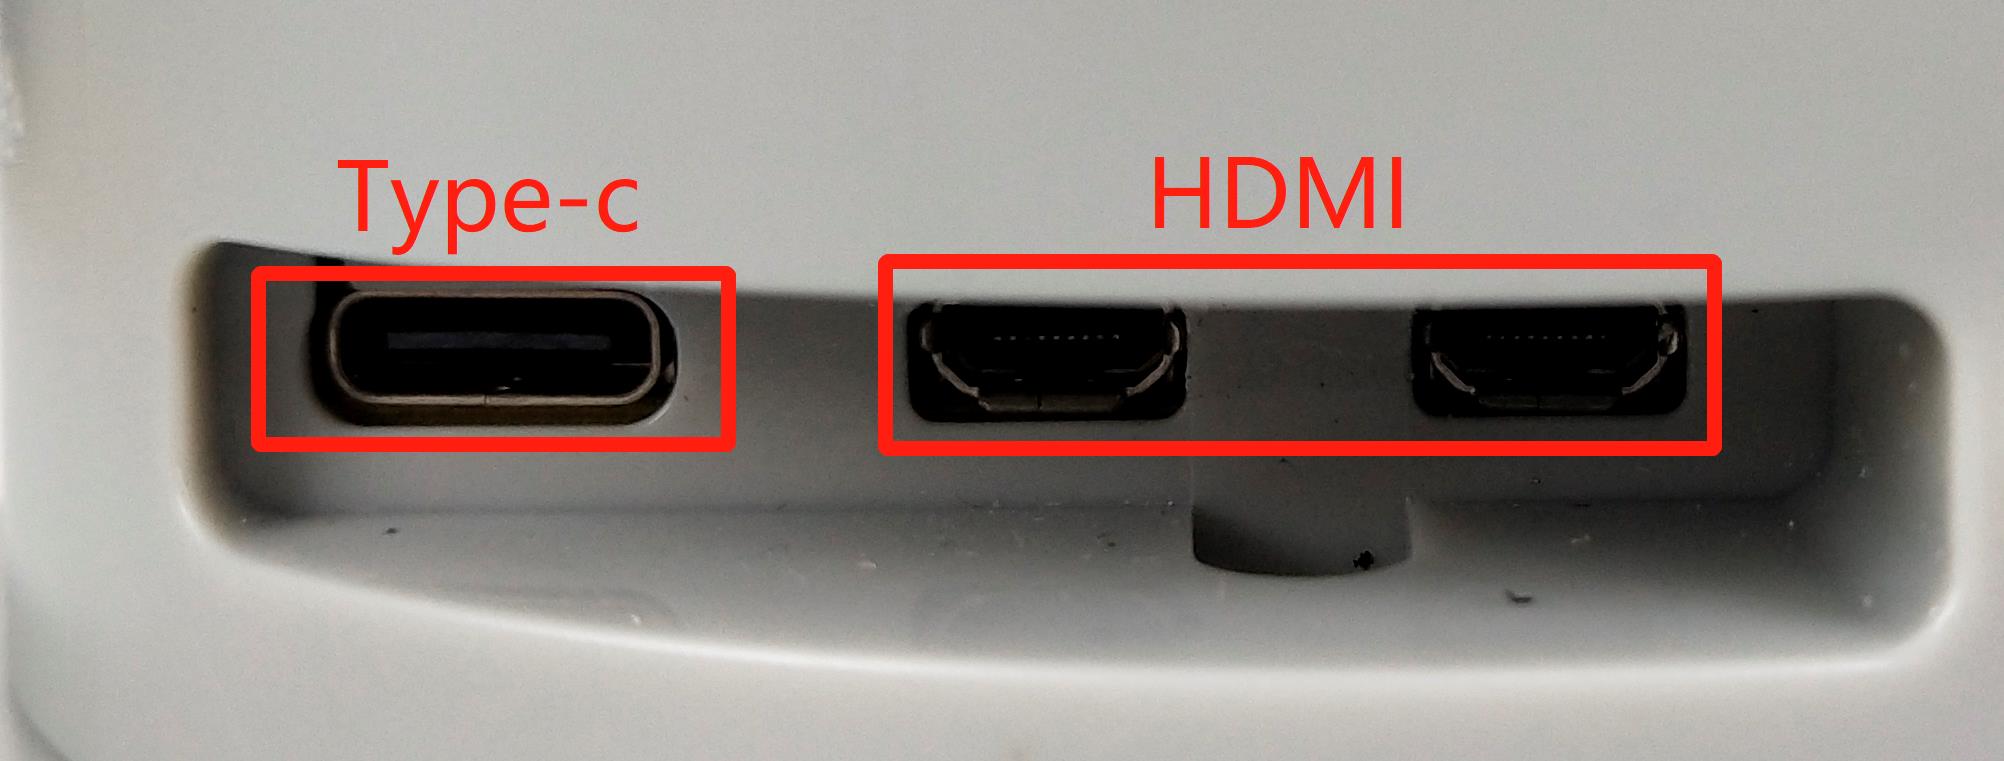
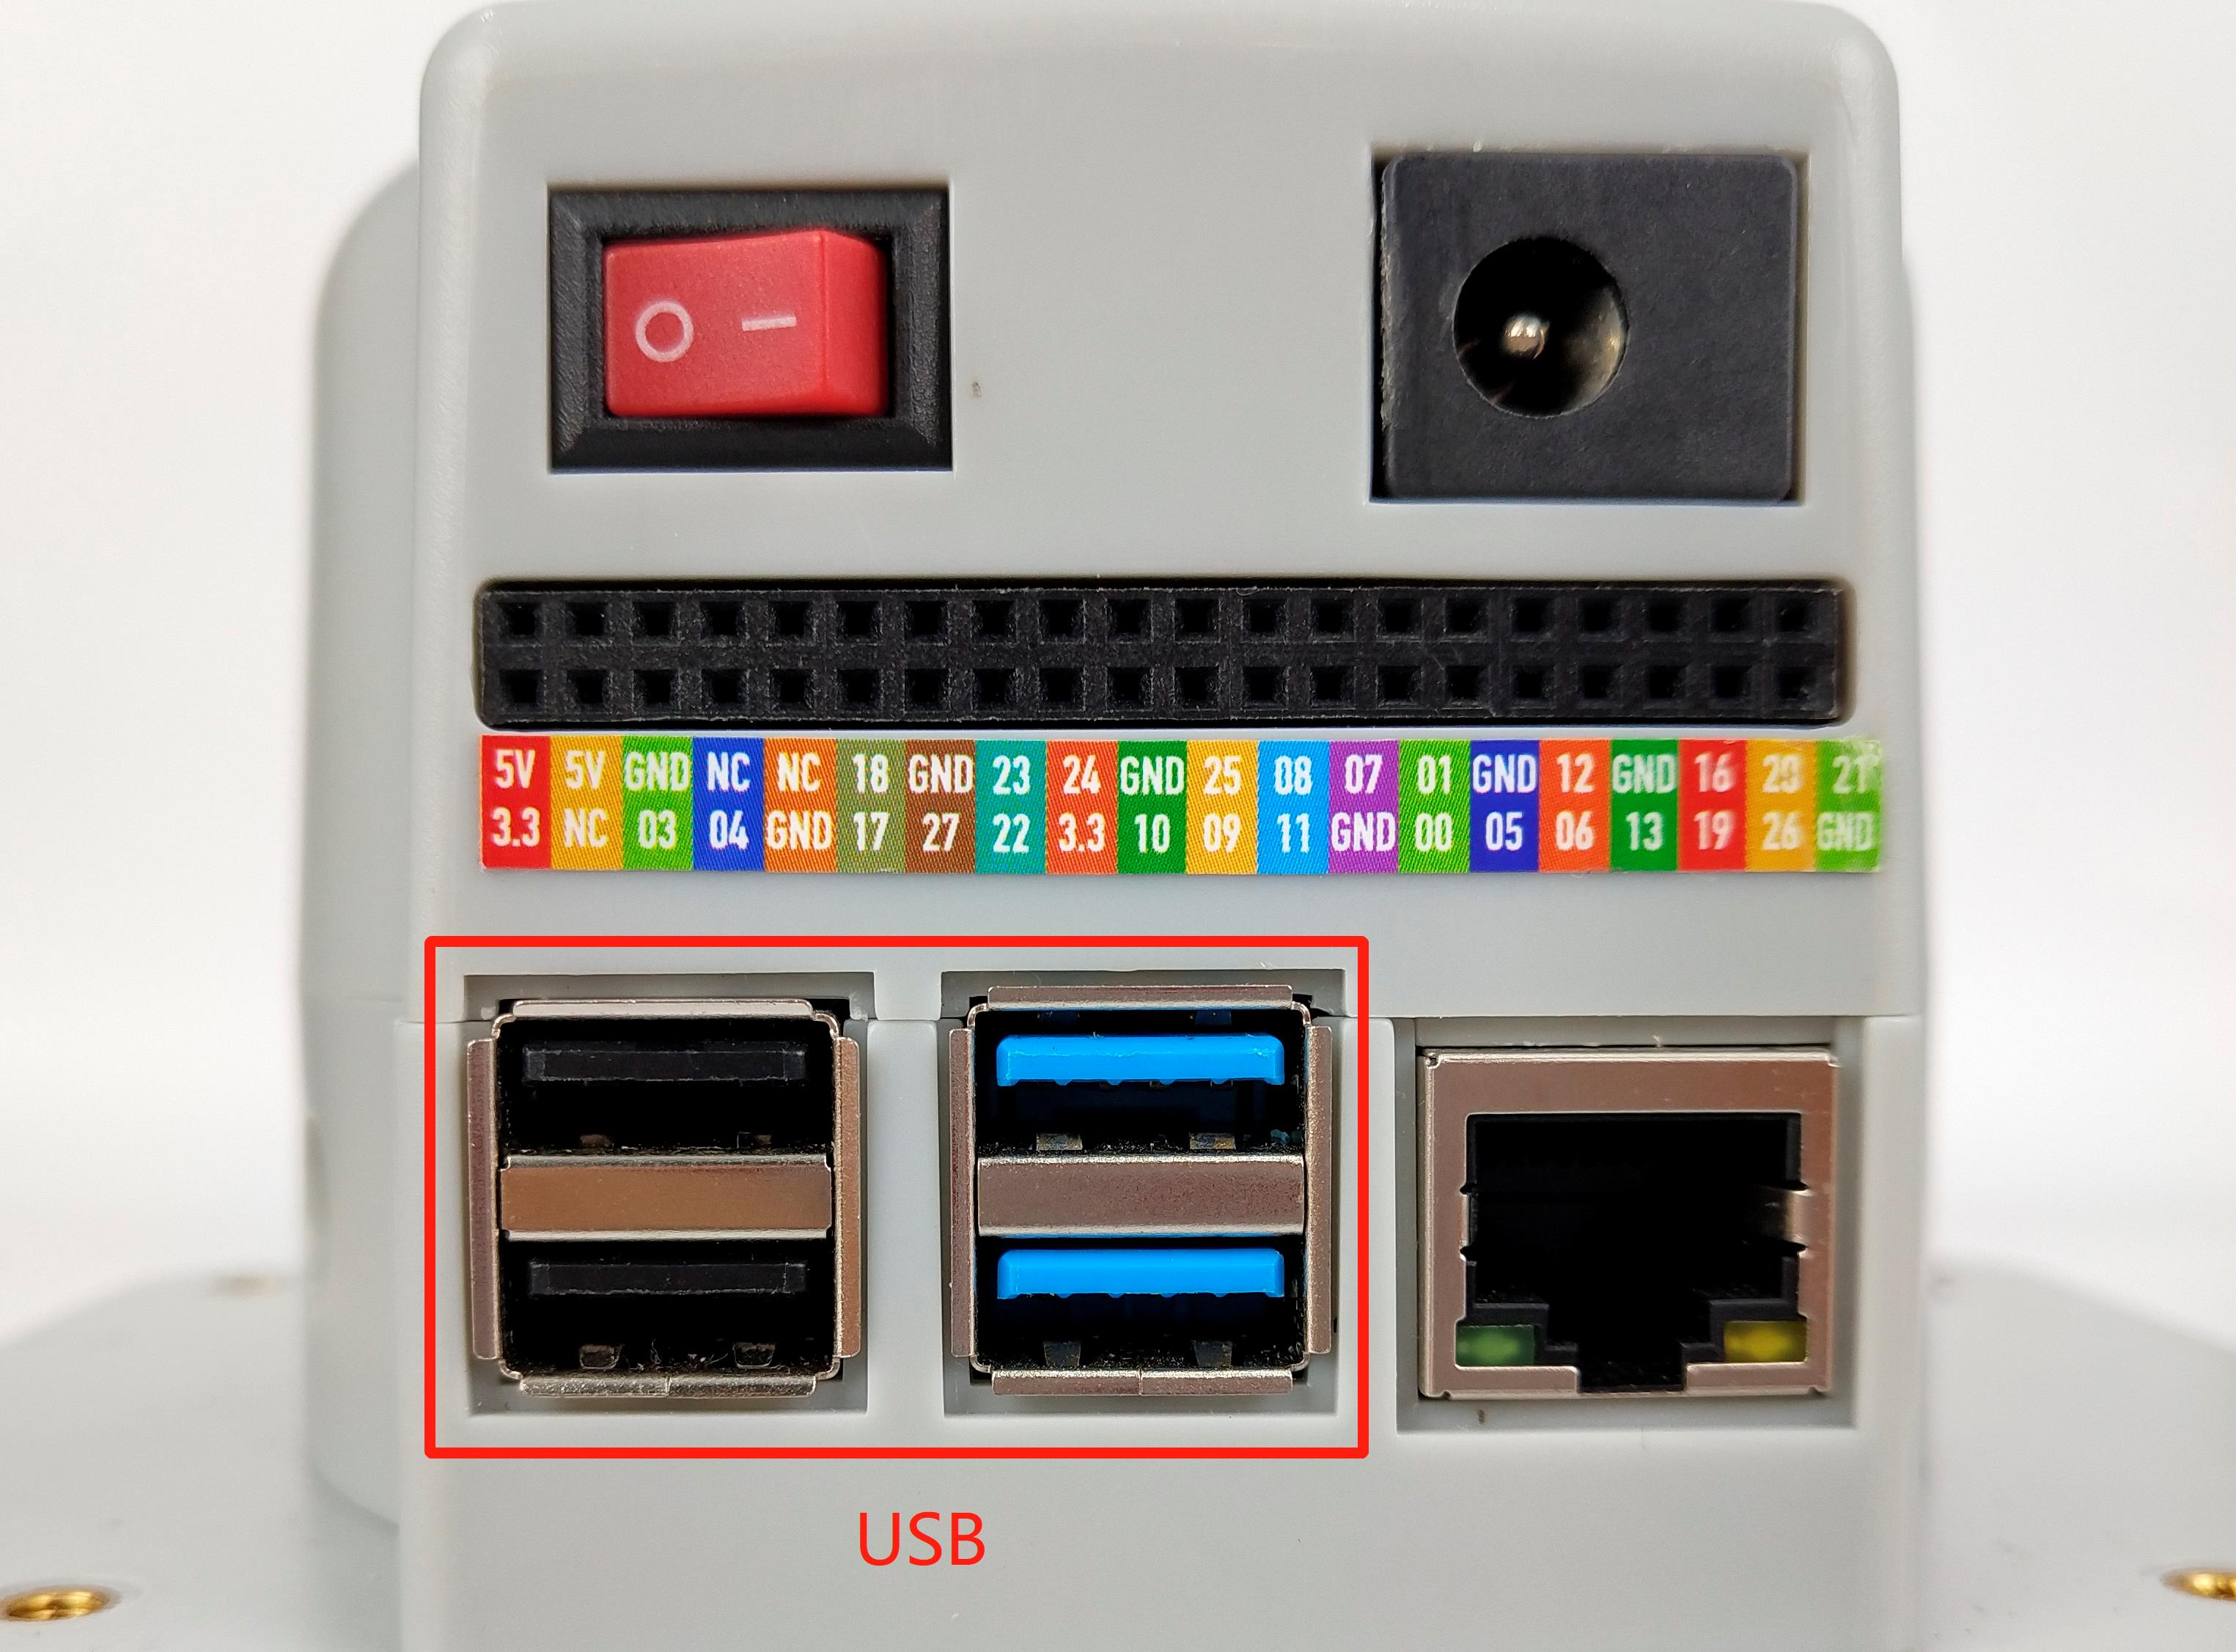
❗❗❗❗❗❗❗❗❗❗Note⚠:Use the delivered HDMI cable to connect the monitor and use the built-in system for development❗❗❗❗❗❗❗❗❗❗ ❗❗❗❗❗❗❗❗❗❗Note⚠:Use the delivered HDMI cable to connect the monitor and use the built-in system for development❗❗❗❗❗❗❗❗❗❗
- PI version robotic arms does not need to be equipped with a PC, laptop and other equipment, and can be connected to the display for application development
- Plug the HDMI cable into the HDMI port of the monitor.
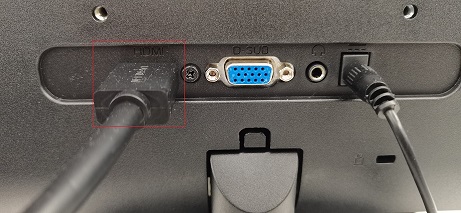
- Plug the HDMI cable into the HDMI port of the monitor.
Plug the other end into the HDMI port of the robotic arm.
