Function Description
In order to avoid entering too many cumbersome commands to use the artificial intelligence suit, here is an aikit one-click startup tool, including color recognition, image recognition, and adding images. The user uses the tool according to the log prompt information. Currently available in 280 PI version and 280 M5 version.
Steps for usage
- Raspberry Pi version
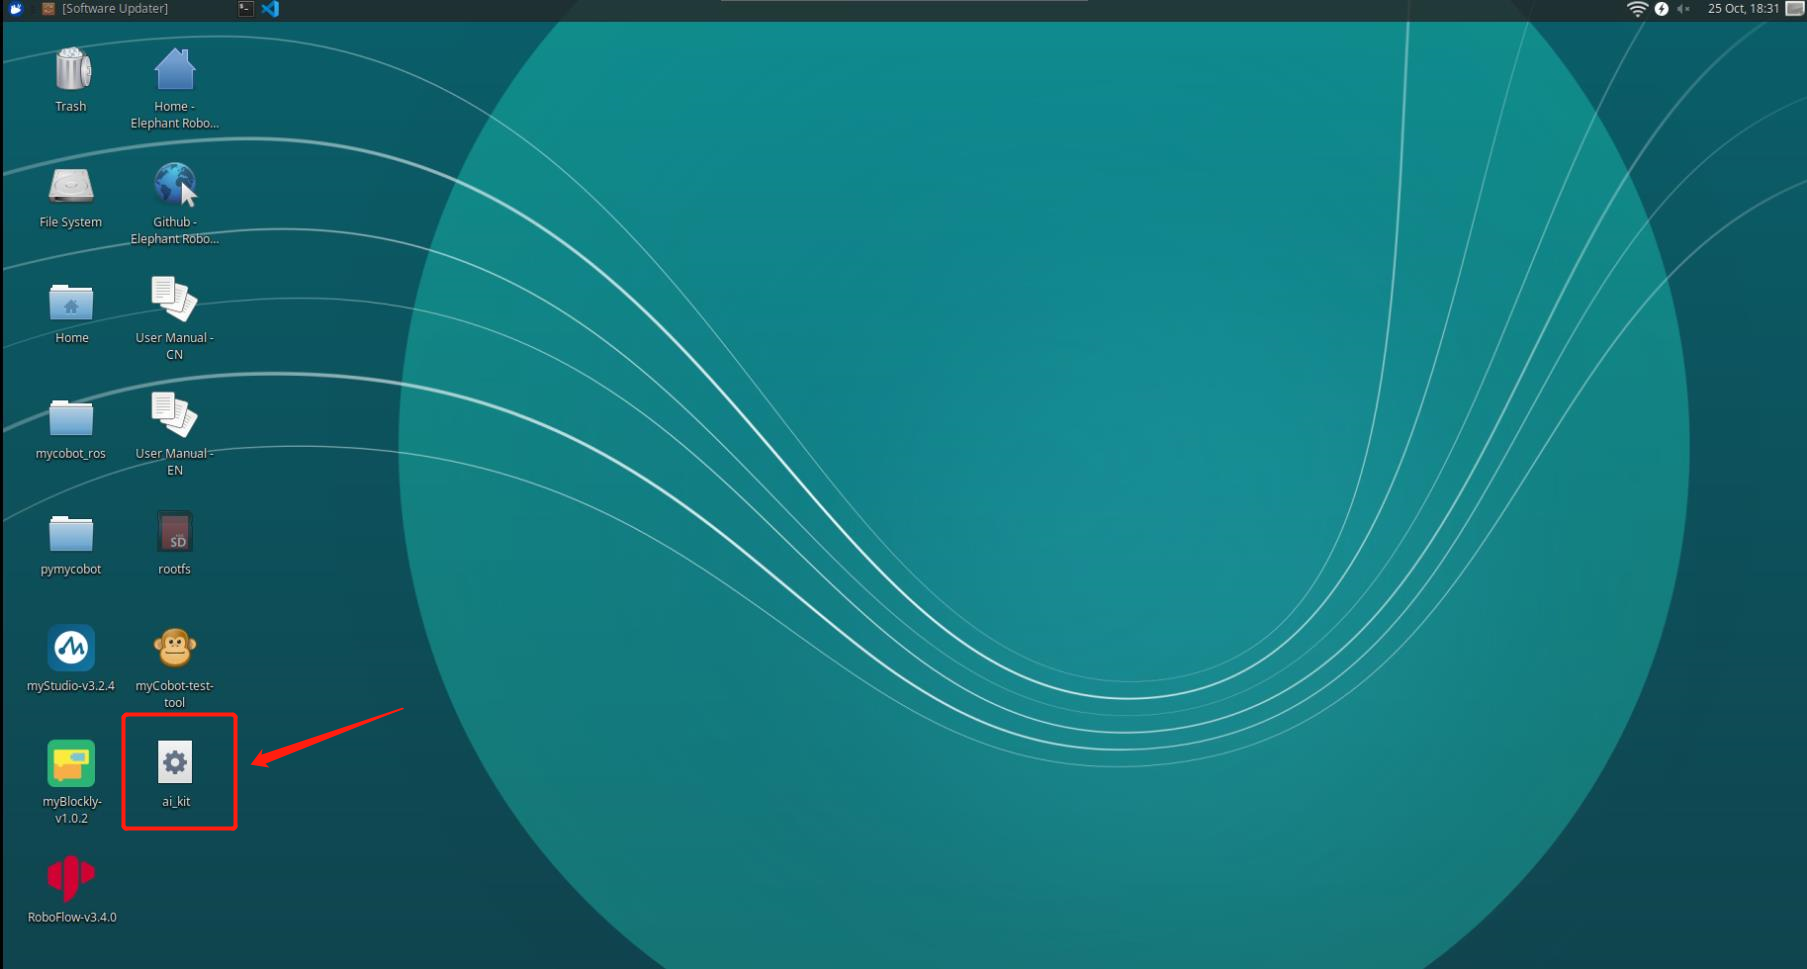
1 Double-click to open the aikit tool on the desktop to enter the tool interface.
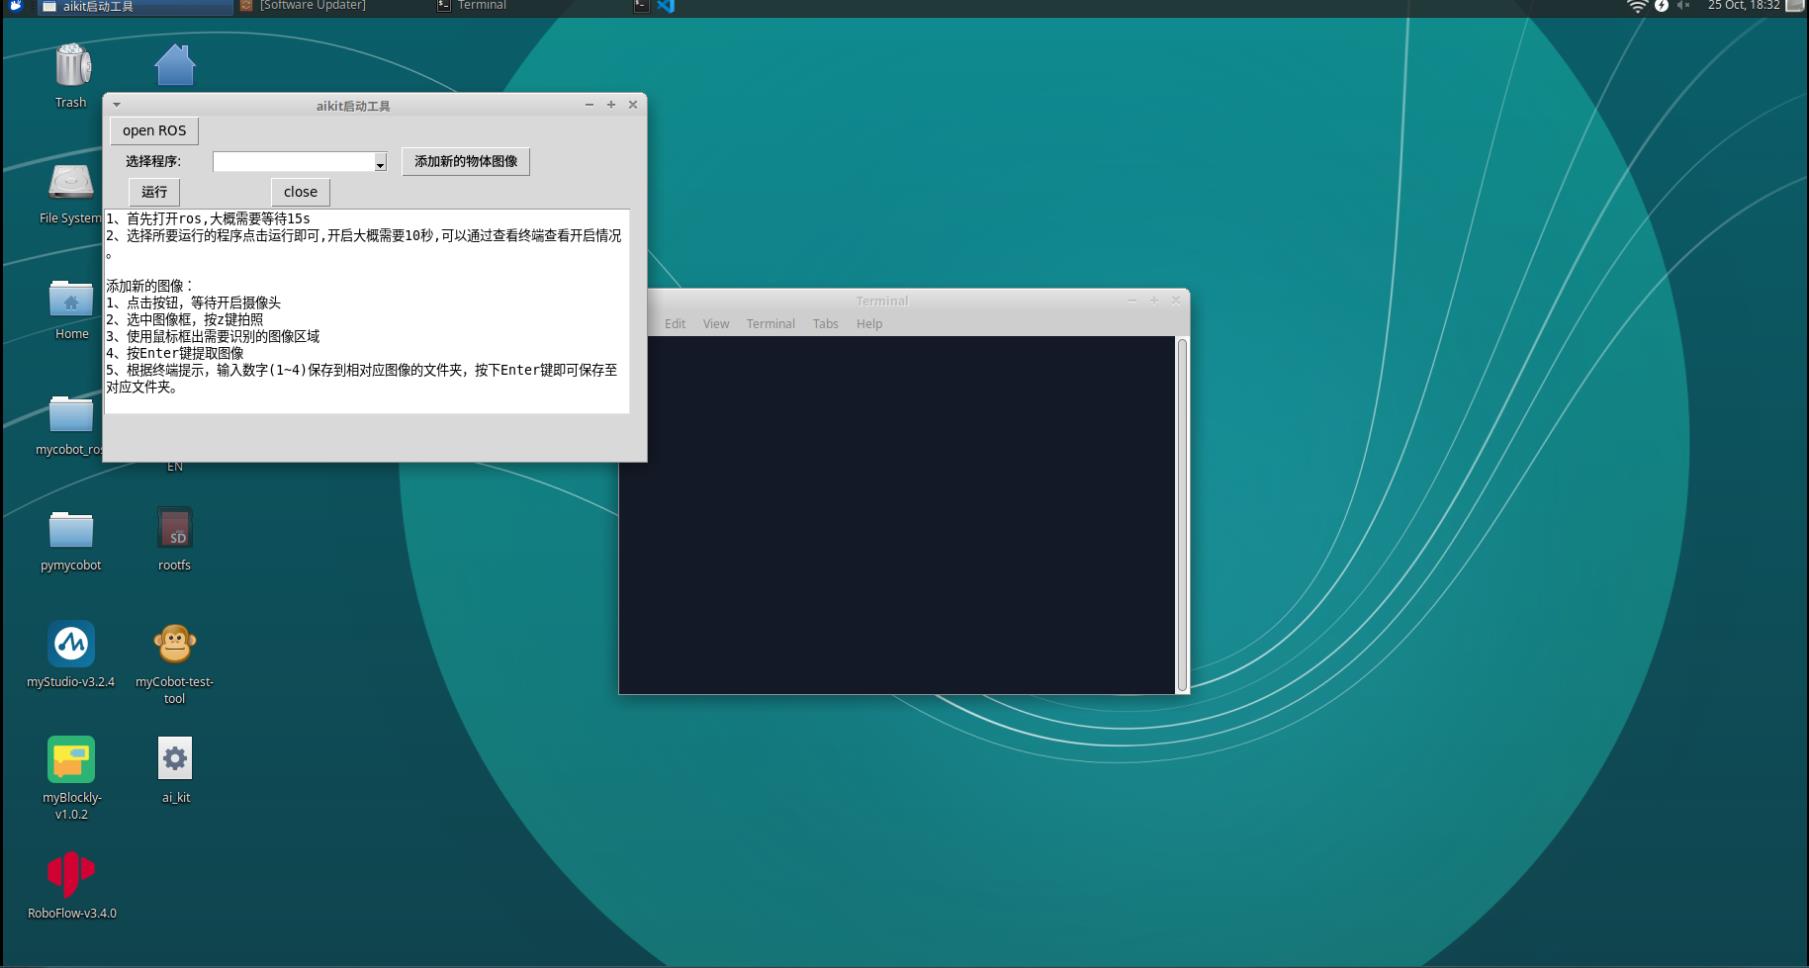
2 First open ros, it takes about 10s to wait.
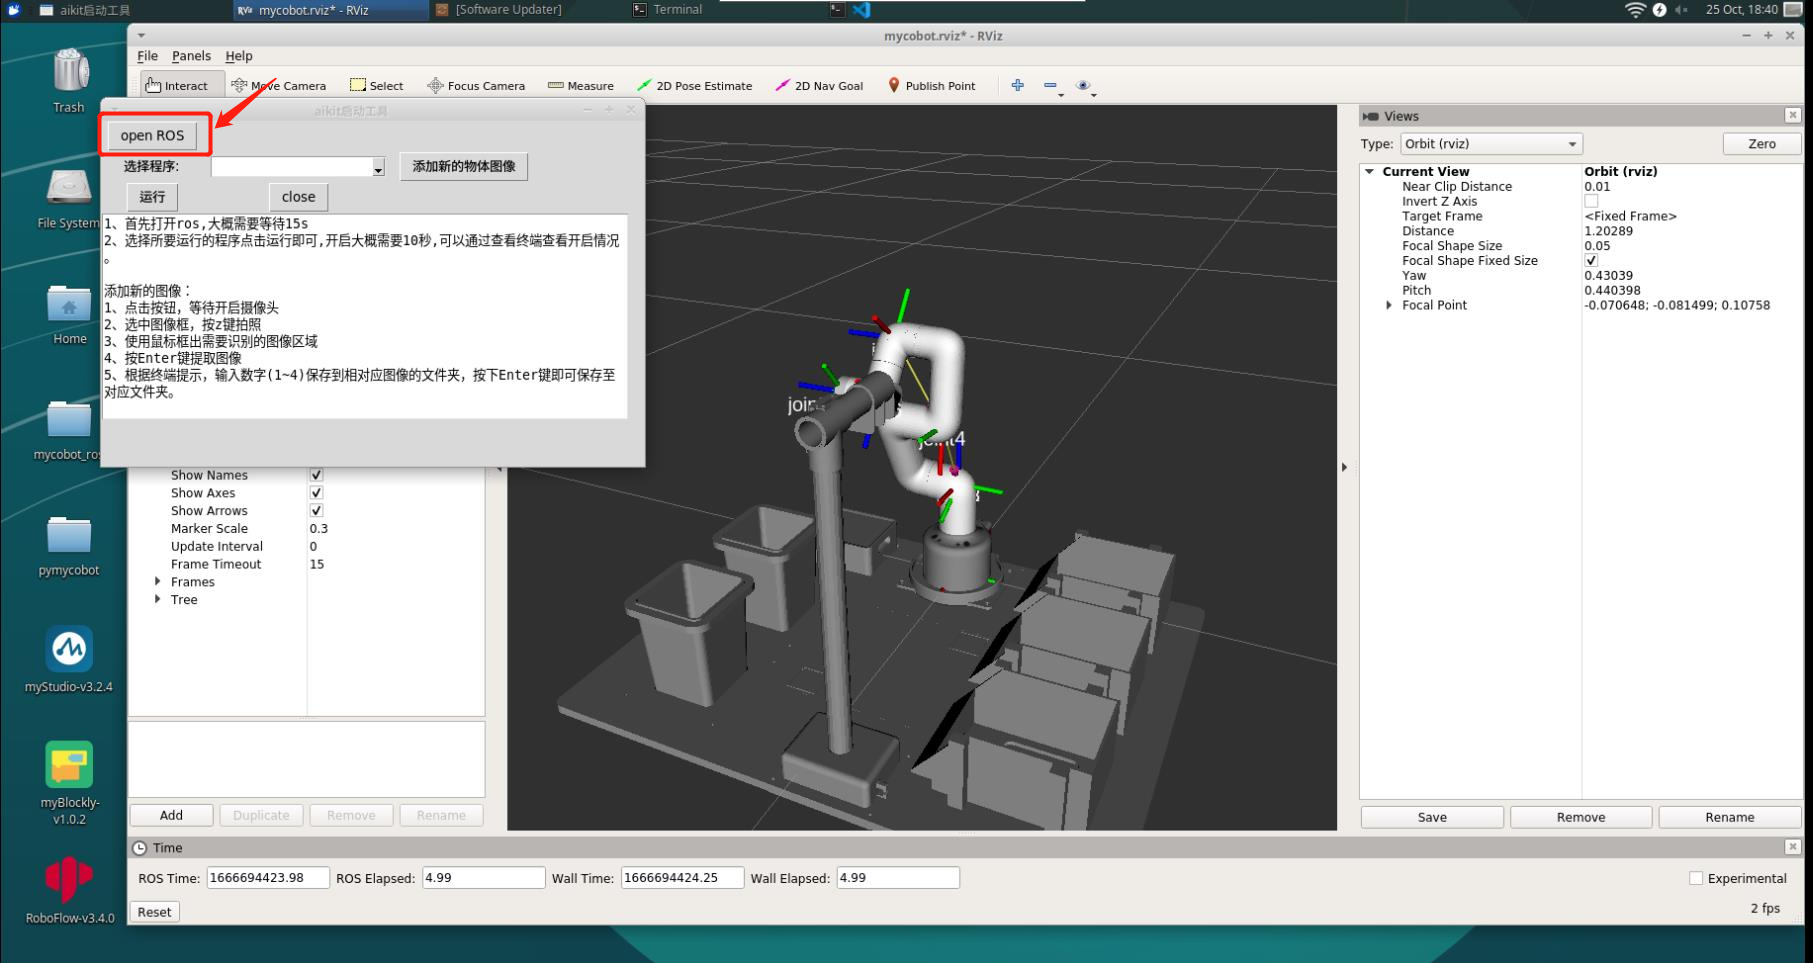
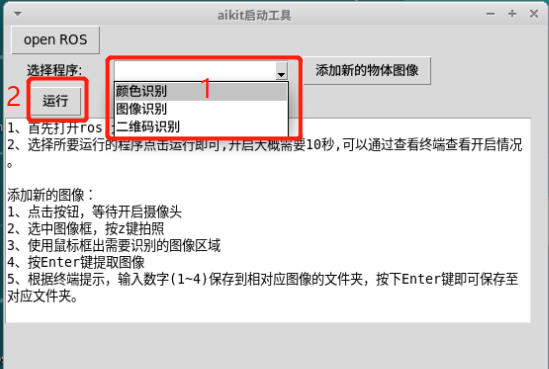
3 After selecting the program you want to run, click Run, and you can check the opening status by viewing the terminal.
Add new image
1 Click the button and wait for the camera to turn on.
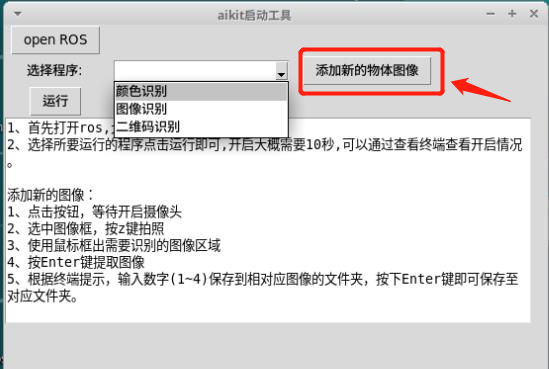
2 Select the image frame with the mouse and press the z key to take a picture
3 In the second image box that pops up, use the mouse to frame the image area that needs to be recognized.
4 Press Enter to extract the image.
5 According to the terminal prompt, enter the number (1-4) to save to the corresponding image folder, and press the Enter key to save to the corresponding folder.
If the terminal outputs Saved, the image is saved successfully.
- 280-M5 version
1 device connection
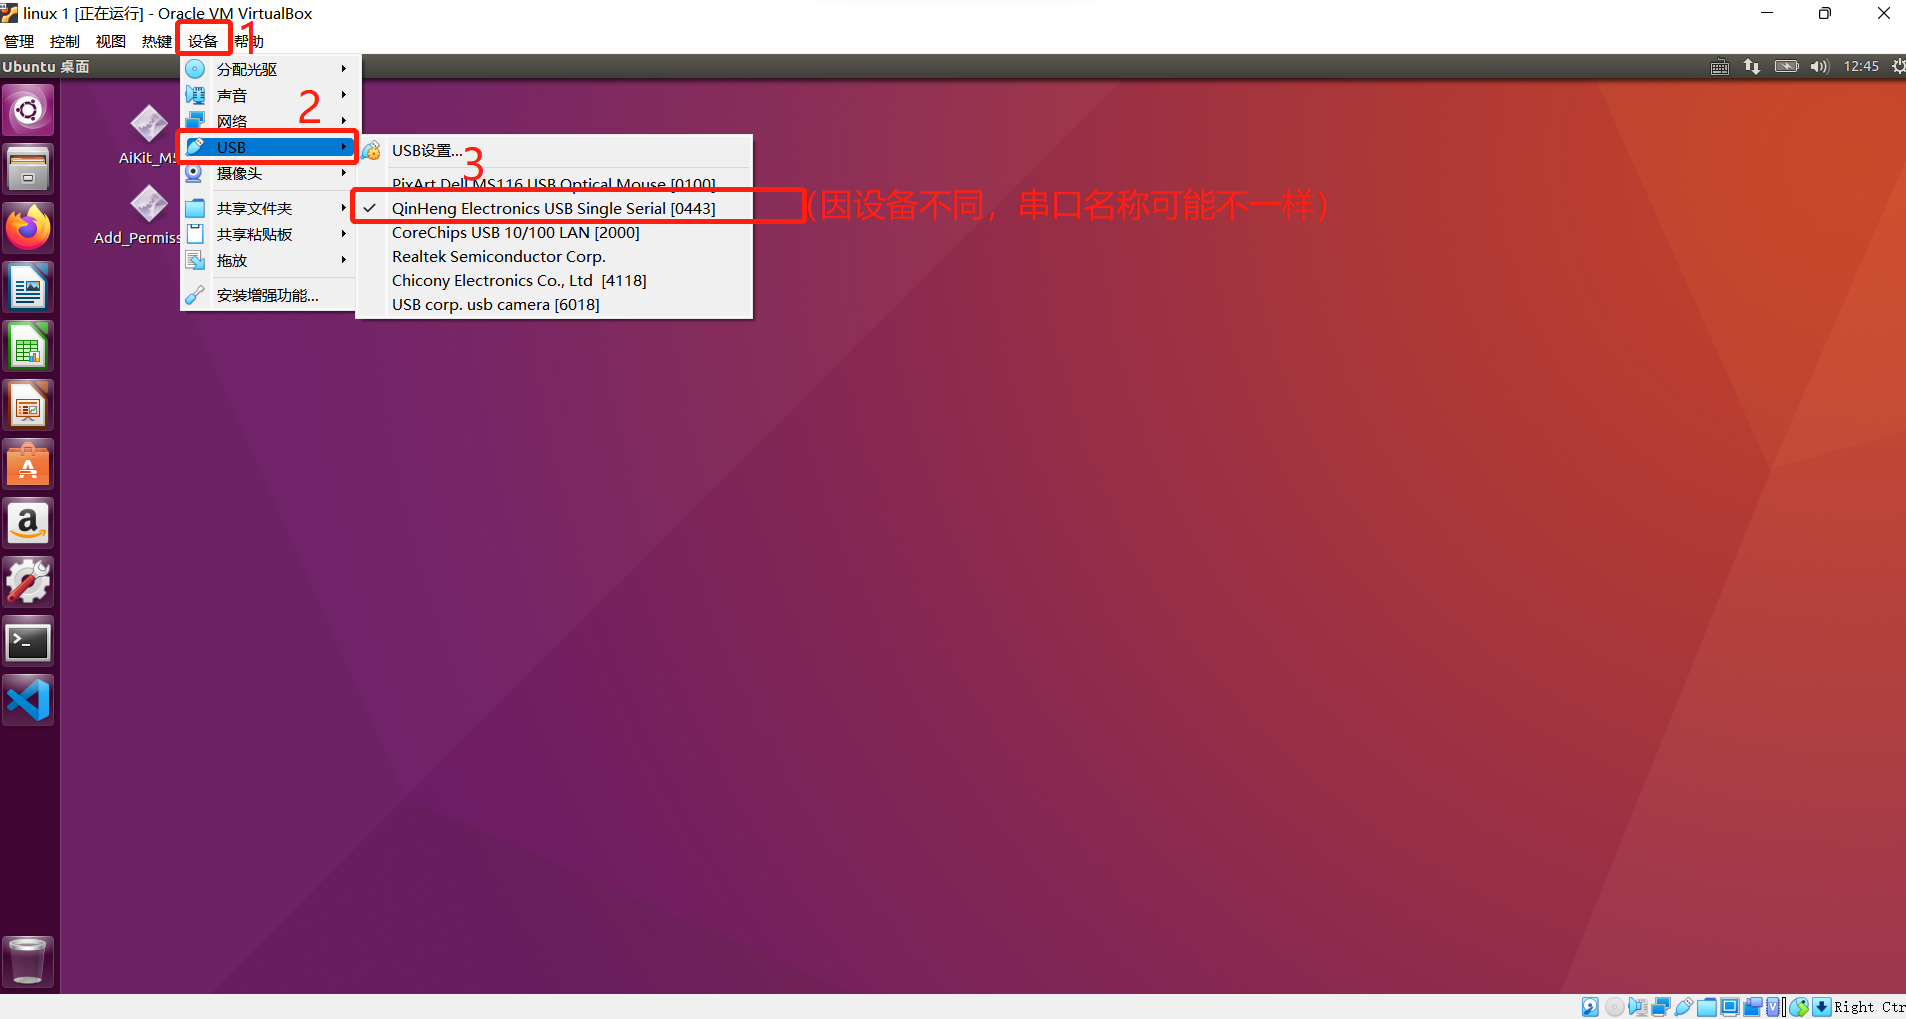
After connecting the robot arm and entering the system, select the device above the system with the mouse -->USB-->check the name of the serial port of the robot arm
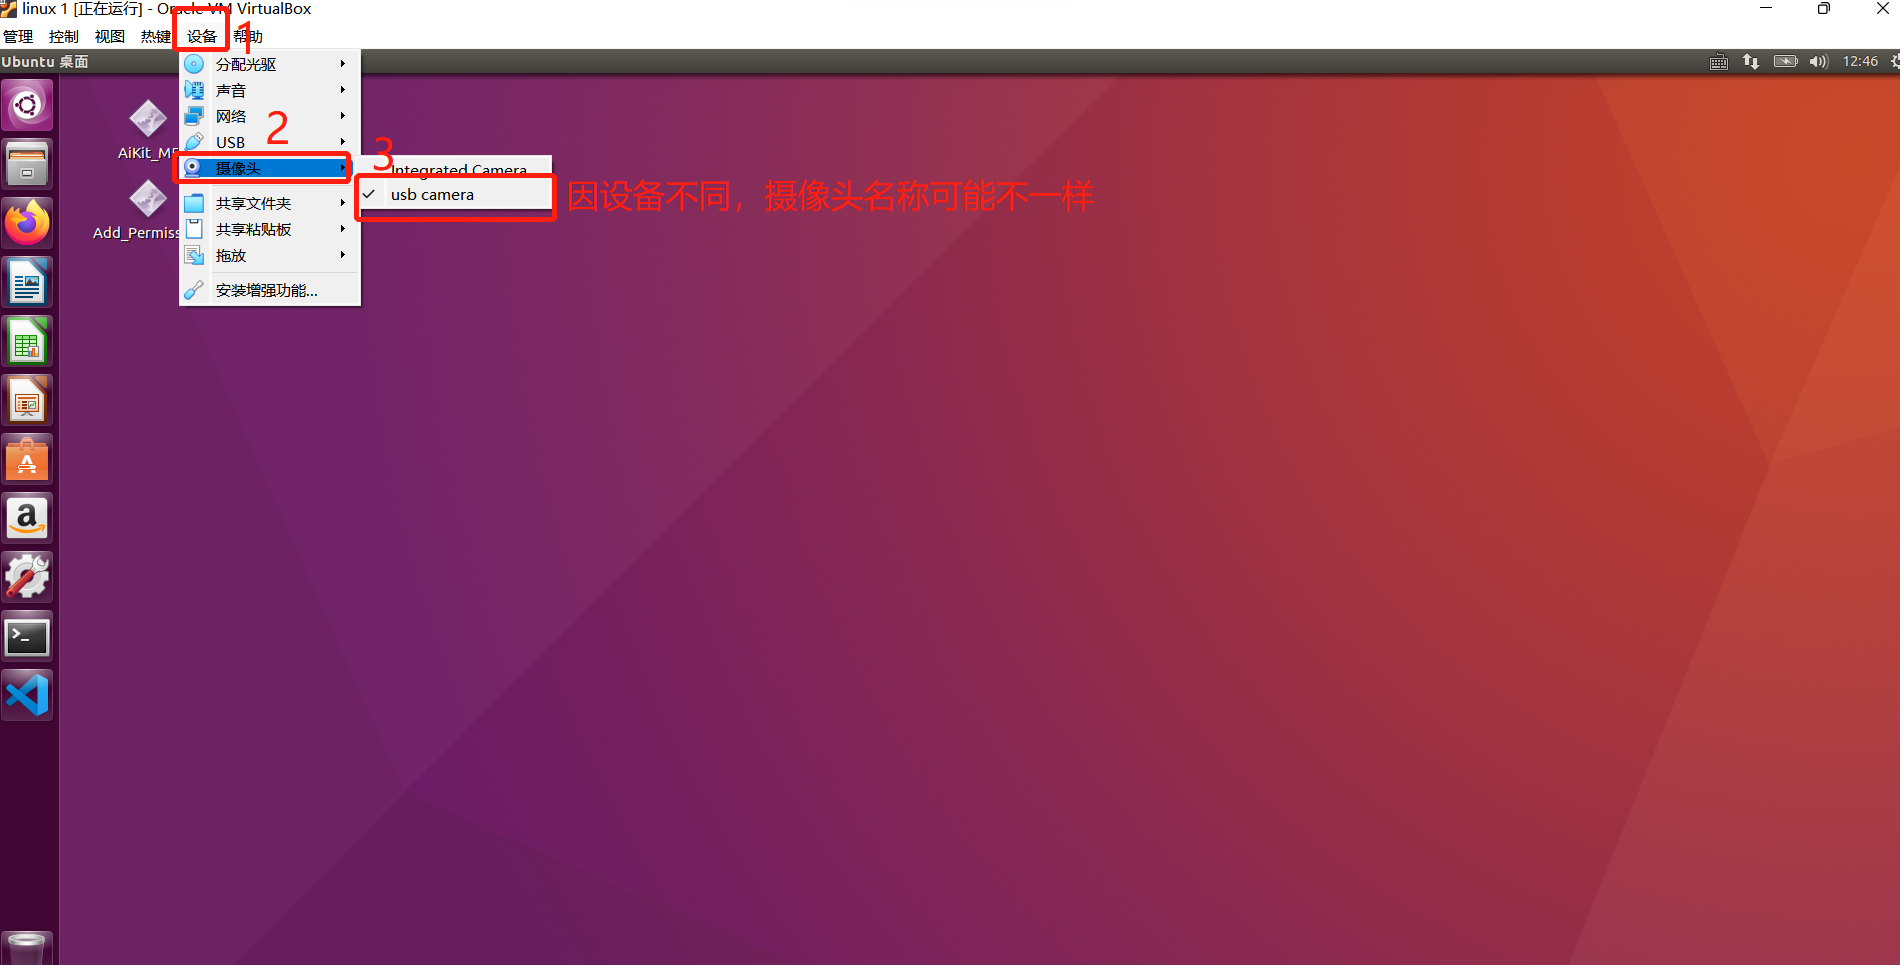
Select the device above the system --> camera -->check the camera name
Note: Due to different device models, the name of the serial port may be different, the actual one shall prevail
2 serial port permissions
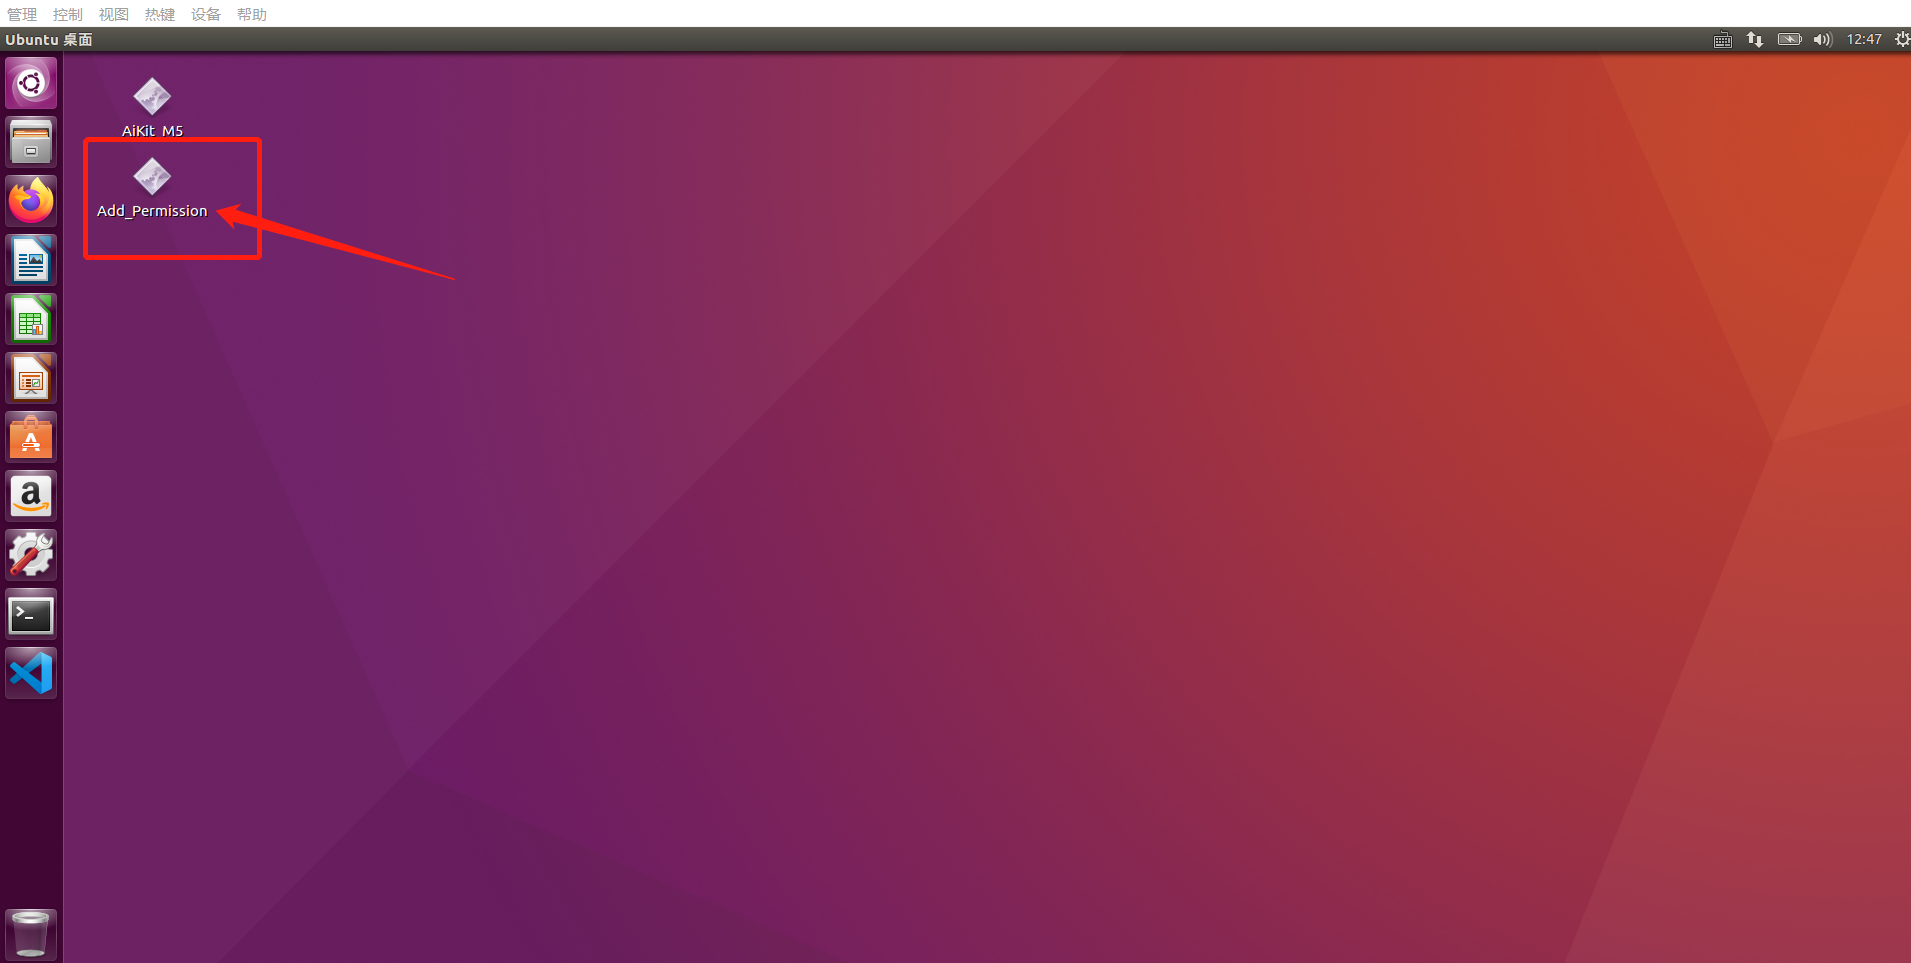
When starting up, make sure that the serial port device of the robotic arm is connected to the virtual machine, and then grant the serial port permission to the robotic arm.
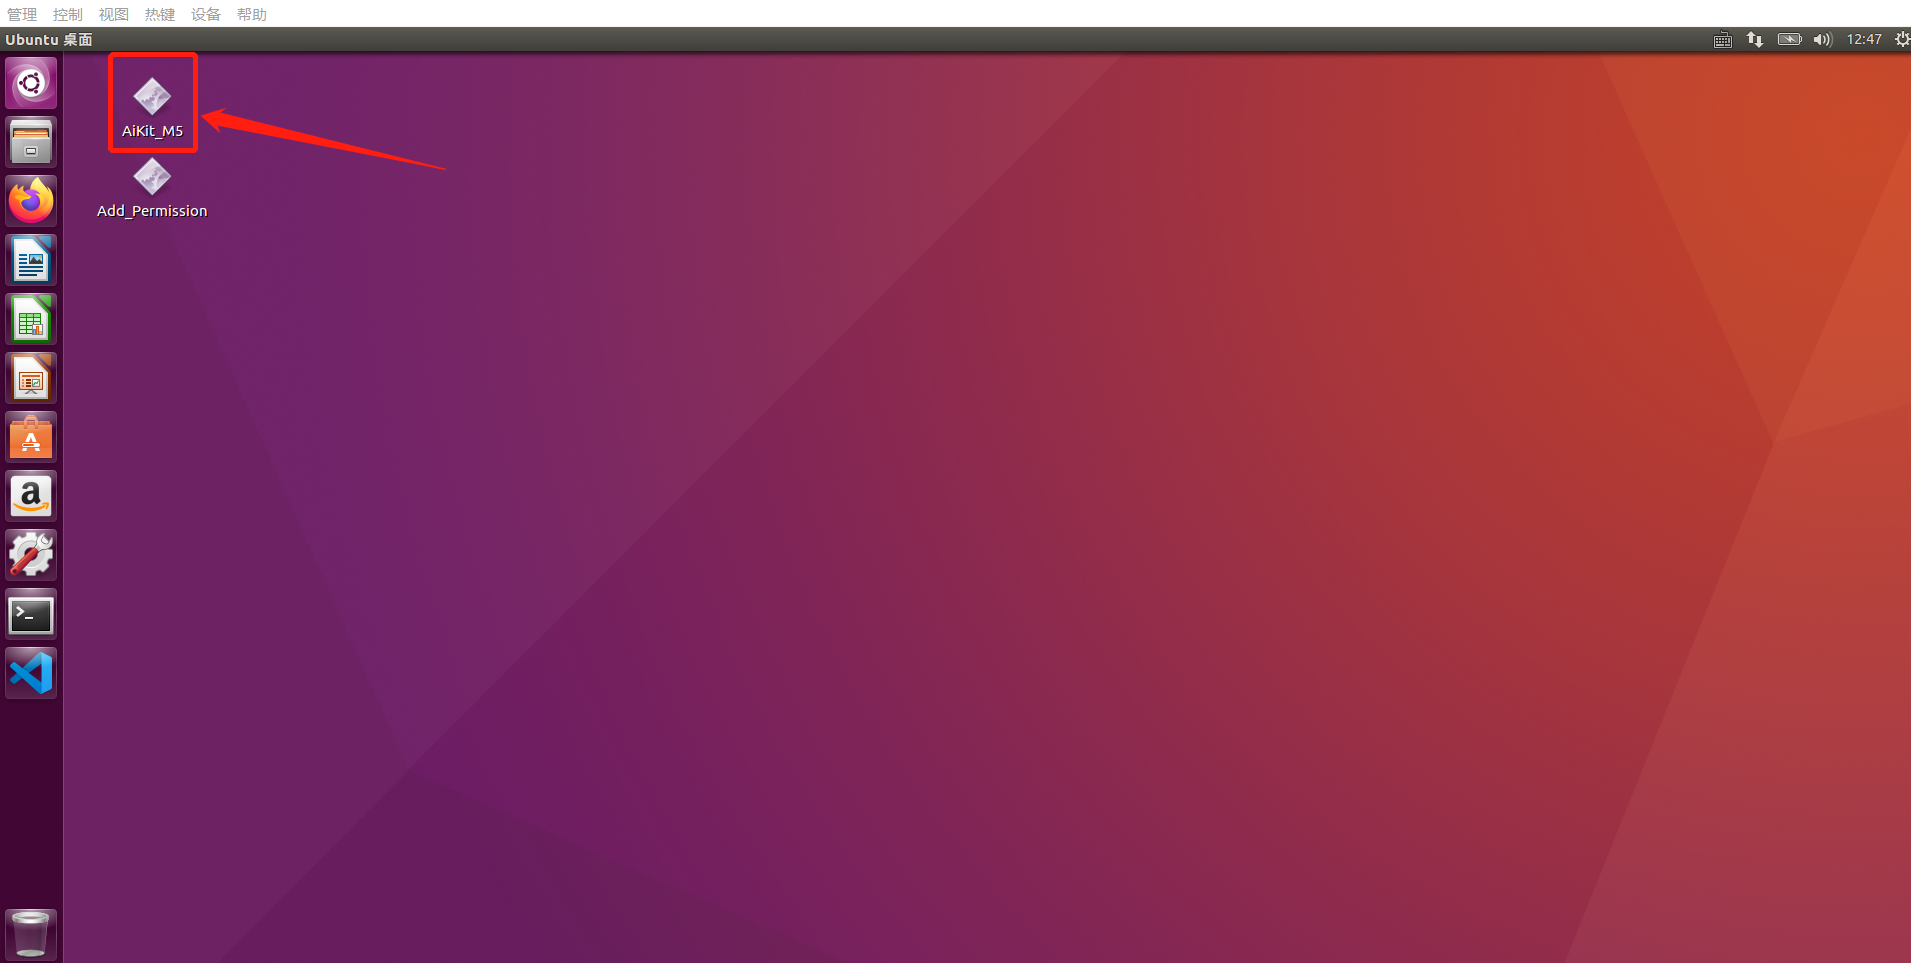
Double-click the Add_Permission tool on the desktop, enter the user password according to the terminal prompt --> press the Enter key, and then close the terminal (the default password is: 123)
3 tools to use
3.1 Double-click to open the AiKit_M5 tool on the desktop and enter the tool interface.

3.2 First open ros, it takes about 5s to wait.
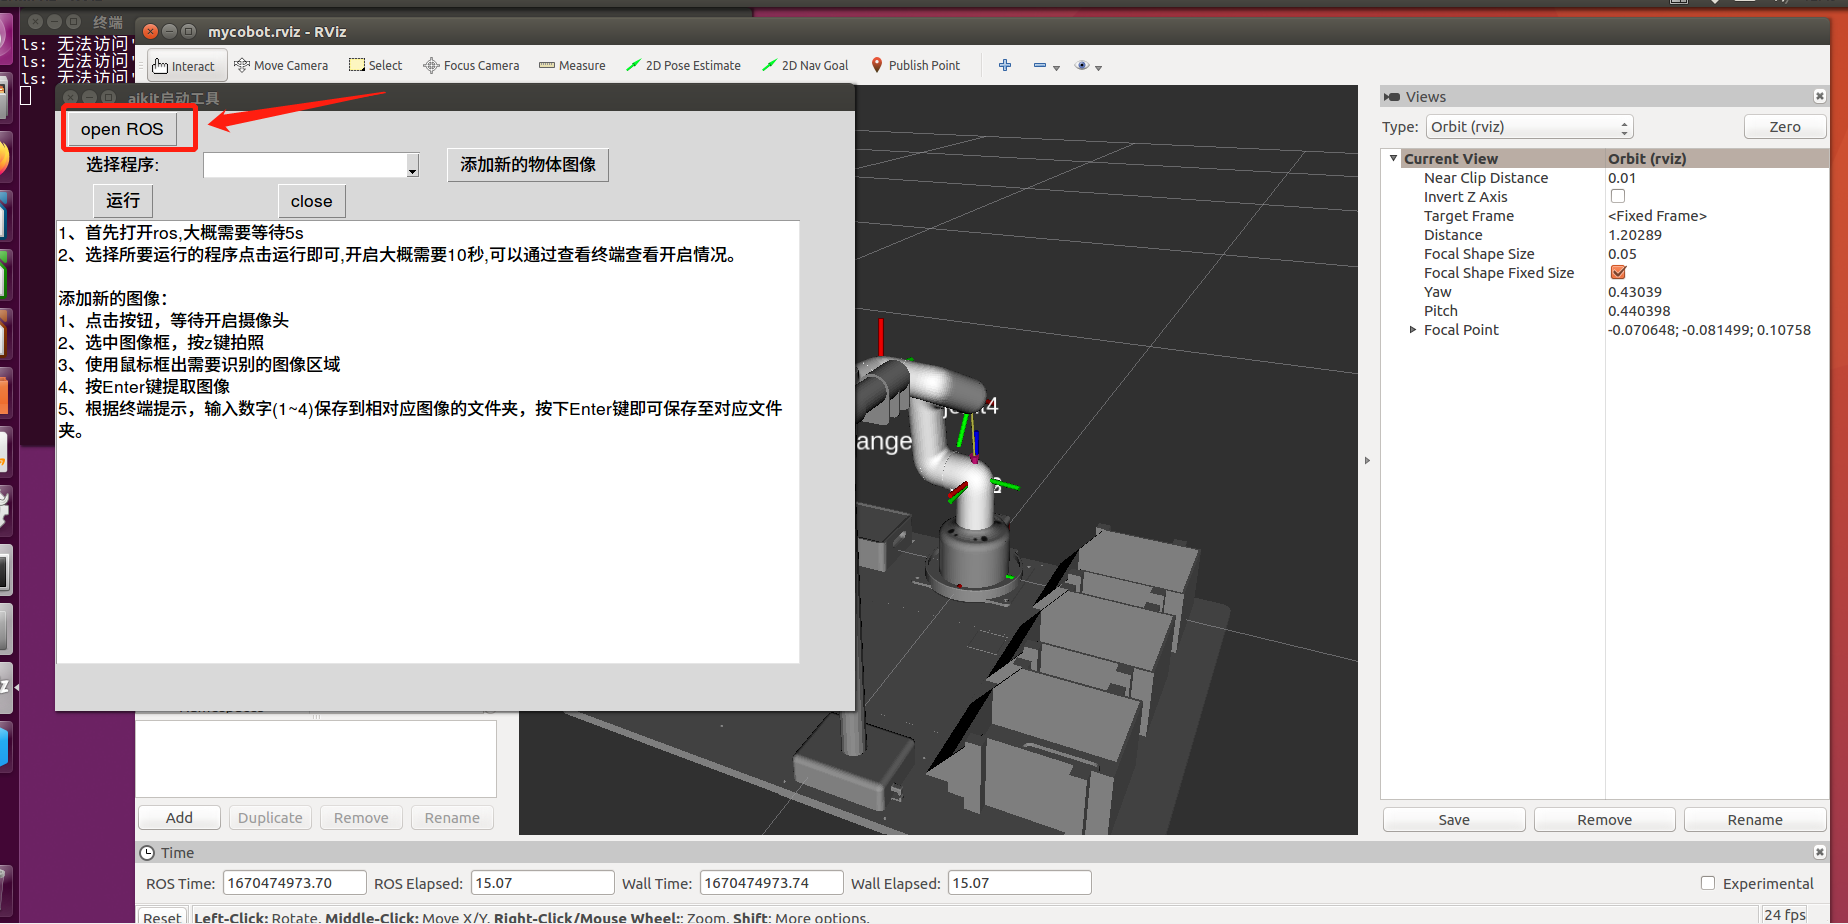
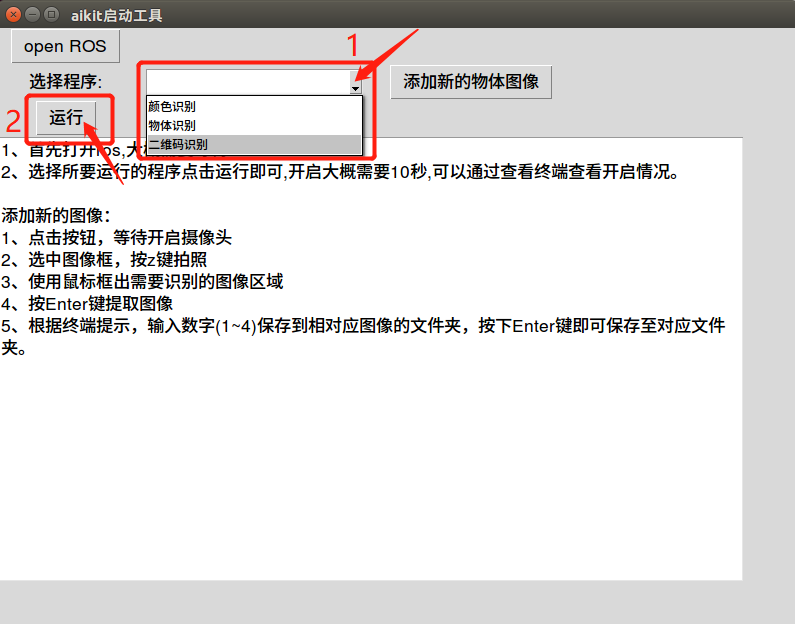
3.3 After selecting the program you want to run, click Run, and you can check the opening status by viewing the terminal.
4 Add new image
4.1 Click the button and wait for the camera to turn on.
4.2 Select the image frame with the mouse and press the z key to take a picture
4.3 In the second image box that pops up, use the mouse to frame the image area that needs to be recognized.
4.4 Press Enter to extract the image.
4.5 According to the terminal prompt, enter the number (1-4) to save to the corresponding image folder, and press the Enter key to save to the corresponding folder.
If the terminal outputs Saved, the image is saved successfully.